


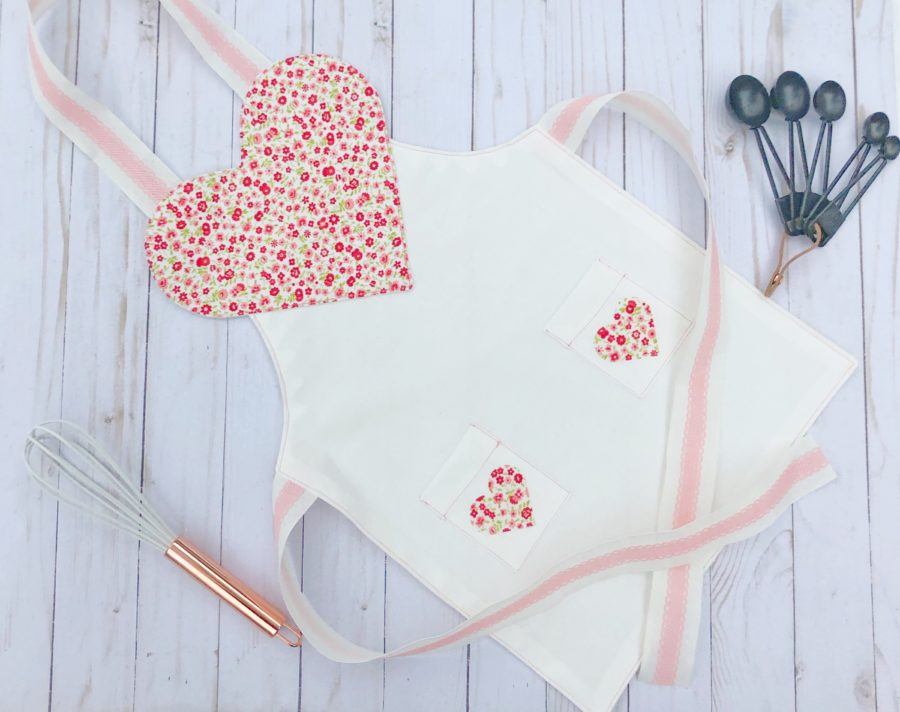
Hi! It’s Jen from The Smitten Chicken. Happy Valentine’s Day! I am excited to share this super fun Toddler Apron with you on this day of love! Do you have a little baker at your house? We sure do! I have a little Mommy’s shadow. I was wearing an apron the other day and she insisted on one too. And I didn’t have a toddler one! So I knew I had to make one. She loves it! The great thing, you can use this apron year round! Do you want to make one too?
Love Kids Apron
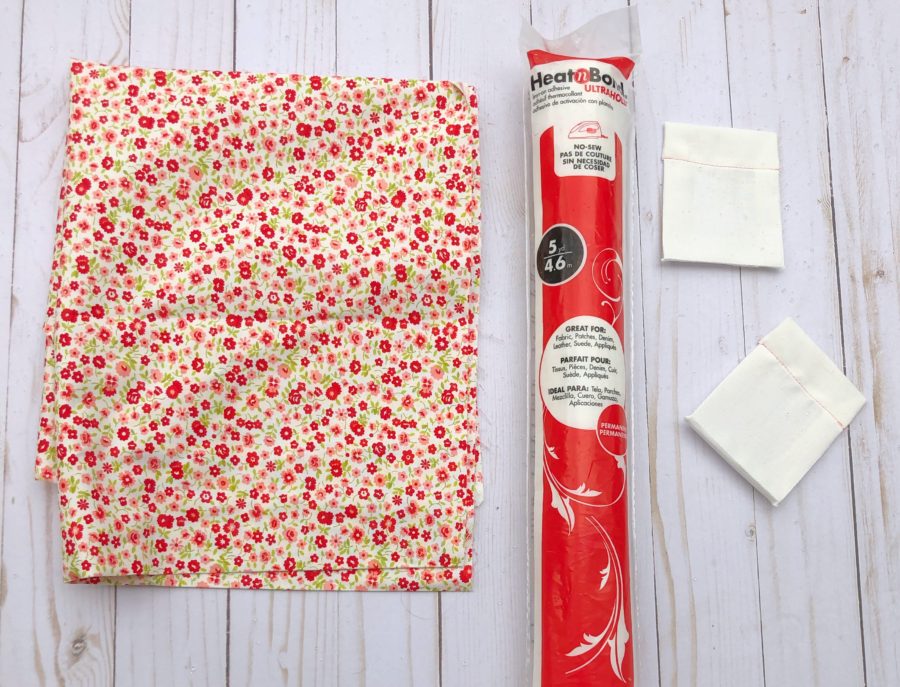
Here are the supplies you will need:
1 Fat Quarter (this will be for the hearts!)
2/3 yard of fabric (this will be for the apron and pockets)
HeatnBond Non-Woven Craft Fusible Extra Firm
Aurifil Thread (Peachy Pink 2435 is what I used)
2 yards of Grosgrain Ribbon
Sewing machine
Iron
Scissors
FREE PATTERN PART ONE
FREE PATTERN PART TWO
Love Kids Apron
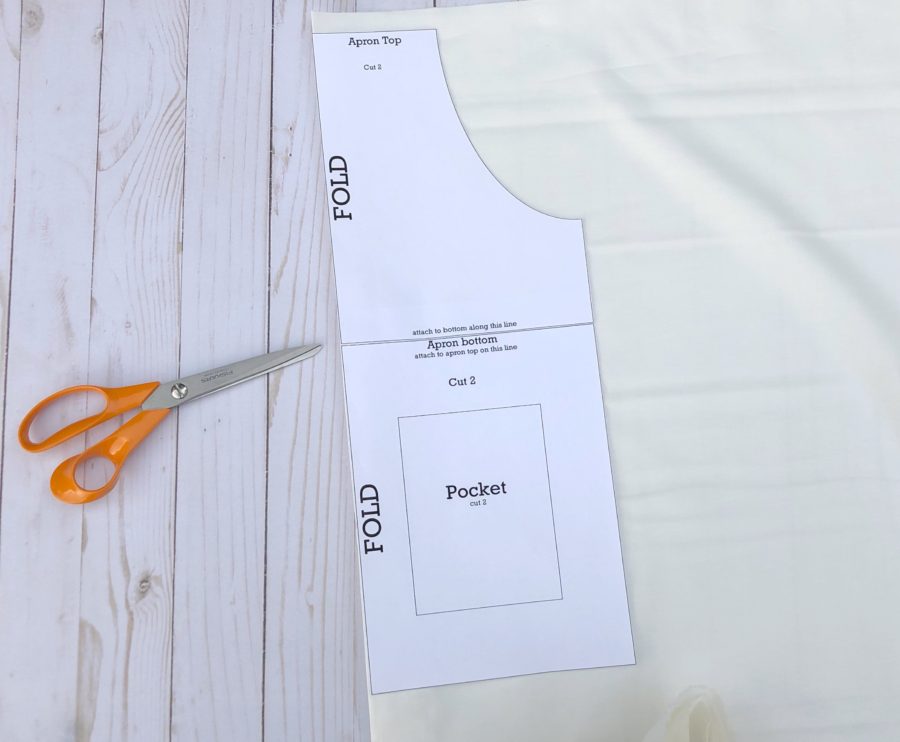
Start by printing off the FREE pattern for the top of the apron and the bottom of the apron. Tape the top apron piece to the bottom apron piece along the bottom line. Place the pattern on the fold of the apron fabric. Cut 2! Set them aside.
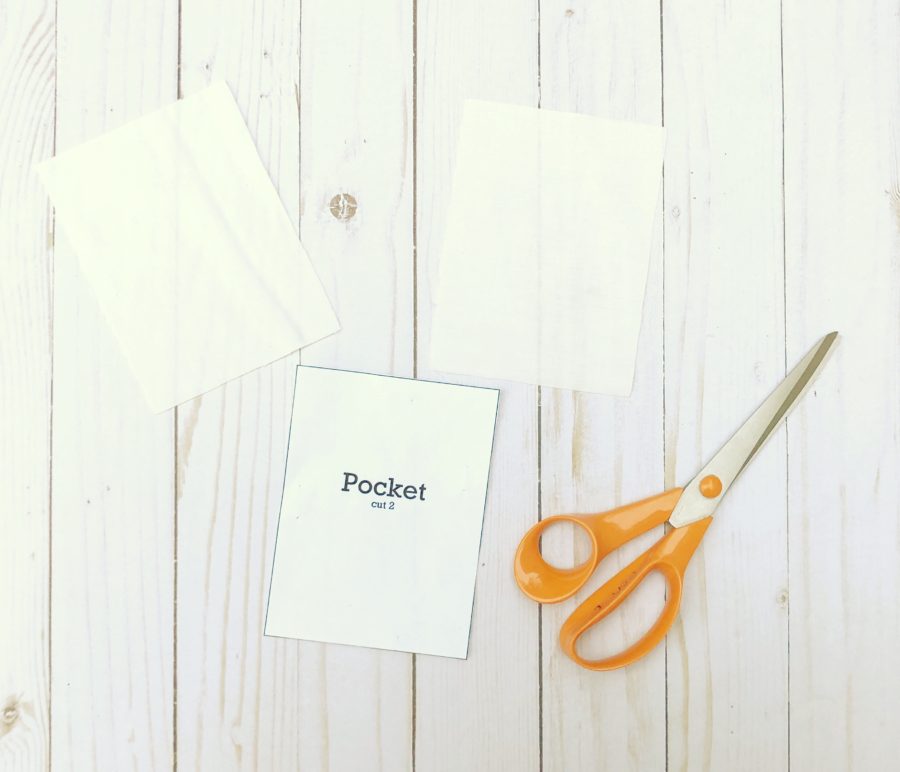
Then cut out two pocket pieces from the pattern. Next, we will construct our pockets. This is the trickiest part of the project. Start by pressing 1/4″ seam towards the wrong side of the pocket. This will give you a finished edge to the top of the pocket.
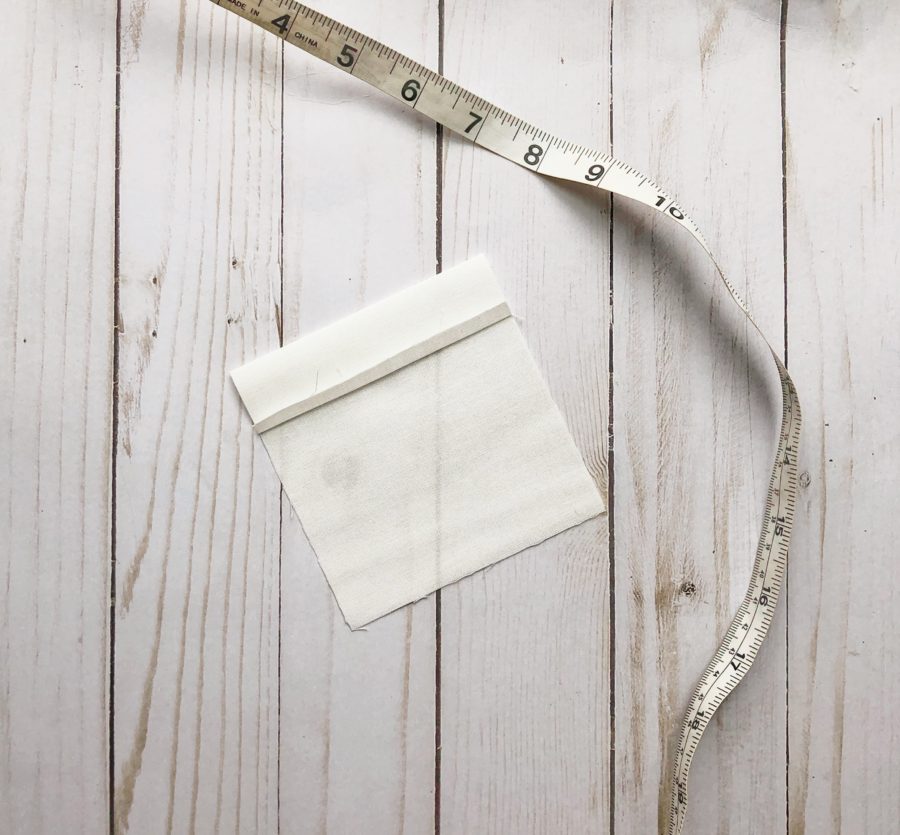
Then going the opposite direction (right sides together), press 1″. Just like the pic above shows.
Now starting on one side, sew 5/8″ around the three sides of the pocket. Don’t sew across the top of the pocket.
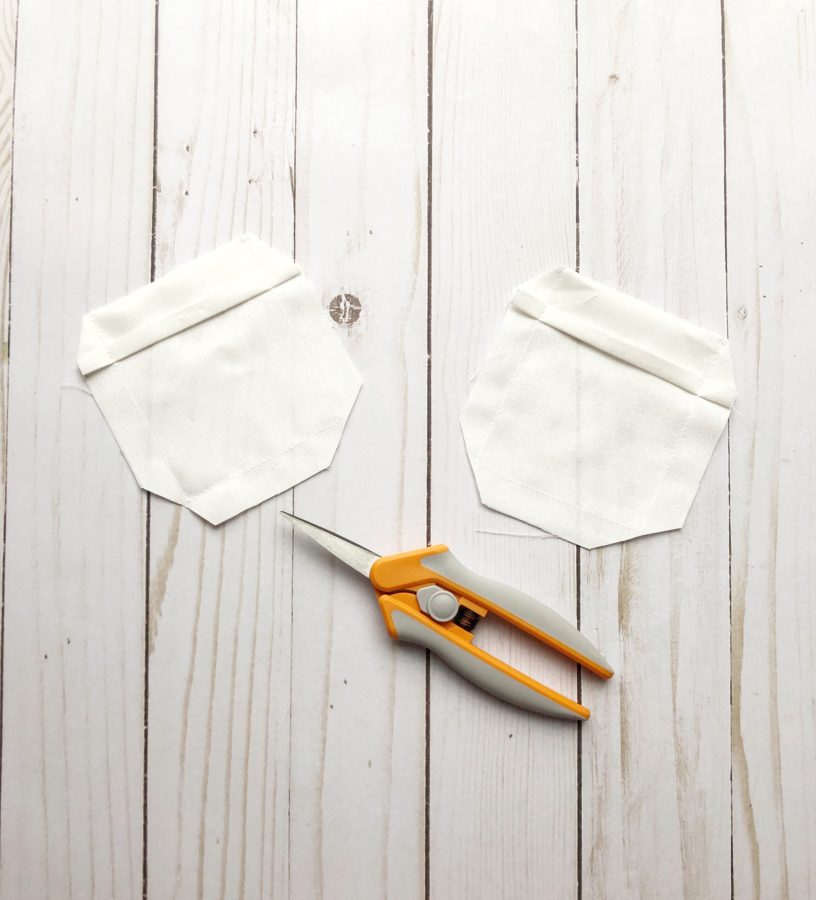
Trim the corners of the pocket to help reduce bulk. Then flip the top of the pocket inside out. The top will be nicely finished. Stitch across the top of the pocket. Now press the sides in, following the stitch lines. You can see what the pockets look like all pressed and stitched in the pic below.
Now to add the hearts to the pockets! You can download the FREE SVG or PDF for the hearts. Adhere the HeatnBond to the wrong side of the fabric. Then cut out the hearts with an electronic cutting machine. If you don’t have one, then trace the hearts onto the paper side of the HeatnBond. Then adhere the HeatnBond to the wrong side of the fabric. Cut out the hearts. Using either method, adhere the cut hearts to the pockets. You can stitch around the hearts at this point, but it isn’t necessary with the Ultra Hold HeatnBond.
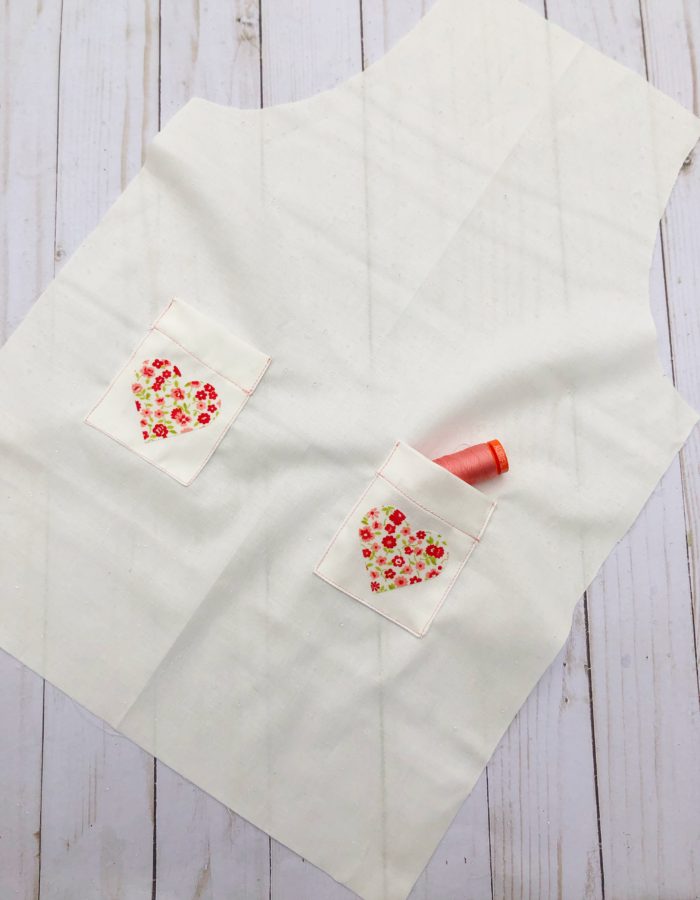
Place the pockets on the apron front. I placed them at 2 5/8″ in from the sides. Stitch the pockets to the apron using your favorite Aurifil thread!
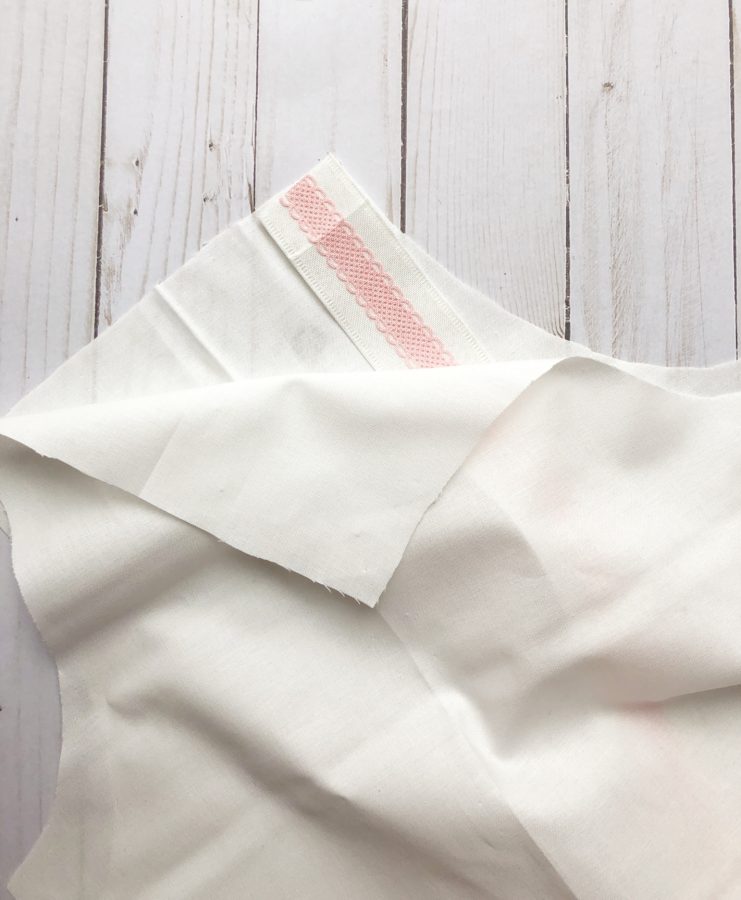
Now we get to assemble the apron! Cut your ribbon into 2- 22″ lengths (for the side ties) and one 20″ length for the neck strap. Place your neck ribbon on the top edge of the apron. If your ribbon is one-sided make sure it is placed right sides together! TIP: Place the ribbon 5/8″ away from the edge. Then it won’t get stuck in your seam allowance. Do the same with the side ribbons. Then place the back apron piece on top of the apron front (with the pockets). Create an apron sandwich- apron top, ribbons, apron back. Don’t forget to keep them right sides together!
Sew all the way around your apron, leaving a 4-inch gap on one side. Trim the corners and notch the curve to reduce the bulk. Using the four-inch gap, turn your apron right side out. Give the apron a good press. Then stitch around the entire apron. This will close the 4-inch gap.
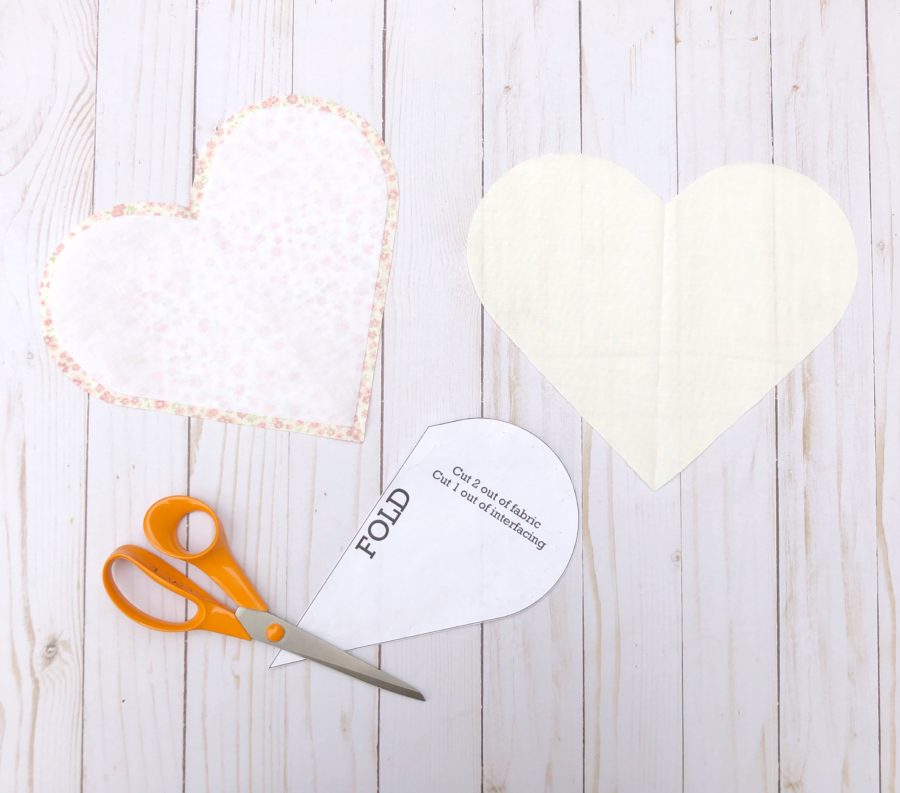
Last, of all, we need to make the heart for the top of the apron. Print out the PDF of the heart. You will need to 2 hearts of fabric. I cut one heart out of my favorite print and one out of white since it will be on the back. Remember to cut on the fold! Then cut one heart out of the HeatnBond Non-Woven Craft Fusible Extra Firm. Trim off 1/4″ around the interfacing. This will reduce bulk in your heart.
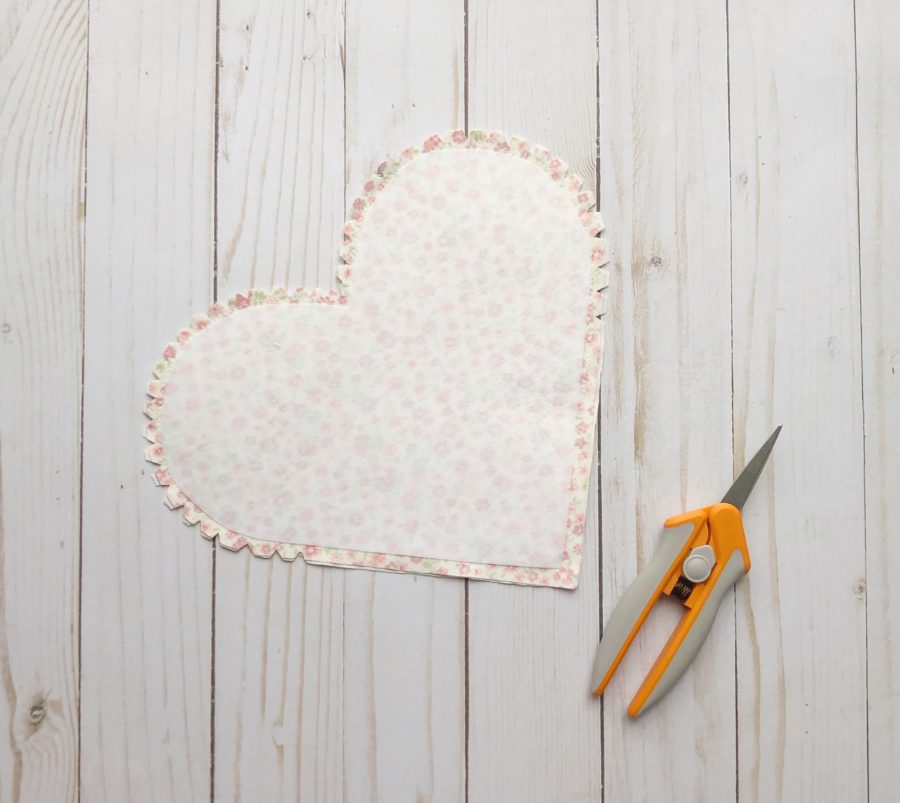
Adhere the interfacing to the wrong side of the heart. Then with right sides facing, sew the front and back of the heart together leaving a 3-inch gap. Notch the curves of the heart to reduce bulk like in the pic. Turn the heart right side out.

Stitch around the heart using your favorite Aurifil thread. This will close the 3-inch gap.
Now you need to place the heart at the top of the apron. Stitch it to the apron.
And you are done! You can share the love of baking with your little one year round!
Thanks for following along with me! If you would like to see more of my quilting adventures you can follow along on my blog, Instagram, Facebook or Pinterest.
Chirp Out!
Jen
MERmade9
February 14, 2019 at 3:54 pm (5 years ago)Very cute, but since there are not toddlers/kids in my life, think I’ll try to downsize this for 18-inch doll pattern I can sew & for a friend’s DD.