Getaway Card Set by Designer Audrey Pettit:
Supplies:
Therm O Web 3D Zots™ Clear Adhesive Dots
Therm O Web Medium Zots™ Clear Adhesive Dots
Therm O Web Mini Tape Runner
Therm O Web 3D Foam Squares
Patterned Paper, Cardstock Stickers: Echo Park
Trim: Stampin’Up, The Kraft Outlet
Embossing Powder: Clearsnap
Versamark Ink: Tsukineko
Stamps: BasicGrey, Hero Arts
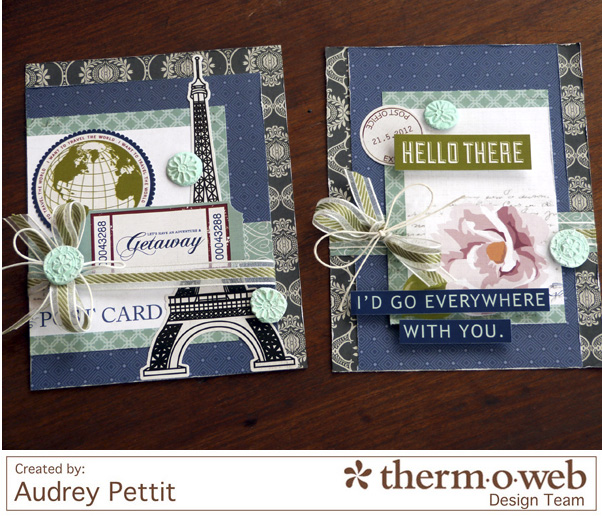
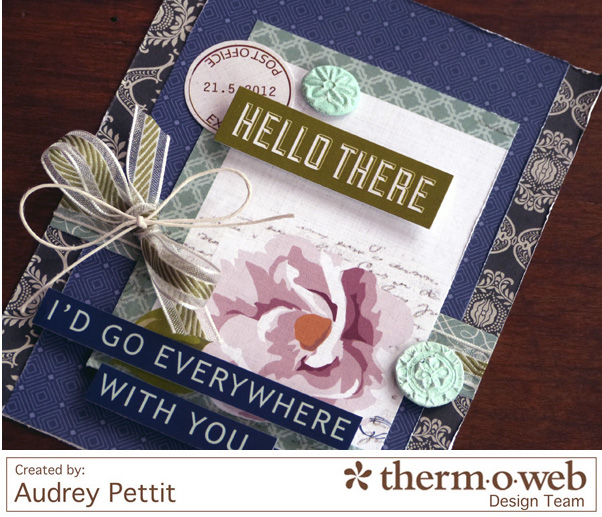
Sharing a pair of fun cards with you today, along with a little tutorial for creating your own faux “wax seal” embellishments using embossing powder and Zots™ 3D Adhesive Dots. These seals are so fun and versatile, and are surprisingly easy to make. Better yet, they can be made with any color embossing powder, and impressed with any number of texture plates, stamps, or even household items, for tons of unique handmade embellishment ideas.
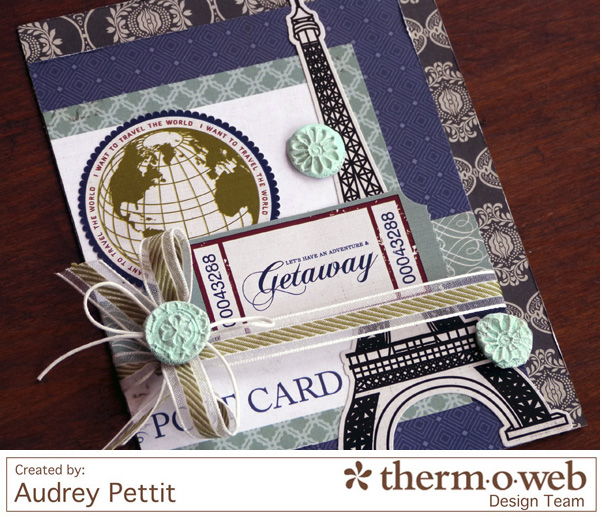
I had so much fun experimenting with different items from around my house to create the seals for today’s project. Almost anything with a bit of texture can work with this technique. But for these cards, I used a variety of small floral stamps and Donna Salazar’s Peridot Mix’d Media embossing powder, which just so happened to be a perfect match for the papers I used, Echo Park’s Getaway collection.
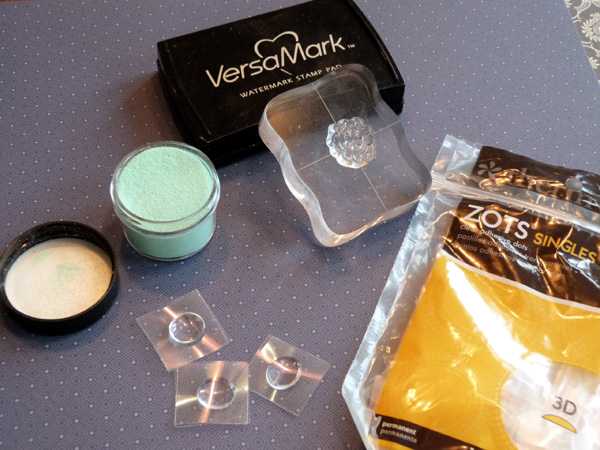
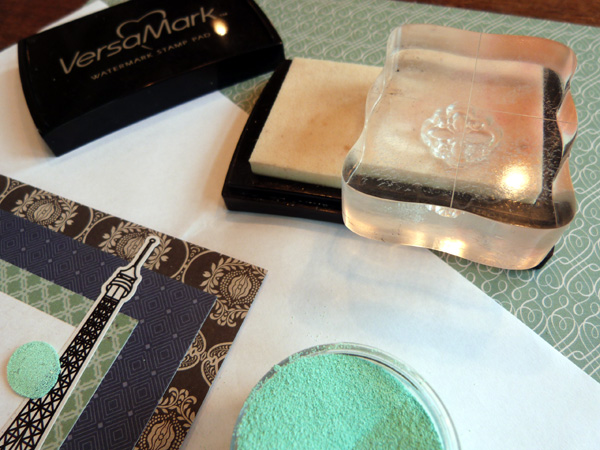
To get started, gather your supplies.
You will need 3D Zots™, embossing powder and an embossing heat tool, a Versamark ink pad or clear embossing ink, and small stamps to create the impression. You can use clear stamps, or woodmount stamps, it doesn’t really matter. Really almost any smooth object with some sort of texture or dimension could work.
*Note: If you don’t have Versamark or clear embossing ink, you can use a small amount of cooking oil or baby oil instead.
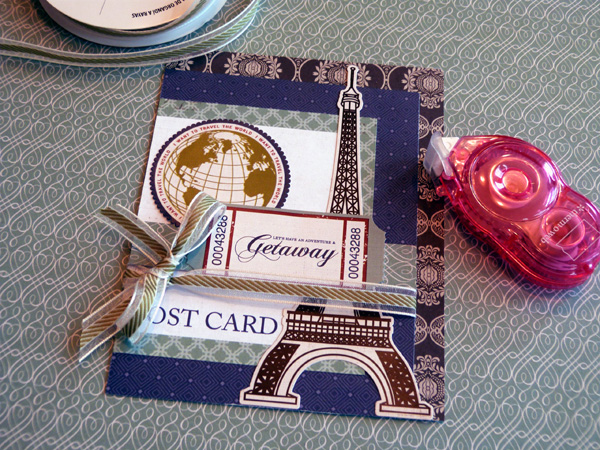
Go ahead and create your card, adding in any stickers, die cuts, or trims that you may wish.
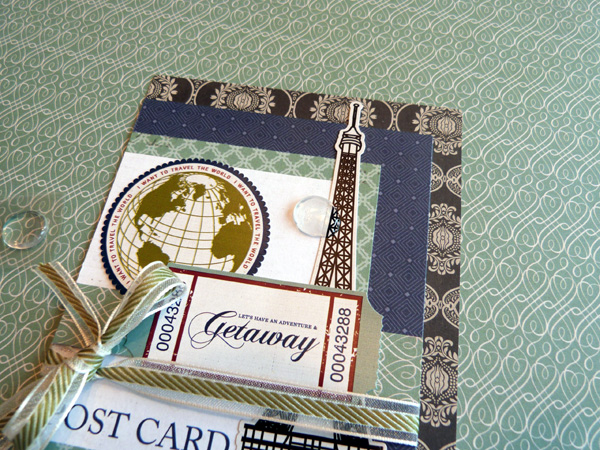
Decide where you want to have a wax seal embellie, and place a 3D Zots™ there.
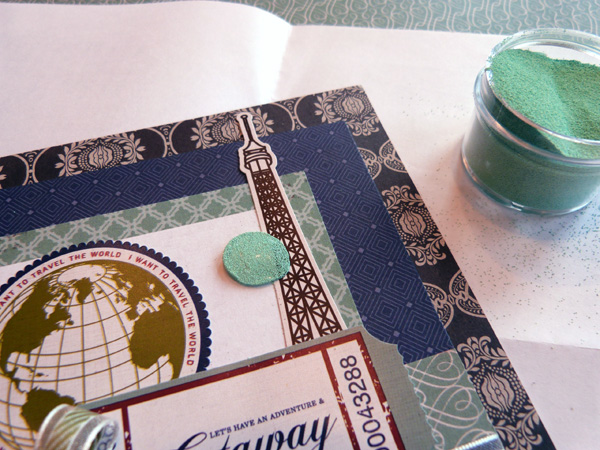
Pour embossing powder over the Zot™, shaking off all excess.
Ink a stamp with the Versamark ink and have it at the ready. The ink will keep the stamp from sticking when pressed into the heated Zot™.
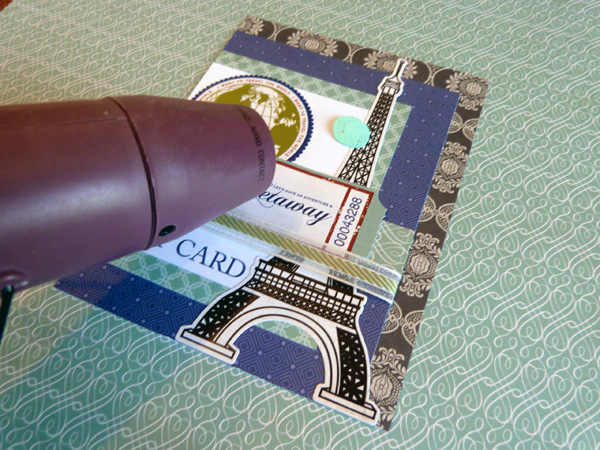
Heat the Zot™ with an embossing heat tool until all the powder has melted…
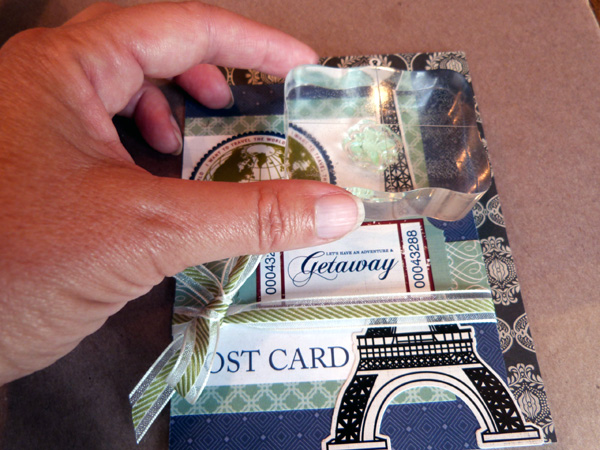
Then quickly press the stamp image down into the warm glue dot, and pull it back up.
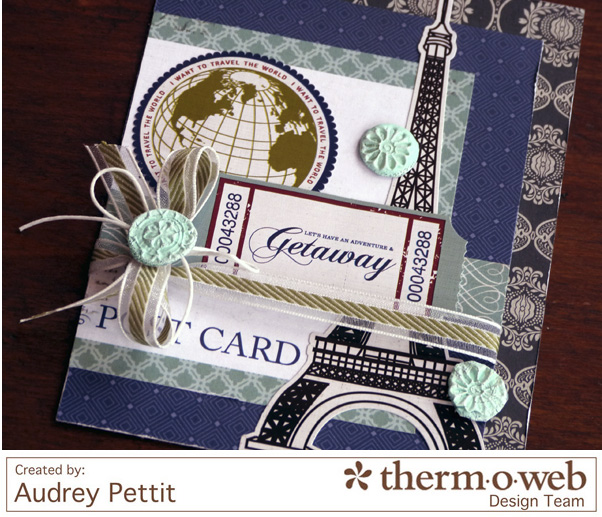
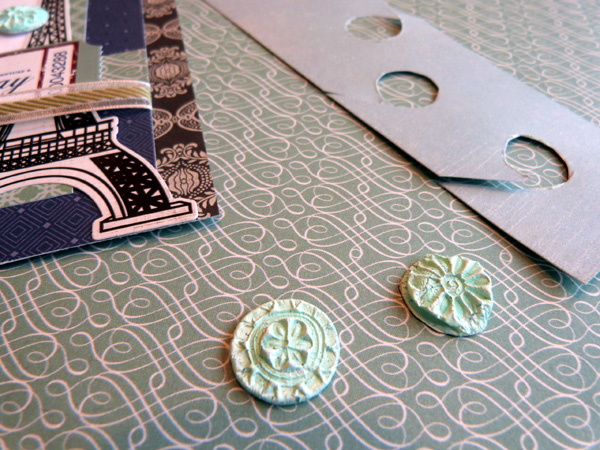
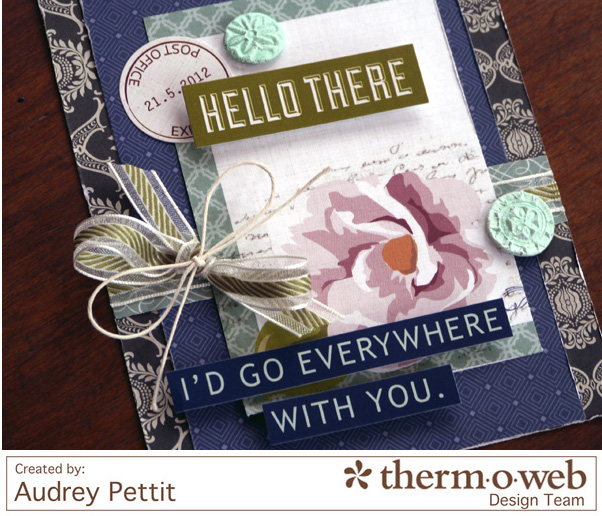 And there you have it, instant faux “wax seals”.
Oh, and here’s another little tip for you. You can easily create these seals on scrap paper and trim them out to add to bulky areas, like the center of my bow here. Just add a fresh Zots™ dot to the back, and you are good to go.
Easy, and fun, right?
Enjoy!

[…] I was meandering the internet several weeks ago, I came upon a lovely scrapbooking blog on how to make your own wax seals using Zots adhesive dots. As soon as I saw them I was taken back to my childhood and my fascination with wax seals. Several […]
[…] on these cards, including a tutorial for creating my faux “wax seal” embellishments here, in case you’d like to learn […]