


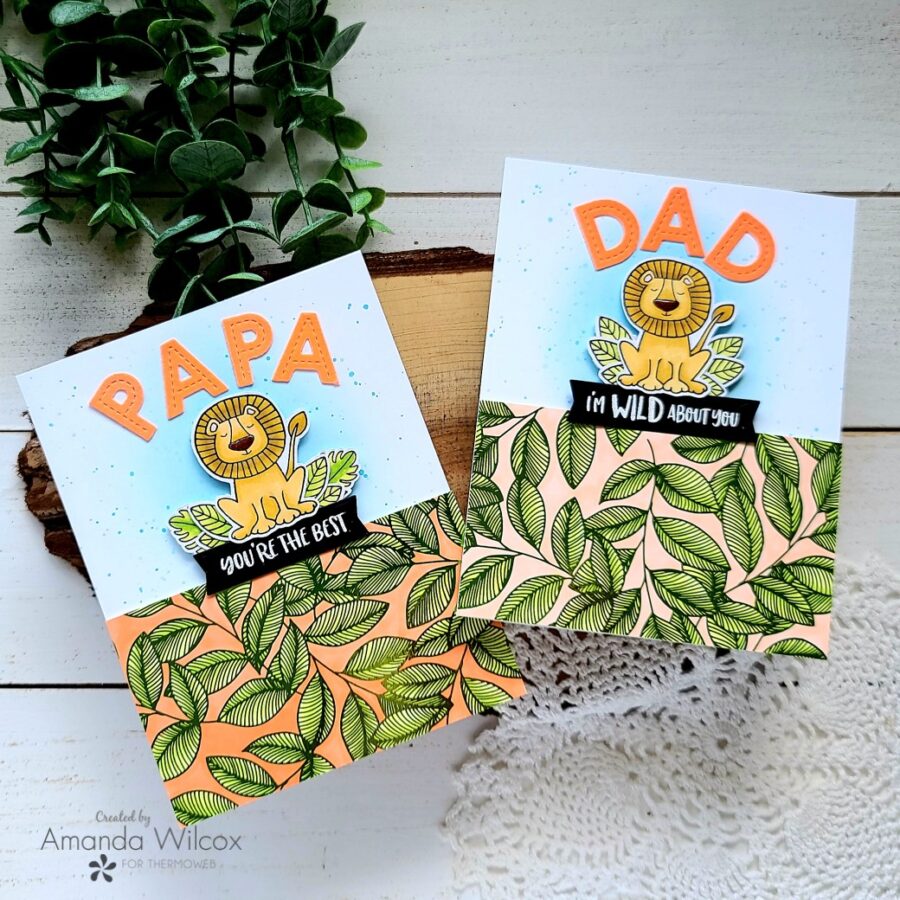
Hello everyone! This is Amanda from Twiddler’s Nook popping in to share a simple and fun way to get two projects out of one toner card front. This technique can be used in a myriad of ways but I really like getting extra out of my gorgeous foiled card fronts. Today I’m sharing two Father’s Day cards with you!
Father’s Day Cards with Unity Card Fronts
Products used on today’s projects:
Unity Toner Card Front – Tranquil Leaves
Gina K. Designs Fancy Foils – Grass Green
Rina K Electro-Pop Neon Flock – Orange Glow
Jane’s Doodles Wild stamp set
Pink & Main Large Sentiment Strip dies
Lawn Fawn Oliver’s Stitched ABCs dies
Foam strips
Copic markers
Ultra Bond liquid adhesive
Distress Oxide – tumbled glass and mermaid lagoon
Glossy accents
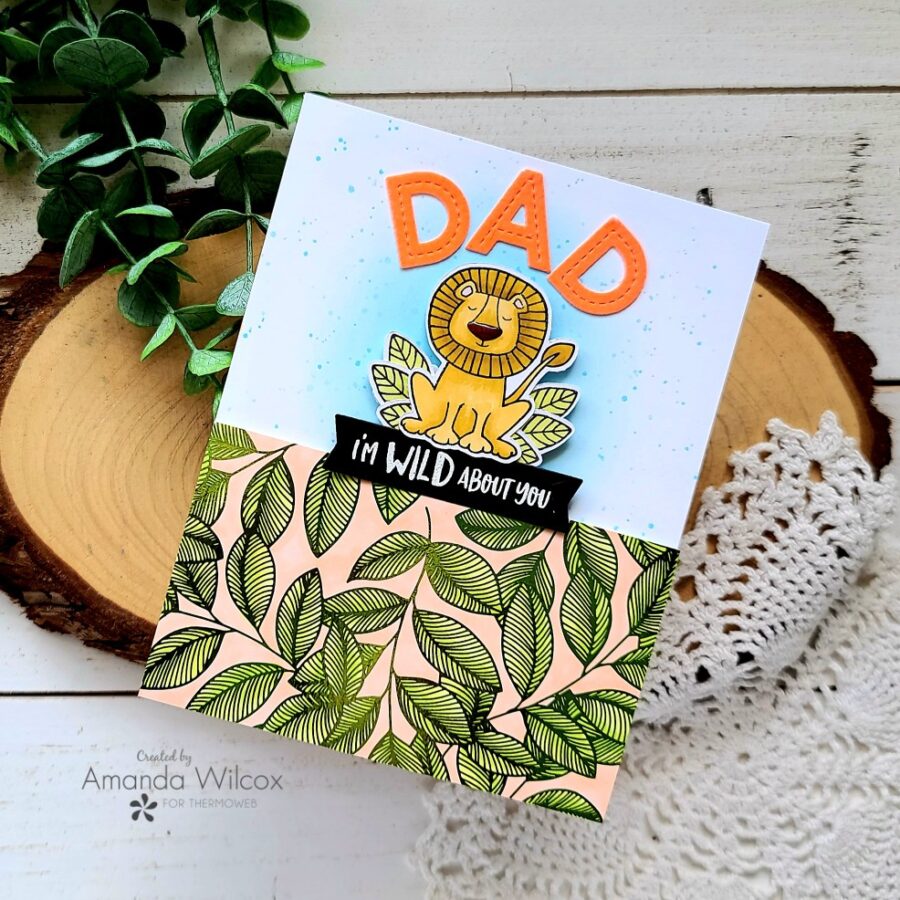
For today’s project, I made one card and then decided that I wanted to make the second one right after that. So let’s go through the steps for this WILD dad card first!
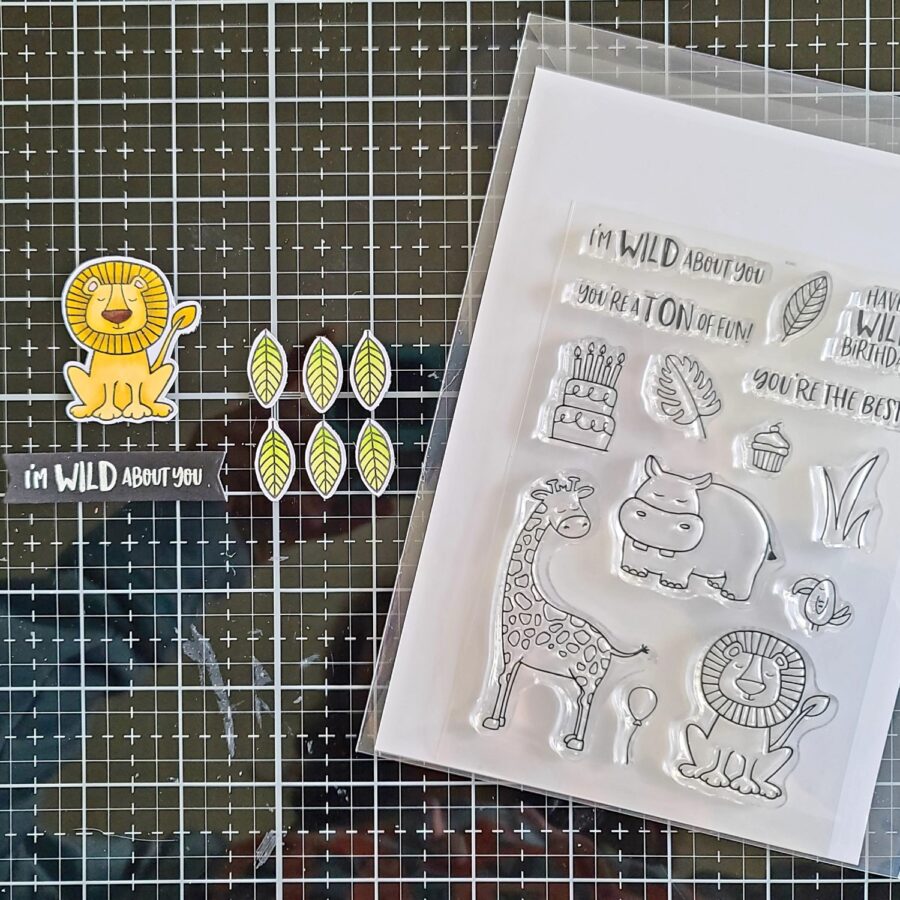
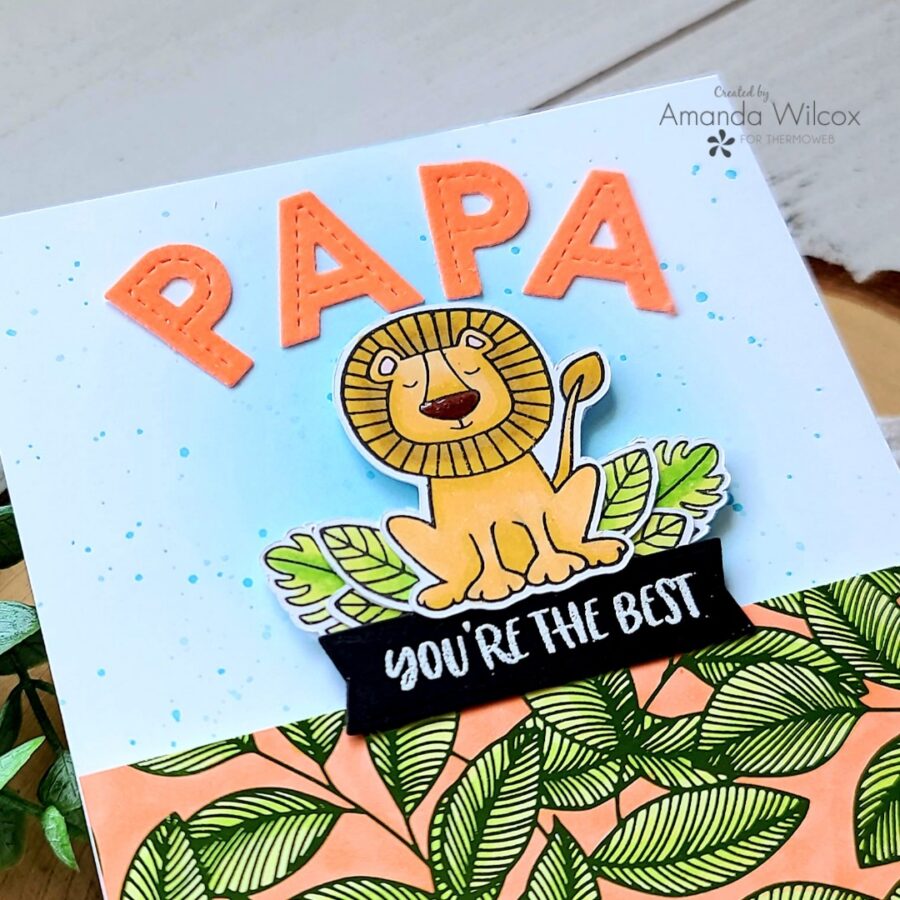
I had plans in my head exactly how this card was going to layout so I started today by turning my laminator on to heat up while I stamped and colored images from Jane’s Doodles’ Wild stamp set. Once they were all colored, I cut the images out with the scan-n-cut. Then I stamped and heat embossed a sentiment on black cardstock and cut it out with a Pink & Main large sentiment strip die. Next, I used my ultra bond liquid adhesive to glue all these layers together.
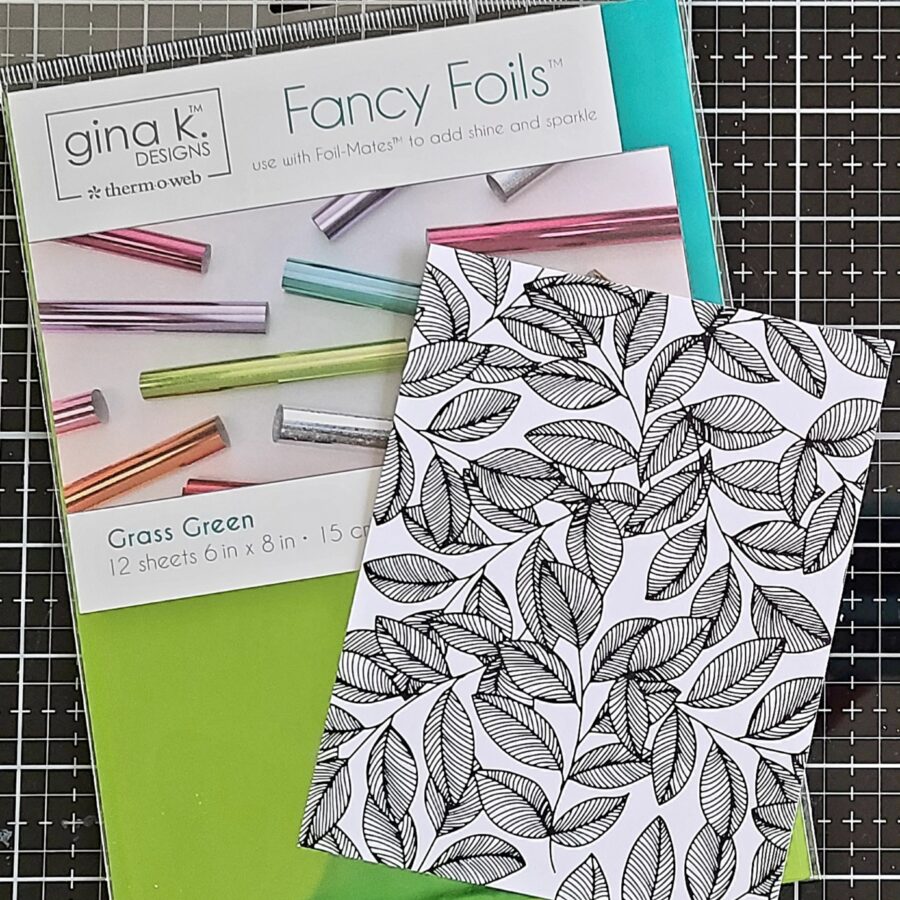
I foiled the tranquil leaves Unity toner card front with grass green Deco foil. Then I colored the whole sheet with my Copic markers. I kept this simple with YG23 and YG21 for the leaves and YR00 for the background in between the leaves.
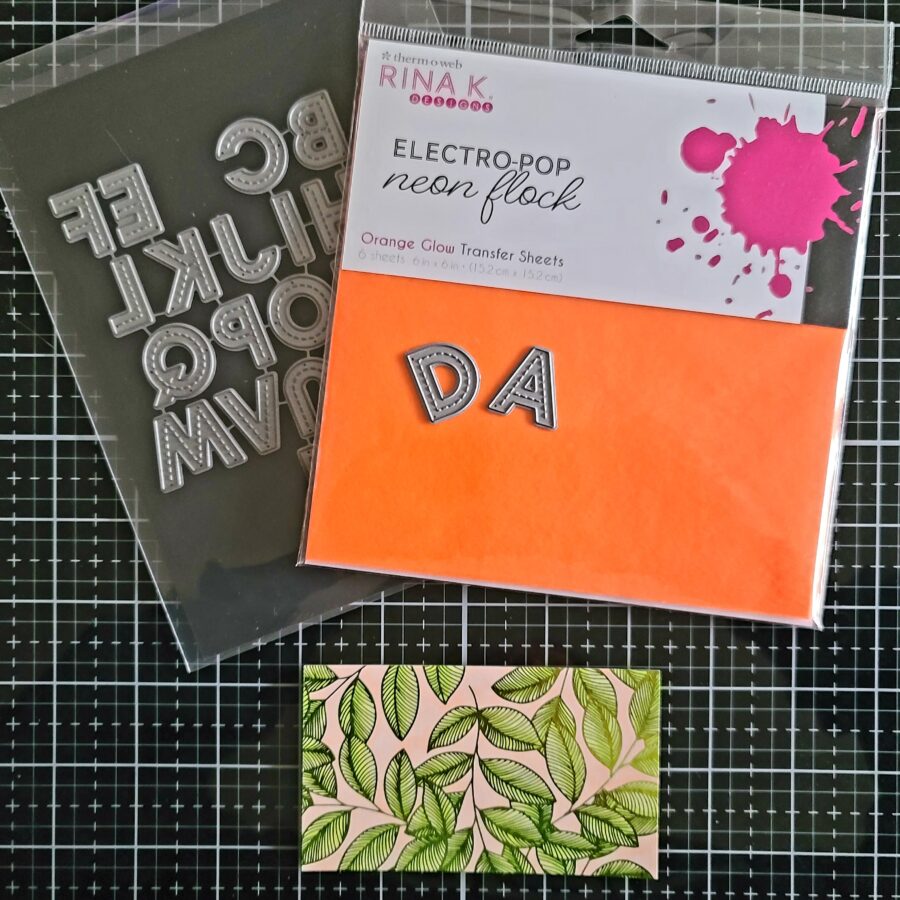
I cut a 2 1/2 inch strip off my card front to use and die cut the letters for DAD from Orange Glow Neon Flock. I love how these play off of each other!
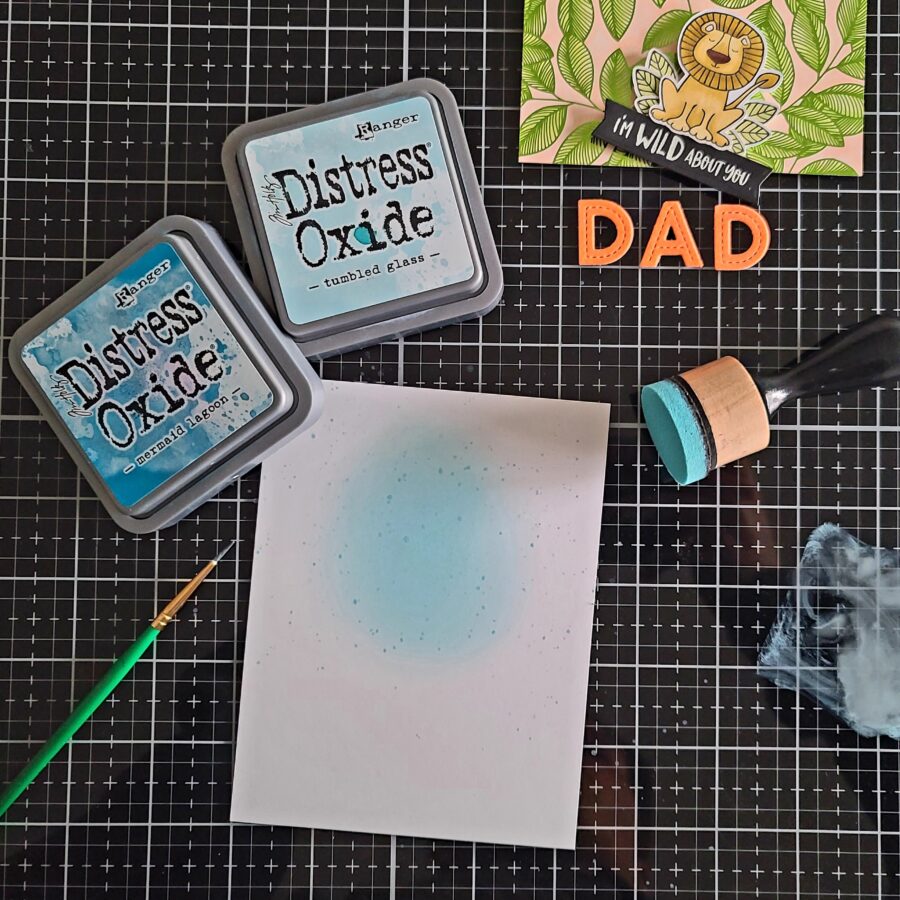
Next, I got inky, messy which is one of my most favorite things to do! I trimmed a white panel down to A2 size and inked up a center shadow with tumbled glass distress oxide ink. Then I smooshed the ink pad on my glass mat, spritzed it with water, and flicked it on the panel with a paintbrush. This didn’t give me enough texture so I added splatters of mermaid lagoon to the mix and it was perfect!
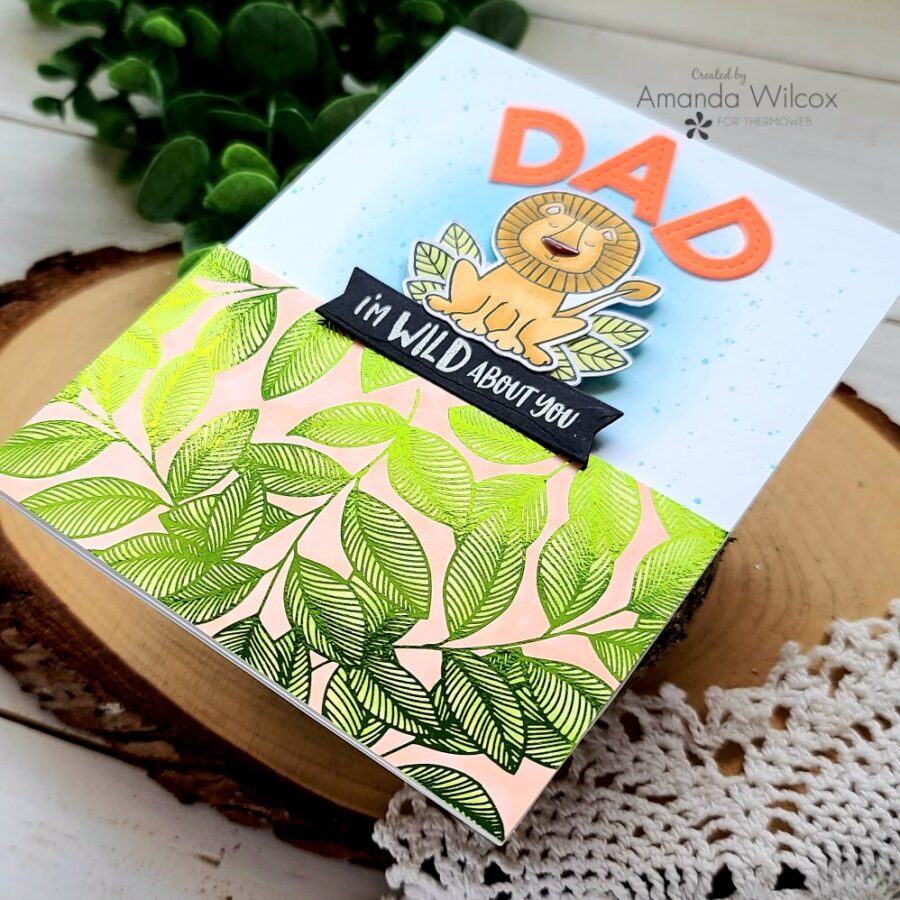
Simple as that, I started assembling my card. I added foam strips to the back of the toner card strip and popped them on the bottom portion of the inked panel. Then I added foam squares to the back of my images and sentiment and added them to the border. Finally, I used ultra bond liquid adhesive to adhere the flocked letters to the top of the design. Then, the very last thing I did was add glossy accents to the lion’s nose.
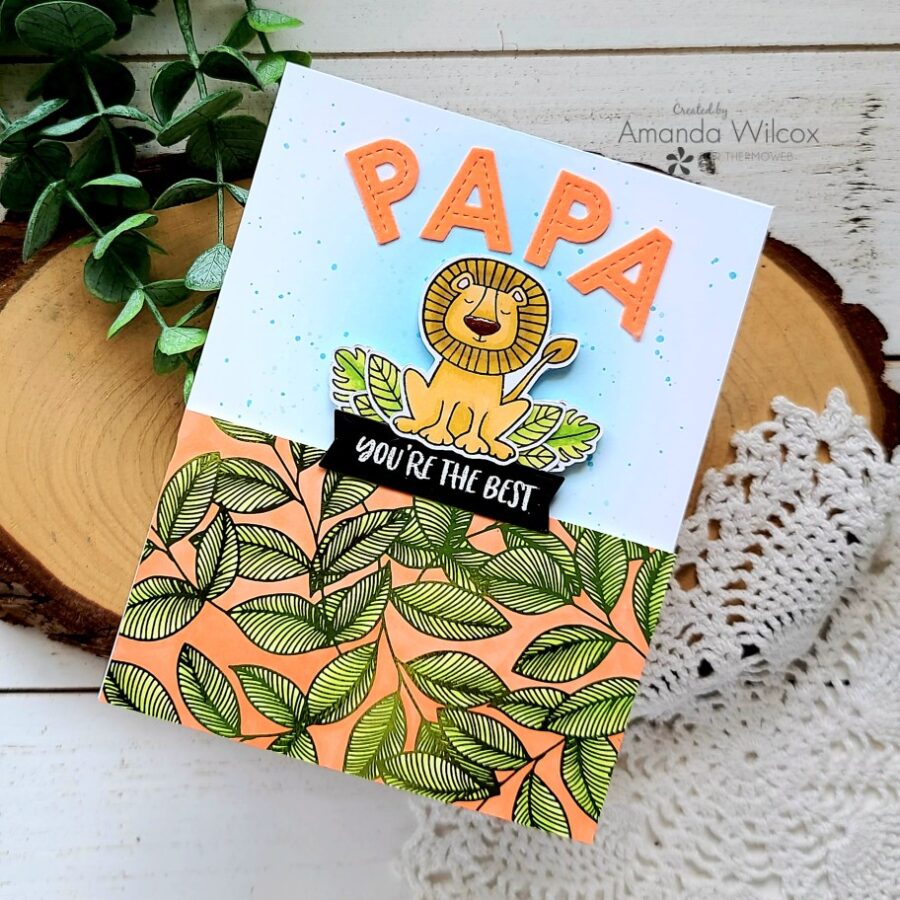
After I finished that card, I set the rest of the colored toner card front aside for another day…then immediately decided it would be more fun to make another version of this same card right then so I just jumped back in. This time I went over the orange background of the toner card front with YR02 to brighten it up a bit. All the other steps to create the second card were exactly the same.
Aren’t these cards just so much fun!?! I love all of the elements and how fun they play together!
I hope you found some inspiration today to make something wonderful and share it with someone!
I appreciate you sharing your time with me. Have a fabulous day!
(I have used affiliate links whenever possible in this blog, at no additional cost to you.)
This post contains affiliate links. For more information, see our disclosure HERE.