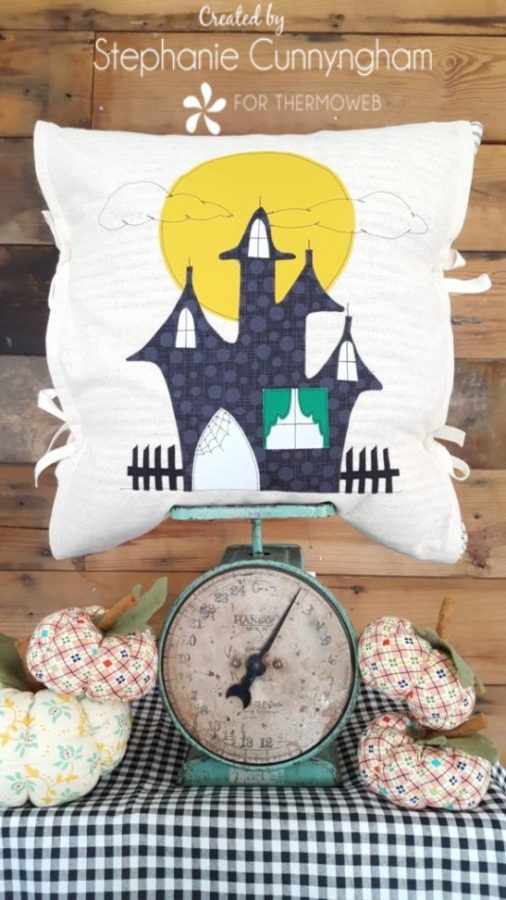
I don’t know about you, but I feel like this year has flown by! And once October hits, with the holidays and all that involves, the rest of the year will go by even more quickly! Halloween is just a few weeks away, and I haven’t even thought about costumes yet! However, I have been thinking about what I could make to get our little farmhouse in the Halloween spirit, and today I’m happy to share the project I made with you!
I have to say that my youngest is slightly terrified of most things Halloween. Pretty much everything but the candy scares him, and he refuses to go down the middle aisle of our local Menards because he is afraid he will see the giant inflatable witch they have on display. So, when I was coming up with Halloween decor for our home, I wanted to make sure I didn’t make anything that would scare him. So, we sat down together with our sketchbooks and pencils, and I had him draw a spooky house while I sketched out the pattern for this one. That way the spooky house creation became fun and he realized it wasn’t really spooky at all!
This pattern features an easy applique design and some fun topstitching to help set the scene. No quilting is required as this is a pillow sleeve, not a whole pillow, which means it’s easy to remove and put away with the holiday is over. I hope you enjoy this tutorial!
Supplies Needed
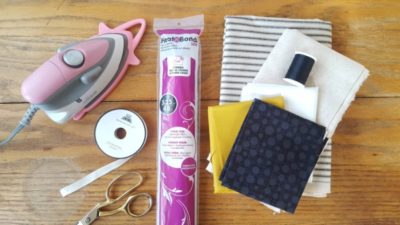
- HeatnBond Lite Fusible Interfacing
- 1/2 yard of background fabric
- Fat quarters or scraps for the house, moon, and windows
- Scissors
- Ribbon or twill tape for the ties
- Black thread
- A good iron
- Pillow Sleeve Patterns
- An 18″ pillow and pillow cover.
- I made my own pillow cover out of black and cream ticking fabric. However, you can buy pillow covers made out of ticking, buffalo check fabric, gingham, or solid colors, all of which would be great too!
Sewing Instructions
- Cut fabric and interfacing. For each piece of fabric cut, you will need a piece of interfacing the same size.
- Dark gray house fabric: 9″ x 11″ rectangle
- Yellow moon fabric: 7″ square
- White window and door fabric: 4″ x 10″ rectangle
- Black fence fabric: 2.5″ x 6″ rectangle
- Green curtain fabric: 2.5″ square
- Trace pattern pieces on the paper side of the interfacing.
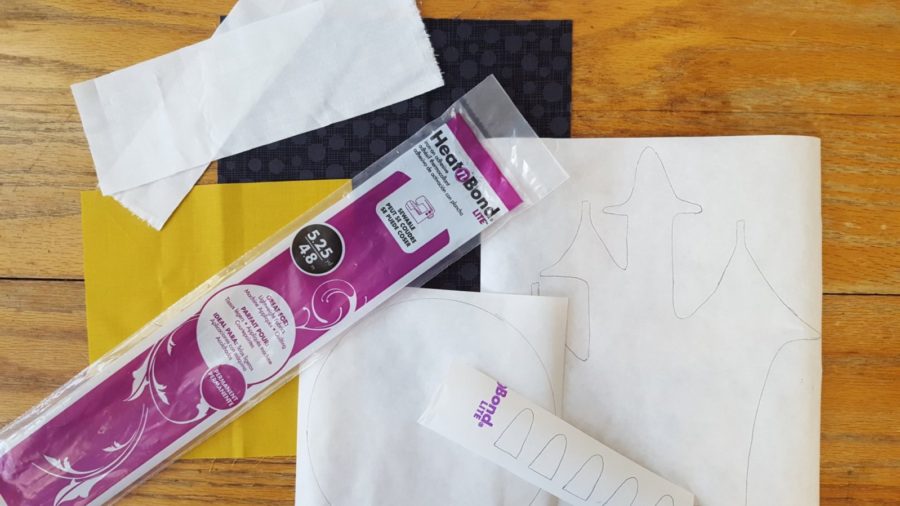
- Fuse the interfacing to the wrong side of the corresponding piece of fabric and let cool.
- Cut out applique shapes and set aside for now.
- To make the pillow sleeve, cut background fabric into an 18″ x 39″ rectangle. Cut ribbon or twill tape into eight 10″ pieces.
- Fold the long edges under 1/4″ and press. Fold under another 1/4 and press again.
- Measuring from the short edge of the background fabric, make a mark 6.5″ up from the bottom edge. Place one of the pieces of ribbon at this mark and pin in place, making sure to tuck the raw end under the folded edge of the fabric. Make another mark at 13″ from the bottom edge and insert another piece of ribbon. Repeat this process for the other side.
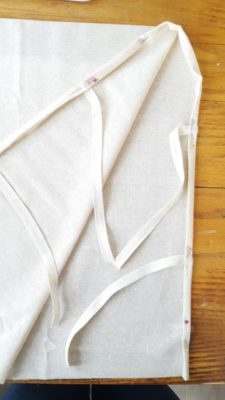
- Topstitch along the folded edge of the fabric on both sides of the pillow sleeve.
- Measure up 5″ from the bottom edge of one side of the background fabric. Remove paper from the back of applique shapes and arrange as desired.
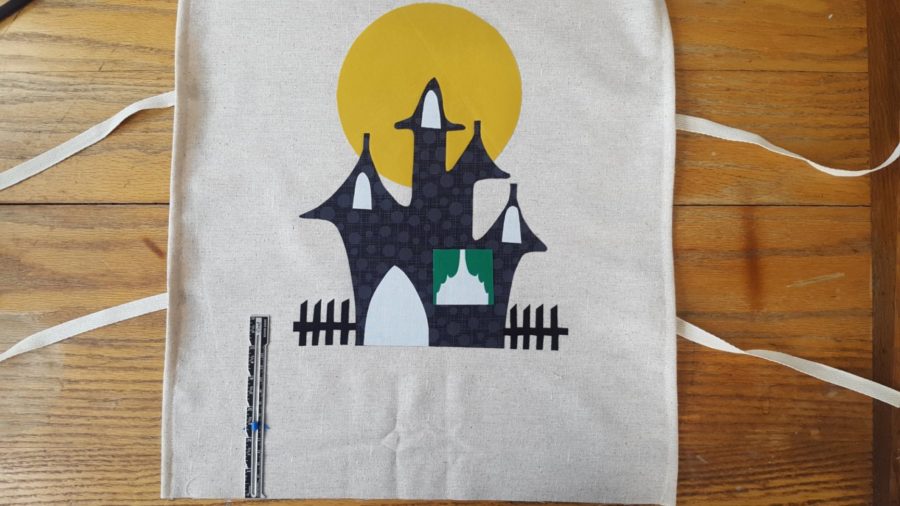
- Fuse in place, following manufacturers instructions.
- Topstitch along the edge of applique pieces with black thread. Notice I also top-stitched some extra details, like window panes, clouds, lightning rods, spiderwebs, and the ground. Have fun with this part!
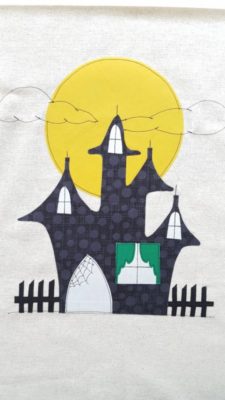
- Once you are finished with your topstitching, place short ends of background fabric together with right side of pillow facing up and stitch 1/4″ from the edge.
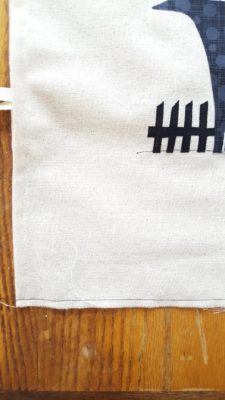
- Now turn your pillow sleeve inside out and press the edge you just stitched. After pressing, sew 1/2″ from the edge to make a French seam (this gives you a nice, tidy seam on the inside of your pillow cover!)
- Not turn your pillow sleeve right side out and slip it over your pillow. Tie the ribbons together and enjoy your farmhouse pillow!
- NOTE: I highly recommend using feather pillow inserts for this project. When you tie your ribbons together, the feathers give your pillow a nice “poof.”
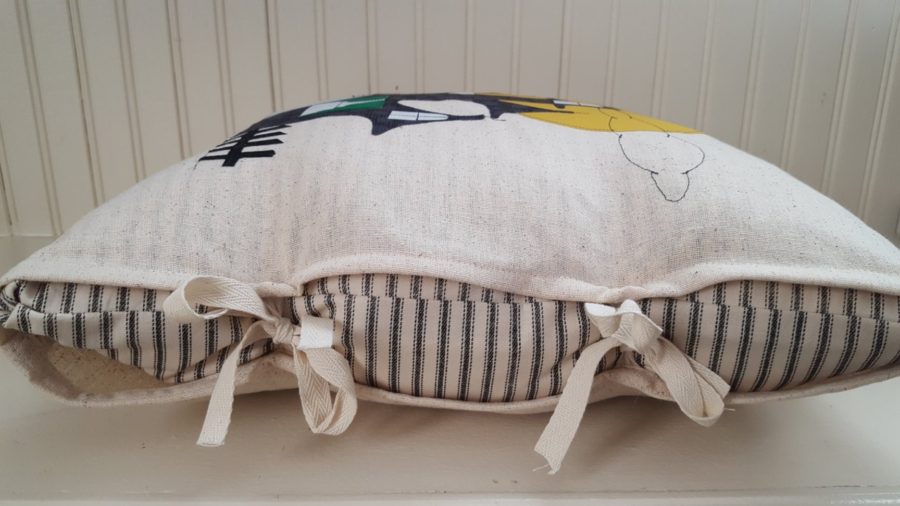
I hope you enjoyed this tutorial! I look forward to sewing with you again!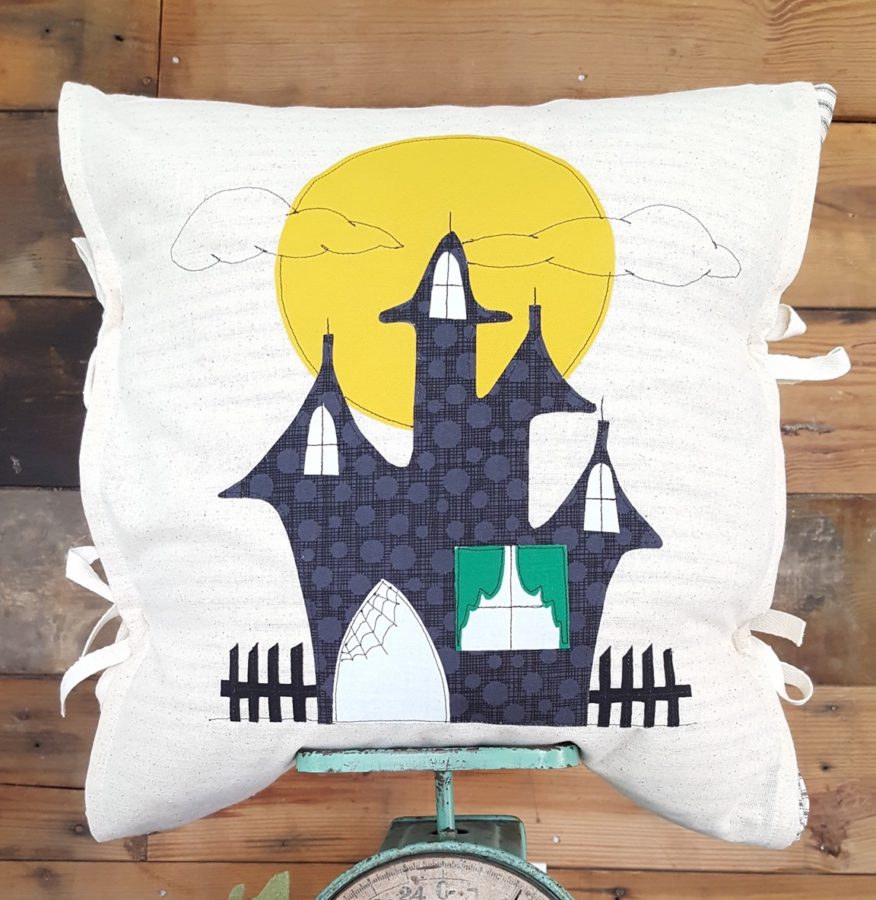
-Stephanie-

[…] make at least one new decoration for our home each year. Last year I had so much fun creating a fun Halloween silhouette pillow for our […]