Farmhouse Christmas Ornament

Merry Christmas from Amanda of Jedi Craft Girl!!! Farmhouse-style Christmas is all the go and I am super in love with the relaxed-easy feel of this decor! I dream of living in the country (while living in the city) I dream of having a farm full of animals (while having only 1 pet) and I dream of walking outside to see nothing but countryside (while living in a planned community). That’s why this style speaks to my heart! I created these ornaments to reflect that feel. They are simple and uncomplicated, they are rustic and charming at the same time!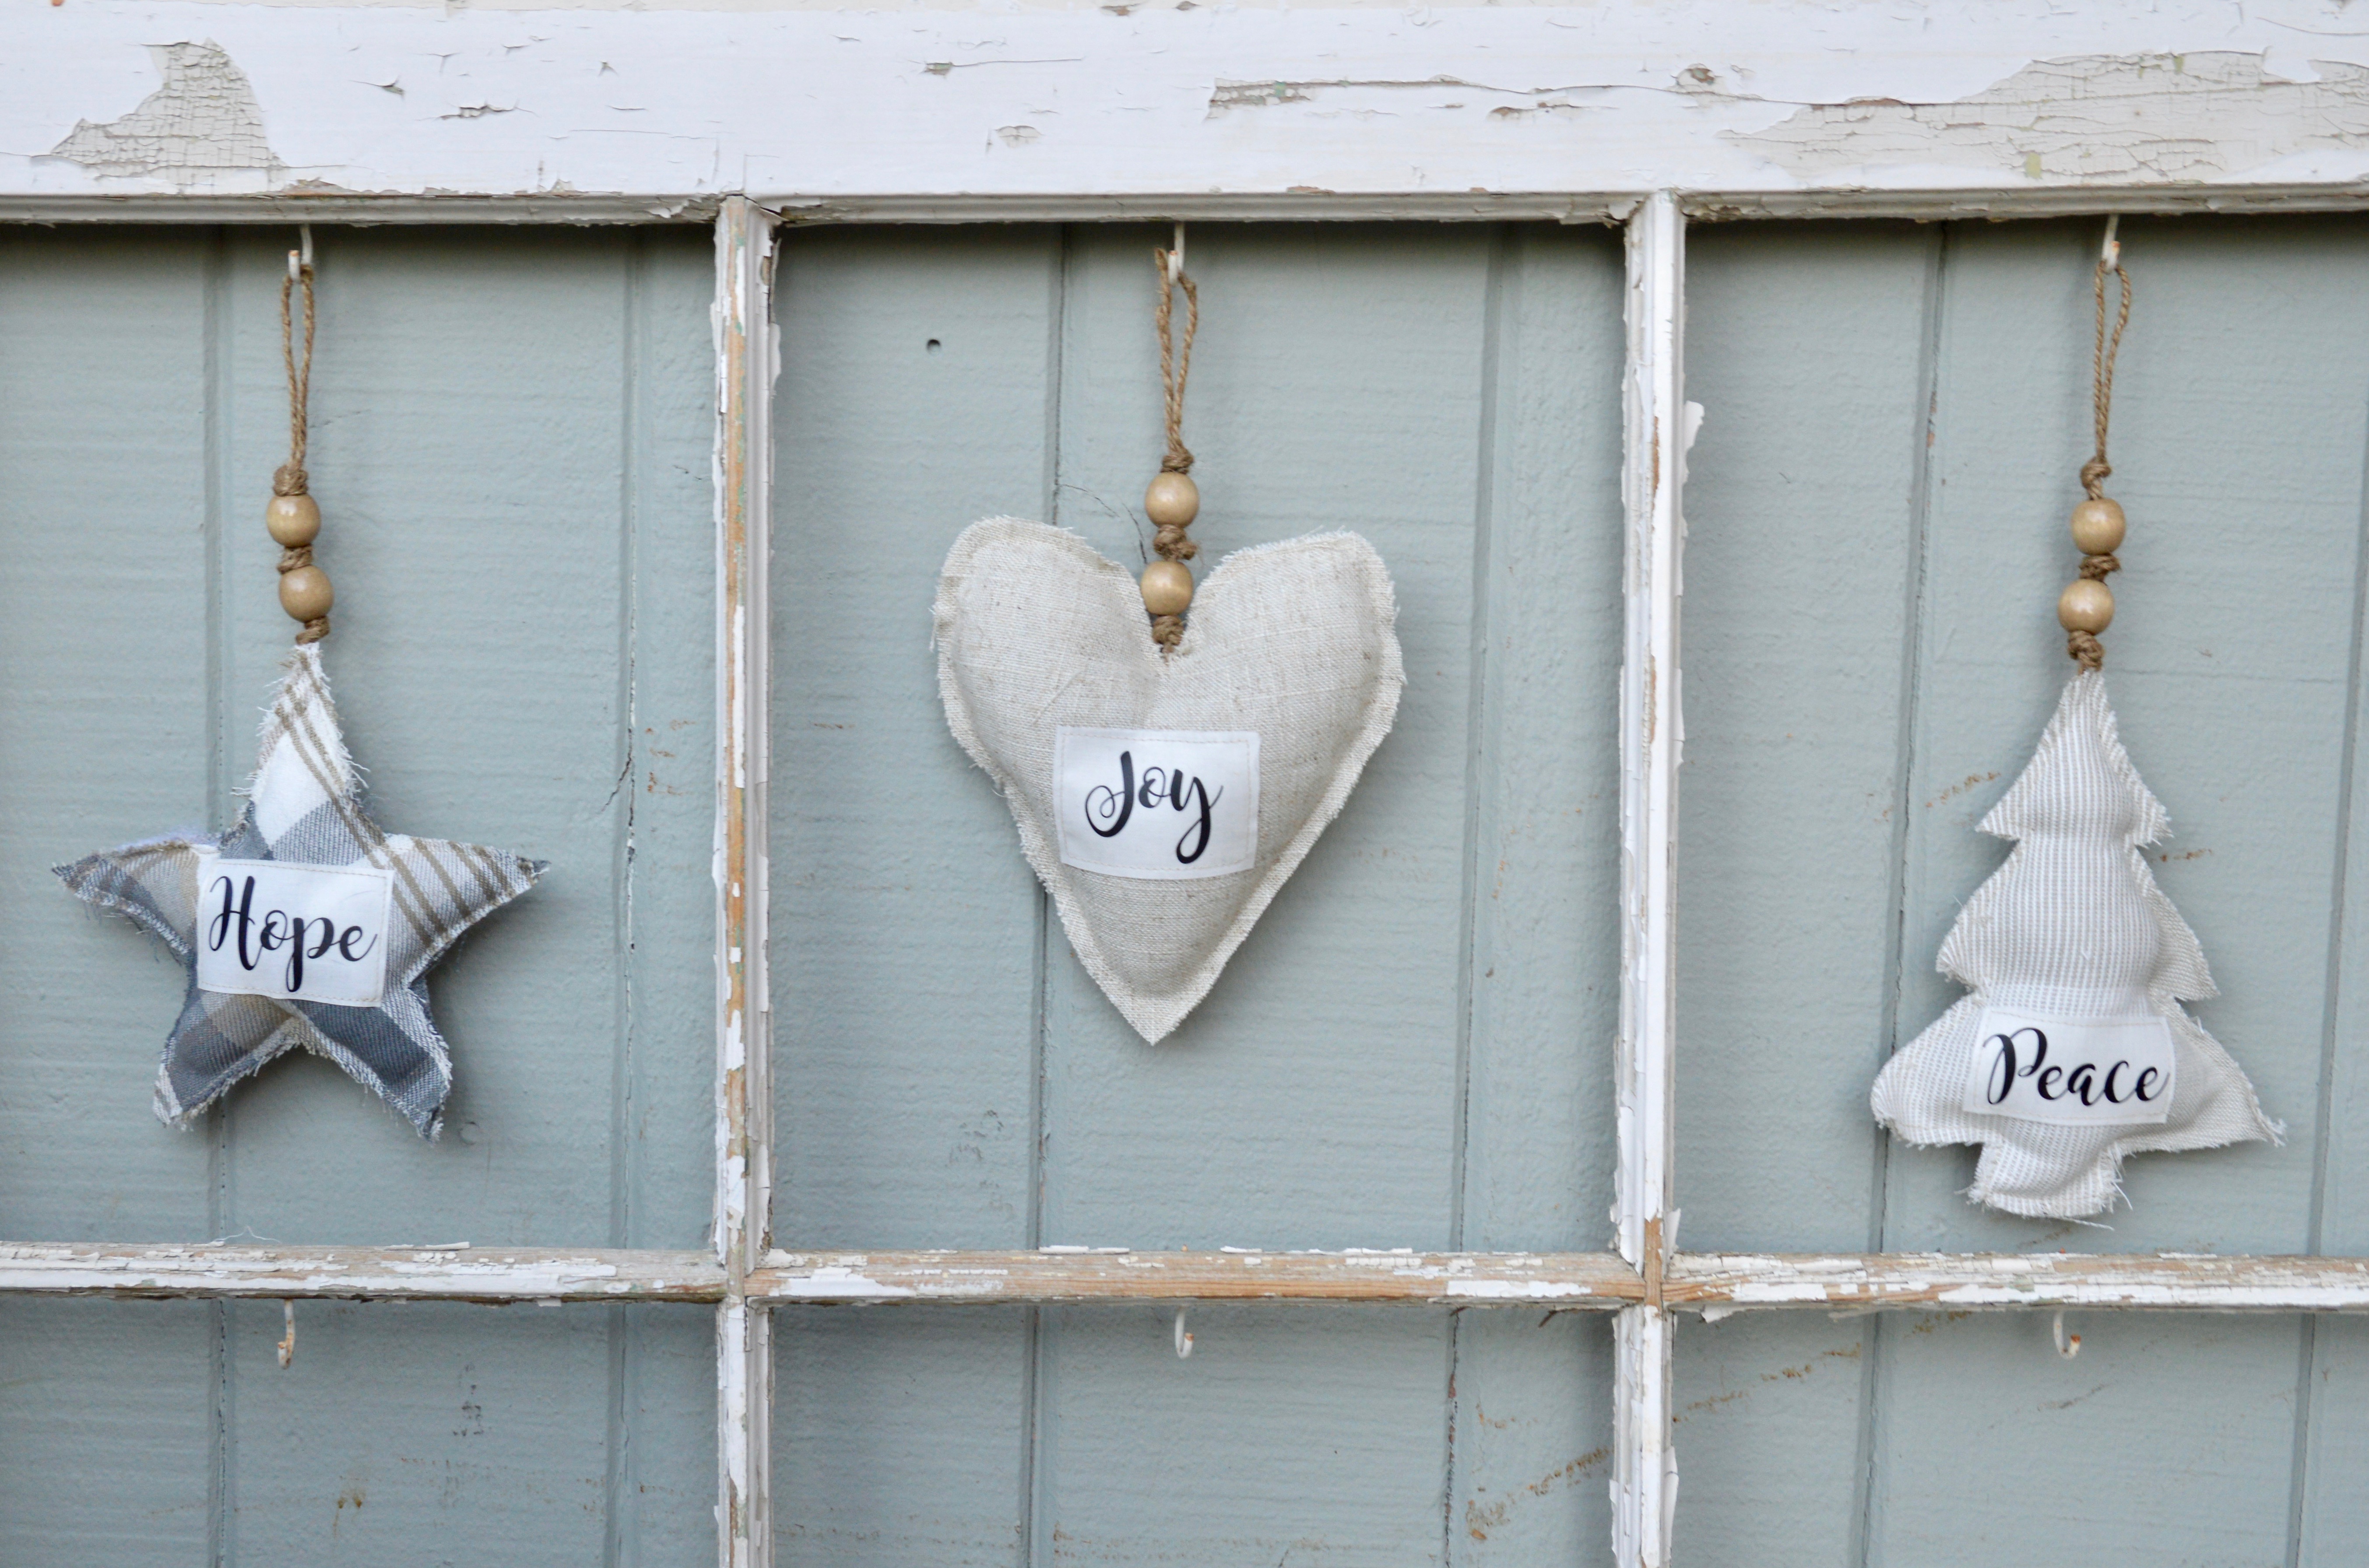
They sew up in a snap so you can make a bushel full and give them to your friends and neighbors!!
Supplies:
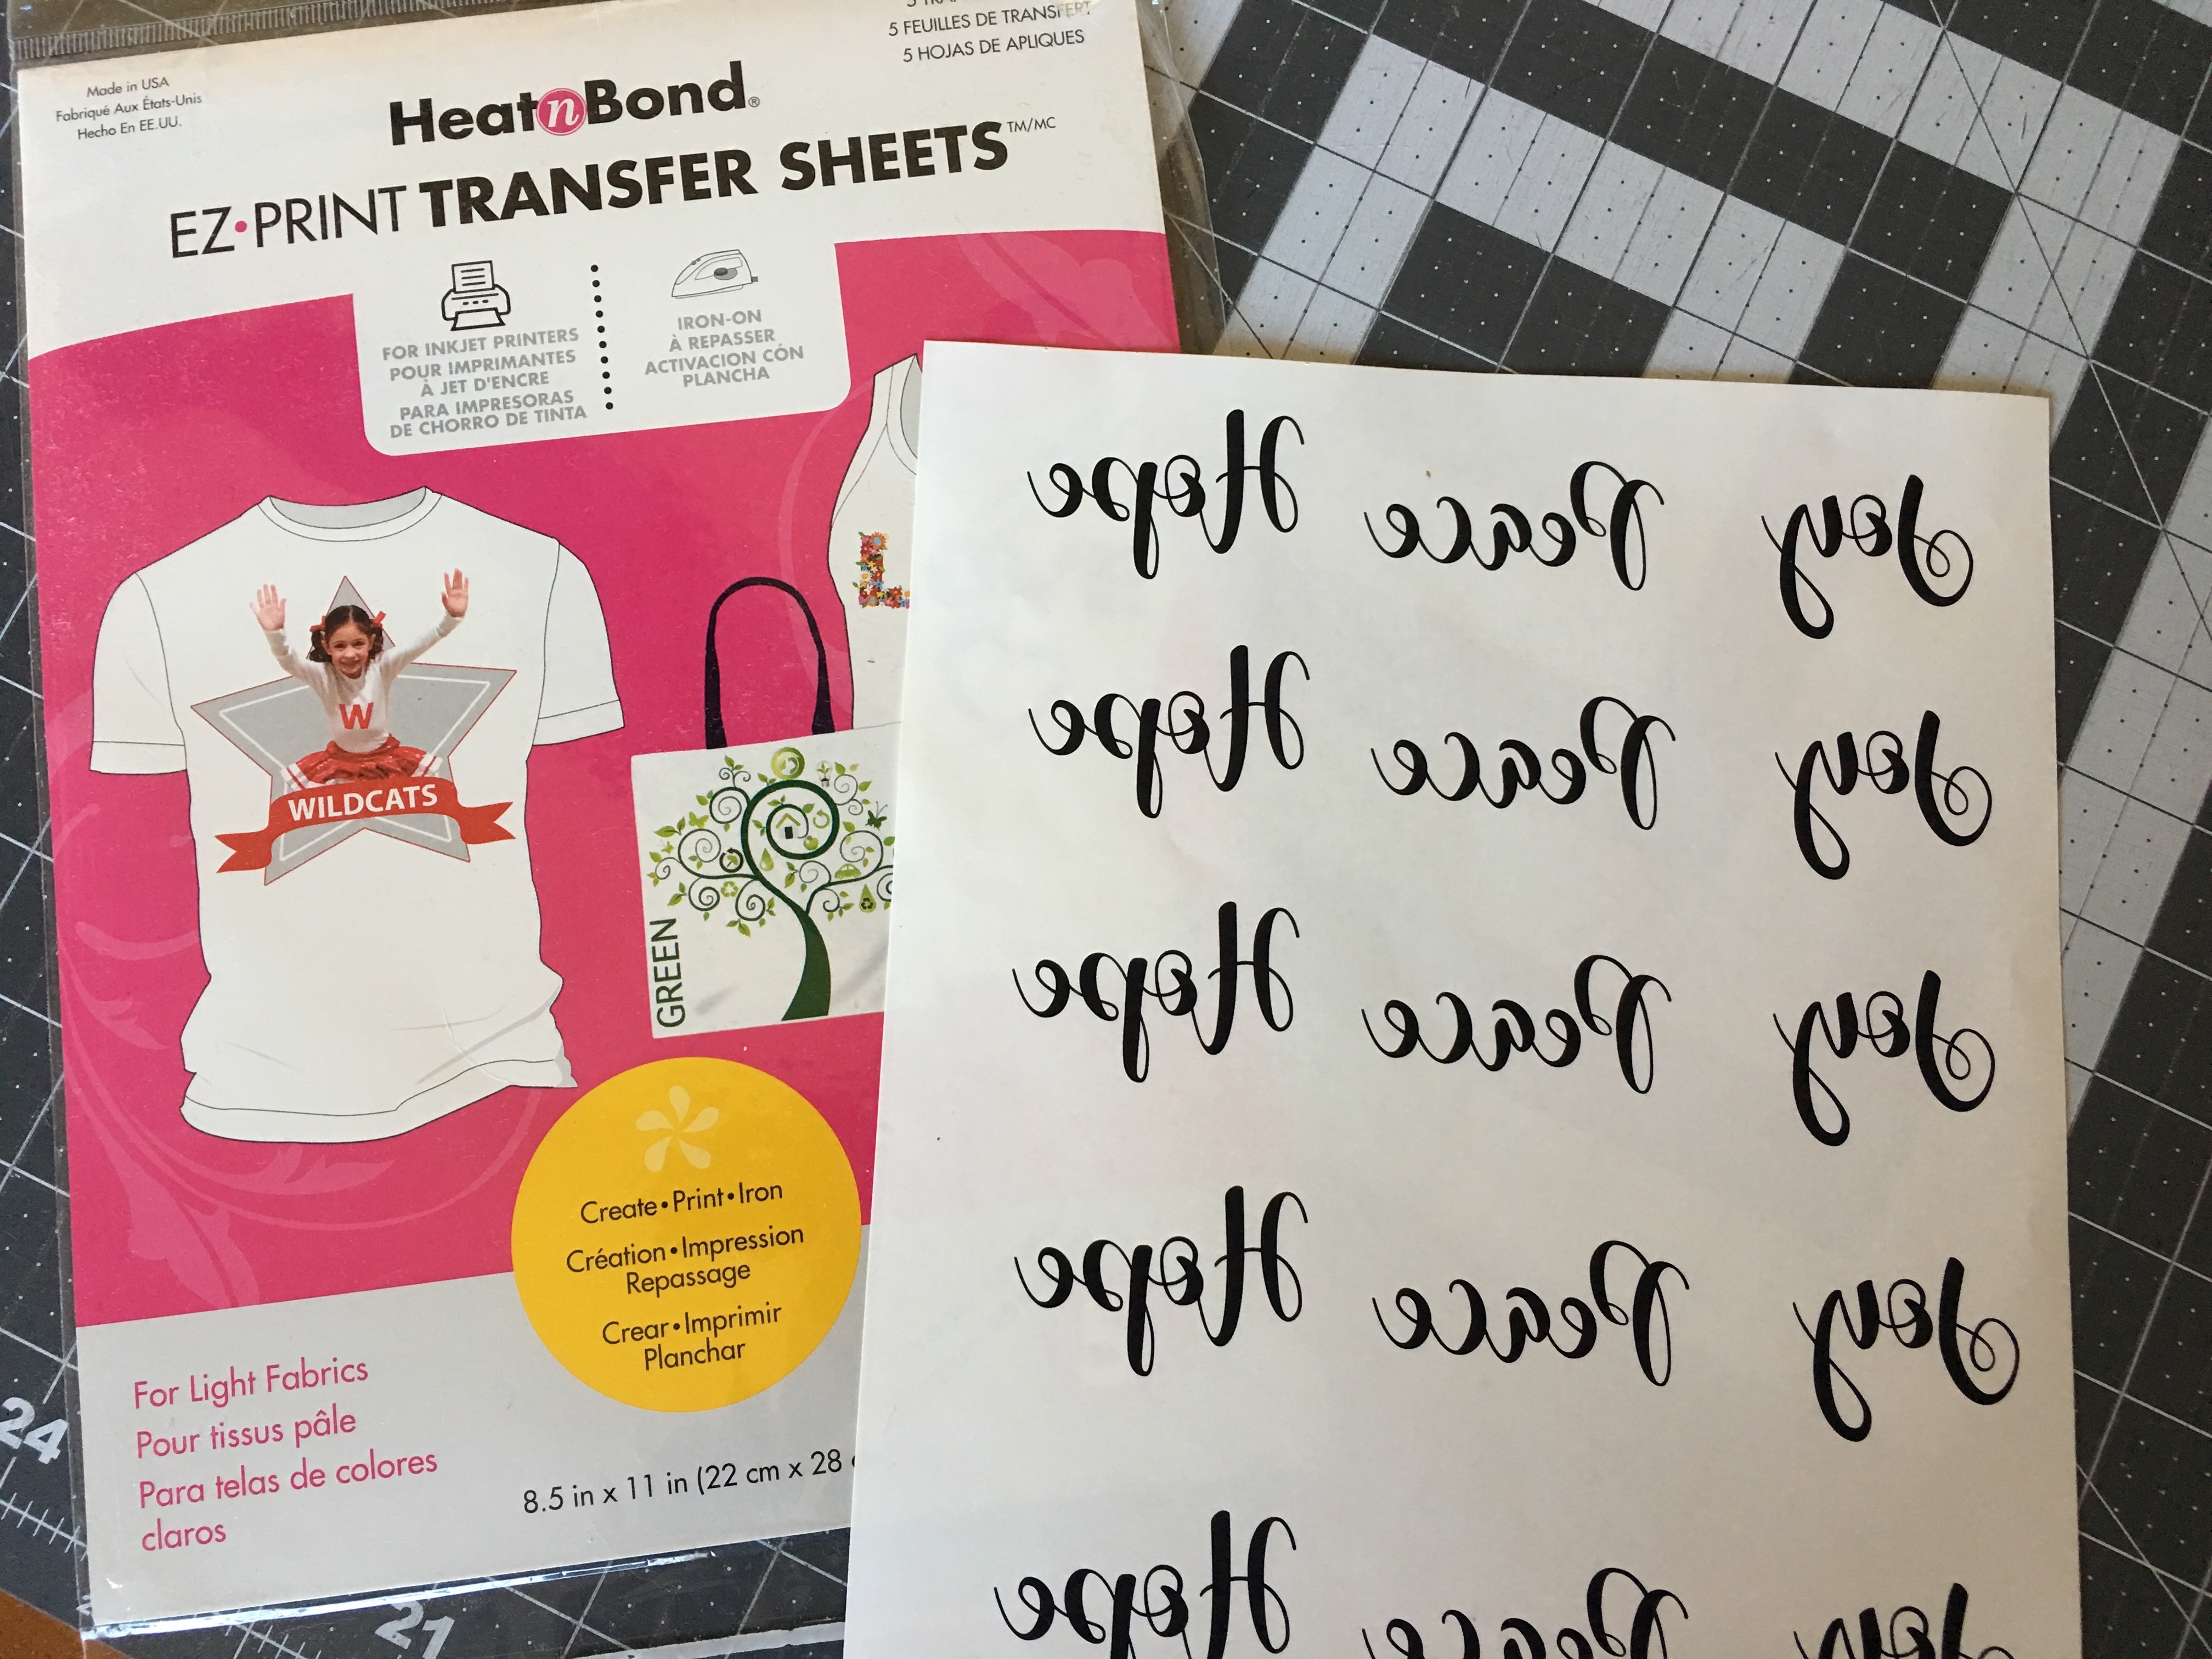
HeatnBond EZ Print Transfer Sheets – Light fabric
Woven fabrics in earth tones and plaids
off-white fabric
Fiberfill
Jute
Wood beads
Words and pattern pieces click HERE to download
Farmhouse Christmas Ornament Instructions:
Begin by printing the words onto the EZ print sheets. They should print in reverse.
Cut the words apart.
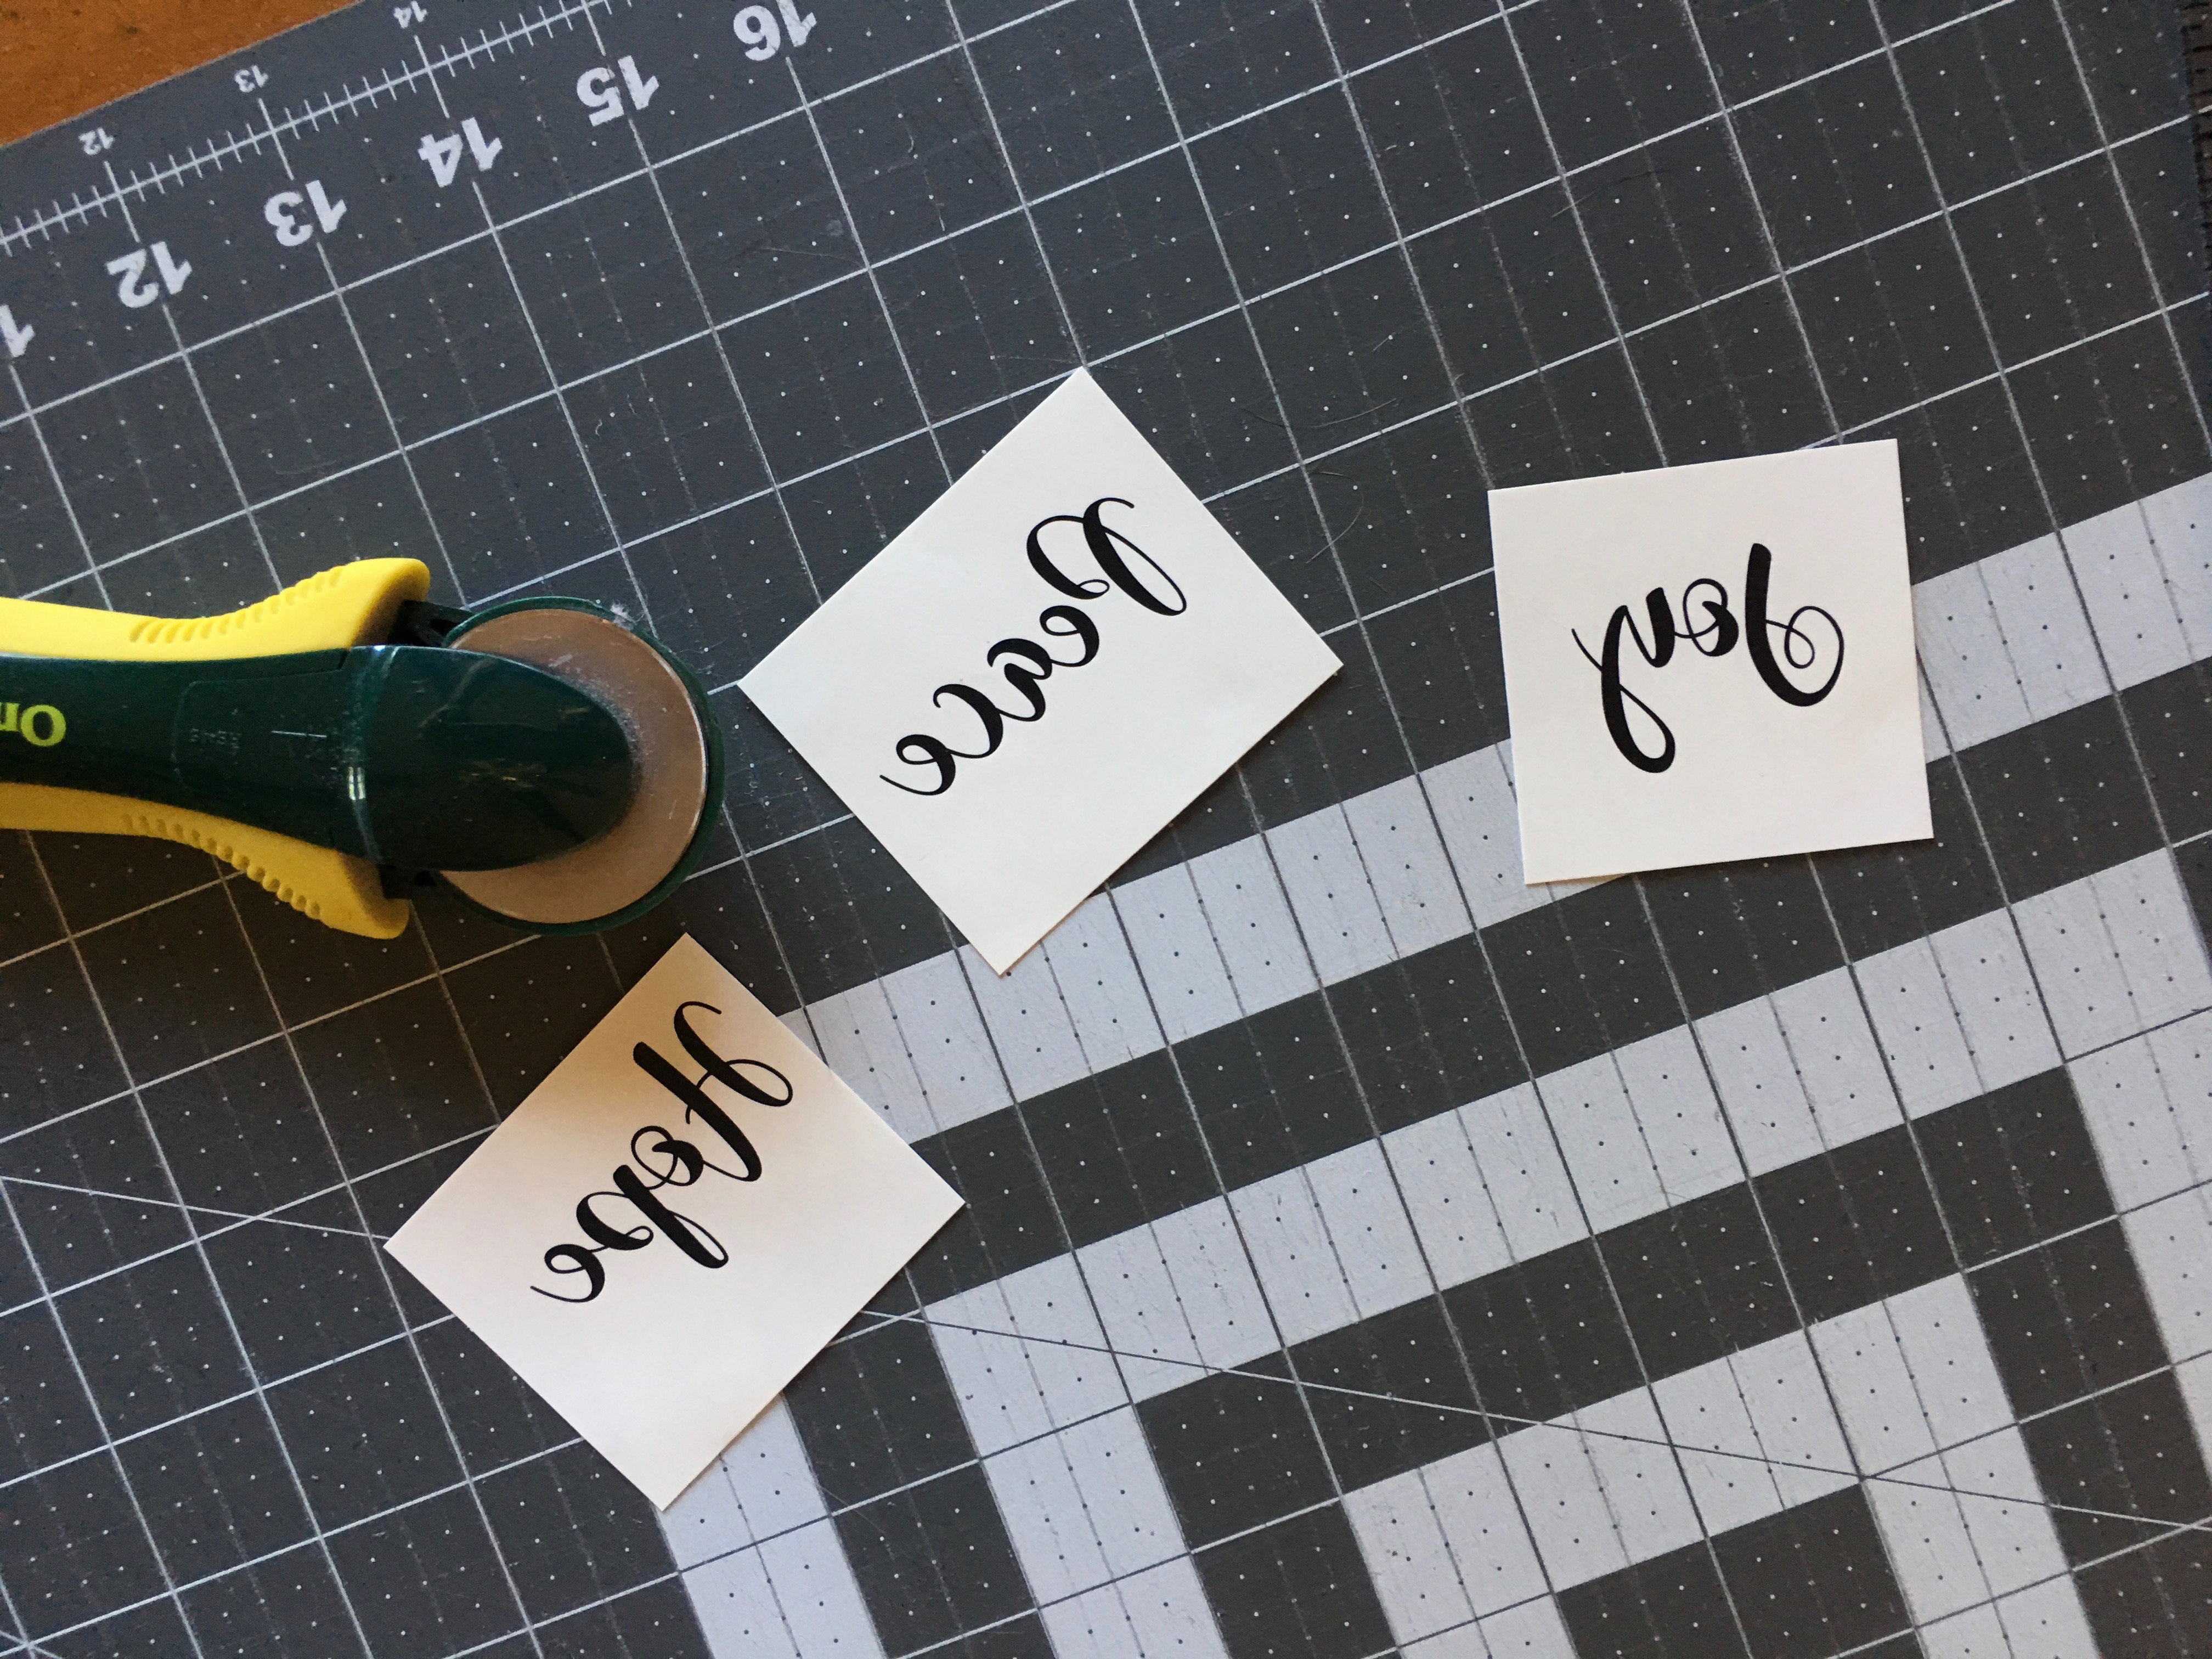
Position the words face down onto the off-white fabric.
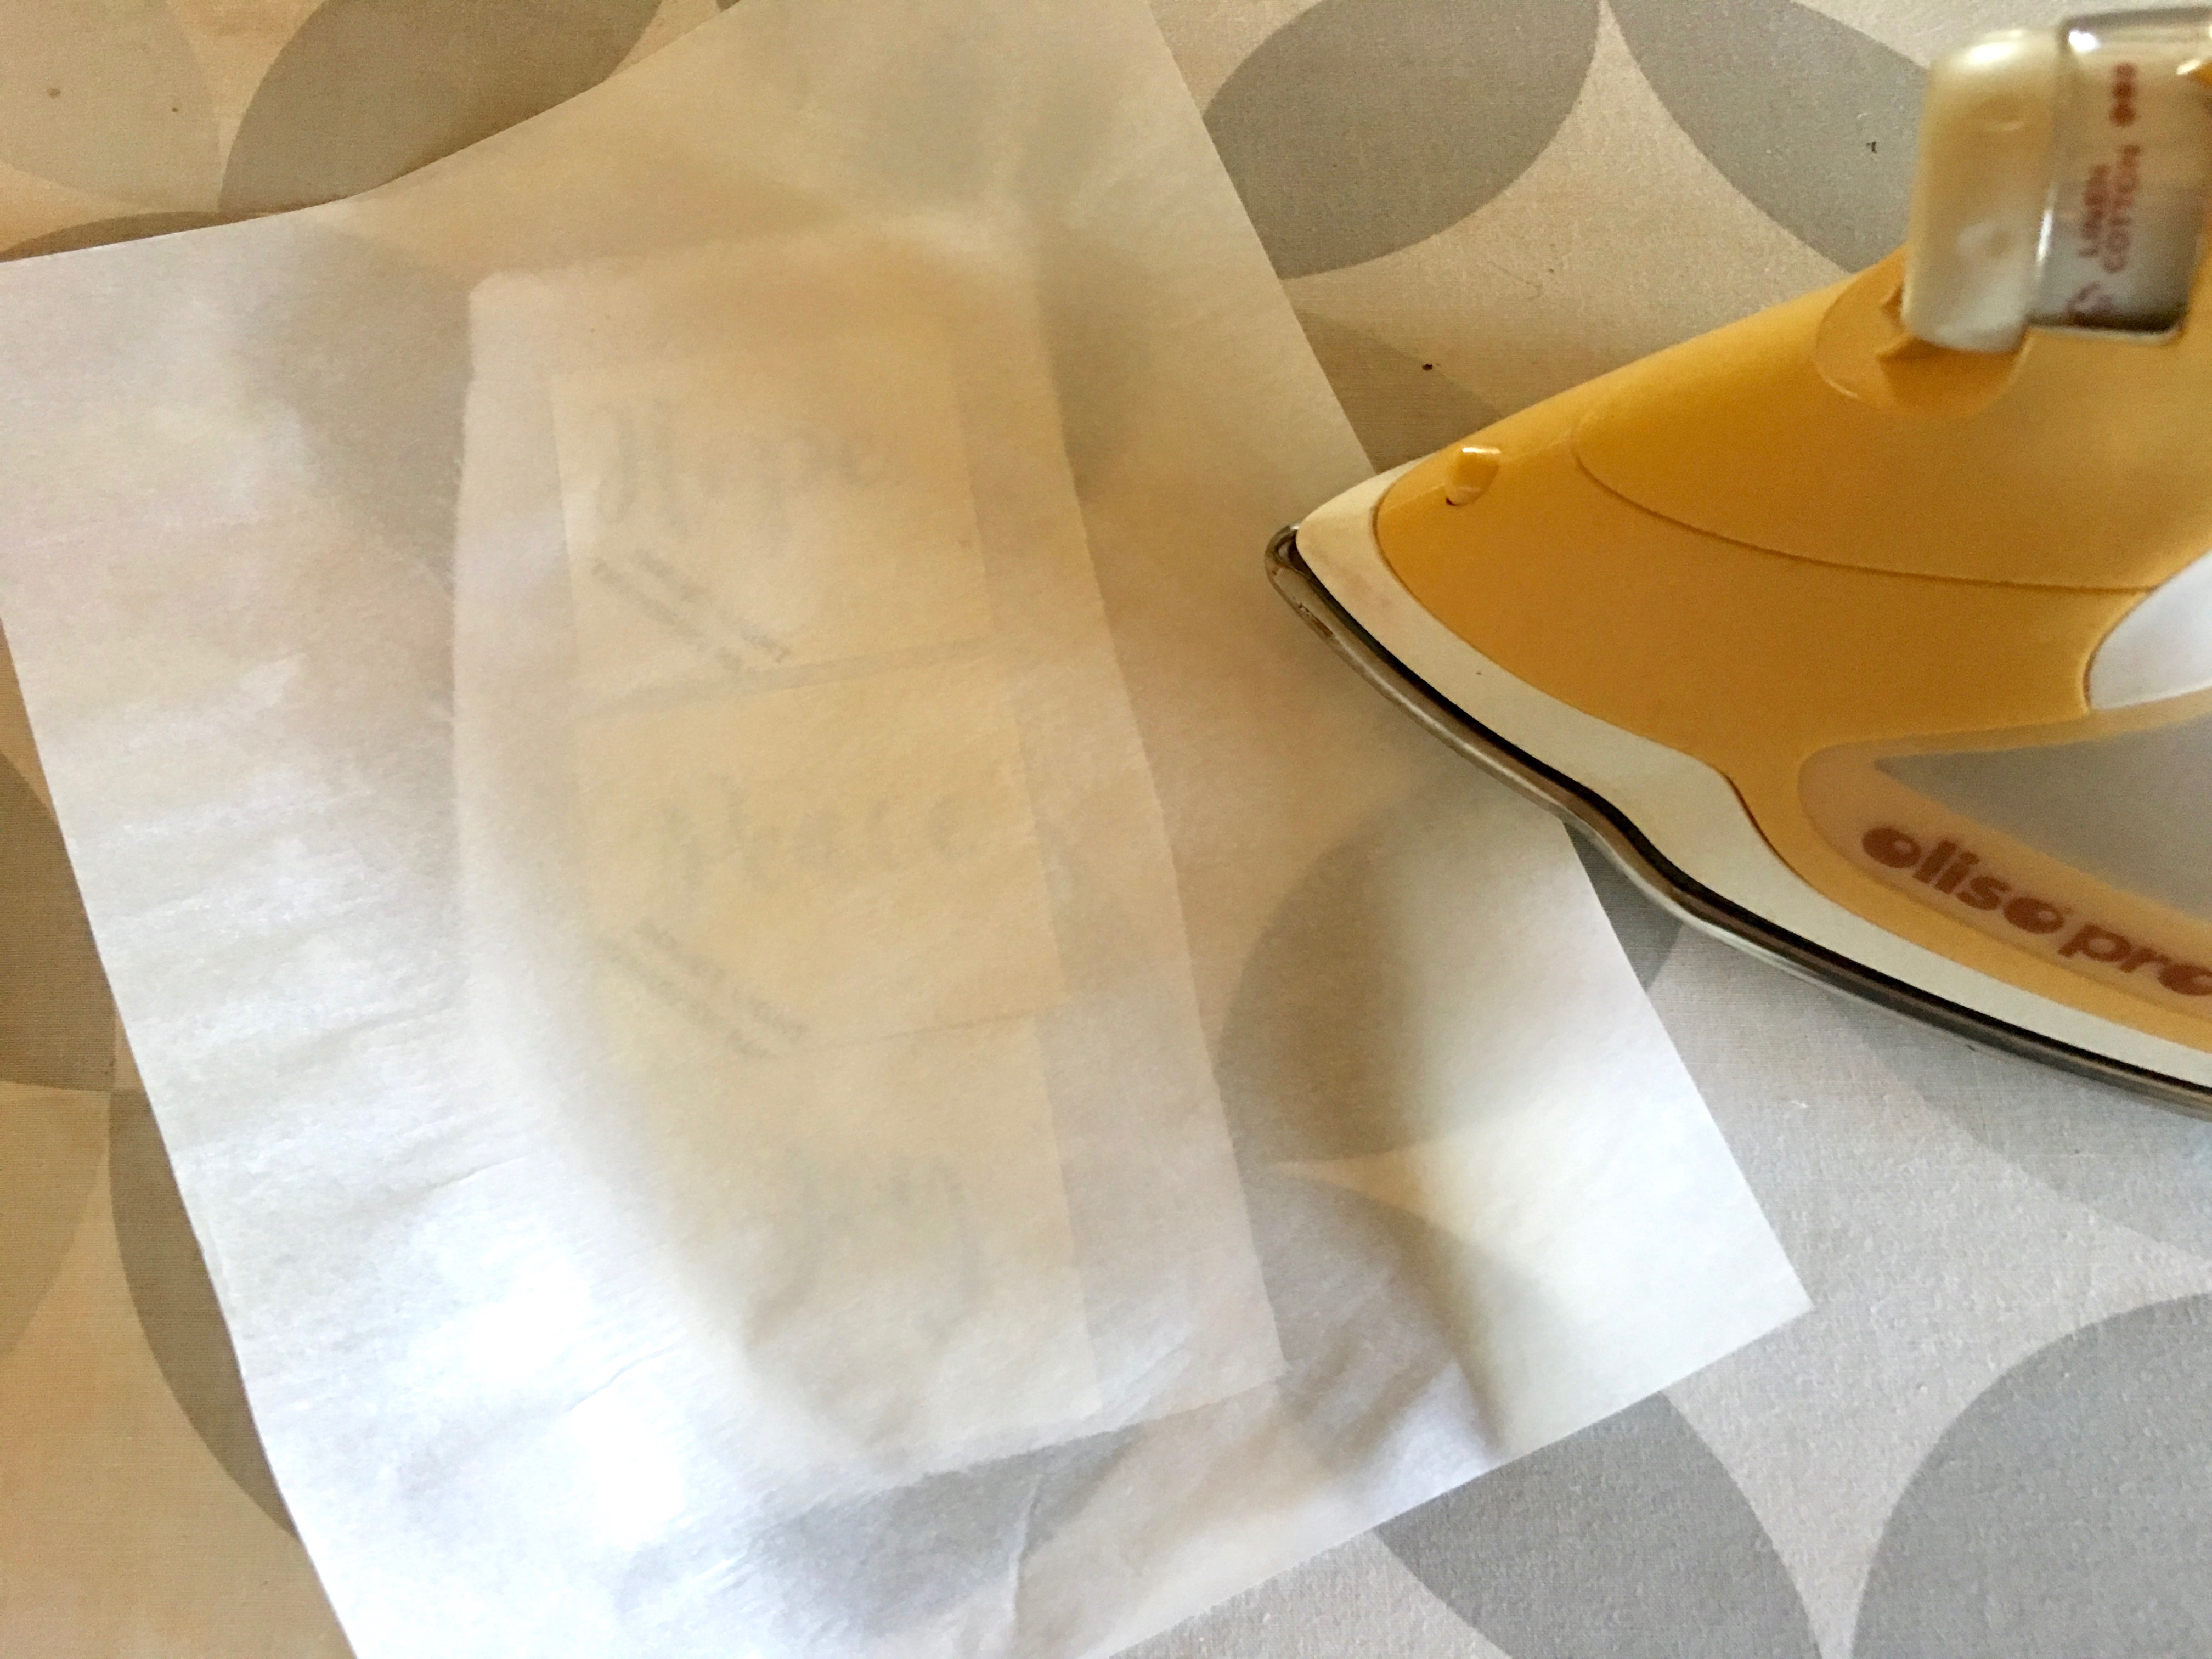
Heat set according to the manufactures instructions.
Let cool completely.
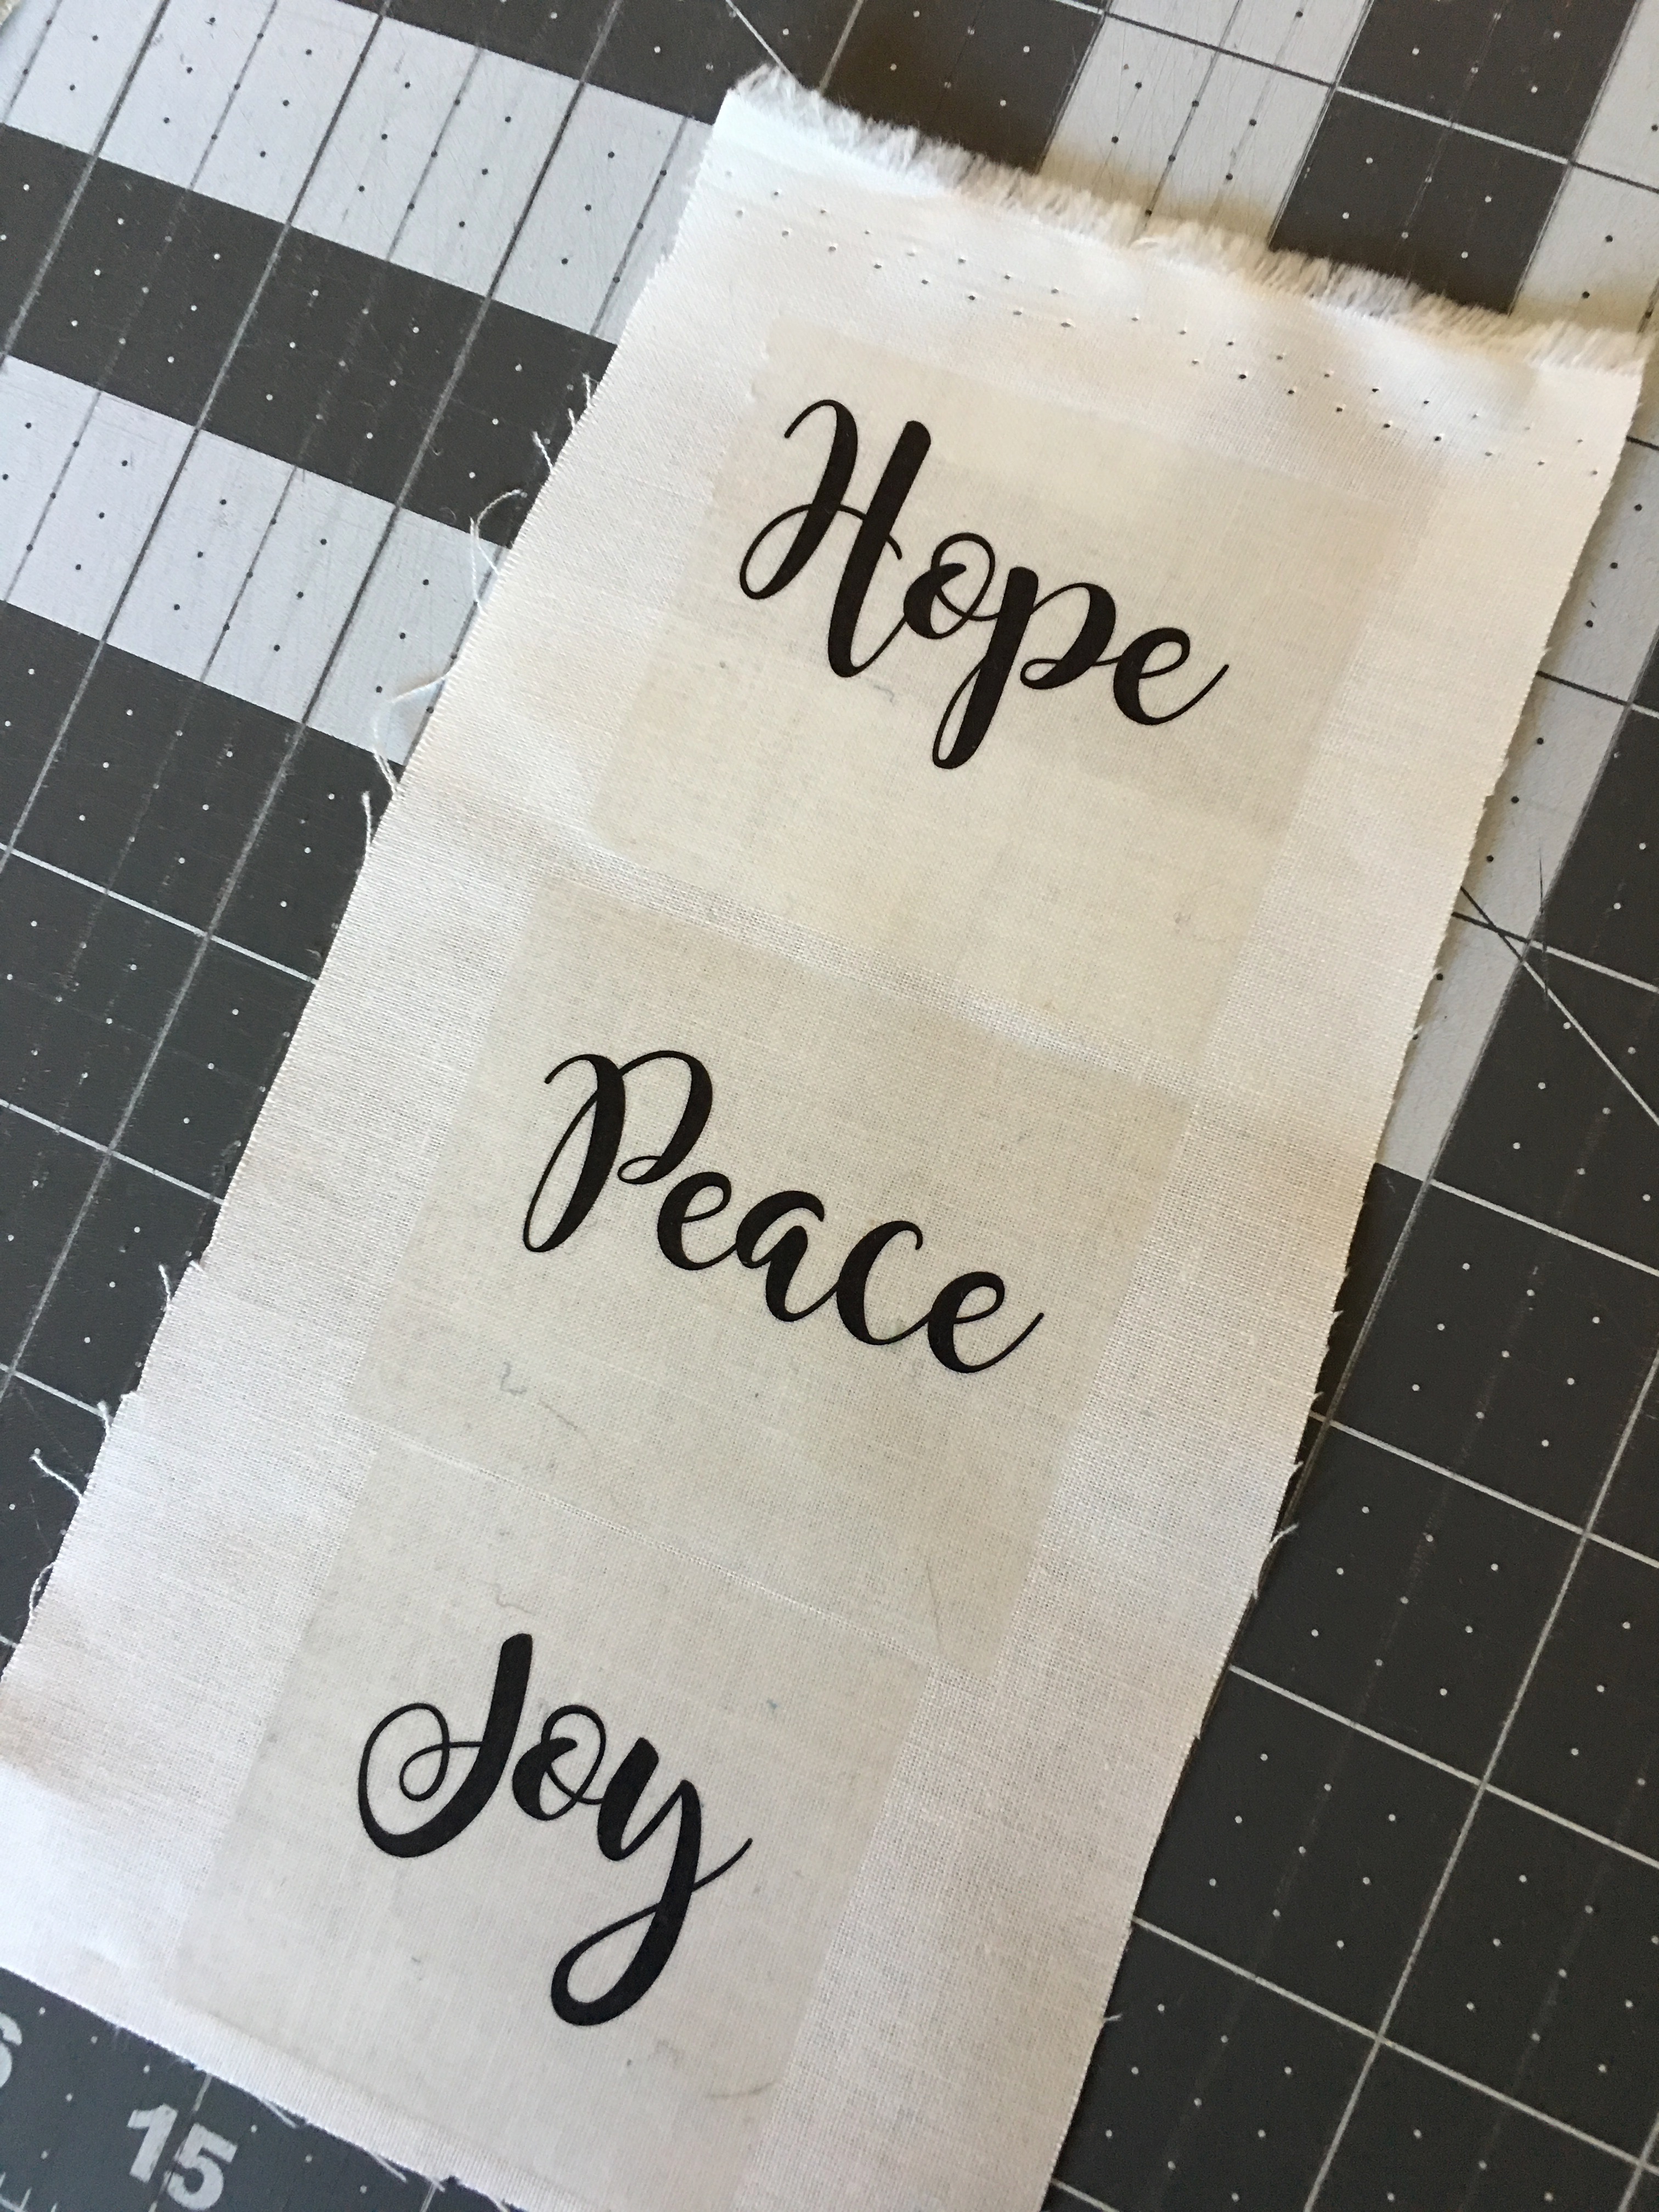
Carefully peel off the backing paper – MAGIC!!!!!!! Of course, you can print your own words or in your own choice of font! The package says for an inkjet printer but I ran mine through my laser printer (with my fingers crossed – worked great!)
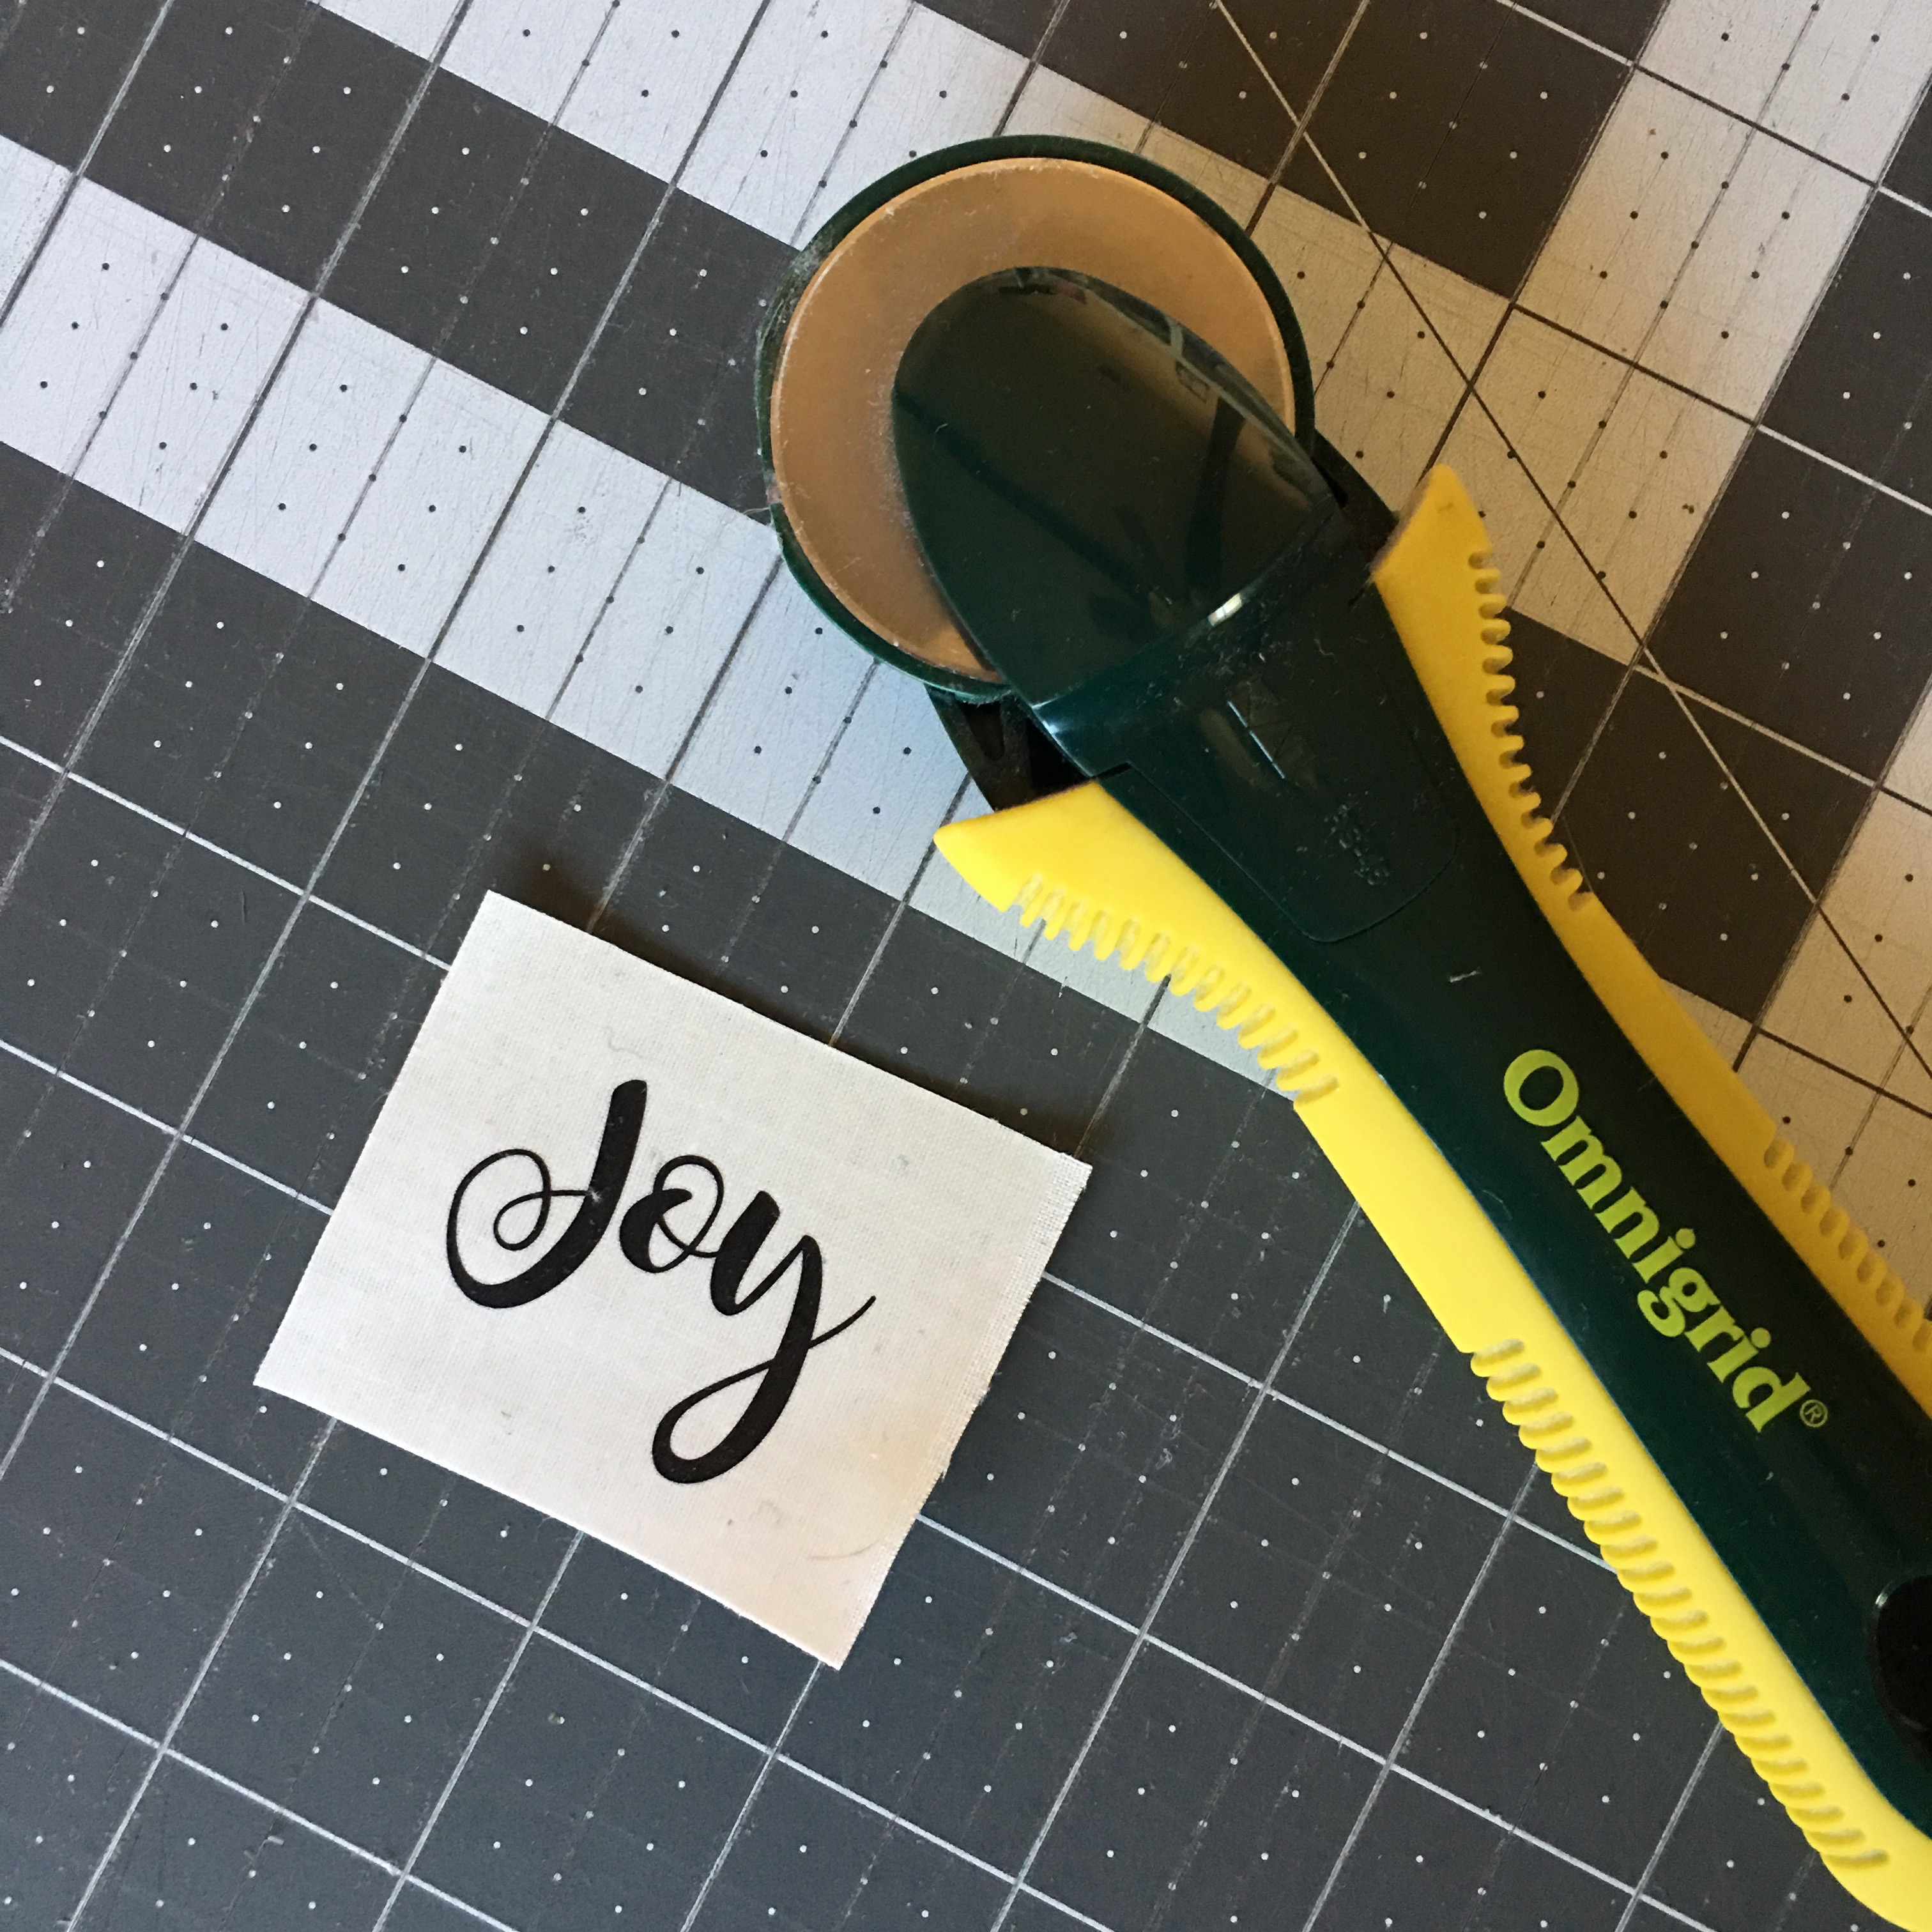
Using your rotary cutter, square up the words leaving a small space around the word.
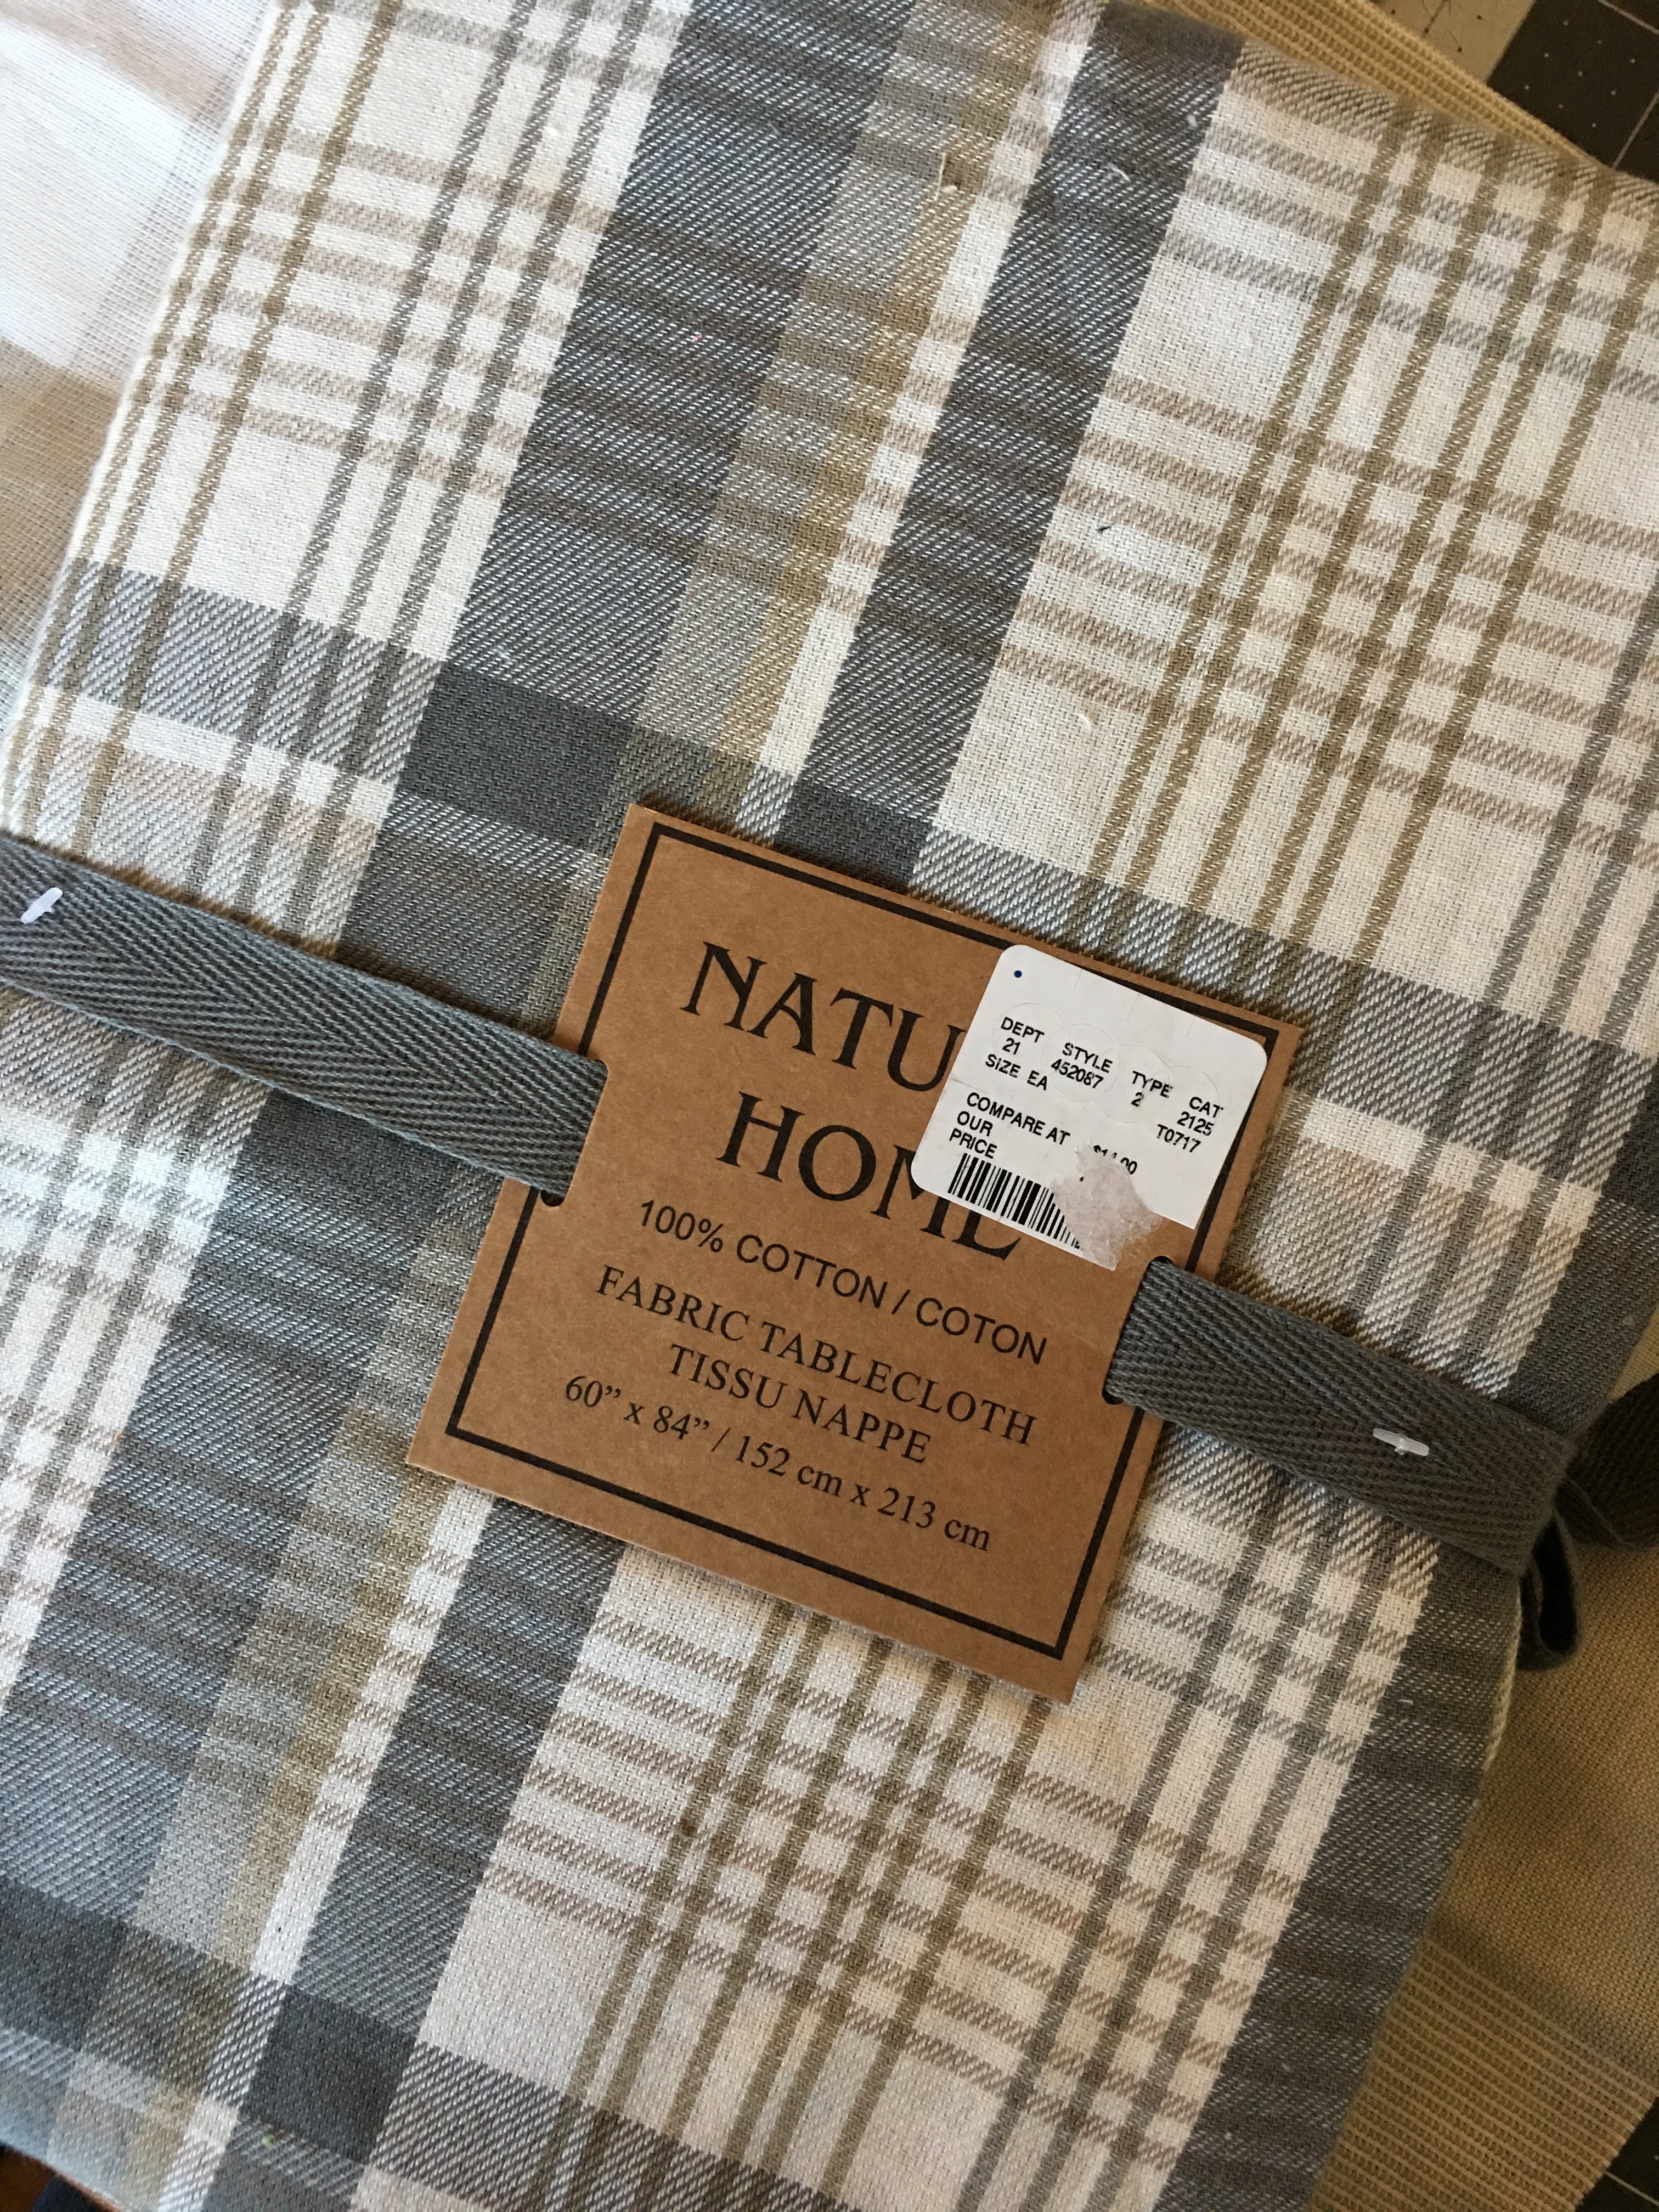
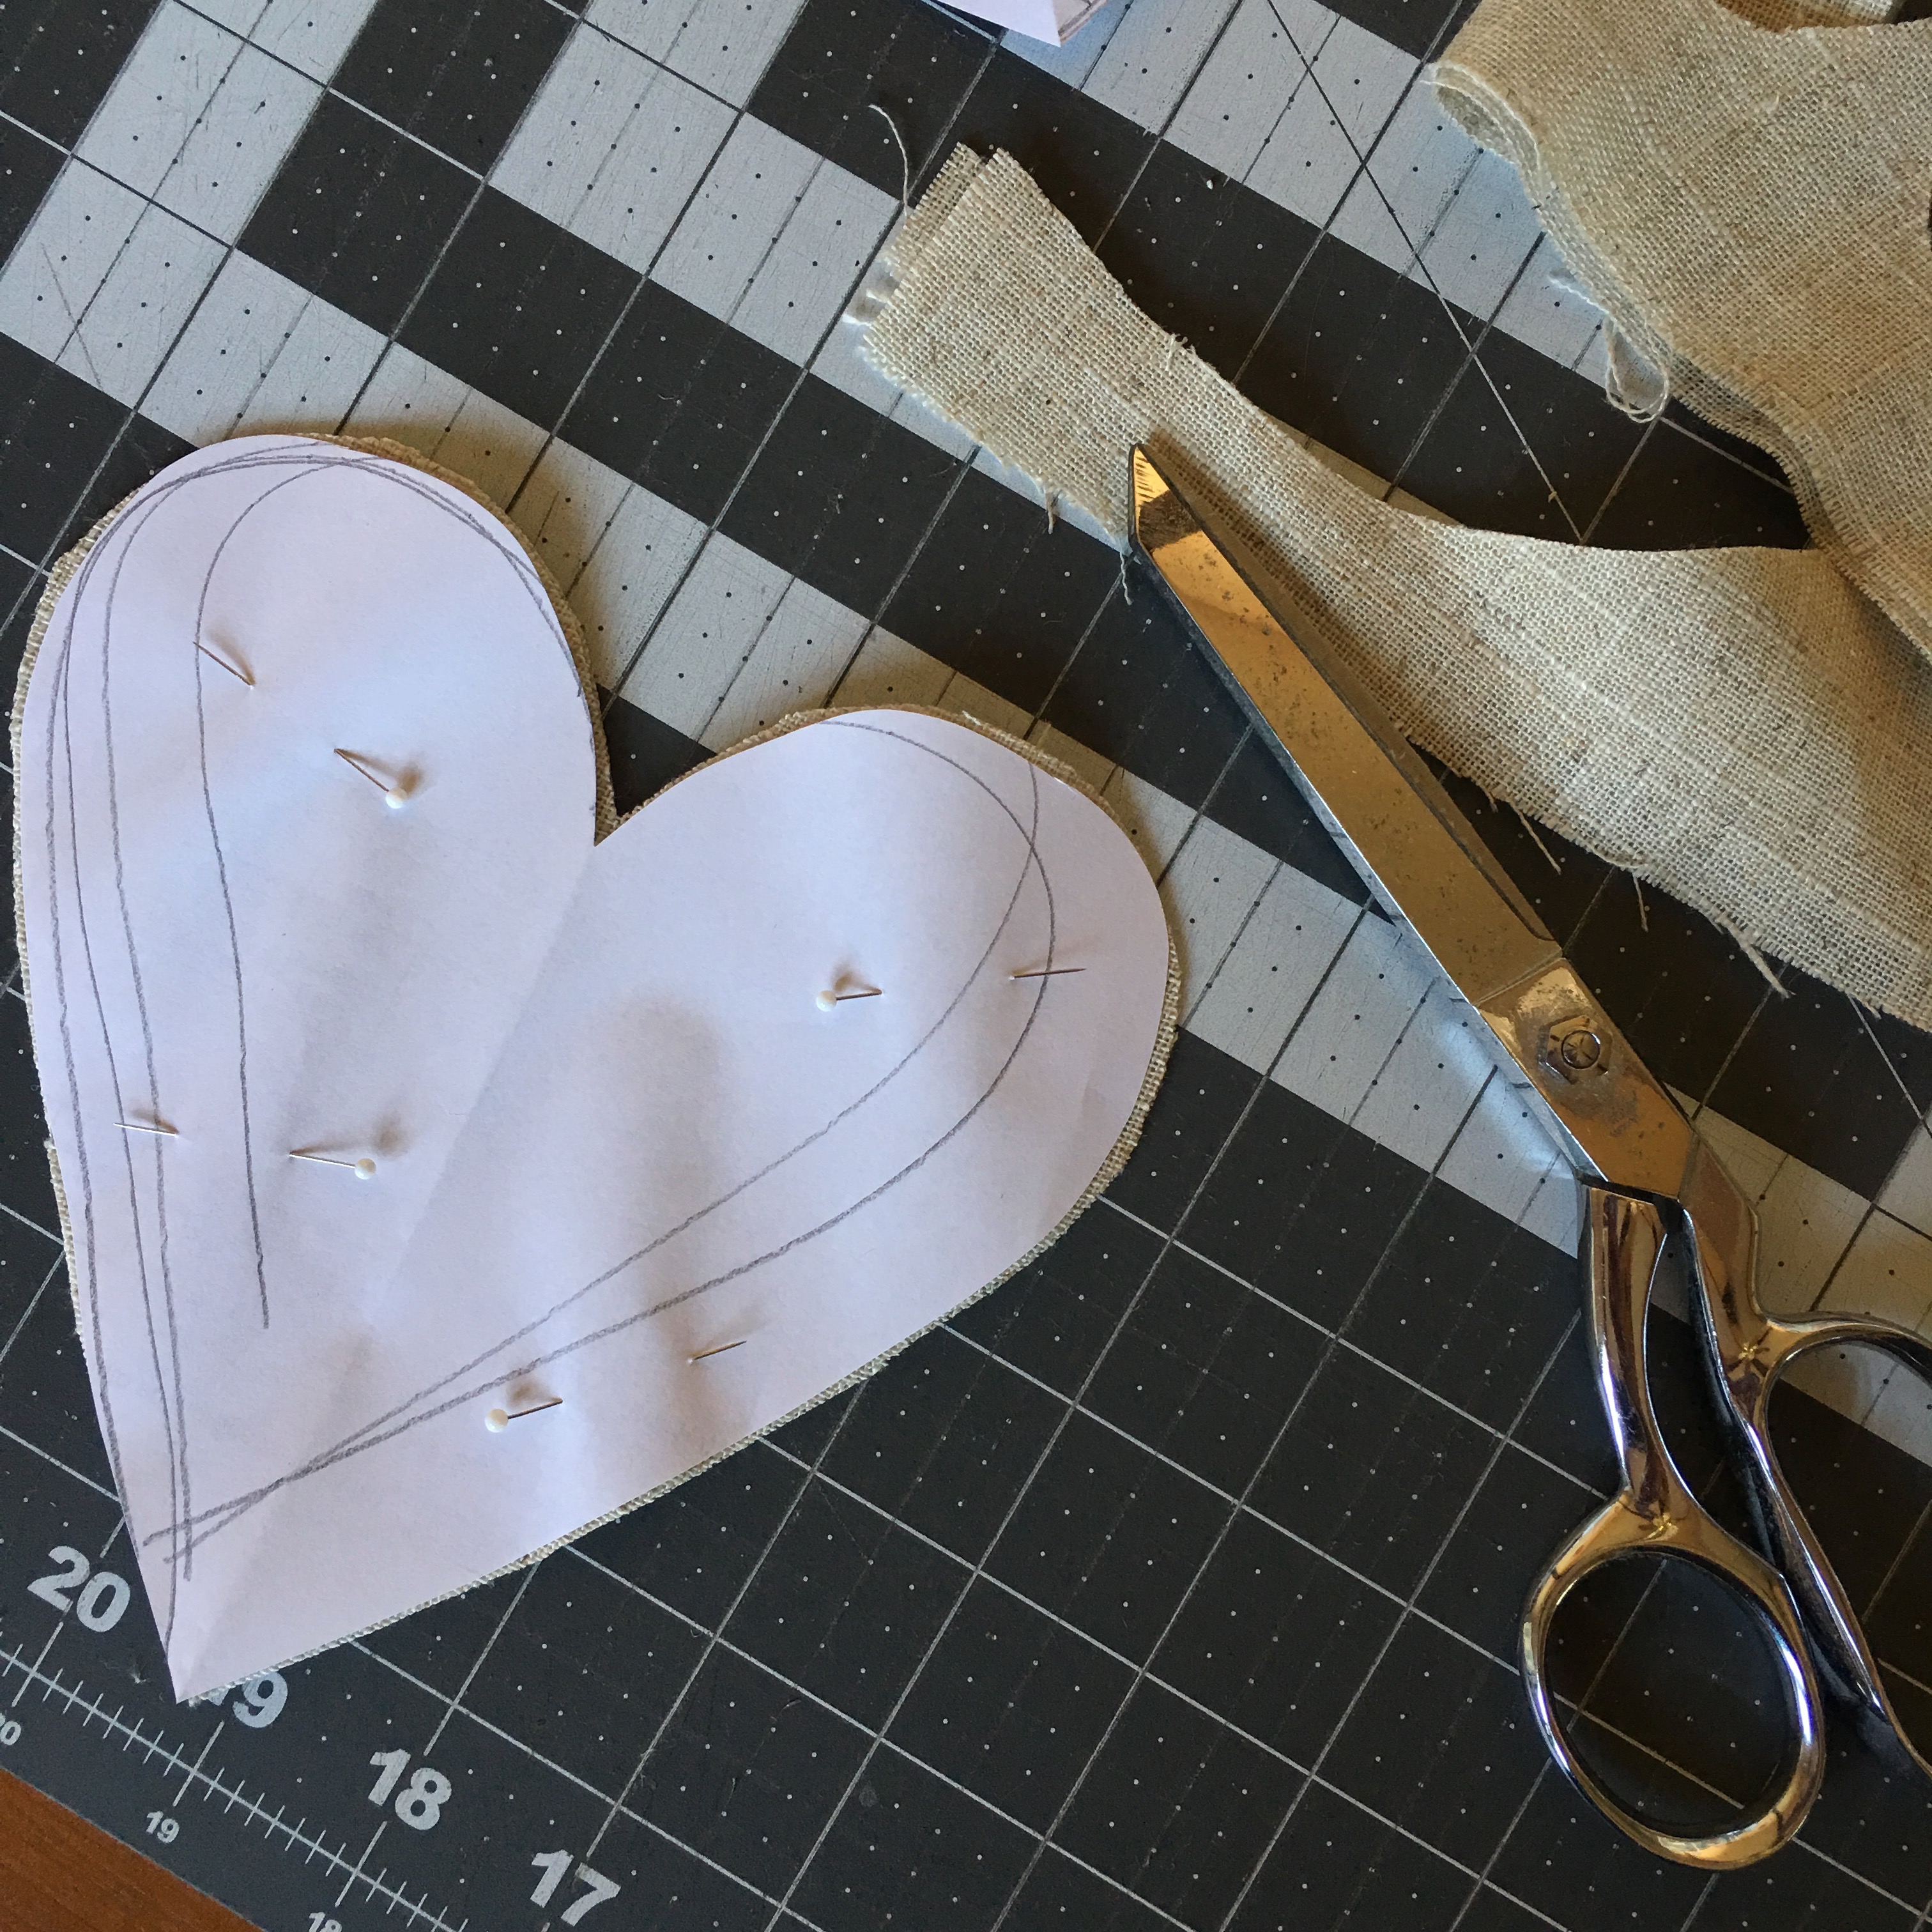
Using the pattern pieces, cut out (2) of each style. A word about fabric…If you can’t find loosely woven fabric at the fabric store, try the tablecloth section at your favorite home store! I buy tablecloths all the time to make pillows and that’s what I used for these ornaments!
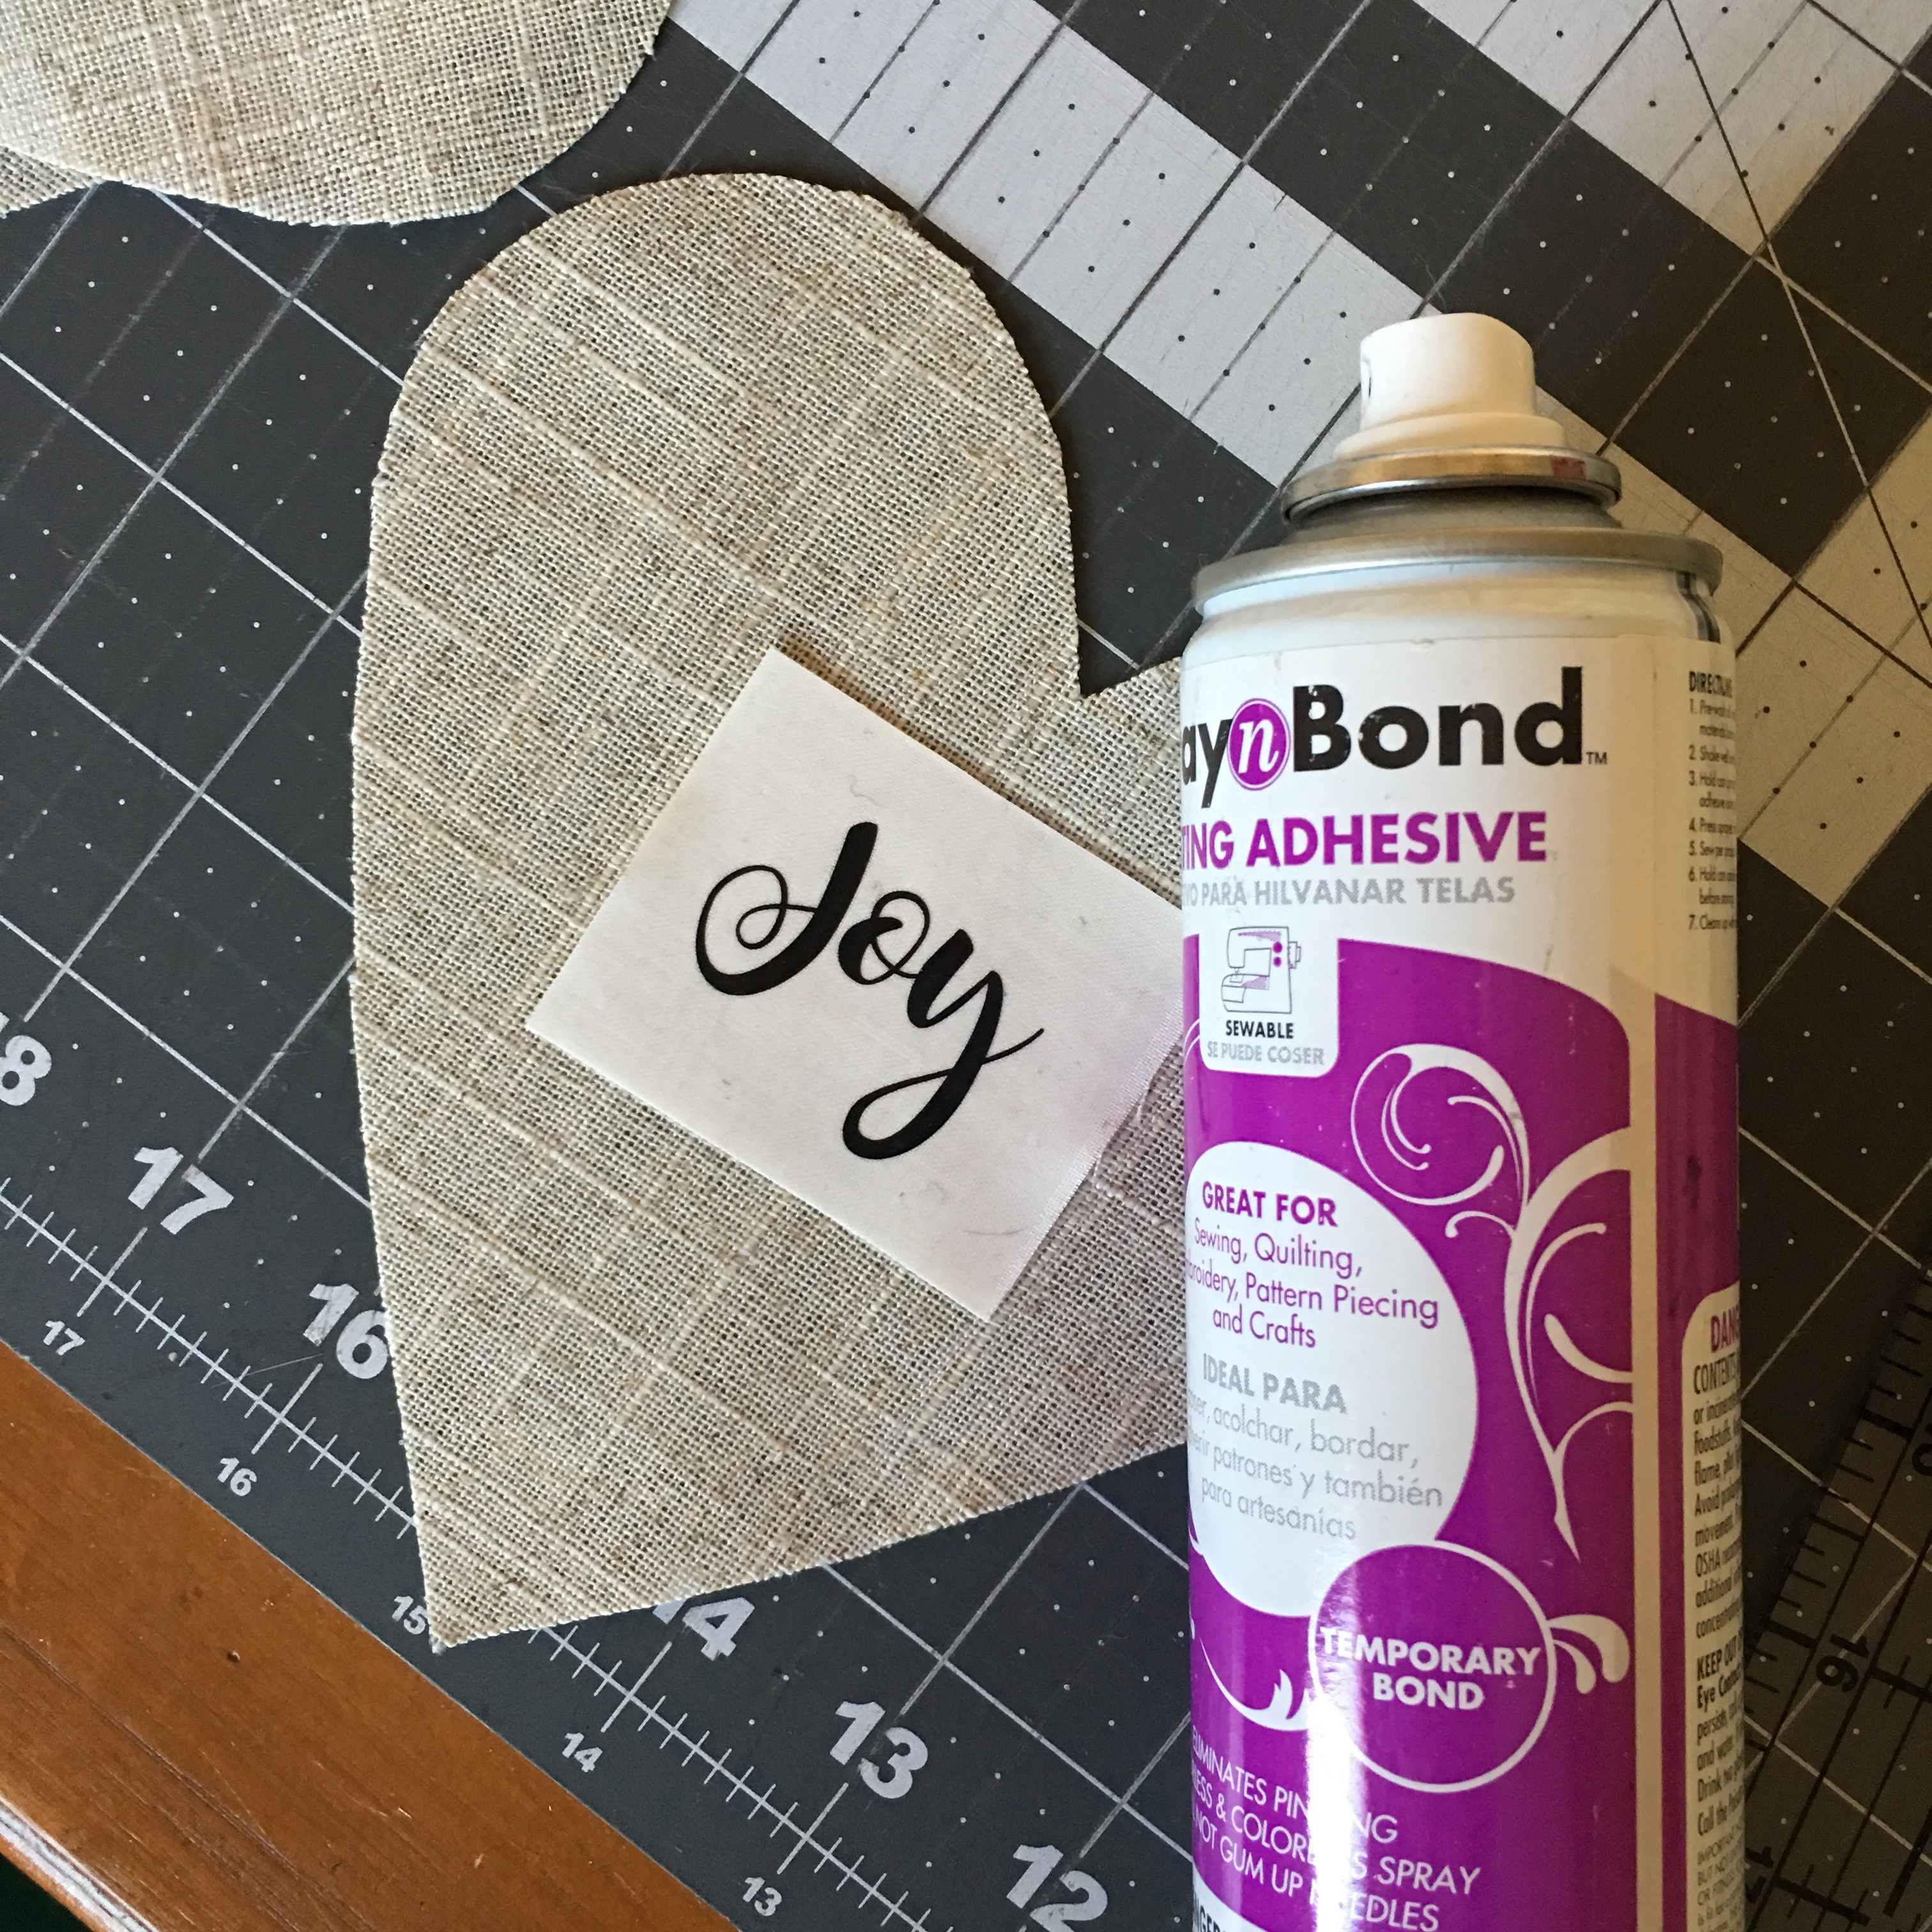
Using SpraynBond Basting Spray, position the word into place on the front of the fabric.
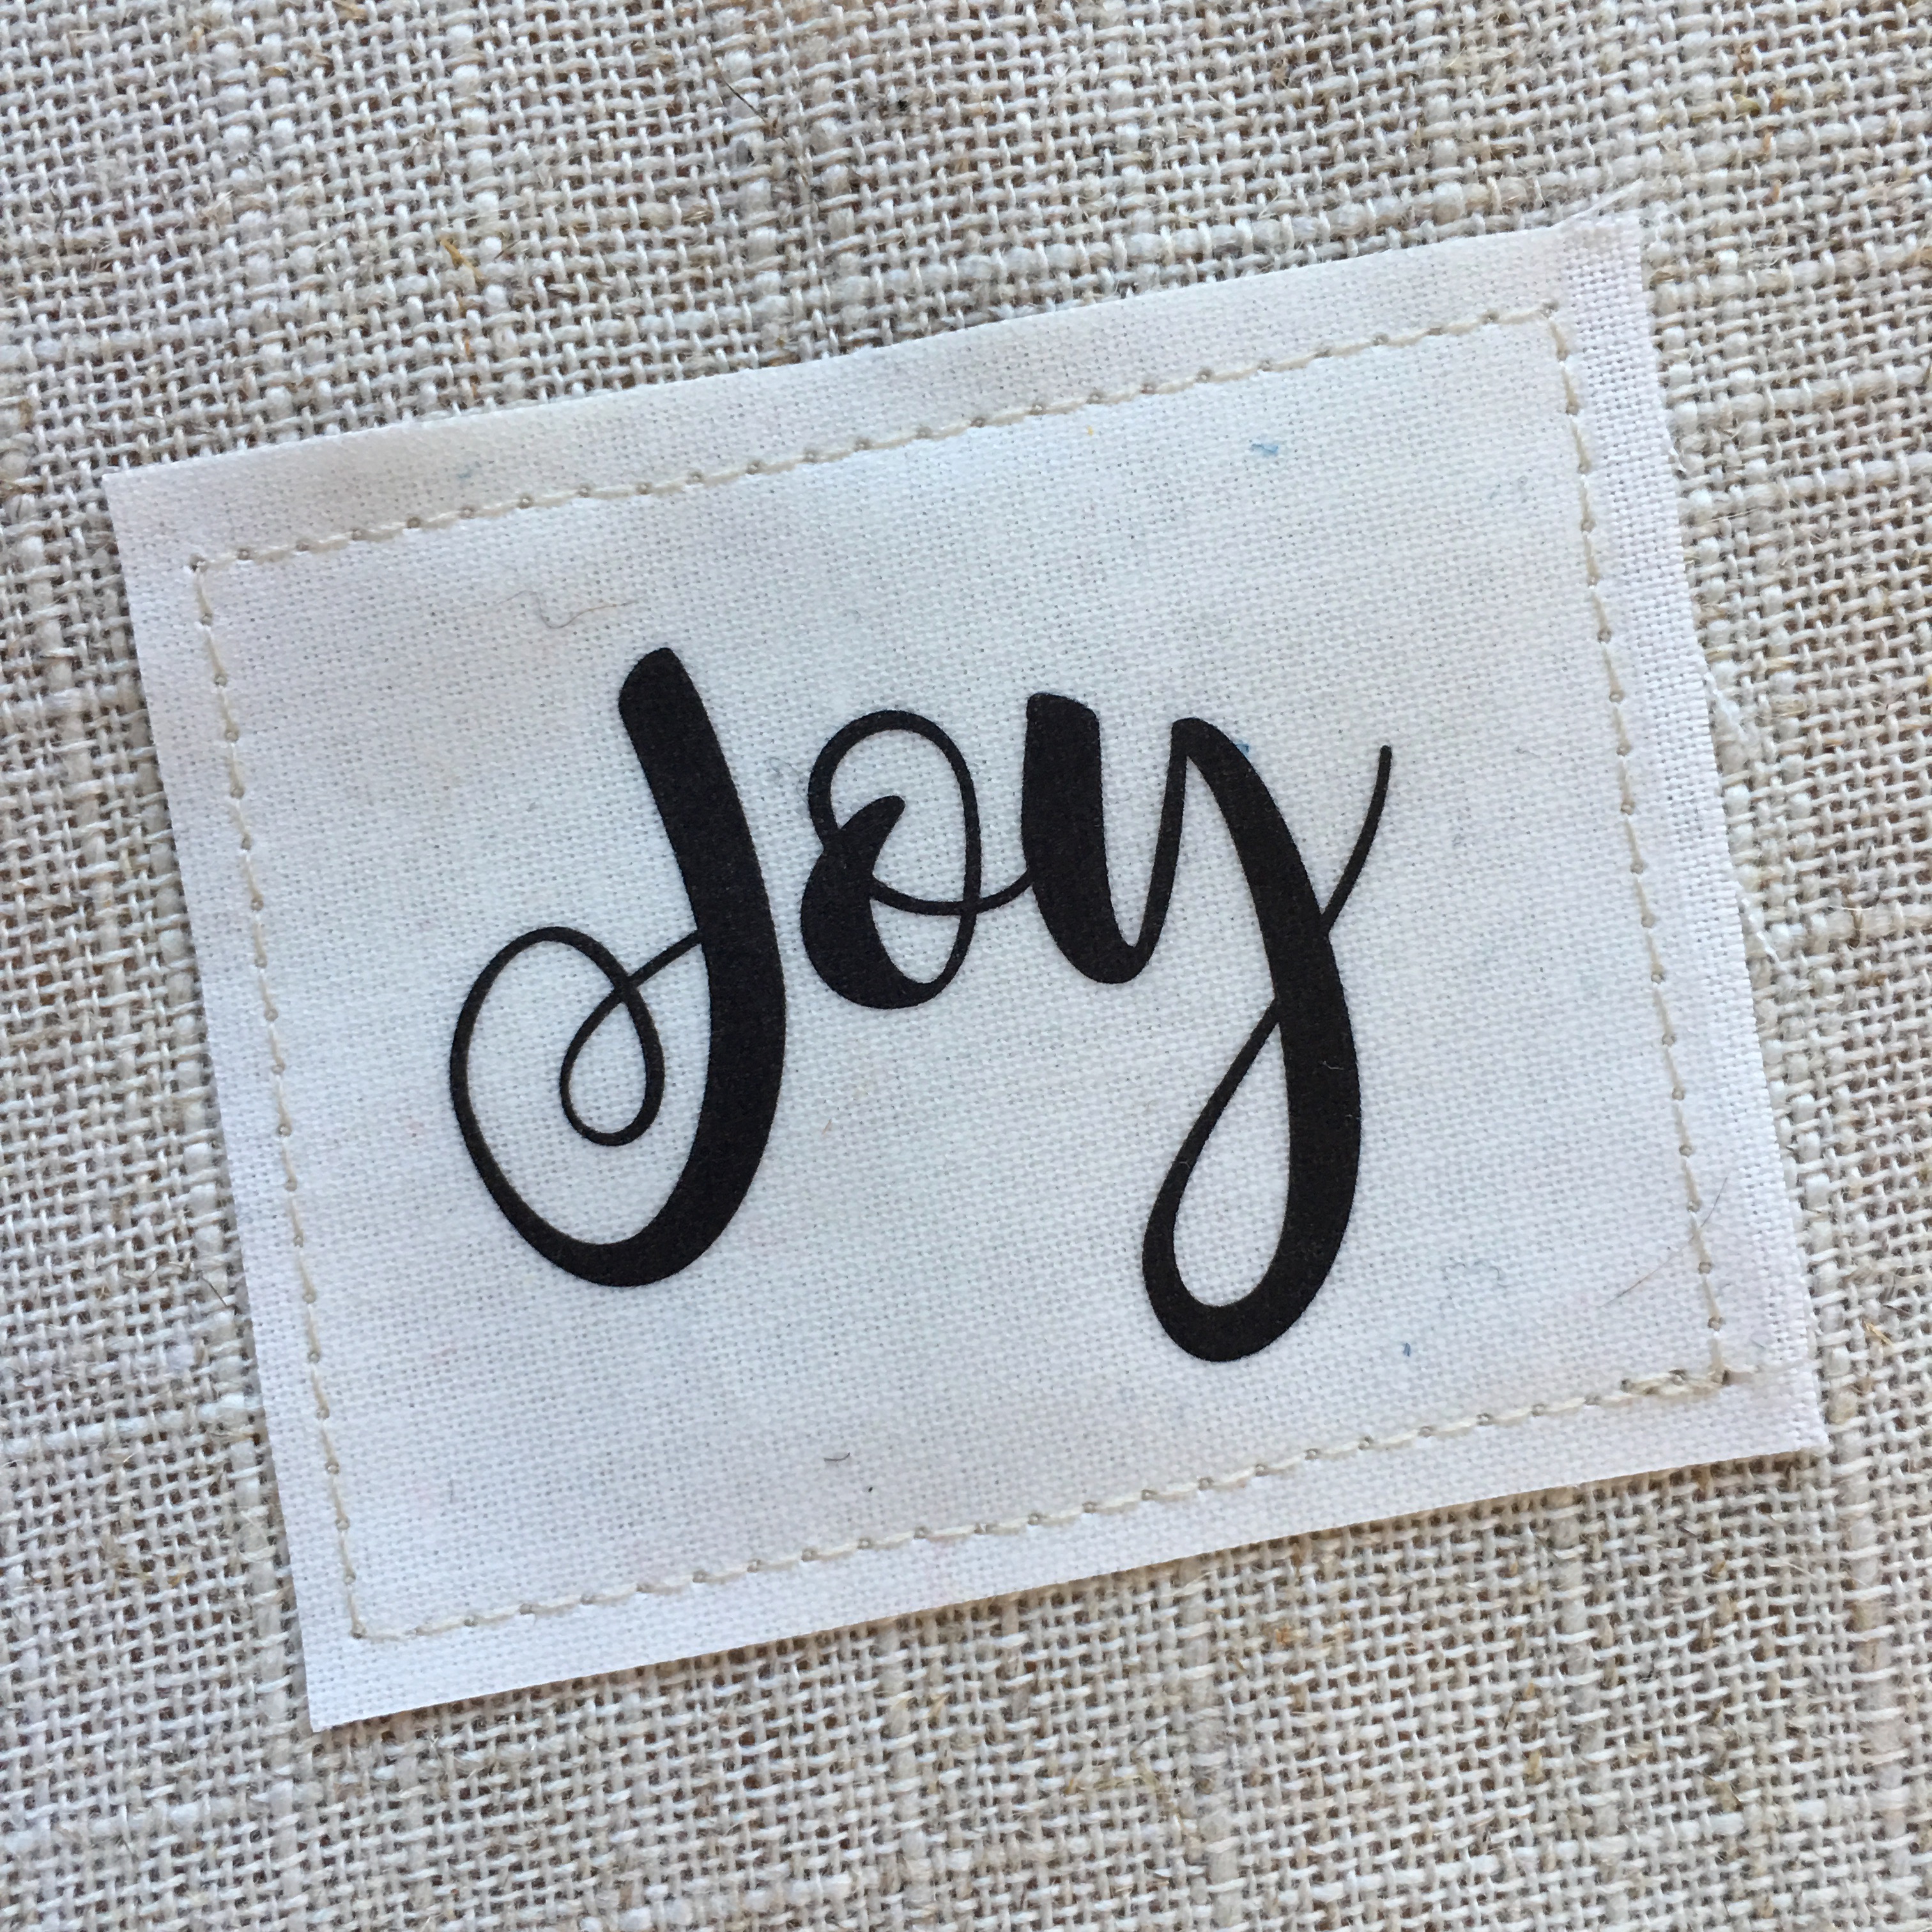
Stitch around the word about 1/8″ away from the edge.
To finish, cut an 18″ piece of jute. Baste the ends to the top of the back piece of the heart, star, or tree.
Place WRONG sides together and pin. Sew all the way around the ornament (catching the ends of the jute in the seam) about a scant 1/4″, leaving an opening for stuffing.
Lightly stuff the ornament with fiberfill – do not over stuff, they are supposed to look casual and relaxed!!!
Sew the opening shut.
Tie a knot in the jute right next to the top of the ornament. Then string a wood bead. Tie a knot. String another wood bead and tie another knot! You’re done!!!
I’m so in love with them! I want to make a whole basket full and leave them by the door and hand out to anyone who comes over during December!!!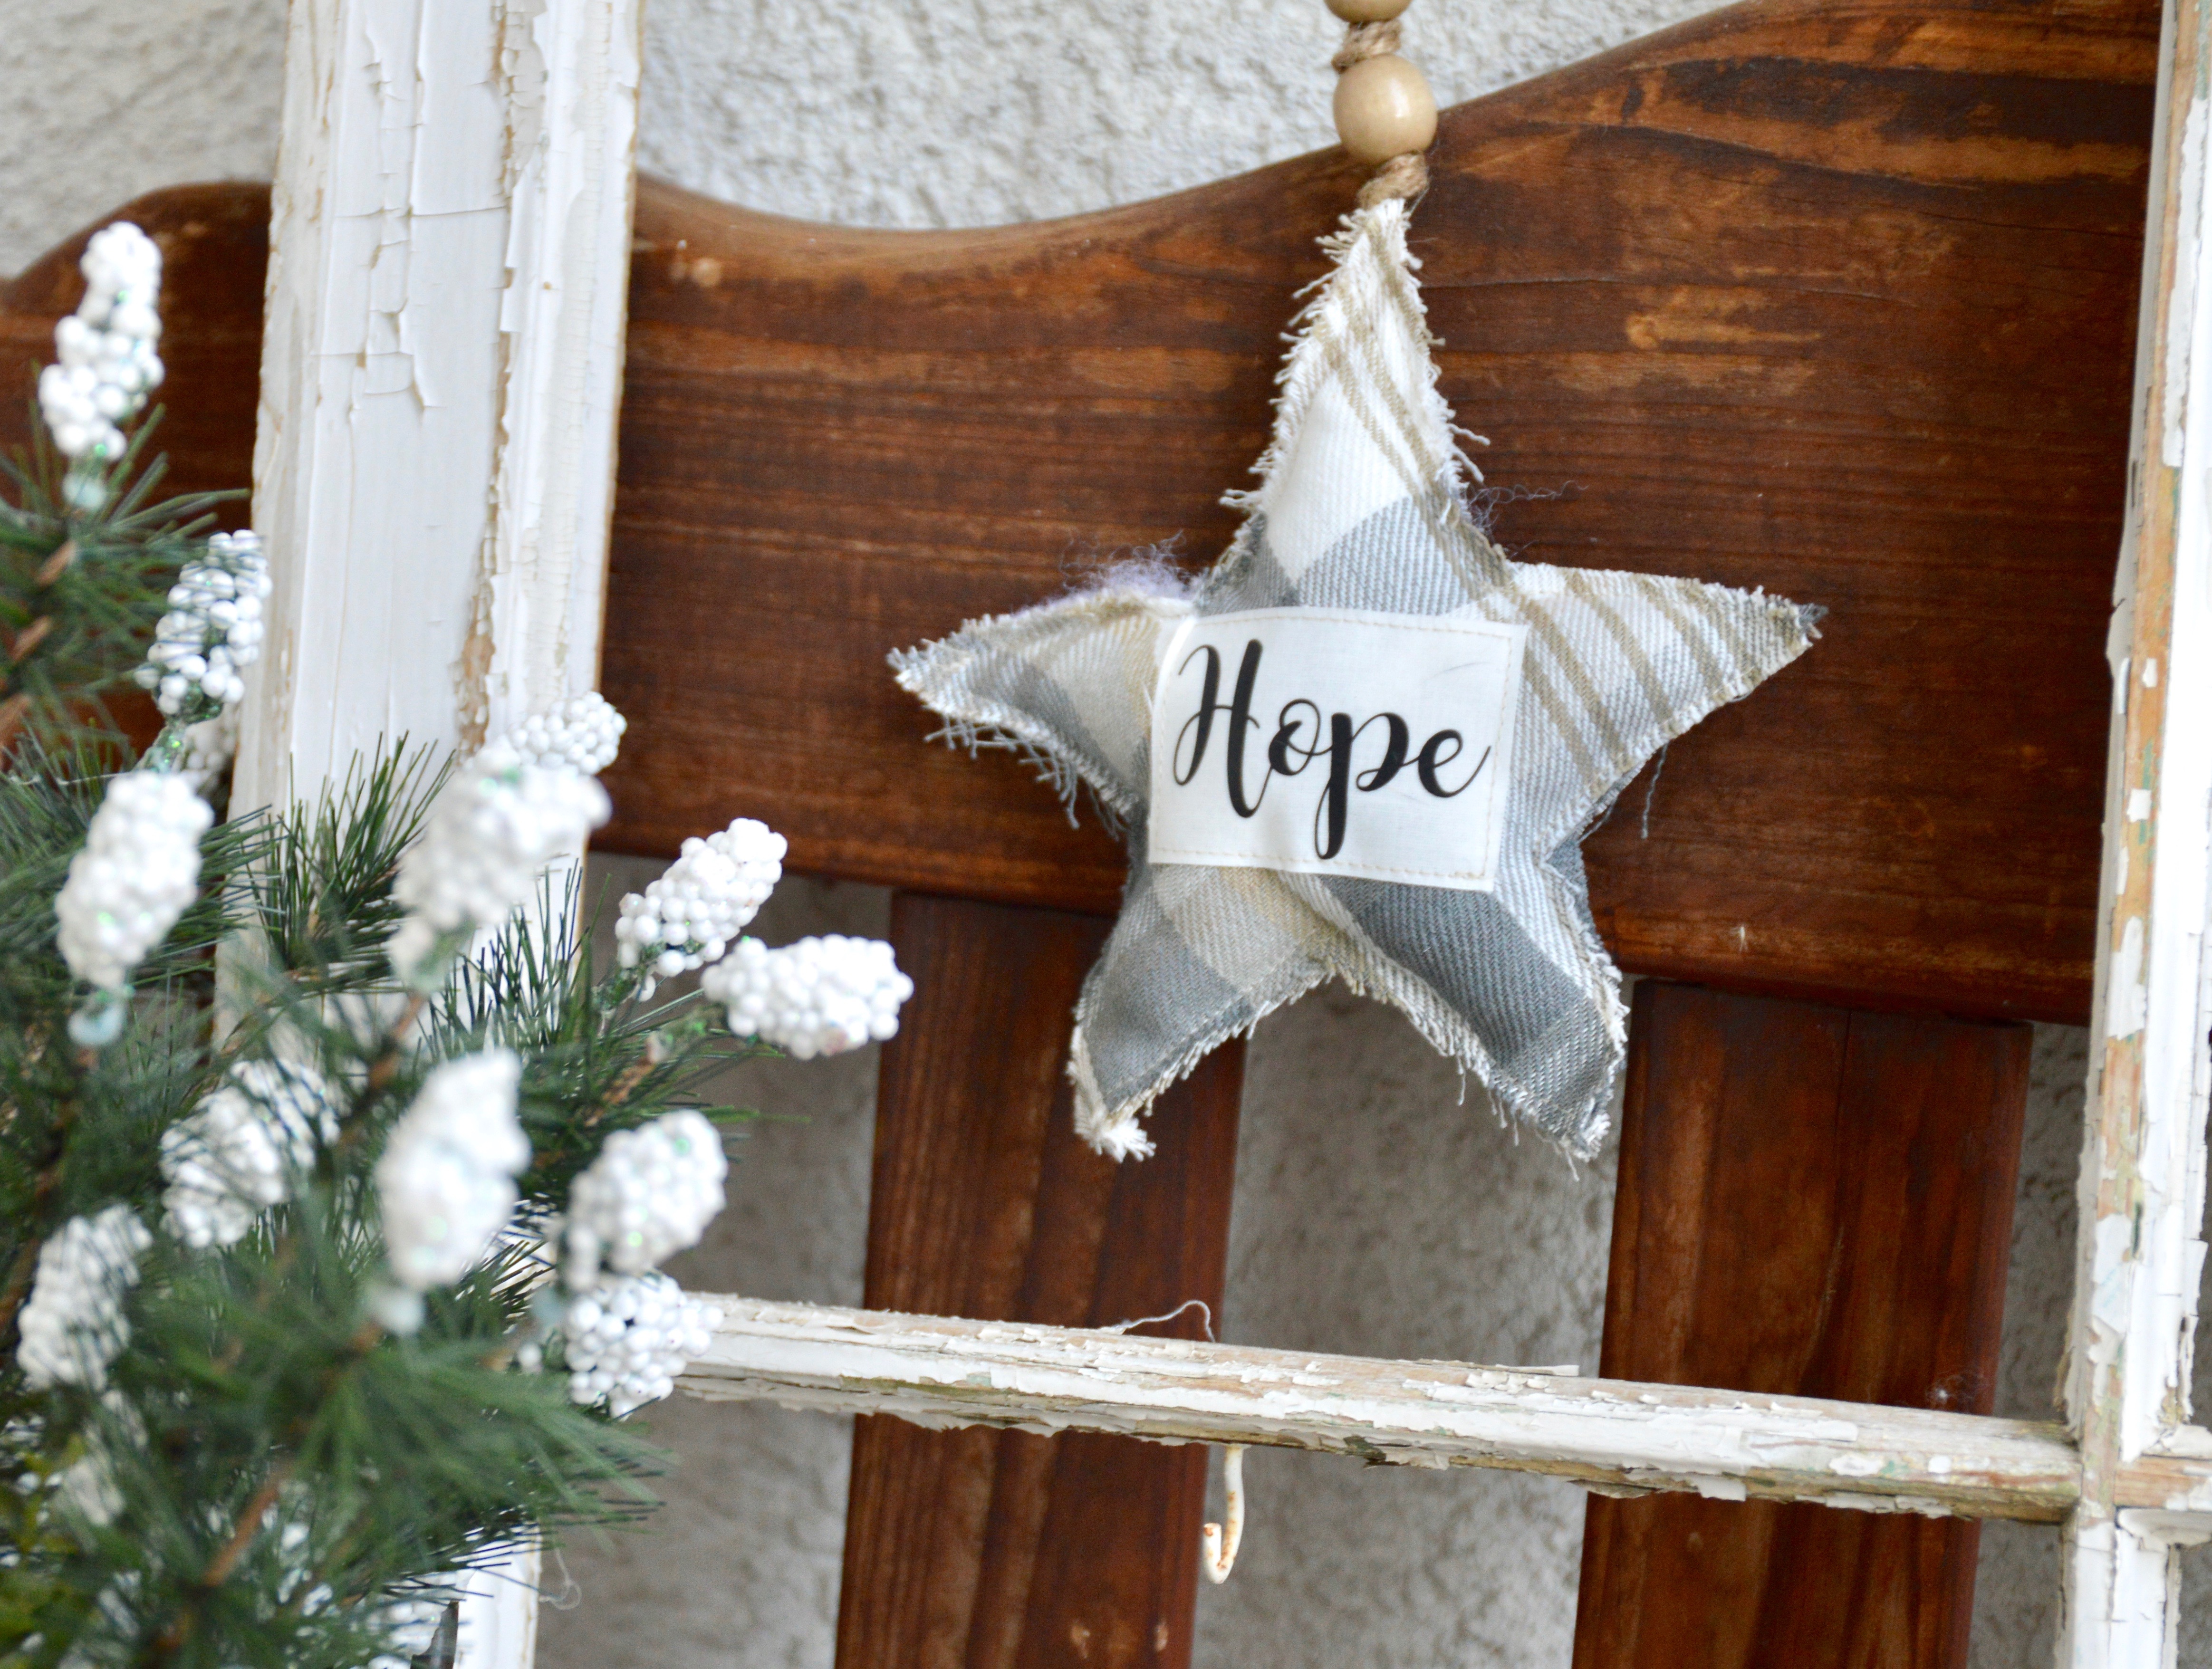


2 Comments on Farmhouse Christmas Ornaments with HeatnBond
1Pingbacks & Trackbacks on Farmhouse Christmas Ornaments with HeatnBond
-
[…] Today I am sharing how to make these charming farmhouse-inspired Christmas ornaments! With only 4 days left till Christmas you have plenty of time to whip these up! You can find the full tutorial over on the Therm O Web blog! […]







Anita L Jackson
September 25, 2018 at 12:43 pm (7 years ago)Wanting to make these for a woodland inspired tree this year, very nice!