


Between summer and the holiday, there is this wonderful time of the year called….fall! I love fall all that it represents. If you’re like me and not quite ready to jump from summer to the holidays, I have a project just for you that still offers pops of color as we segue into fall.
Sew a Fall Leaf Table Applique Mini Quilt Topper
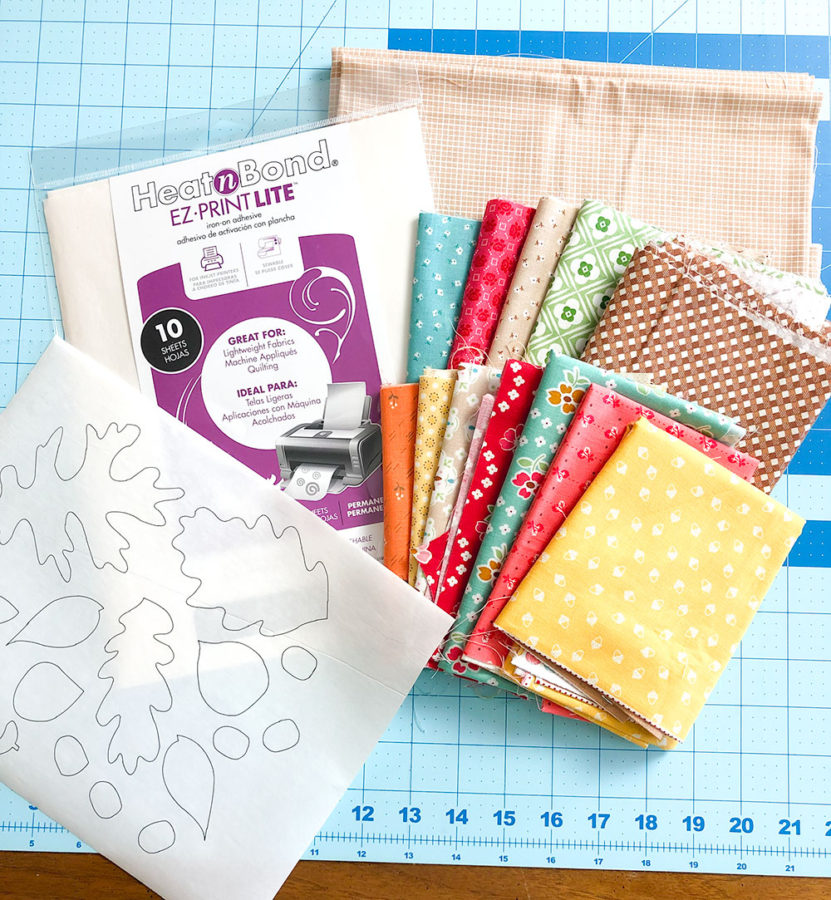
Supplies:
- fabric – I am using a variety of Lori Holt fabrics from Riley Blake Designs
- Heat n Bond EZ Print Lite Fusible Adhesive
- Leaf and Acorn Pattern
- Spray n Bond Basting Spray
- Quilt Batting
Cutting Directions:
- Cut 50- 2 1/2″ squares from a variety of fabrics
- Cut 2- 4 1/2″ X 21″ strips from the background fabric
- Cut 2- 1 1/2″ X 21″ strips from the accent fabric
- Cut one 21″ X 21″ square of backing fabric
- Cut one 21″ X 21″ square of batting
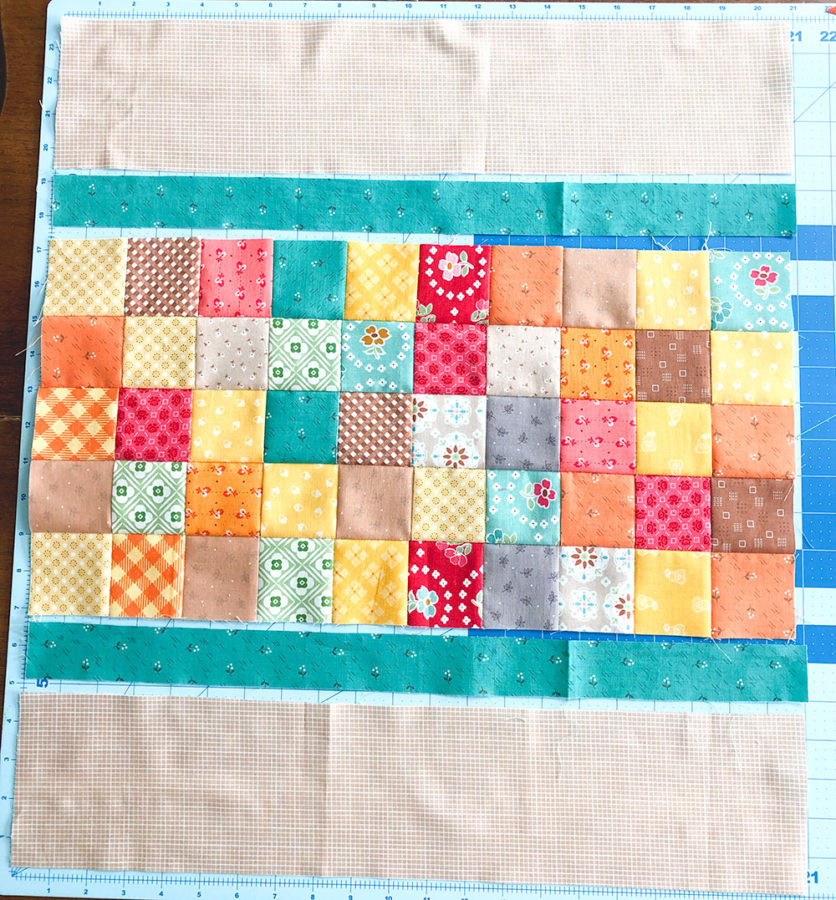
Assemble the Quilt top:
- Sew the 2 1/2″ squares into 5 rows of 10.
- Sew the accent strips to the top and bottom of the patchwork block. There may be a bit of extra length to your accent and background strips, just square up the entire quilt top when it is finished.
- Sew the background strips to the accent strips.
Prepare Leaf Applique:
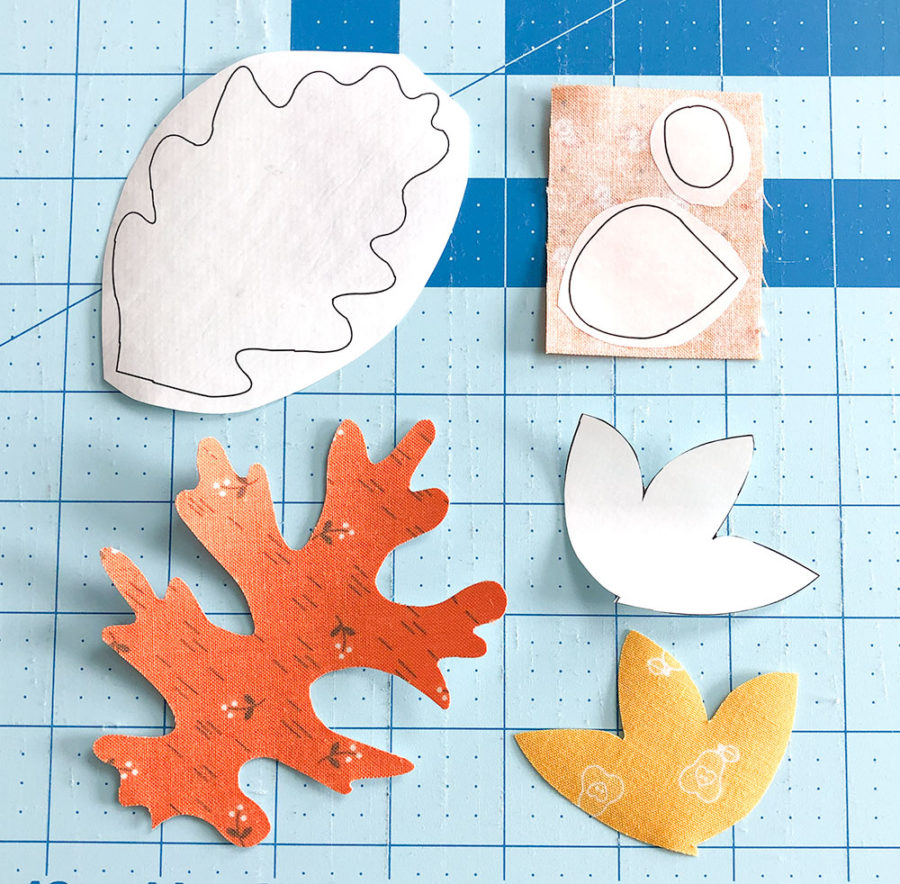
- Print off 2 copies of the leaf patterns on 2 sheets of Heat n Bond EZ Print Lite
- Cut out each shape leaving a slight margin around the pattern.
- Fuse the shape onto the back of the fabric being used.
- Cut out the shape along the pattern line.
- Remove the paper backing from the leaf shape.

- Layout the leaves and acorns on the background strips. If you have room, I recommend doing this on your ironing board or a heat-resistant surface so you don’t have to move it before fusing the shapes.
- Fuse the shapes on the strips.
- Layer the quilt top, batting, and backing fabric fusing them together with SpraynBond Basting Spray.
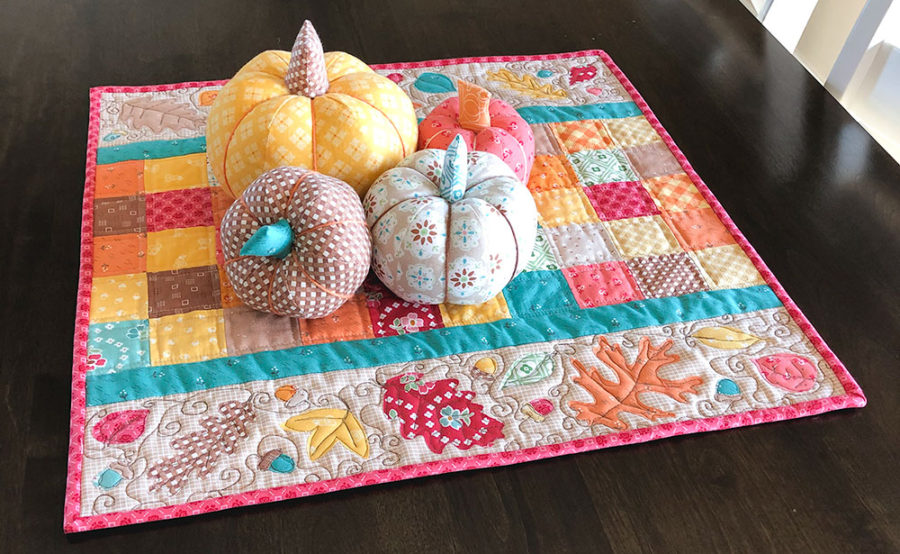
- Quilt as desired. I did a quilted grid on the patchwork center and then did free-motion stitching to sketch veins and swirls onto the applique borders.
- Square up the mini quilt and bind.
- Enjoy your mini quilt!!
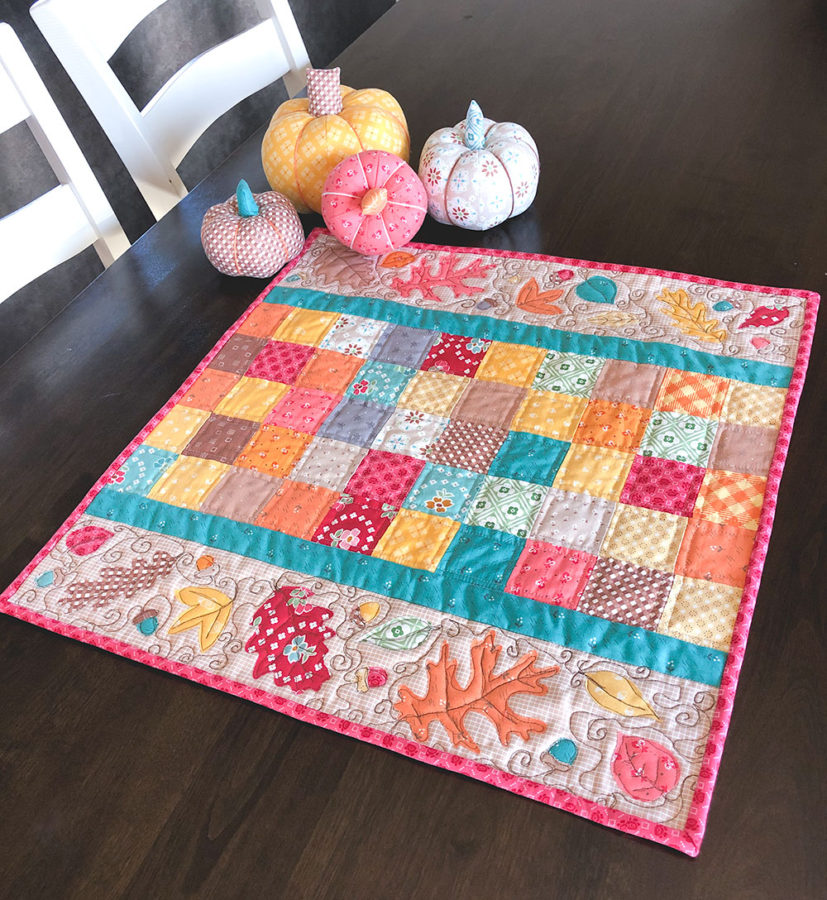
If you would like to make matching fabric pumpkins, you can find the free pattern on my blog. They are super fun to make!
[…] fall leaf mini quilt is so pretty and it uses my favorite technique – applique! Add a few of these pumpkins (or […]