


 Hey Hey! Katrina from Paper, Scissors, Glue and Hybrid Too sharing a layout using the NEW Brutus Monroe Toner Sheets, Deco Foil and some Deco Foil Flock Transfer Sheets. Fall pictures are so fun to scrap and these products add just a little something-something to your projects!
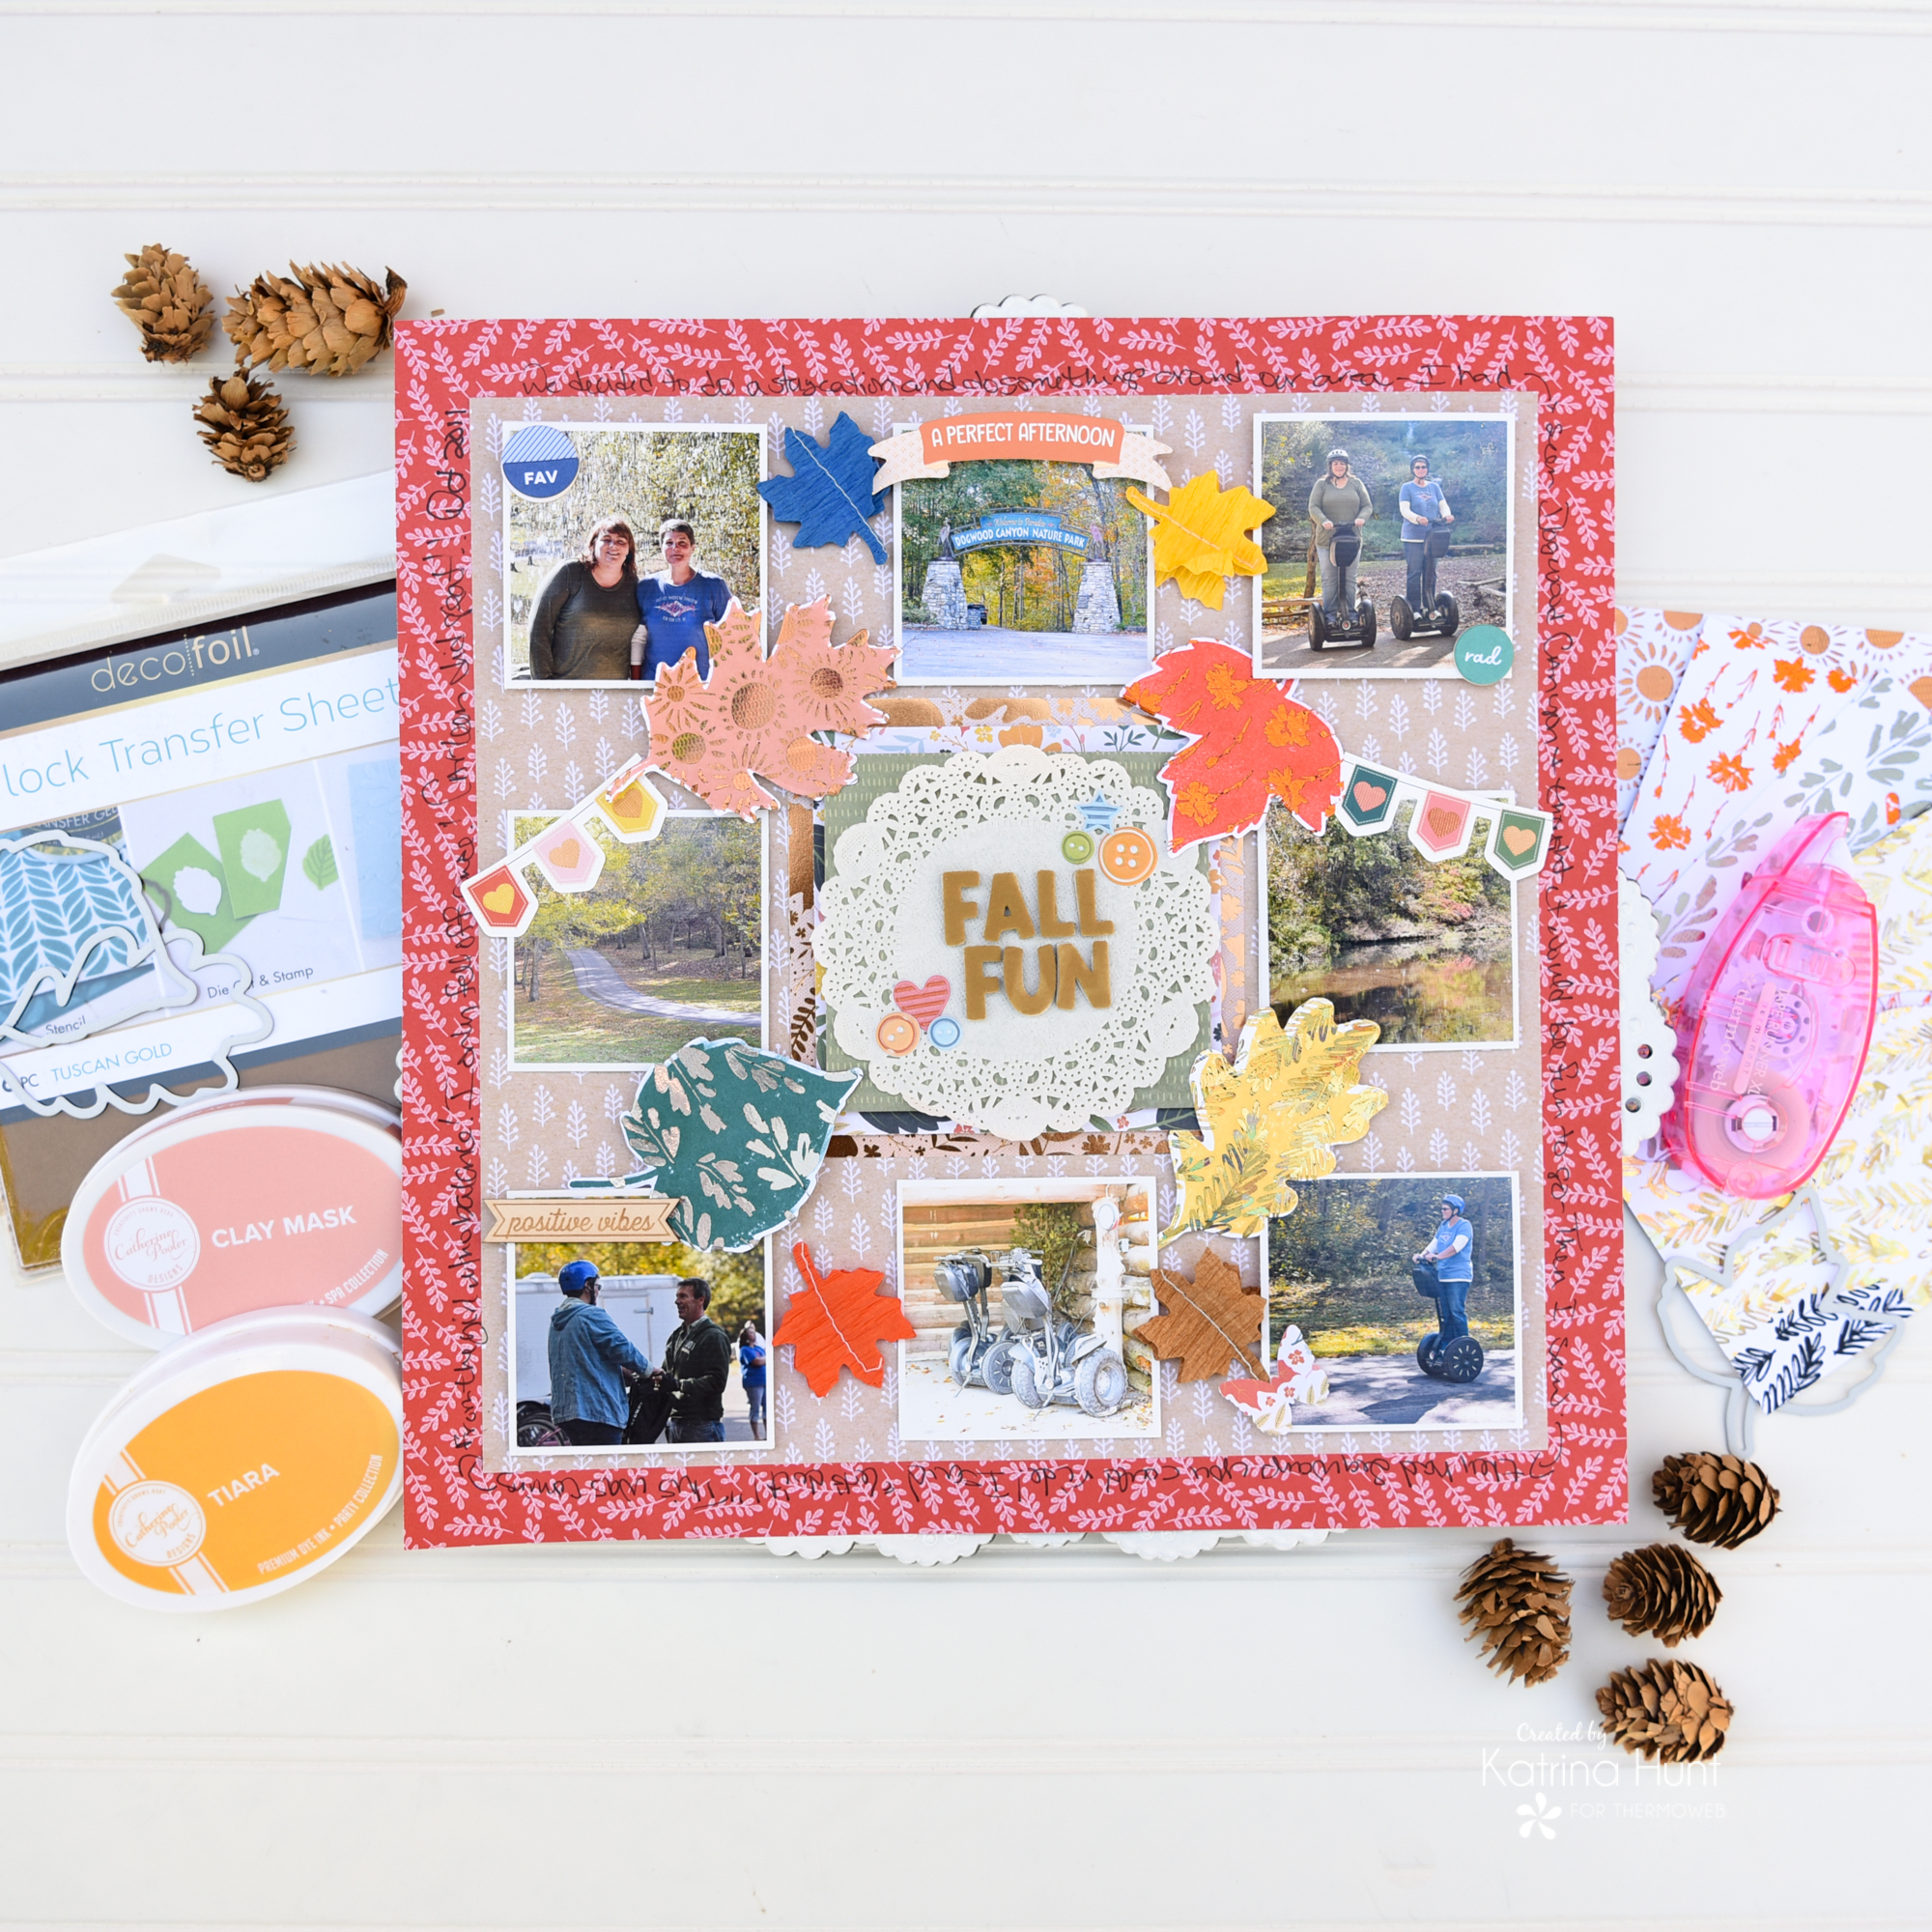
Fall Fun Scrapbook Layout with Deco Foil
Therm O Web Supplies Used
Memory Runner XL
Memory Runner XL Refill
3D Foam Squares – Combo Pack
NEW 3D FOAM SQUARES BOX
NEW 3D FOAM TAPE ROLL 1/16
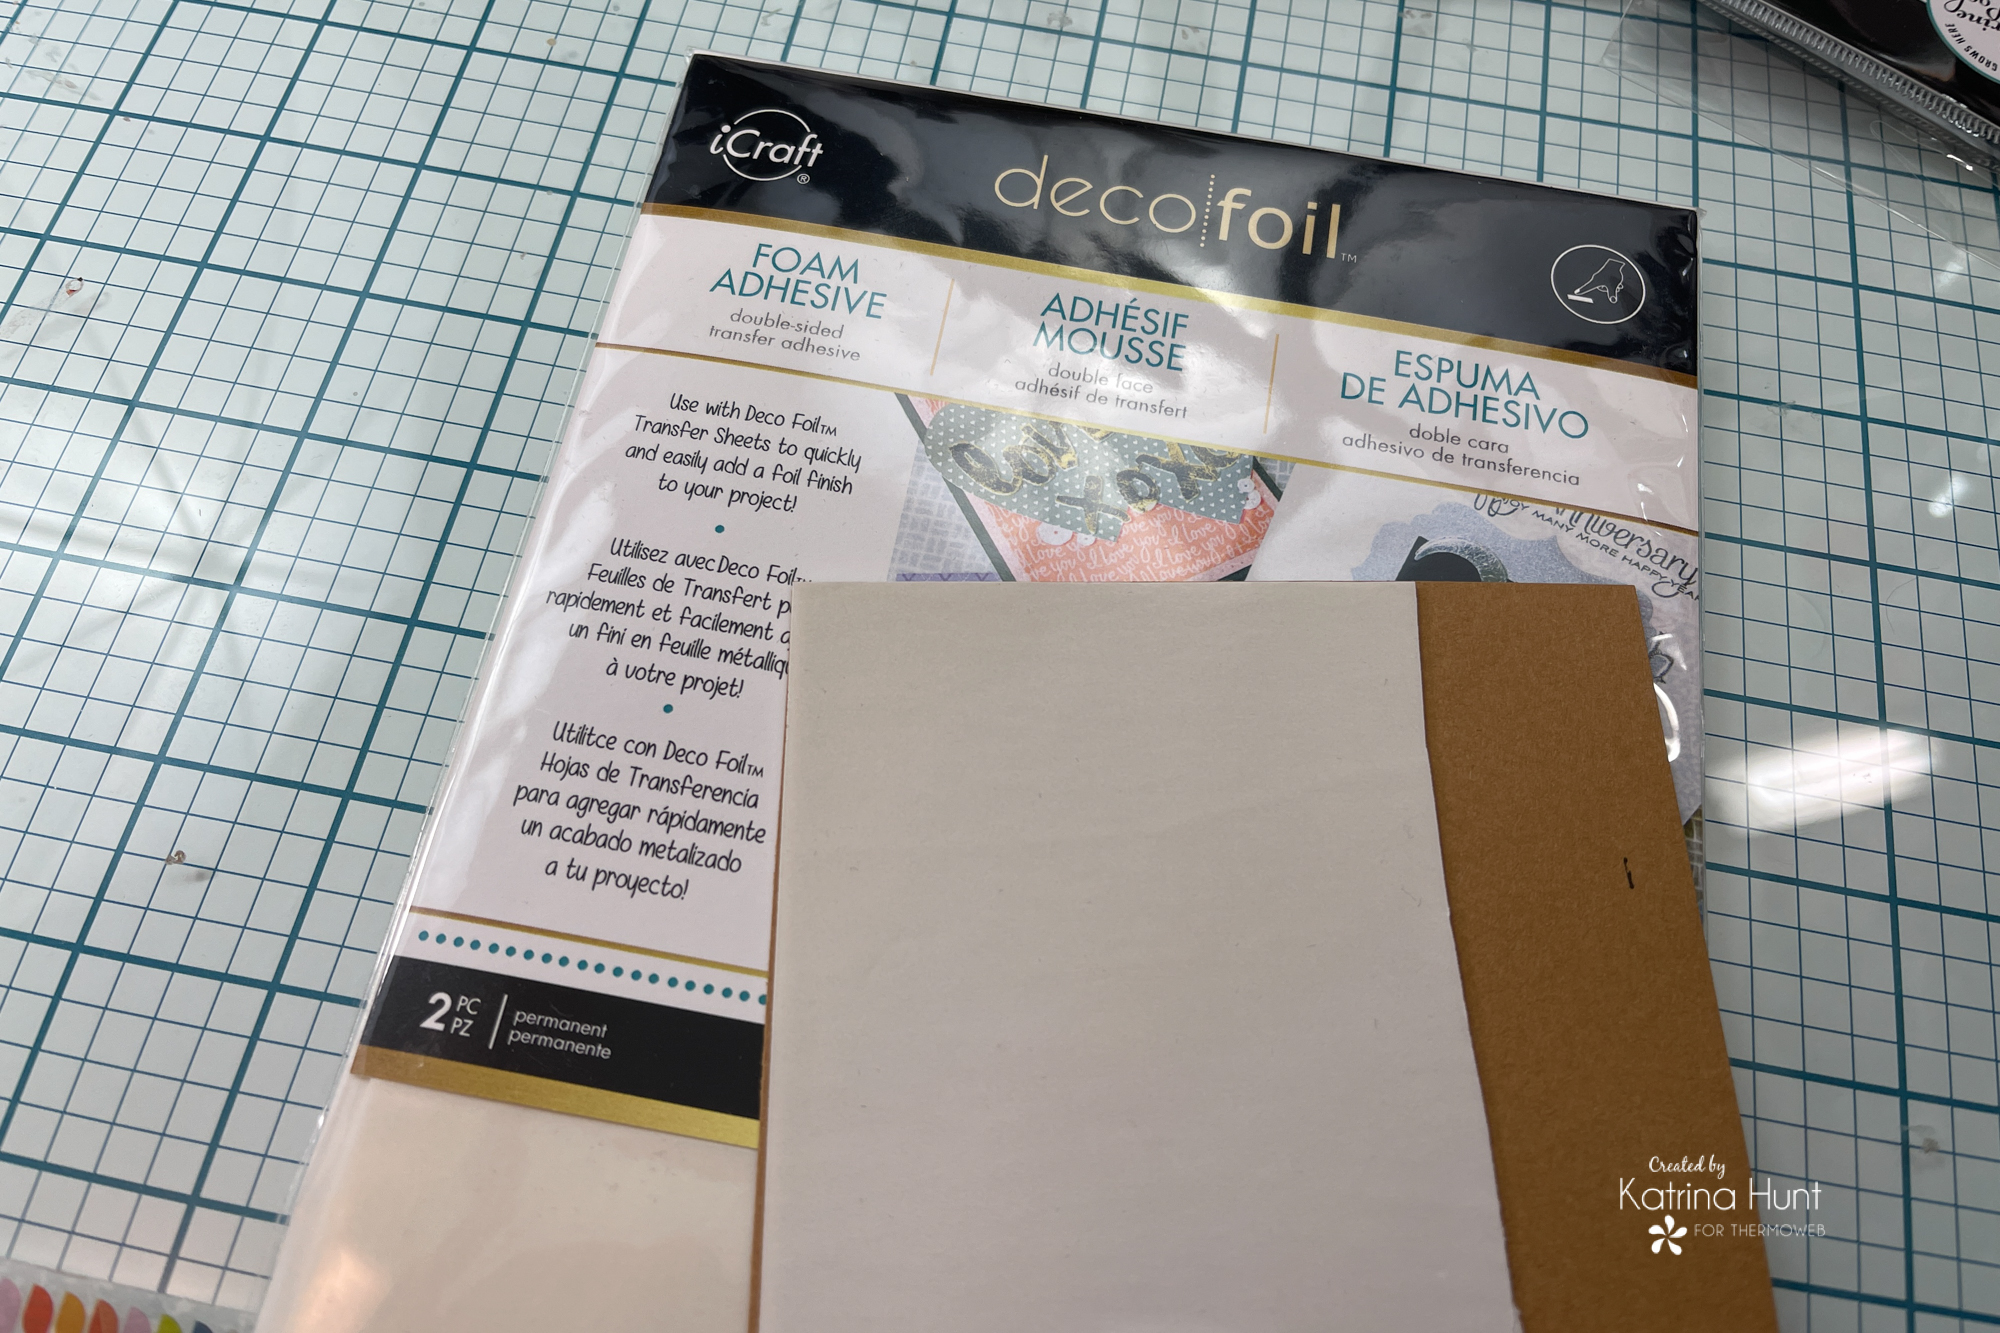
Deco Foil Foam Adhesive
Deco Foil Transfer Sheets-Shattered Glass Gold
Deco Foil Flock Transfer Sheets-Tuscan Gold
Deco Foil Transfer Sheets-Brutus Monroe-Pewter Ripples
Deco Foil Transfer Sheets-Brutus Monroe-Copper Ripples
Deco Foil Transfer Sheets-Brutus Monroe-Orange Sketch
Brutus Monroe Card Front Mixables-Floral Fantasy
Brutus Monroe Card Front Mixables-Really Radiant
iCraft Purple Tape
Ultra Bond Liquid Adhesive
Other Supplies Used
Catherine Pooler Ink-Tiara
Catherine Pooler Ink-Clay Mask
Catherine Pooler Ink-Bay Breeze
Catherine Pooler Ink-Tutti Frutti
Catherine Pooler Stamps-Painted Leaves Stamps
Cathrine Pooler Dies-Painted Leaves Dies
Catherine Pooler Dies-Block Alphabet Dies
Bungalow Lane Collection-American Crafts
Fall Fun Scrapbook Layout Details
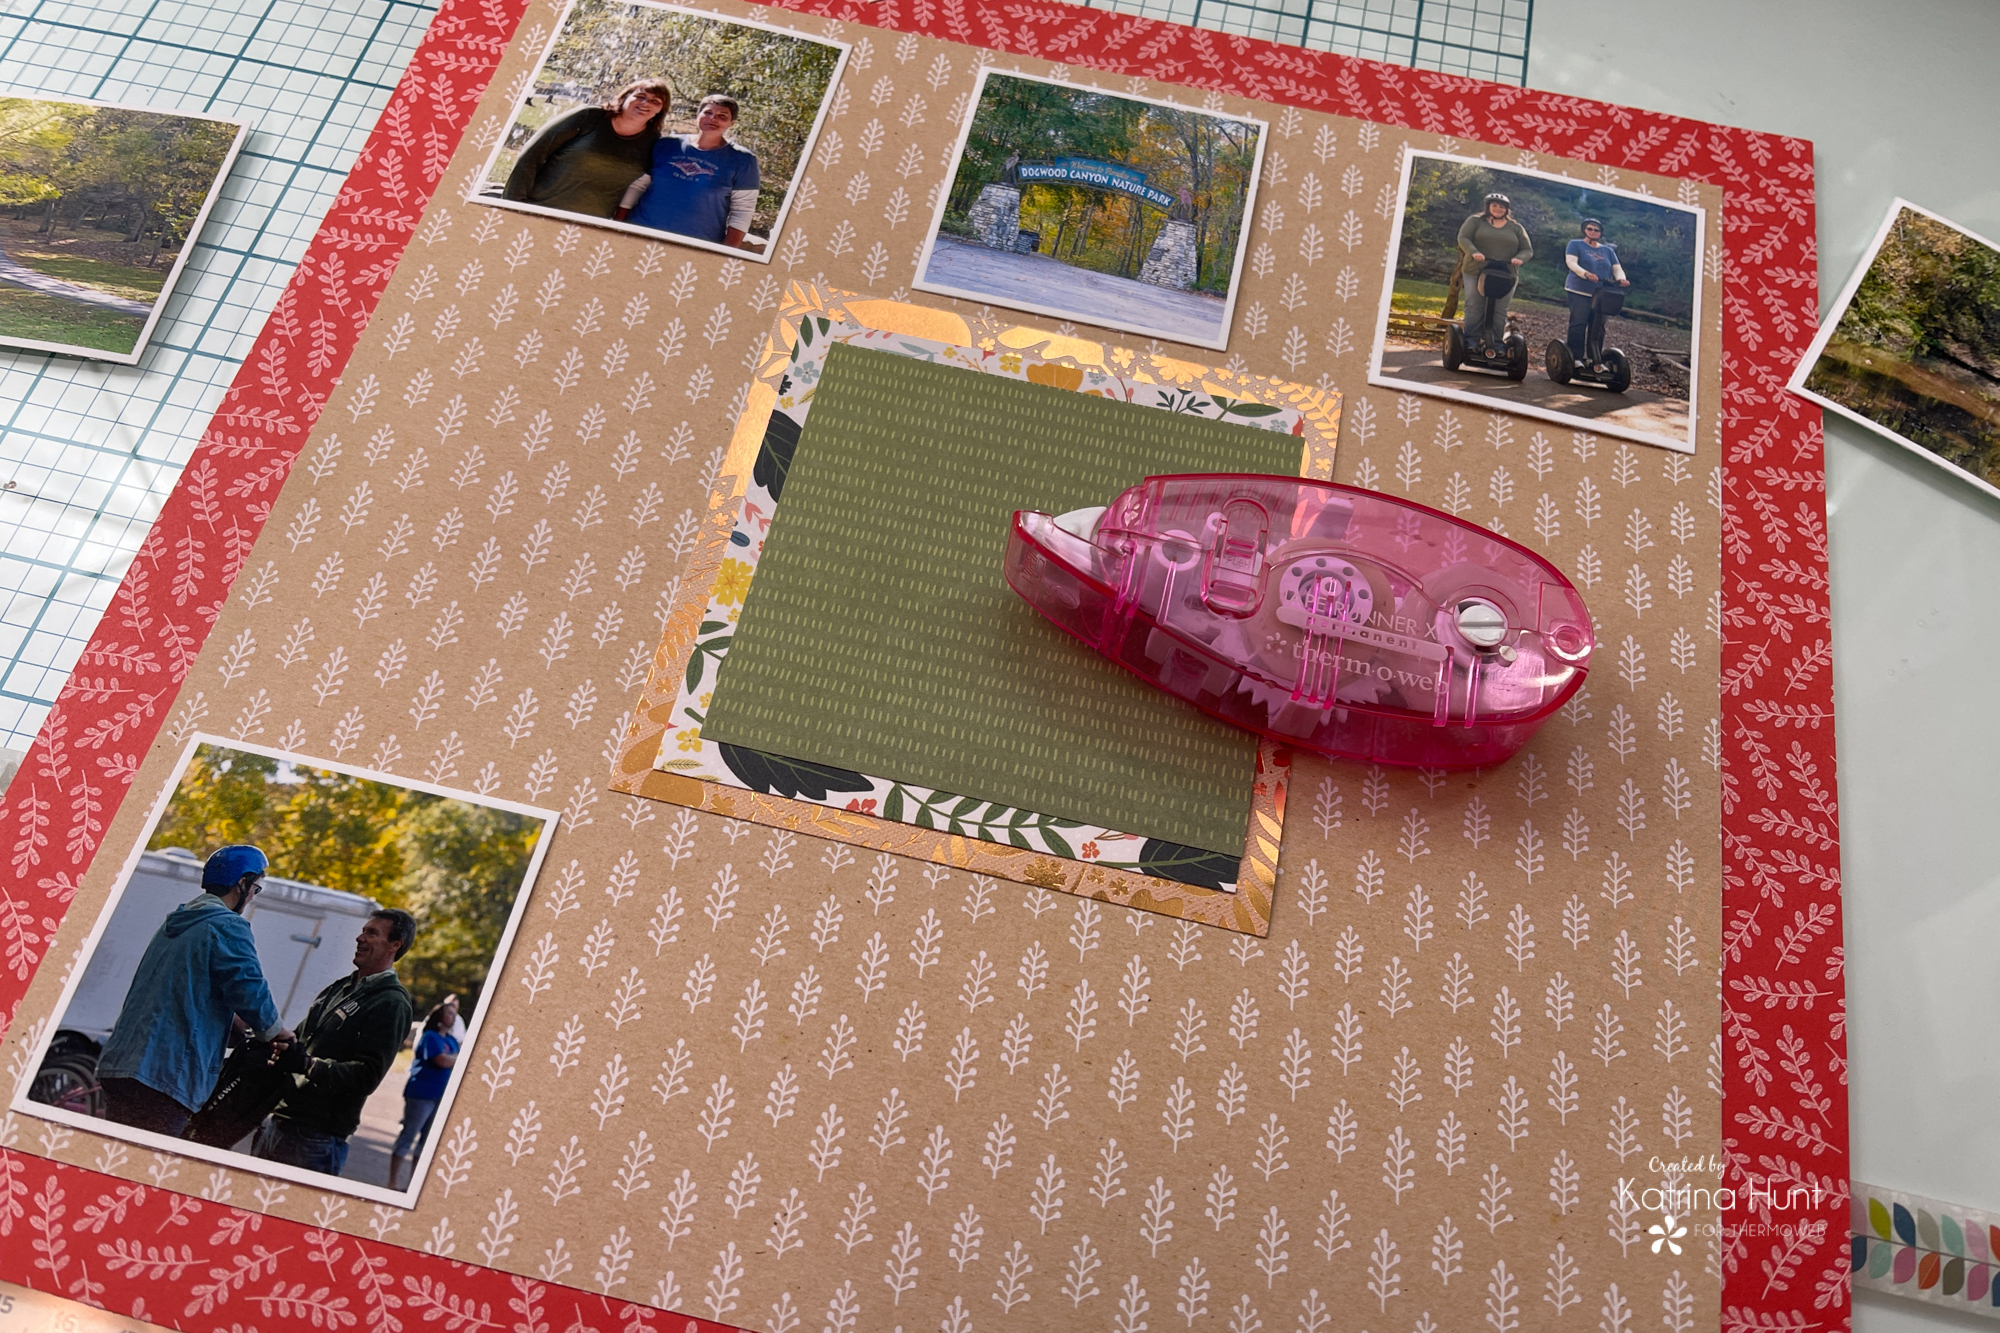
I though a grid layout was a great way to scrap and highlight these pictures. They aren’t the best pictures, but sized down makes them a little better! My pictures are sized 2.5 inches square and the kraft pattern paper is sized 10.5 inches square to help you figure out sizing.
I started by foiling the Brutus Monroe Floral Fantasy and Really Radiant card front mixables in different foil colors. These packs are great because you get a mix of patterns! At the same time, I also picked out ink colors that would work with the colors of my layout.
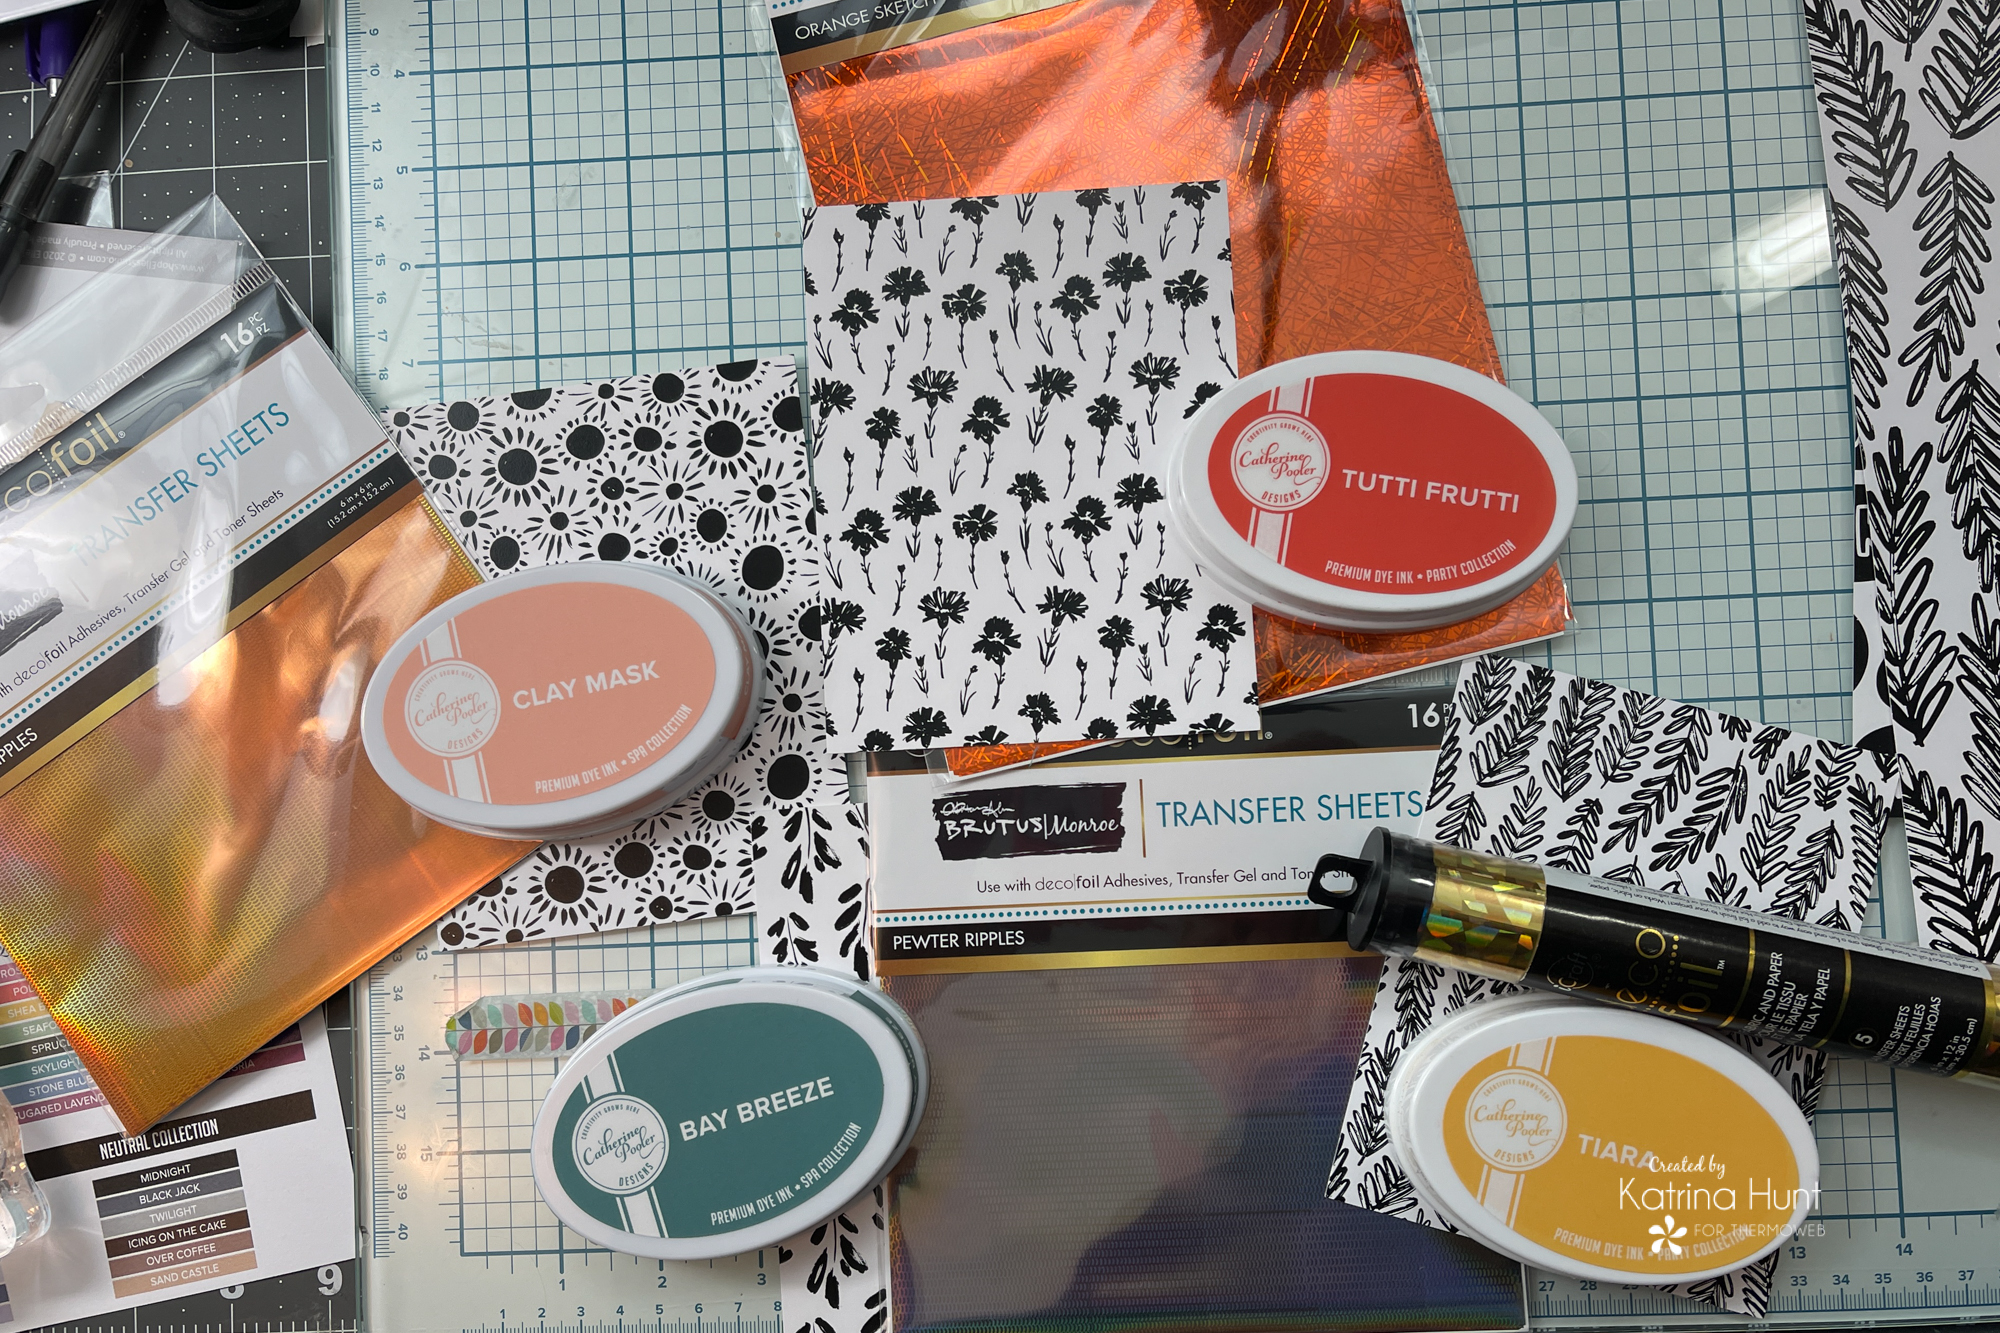
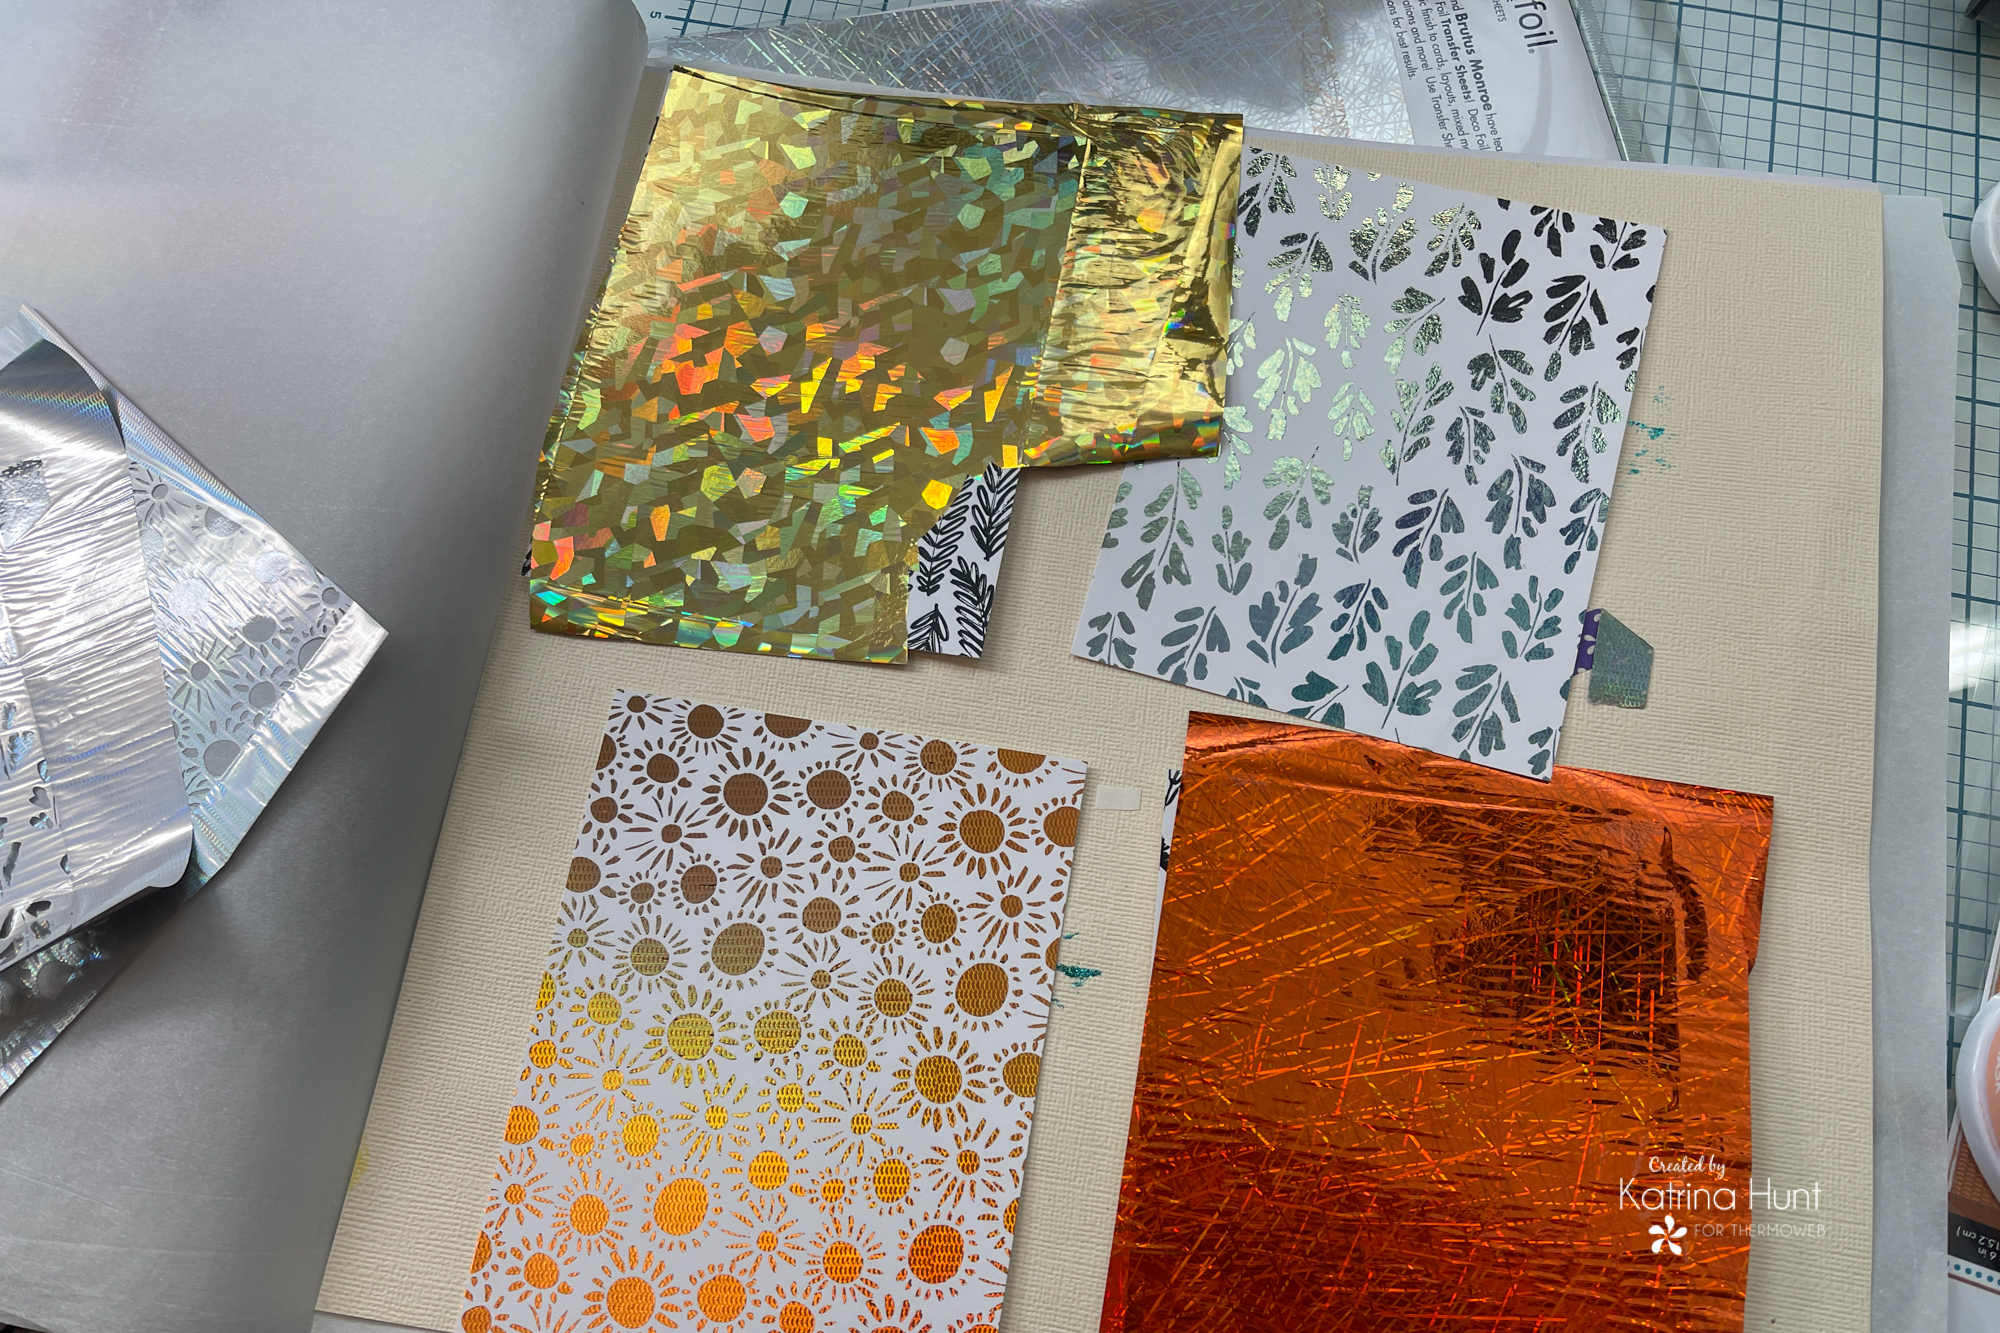
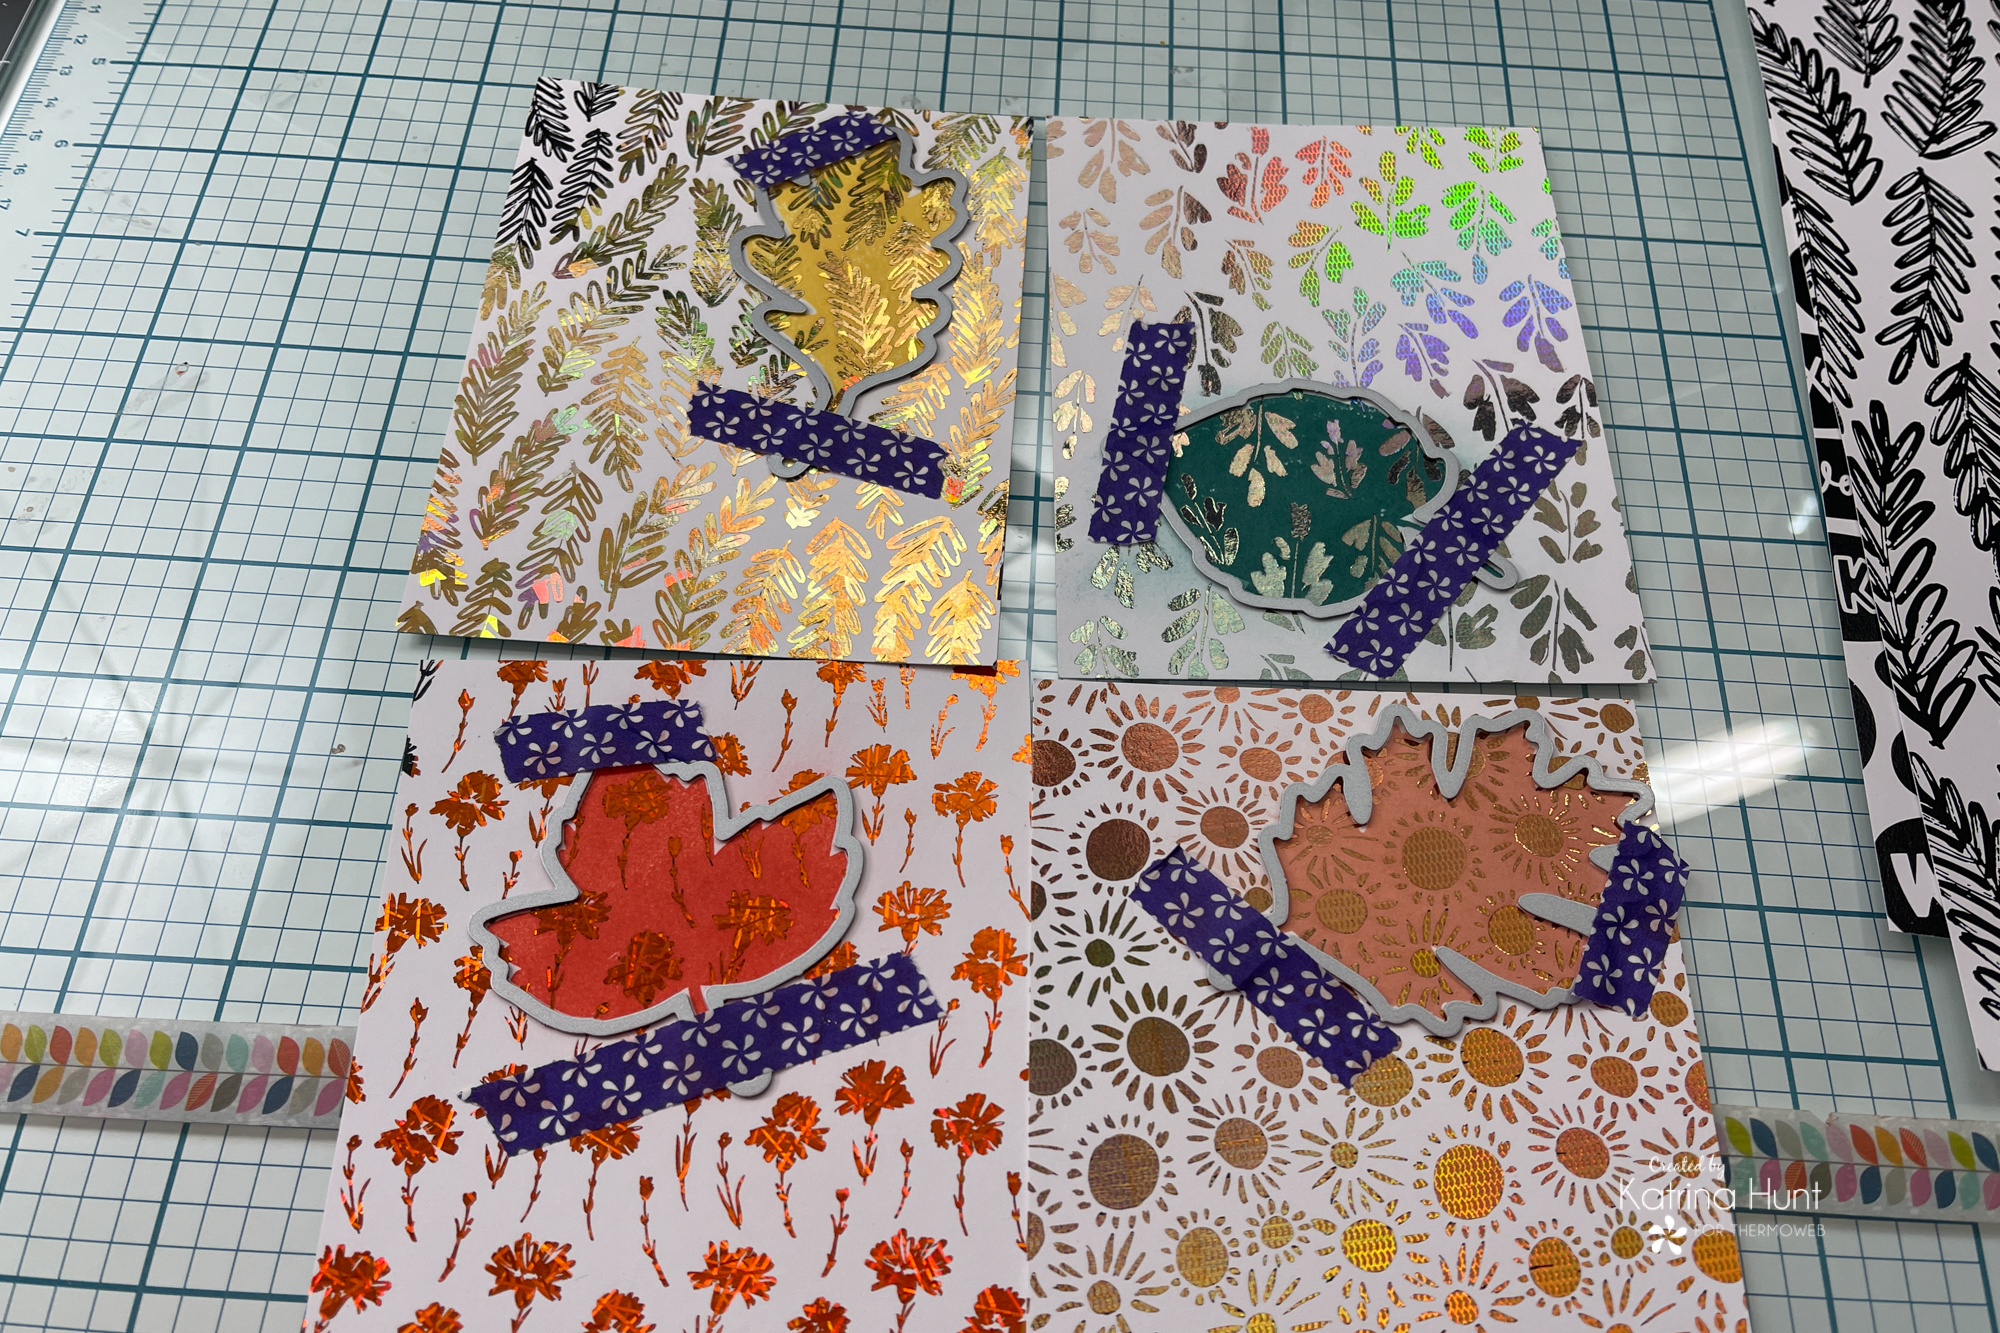
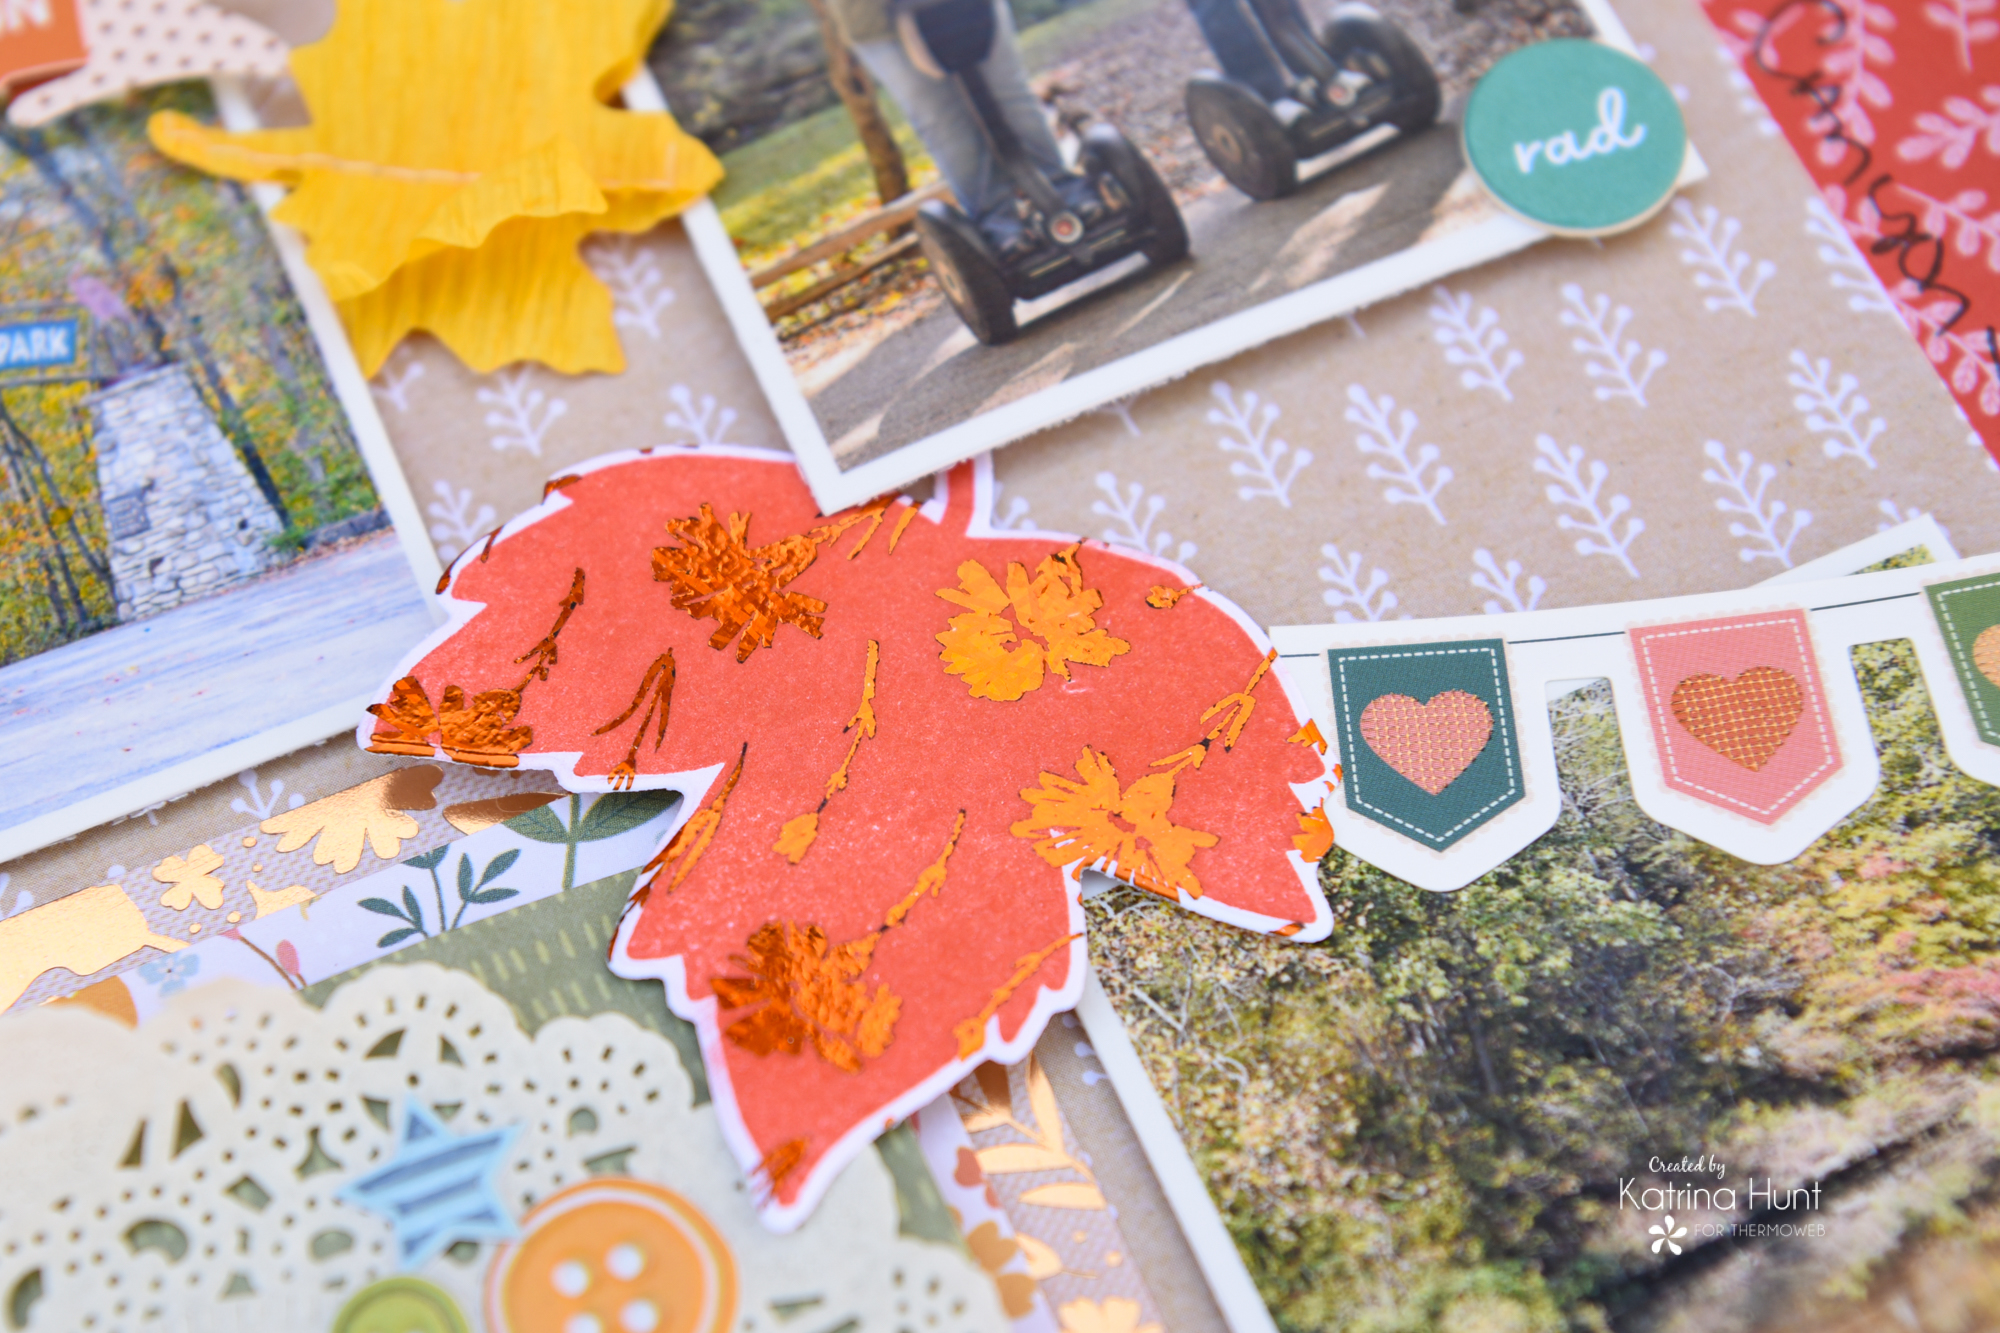
Once I had my card fronts covered with foil and ran thru my laminator, I peeled off the foil and then stamped different leaves from the Catherine Pooler Painted Leaves stamp set. After I stamped, I let them sit for just a minute and then wiped down with a microfiber cloth to get the ink off of the foiled areas. I then placed the matching leaf dies where I wanted them on the card front and ran thru my die cutter.

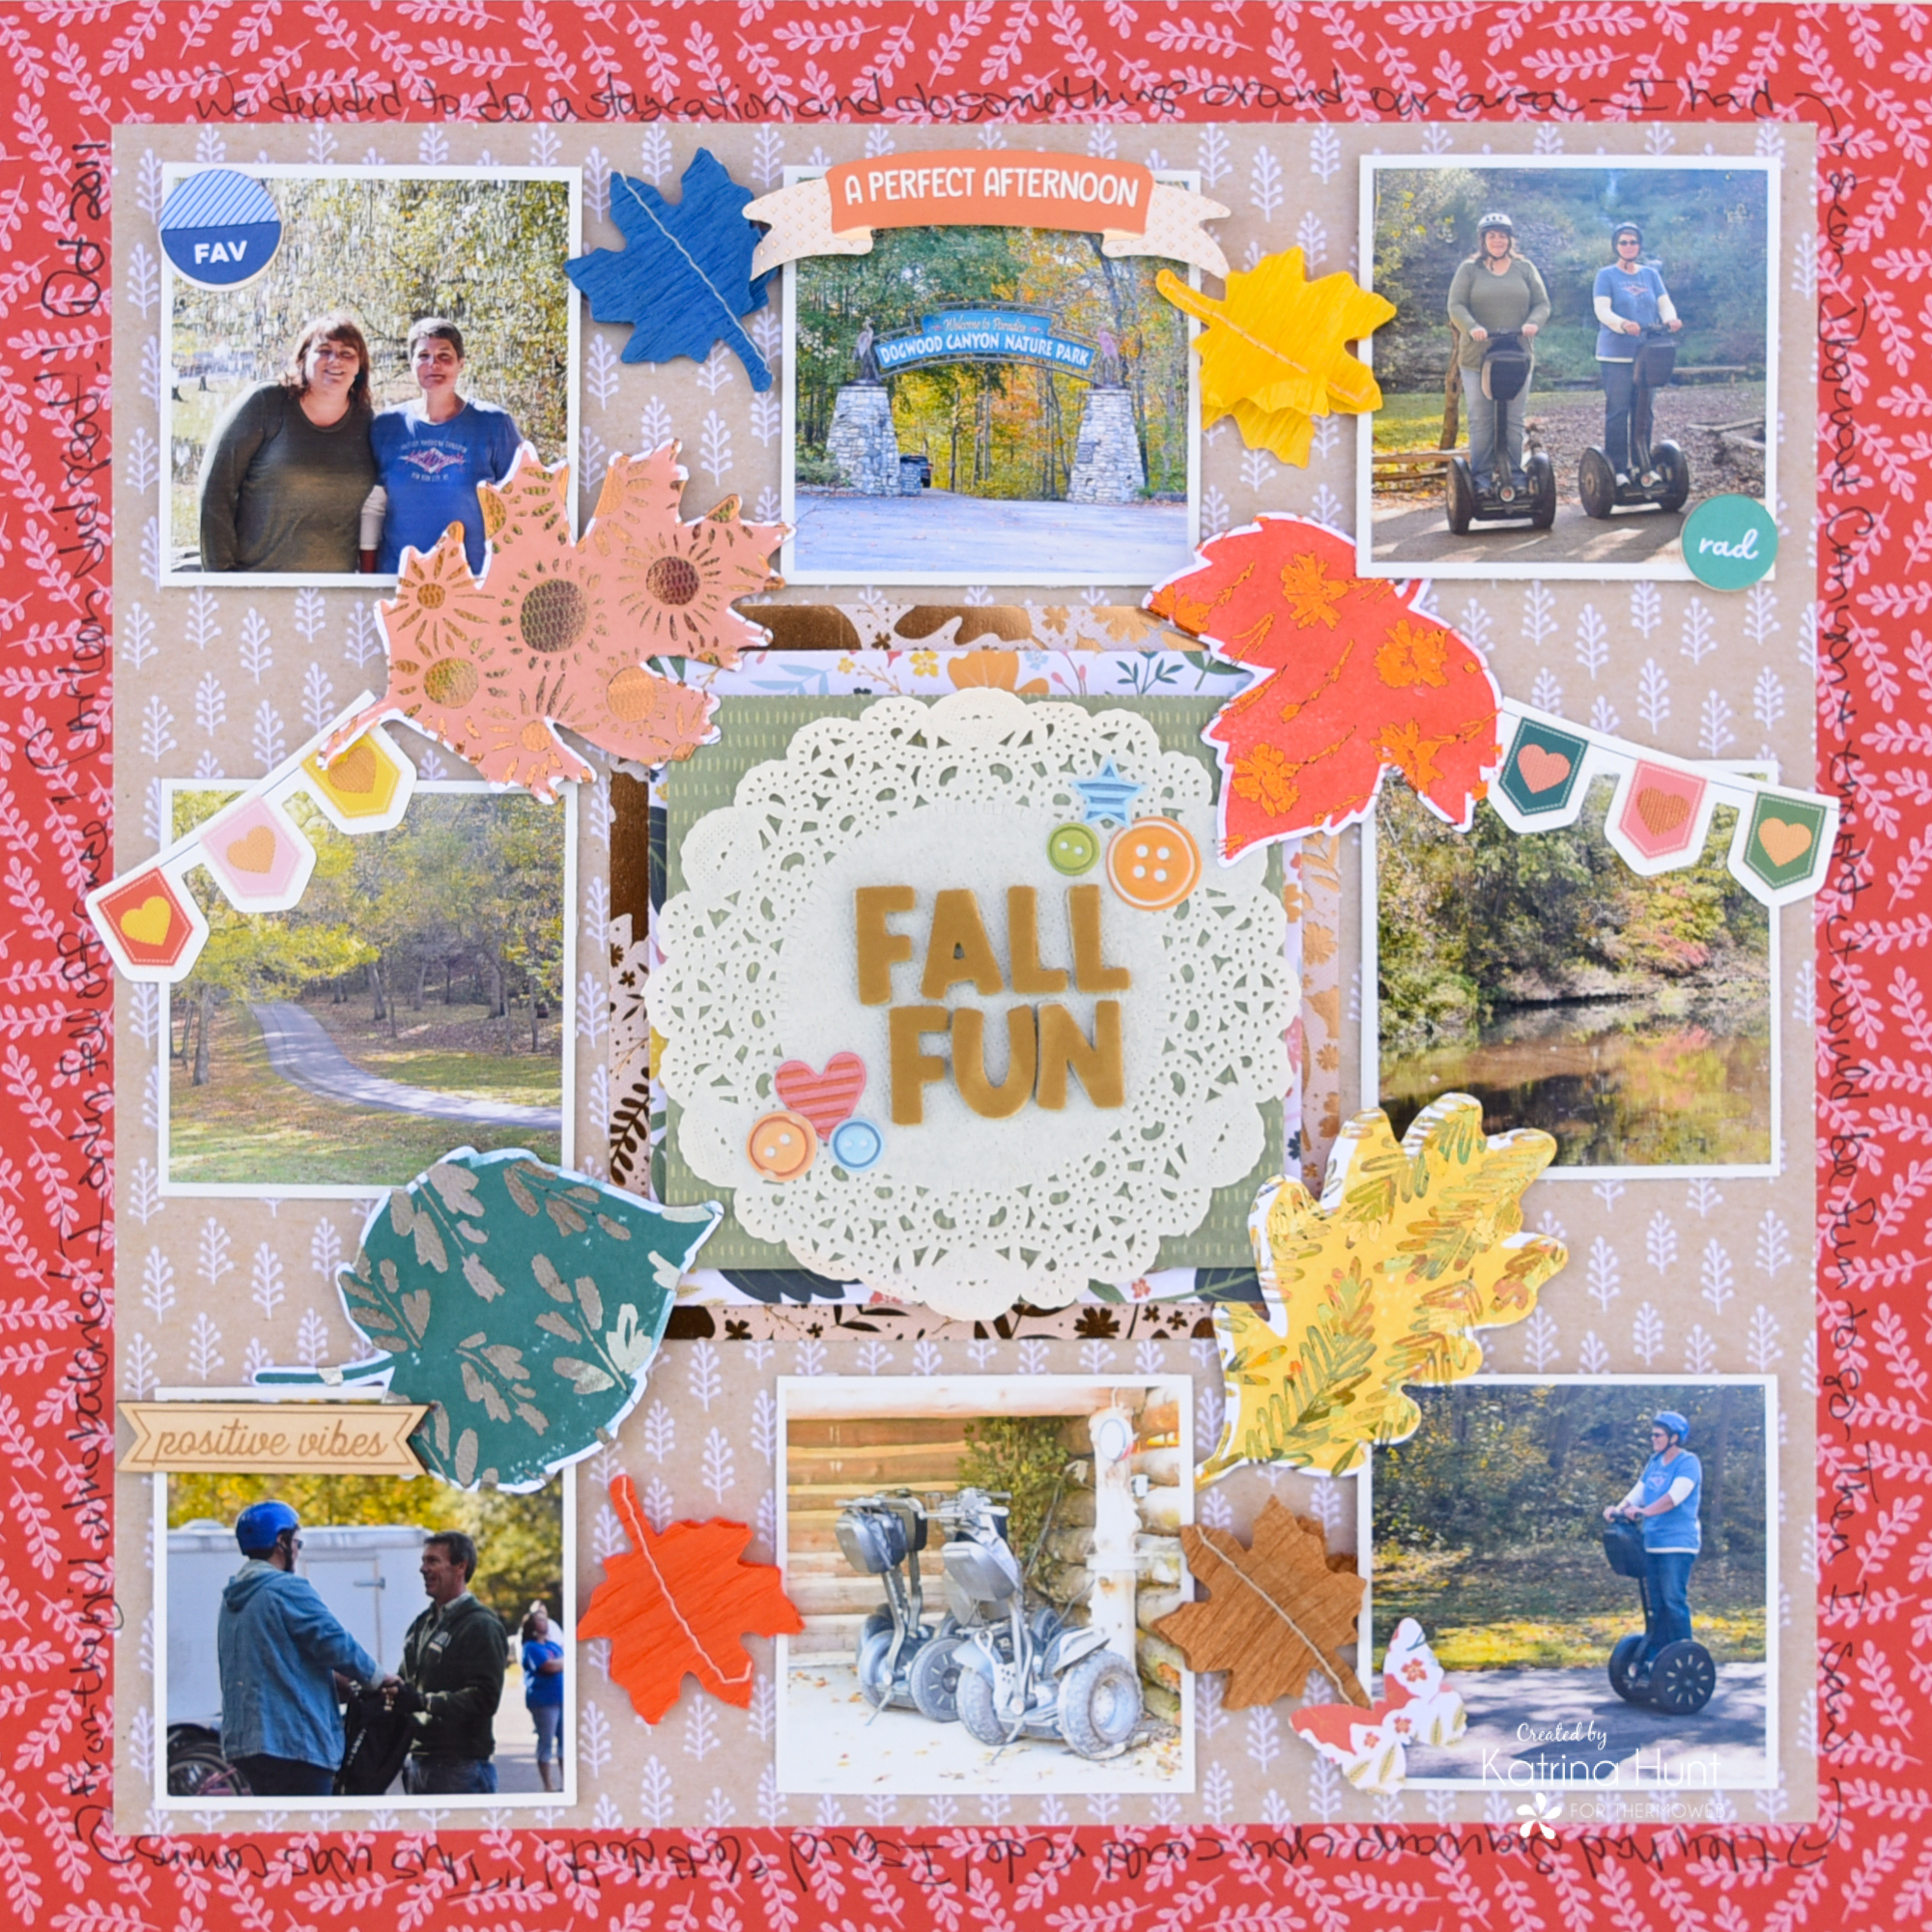
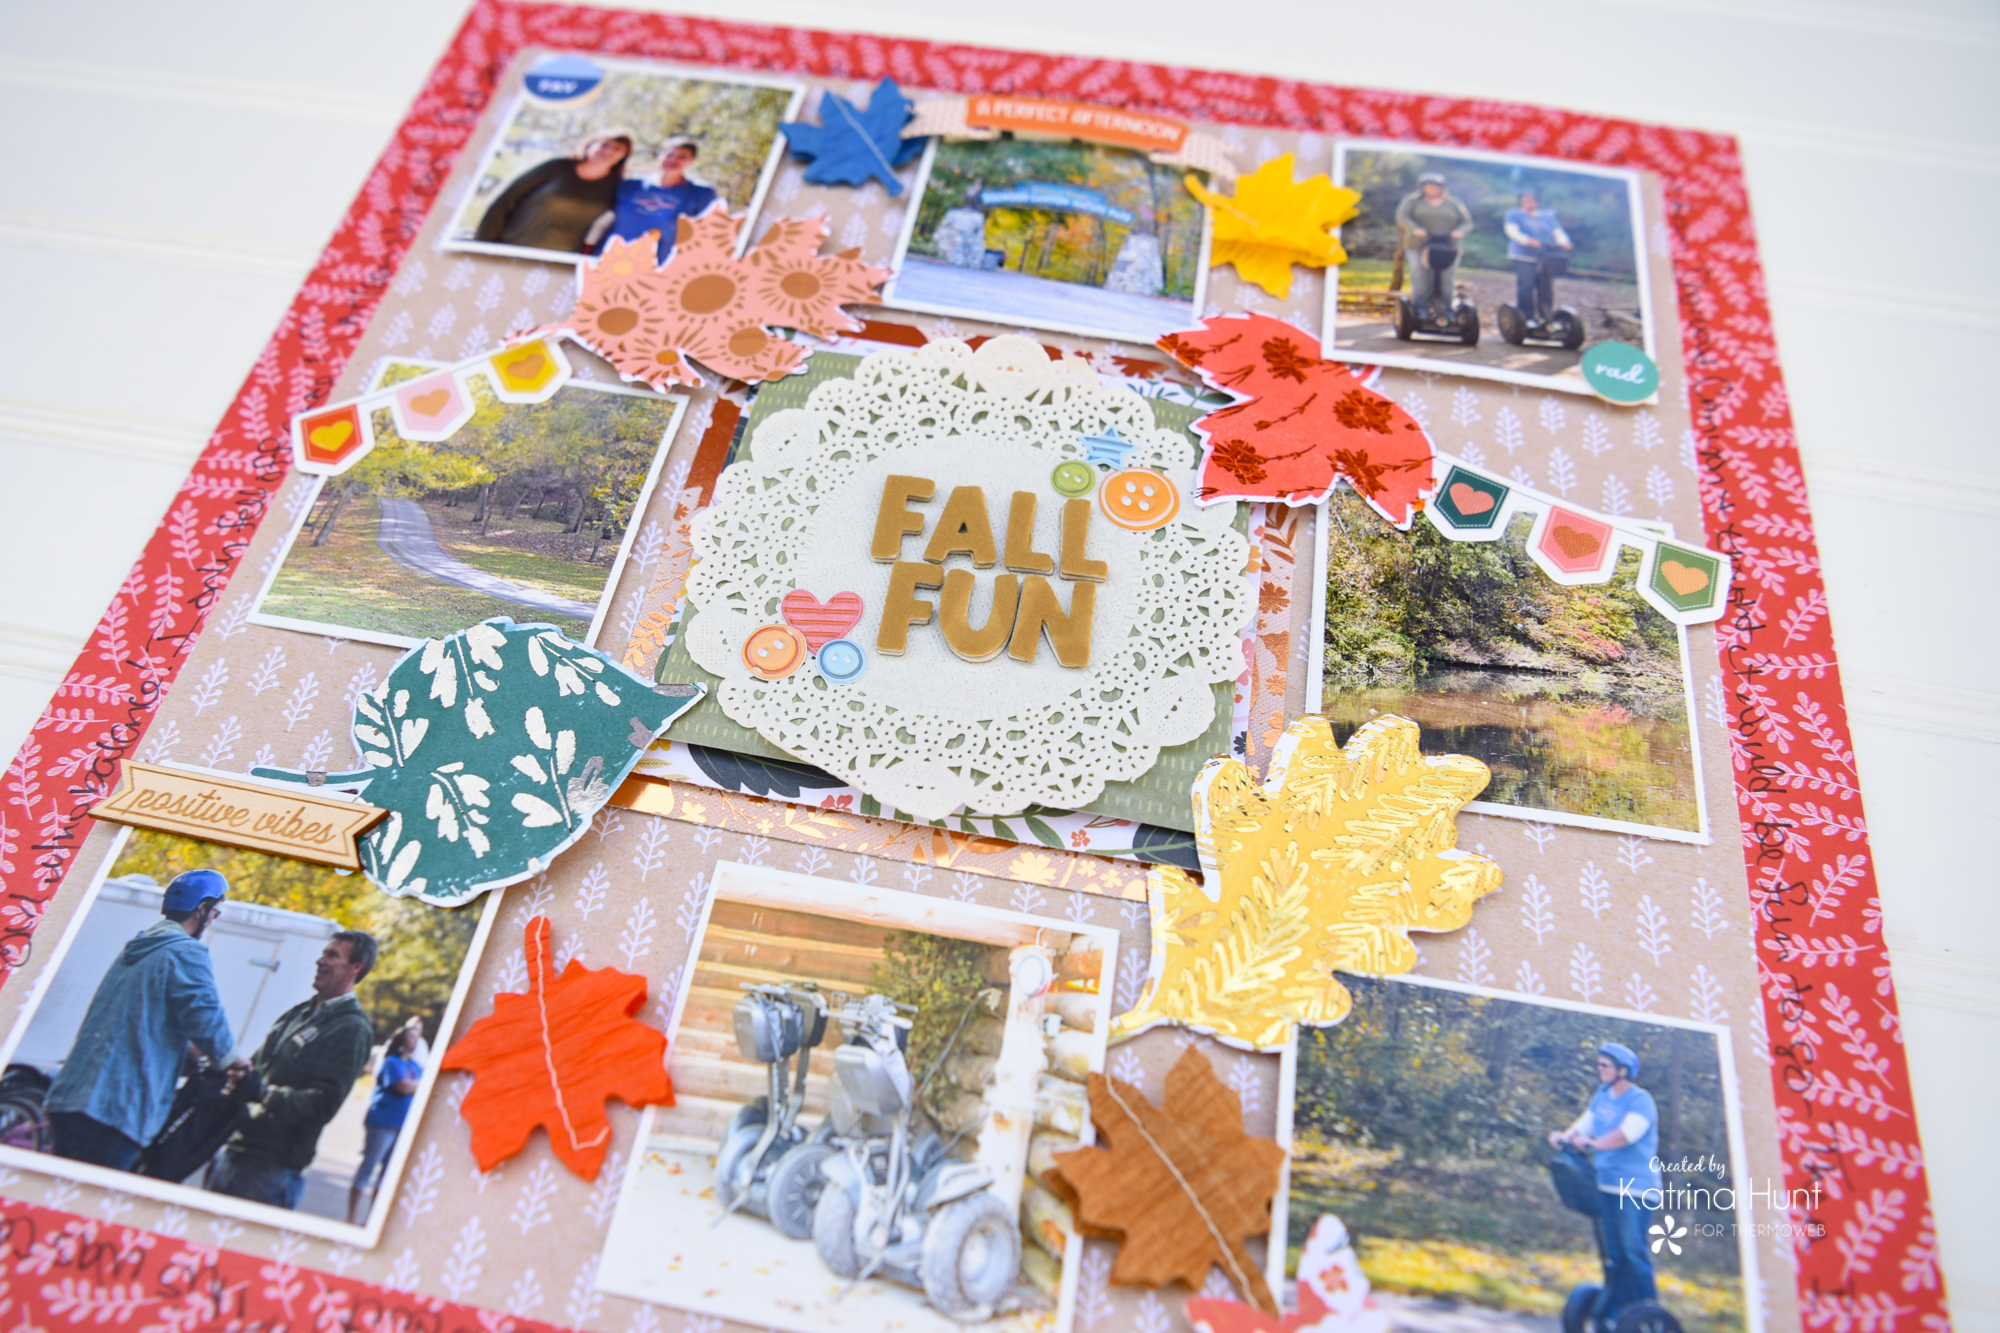
I knew I wanted the center area to be my title area and I wanted a flocked title. I started with a 4.5 square piece of pattern paper and built up in small squares from there until I had three layers. A couple of layers I used the 3D Foam Squares to give them some lift!
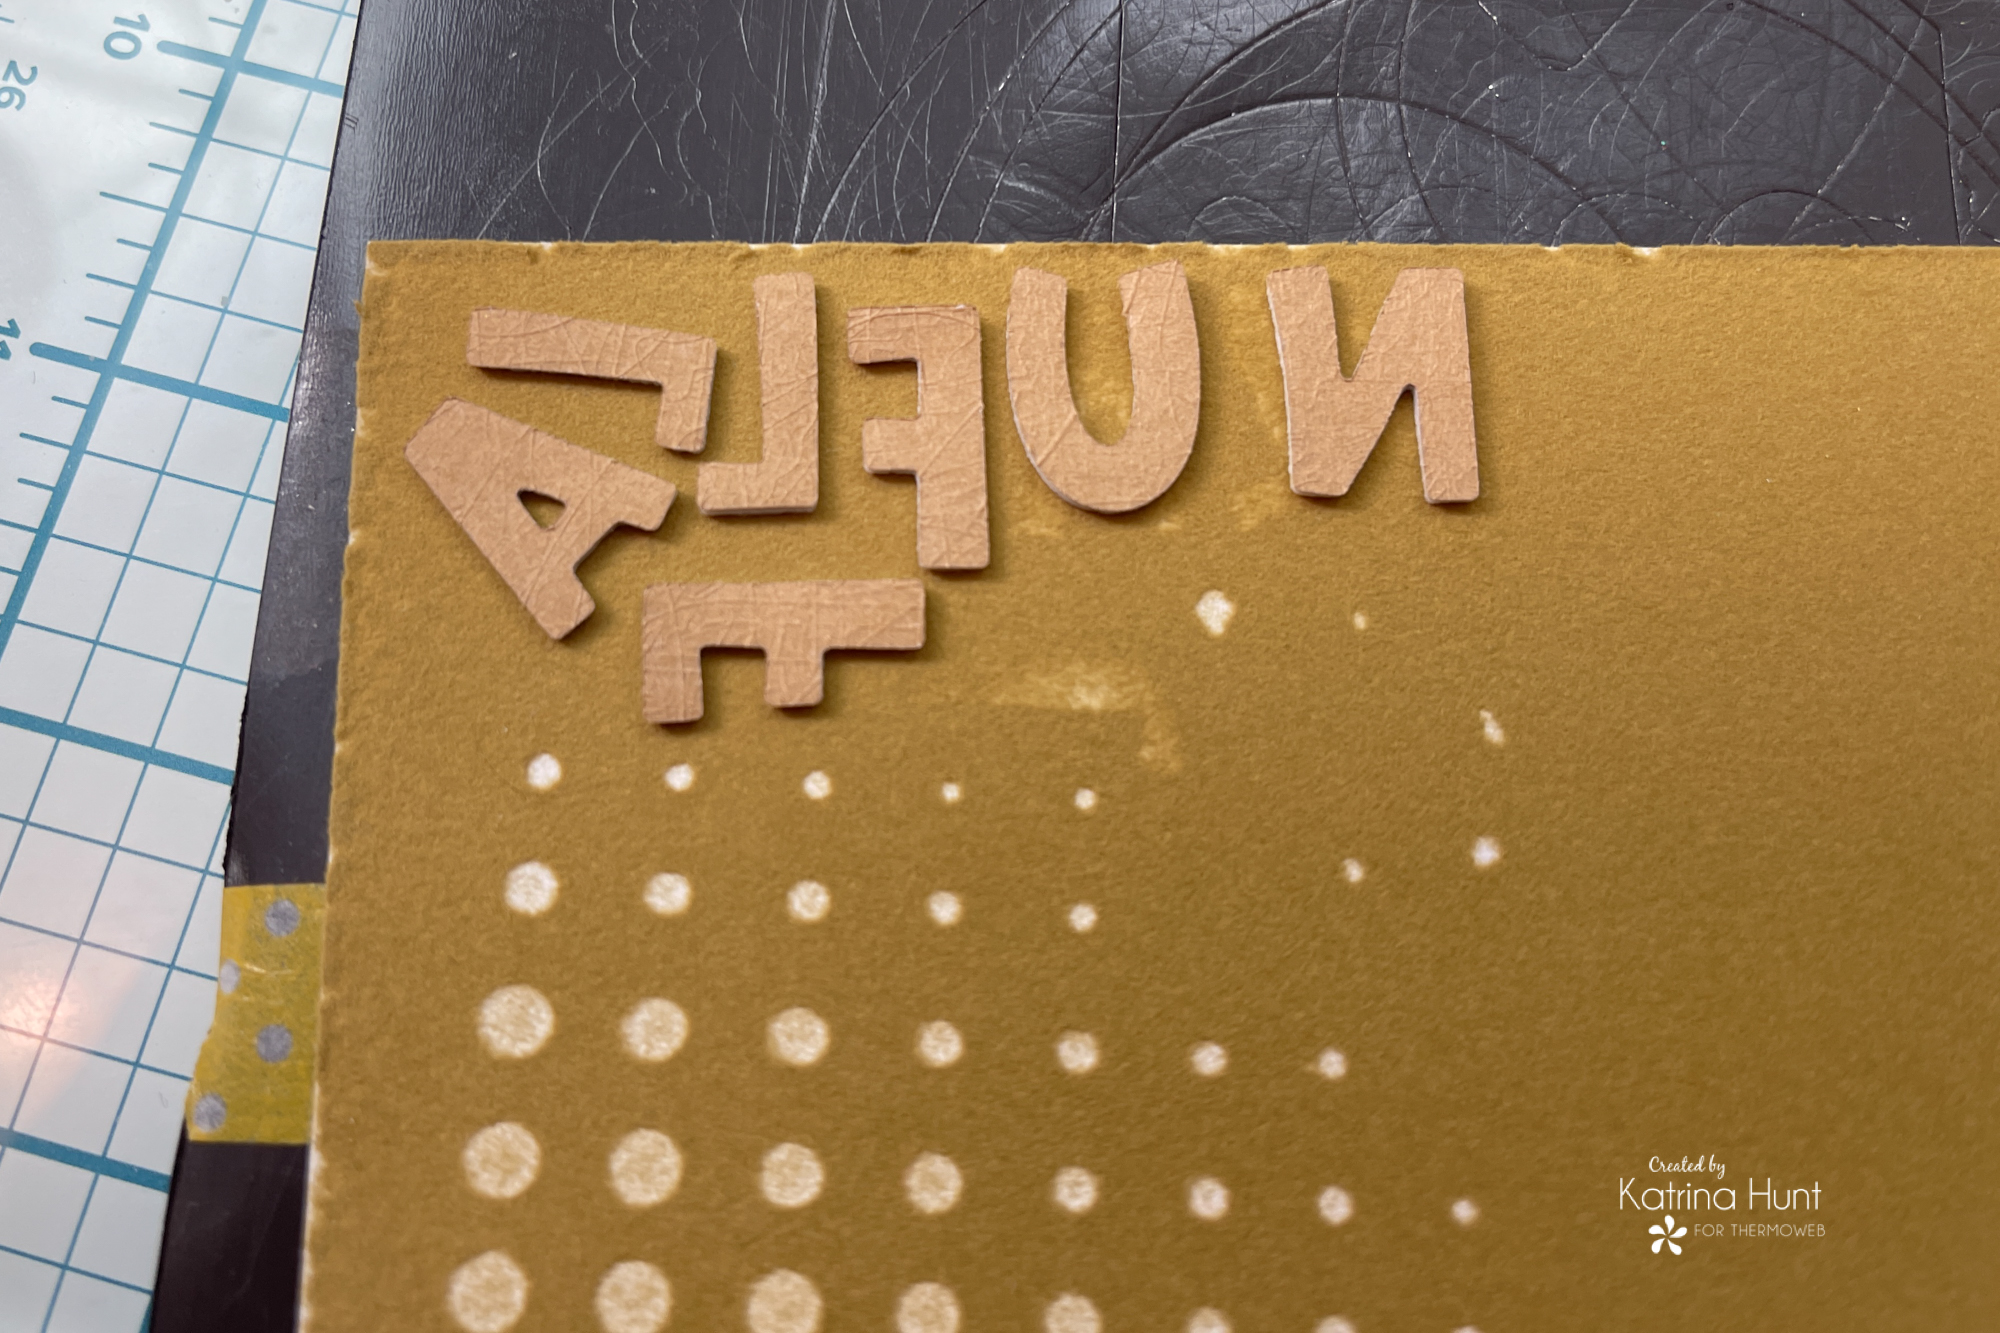
Once I had that area set, I started working on the title with Catherine Pooler Block Alphabet Dies and Deco Foil Flock in Tuscan Gold and Deco Foil Foam Adhesive. I applied a section of the foam adhesive onto a piece of cardstock. This will prevent the foam from stretching while working with it. Out of this, I cut each letter twice. Once time to flock that letter and then one time to stack it underneath the flocked layer to make a chipboard type effect.
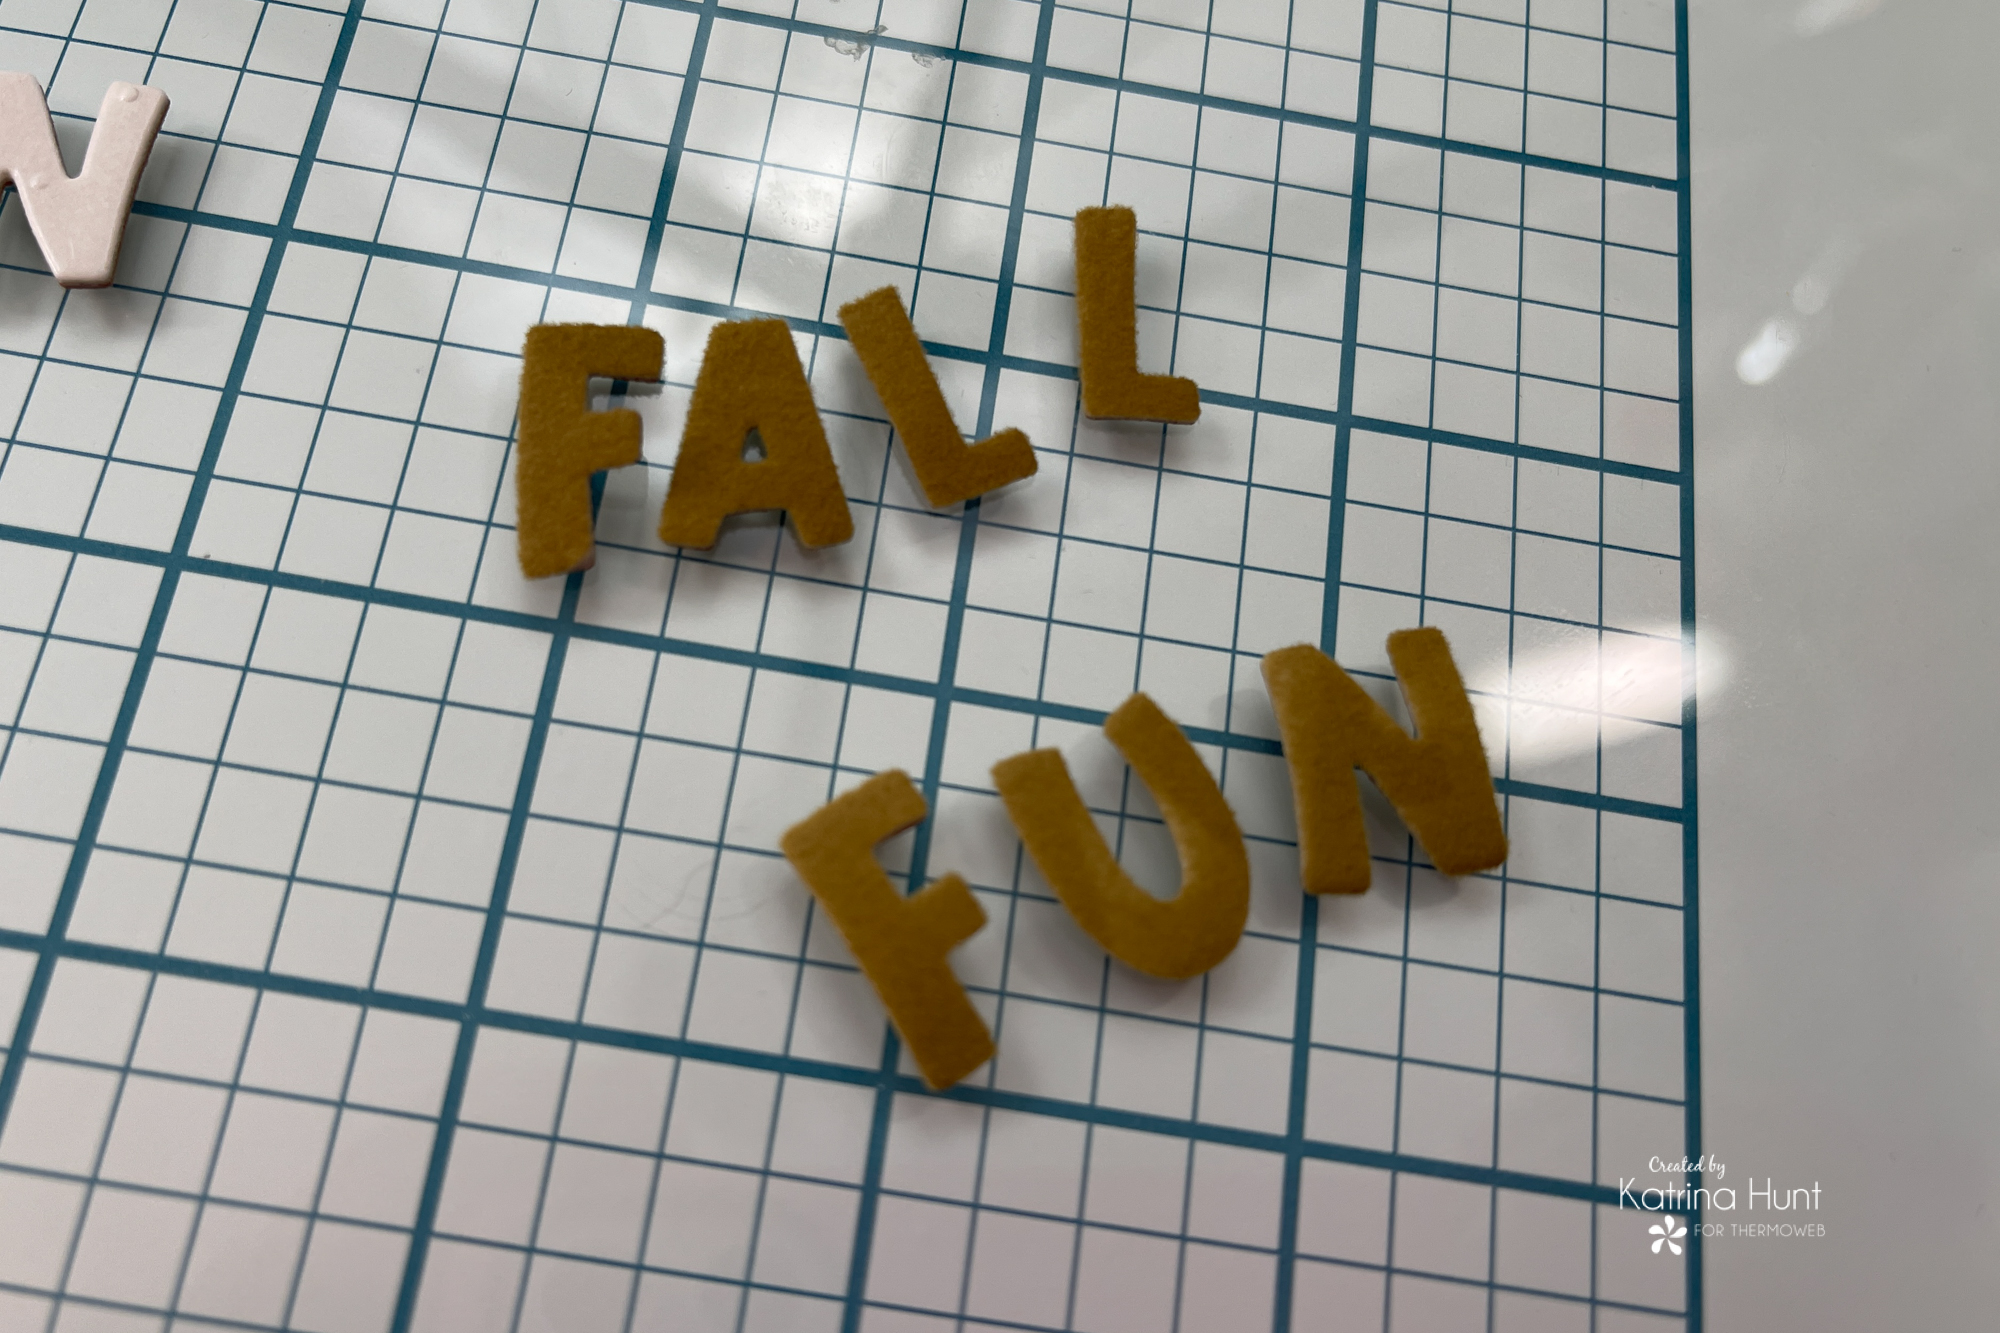
Creating The Flocked Title
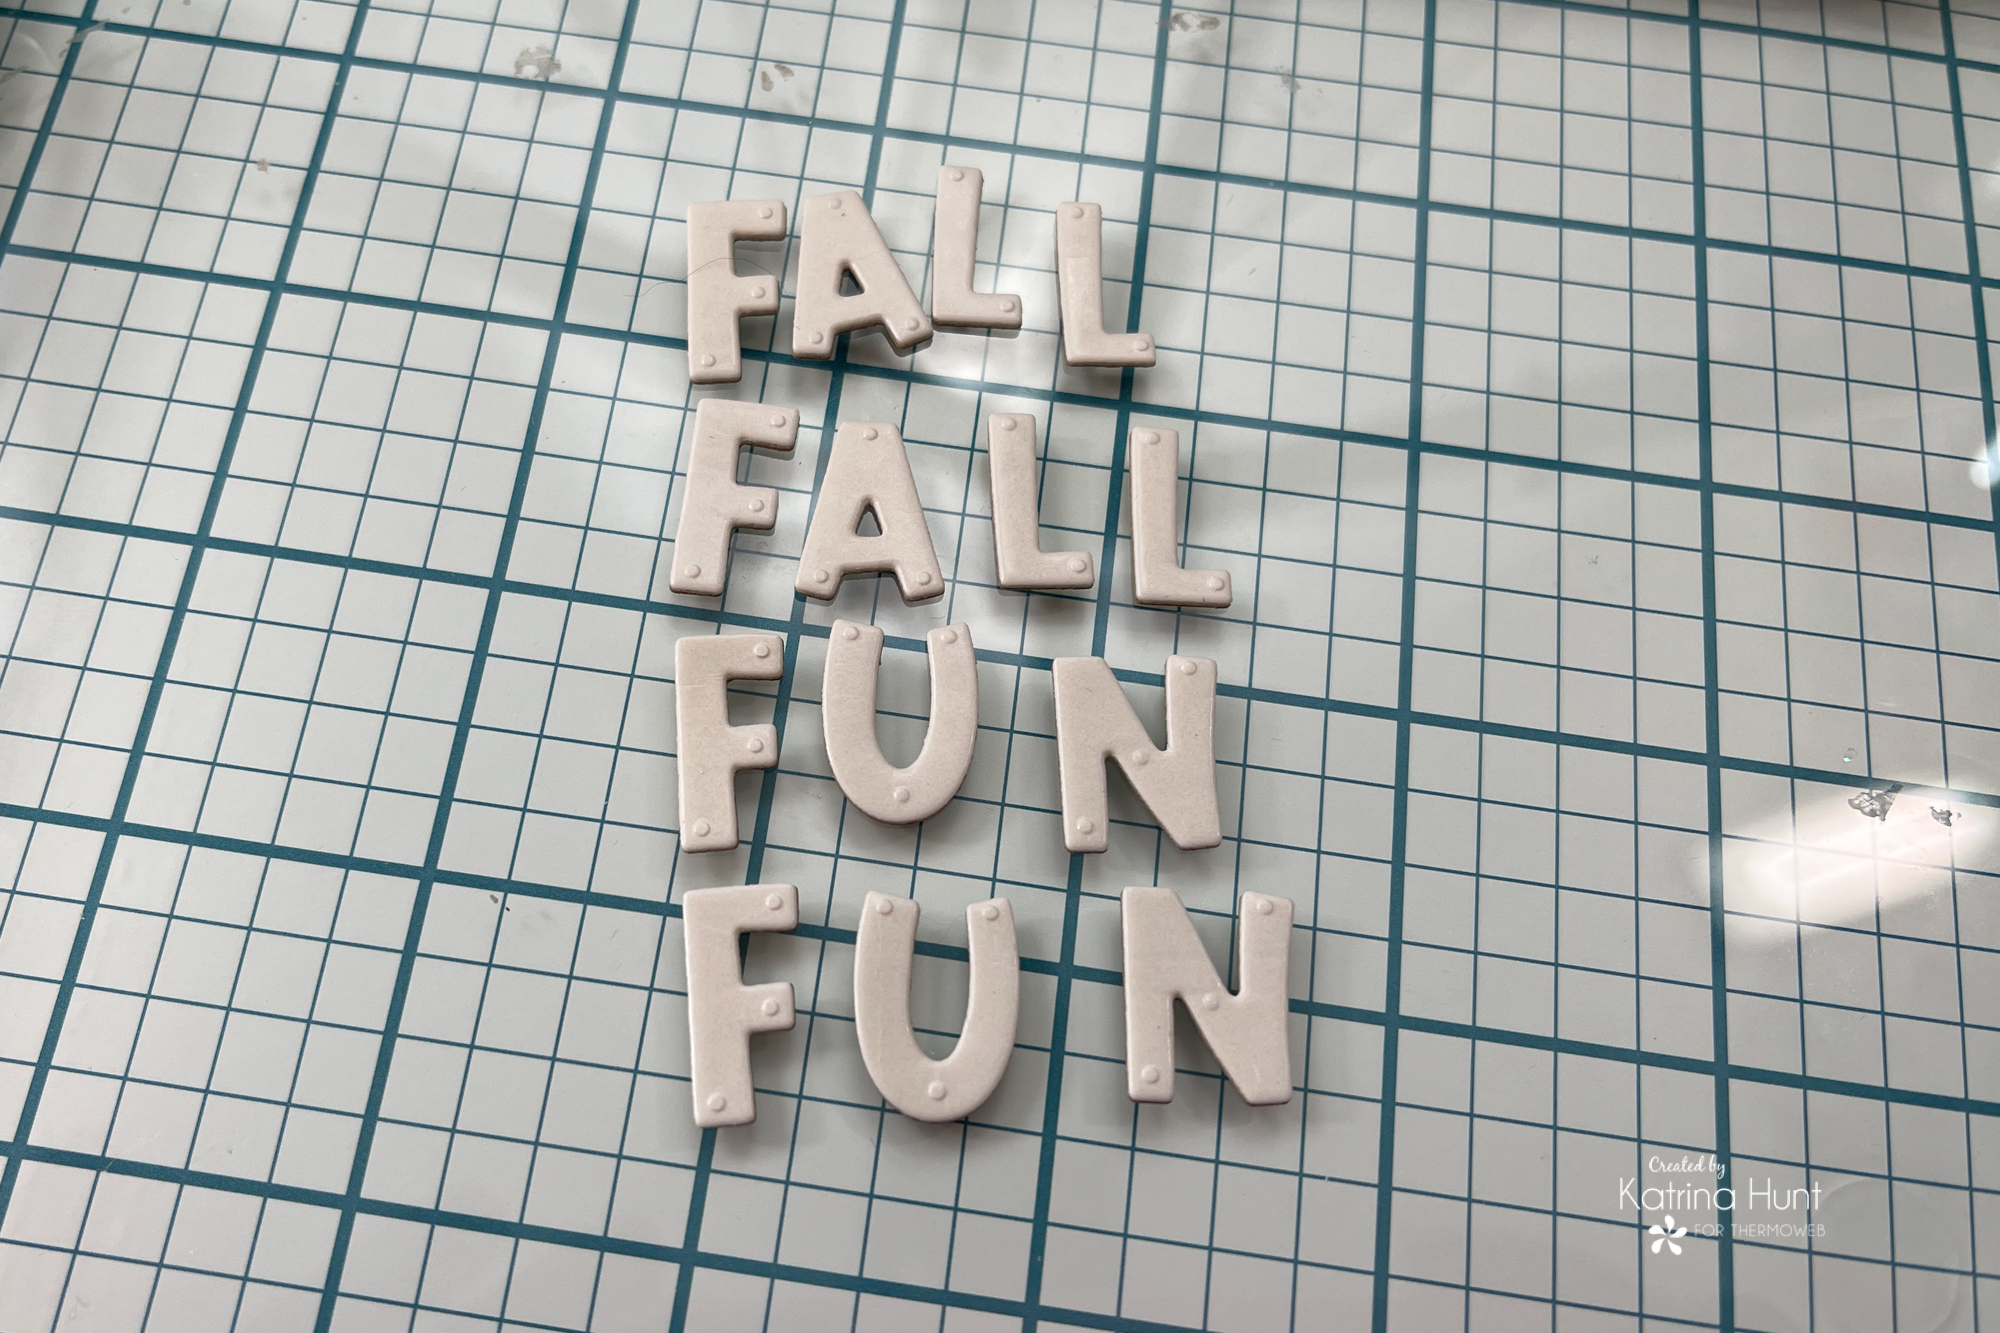
After your letters are die-cut, remove the top protective cover of one set and stick them face down onto your flock transfer sheet. Run thru your manual die cutter. Once the flock is transferred, gently peel them away from the flock sheet. To complete your letter, adhere the extra set to the corresponding flocked letter. Adhere with UltraBond Adhesive to your layout.
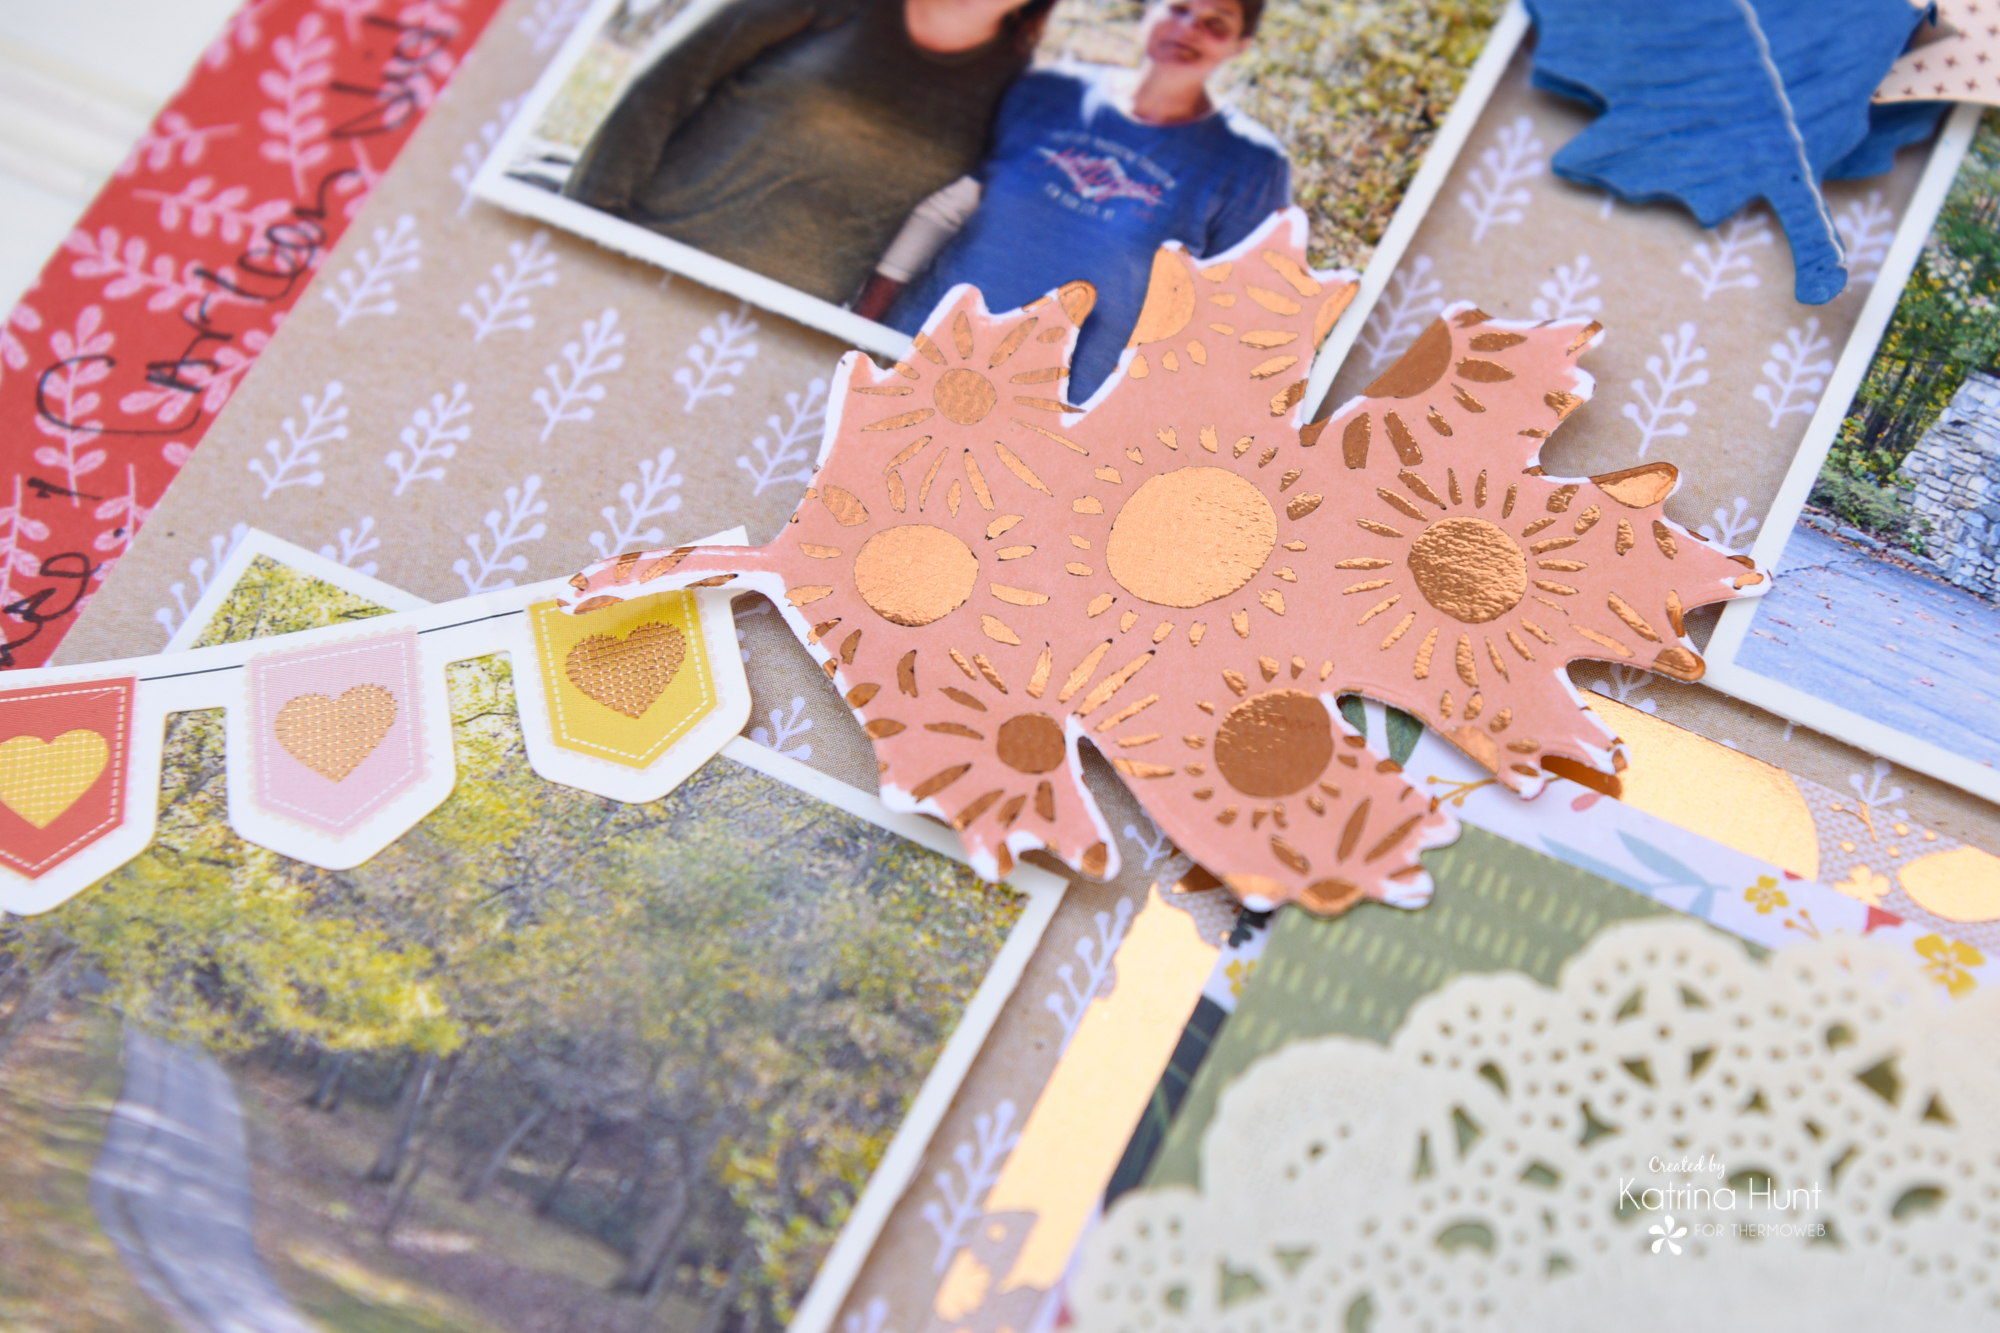
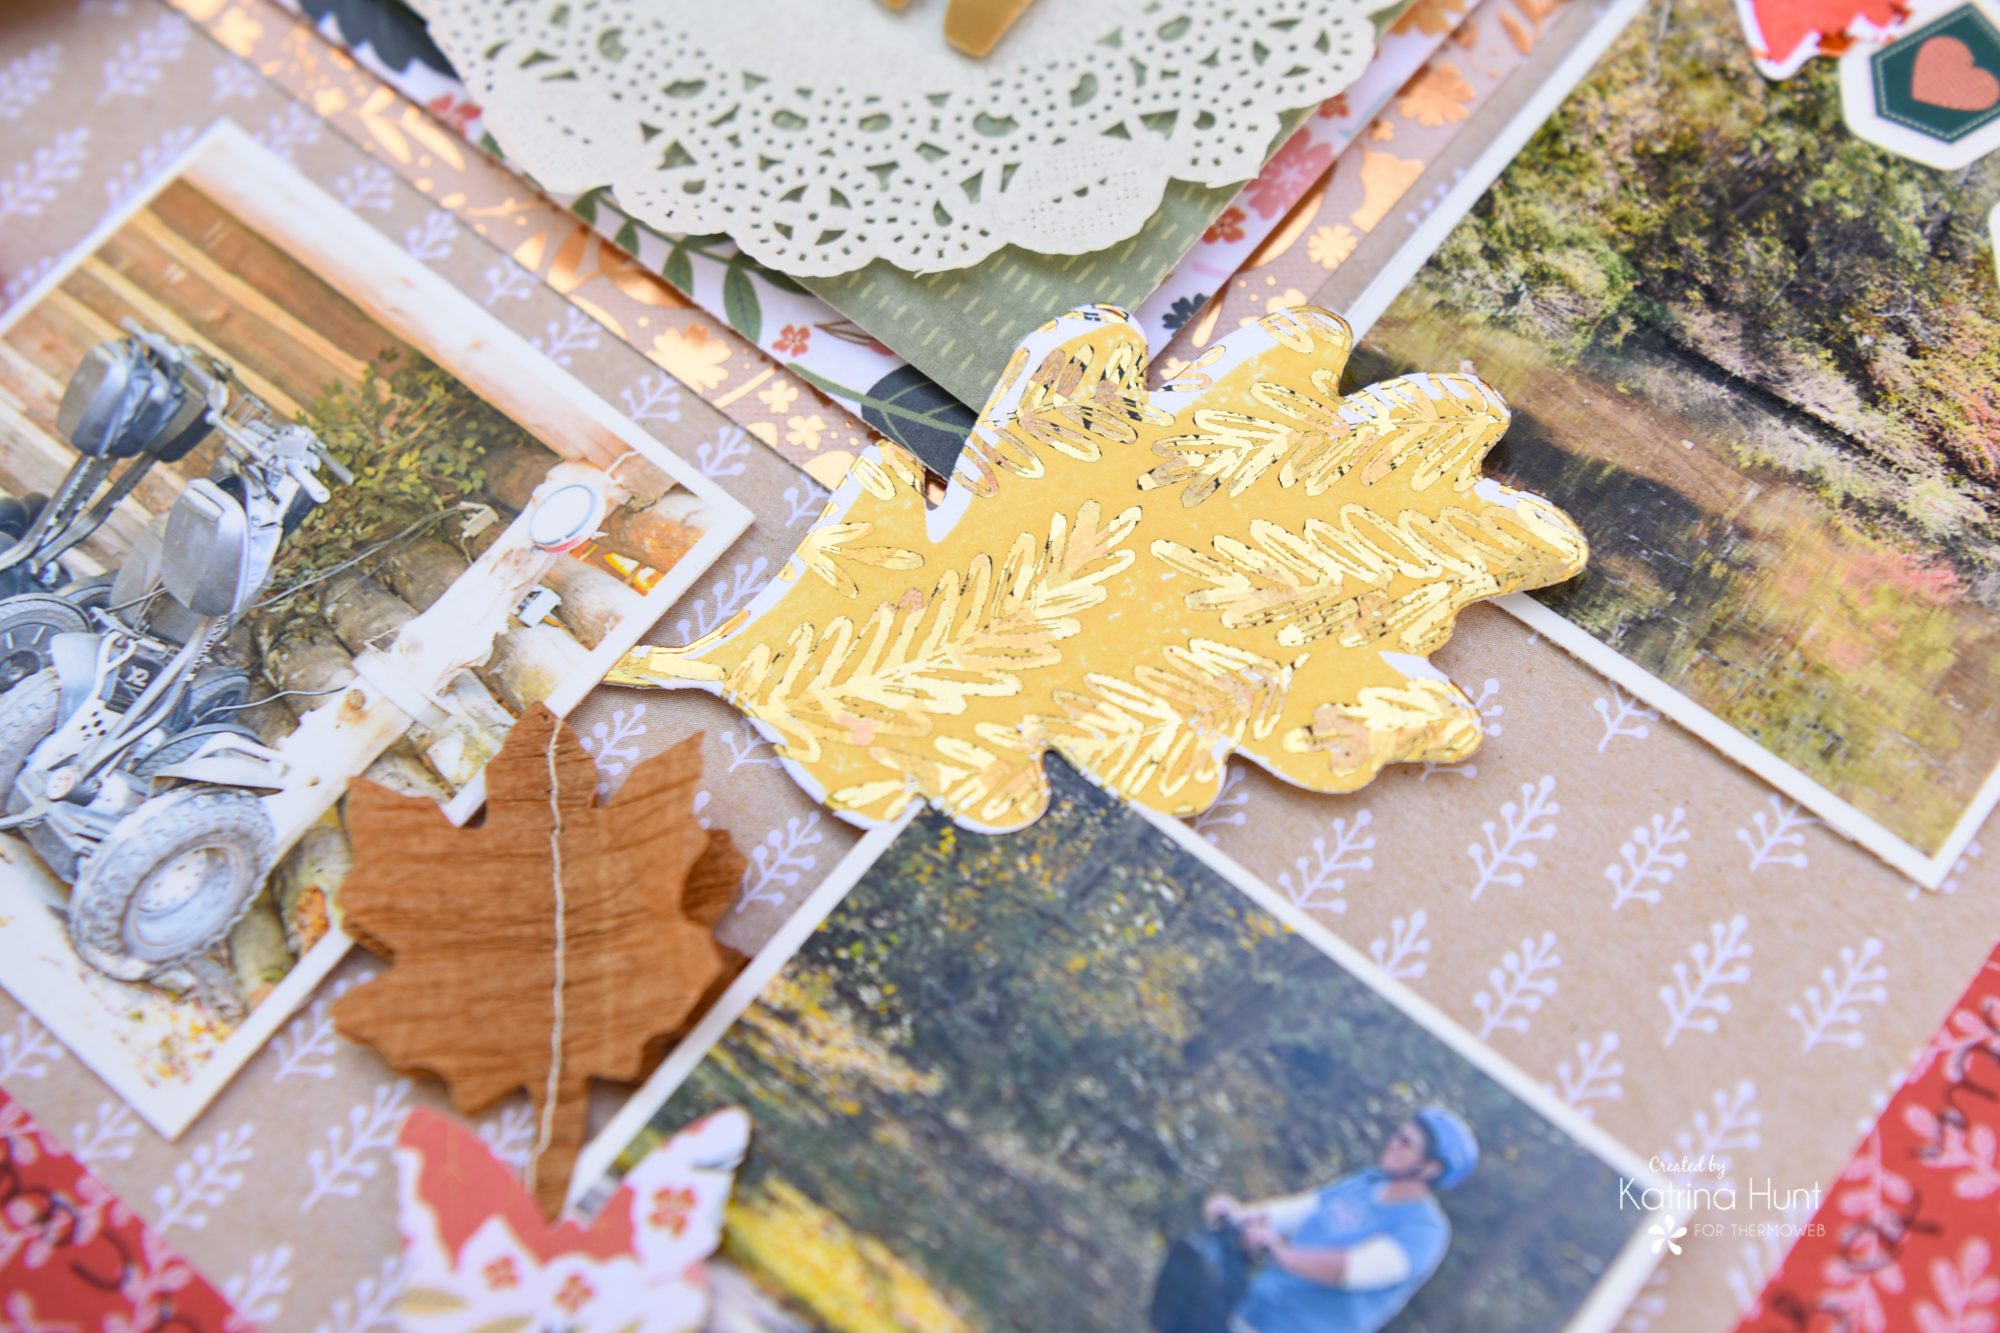
After you have your title area done, then you can proceed to add the foiled leaves and other embellishments you may want to use!
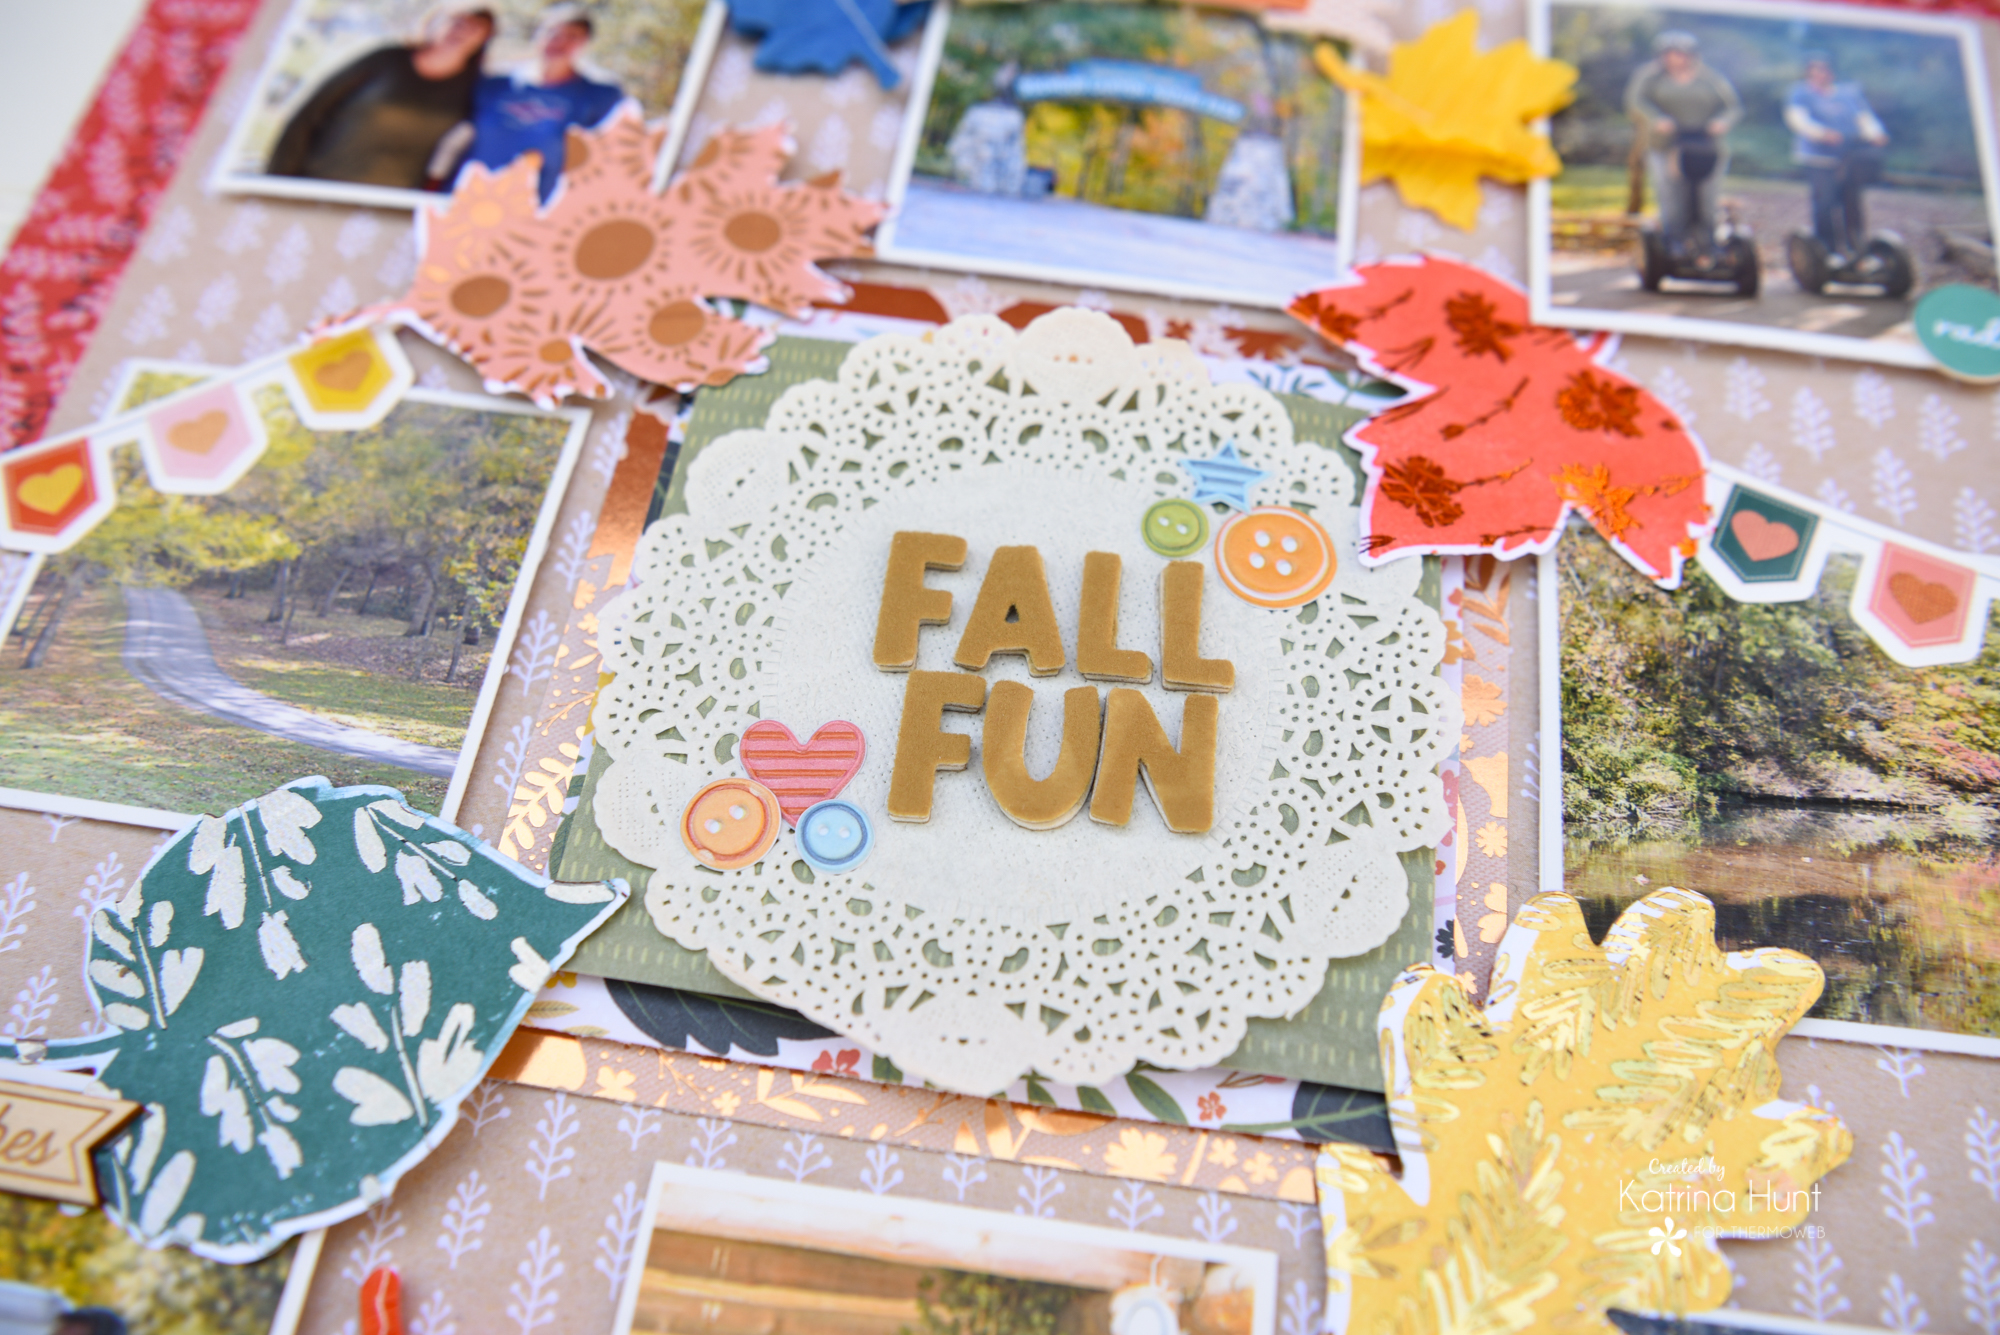
And now, I have a layout completed with not-so-great pictures, but I love how it turned out and those memories are scrapped now! I did my journaling around the inside square. It’s a little hard to see, but you could always use just plain cardstock or a lighter pattern paper than I did for your background.
Thanks for sharing some fall memories with me!! Have a crafty day!