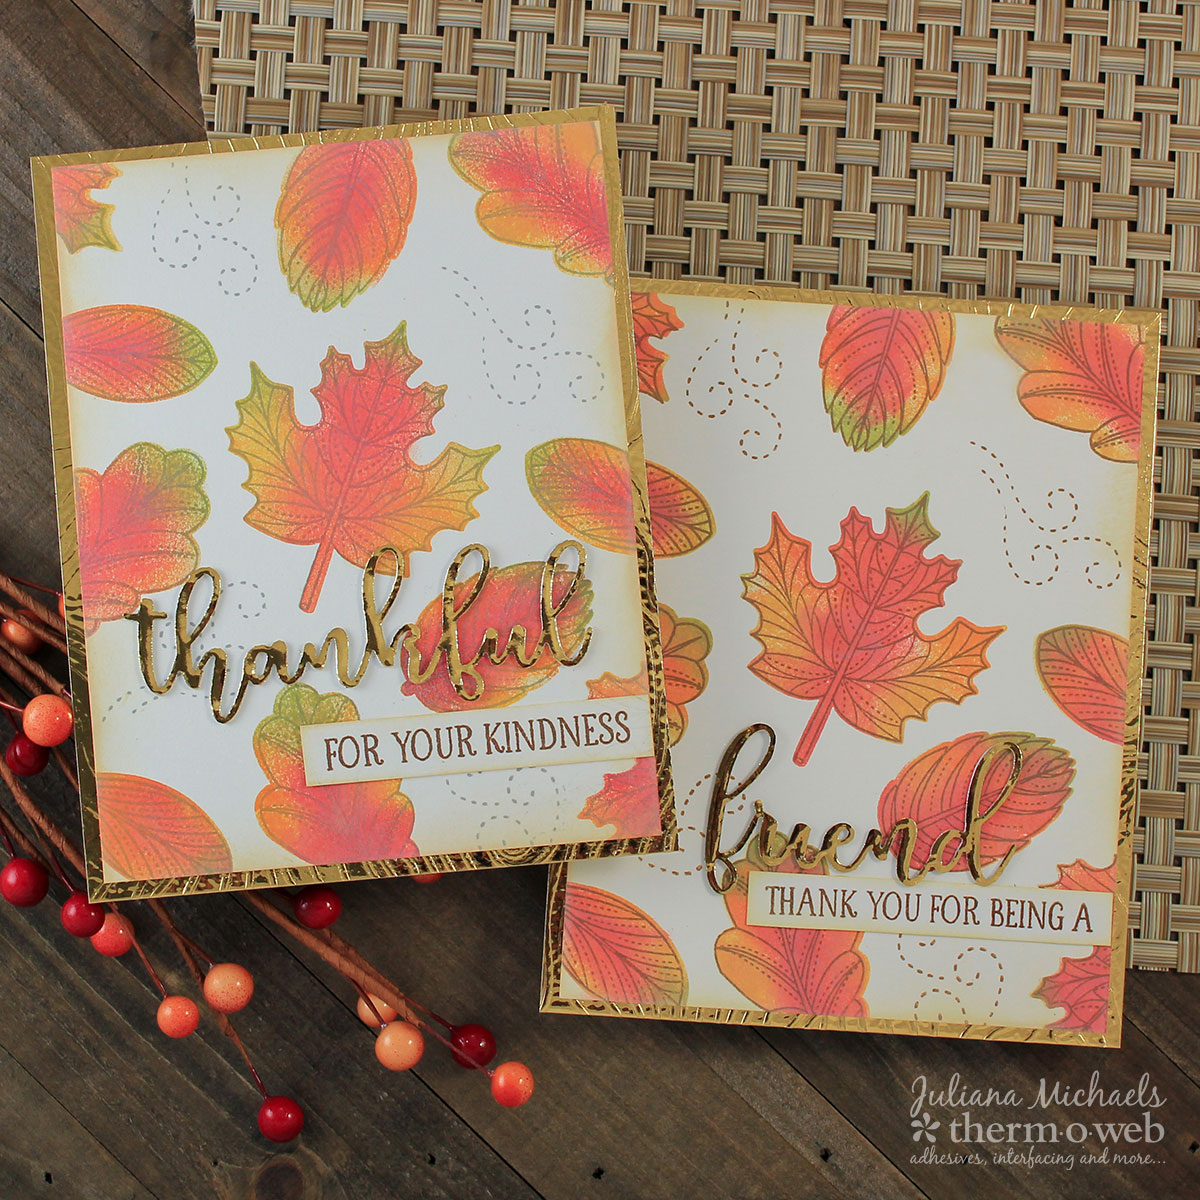
Fall is in the air and with it comes a feeling of gratitude for all the blessings in our lives. Hello friends, it’s Juliana Michaels from 17turtles with you. Today, I’m sharing a couple of fall friendship cards with foiled die cuts. These cards are perfect for letting the special friends in your life know how much they mean to you.
Fall Friendship Cards with Deco Foil Die Cuts
Stamping a Fall Background with Distress Oxide Inks
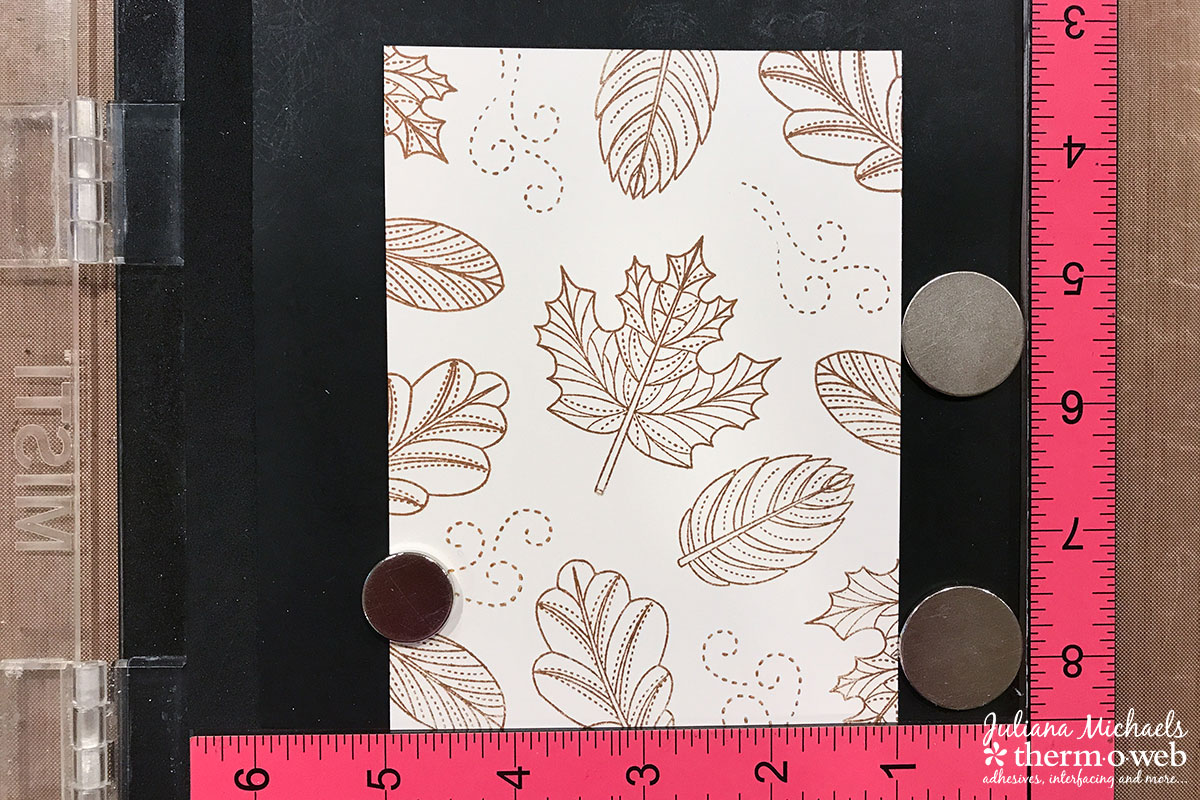
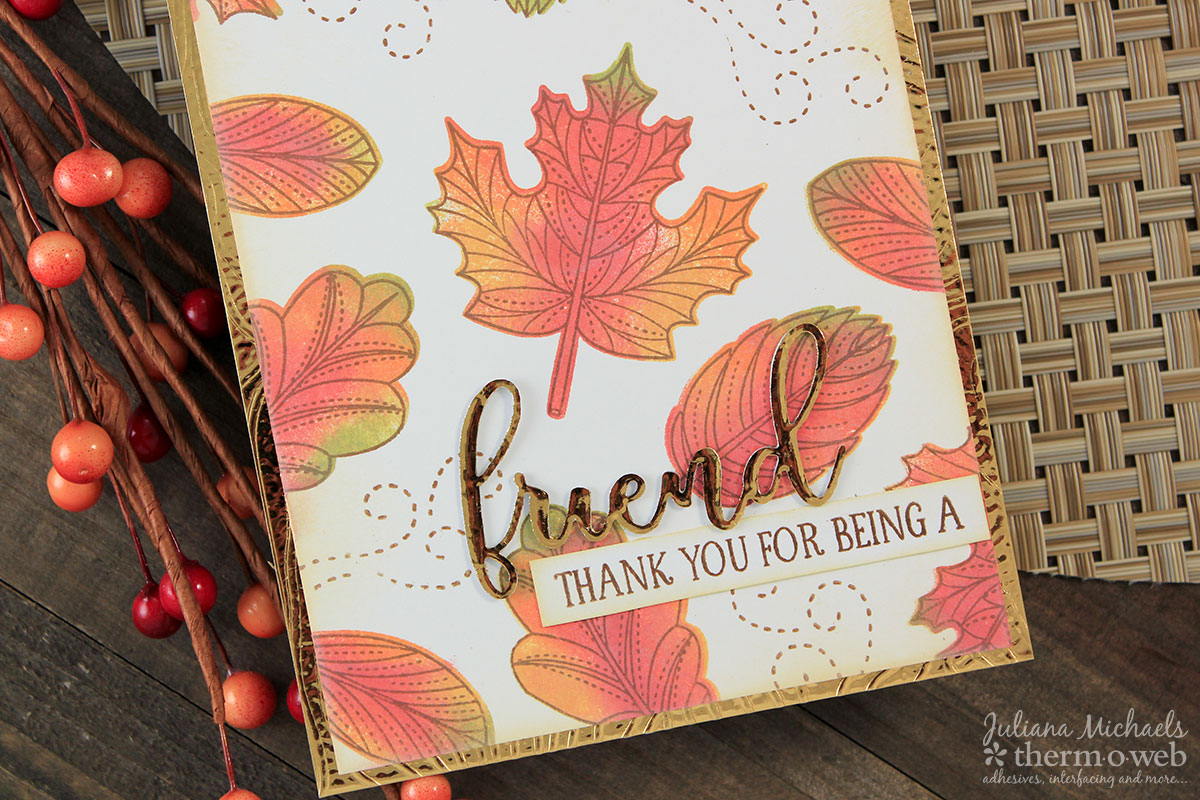
Begin by stamping the background for the card using a mix of fall leaf stamps. This particular stamp set includes both an outline stamp and a coordinating solid stamp. You can use a stamp positioning tool, such as the MISTI, to help with this.
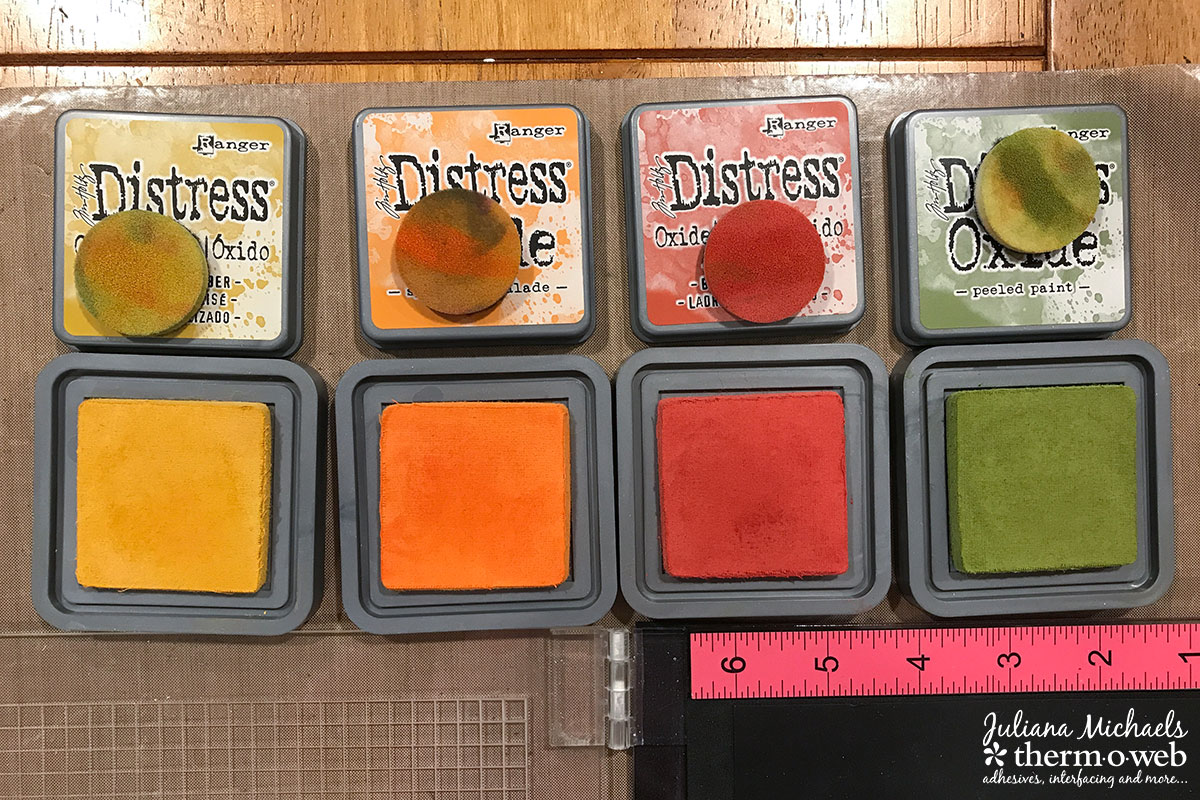
To give the leaves some color, select inks in a mix of red, orange, yellow and green. For this project I used Distress Oxide Inks.
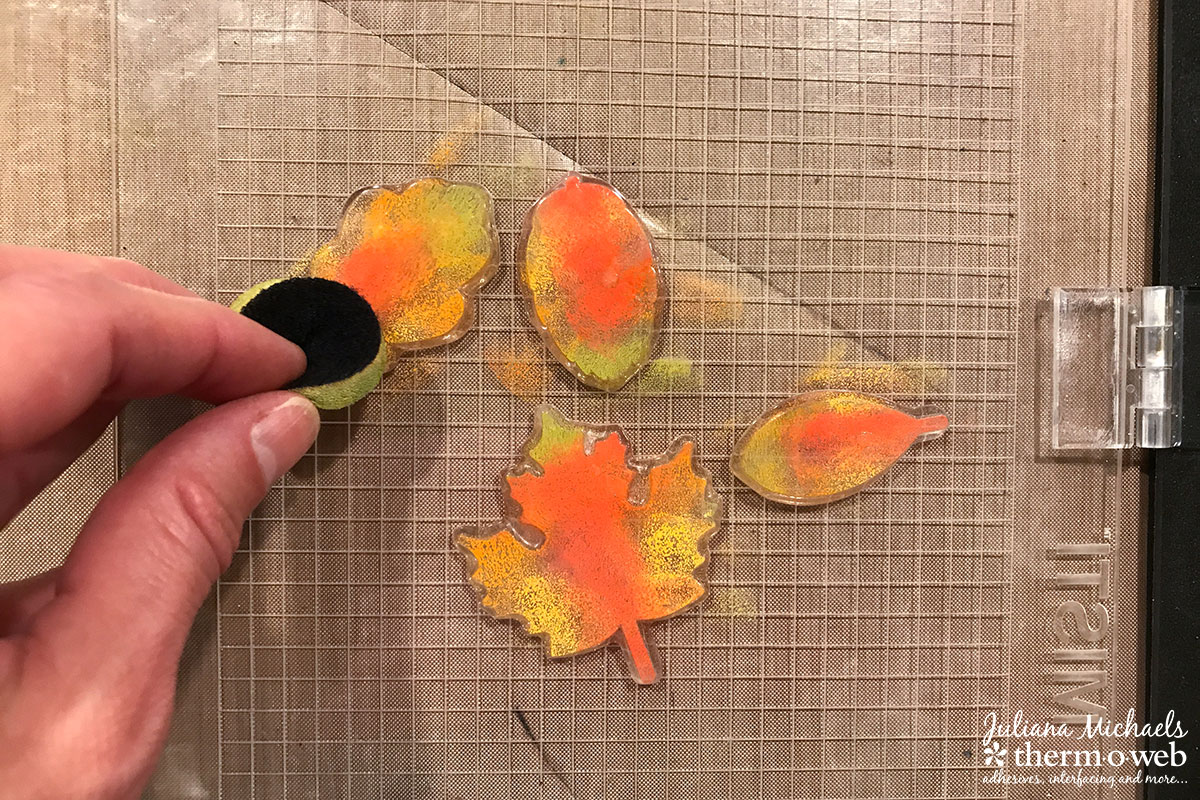
Use a sponge dauber to apply the ink directly to the solid stamp image.
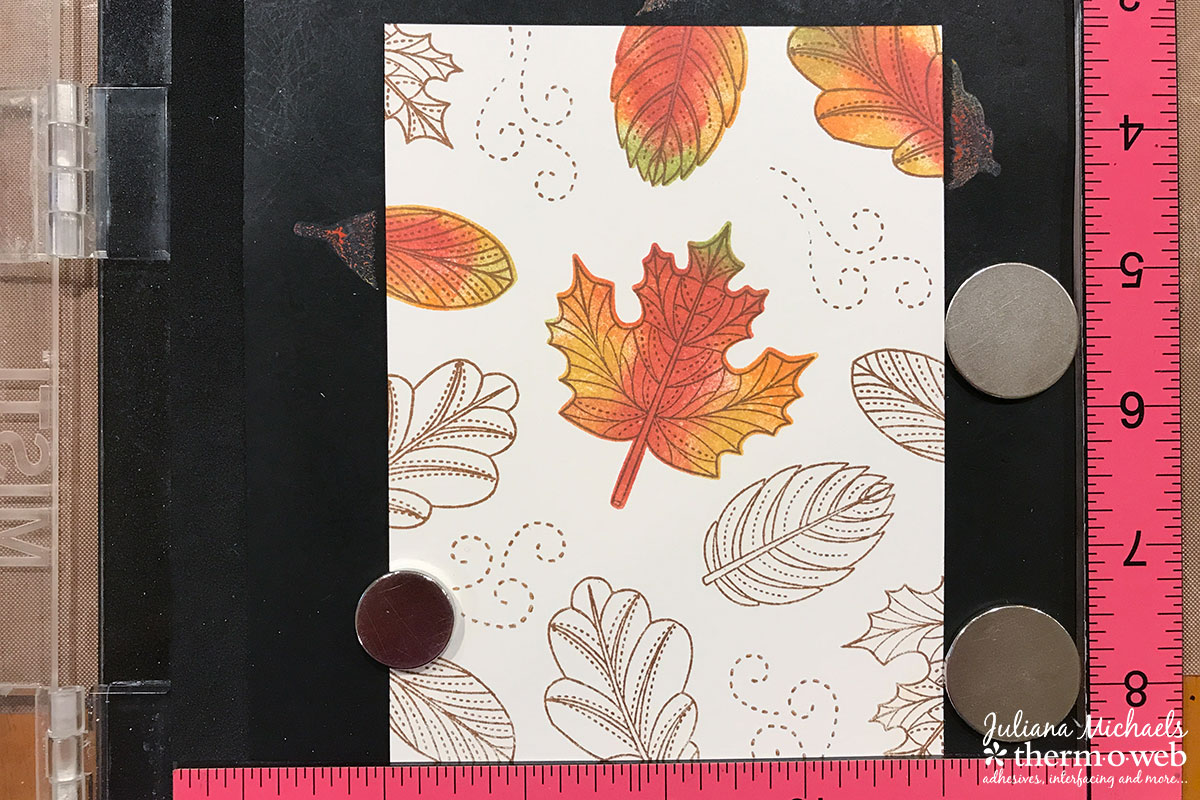
Stamp this on top of the previously stamped outline image. Repeat this process until all of the images are colored.
Deco Foiled Die Cuts
Now it’s time to add some shimmer and shine with Deco Foil! Make sure to preheat your laminator for at least 30 minutes before using it. Gather your supplies which include the following: Laminator, Deco Foil Hot Melt Adhesive, white cardstock, metal die, die cutting machine, Deco Foil Transfer Sheet in your choice of color.
Trim a piece of cardstock to the size of your die size and trim a piece of Hot Melt to the same size. Lay the cardstock onto the bumpy side of the Hot Melt, place it inside a folded piece of parchment paper and run it through your laminator. This will give the Hot Melt more stability for die cutting.
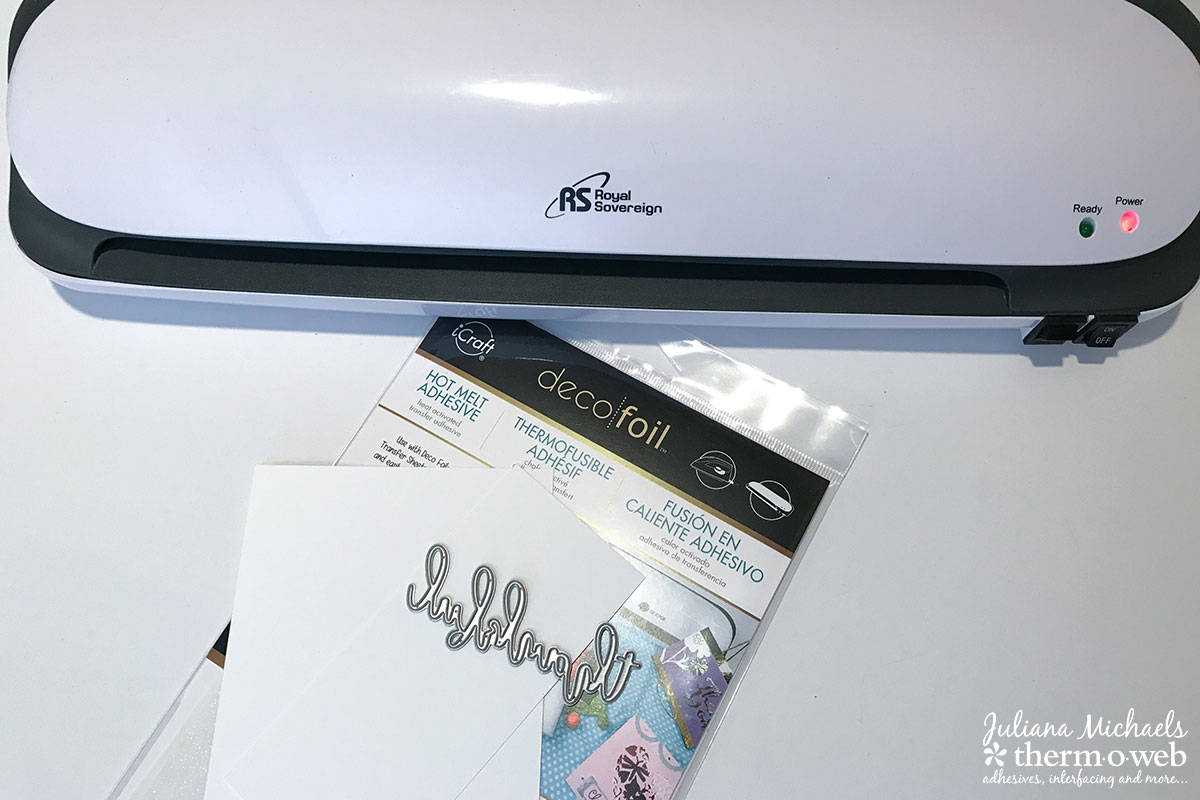
Next, place the die on the Hot Melt side of the cardstock and run this piece through your die cutting machine. You can also use this same technique with an electronic cutting machine.
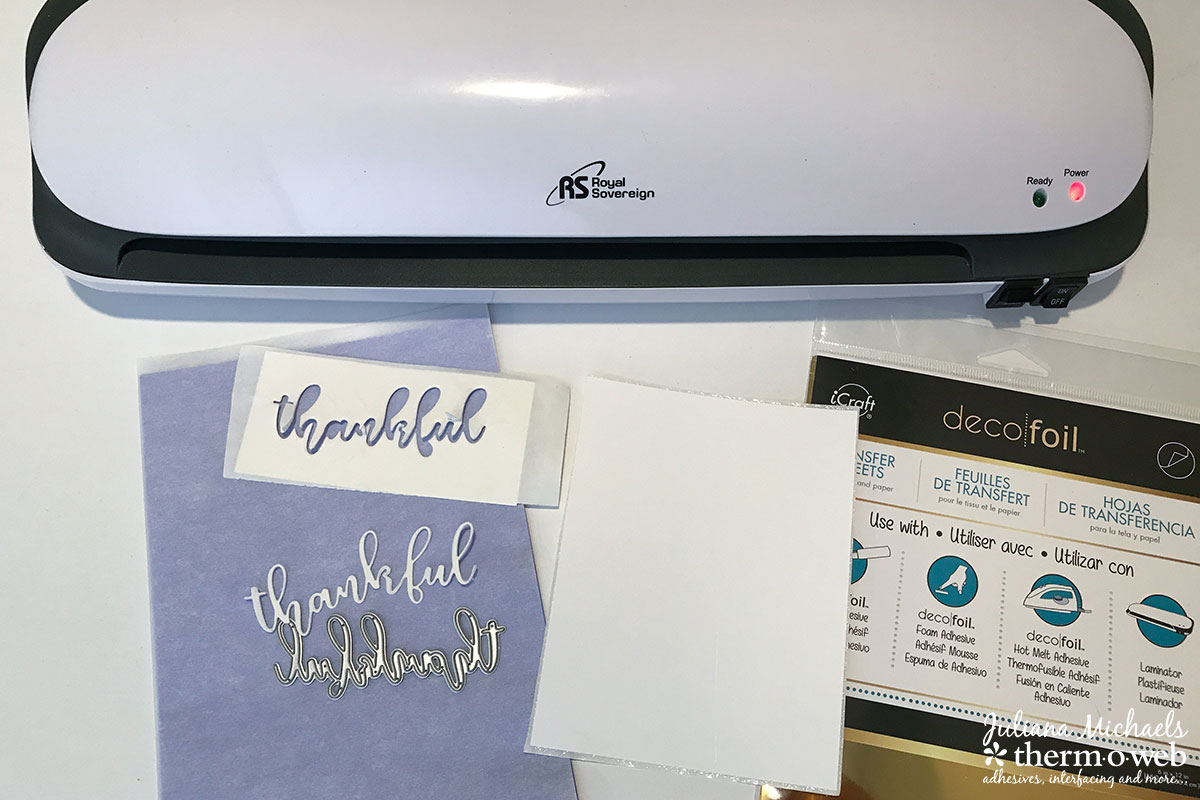
Next, take the die cut Hot Melt and peel off the protective sheet. Lay a piece of Deco Foil on top, place this piece inside a folded piece of parchment paper and run it through a laminator. To prevent the laminator from eating small die cut pieces, place a scrap of cardstock inside the parchment paper before you run it through the laminator.
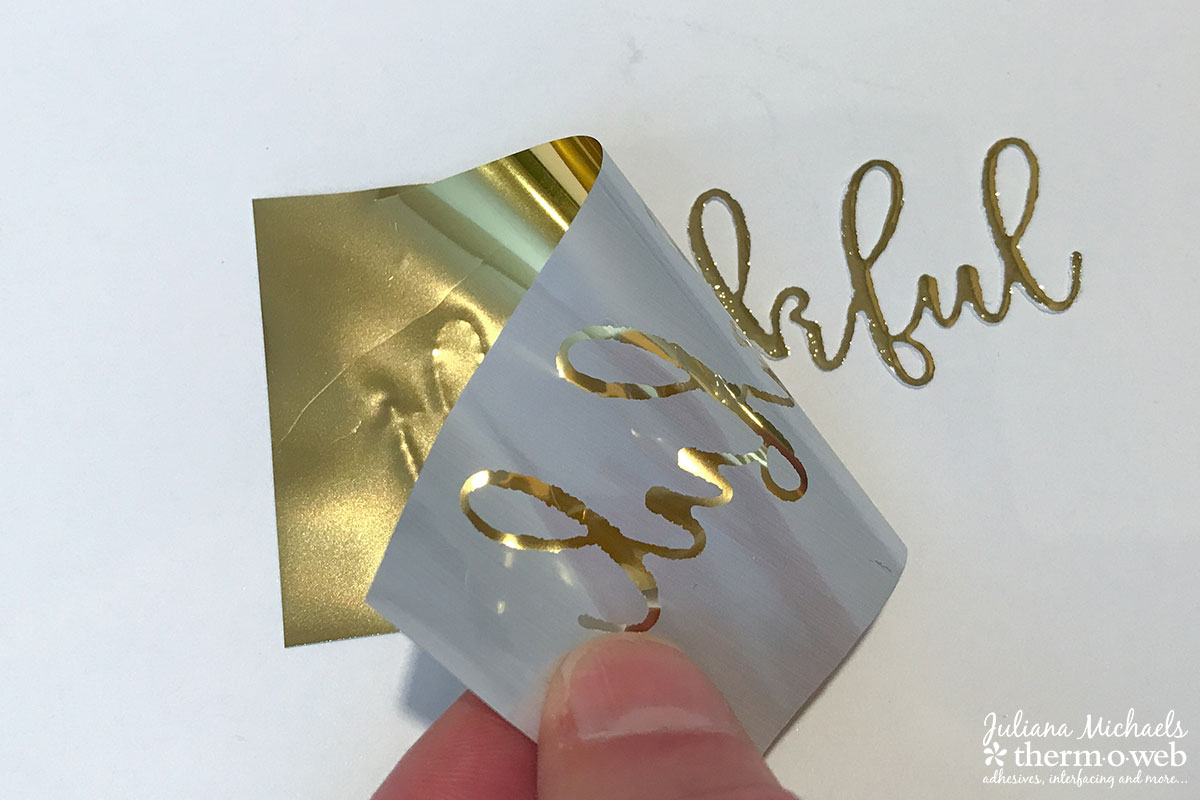
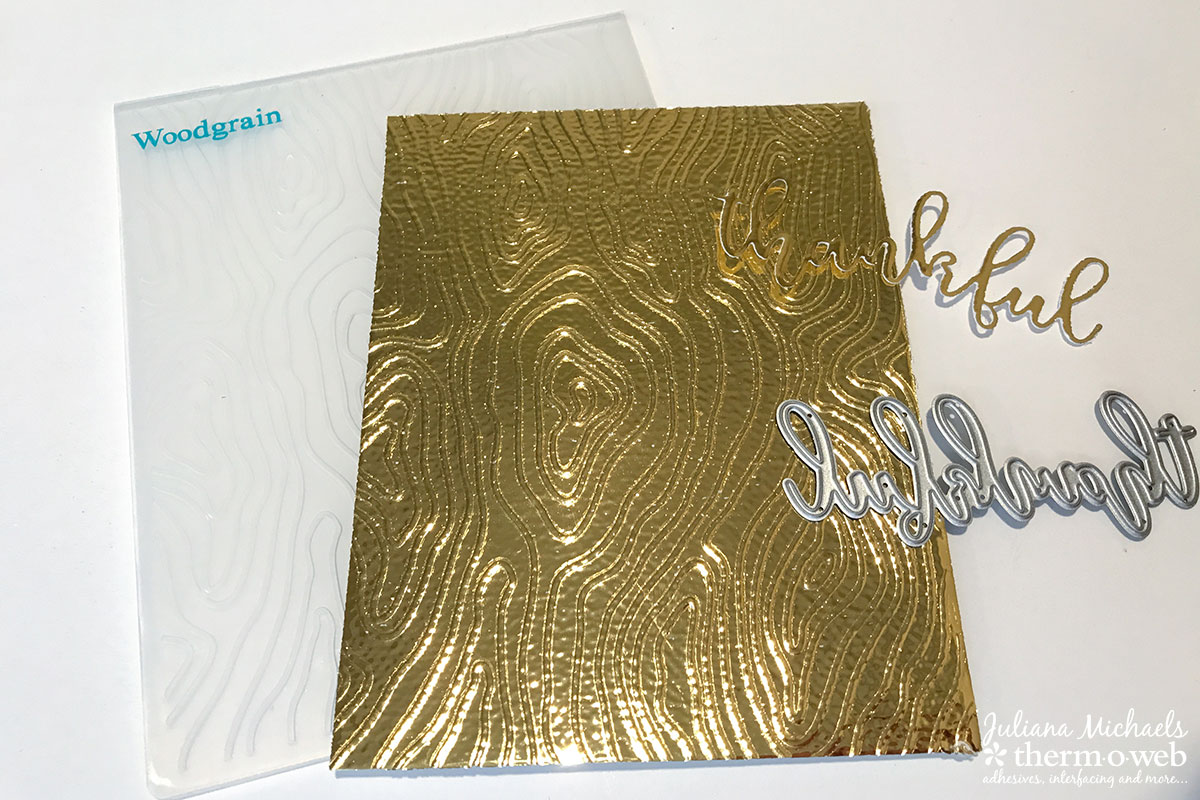
Peel off the transfer sheet to reveal your foiled die cut. You can also use the process of applying the Hot Melt to cardstock to emboss the Deco Foil. For a full tutorial on this technique check out the post Embossed and Foiled Wedding Cards.
Fall Friendship Cards with Foiled Die Cuts
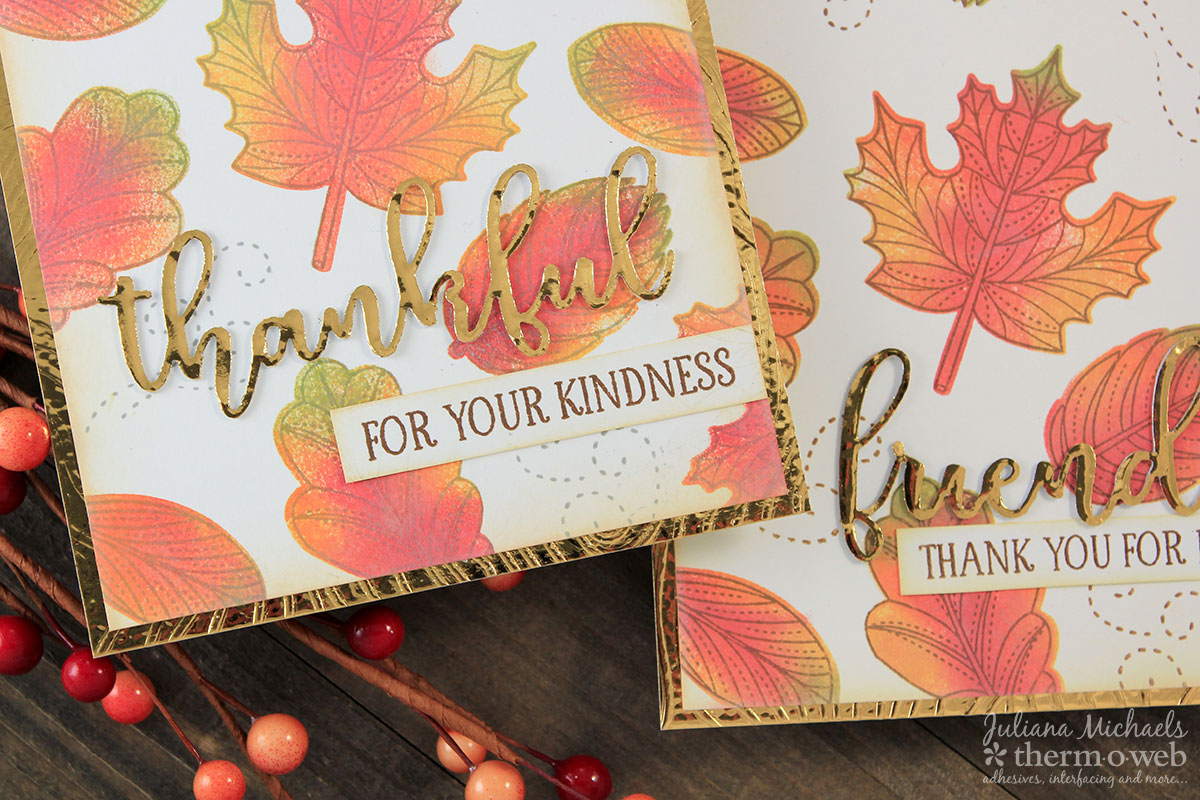
Here are some close-up shots of each of the cards I created with this technique.
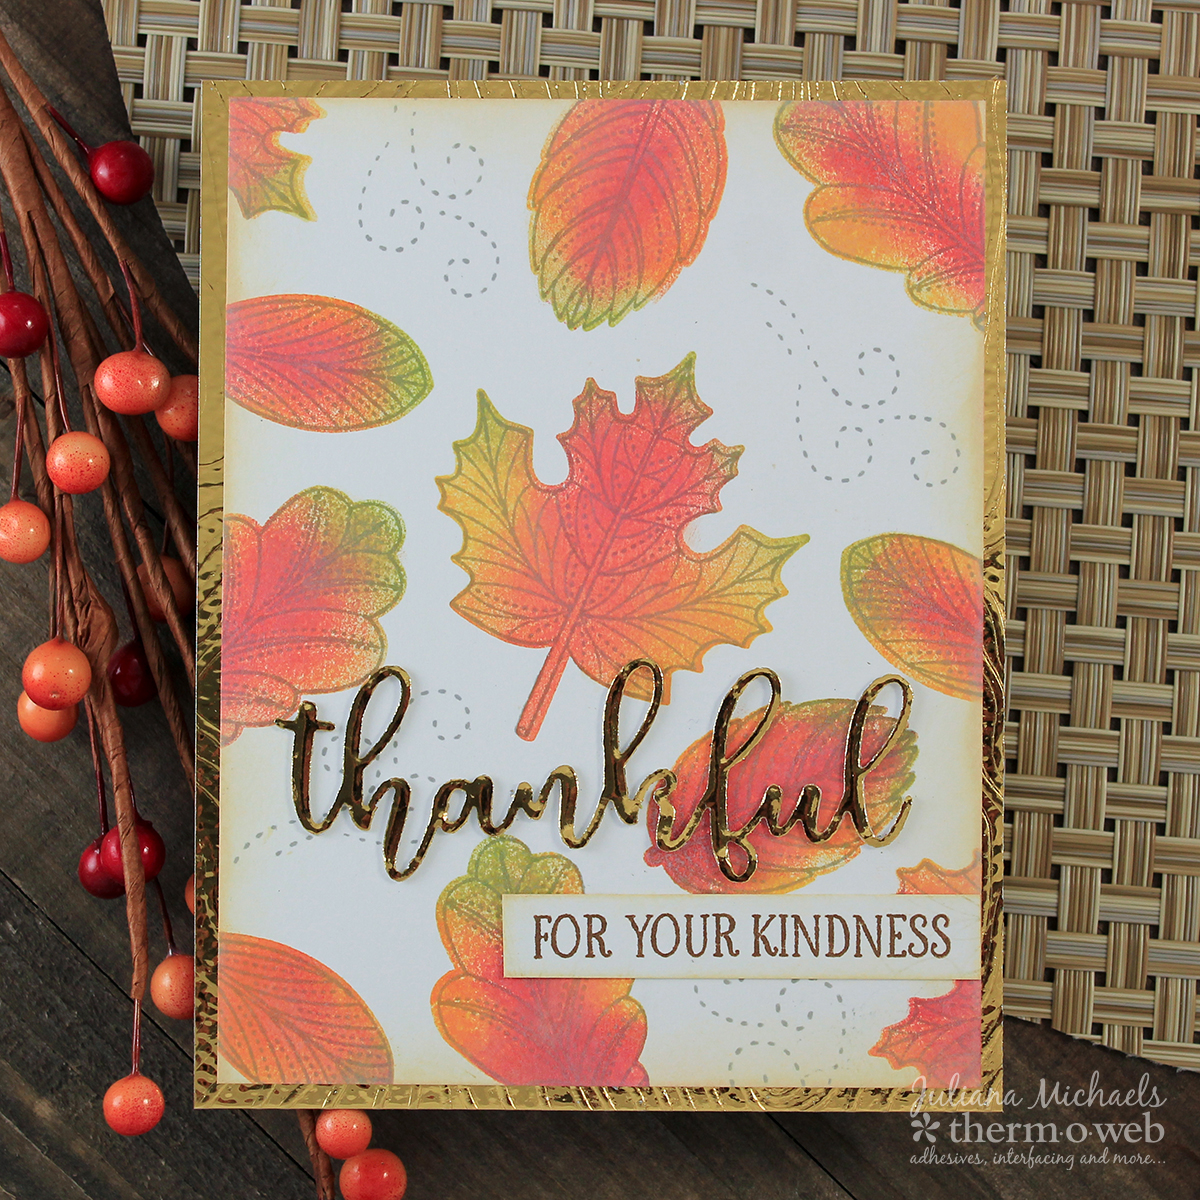
I love the elegance the gold foil adds to the sentiment and gold is always a great color for fall!
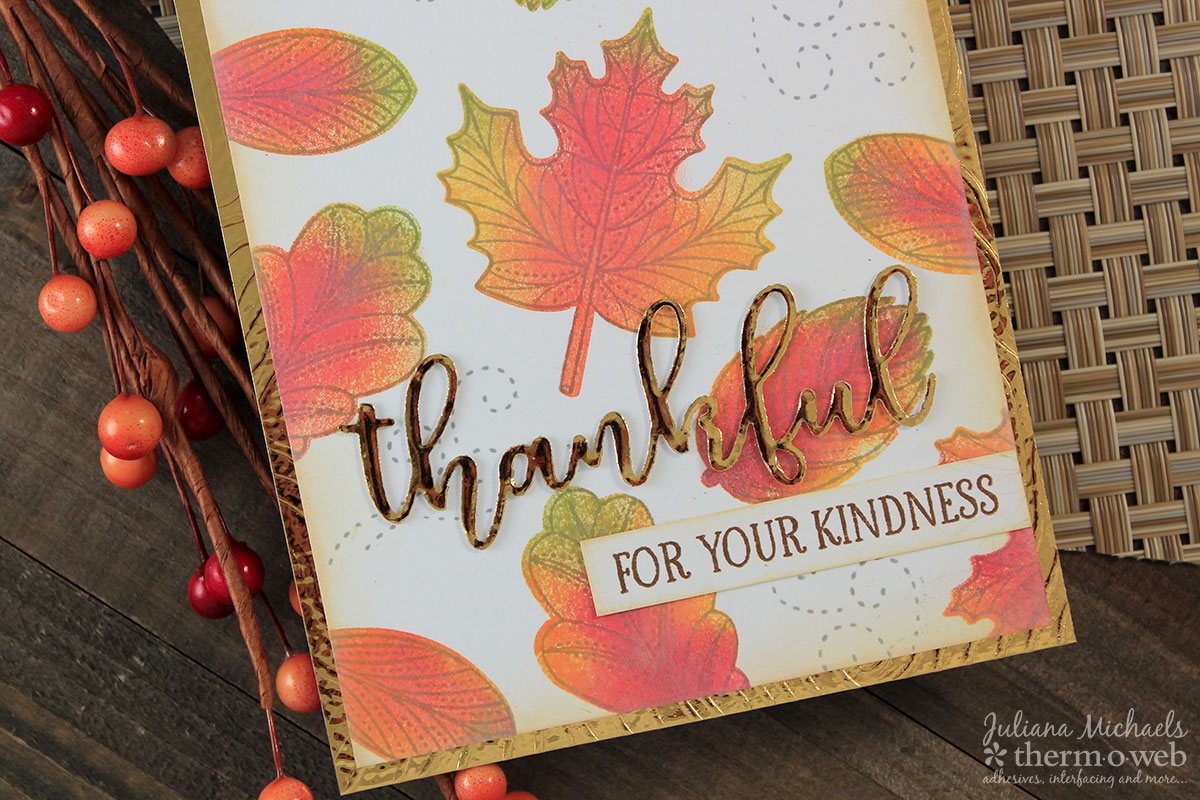
The embossed background is mostly covered up by the stamped panel, however, the slight edge peaking out adds a touch of elegance that helps balance the foiled die cut sentiment.
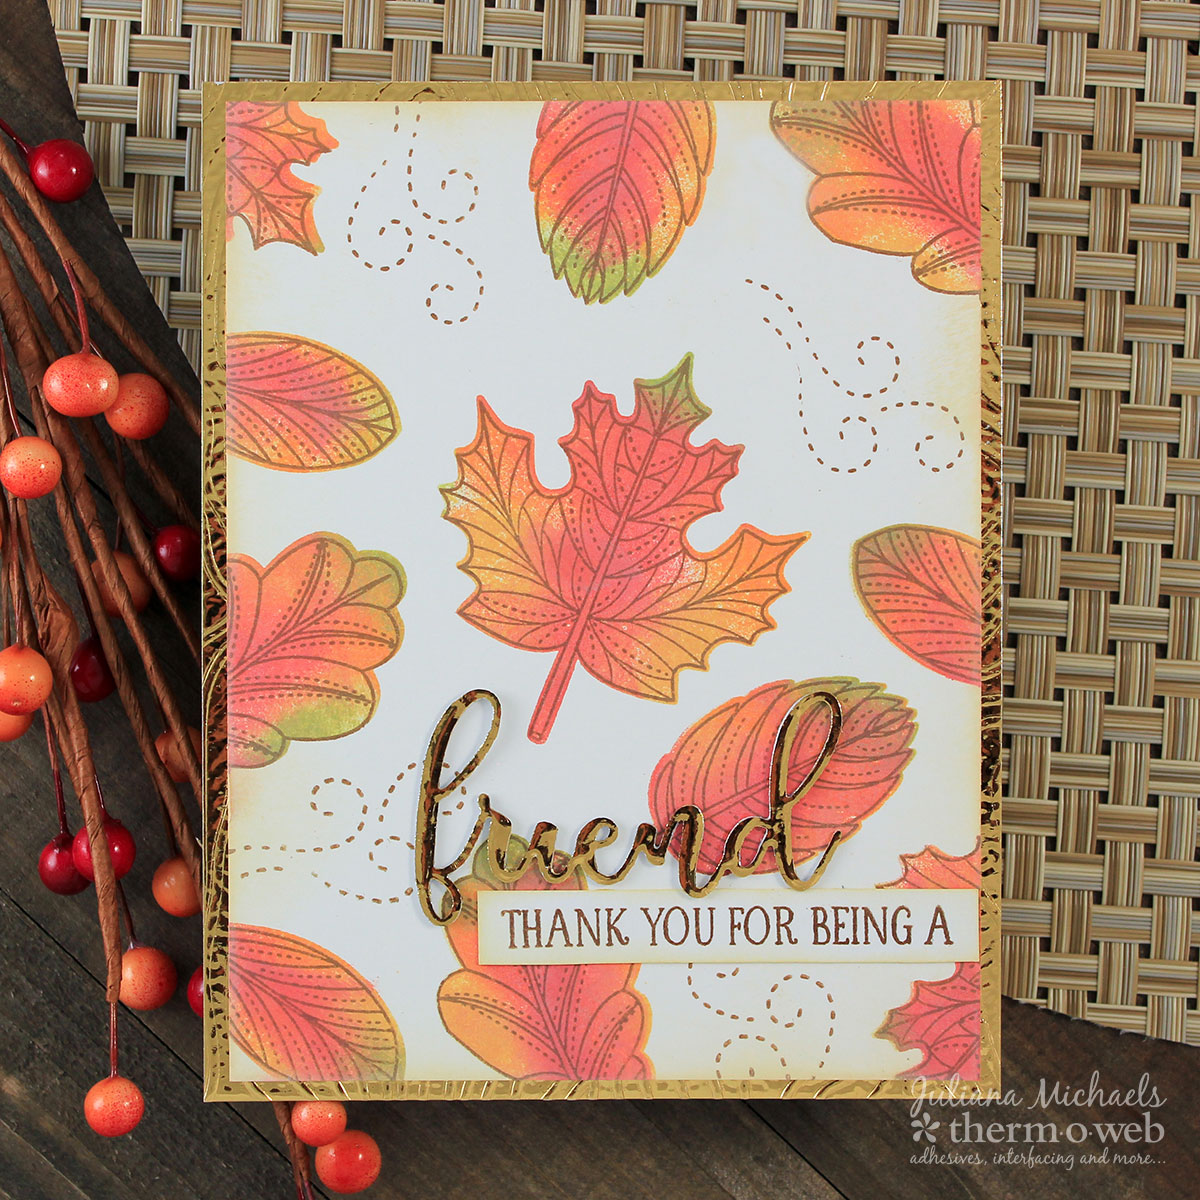
I’m sure my friends will love receiving these cards and being reminded of just how blessed I am to have them in my life.
I hope you enjoyed learning how to create these Fall Friendship cards with foiled die cuts. Now it’s your turn to create some for your friends!
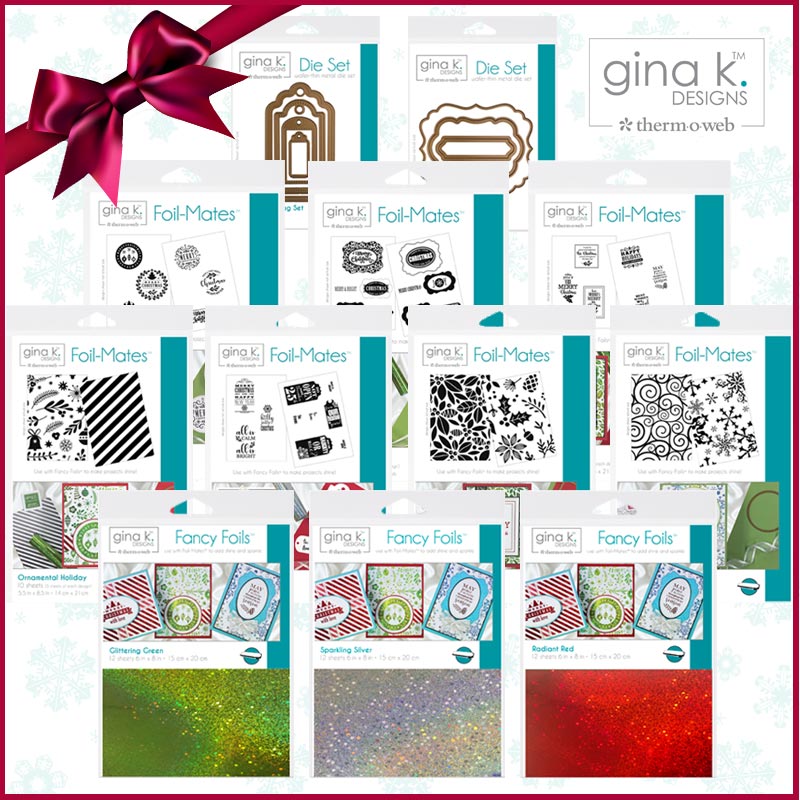
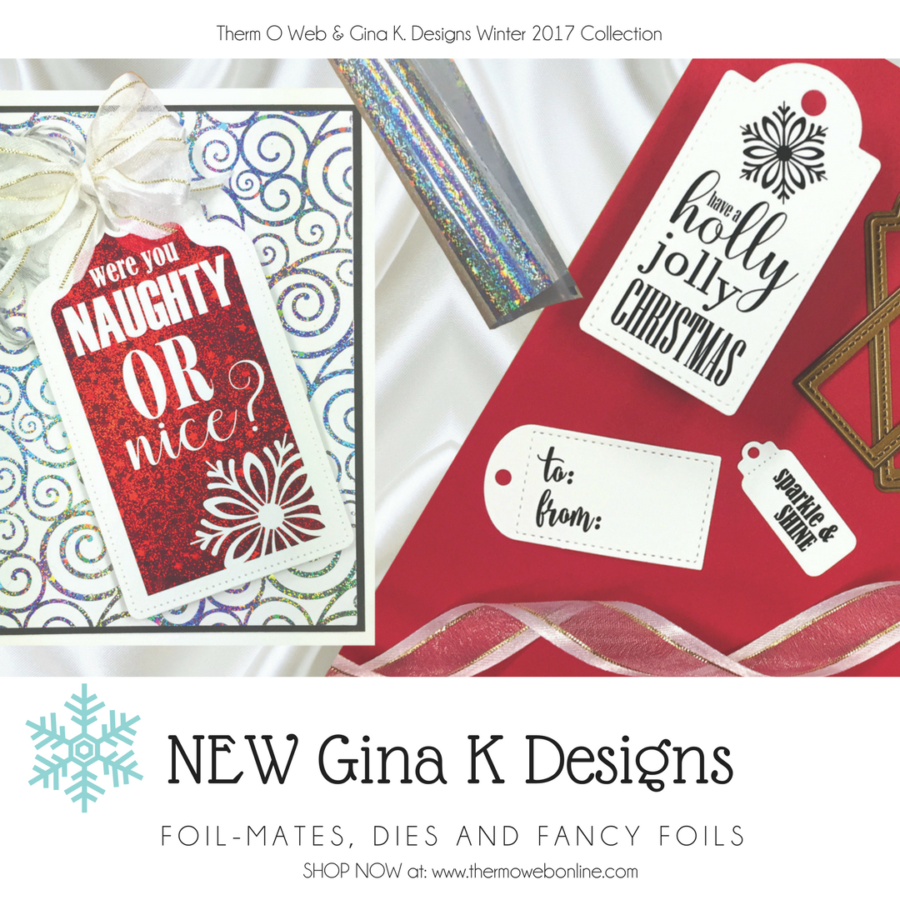
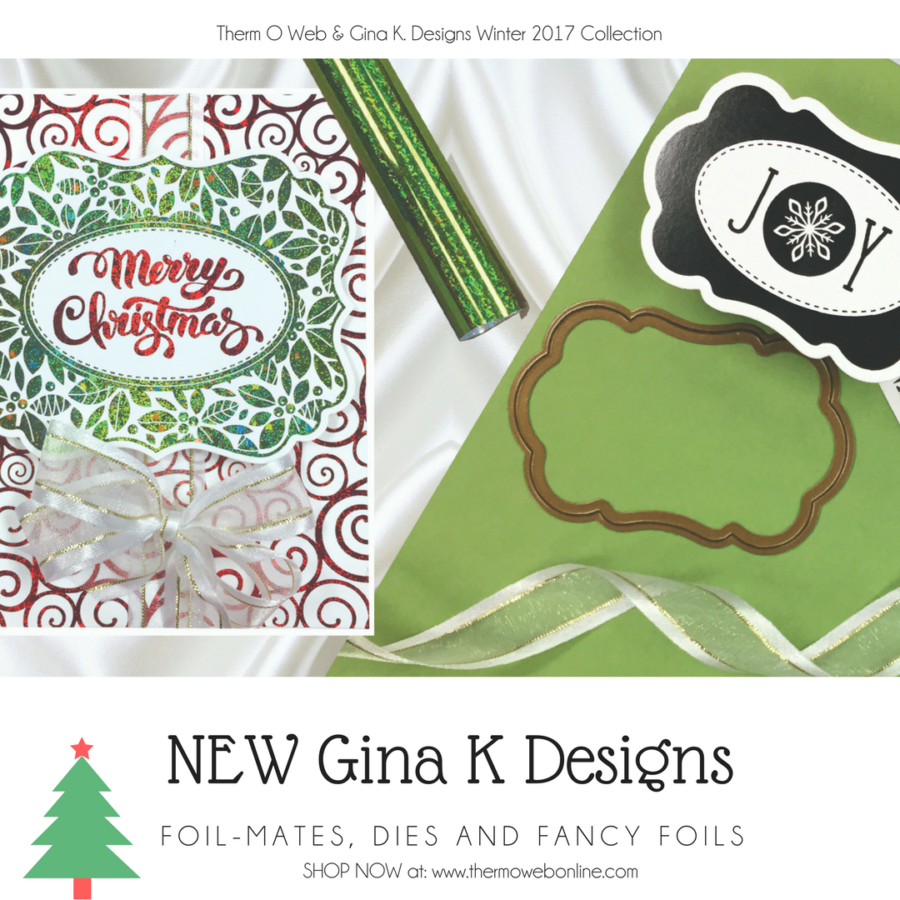
Have you heard the news? Yesterday we officially released the new Gina K.™ Designs with Therm O Web Winter 2017 Collection!
We’re so excited to share with you our BRAND NEW Winter Holiday Release with Gina K. Designs! This new collection is filled with beautiful items perfect for Holiday cards, gift tags, partyware and so much more! We’re sure you’ll find endless ways to use these incredible new items!
Gina K.™ Designs Winter 2017 Collection
Gina K. Designs new collection offers:
*Fancy Foils™ – 3 NEW Glitter Colors in Glittering Green, Sparkling Silver and Radiant Red
*Gina K Designs Foil-Mates™ 3 Backgrounds and 4 Sentiments
*Gina K Designs Wafer Thin Dies in 2 Incredible Designs! The Decorative Tag Set and the Decorative Label Set!
We’d like to give YOU a chance to win the ENTIRE collection! That’s right! One of everything!
Just follow this linkto the easy to use Rafflecopter and we’ll announce our winner on Monday, September 11th

