Fall Cards with Amber Watercolor Deco Foil
Amber Watercolor DecoFoil is the perfect companion for your fall card making! Hi, it’s Katrina from Paper, Scissors and Glue today to share a couple of fall cards using DecoFoil, Gina K Foil Mates and Rebekah Meier Mixed Media Adhesive sheets.
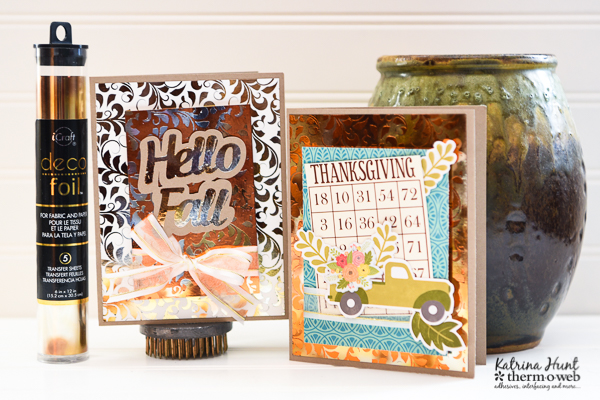
Therm O Web Supplies for Fall Cards:
Therm O Web 3D Foam Squares-Combo Pack
Therm O Web Zots Singles -Medium
Therm O Web Mini Tape Runner
Therm O Web Gina K Designs Sheer Satin Fancy Ribbon-White/Gold
Therm O Web DecoFoil Peel and Stick Toner Sheets 8.5 x 11
Therm O Web DecoFoil Amber Watercolor
Therm O Web DecoFoil-Pumpkin
Therm O Web Rebekah Meier Designs Adhesive Sheets
Therm O Web Gina K Designs Foil-Mates™ Flourishes and Swirls
12″ inch Laminator
Other Supplies: Cardstock-American Crafts; Silhouette Cameo Print and Cut, Silhouette Cameo with cutting file; Pattern Paper and Die Cuts-Jillibean Soup
Fall Cards with Amber Watercolor Deco Foil Instructions:
My inspiration came when I started pulling products to use for my cards. I pulled these out and they just wanted me to use them! I go different ways in how projects come together, this was from the supplies!
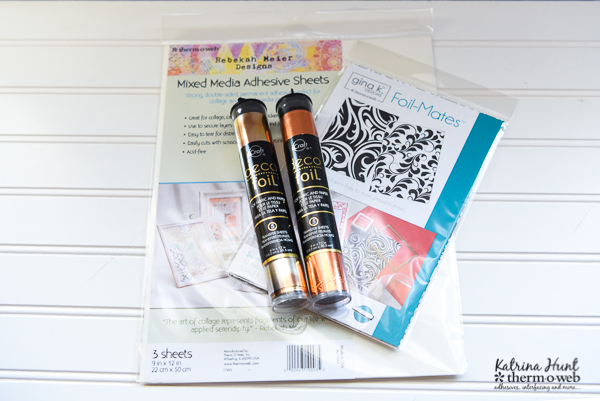
Cut a card base of 4.25 x 5.50, which is a letter size sheet cut in half. Or (confession) I cut down a 12×12 piece of cardstock into an 8.5 x 11 piece and then cut that in half. FYI I am horrible at math!
Set card bases to the side and work on card fronts using the DecoFoil Peel and Stick toner sheets along with the Gina K Foil-Mates.
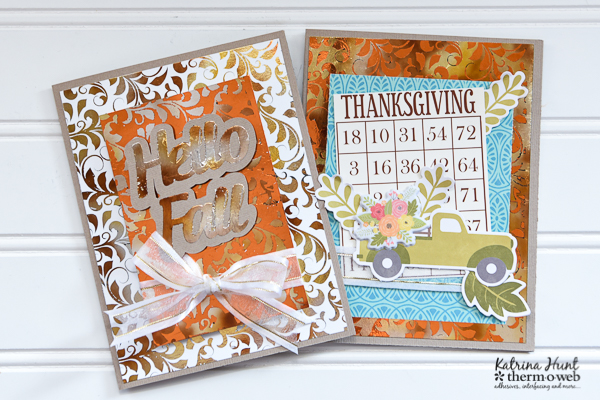
First, foil your background on the Foil-Mates. Trim your background down to 4.00 x 5.25 to fit card base. This will leave a bit of a border around the Foil-Mates, showing the card base. Cut piece of Amber Deco-Foil slightly larger than your background and run thru laminator. Let cool slightly then peel off foil. Adhere Foil-Mates to your card front. Set this to the side, we are going to work on the other card now.
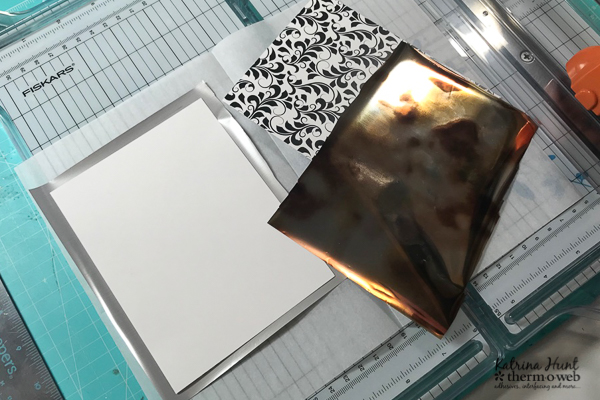
Using the negative foil piece create the background for the next card by using this on top of a Deco Foil Peel and Stick toner sheet cut to 4.00 x 5.25.
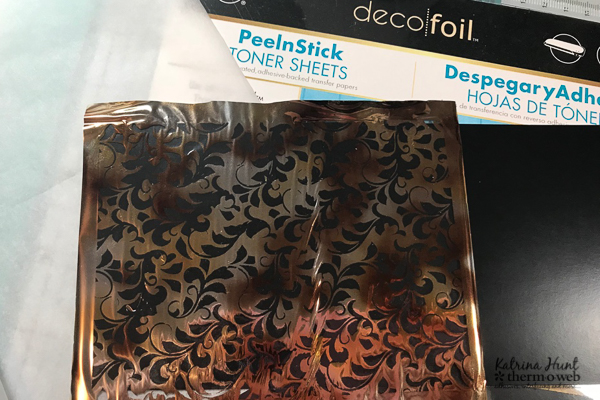
After running this thru the laminator then cut a piece of Pumpkin DecoFoil and run this same piece back thru the laminator. This will “fill in” the empty spots left by the Amber foil.
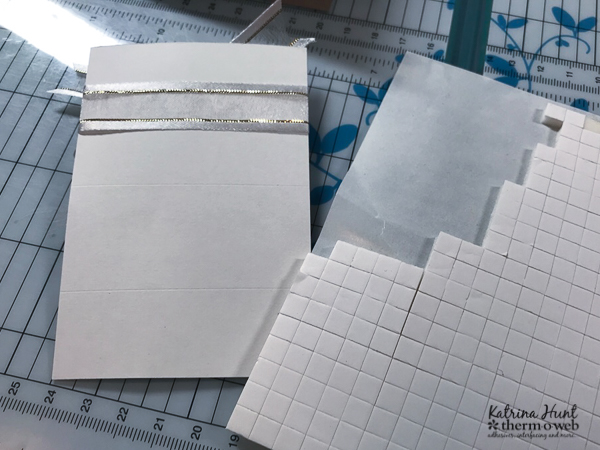
Cut a piece of pattern paper and then cut a piece of the Gold/White sheer ribbon to fit around your pattern paper piece. Adhere these to card front using foam squares. Add some die cuts adhering with Zots and a Mini Tape runner.
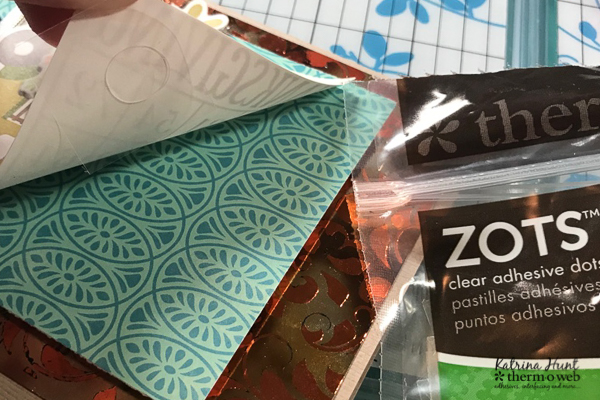
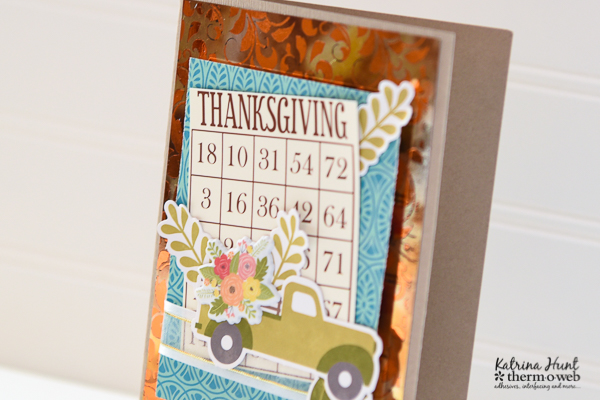
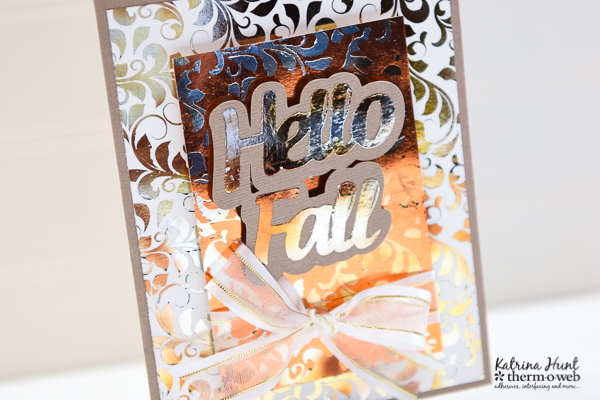
Using the Pumpkin foil negative from the card above, use the exact same technique except you will fill in the Pumpkin foil negative spaces with the Amber DecoFoil. After the Peel and Stick toner sheet is foiled, then cut it down to 3×4. Wrap and tie a bow with the gold/white sheer ribbon around the 3×4 piece. Center and adhere on top of Swirl Foil Mate on the front of card base.
Use Silhouette Cameo to create the Hello Fall sentiment and cut out of the Rebekah Meier Adhesive Sheets. I used the normal cardstock setting for cutting and it worked perfectly. I also created an offset of my sentiment for it to have a background the same shape. You could also just cut a tag or whatever you like.
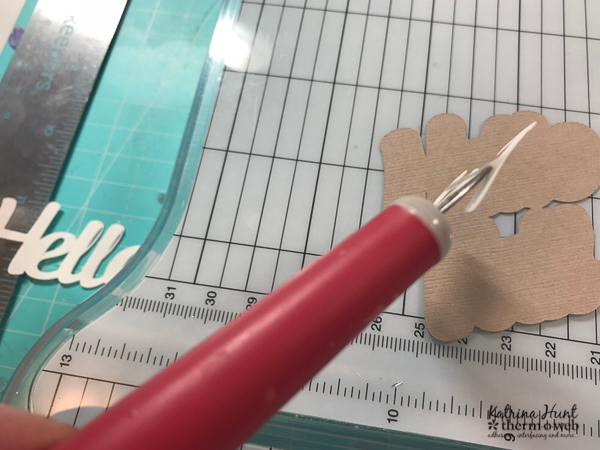
To the backing off of die cut, I used a piercing tool to get the backing started and then just peeled it off. Adhere to your sentiment background.
NOTE: the openings in the “l’s” were pretty small and the adhesive sheets cut like butter. You can see the “Hello” die cut in the corner before I peeled the backing off.
Once the sentiment has adhered, then peel off the top protective layer and then lay your die cut on the back of the Amber foil transfer sheet. Rub with your fingers to transfer the foil to the adhesive. Then just carefully peel up. And look at your shiny beautiful card!
I cannot wait to hand these cards out! Have a Happy Thanksgiving!!
