Have you tried Liquid Fabric Fuse™? This stuff is pretty handy! This afternoon I used some Fabric Fuse™ and a few fabric scraps to make a couple of scented sachets to give as gifts.
Here’s what you’ll need:
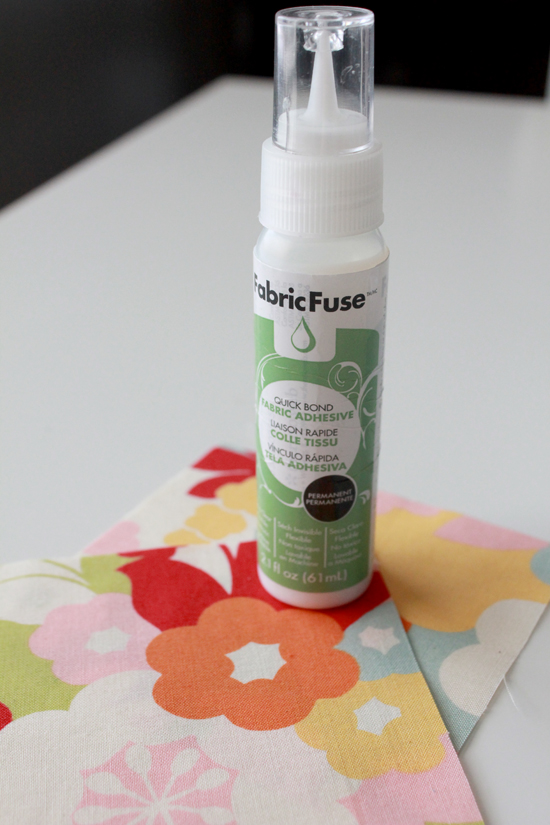
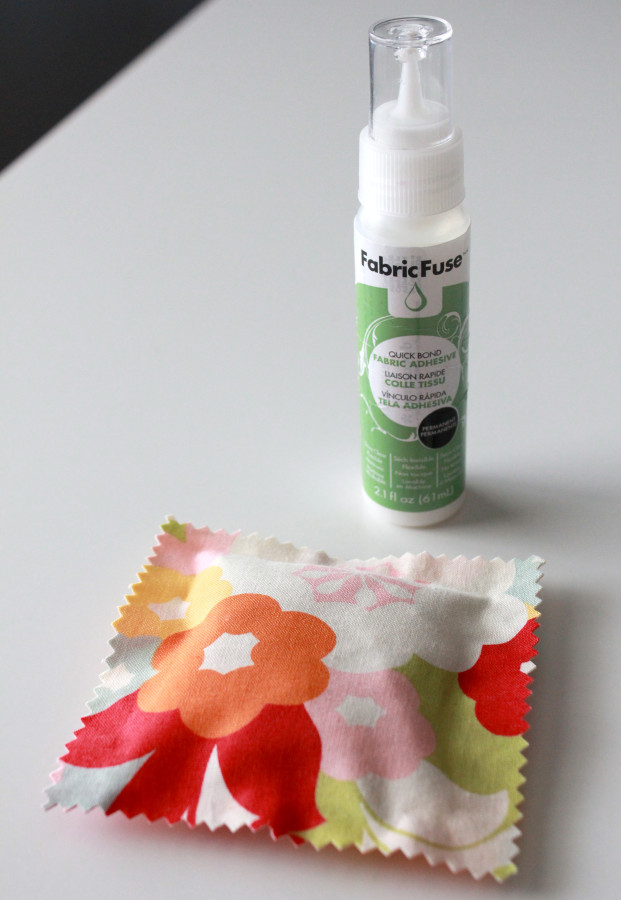
- 2 (4″) squares of fabric
- Liquid Fabric Fuse™
- dried lavender (or other scented filler)
- pinking shears
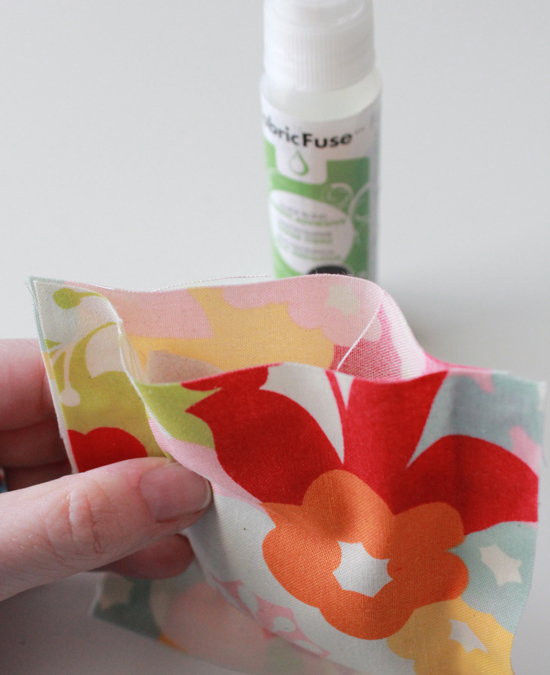
This really is quick and easy! To the wrong side of one of the squares, and about 1/4″ in from the edge, place a line or two of fabric fuse. Only put the Fabric Fuse around three sides of the square. Place the second square directly on top of the first one, matching edges and with wrong sides together. Press. Allow the Liquid Fabric Fuse™ to dry for a few minutes (you can help it along with a hair dryer if you’re in a hurry.)
Fill the sachet through the open end. Don’t overfill, or it will be harder to seal that final side.
Add a line of Fabric Fuse to the final side, and press together. Let this dry for a bit (or like before, you can speed this up with a hair dryer.)
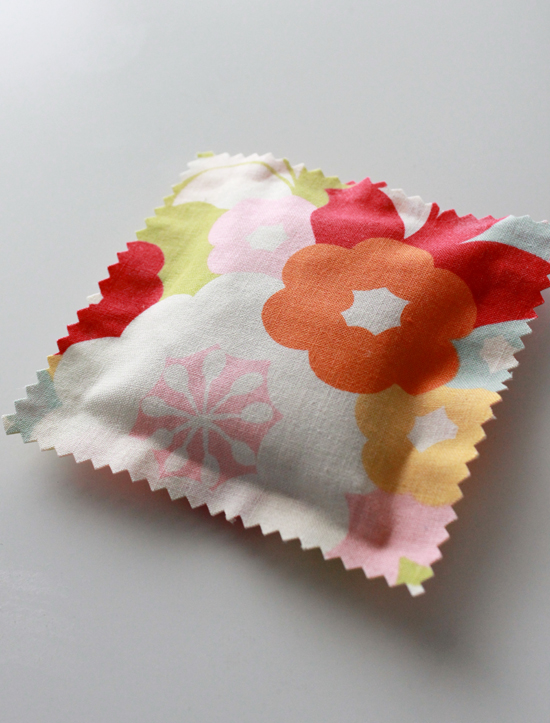
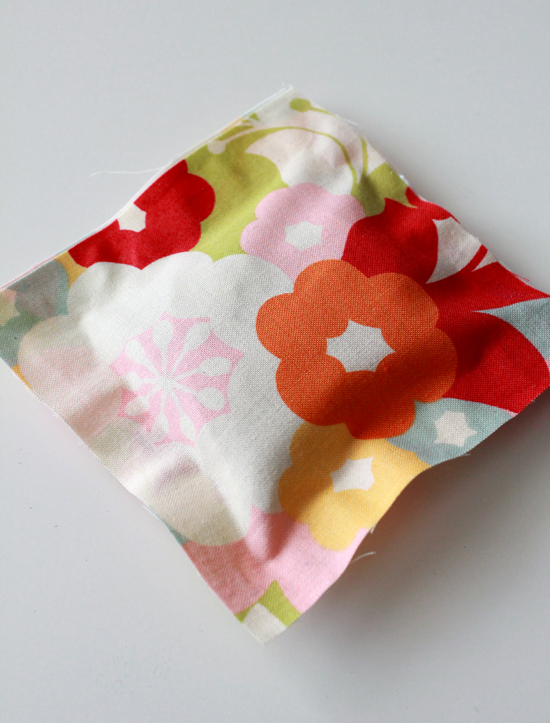
Trim the edges of the sachet using the pinking shears, being careful to not cut through the line of Fabric Fuse.
Your sachet is ready to wrap and give away!
[…] FabricFuse No Sew Sachet Tutorial, by Andy Knowlton […]