


 Hello and welcome!
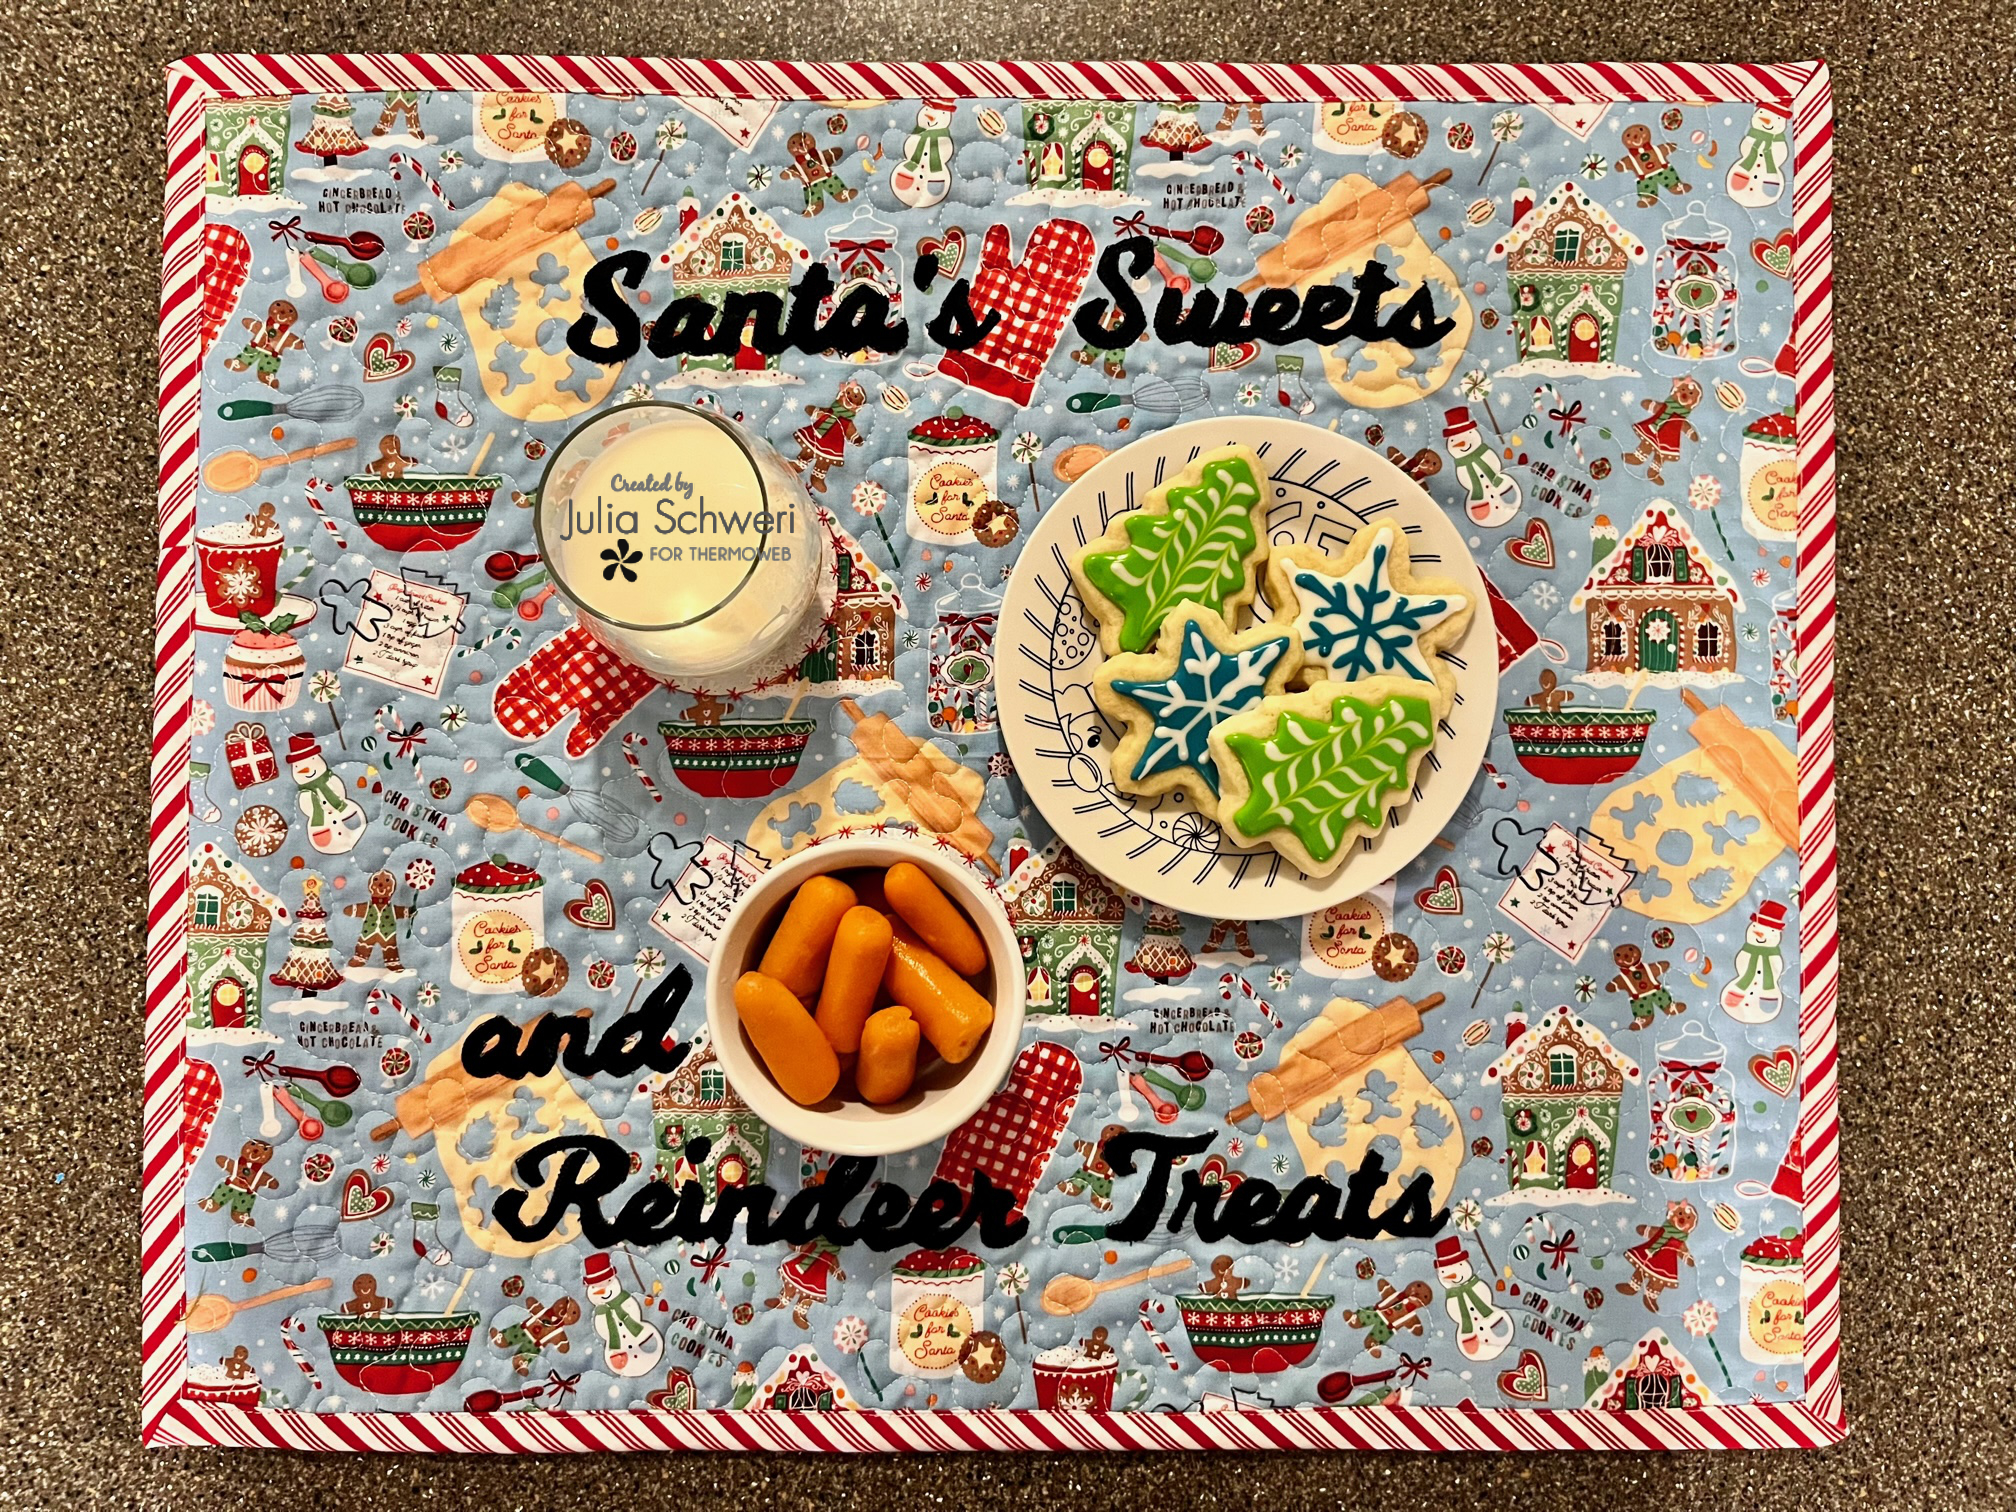
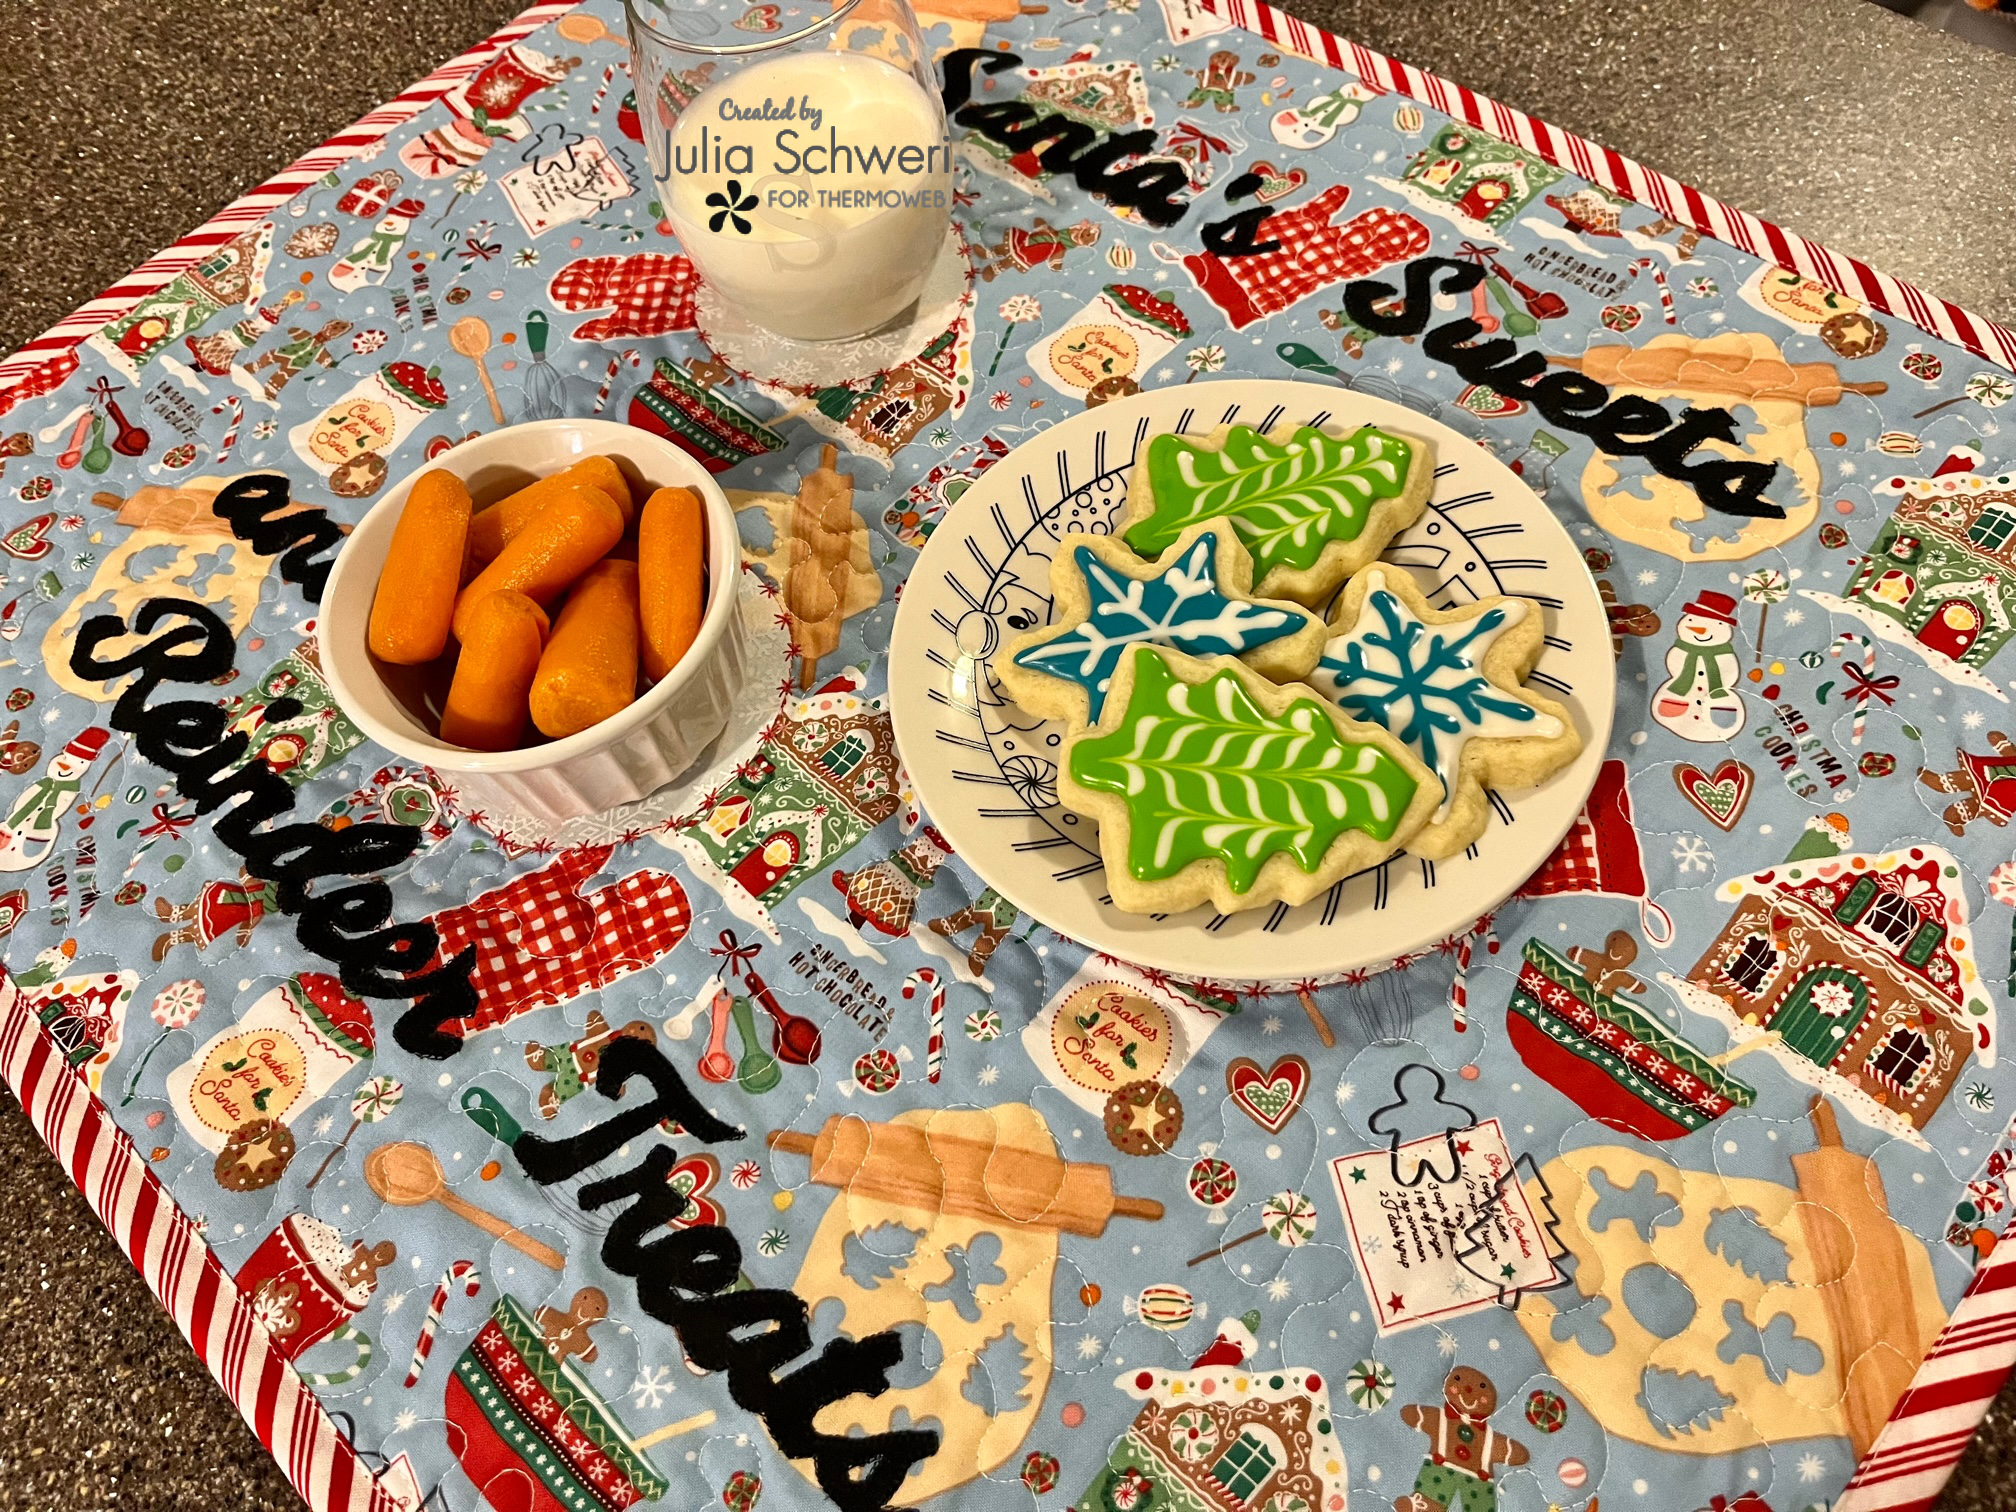
It’s Julia from Inflorescence Designs! I’m so joyful you are visiting today. This week it is all about the big man in red and most children know this man LOVES his milk and cookies. So, to help celebrate I have created a fun quilted oversized table mat for all of Santa’s sweets and have included an area for the reindeer as well–we cannot forget about them as they do all the work pulling the sleigh.
Fabric Table Mat Santa’s Sweets and Reindeer Treats
Supplies:
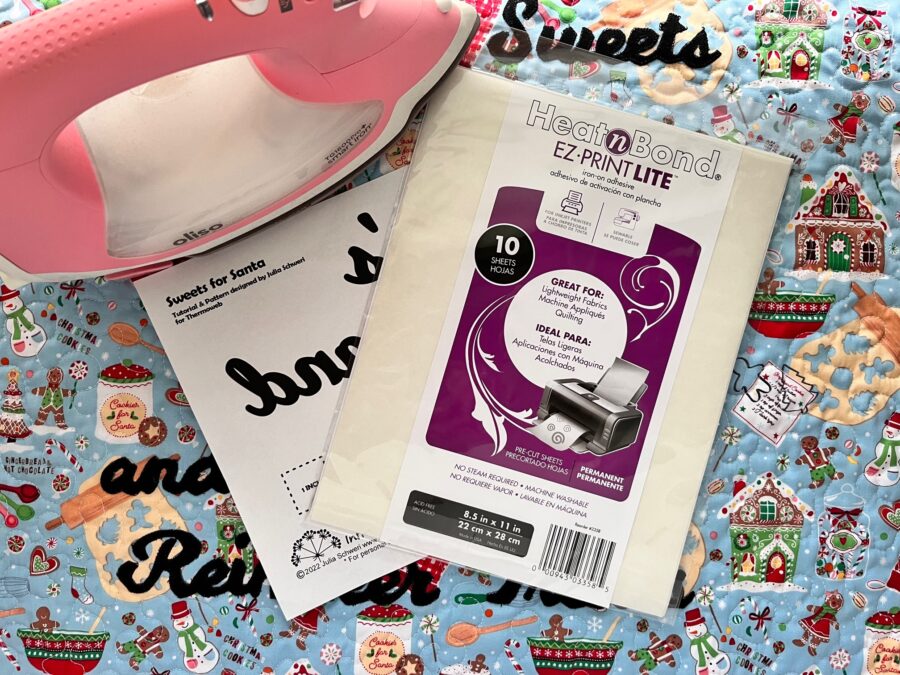
- HeatnBond Lite** EZ-Print Sheets
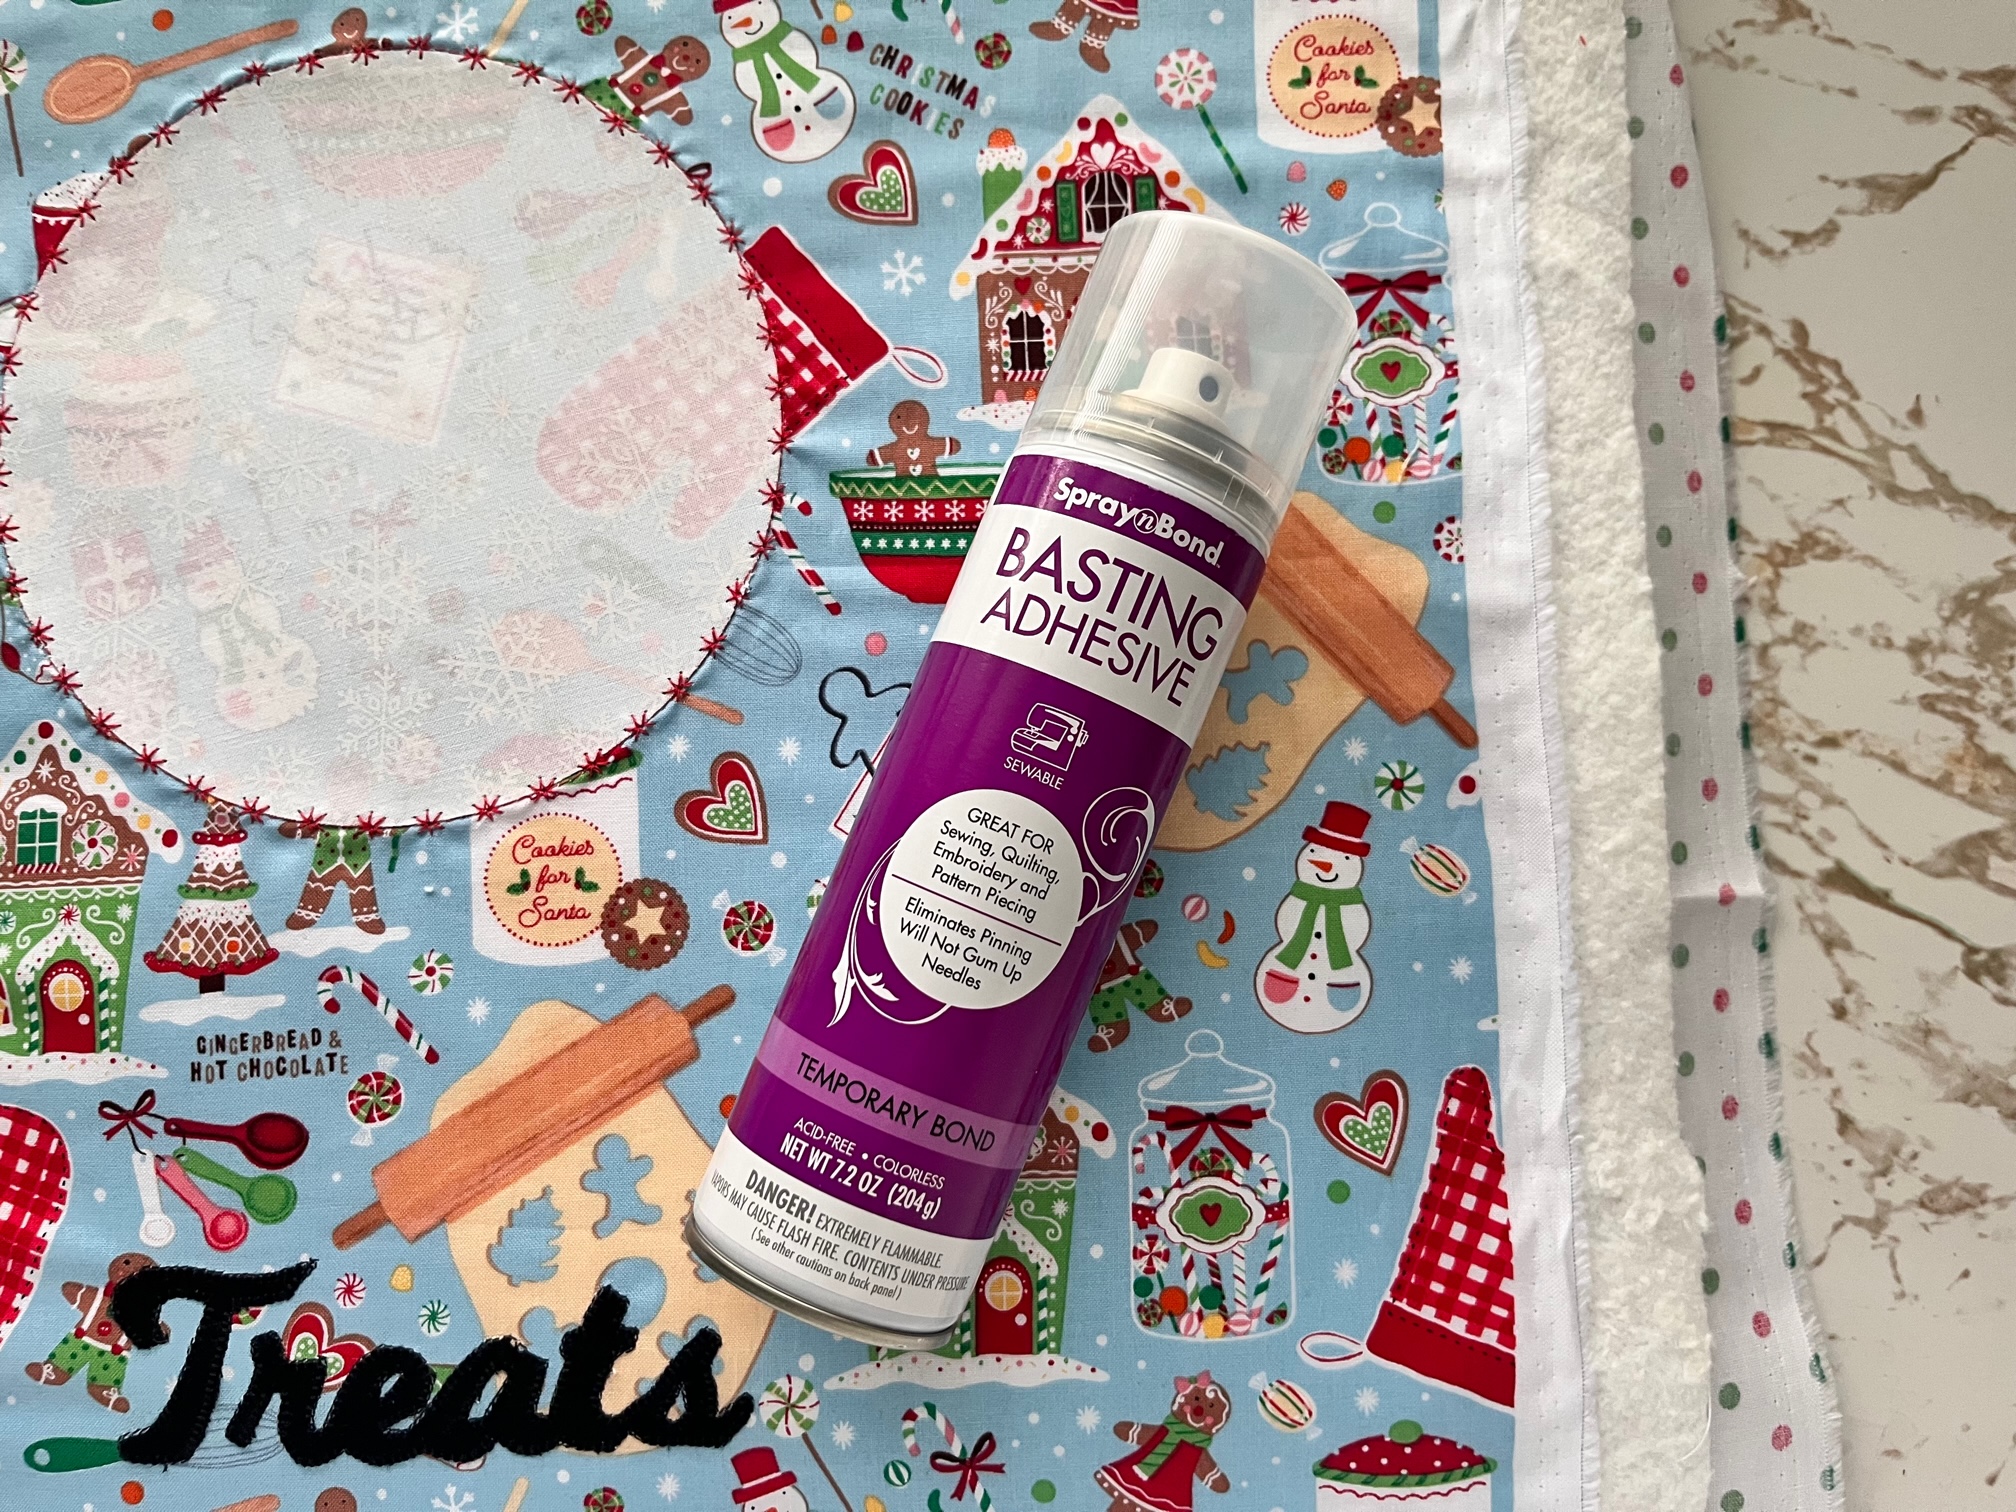
- HeatnBond Basting Spray
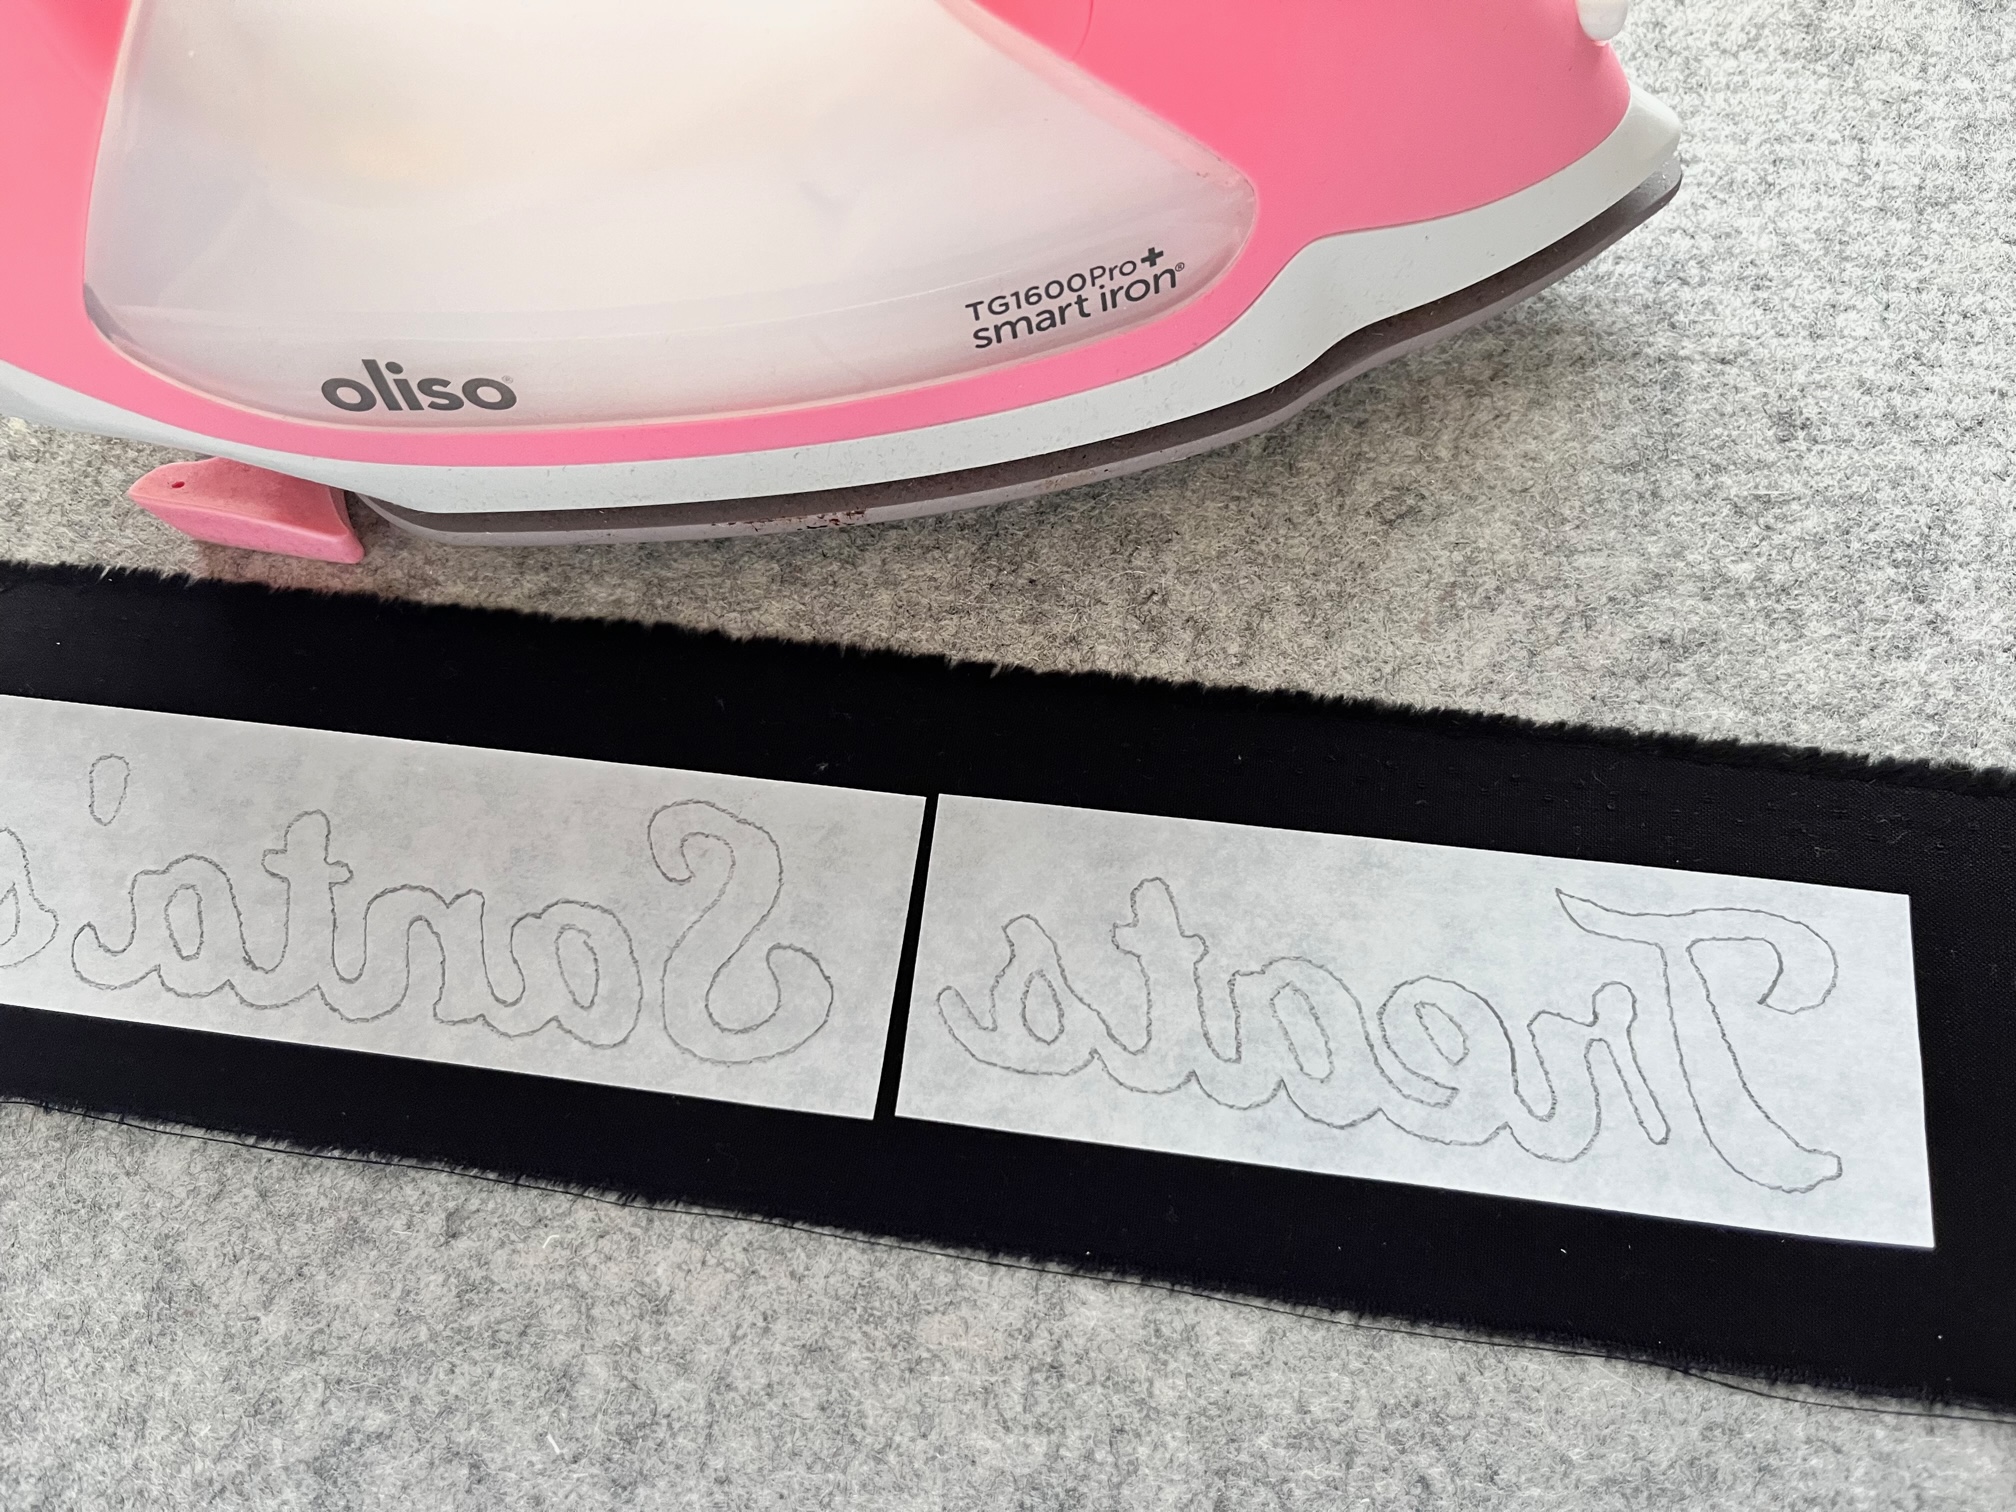
- Black Fabric for lettering: 34″ x 3″
- Background Fabric: 20″ x 24″
- Circle Fabric 7″ x 18″
- Batting: 22″ x 26″
- Backing Fabric: 24″ x 28″
- Binding Fabric: 7 1/2″ by the width of fabric if using 42″ fabric. (This measurement may vary depending on your favorite method. This is measured for a typical 2 1/2″ wide binding. I use 2″ binding, so my measurements are slightly smaller).
- Oliso Iron
- Basic Sewing Notions
- Matching thread for letters
**If you use HeatnBond Lite you must sew the letters and circles down. For a no-sew method use HeatnBond Ultra in the red packaging.
Instructions:
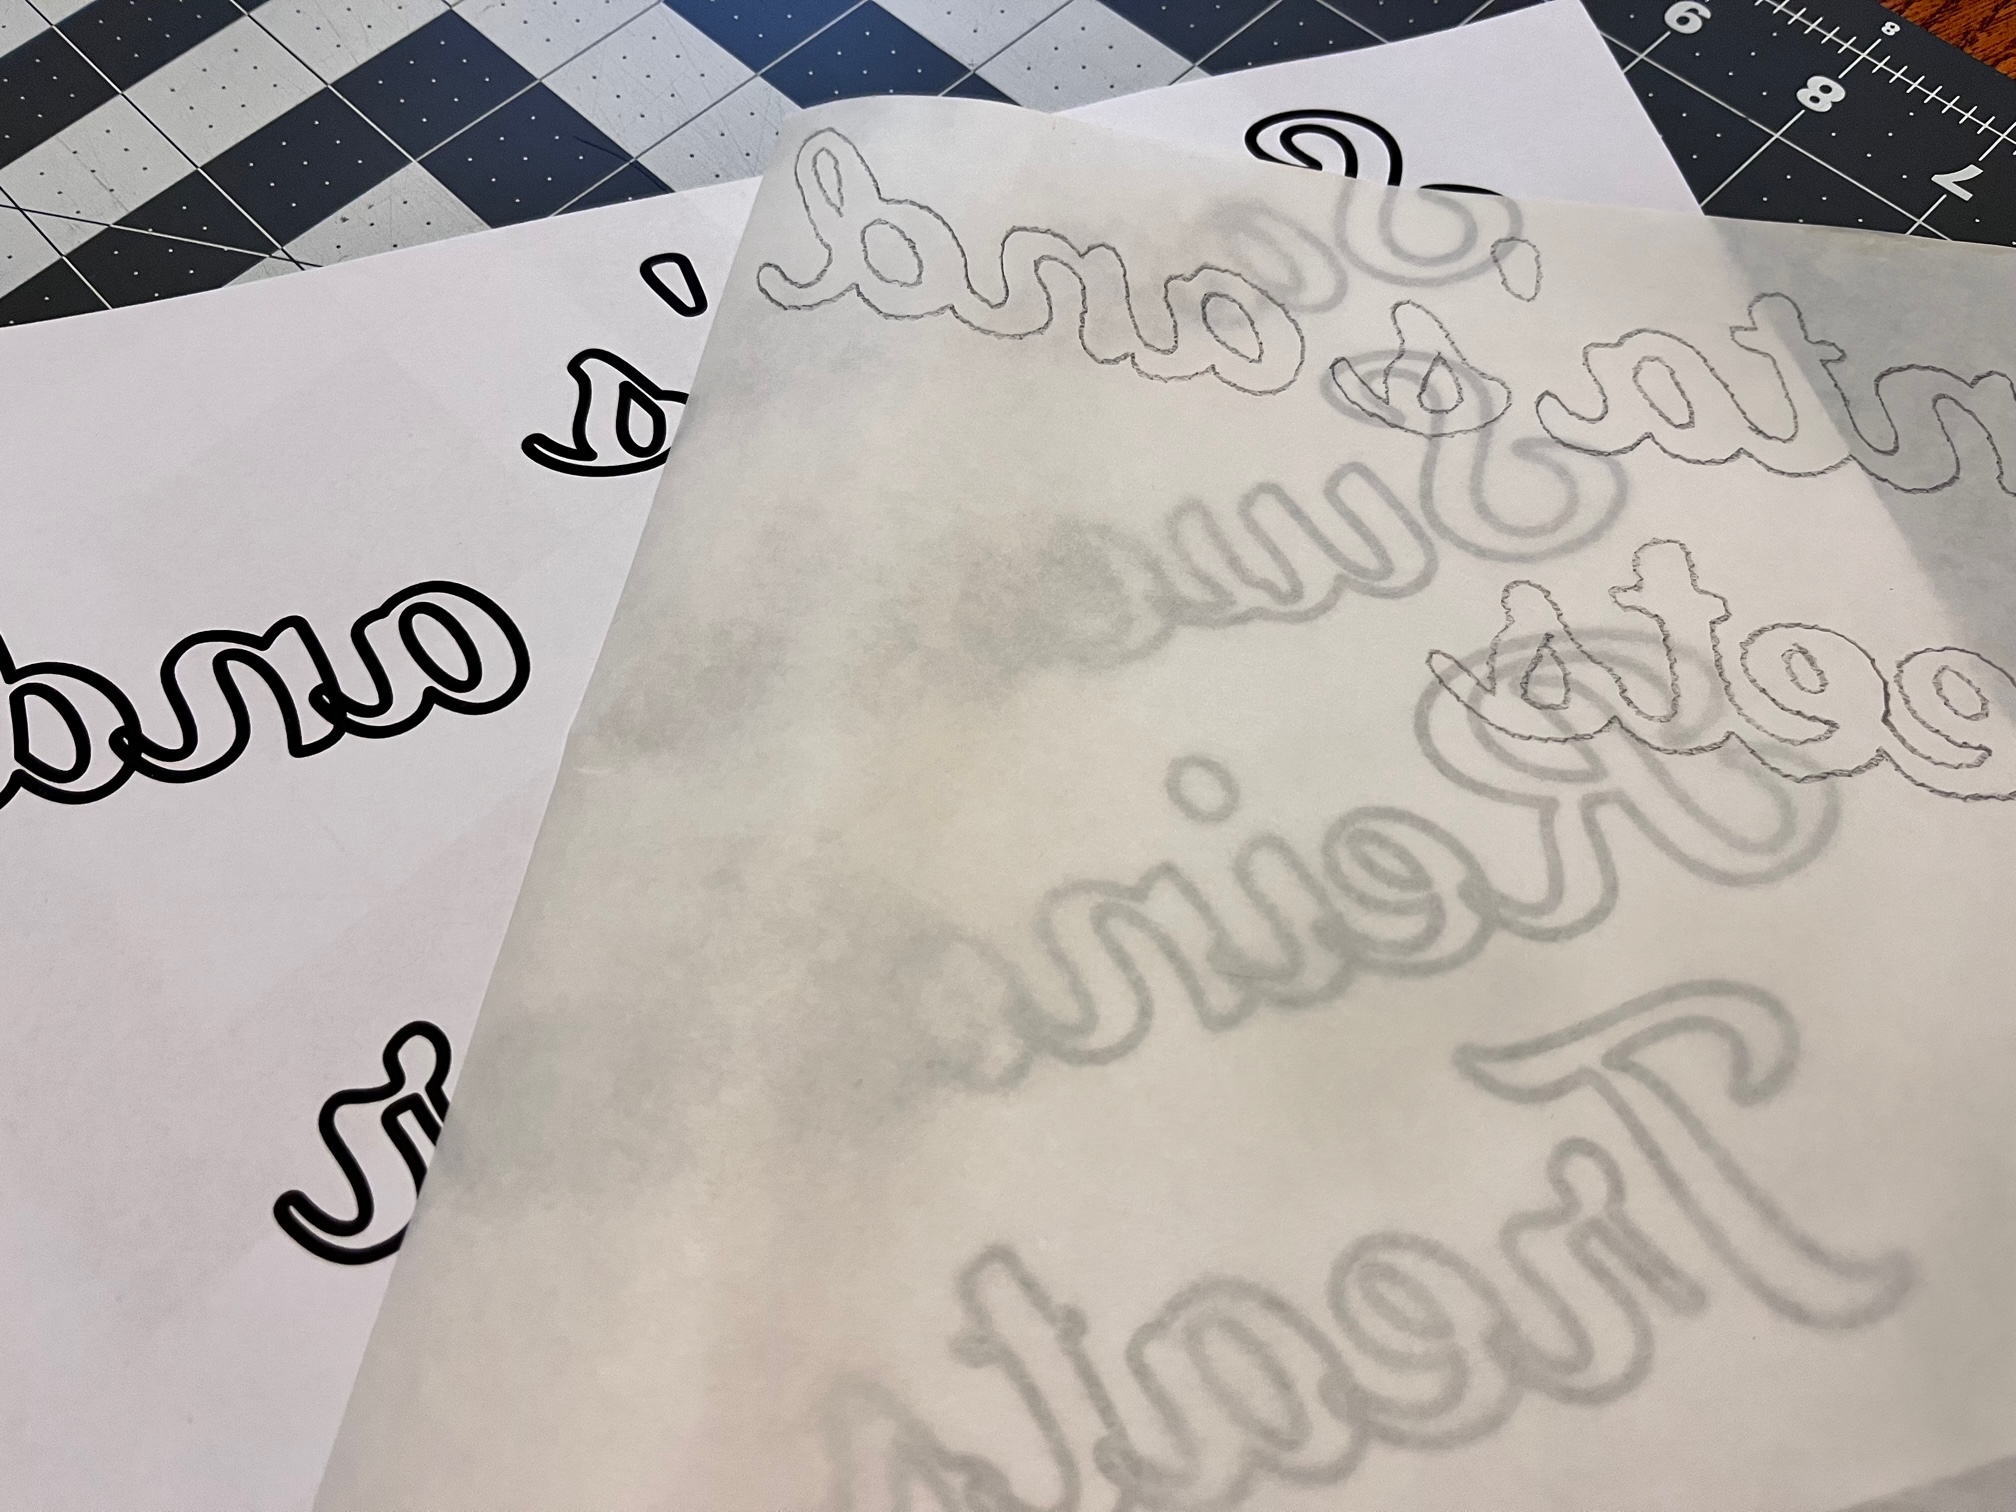
Begin by printing the pattern. If you have an inkjet printer you can print directly onto EZ-Print Lite sheets. If you don’t, HeatnBond Lite is translucent and you can easily trace the pattern. Make sure you print/trace the letters in reverse (they are already this way in the pattern, but if you use your own lettering make sure it is reversed). As you can see below, I had to trace my letters due to running out of inkjet ink and instead having to print on a laser printer.
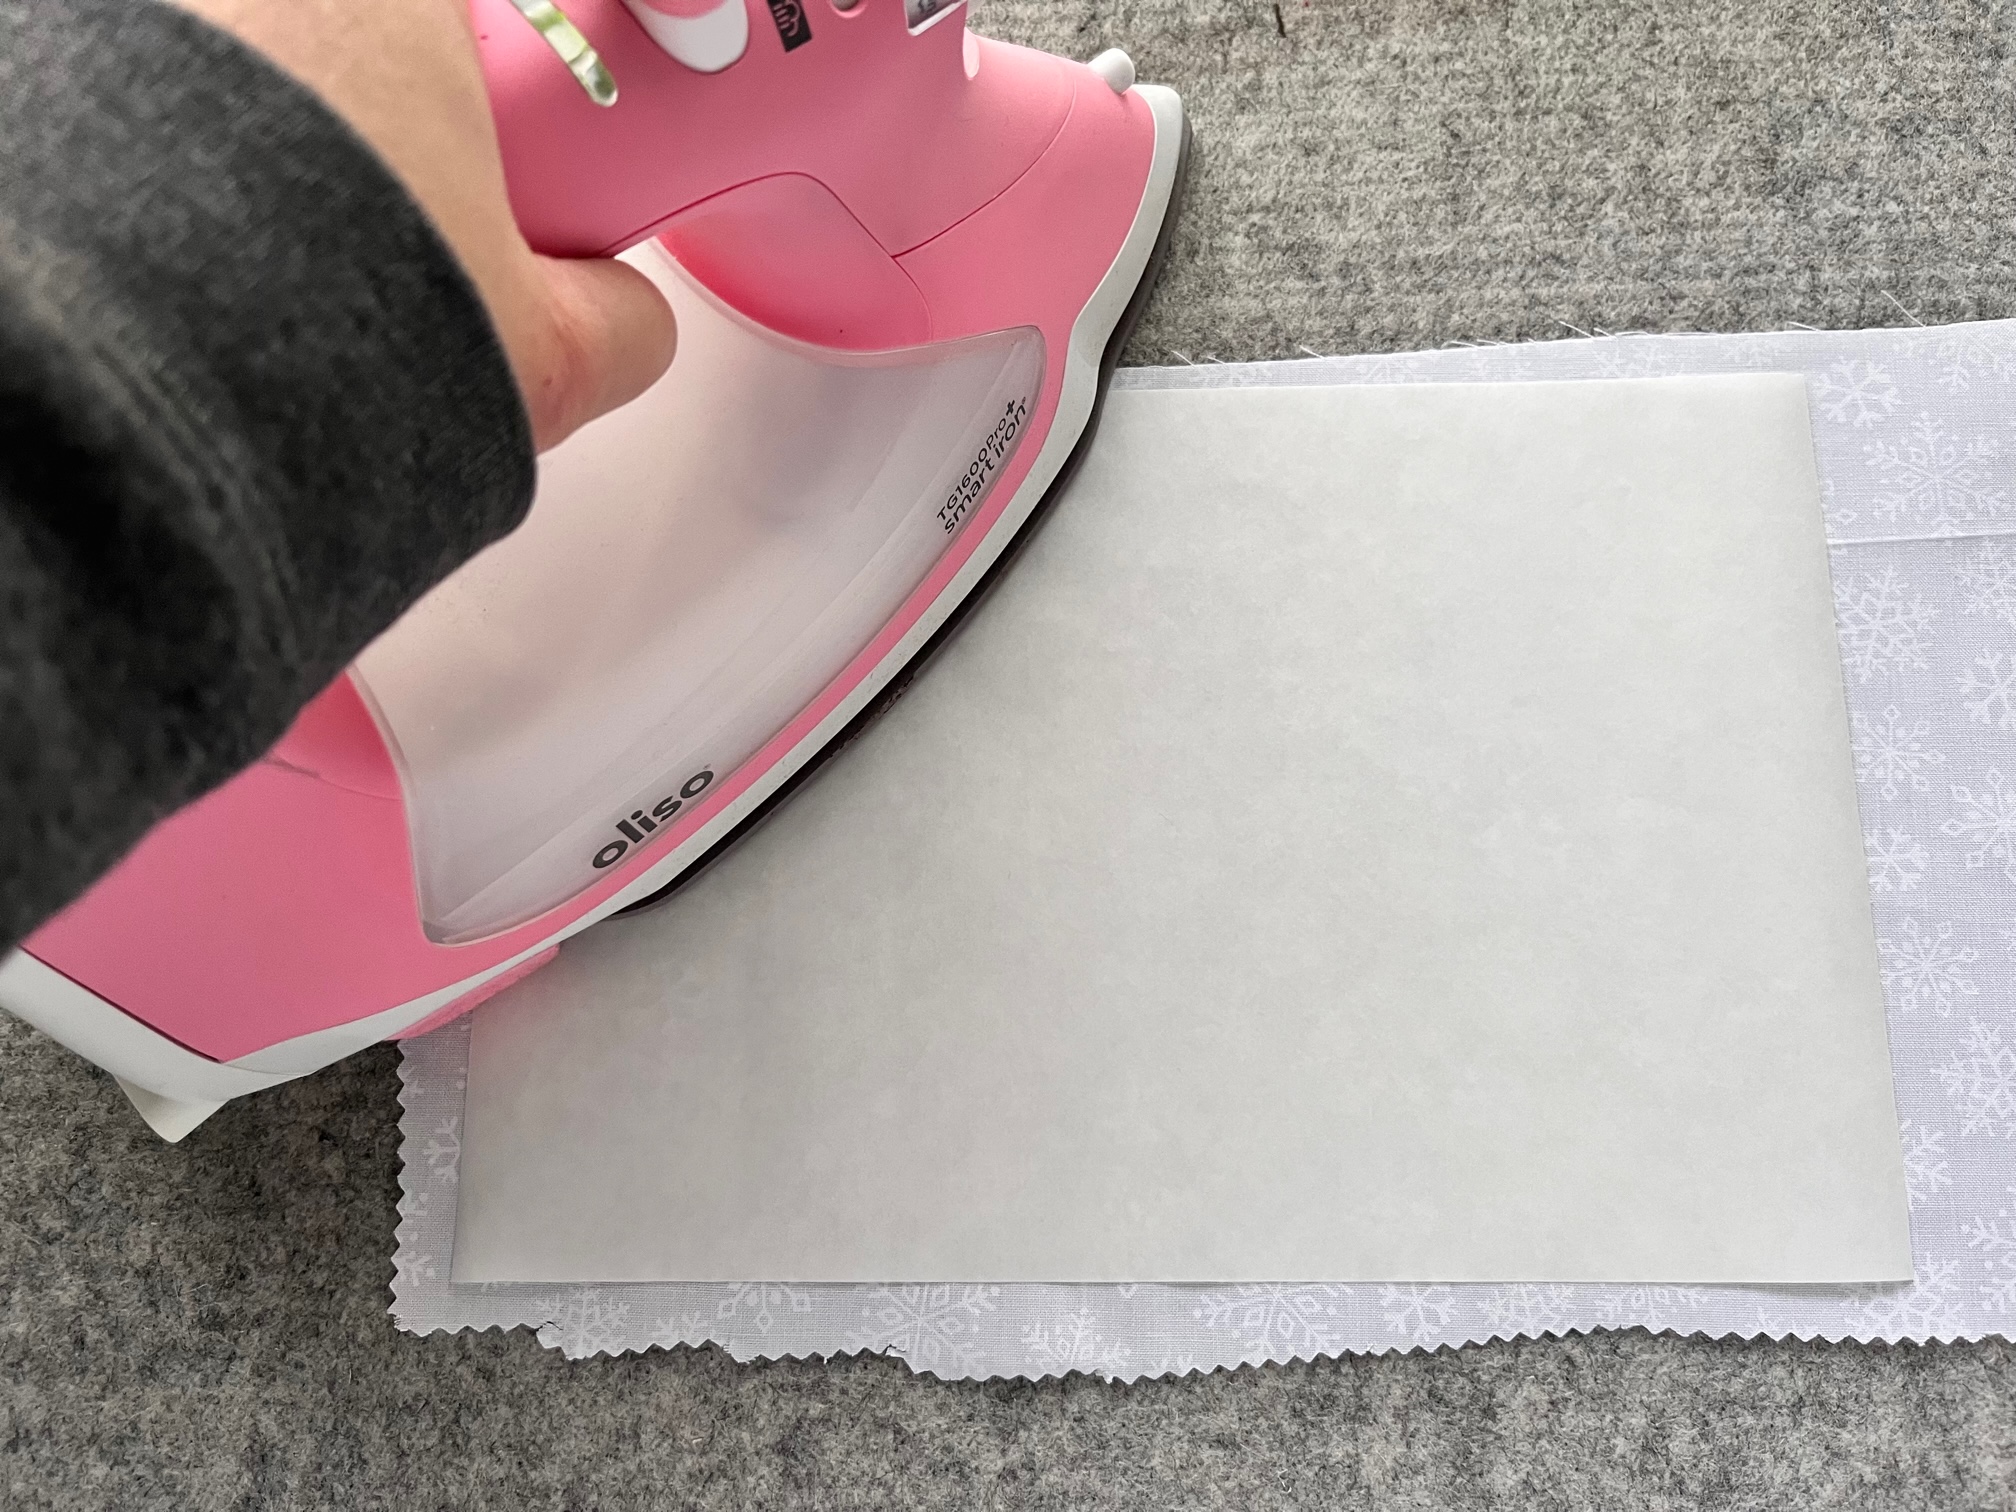
Next…
Fuse the HeatnBond Lite to your fabric. The white fabric is for my circles and the black is for the lettering.
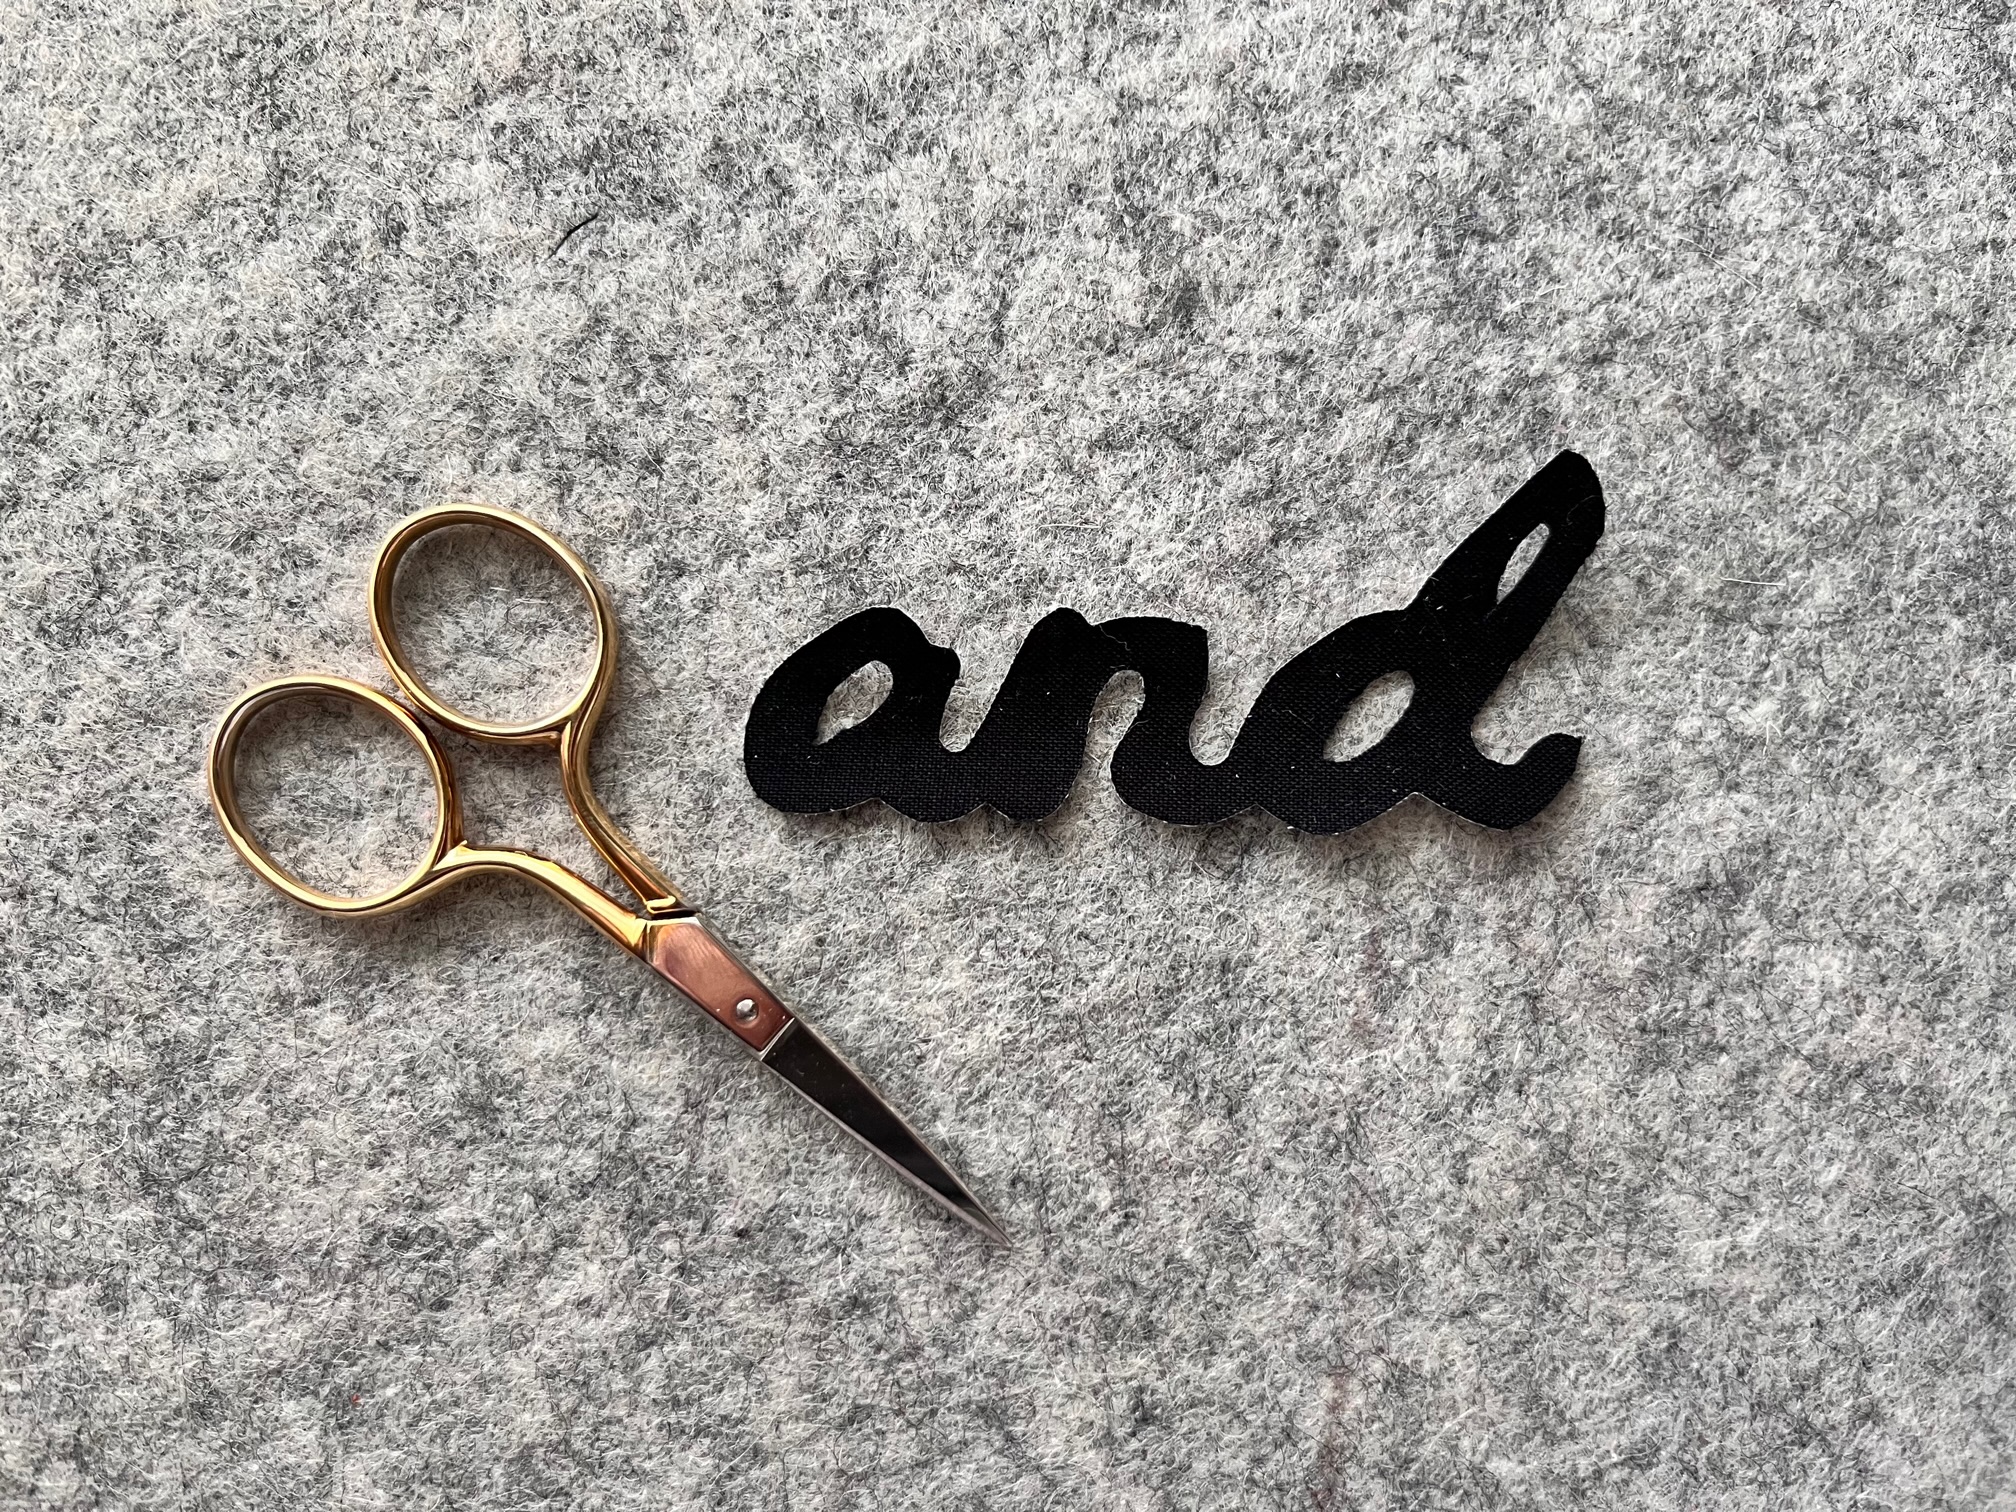
Continue by…
Cut out the applique pieces. For the lettering, you will need very precise scissors. If this is too much cutting, consider using a no-sew option. ThermOWeb makes HeatnBond Ultra and no sewing is needed or required.
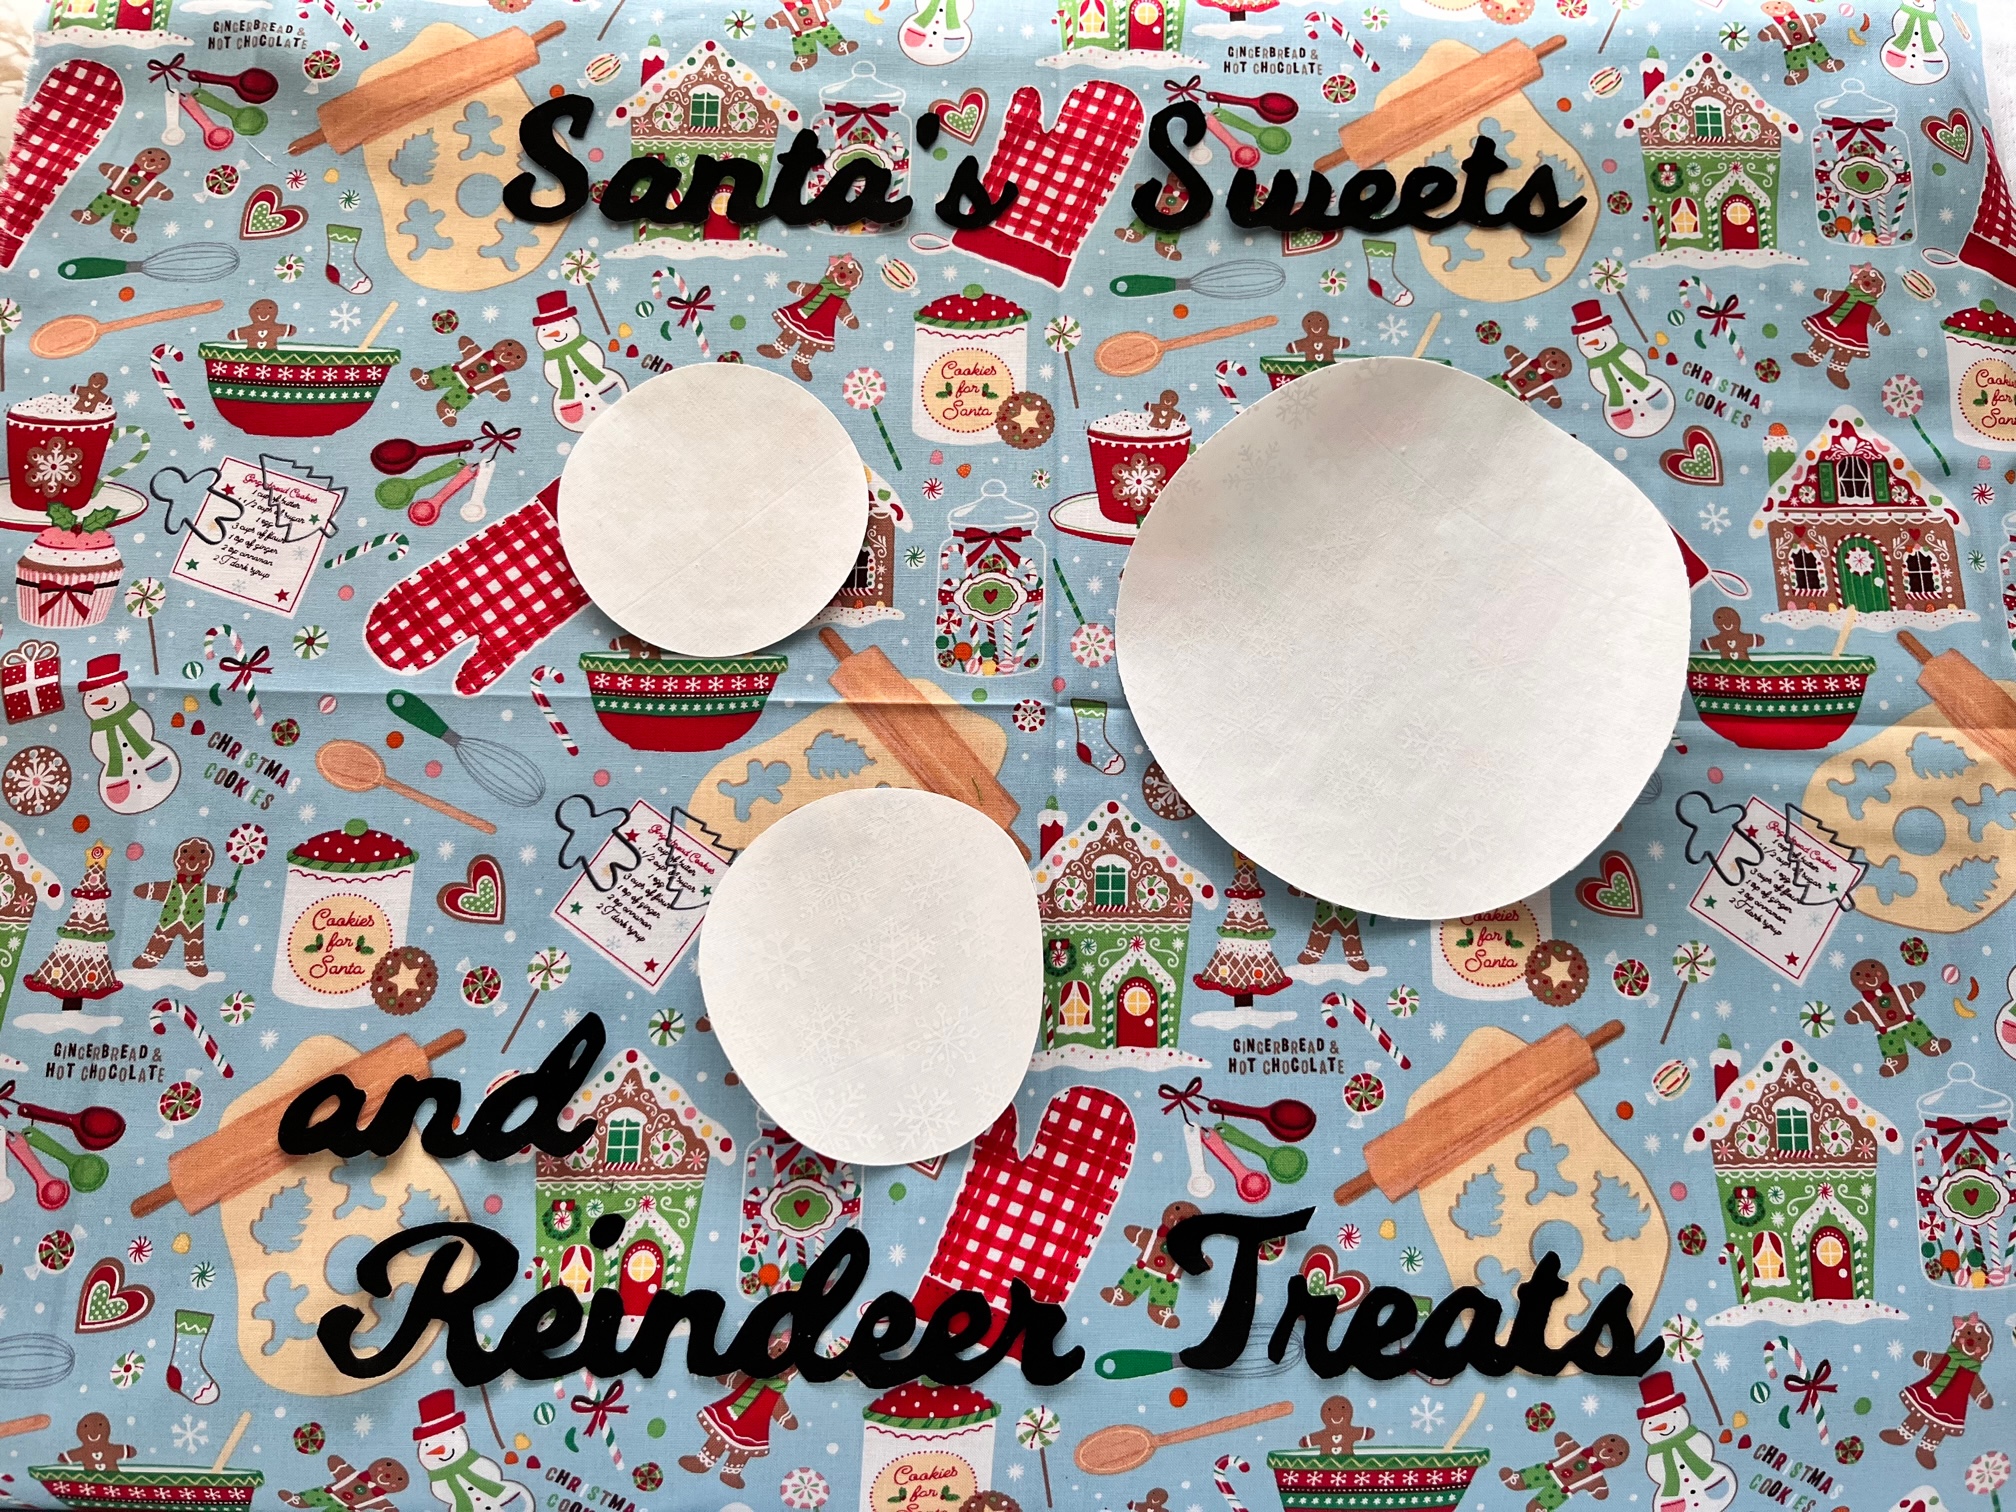
Next…
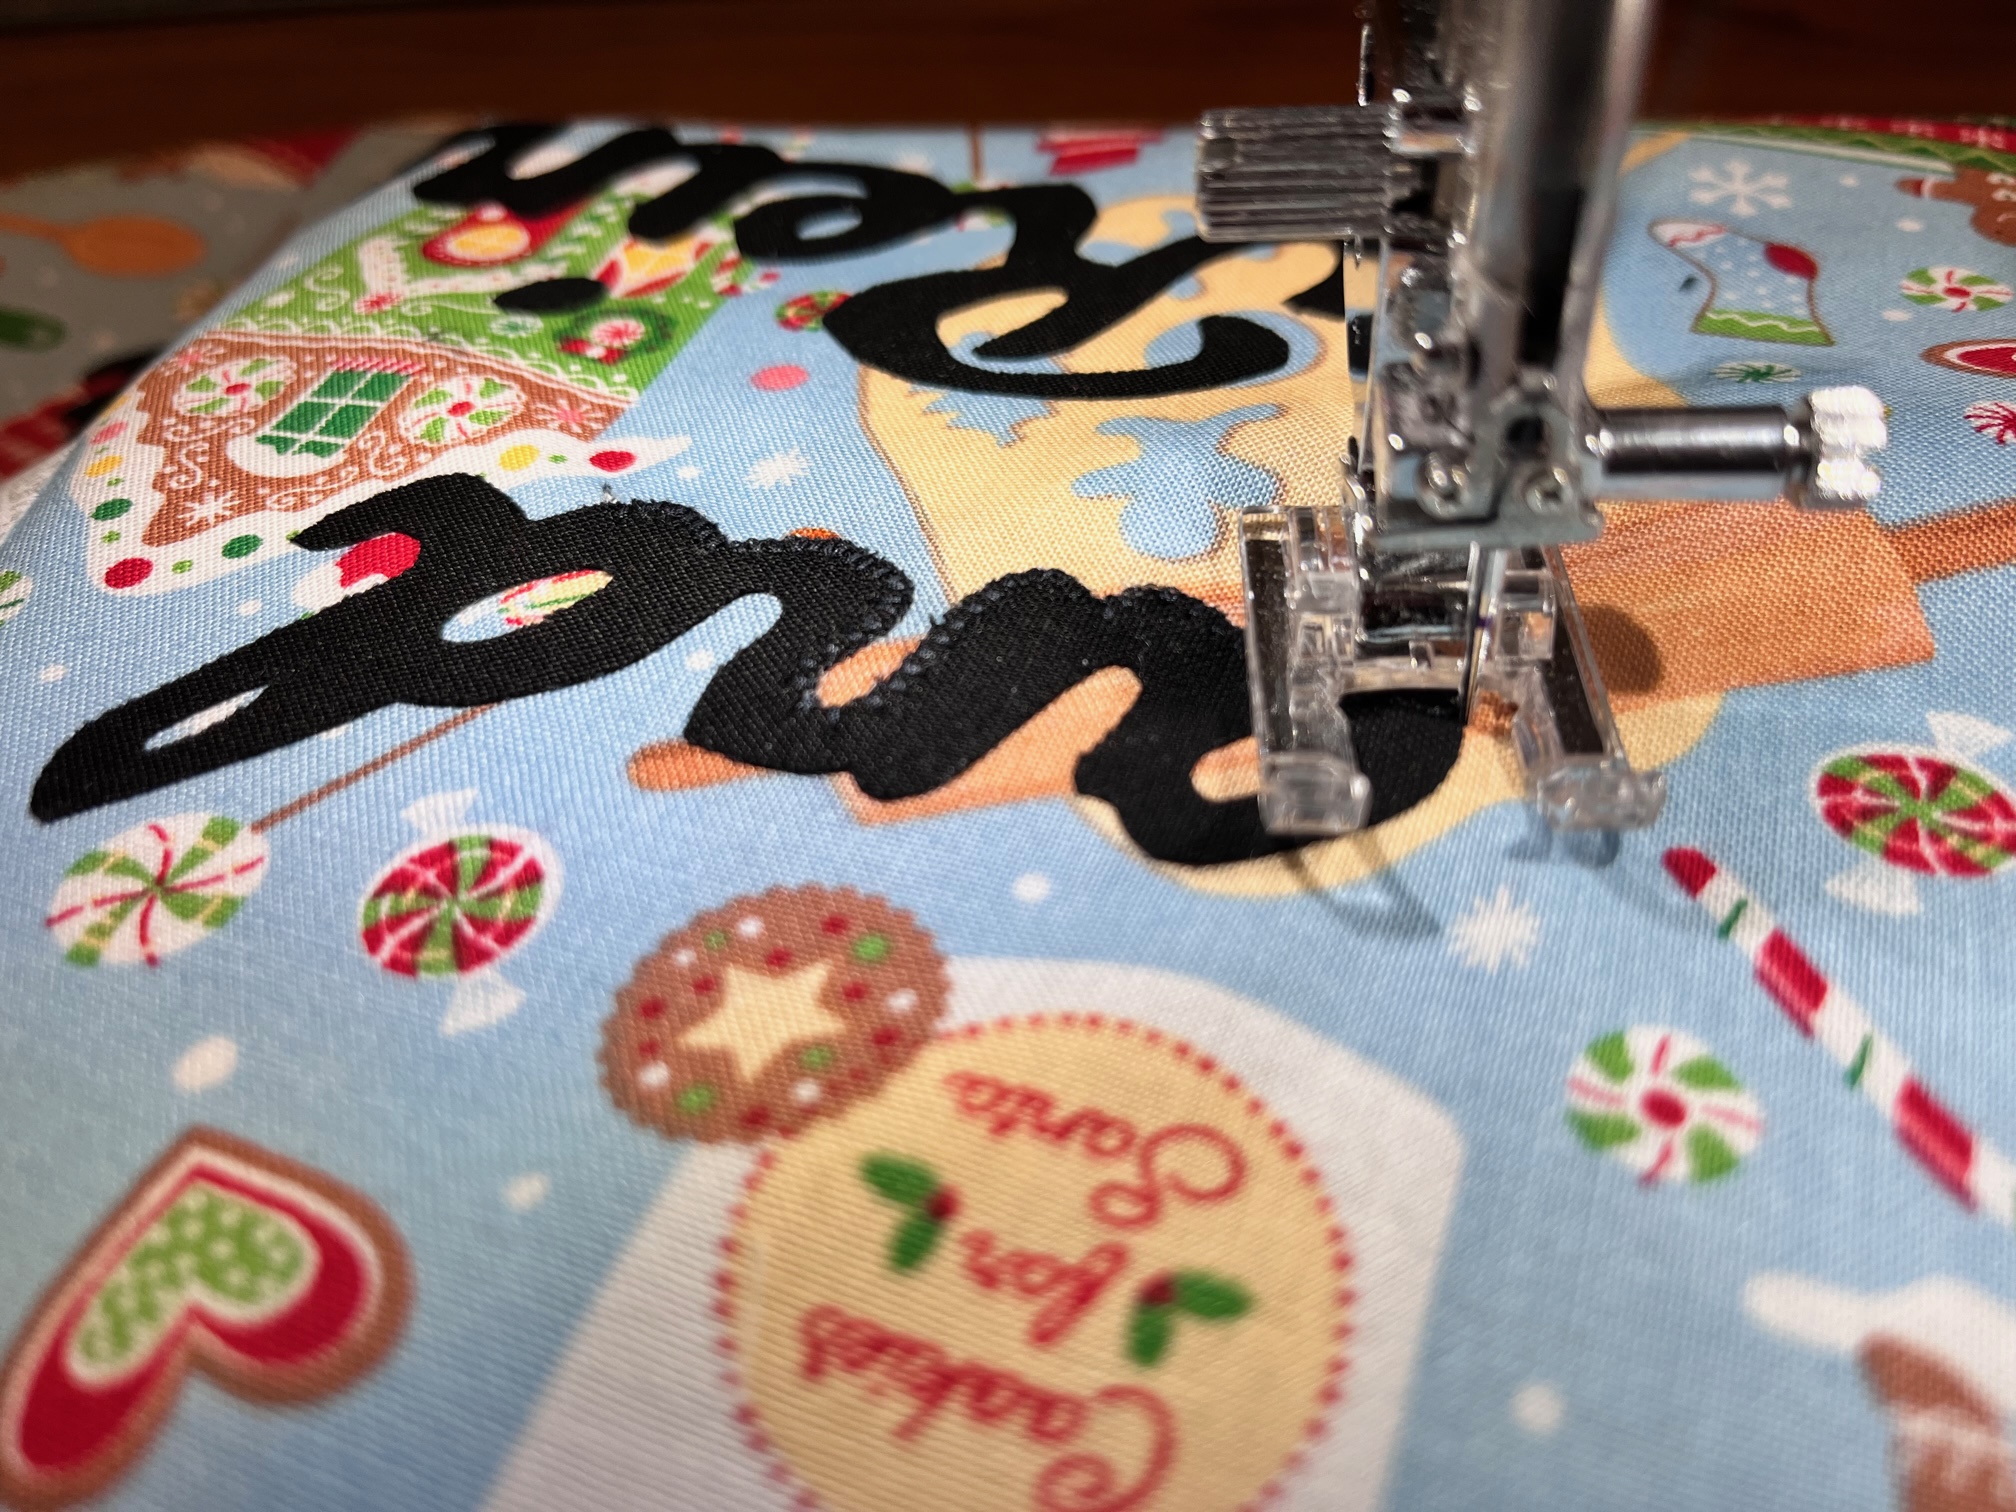
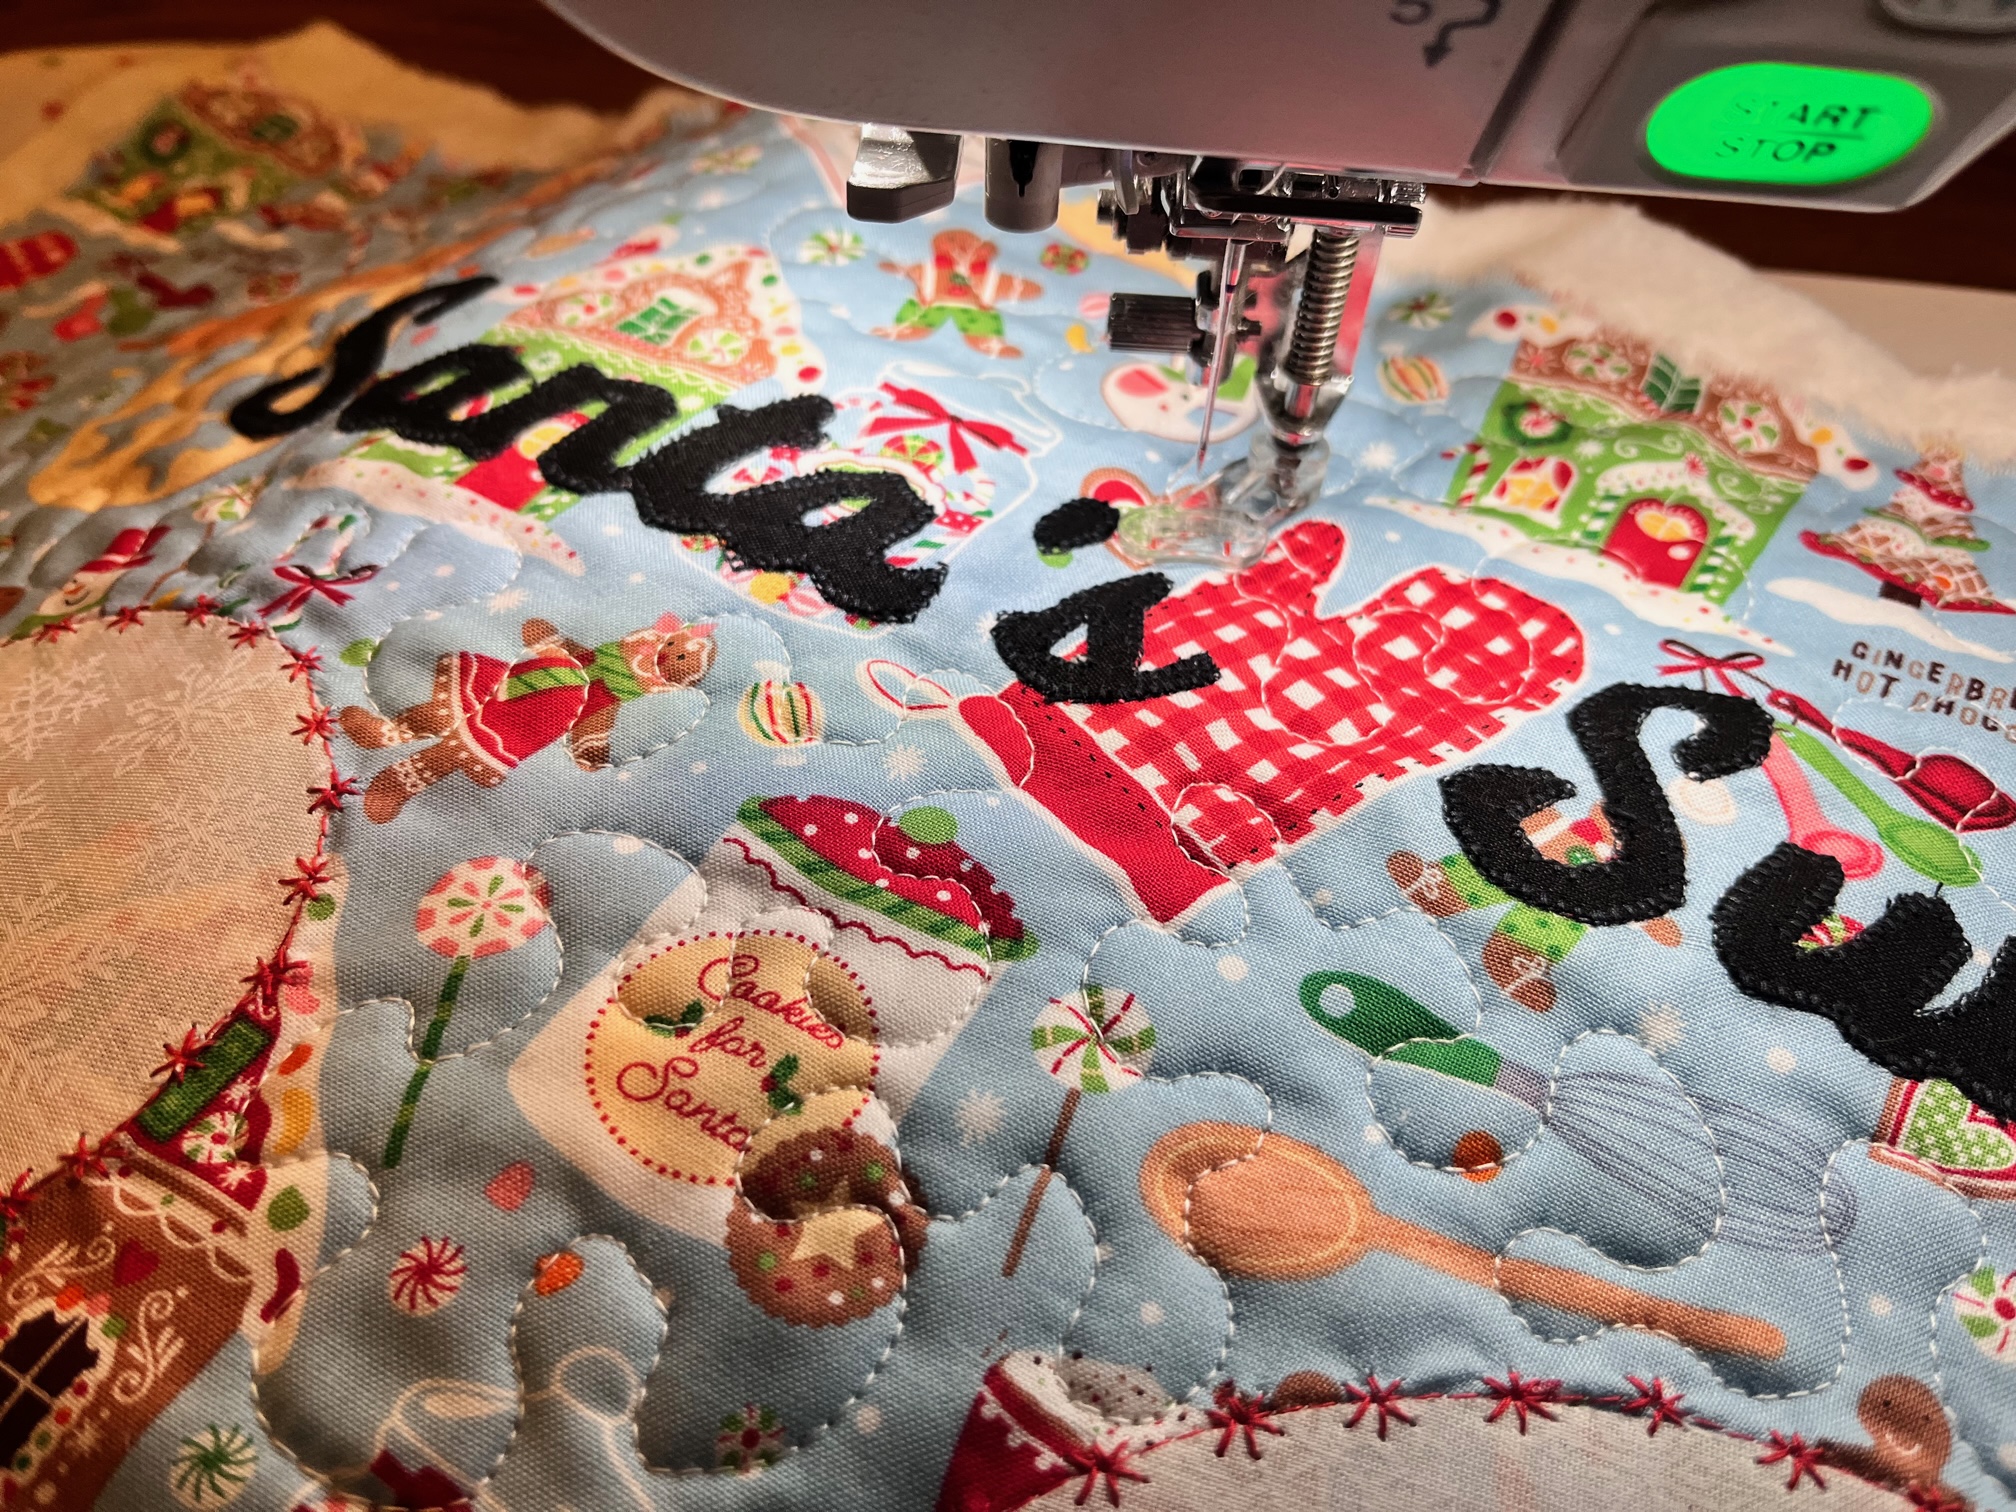
Once everything is cut out, arrange your pieces to the background fabric. Peel the backing off and fuse in place. For the circles, the 4″ circle is for the reindeer treats and the 3.5″ circle is for the drink. Once fused, applique the lettering and circles using your favorite method. I used a small blanket stitch for the lettering and a fun decorative stitch for the circles.
Then…
Once everything has been stitched in place you will need to make your quilt sandwich with the batting and backing fabric. I used HeatnBond Basting Spray to baste the layers together. Thermoweb’s basting spray is a game changer. I love using it. Once basted, quilt your piece as desired.
Finally…
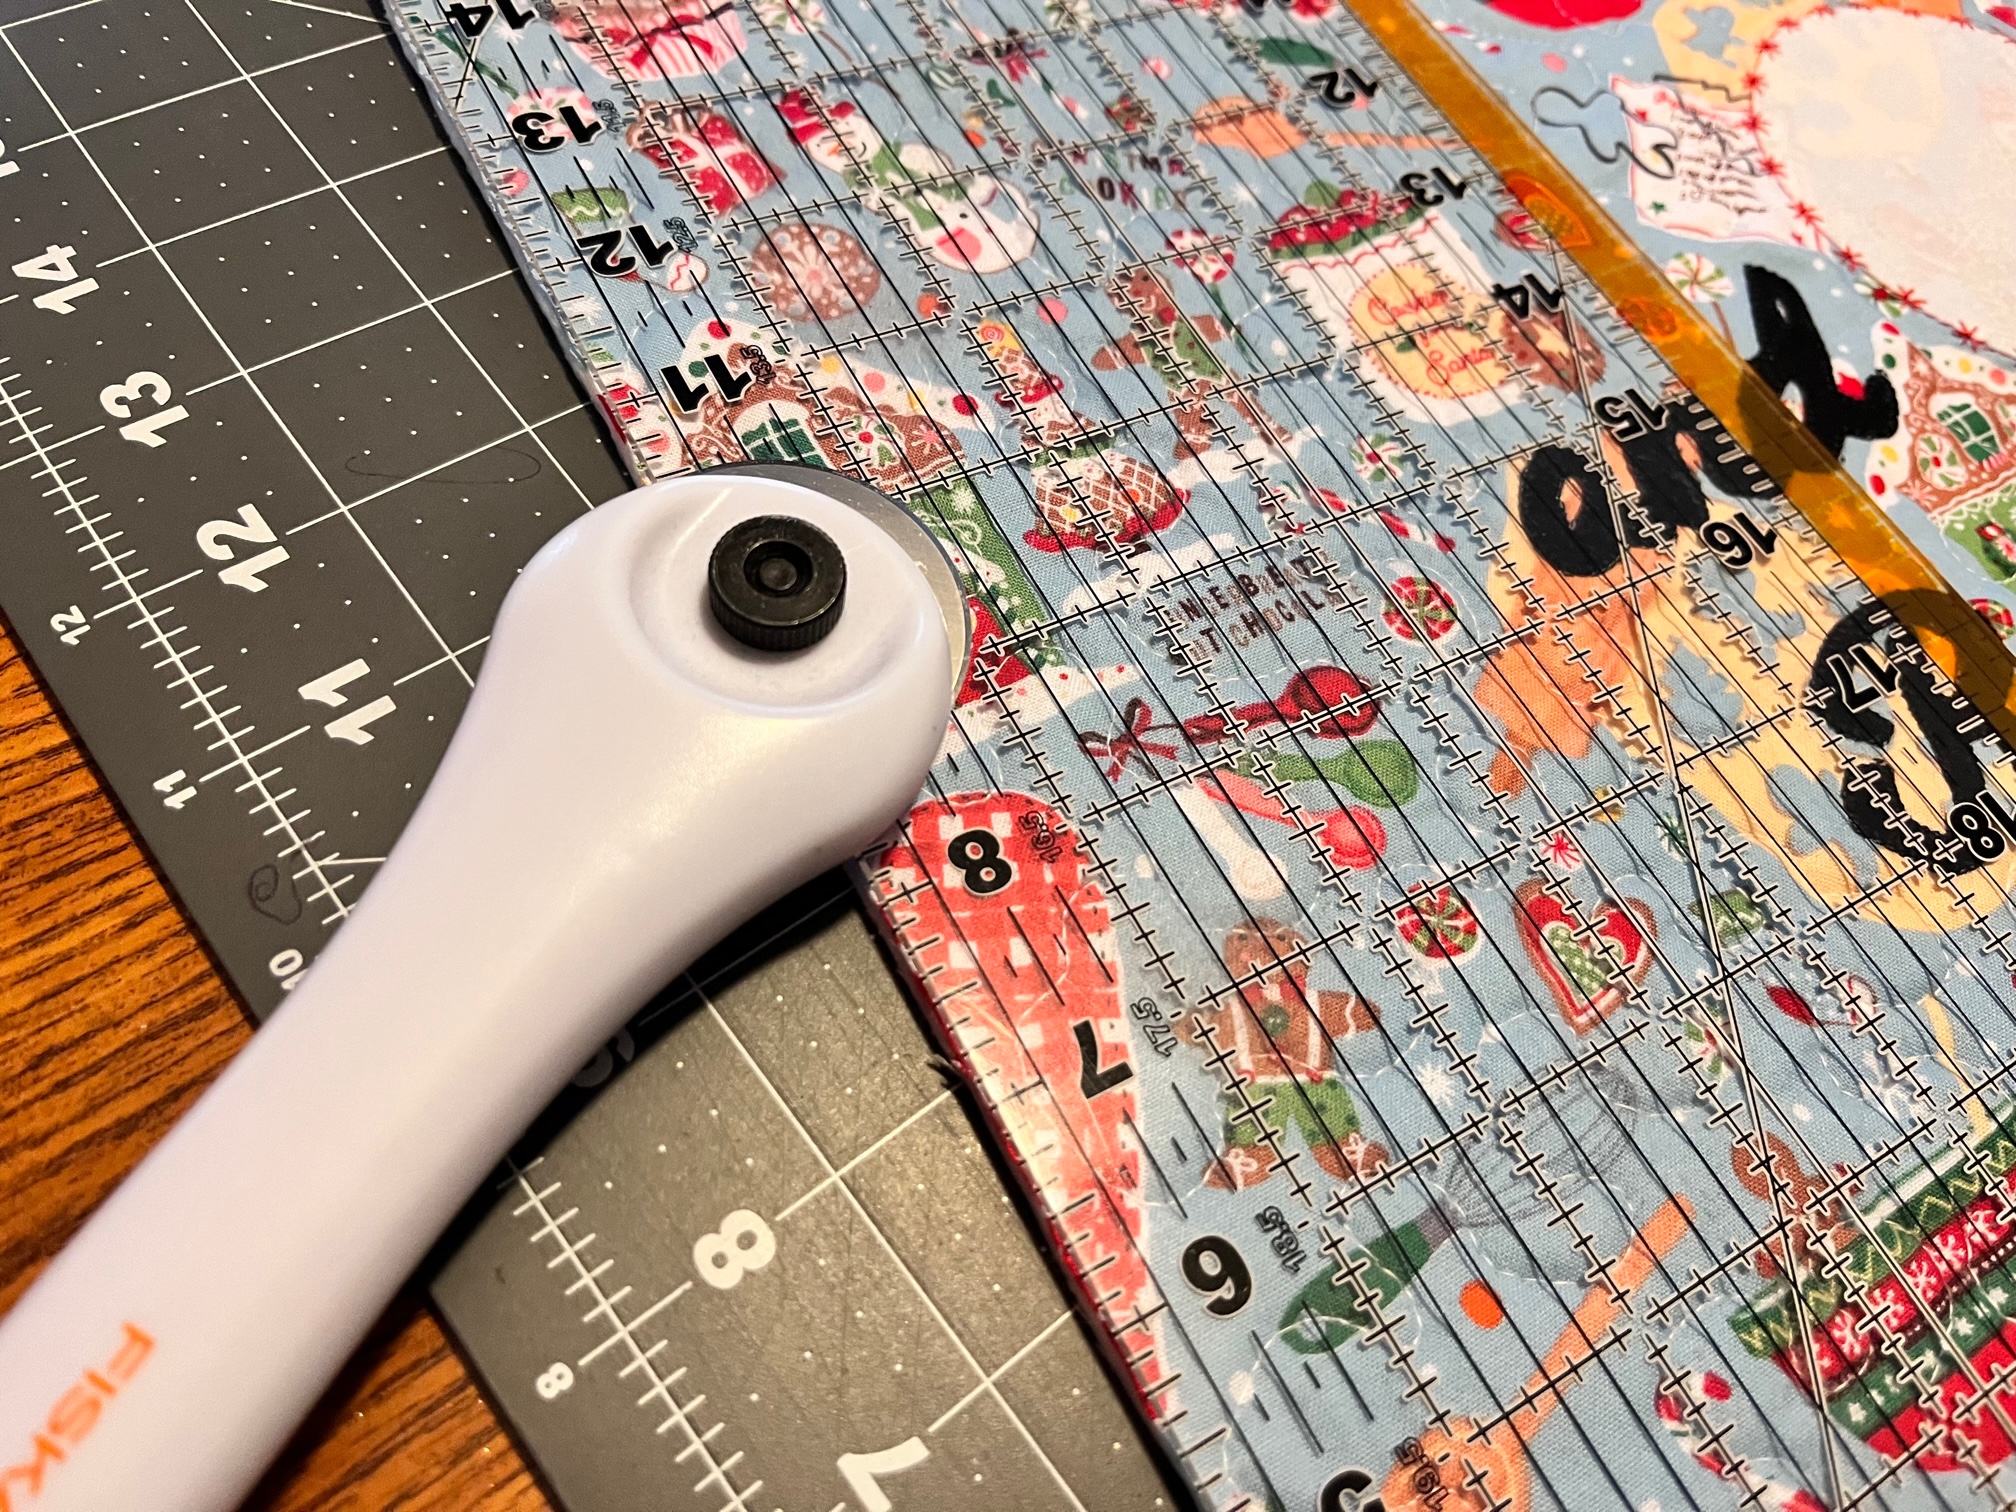
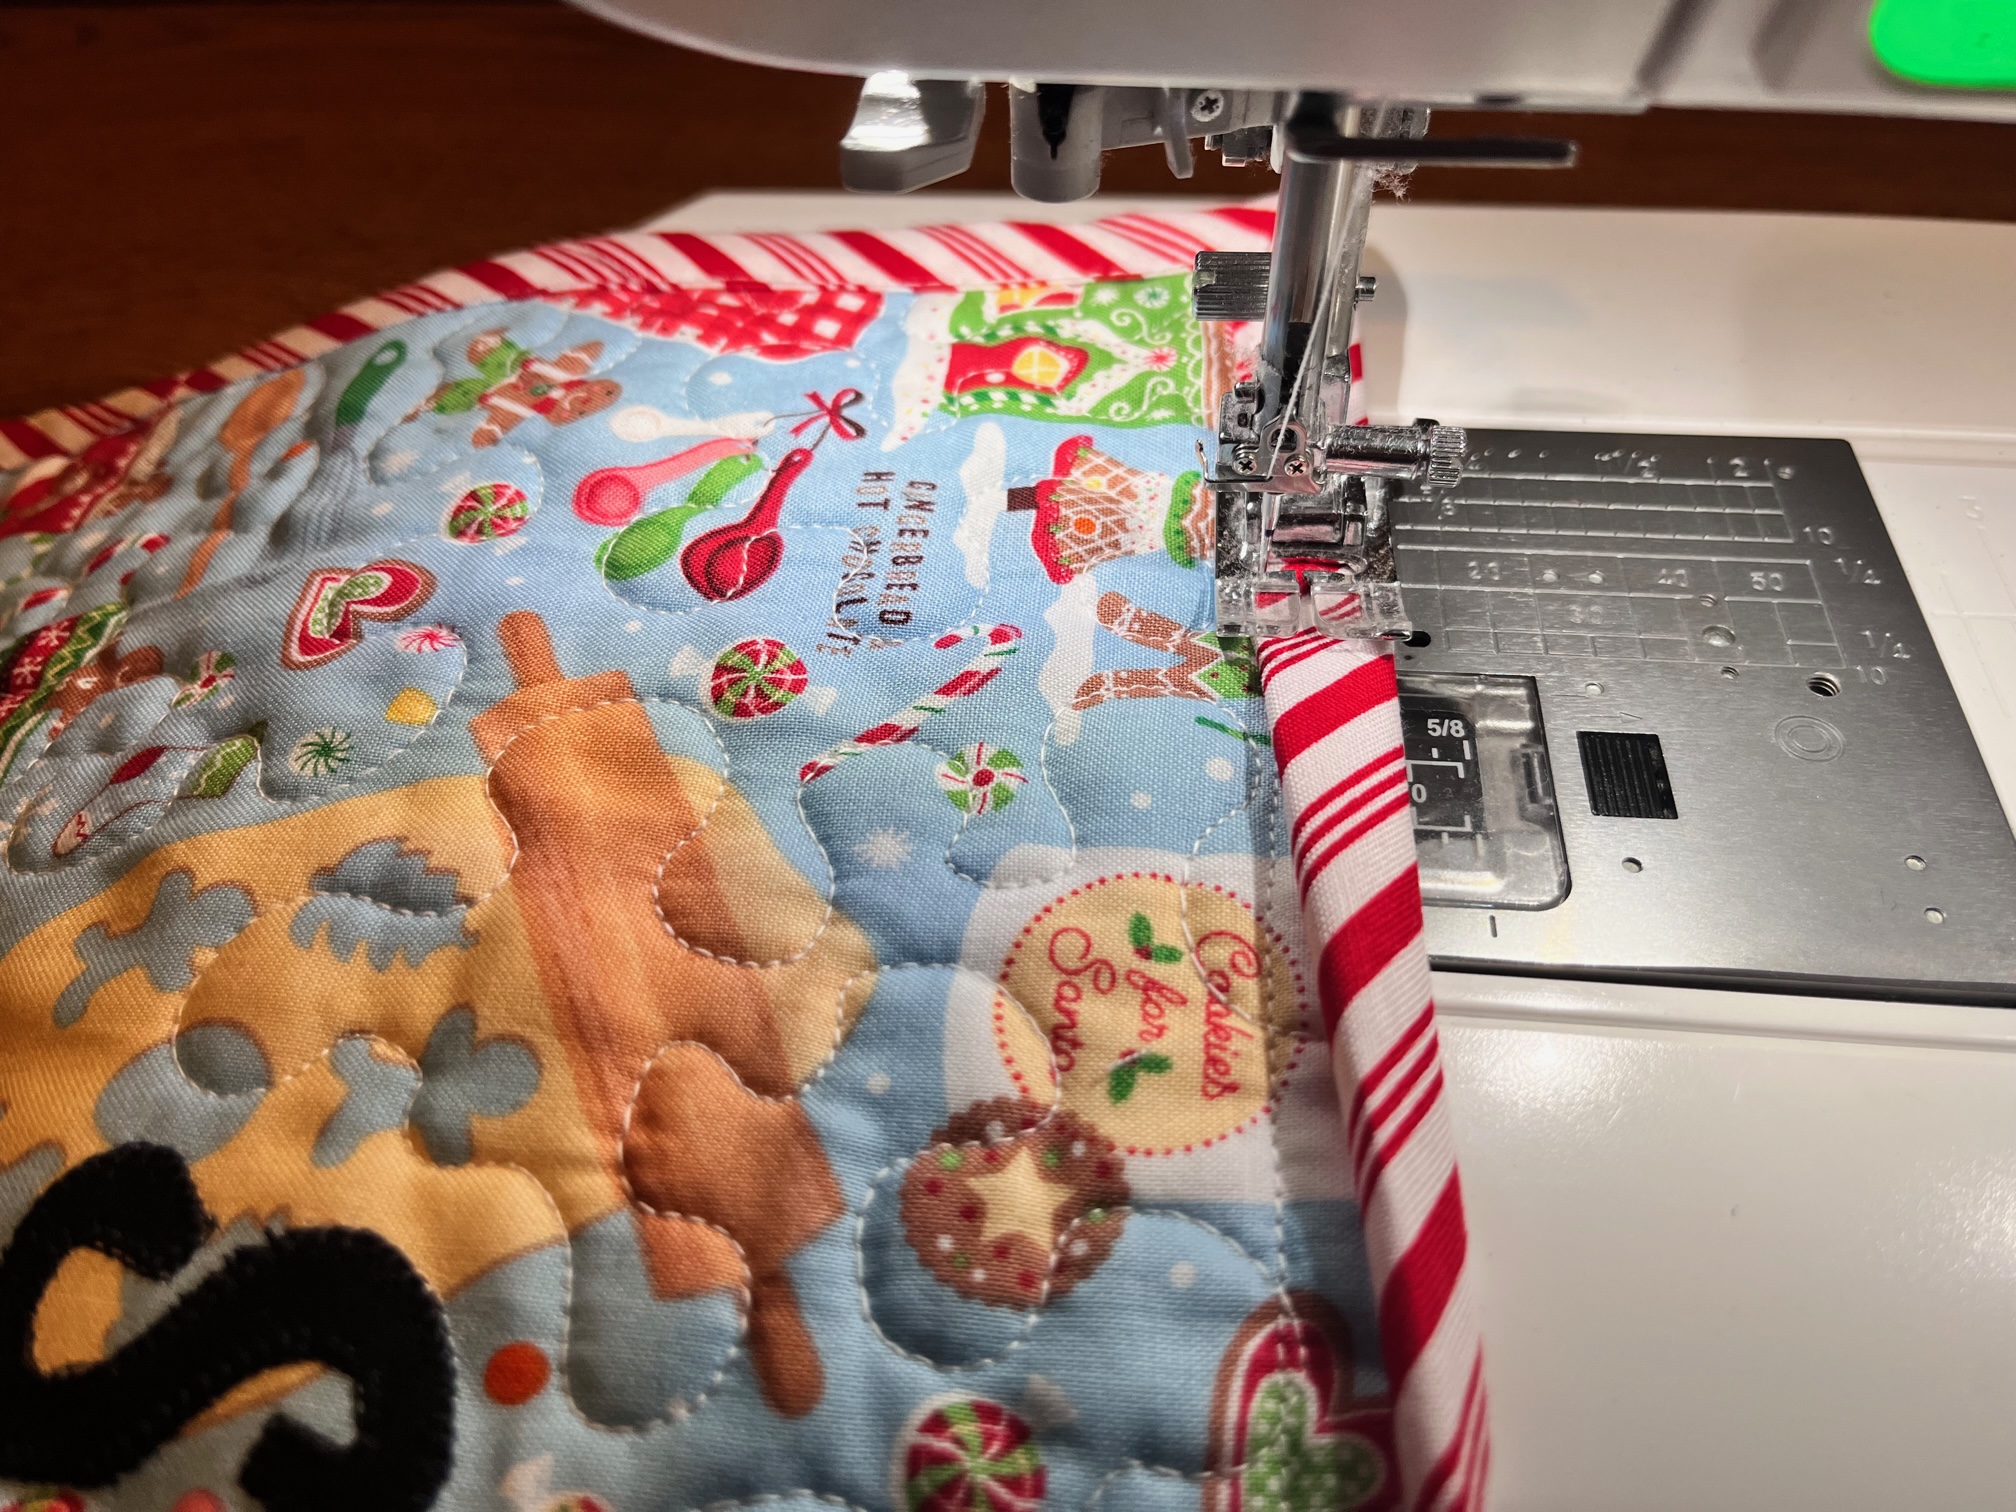
Trim your quilt and add your binding.
Finished!
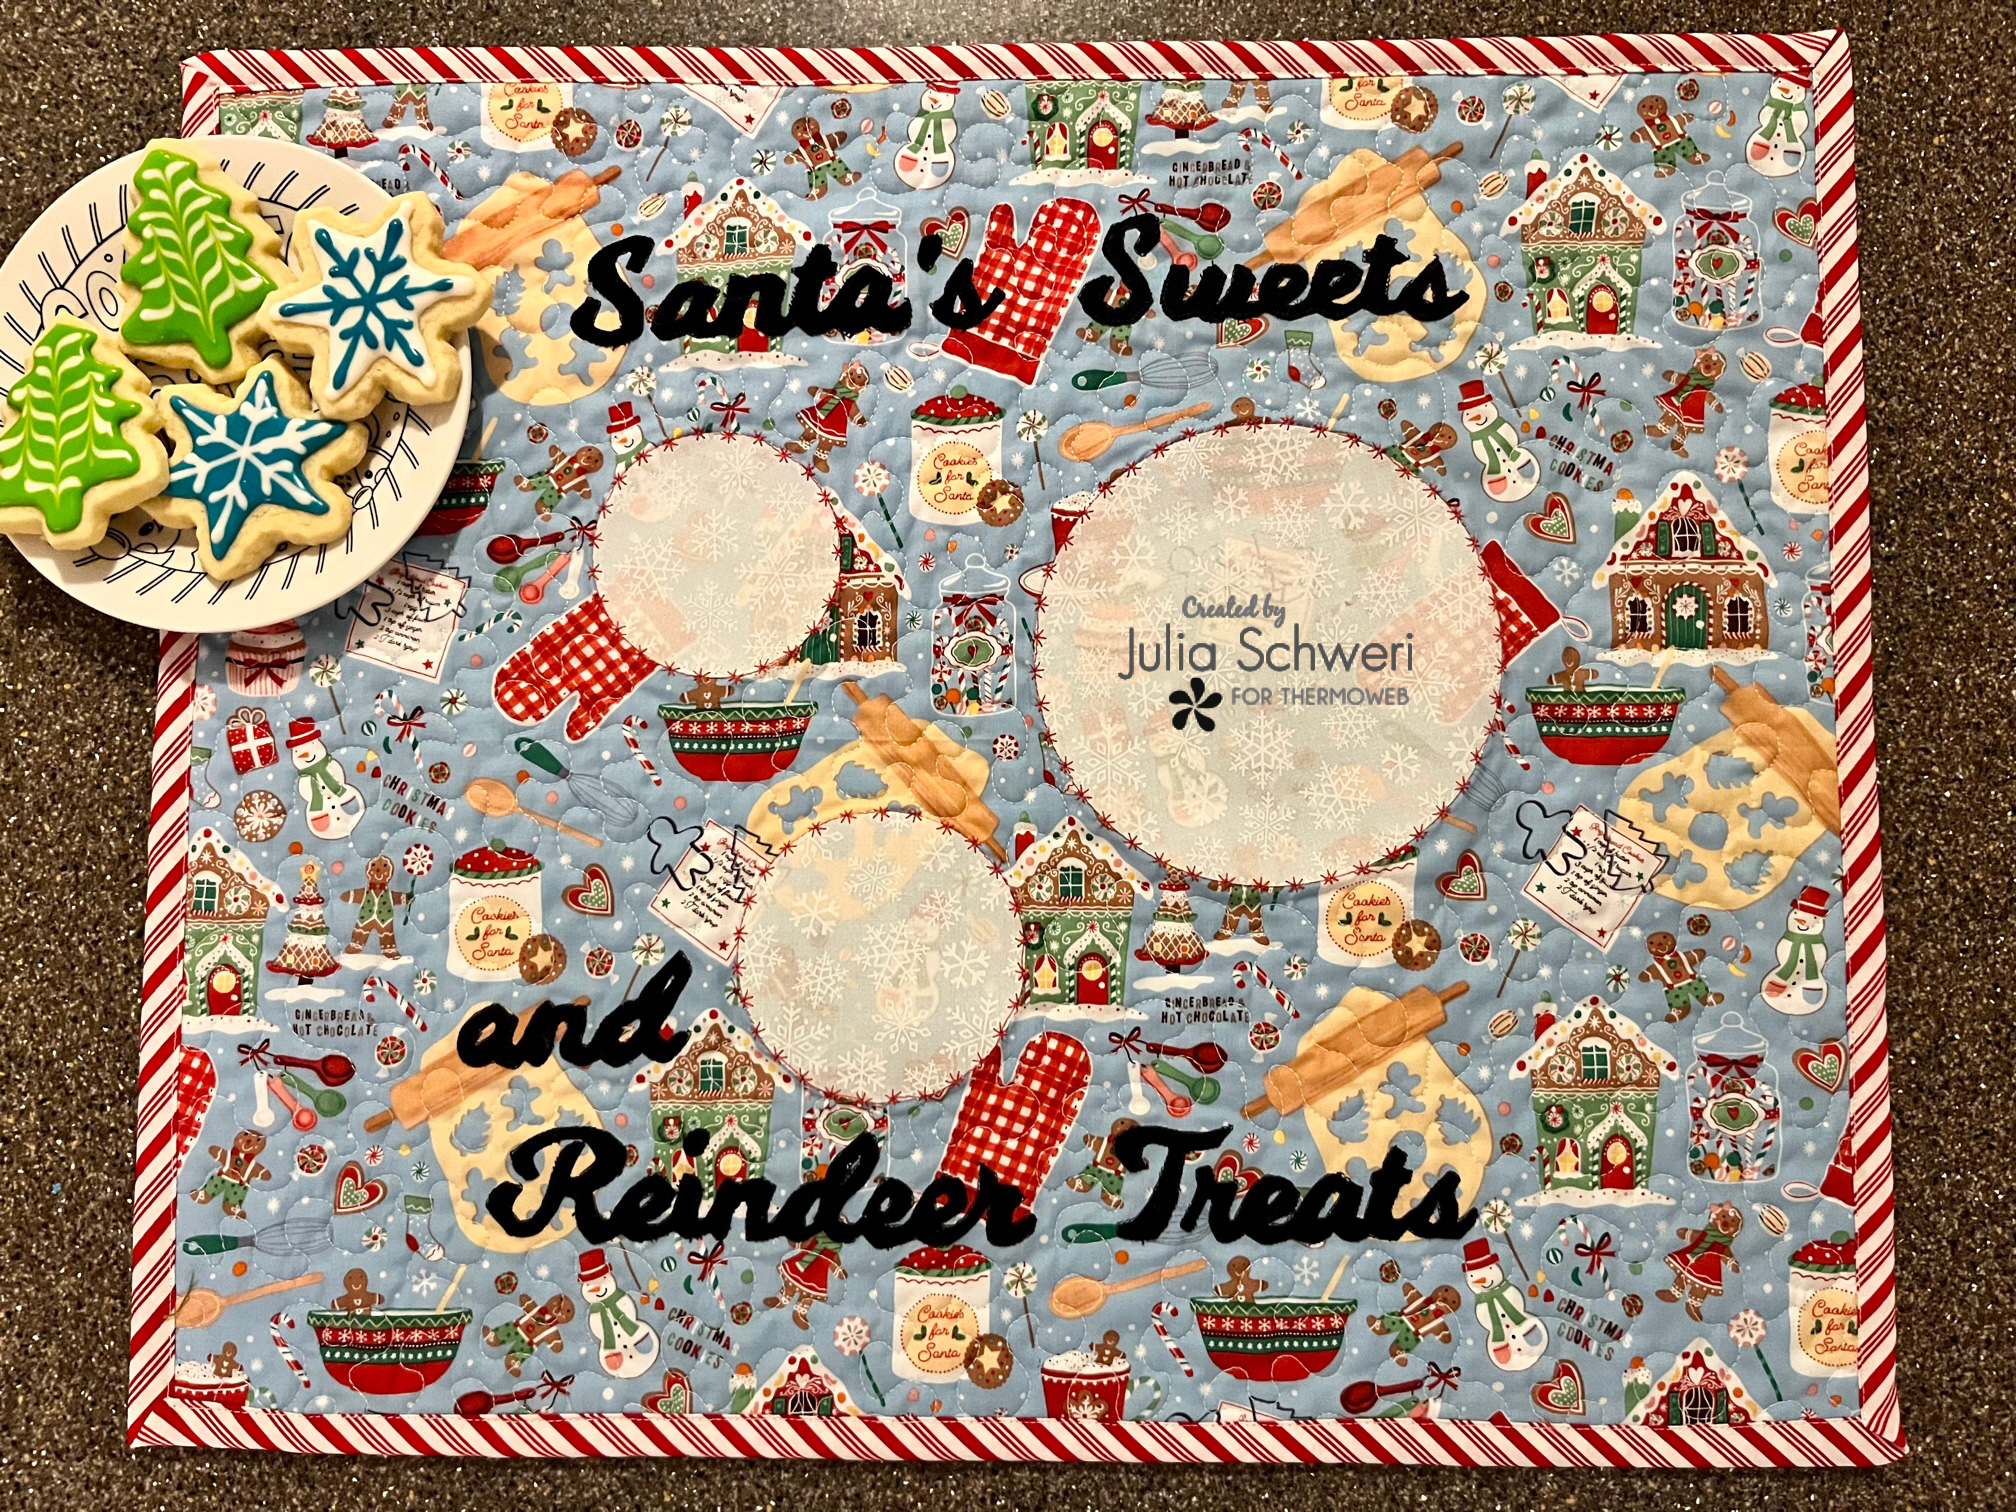
All that is left now is to bake some goodies. The circles remain unmarked so you can leave Santa whatever you think he might need…milk, coffee, eggnog… In fact, we leave Santa jelly-filled donuts each year as it is our tradition to make deep-fried jelly-filled donuts for dessert on Christmas Eve.
Thank you for visiting today! Come back soon to see what else will be starting to bloom with Inflorescence Designs!
Sharon Gullikson
December 15, 2022 at 7:48 pm (1 year ago)Do you remember what the name of the fabric is and/or where you got it? THANKS
inflorescencedesigns7f538ce9d0
December 16, 2022 at 8:43 am (1 year ago)Hello! The fabric I used for the background, white circles and binding were purchased at Hobby Lobby. Unfortunately, I do not have the specific name for it. The black fabric is simply Kona Cotton Black.