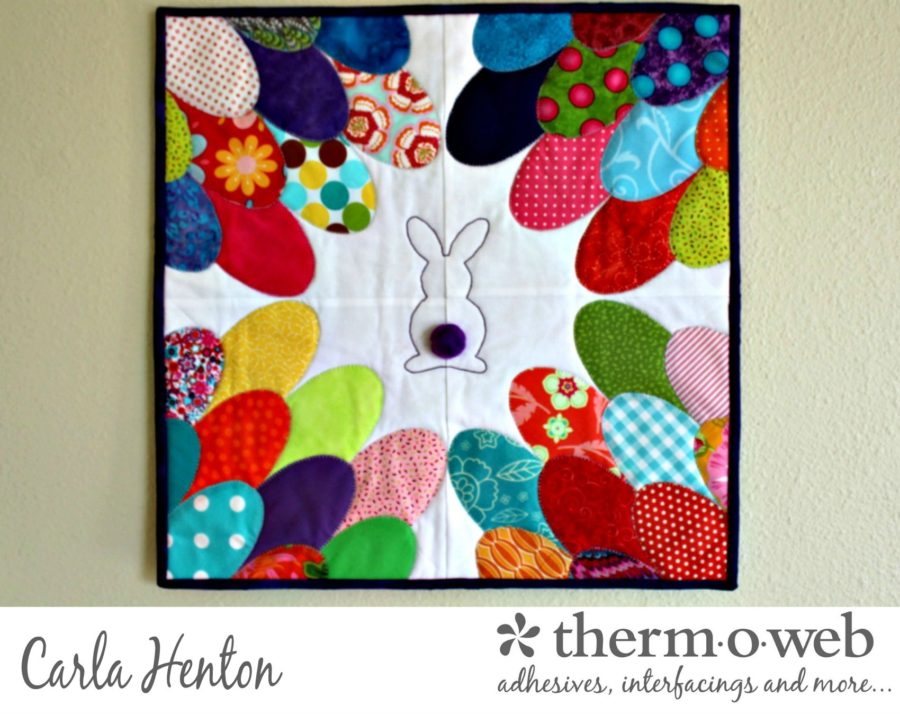
I’m afraid I have a scrap problem and this time of year I am always inspired to make projects with all those bright and beautiful pieces of wonderful that I’ve held on to all year. Today I want to share an “eggcellent” way to do a little spring cleaning / scrap busting using HeatnBond® EZ Print sheets. Instead of traditional clamshells, I’ve created eggshells for the season and they are so easy to applique on this door greeter mini quilt by printing the patterns instead of tracing.
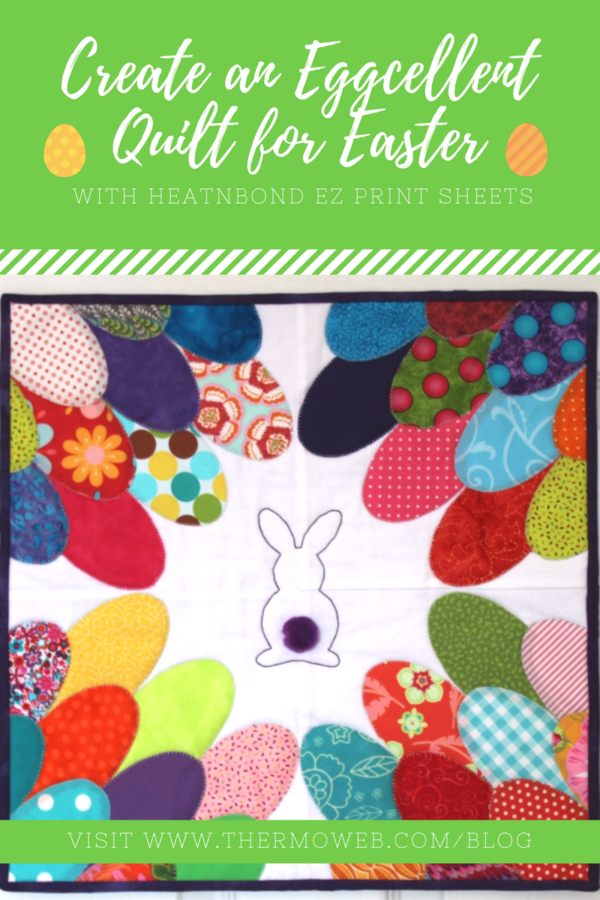
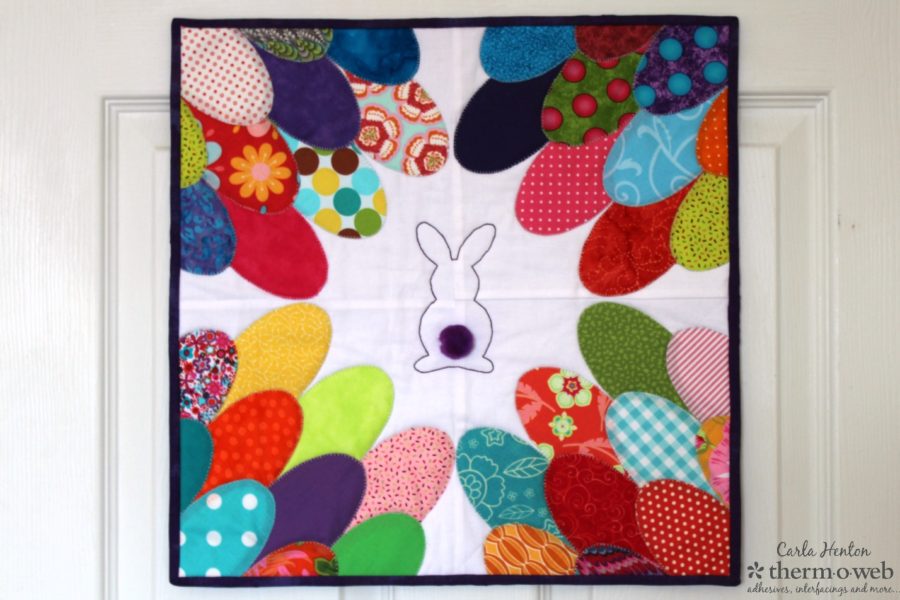
The Eggcellent Eggshell Door Greeter Mini Quilt
by Carla Henton at Creatin’ in the Sticks
finished size: 16″ x 16″
Supplies:
7 – HeatnBond® EZ Print Lite Sheets
StitchnSew™ EZ Quilt Block Sheets
StitchnSew™ Sew-In fleece, High Loft
SpraynBond® basting adhesive
Fabric:
4 – 8 1/2″ white squares for background
40 – 5 1/2″ x 3″ assorted scraps
Backing fabric
Binding
Other supplies:
Aurifil 50 weight cotton thread (#2545)
1″ pompom for the bunny tail
Iron (I love my Oliso Pro)
sewing machine
sharp scissors
other general sewing supplies
pattern templates
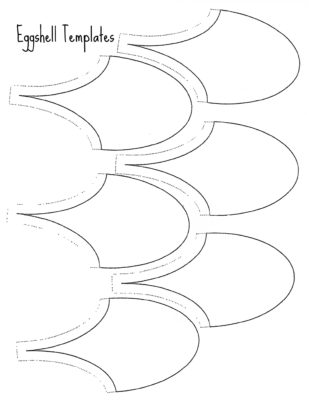
(click and right click to save or print. Enlarge to fit a full piece of paper)
This Eggshell Pattern Bunny Door Greeter PDF has already been sized to fit an 8.5″x11″ sheet.
The Eggcellent Eggshell Door Greeter Instructions:
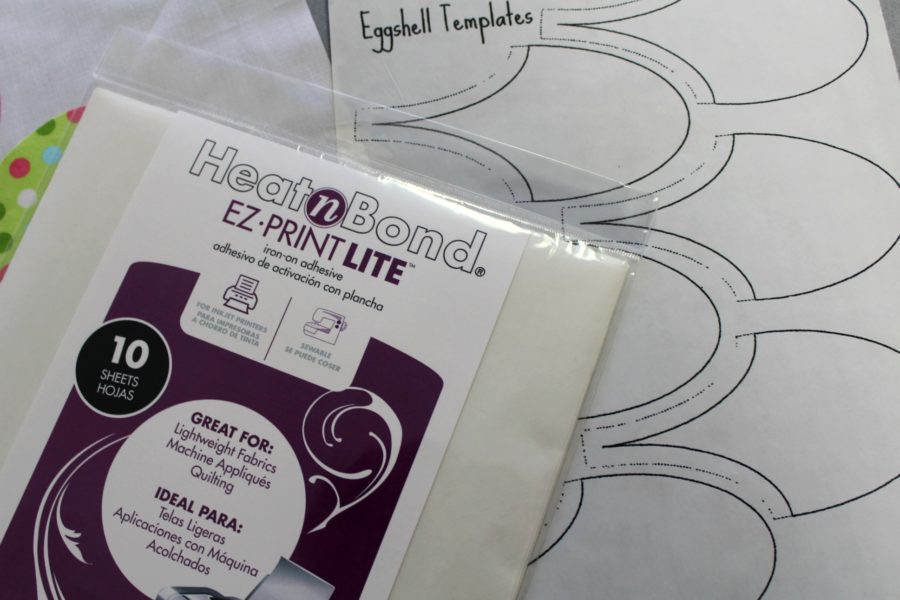
Step 1: Print eggshell templates on HeatNBond EZ Print Lite Sheets. Following the package instructions, Print 7 sheets.
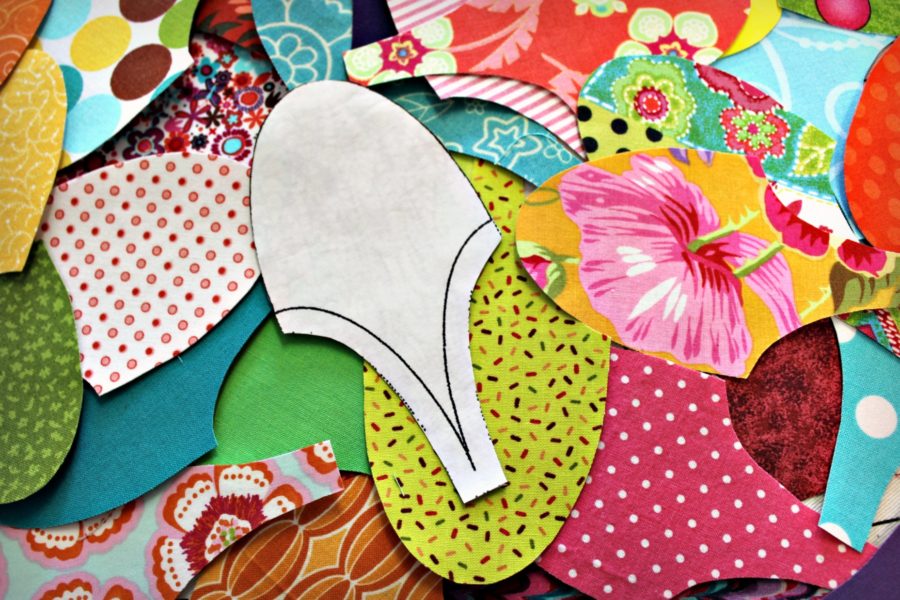
Step 2: Prepare fabric eggshell templates. Cut the templates apart and using fabric scraps, fuse each one to the wrong side of fabric and cut out each shell.
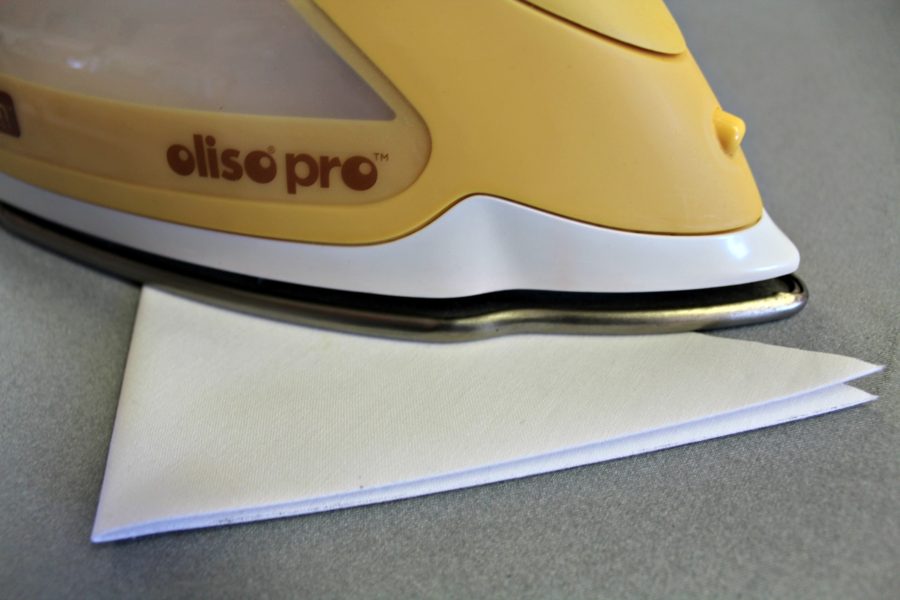
Step 3: Fold each 8 1/2″ white fabric square into a triangle, press, fold into another triangle, and press it again. This step is to mark the diagonal lines in the background square.
Step 4: Prepare ironing surface by covering it with 2 pieces of Heat N Bond Pressing Paper, shiny side up. Tip: Painter’s tape will hold it in place on the ironing surface, just don’t iron the tape.
Now, lay the unfolded white background square onto the pressing paper.
Step 5: Peel the backing off each shell and place it on the background fabric. Start by lining up the first eggshell on a diagonal line in the center. Next place 1 more eggshell on each side of the center eggshell. Lining up the side points, place the next row of 4 eggshells on top of the first row. The tops are layered over the bottom marked seam allowances.
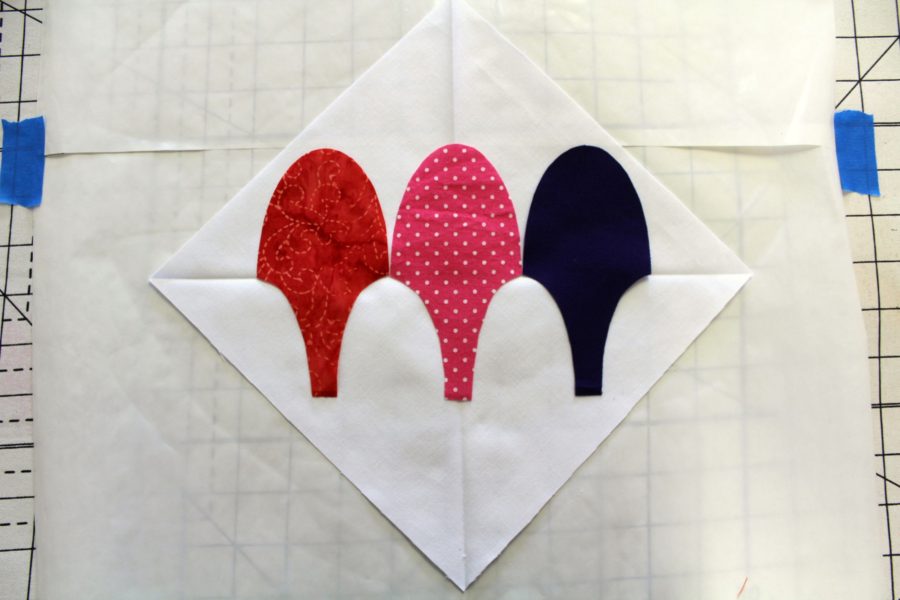
Finally, place the last three eggshell on the bottom row, once again lining up the corners. These eggshells will hang off the edge, but the pressing paper will protect the ironing surface. Bond the eggshells to the background following the package instructions. Let the block cool and then square the block to 8 1/2″
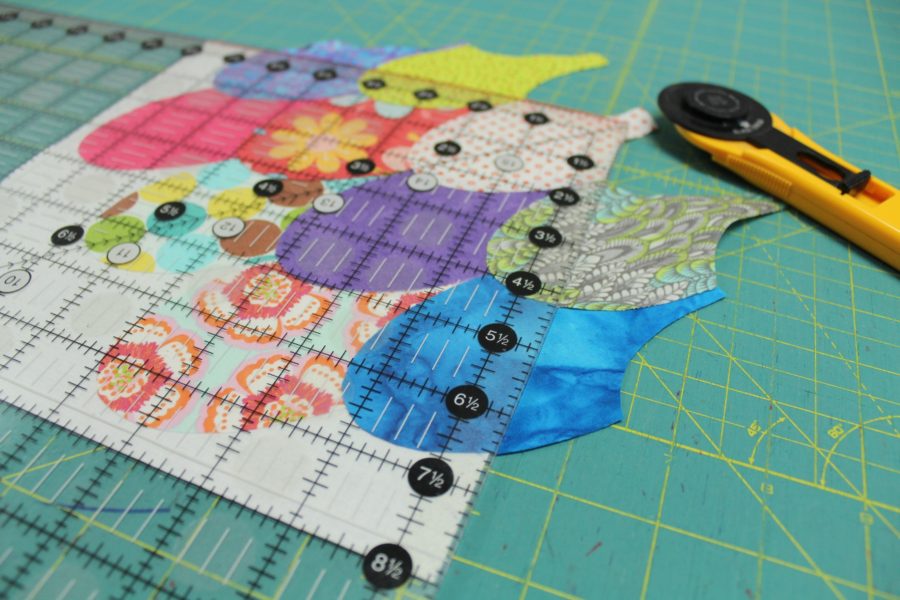
Make 4 blocks.
Step 6: Using 1/4″ seams, sew the 4 block together as pictured.
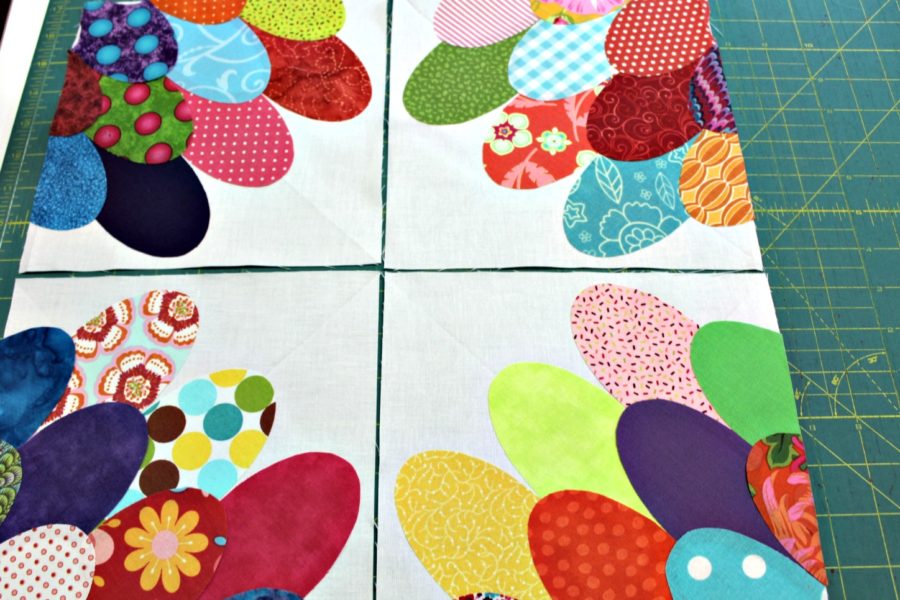
Step 7: Following the package instructions, spray StitchnSew™ Sew-in fleece with SpraynBond® basting spray and lay on top of wrong side of quilt backing fabric. Smooth to remove wrinkles. Spray back of quilt top and lay on top of fleece gently smoothing out any wrinkles.
Step 8: Stitch around the top of each eggshell with a straight, zigzag, or blanket stitch. Stitch through all 3 layers. This will leave the eggshells stitched and quilted at the same time.
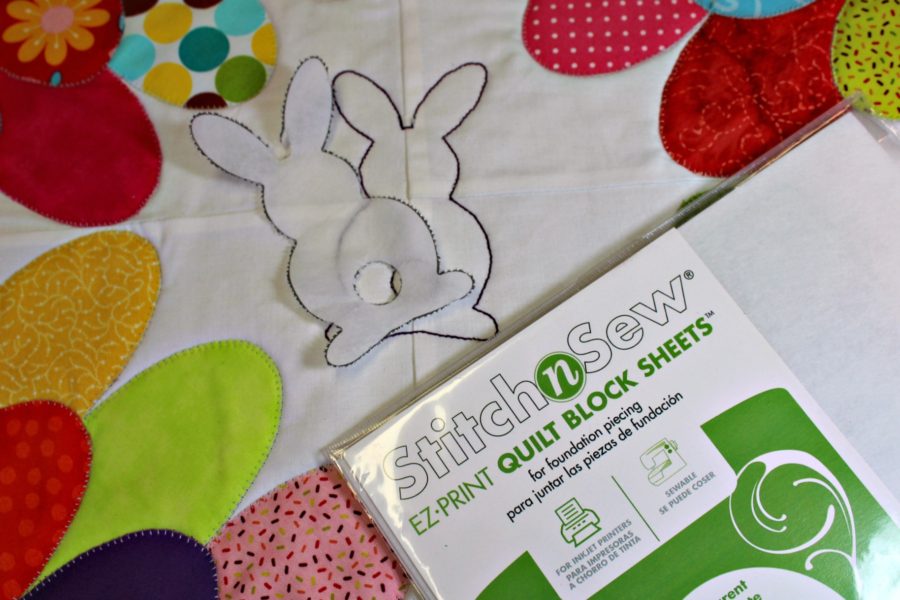
Step 9: Print a bunny drawing on StitchnSew EZ Quilt Block Sheets. Center the quilt block sheet on the quilt and pin it in place. Use your sewing machine and Aurifil thread to quilt a bunny in the center by stitching the design right on top of the quilt block sheet. Once the design is quilted, carefully tear away the StitchnSew EZ Quilt Block Sheets, stitch a pompom for a tail, and add binding to the quilt using your favorite method.
Happy spring cleaning!!
