Hello friends, this is Jennifer Long from, Bee Sew Inspired, fabric designer with Riley Blake Designs and a doll and quilt pattern designer. I am so excited today to be sharing with you this “Oh so sweet”, adorable and super simple project tutorial!
Fabric Mushroom Trio Craft Tutorial
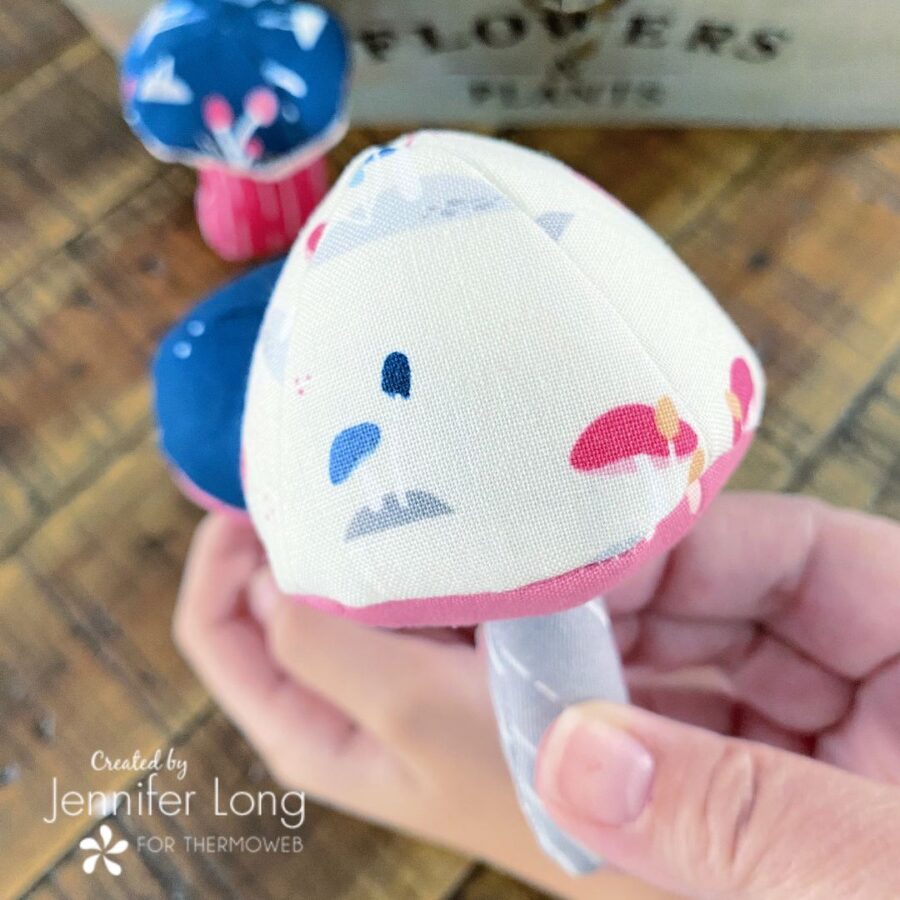
This fun little mushroom trio can be created from the most whimsical fabrics for imaginative play. As far as I can remember I’ve always seen fun colorful mushrooms in my favorite fairy tale scenes, Alice in Wonderland for one.
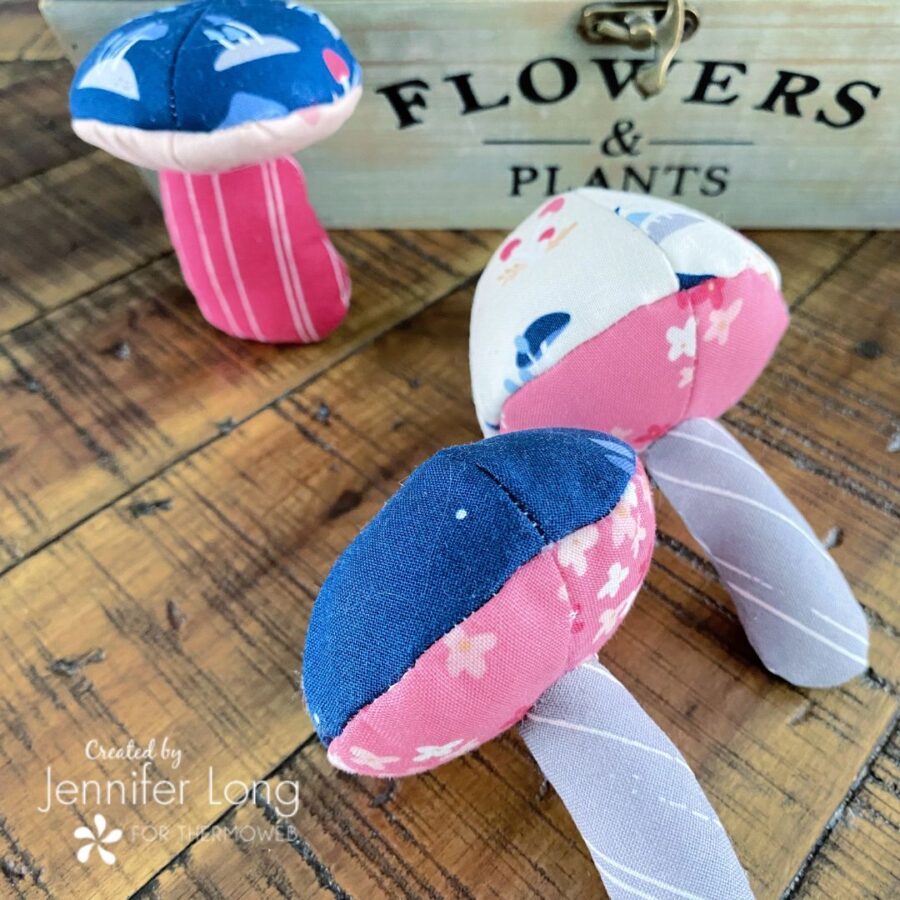
I also think of the animated movie Fantasia and the segment with the dancing mushrooms… let’s face it, even if we have a hard time making our kids eat mushrooms they will most certainly love playing with these mushroom stuffies.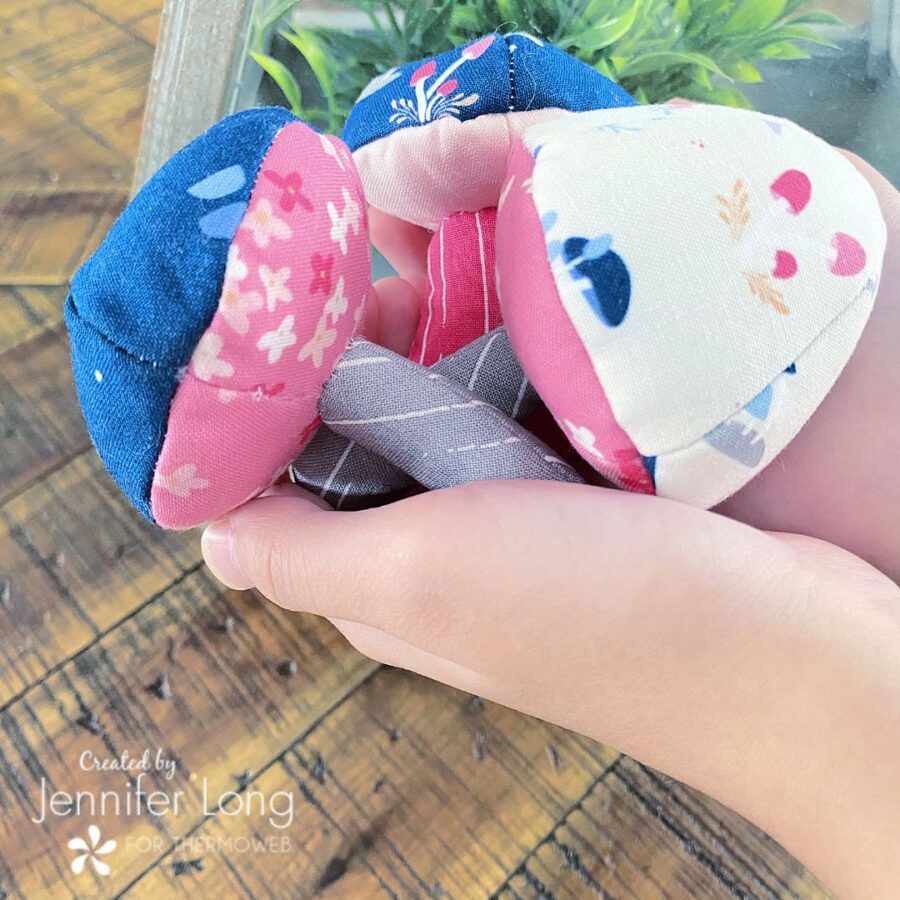

Let’s get creative! Just gather the supplies below, then download the pattern/files. Don’t forget to share your project on social media using the hashtag #BSImakersclub and tag @beesewinspired.
What You Need:
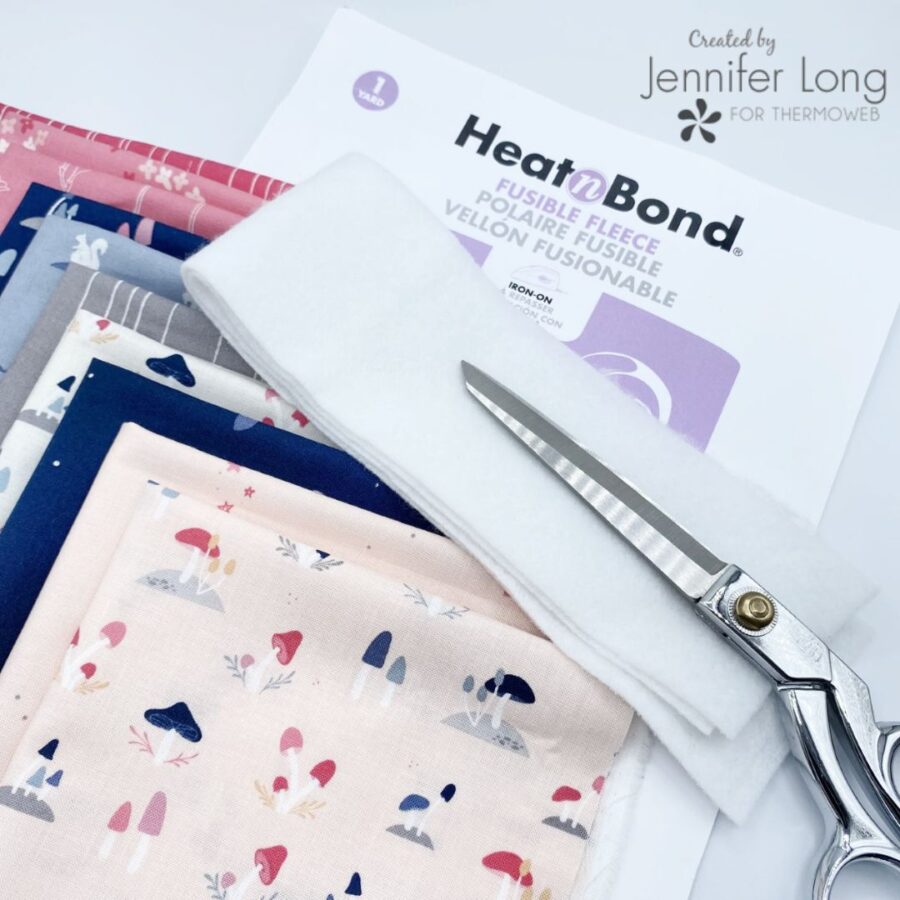
Tools
- Download the Mushroom Stuffie Pattern Template at http://www.beesewinspired.com/download-codes and use the code “MUSHROOMPDF”
- Download the Mushroom Stuffie SVG Cut Files at http://www.beesewinspired.com/download-codes and use the code “MUSHROOMSVG”
-
Sewing Machine or Embroidery Machine
-
Iron and Wool Mat
-
Scissors
-
Hand sewing needle
-
Hemostat or stuffing tool
Materials
-
Embellishments
-
Embroidery Thread in matching colors
-
Thread
-
Small amount of Polyester Fiber Fill
Instructions:
1. Download the Mushroom Pattern designed by Bee Sew Inspired. You can choose either the PDF Pattern to hand cut your shapes or the SVG Cut File and follow the directions to have your Cricut Maker cut the felt shapes. Make sure to use your rotary blade and set the fabric to felt.
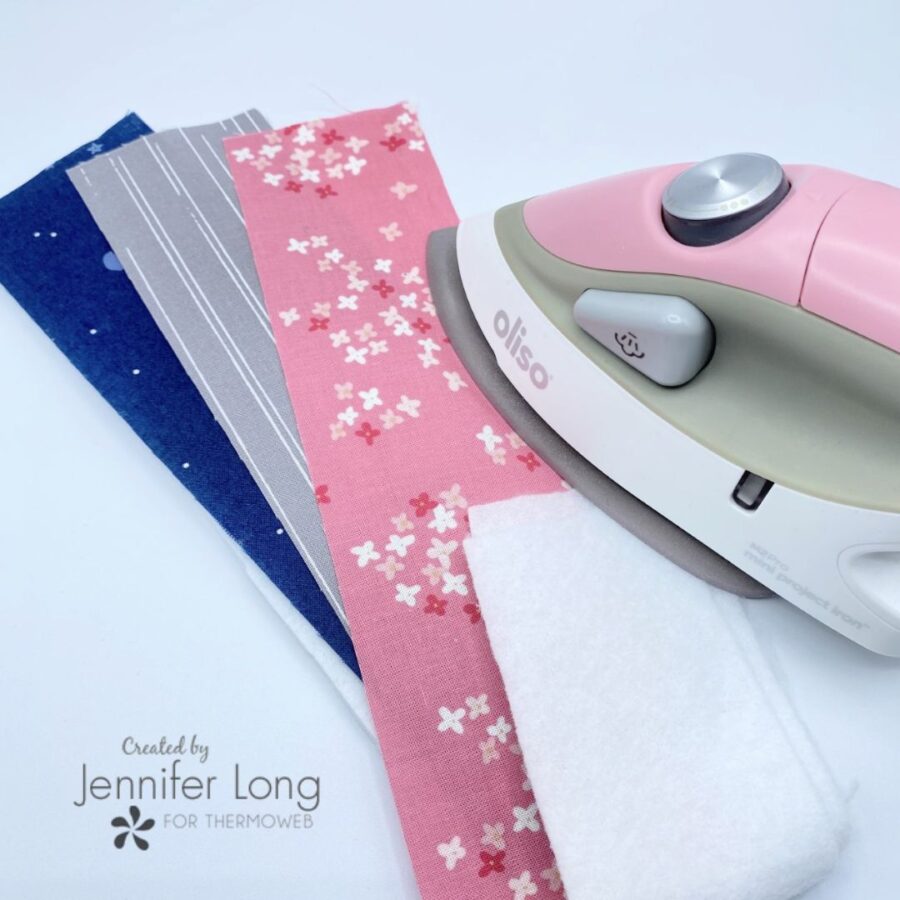
2. Fuse the Heat-N-Bond Fusible Fleece to the wrong side of your decorative fabrics BEFORE cutting the shape. This will help keep the fabric stable while cutting out all those curved edges.
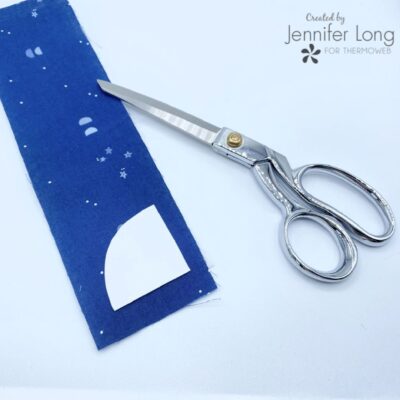
3. Using the templates cut out the mushroom shapes.
For each mushroom you’ll need to cut out:
-
4 mushroom tops
-
4 mushroom base pieces
-
2 mushroom stem pieces
Mix and match the stems and the tops to create a fun variety of shapes.
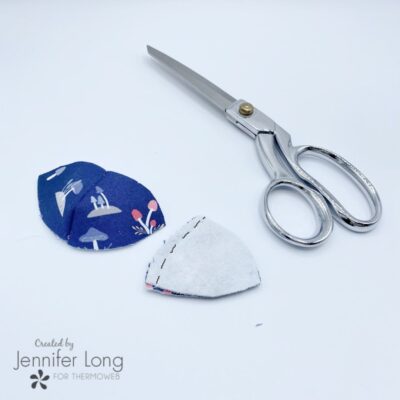
4. Lay 2 of the mushroom top shapes right sides together and stitch using a 1/4” seam allowance. Trim seam allowances and clip curves. Repeat with the second set. You now have two units.
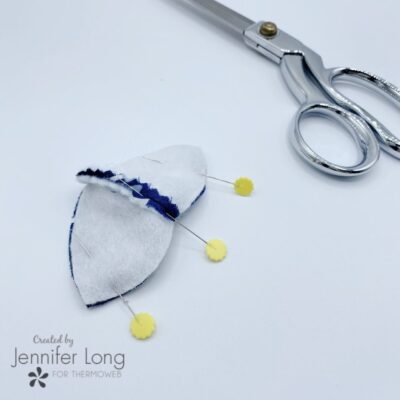
5. Place the two units of mushroom tops with right sides together matching the center seam, Stitch in place using a 1/4″ seam allowance. Trim seam allowances and clip curves Turn the right side out smoothing out the rounded edges.
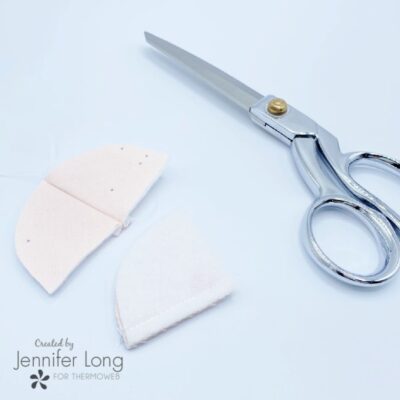
6. Place two mushroom base units together and sew along the straight edge with a 1/4″ seam allowance. Repeat to create another semi-circle shape.
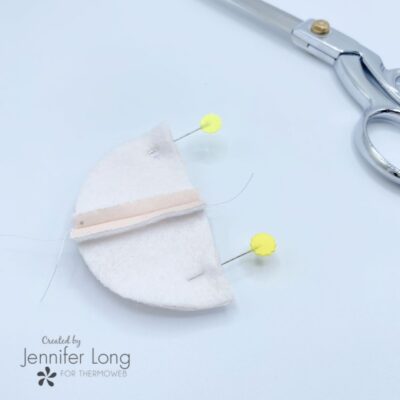
7. Place the two semi-circle units with right sides together. Stitch at a 1/4″ seam allowance leaving an opening at the center. The opening has to be big enough to pull the shape through the right side out.
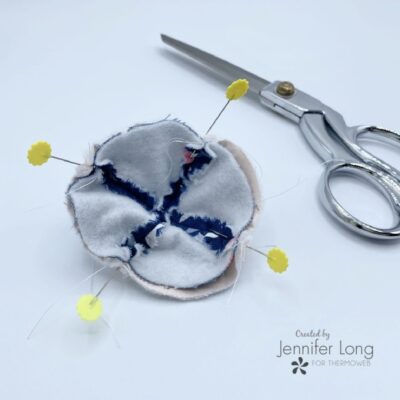
8. Place the mushroom top and mushroom base with the right sides together and make sure to match up all seams. Stitch around the perimeter of the shape with a 1/4″ seam allowance. Turn the shape right side out and set it aside.
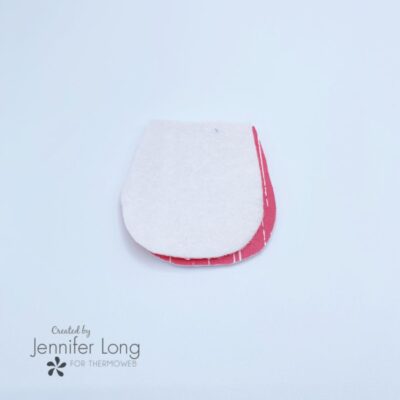
9. Prepare the mushroom stem, Apply the Fusible Fleece to the wrong side of the fabric and cut out the desired stem shape using the template.
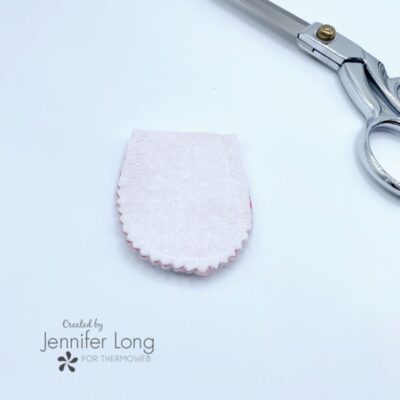
10. Lay the mushroom stem pieces with right sides together and stitch along the curved edges using a 1/4” seam allowance. Clip curves.
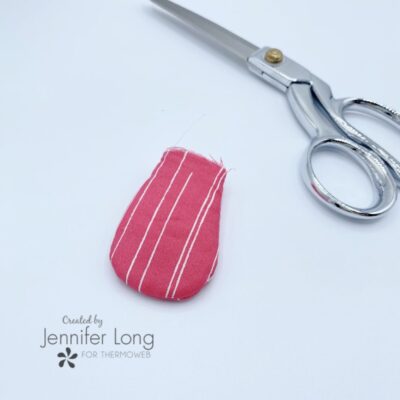
11. Turn the right side out smoothing out the rounded edges.
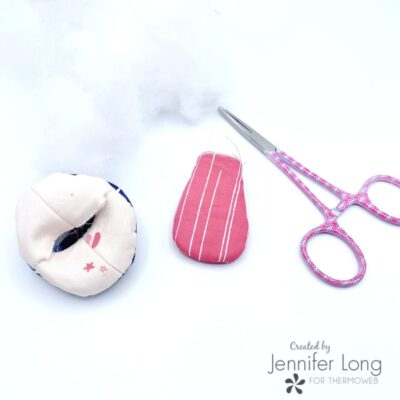
12. Using a hemostat or stuffing tool, stuff small amounts of fiber fill firmly into both shapes.
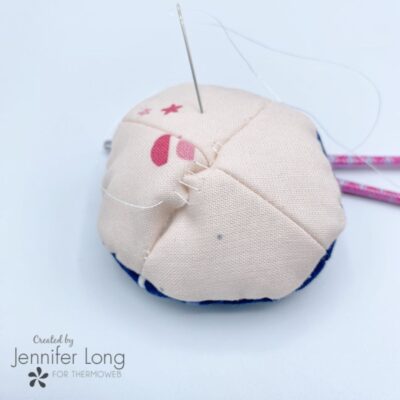
13. Use a tight ladder stitch to close the mushroom base.
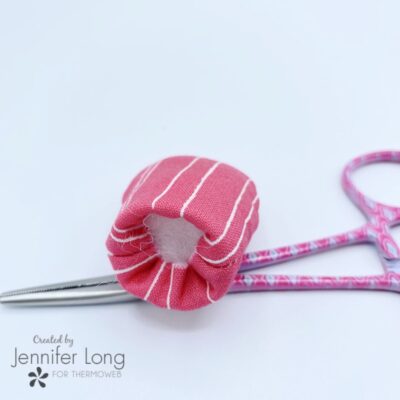
14. Fold over the top of the stem to create a nice clean finish when stitching the two parts together.
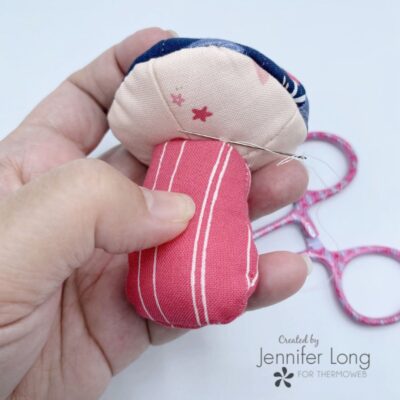
15. Using a tiny whip stitch, stitch the stem to the mushroom base. make sure your stitches are tight to keep the seam secure.
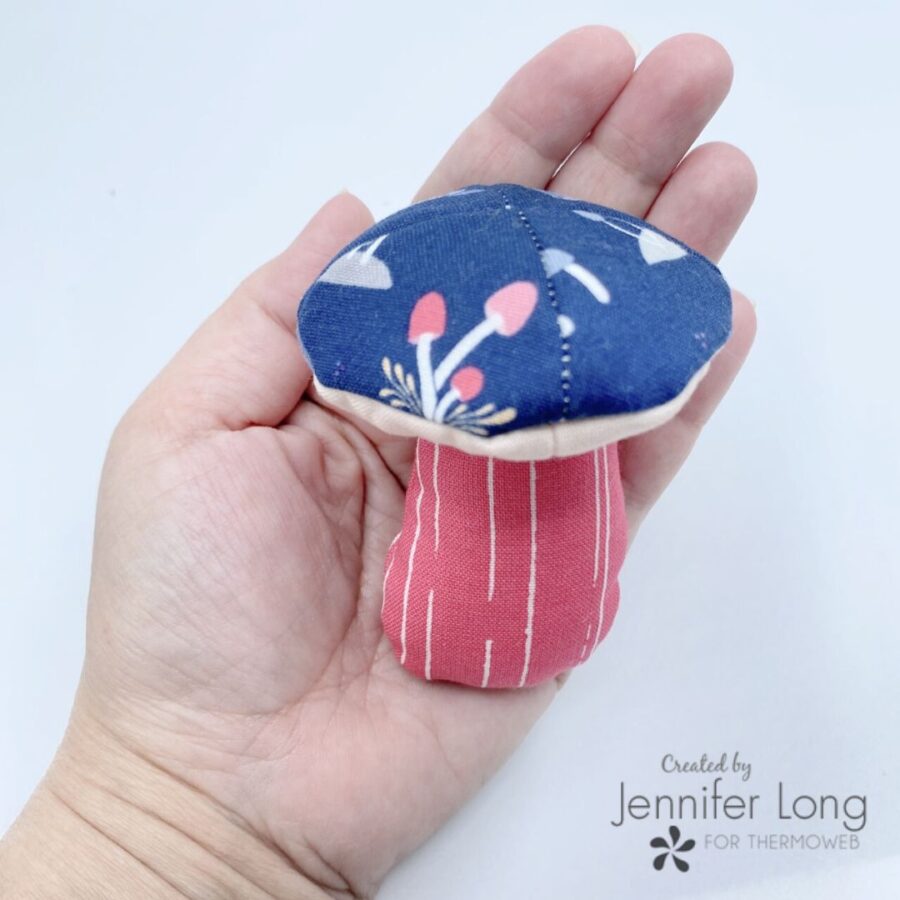
Use the same steps to create a few more mushrooms, and encourage the child in your life to help select fabrics! You’ll be amazed at what they choose!
