


Hello and welcome!
It’s Julia from Inflorescence Designs! I’m so joyful you are visiting today.
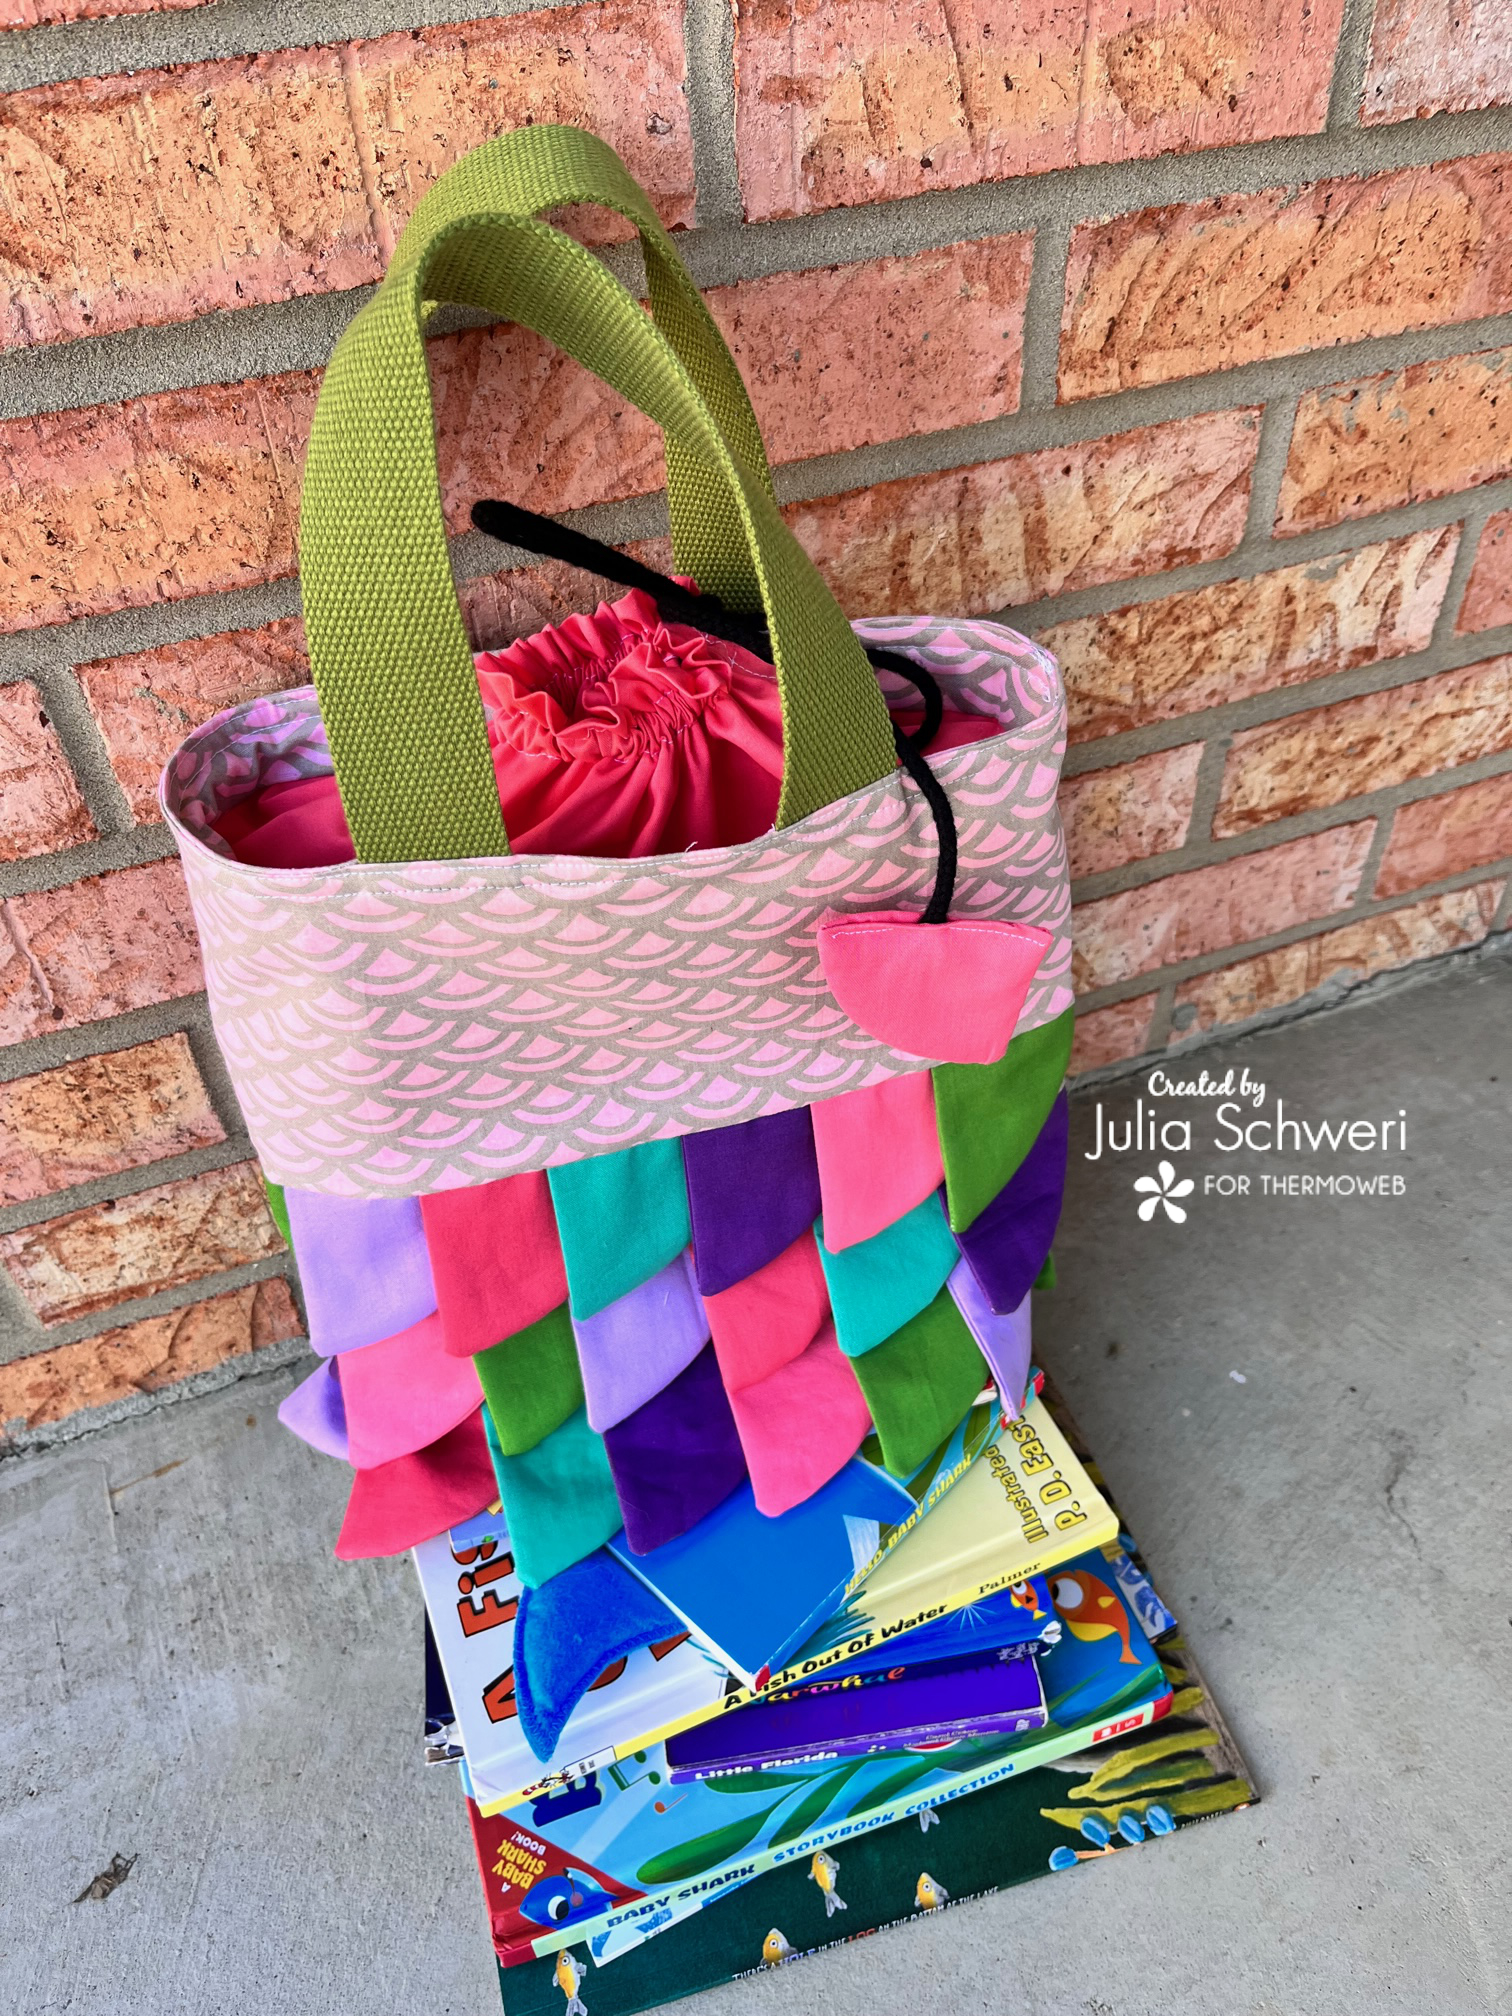
This week’s theme is all about books! For today’s project, I have made a fun Mermaid (or dragon) tote bag perfect for carrying books to and from wherever you may be going. It has fun 3D scales and a pull-string top so the books don’t topple out.
Fabric Mermaid (or Dragon) Book Bag with HeatnBond

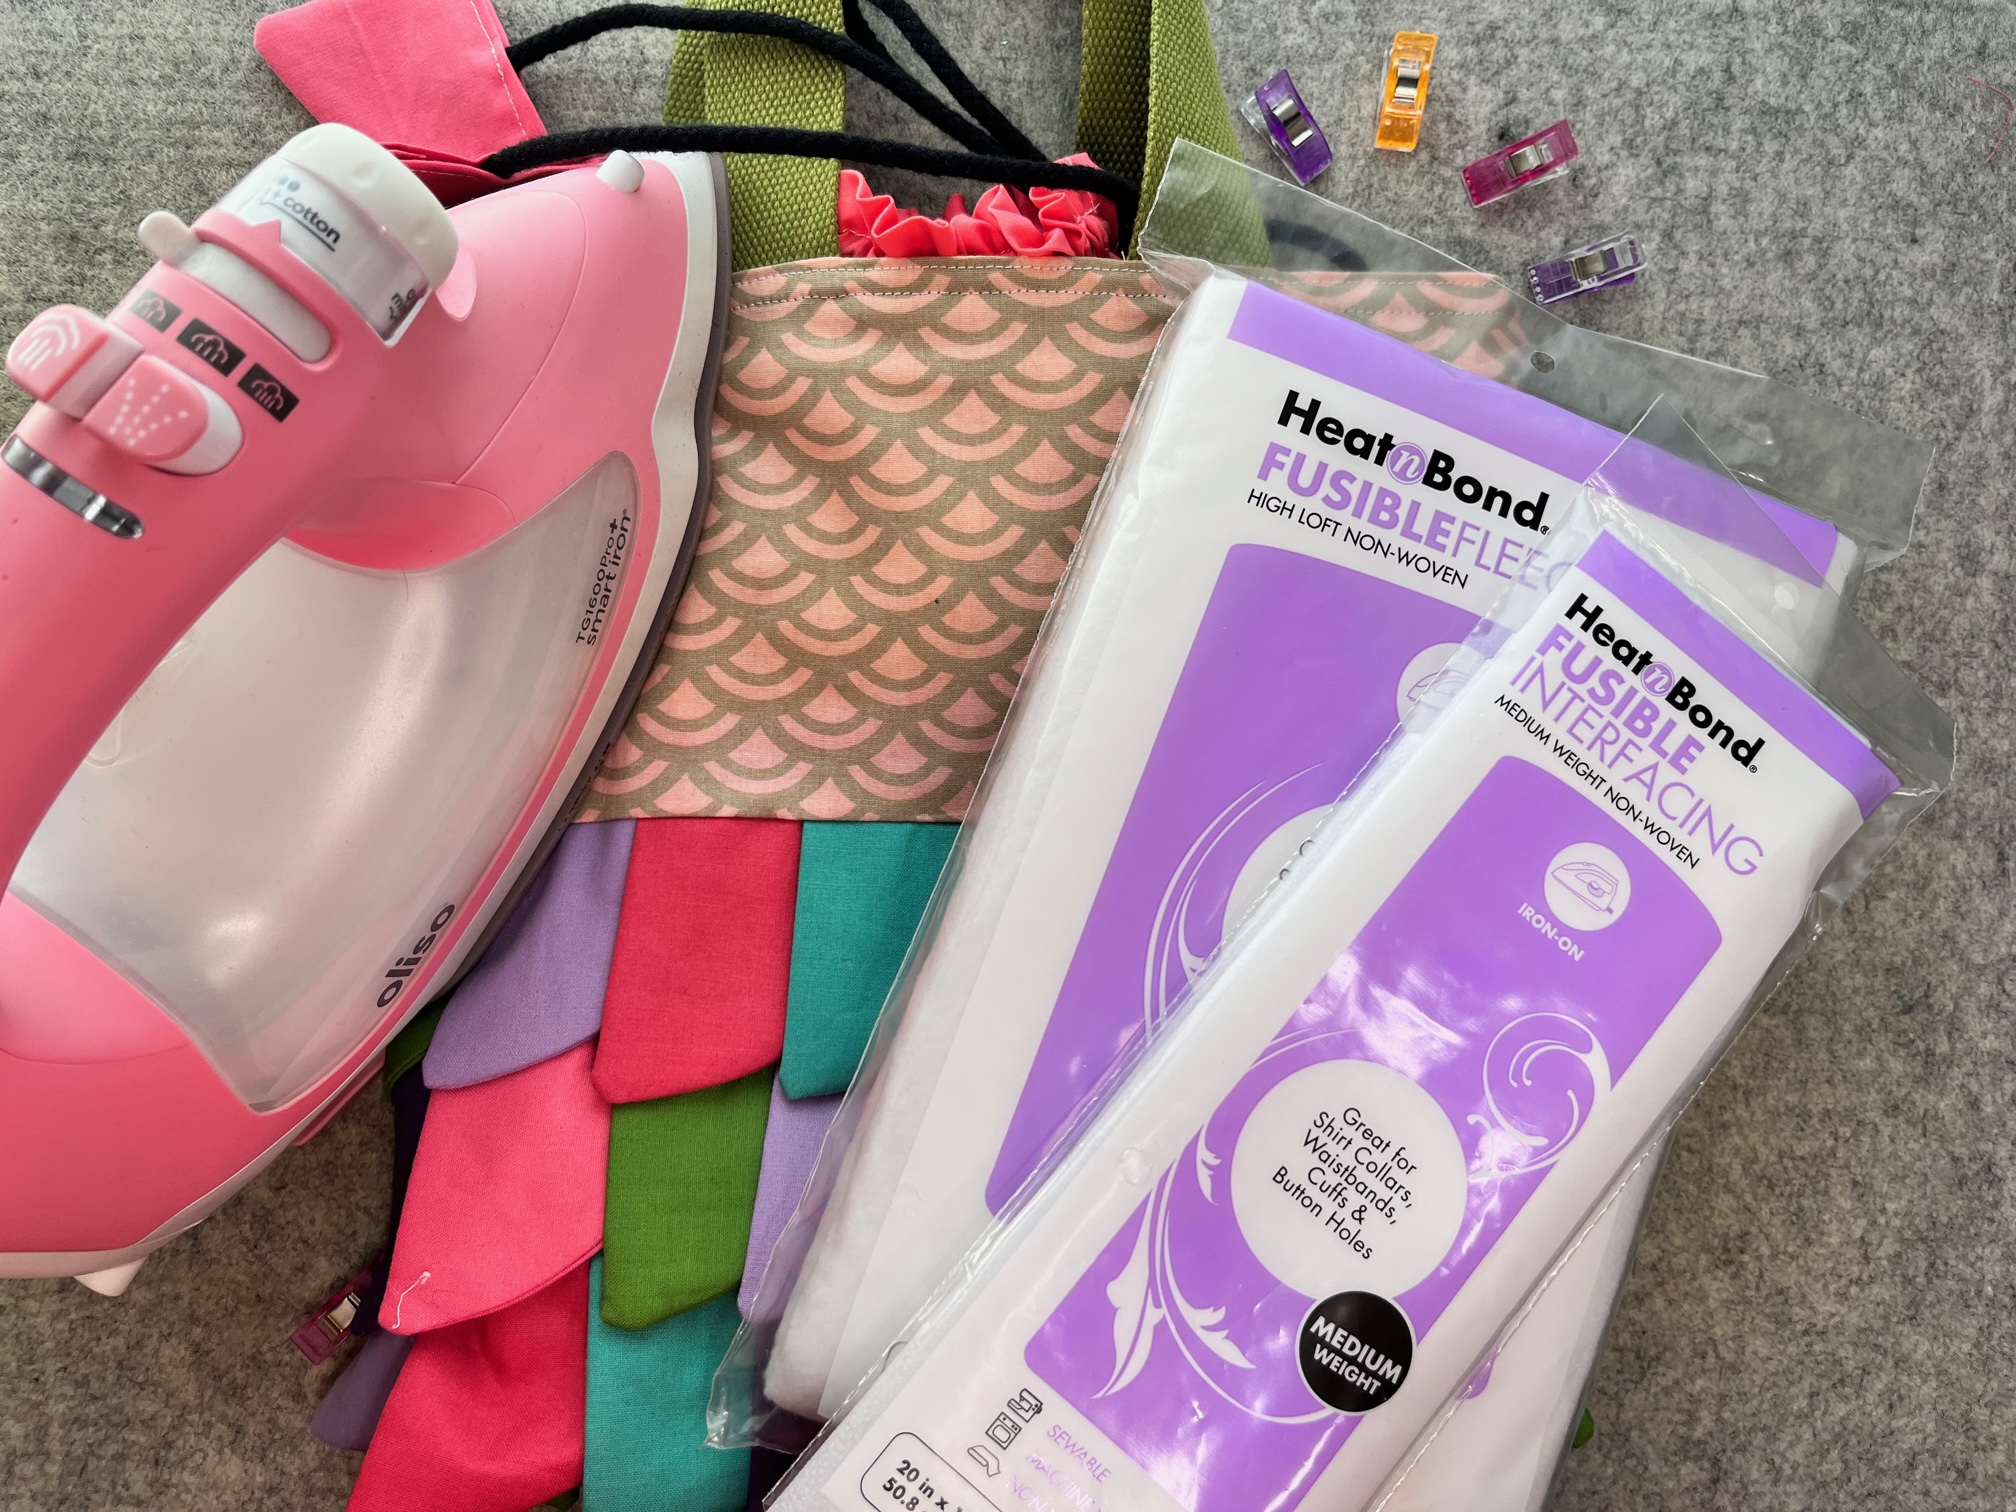
Supplies:
- Mermaid Tote Bag Pattern and Scale Template
- HeatnBond Medium Weight Interfacing
- HeatnBond Fusible Fleece
- Fabric
- The Scales and tie close top were made using Riley Blake Confetti Cotton. The colors used include the following: Sugar Pink, Tea Rose, Grape, Lilac, Vivid and Holly.
- The Lining and outer bag used 100% cotton from Joann Fabrics
- Oliso Iron
- Basic Sewing Notions
- Clips or Pins
- Safety Pin
- (2) Cotton Webbing for Handles 1 1/2″ wide by 13″ long
- Cotton or Acrylic Rope for Ties 3/16″ x 40″
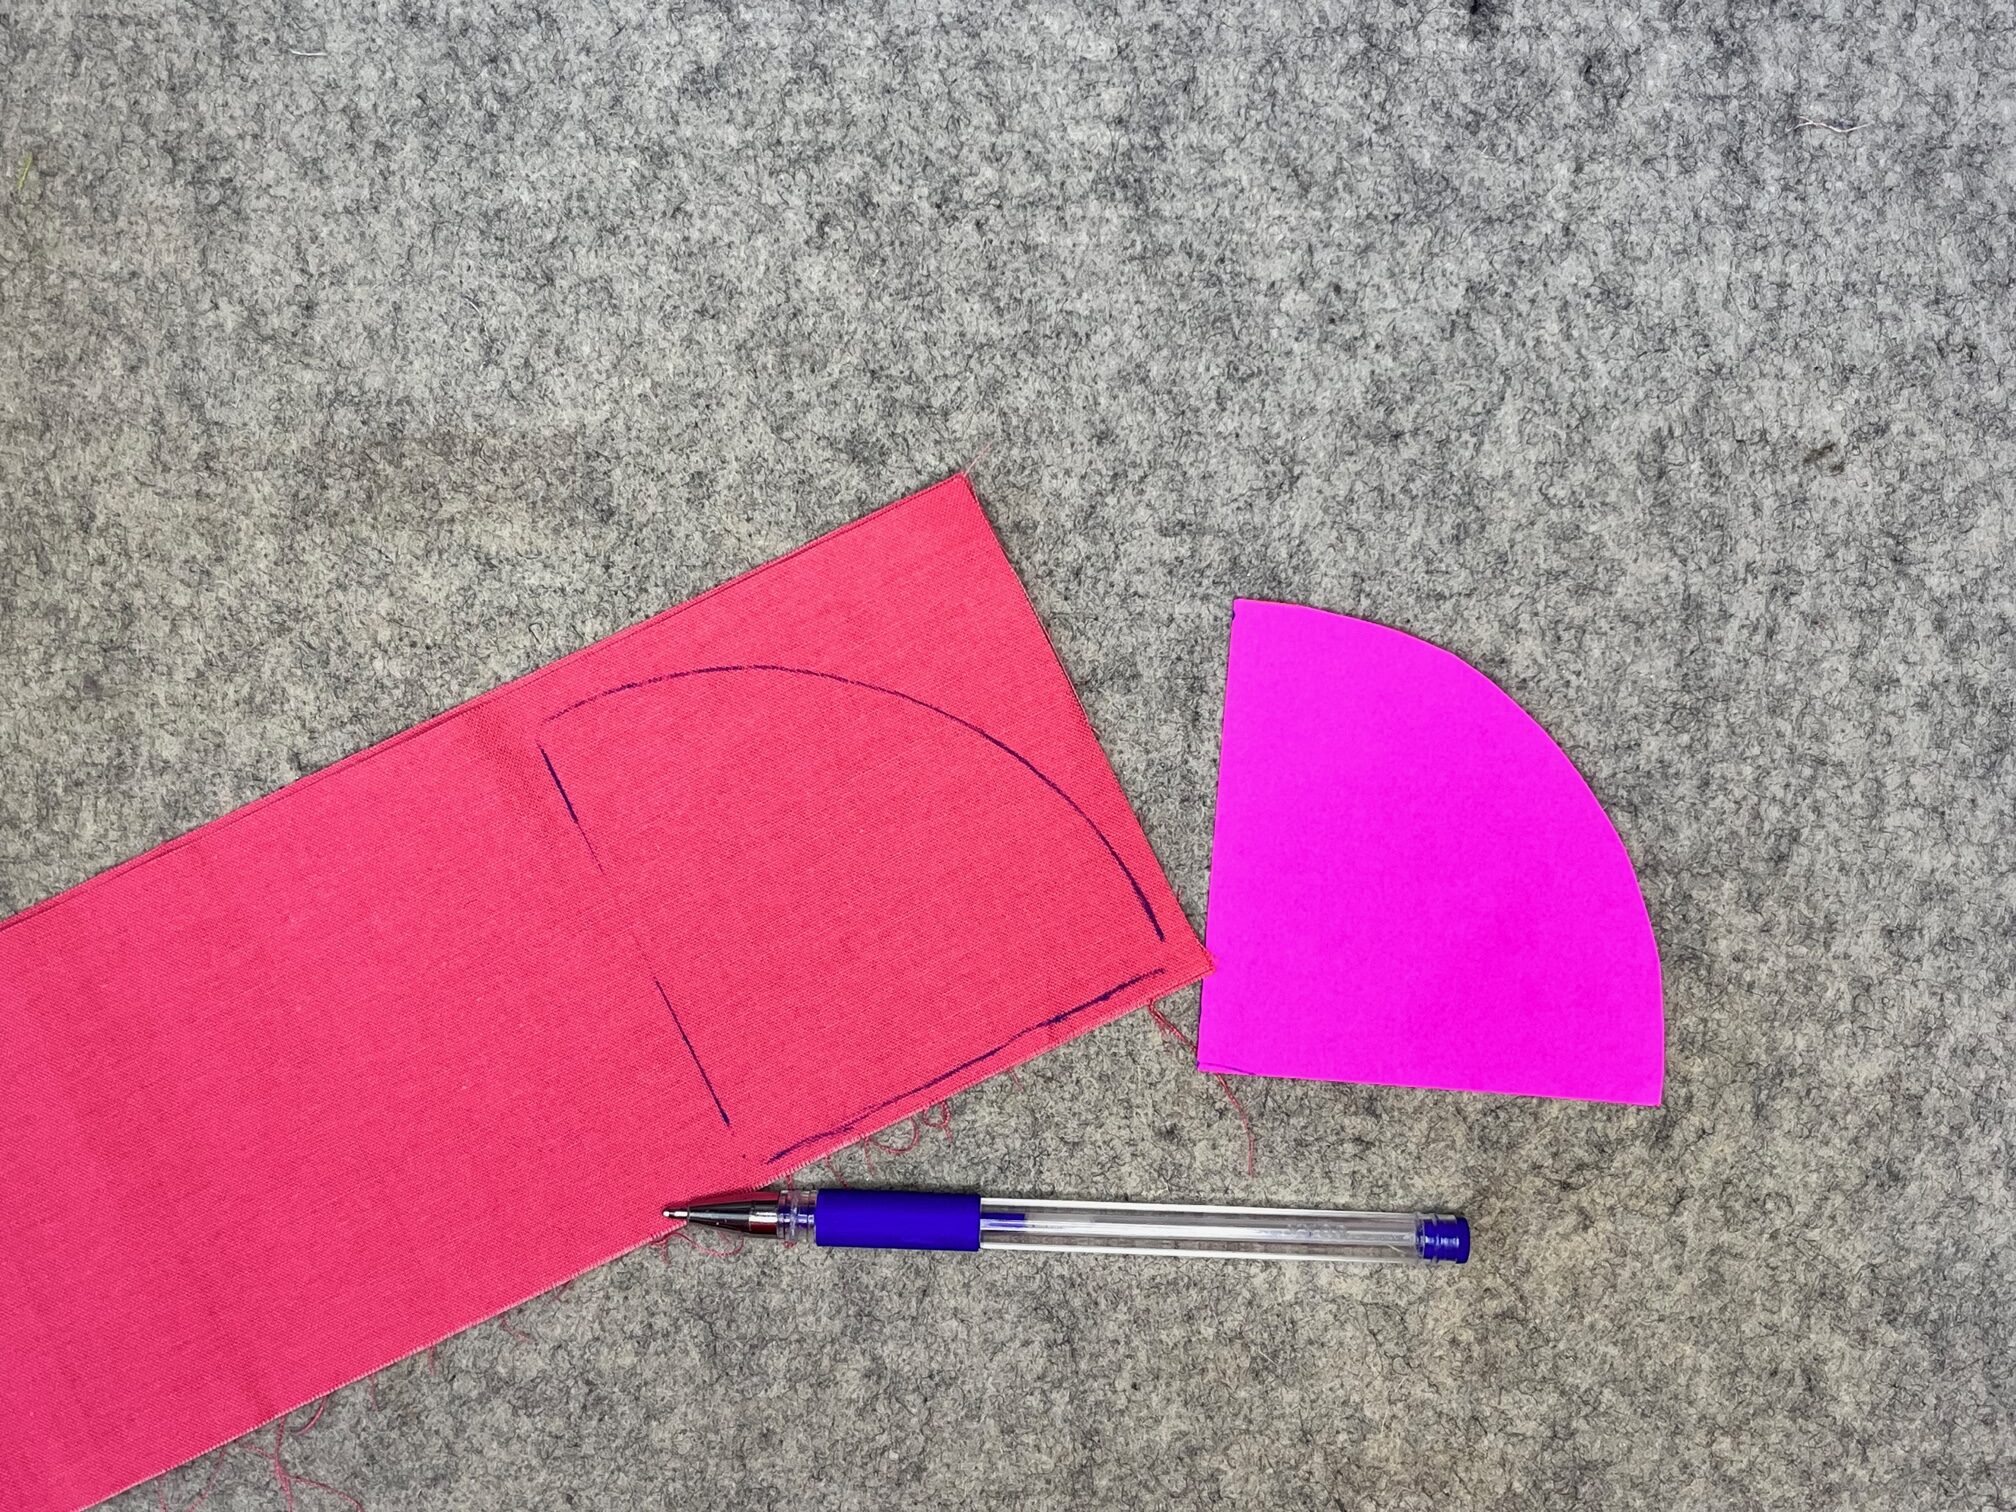
Scale Instructions:
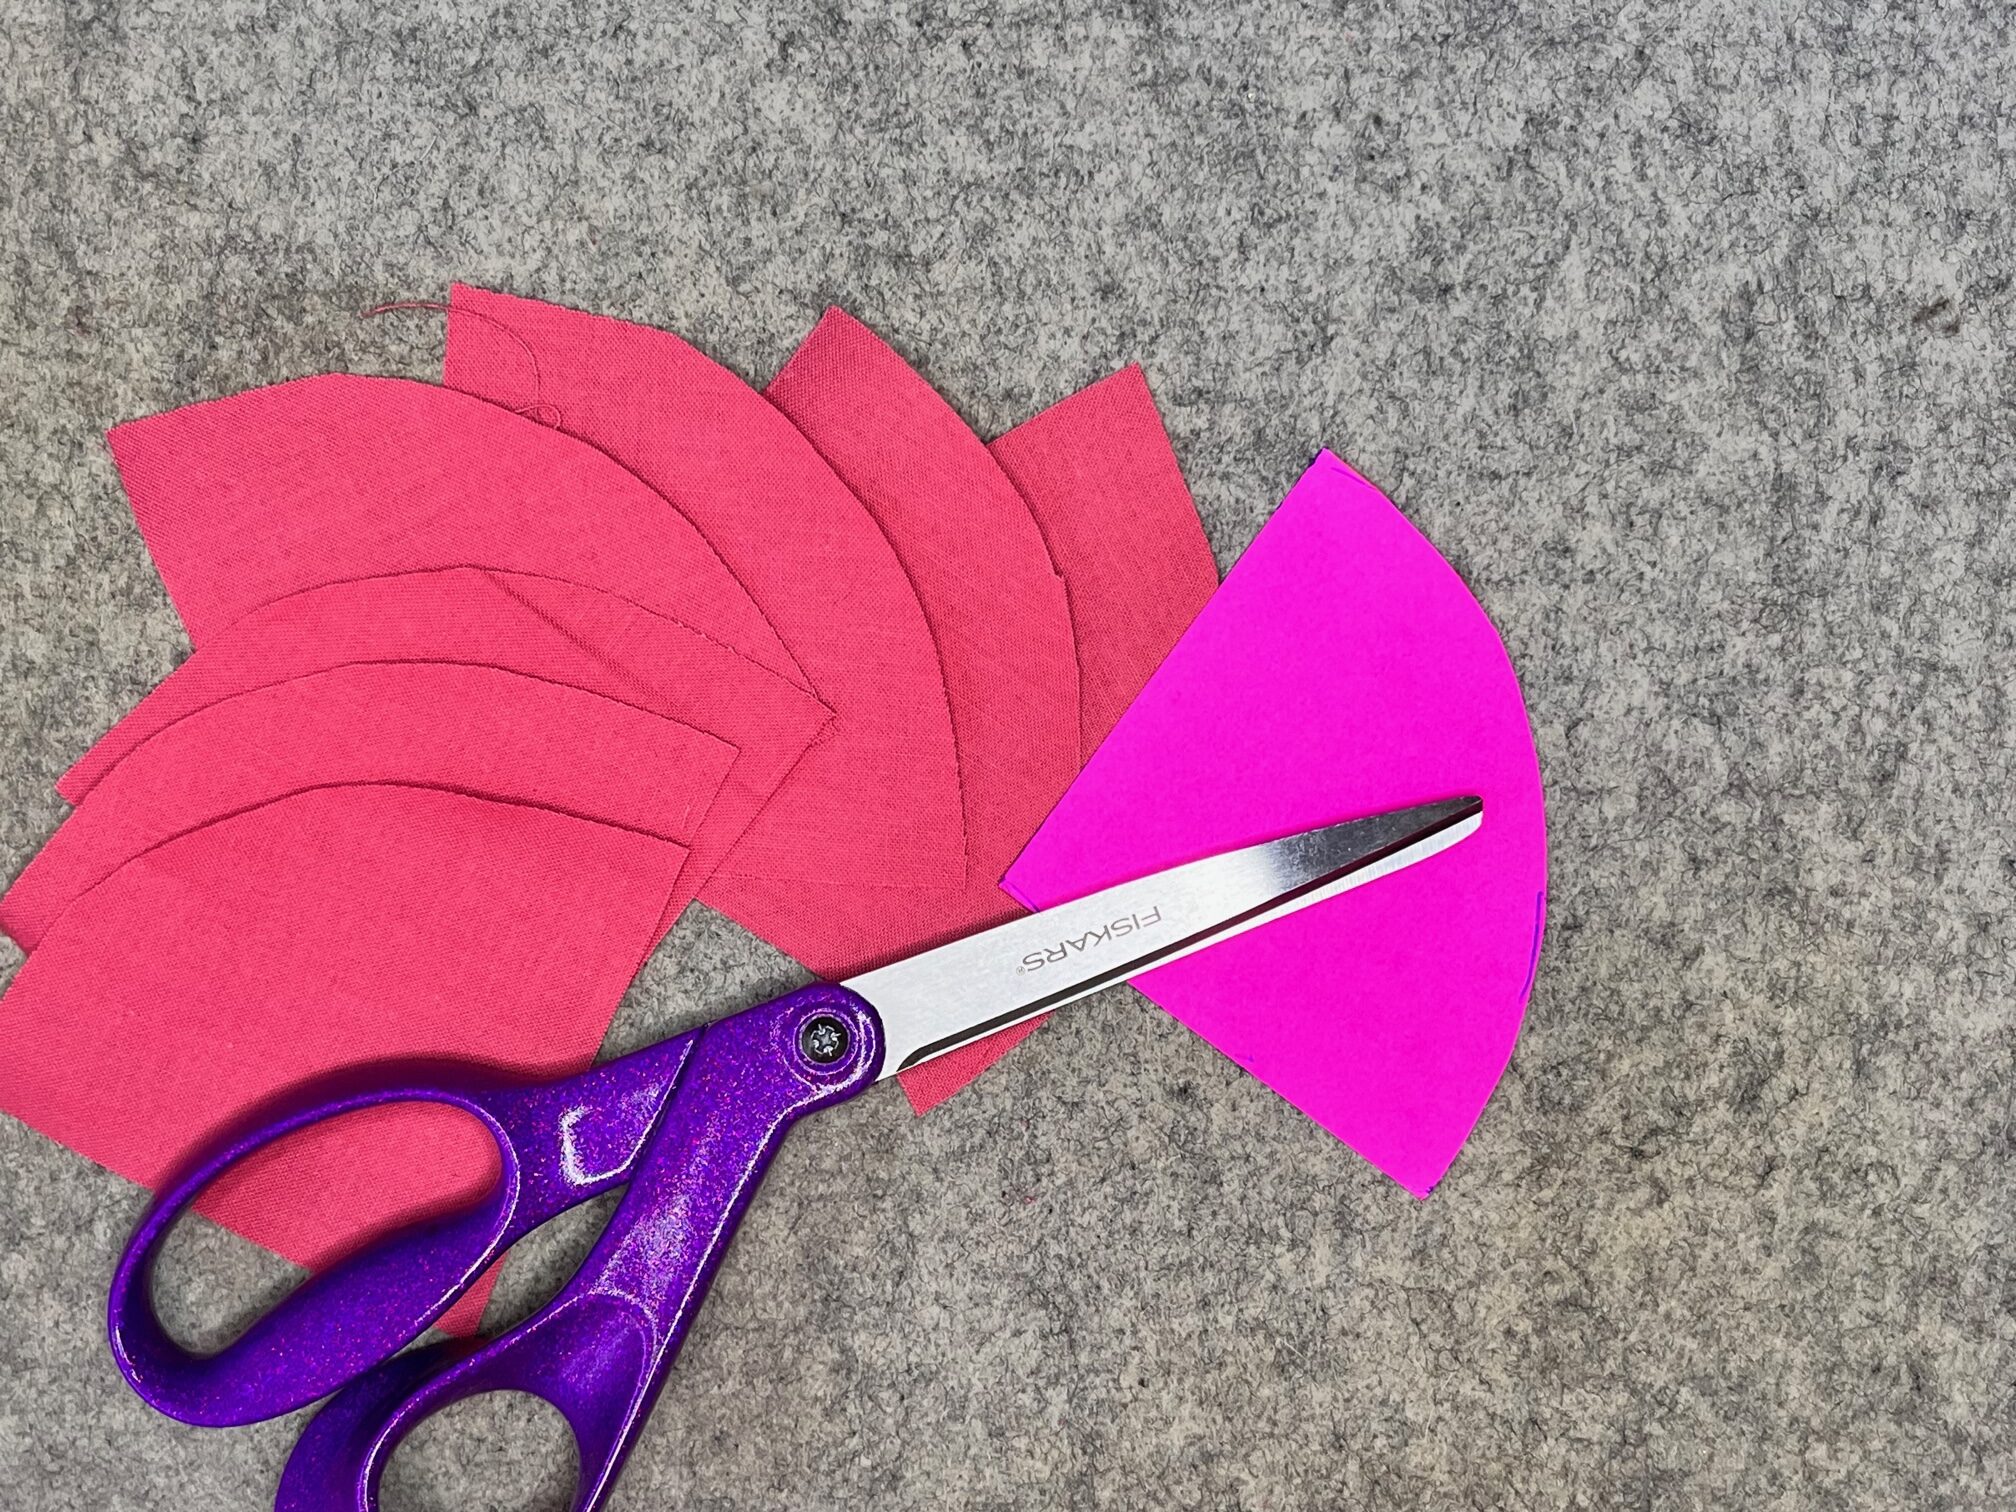
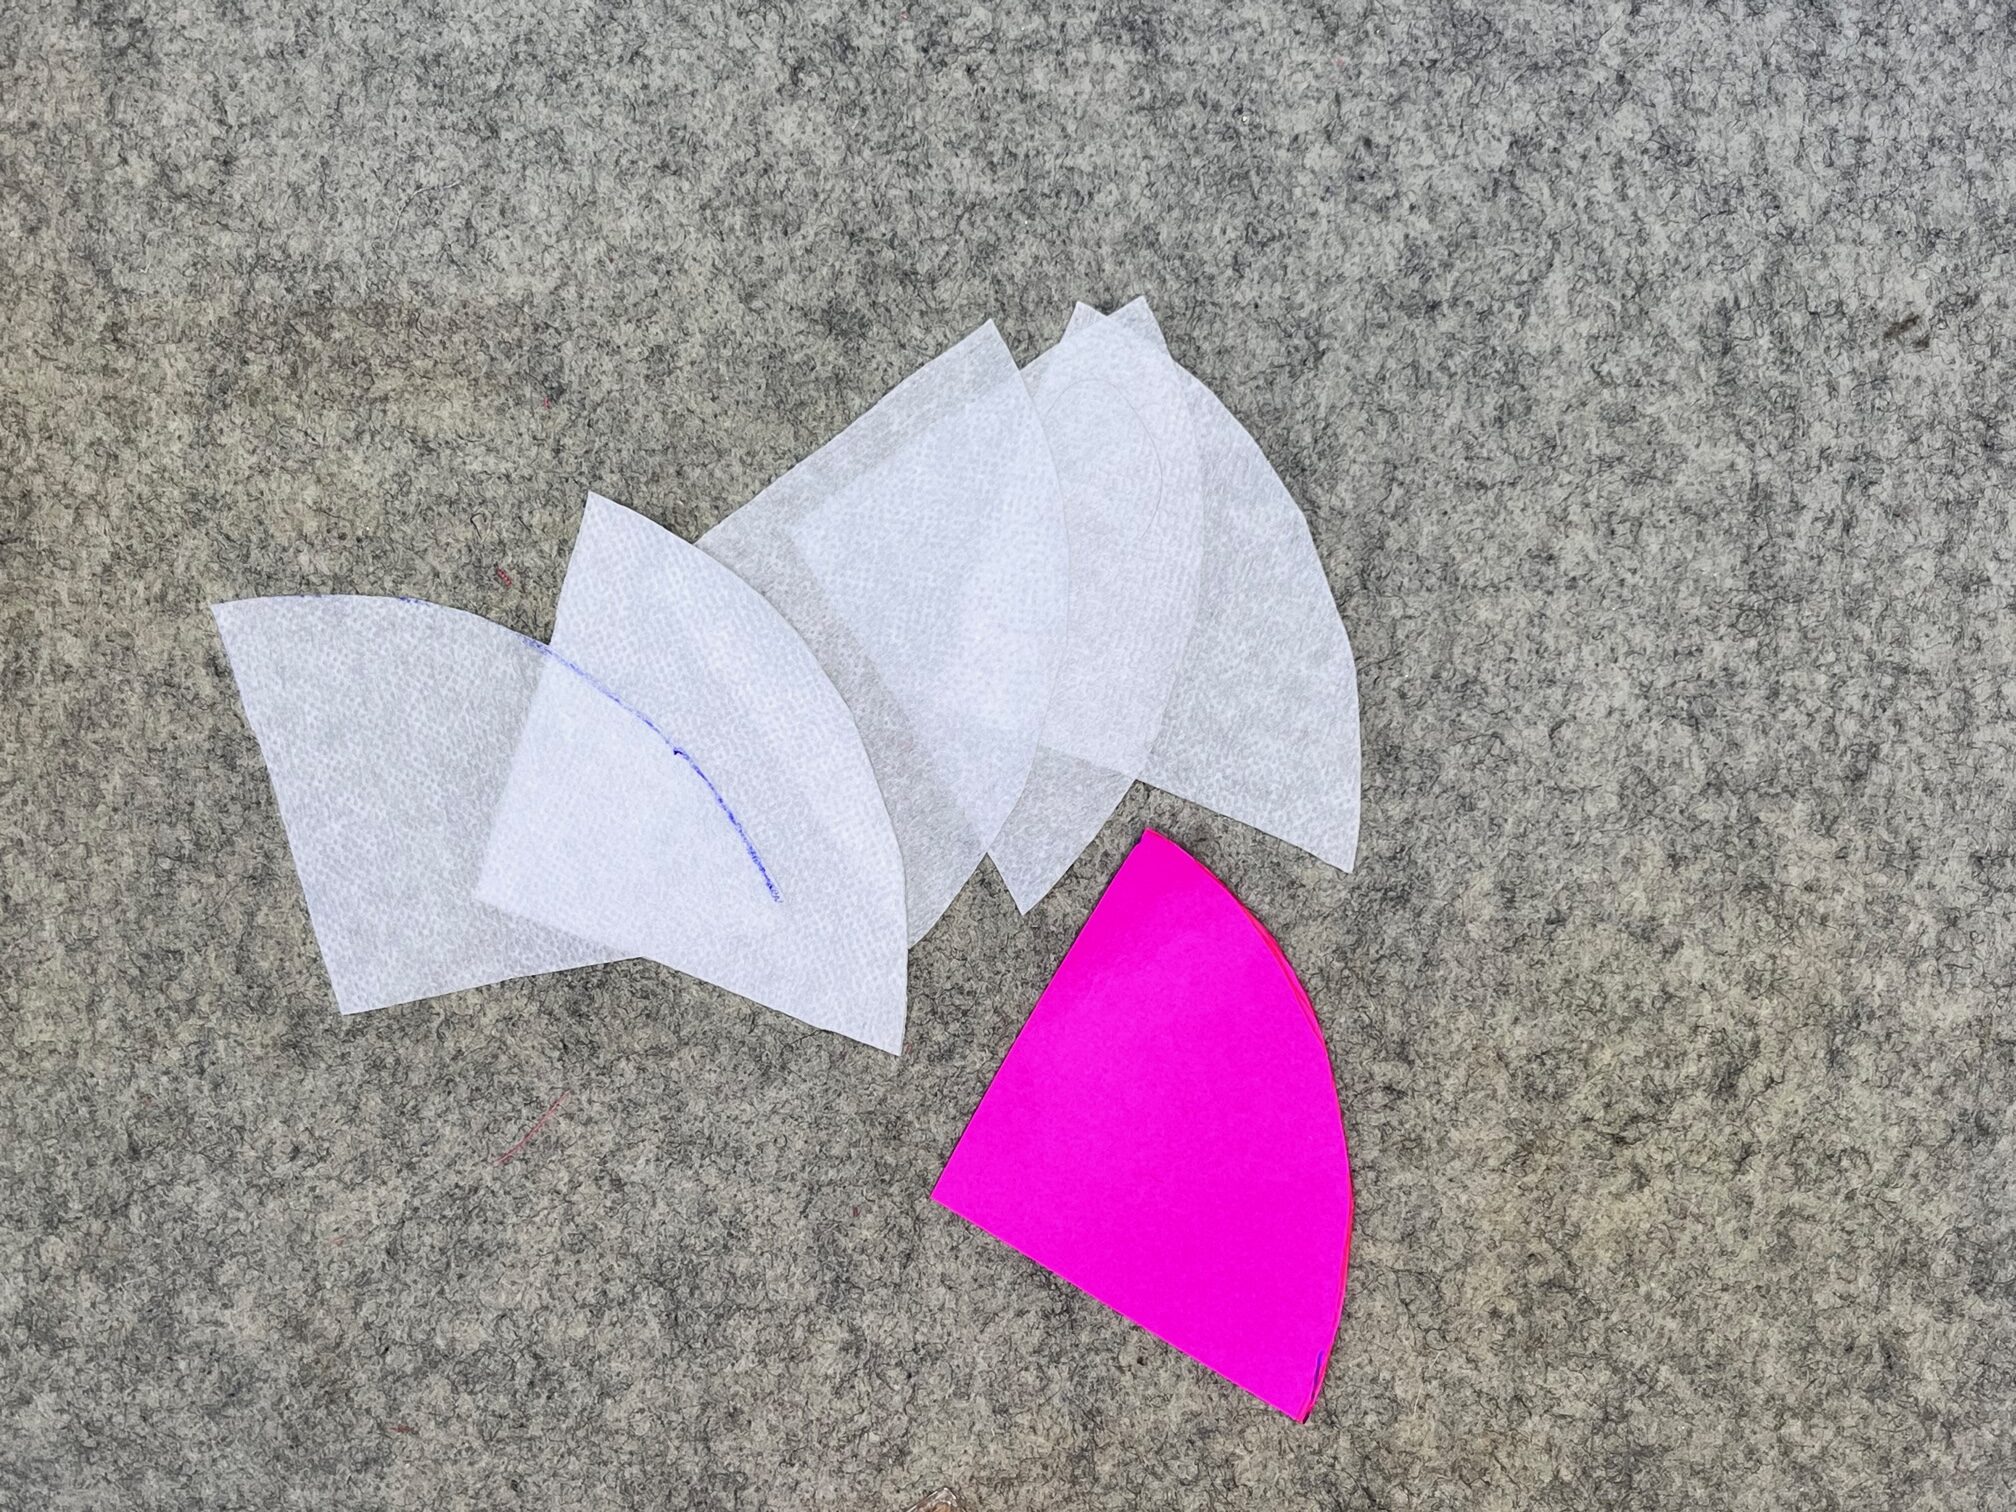
Begin by printing out the mermaid scale templates found in the printable PDF pattern. Trace the larger scale onto your fabric and cut out. I like to cut my fabric into strips that are just slightly larger than the template about 3 1/2″ and then fan-fold them to cut out several at a time.
Fun Tip: You can see how I do this in the YouTube video.
Continue by…
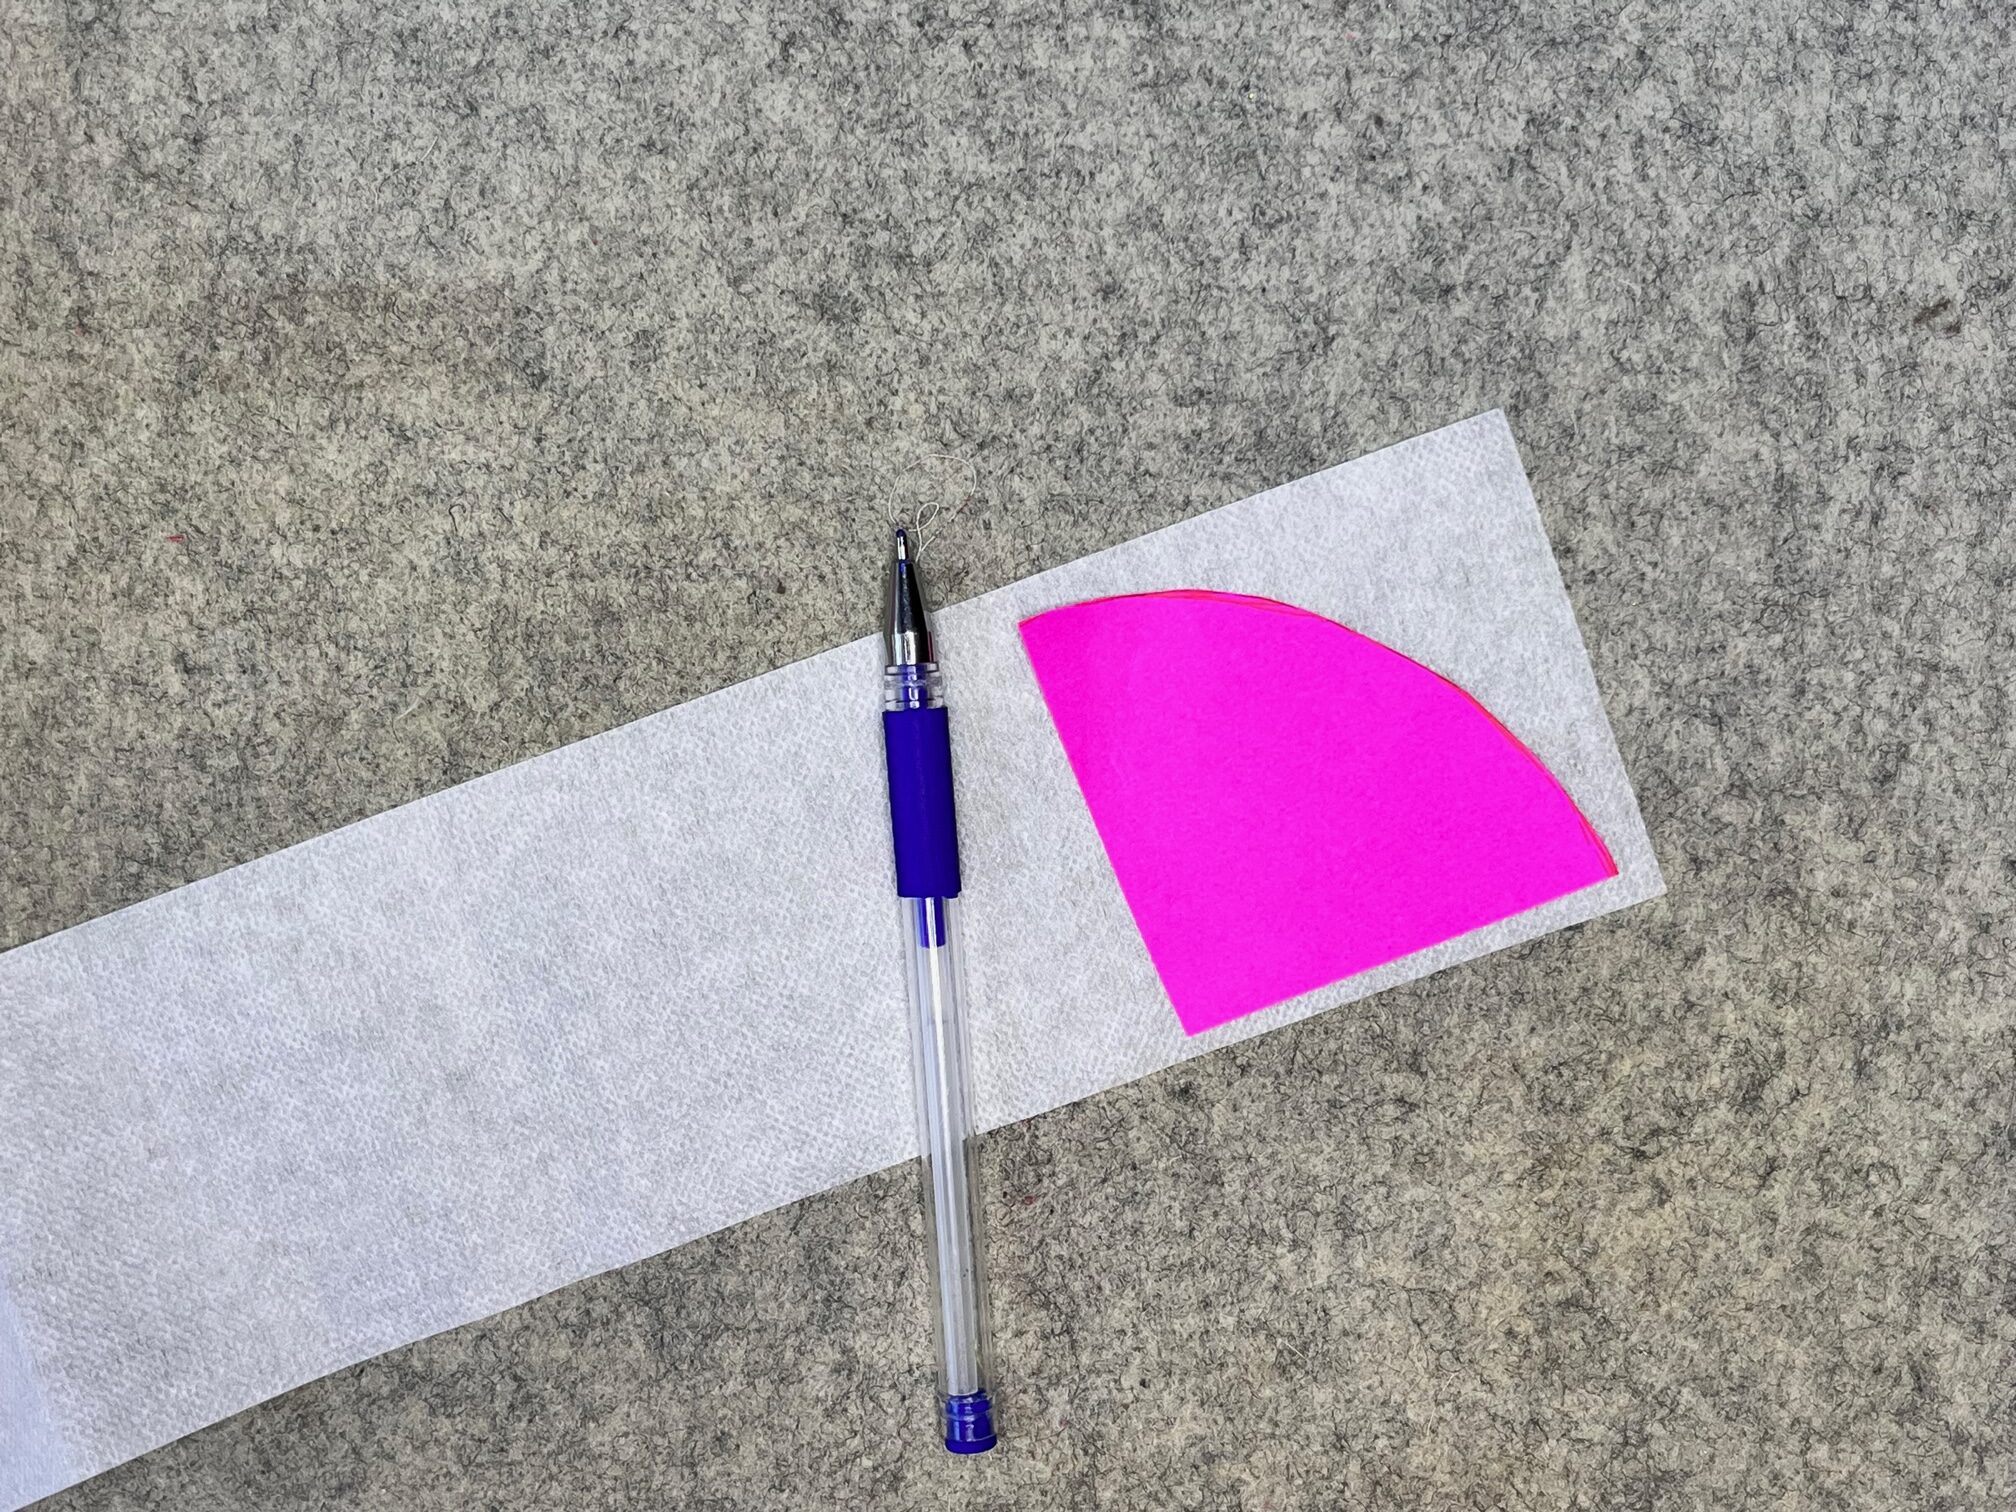
Repeat the steps above with the medium-weight interfacing using the smaller template. If cutting strips and folding, cut these strips 3″ wide.
Next…
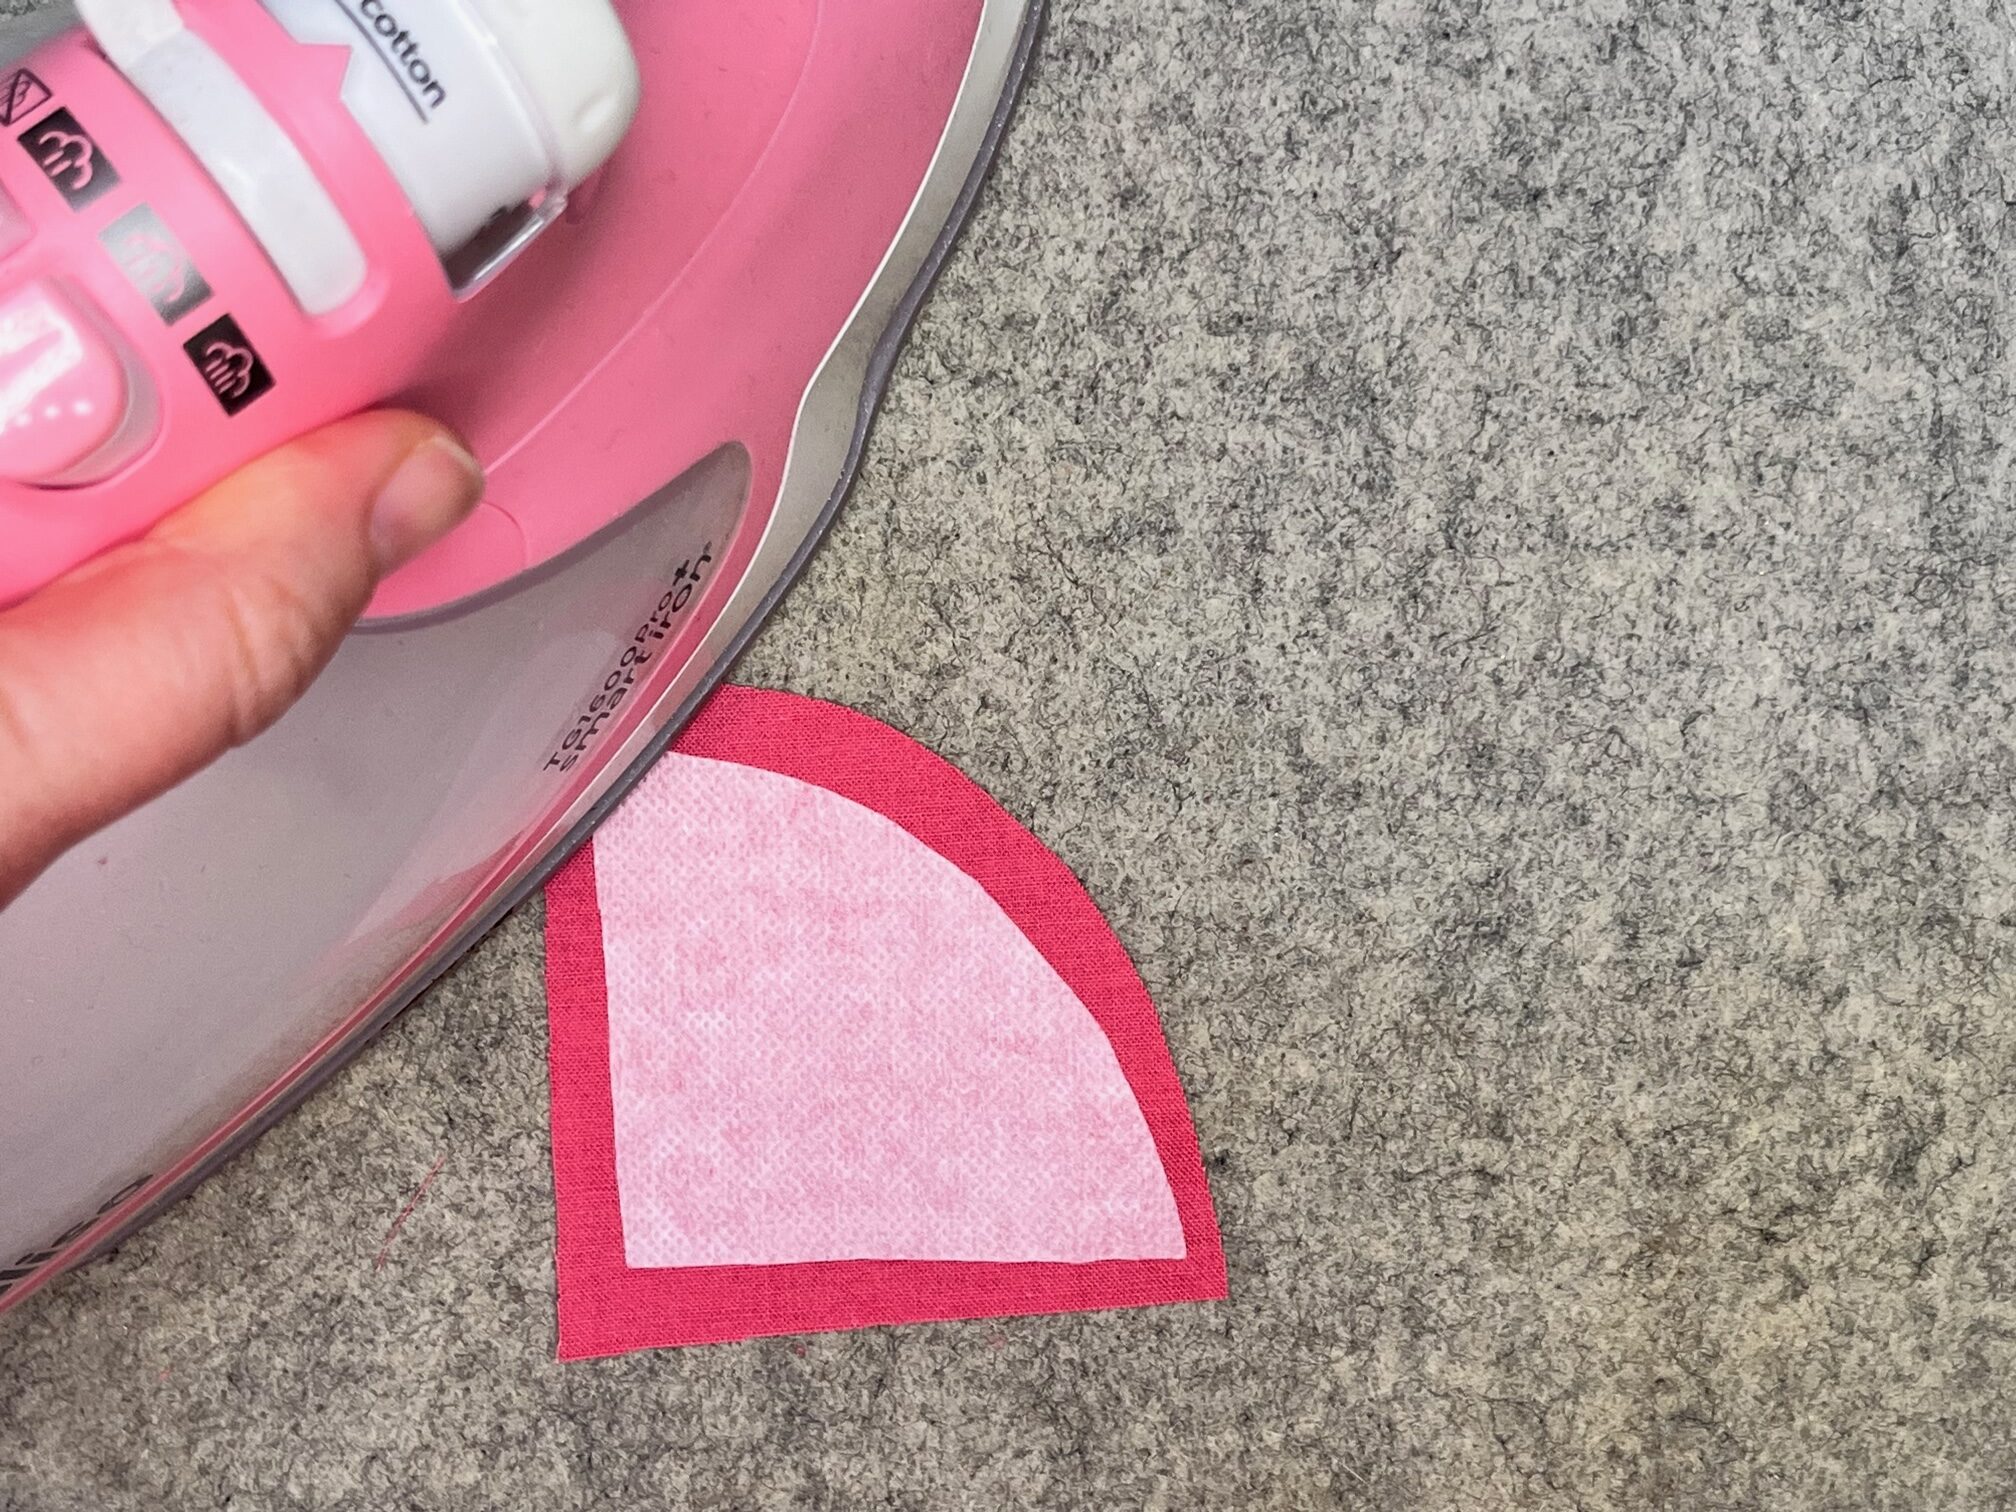
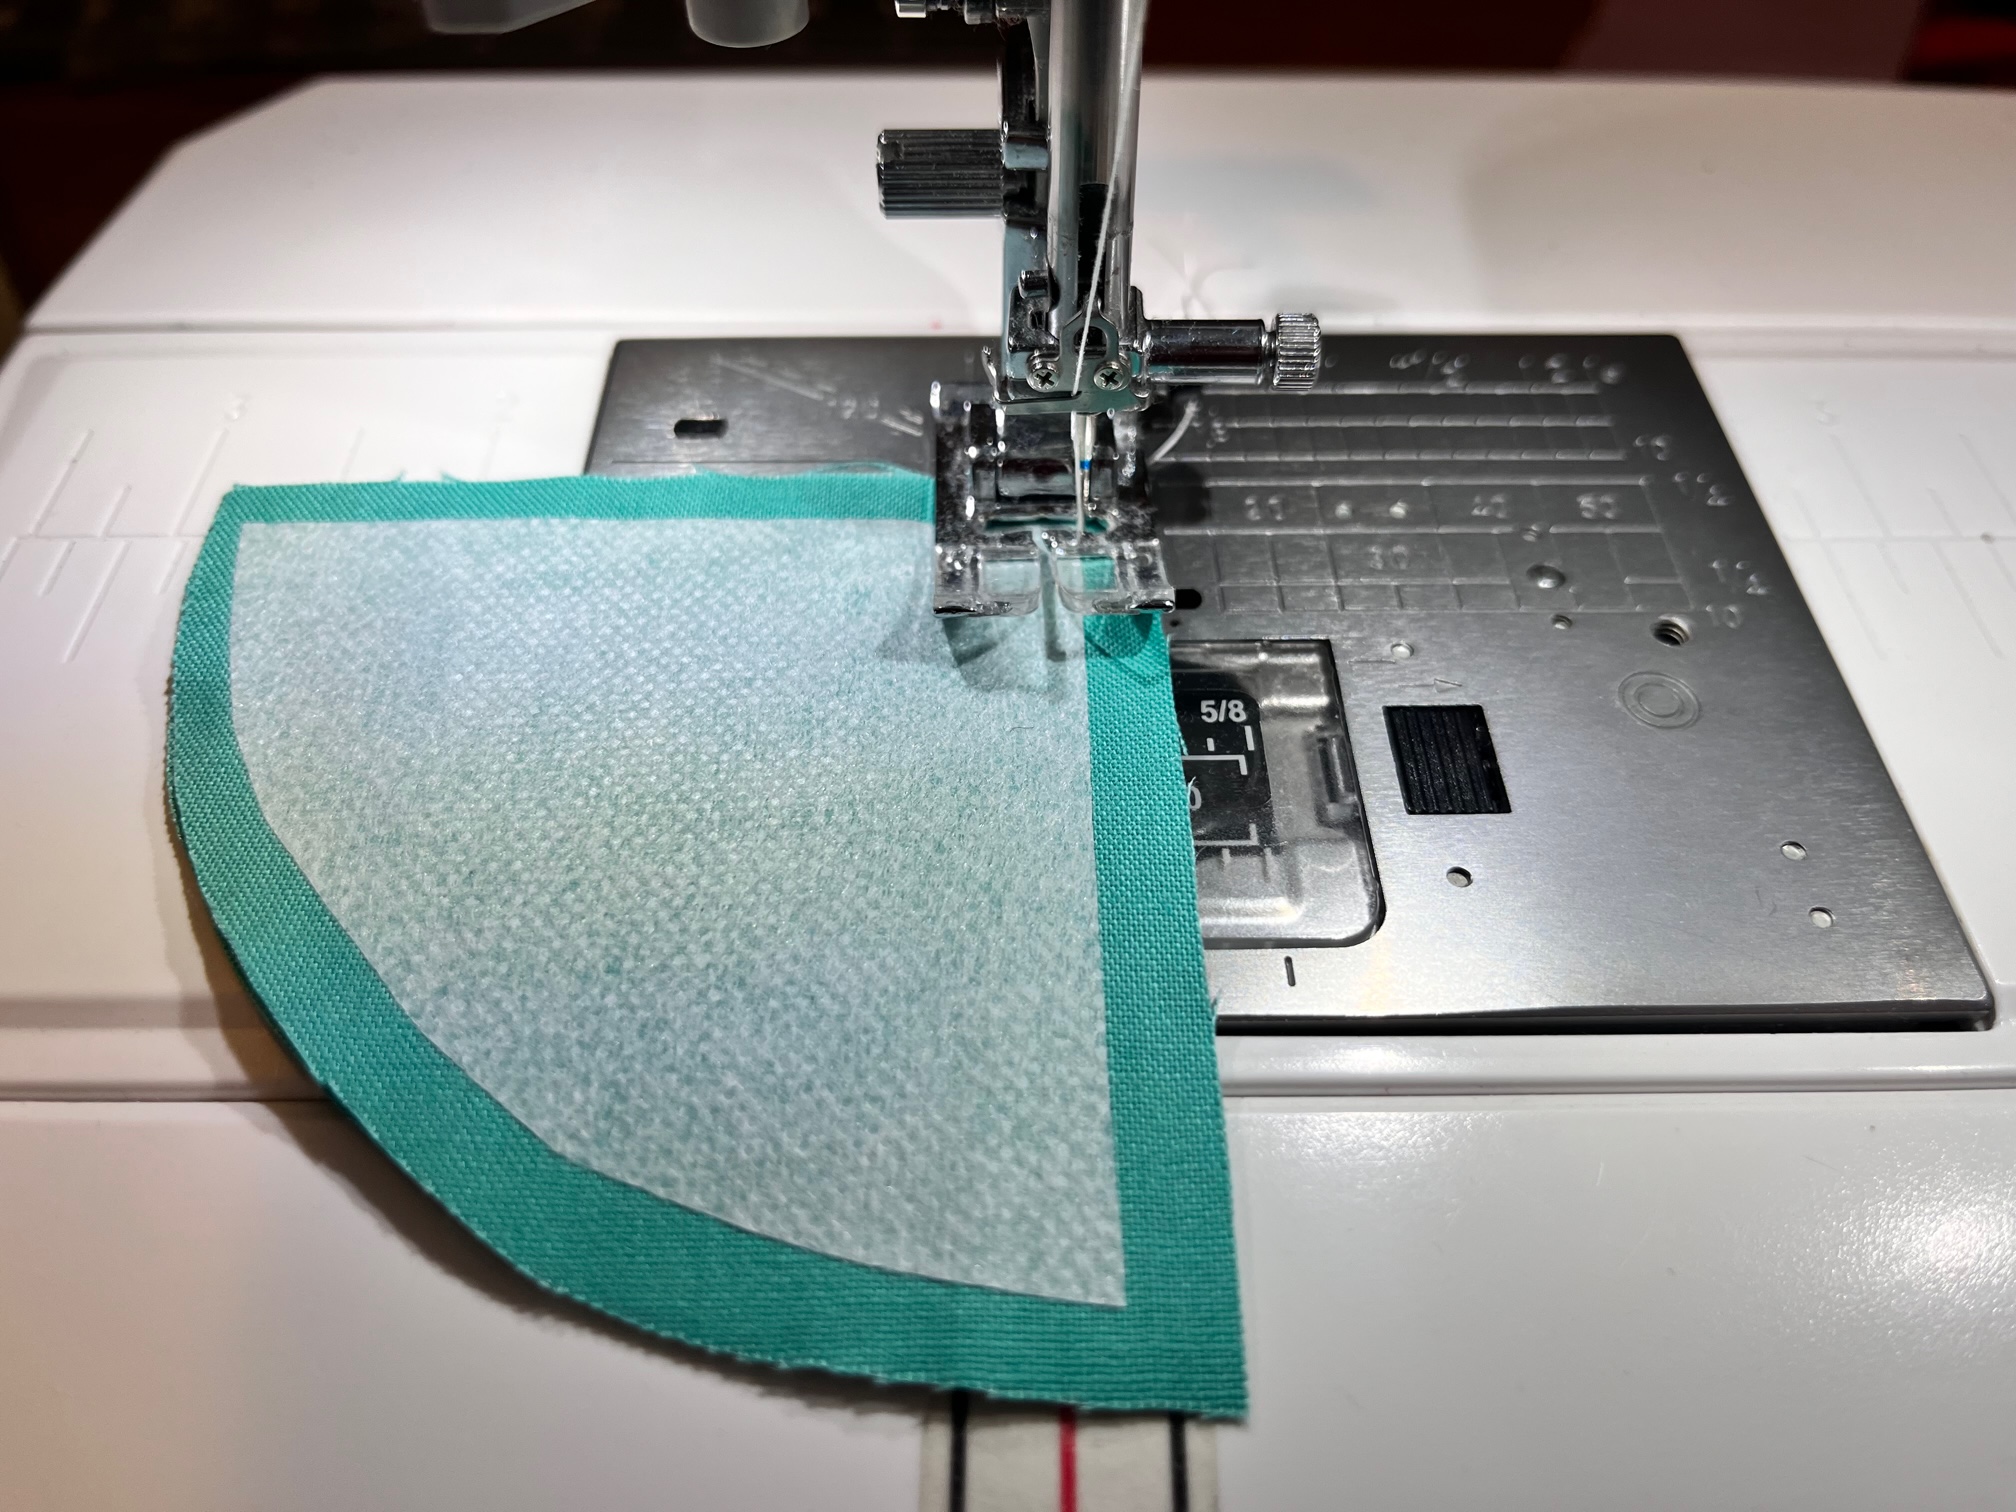
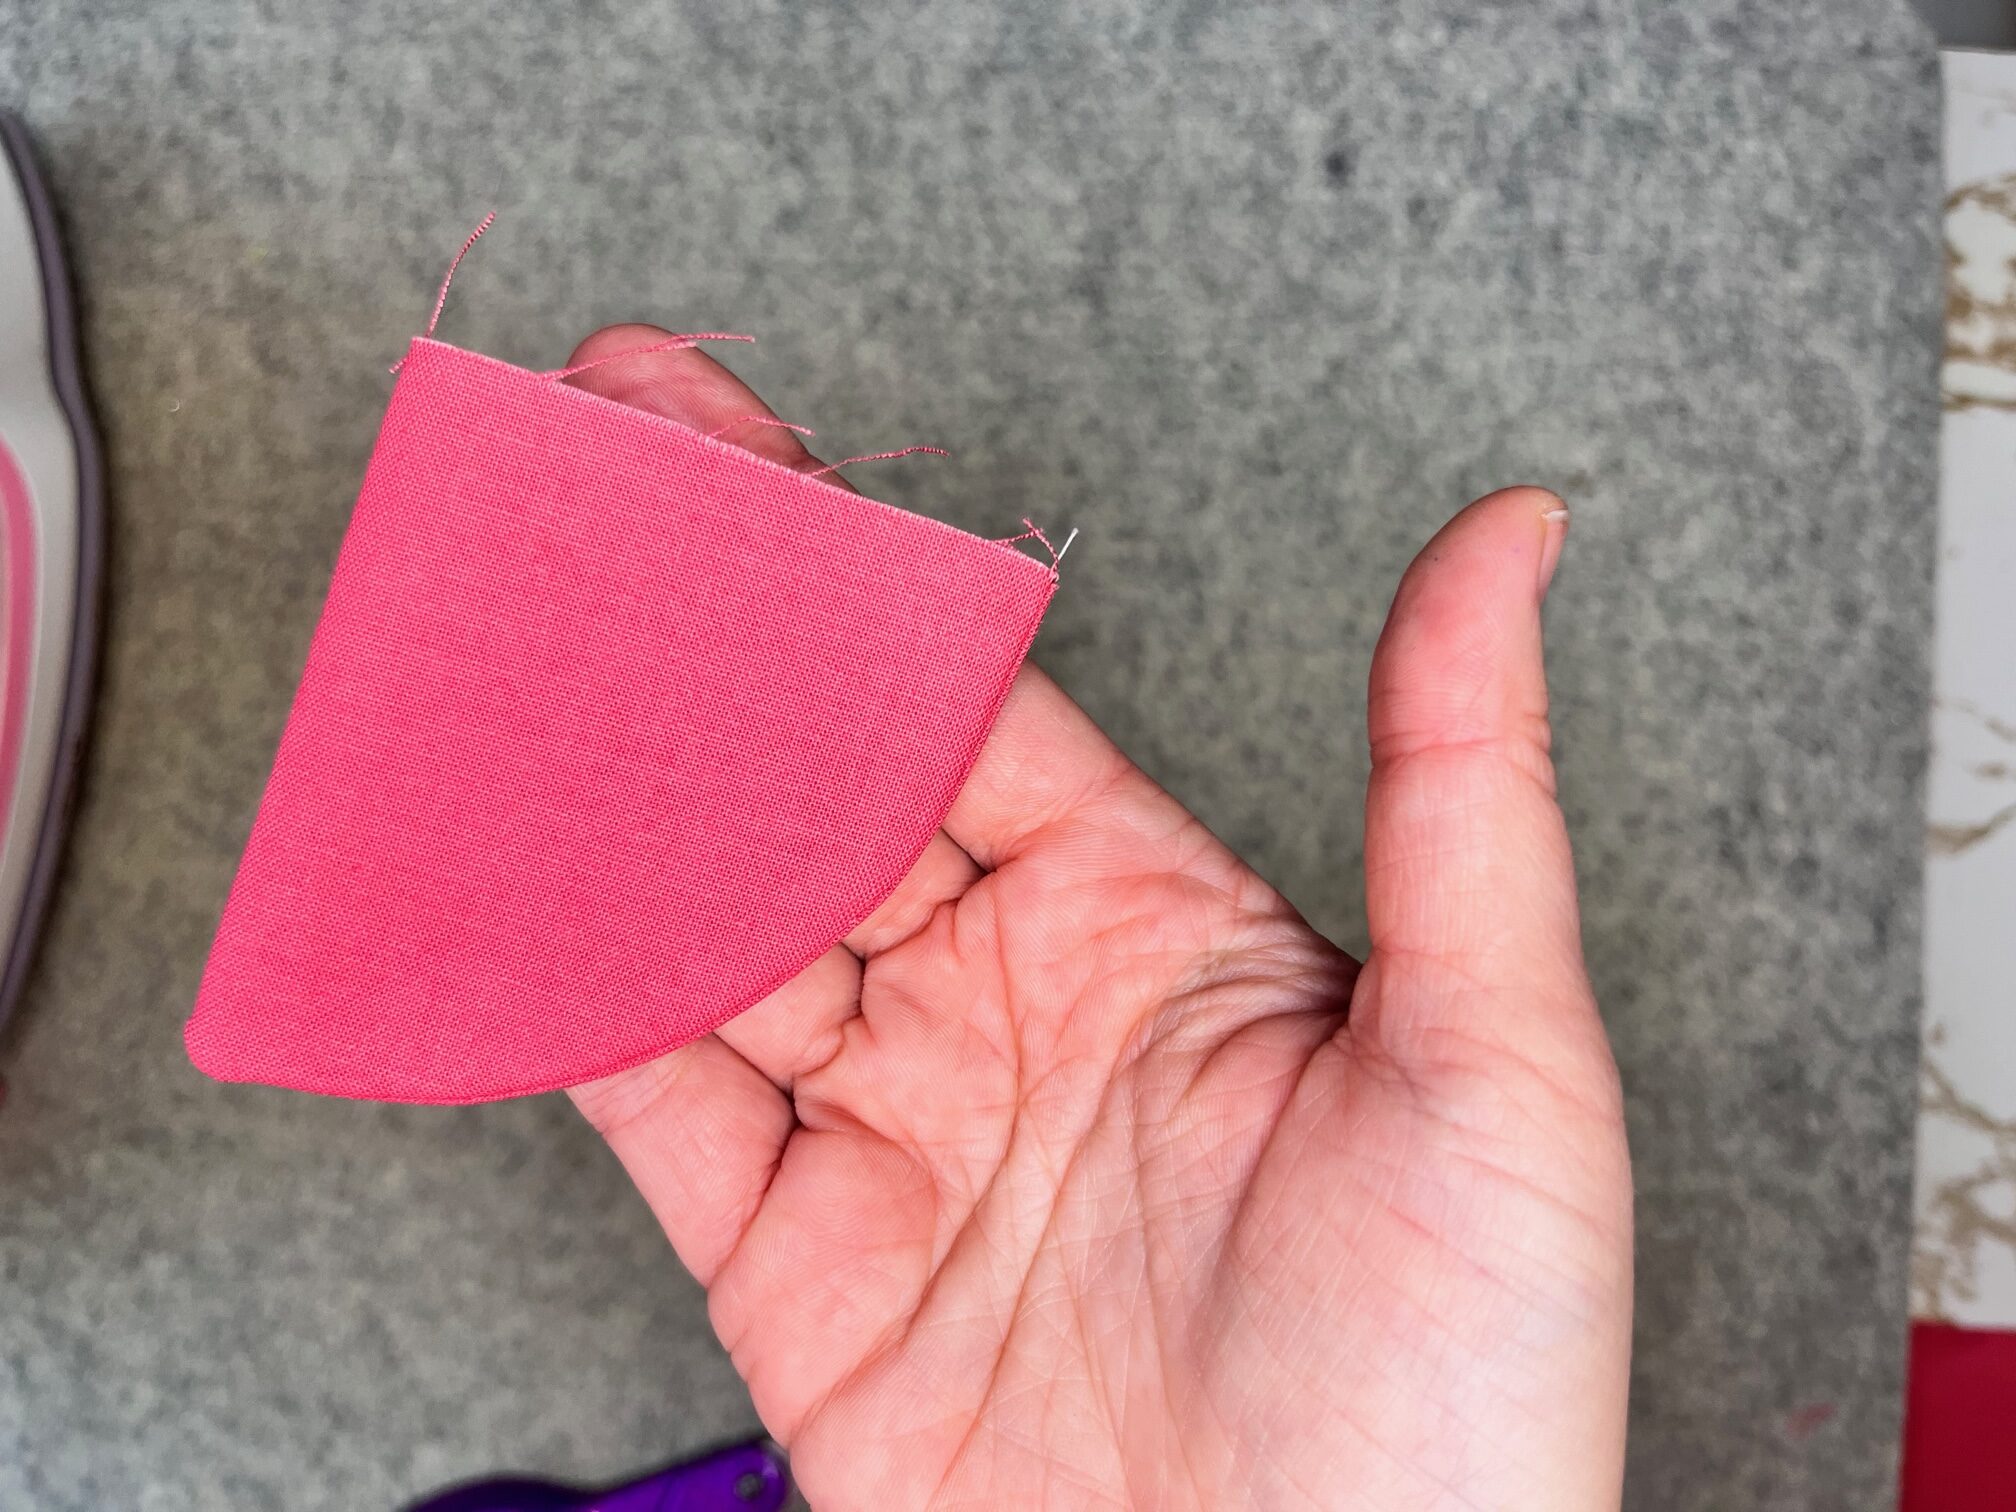
Fuse the medium-weight interfacing to the wrong side of your fabric scale. Place the fabric scale with the fusible interfacing onto another fabric scale’s right sides together. Starting on one of the straight sides, sew using a 1/4″ seam down that side, pivot and sew around the curved edge and stop when you reach the other side. Do not sew on the other straight side. Once sewn, turn your scale right side out and press. Make a total of 47 scales!
Bag Instructions:
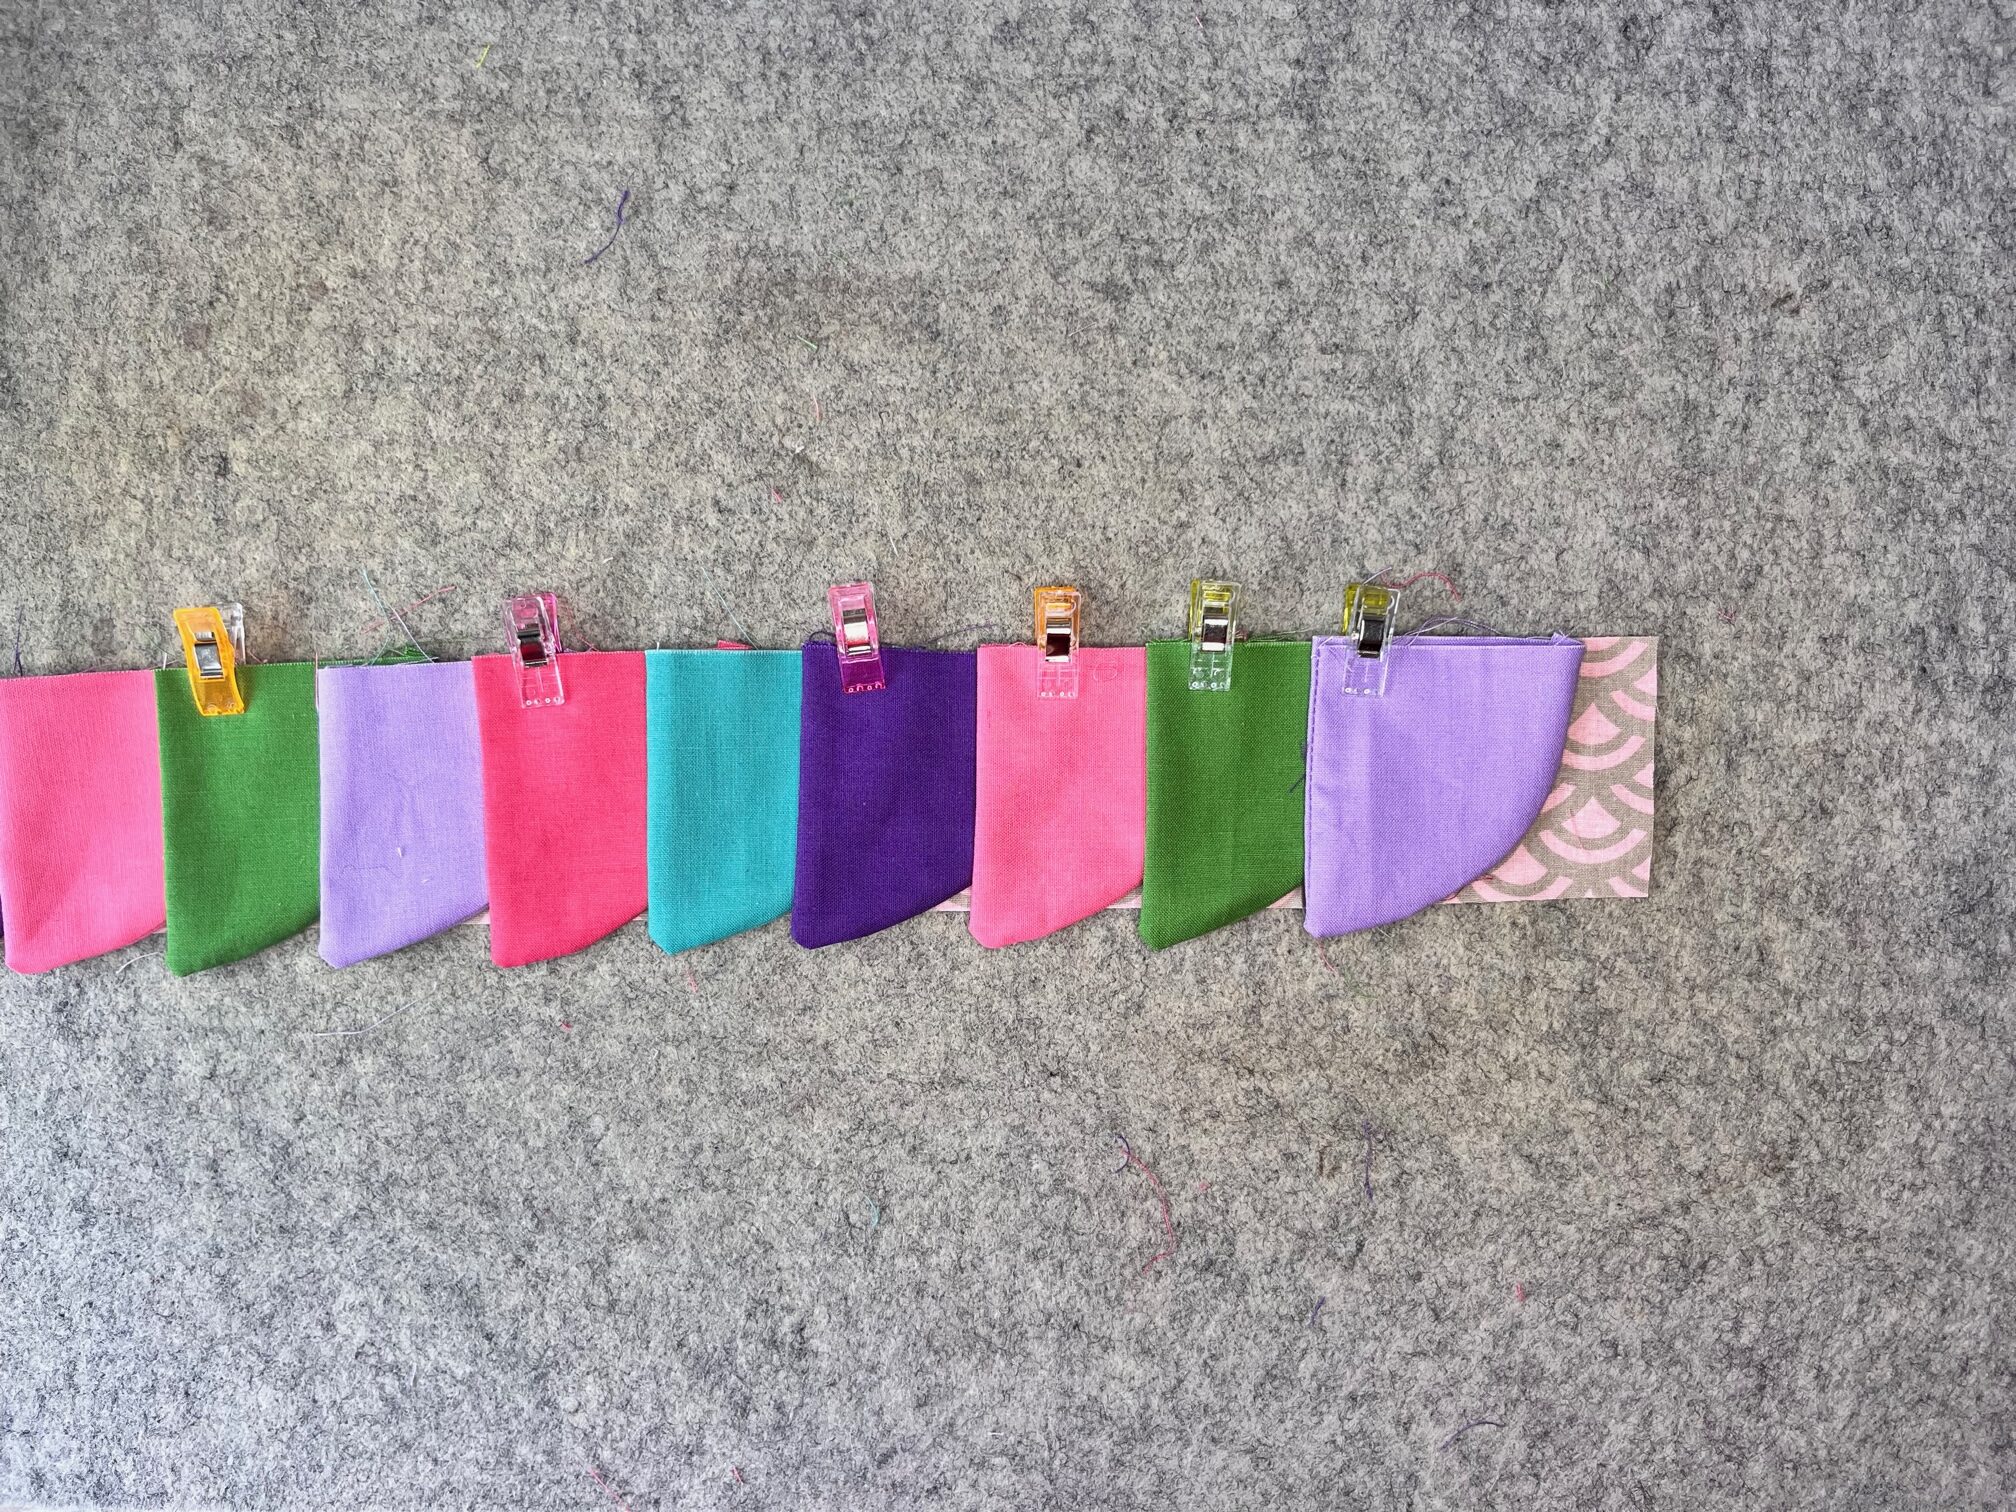
To make the outside of the bag, begin by placing one of your 2 1/2″ fabric strip right side facing up on your workspace. Mark 1/2″ on the left side. Then arrange 13 scales along the top starting at the line you marked. Each scale with overlap 1″. Once you are done arranging the 13 scales you will be left with 1/2″ of fabric with no scales on the opposite side as well.
Next…
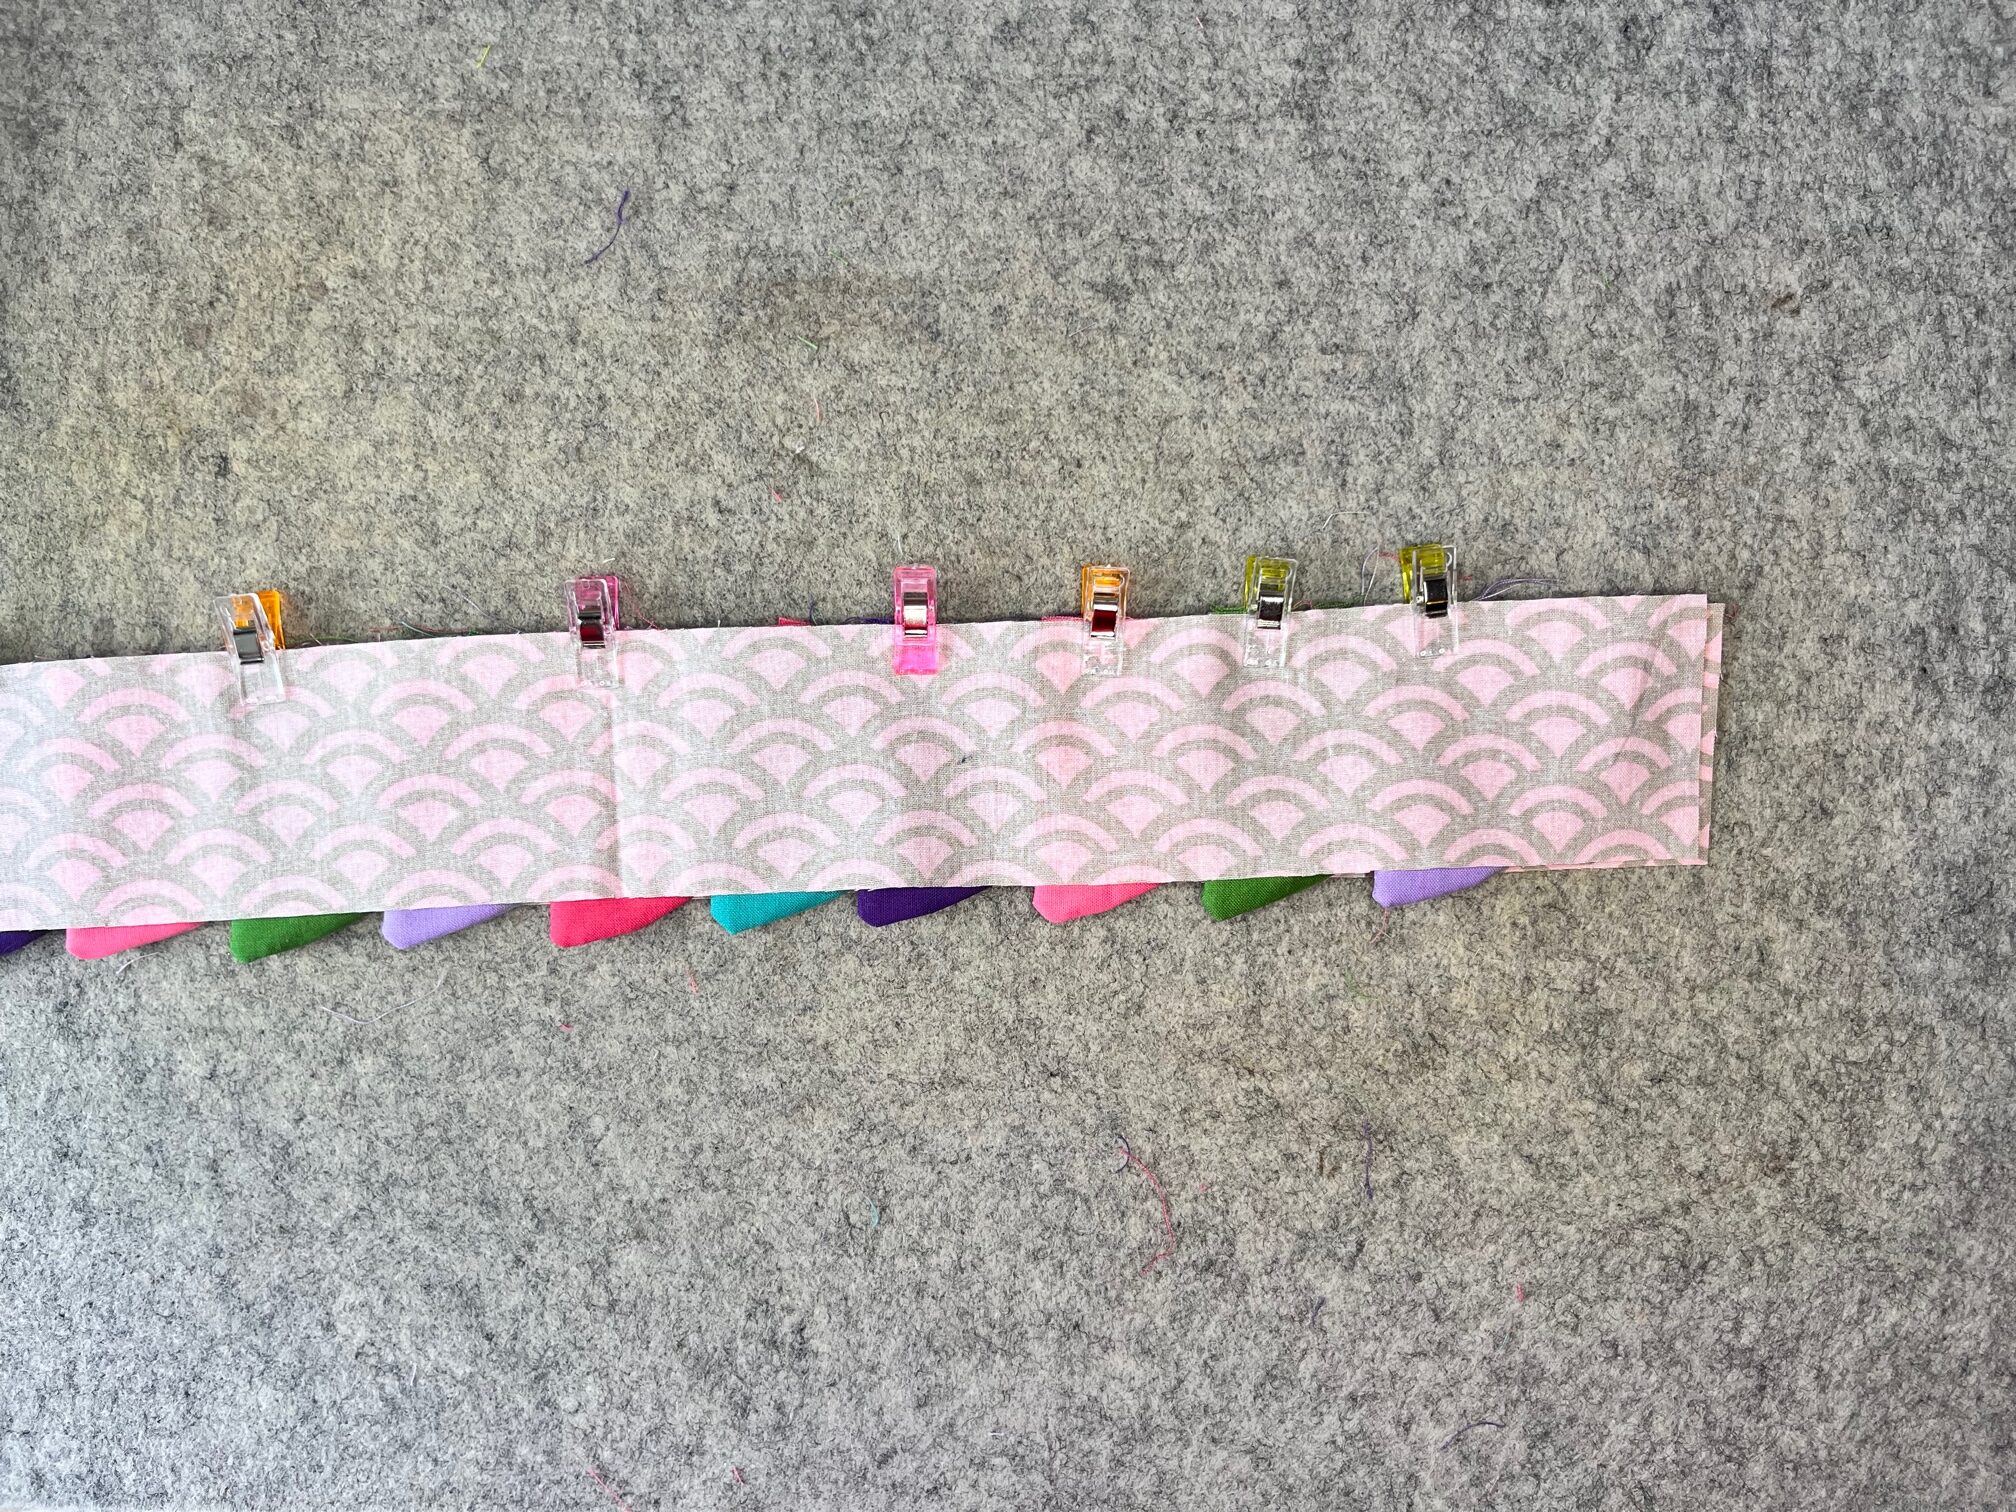
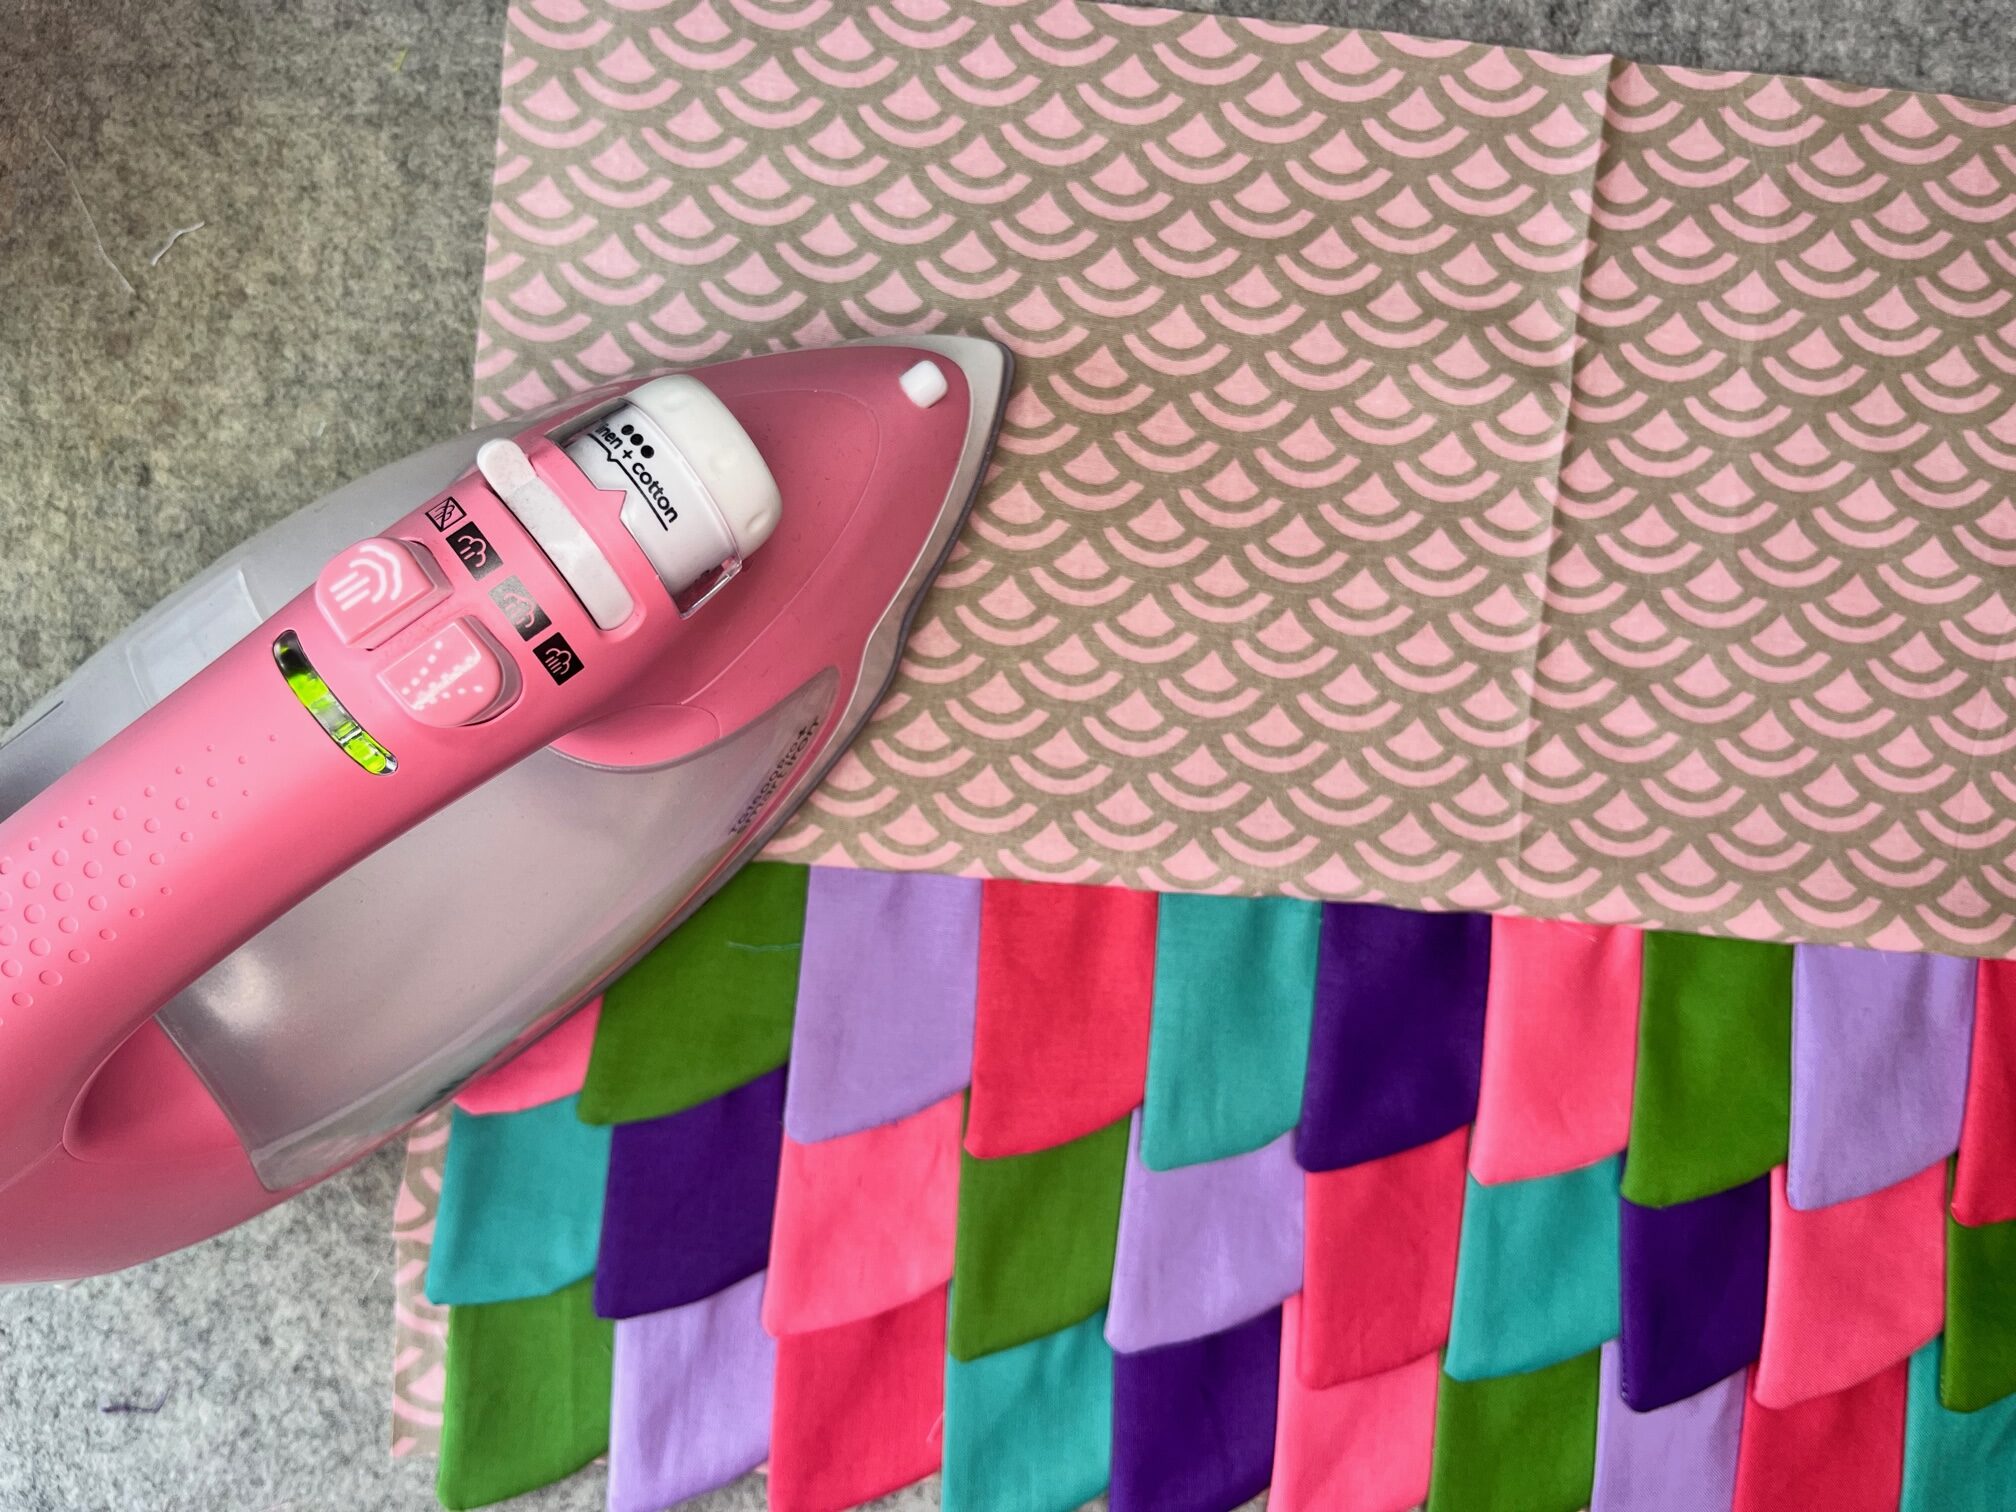
Layer another 2 1/2″ strip on top of the scales, right side facing down. Pin in place and sew a 1/4″ seam all along the top edge. Once sewn, press the fabric strip up.

Continue by…
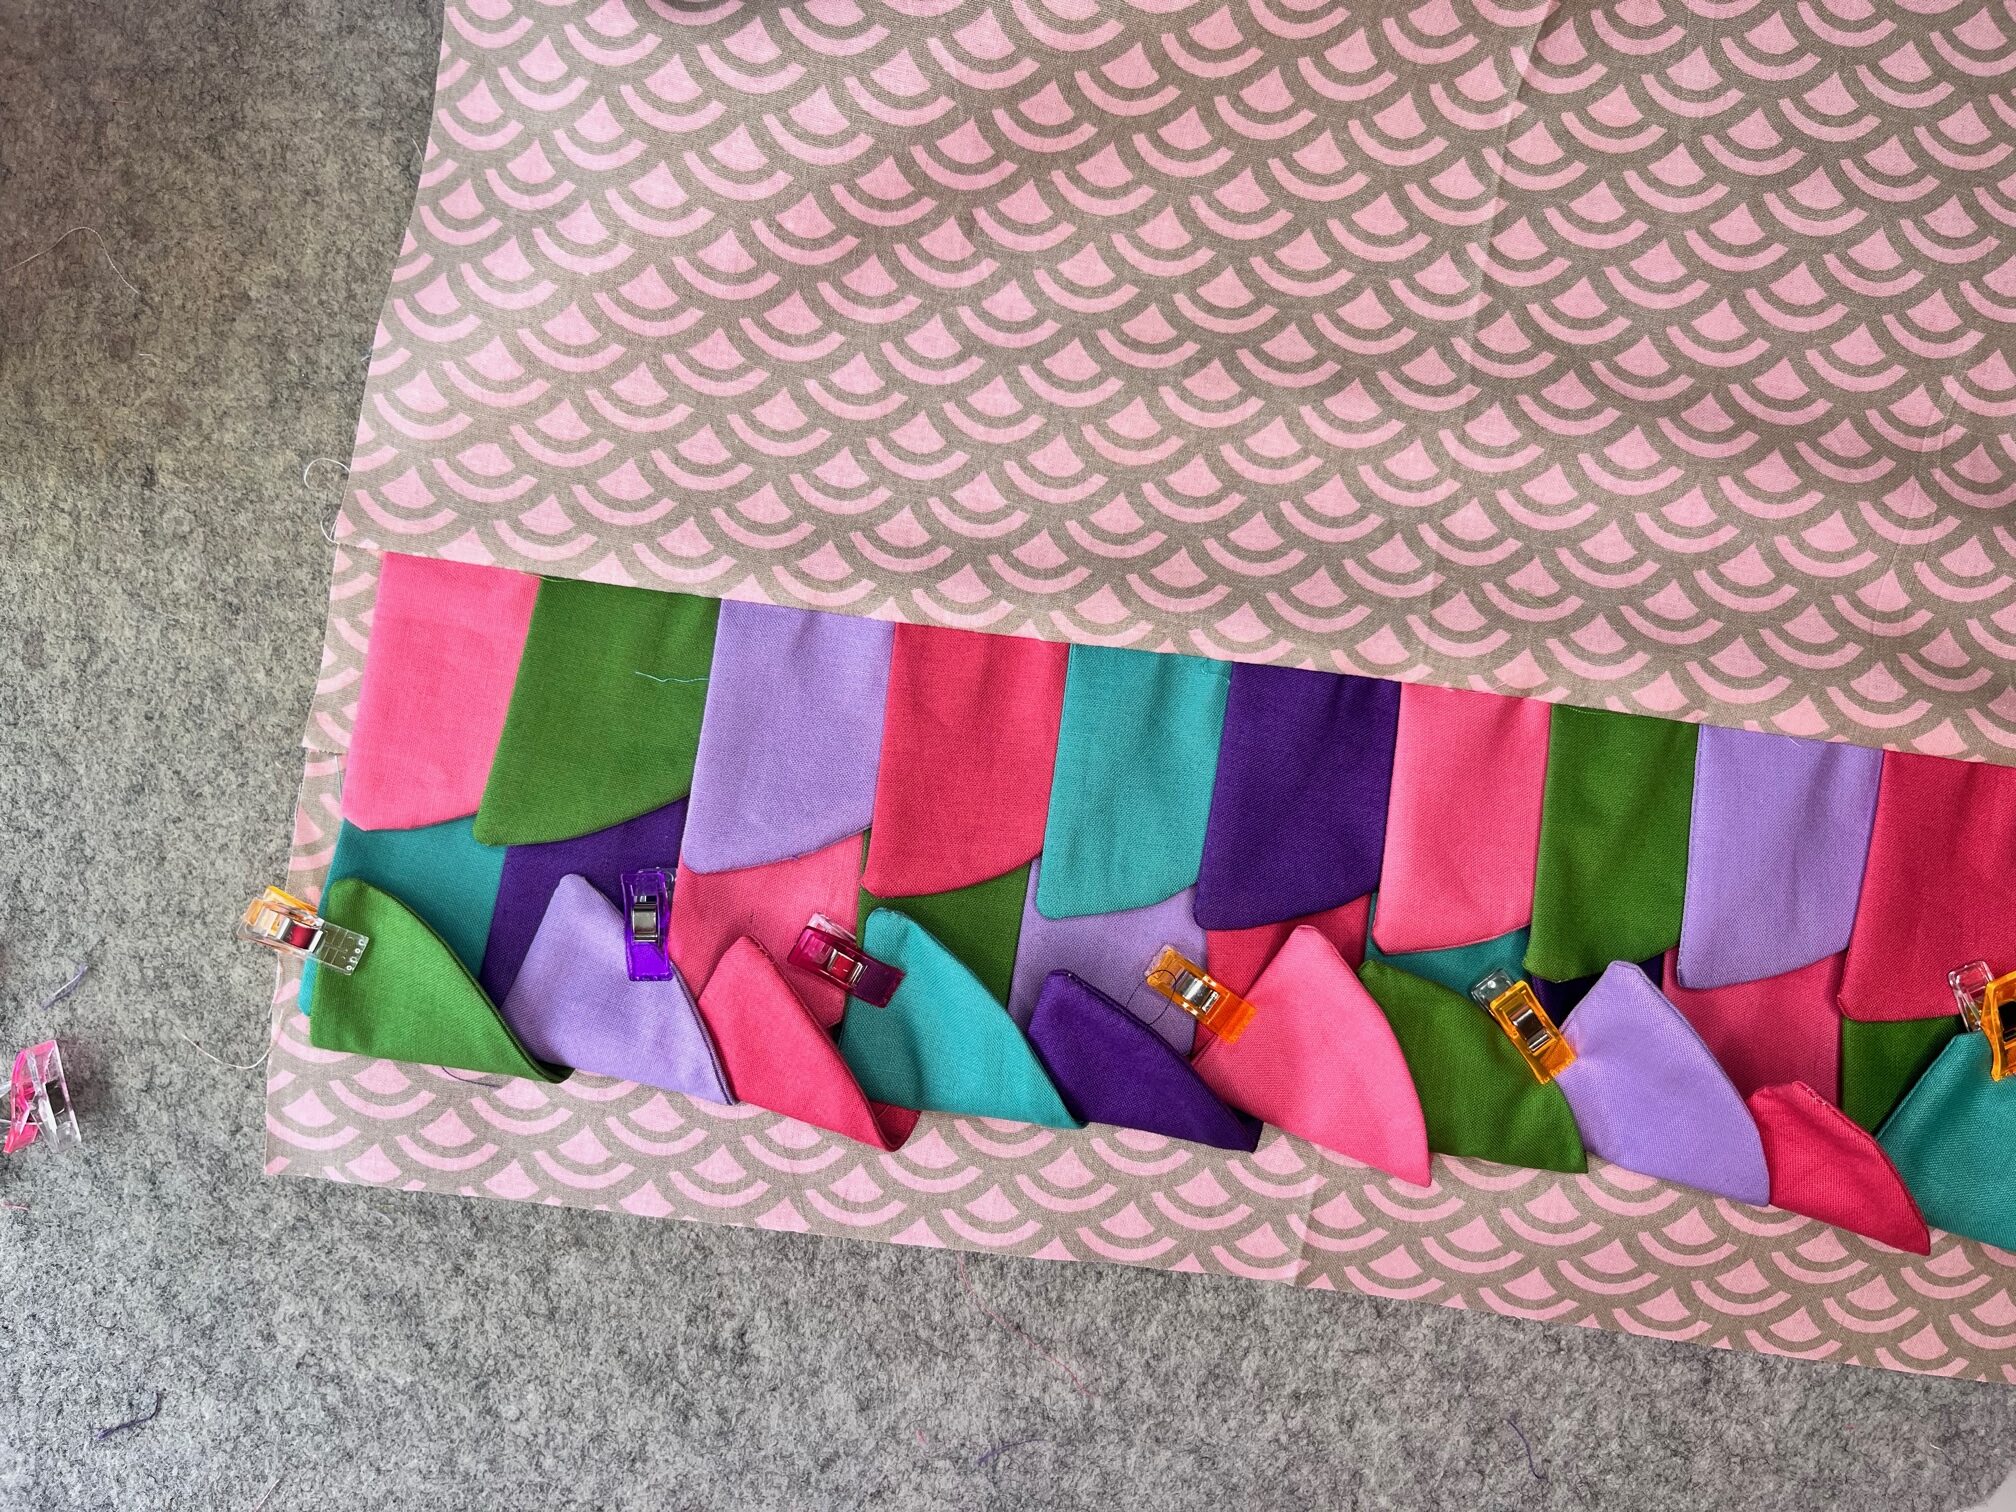
Repeat this same process for the next row of scales. On the third row of scales, you will layer the fabric for the top of the bag, sew and then press.
Next…
For this next step you will need to pin the bottom row of scales out of the way. Once they are out of the way, fold the bag in half along the short edge. Pin the side and bottom together. Sew down the side and bottom using a 1/2″ seam.

Then…
Take your ruler and measure a 1″ square in the bottom corner on the side of the bag that has both a side and bottom seam. Measure from the seam lines. On the opposite side you will need to make a 1″ square starting from the bottom seam but on the side with no stitching, it will need to be 1 1/2″ in. Cut out these squares.

Next…
On the side with both a bottom and side seam, pinch the corner together and sew across using a 3/8″ seam.
On the other side, place a clip 1/2″ in on the folded edge. Pinch the box corner together making sure the clip stays in place. Once you have pinched the corner together, sew across using a 3/8″ seam. The YouTube video shows this step and can be a better visual.


Finally…
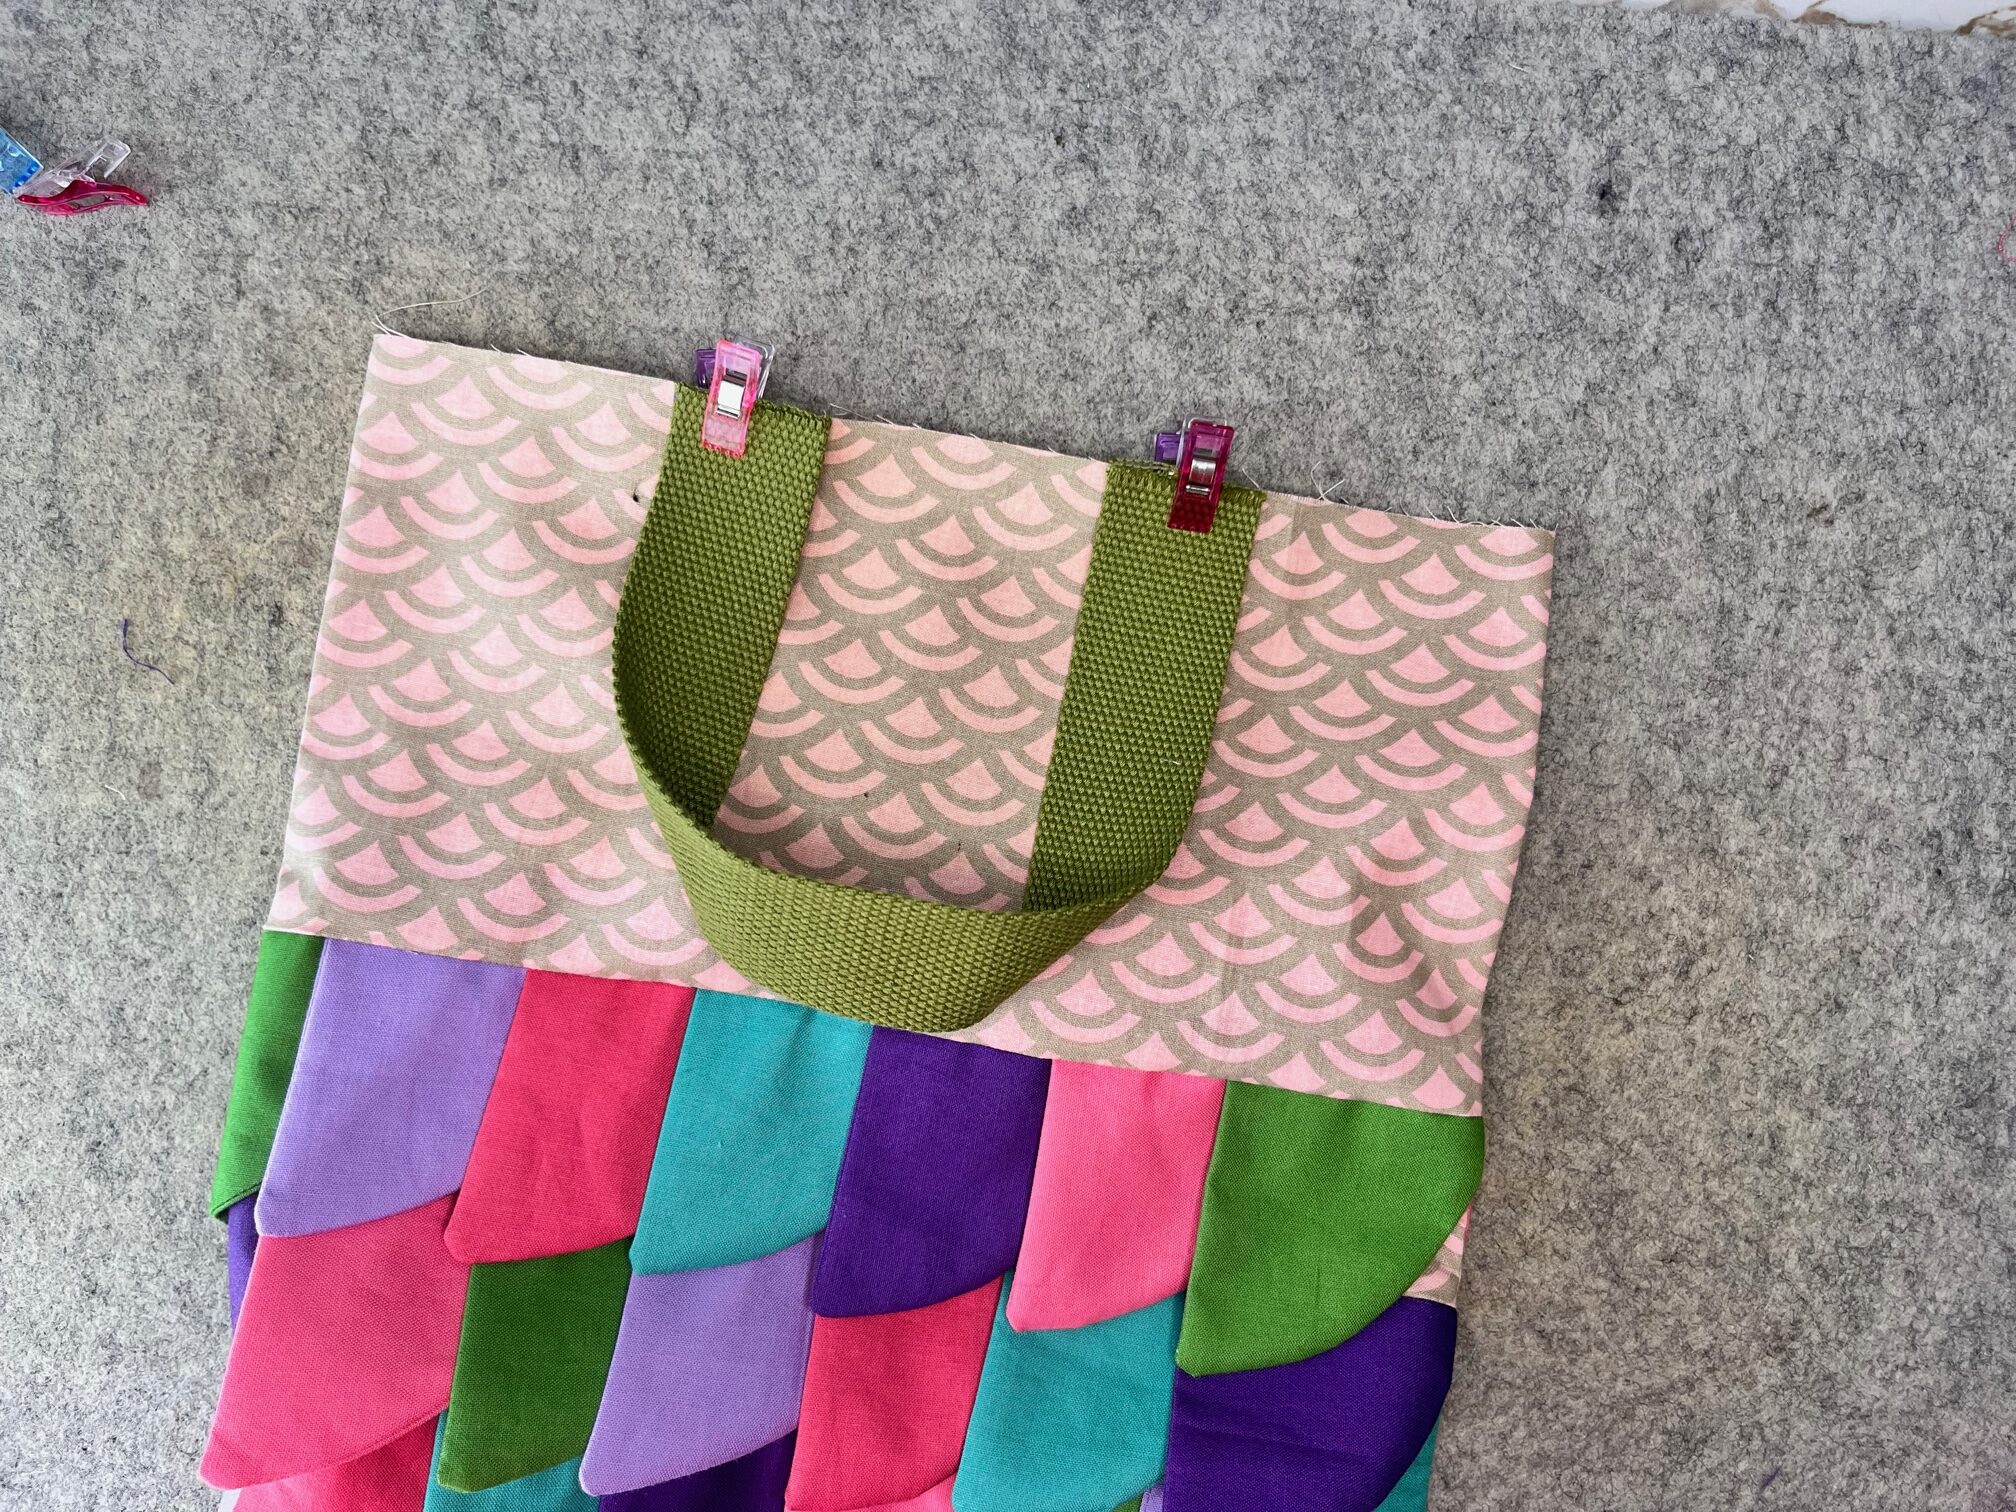
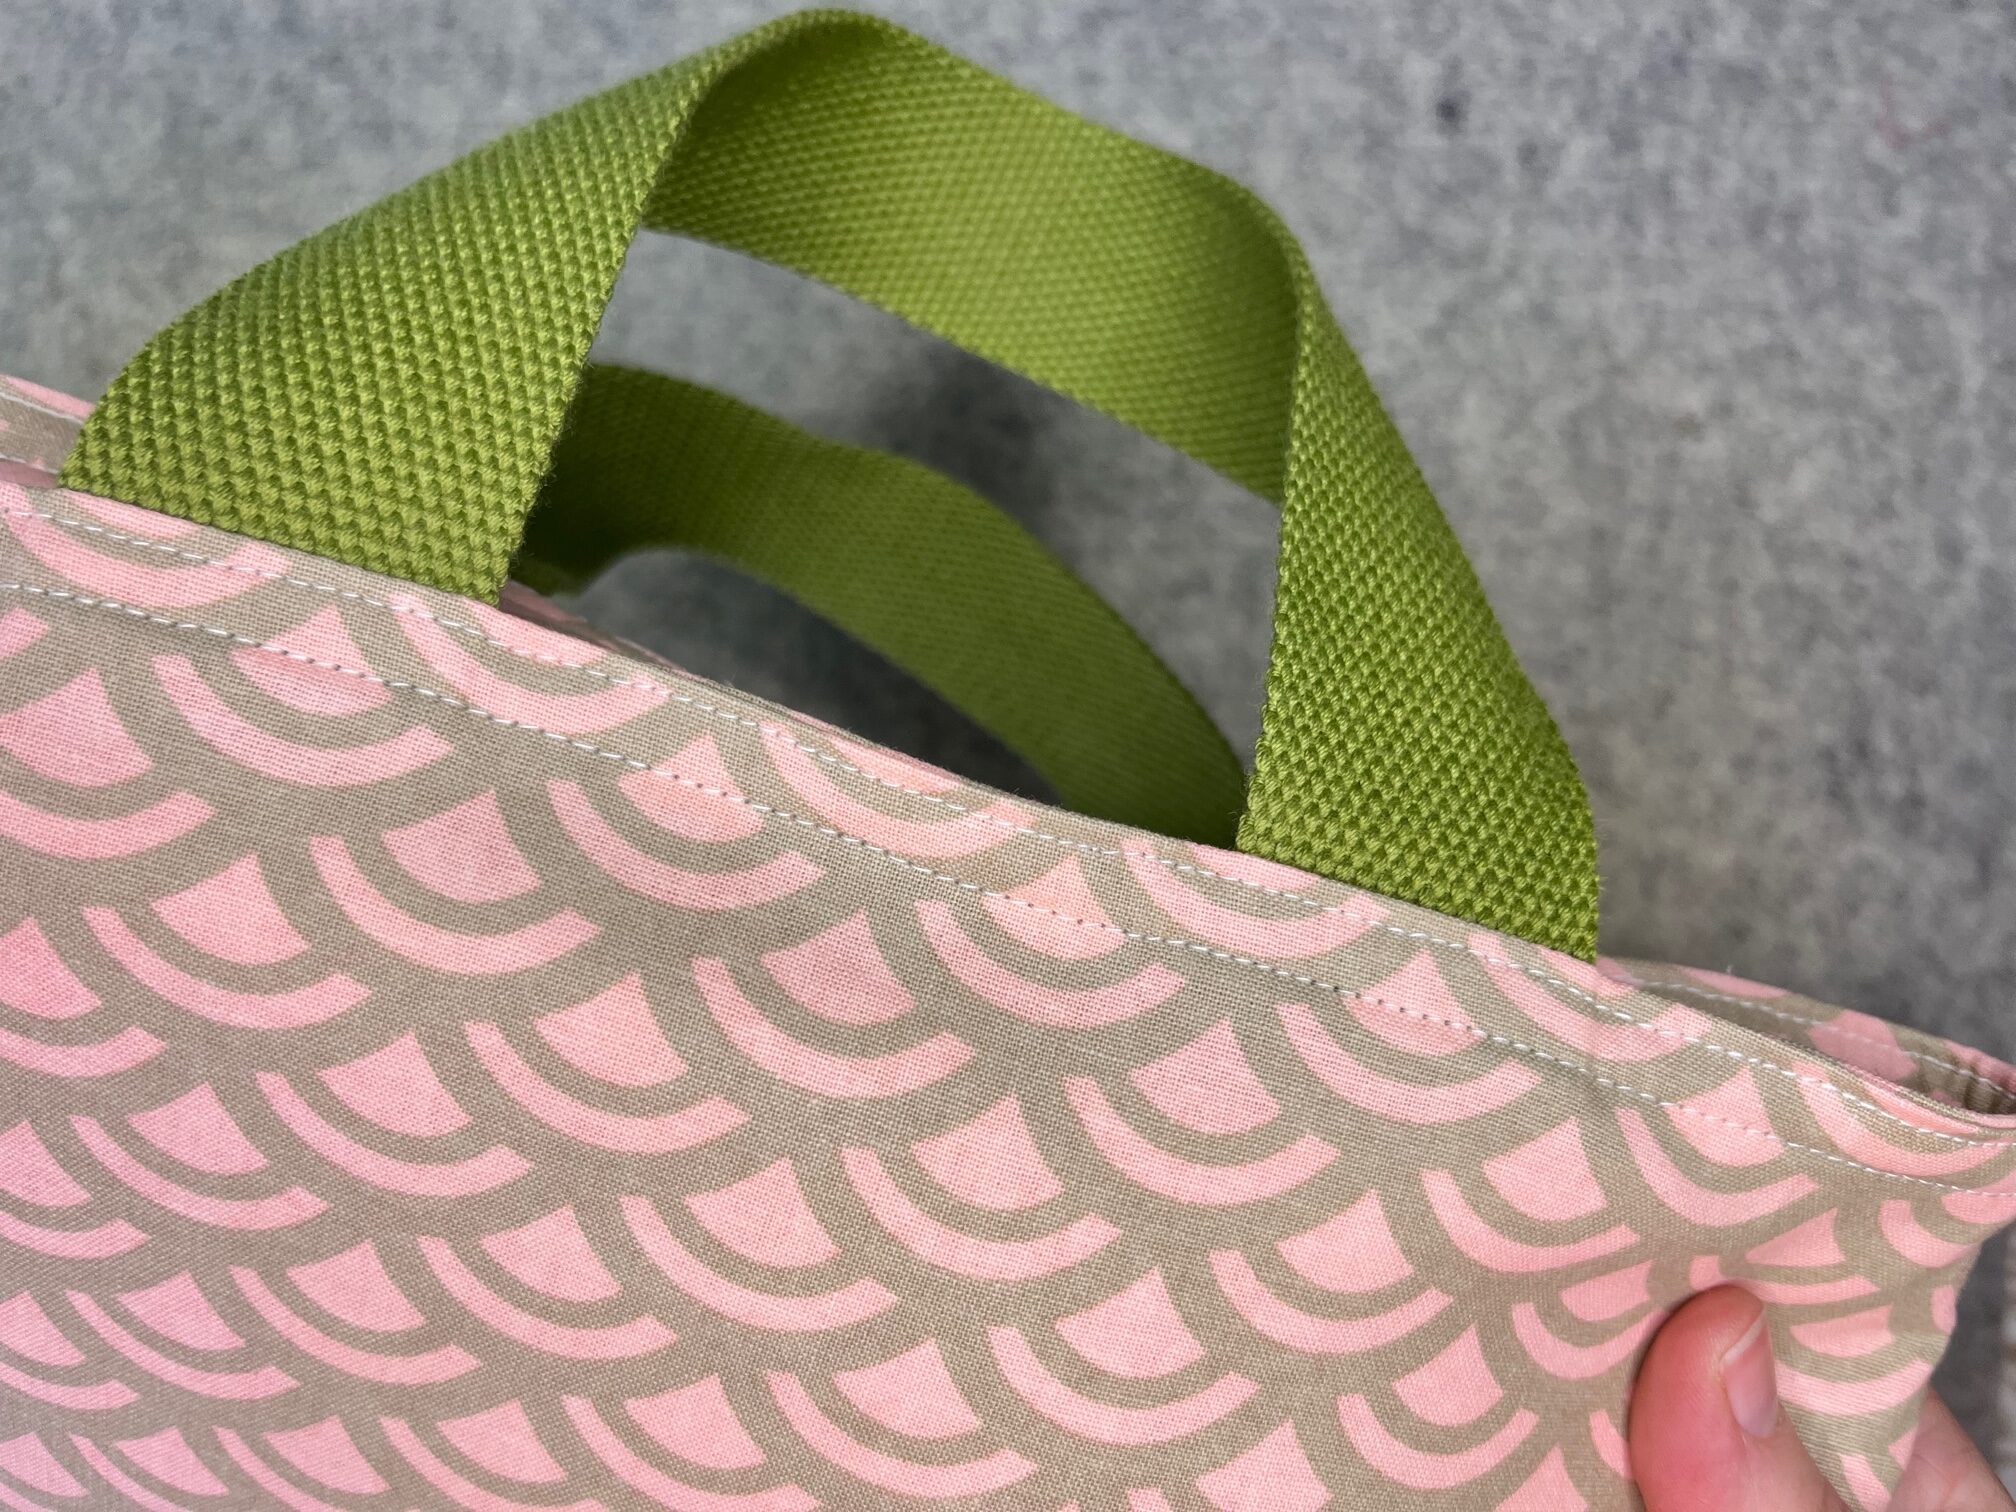
Turn the bag right side out. Add the handles to the front of the bag. Measure 3″ in on both sides and baste the handles.
Lining Instructions:
Next…
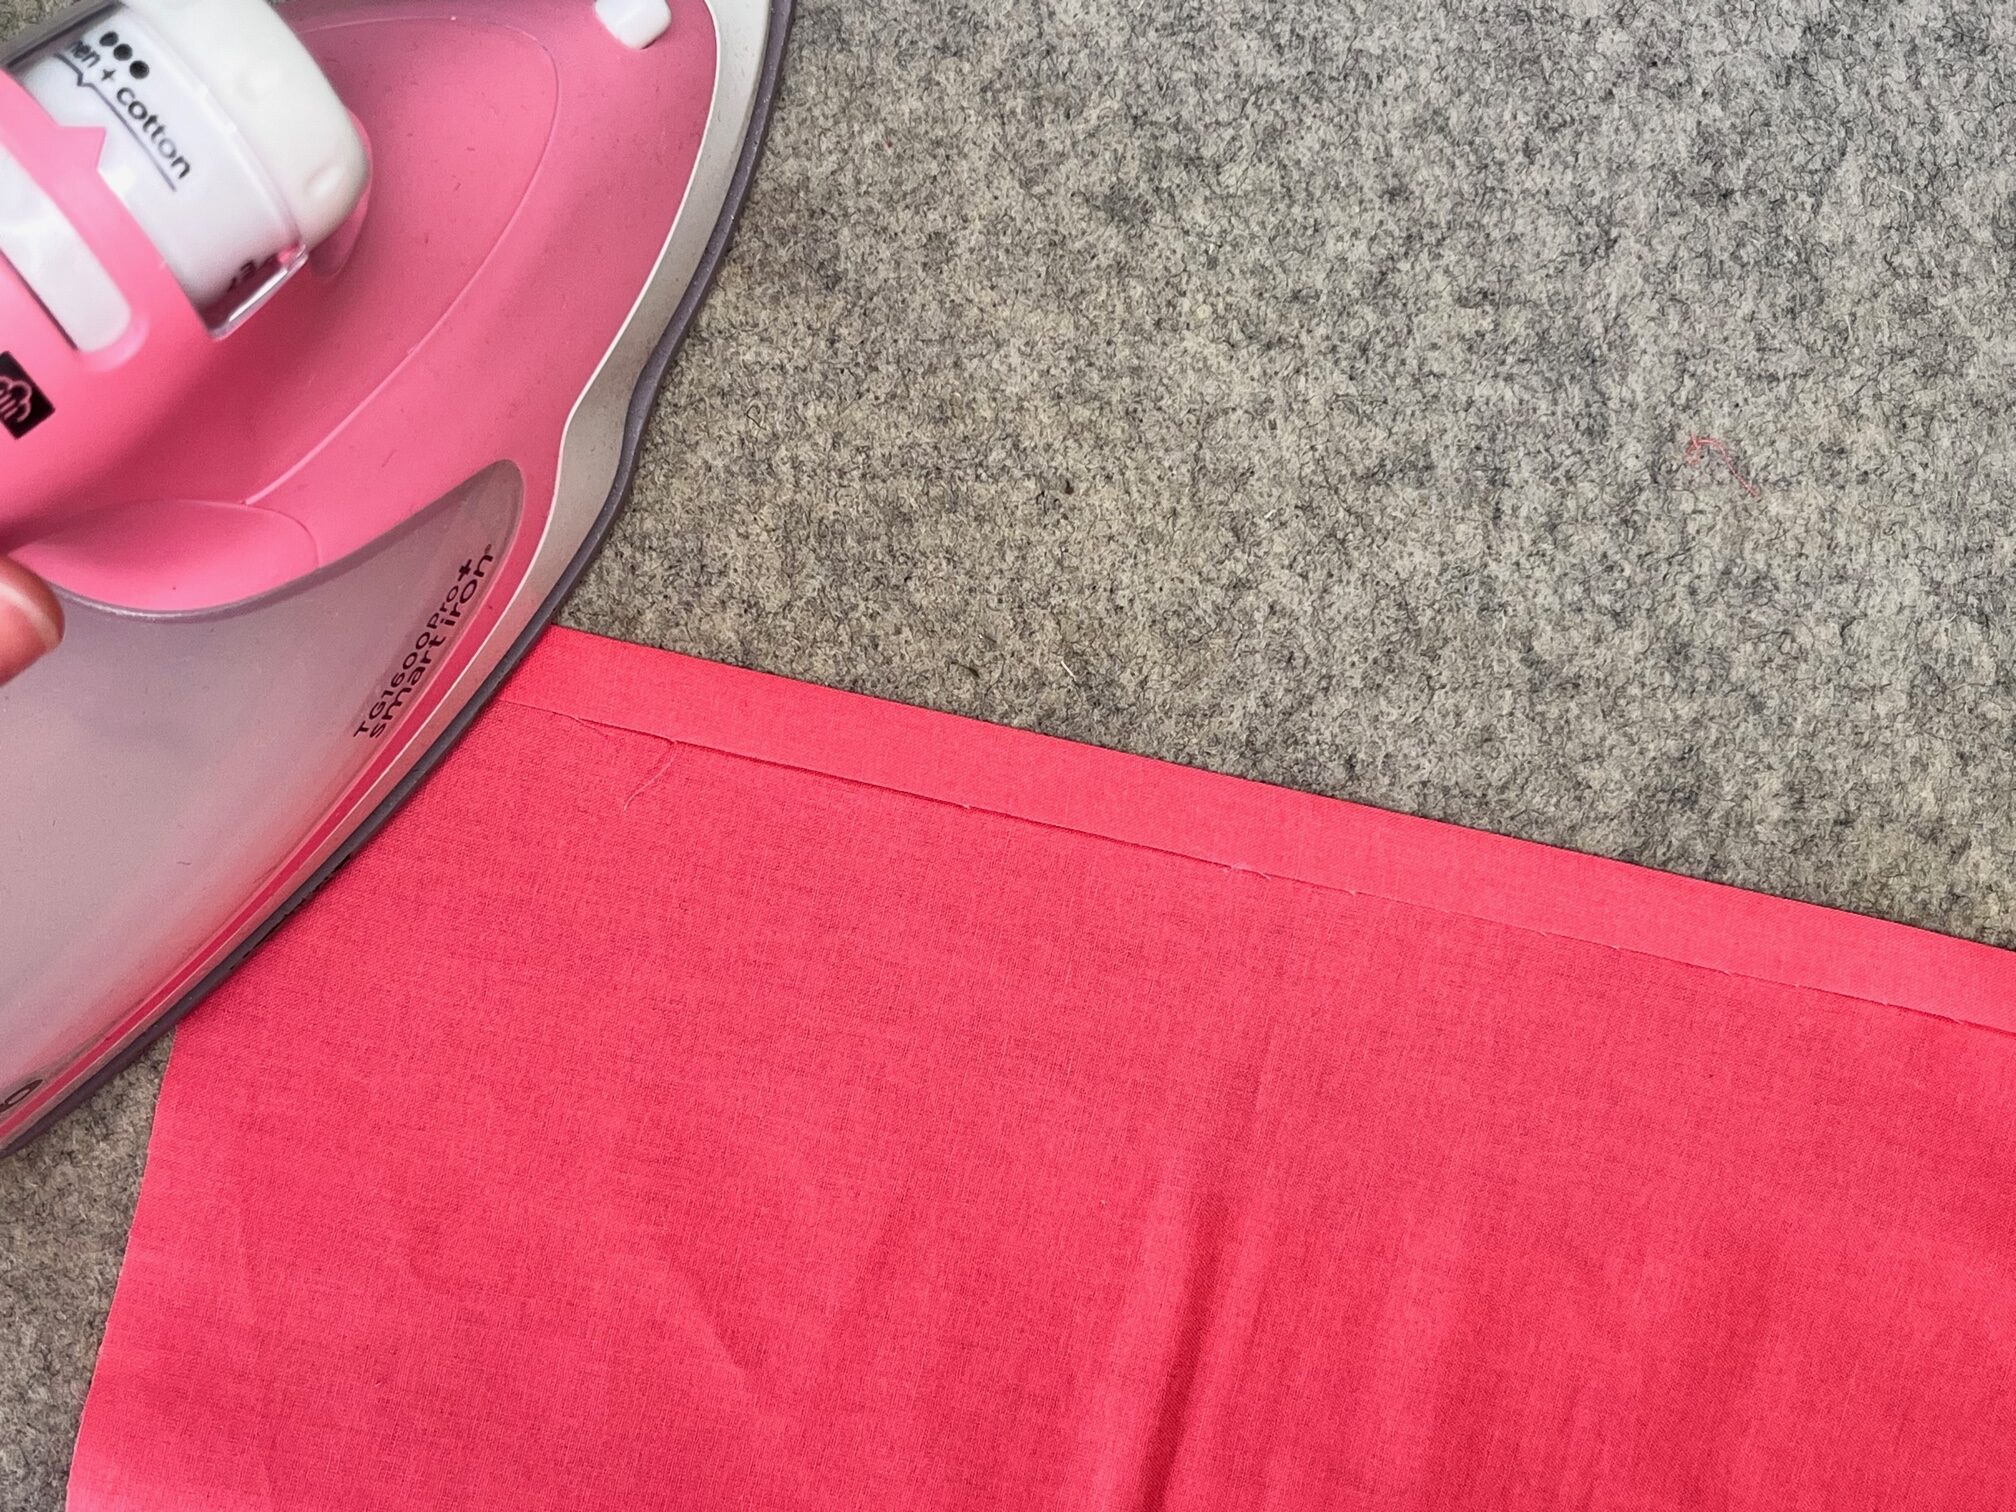
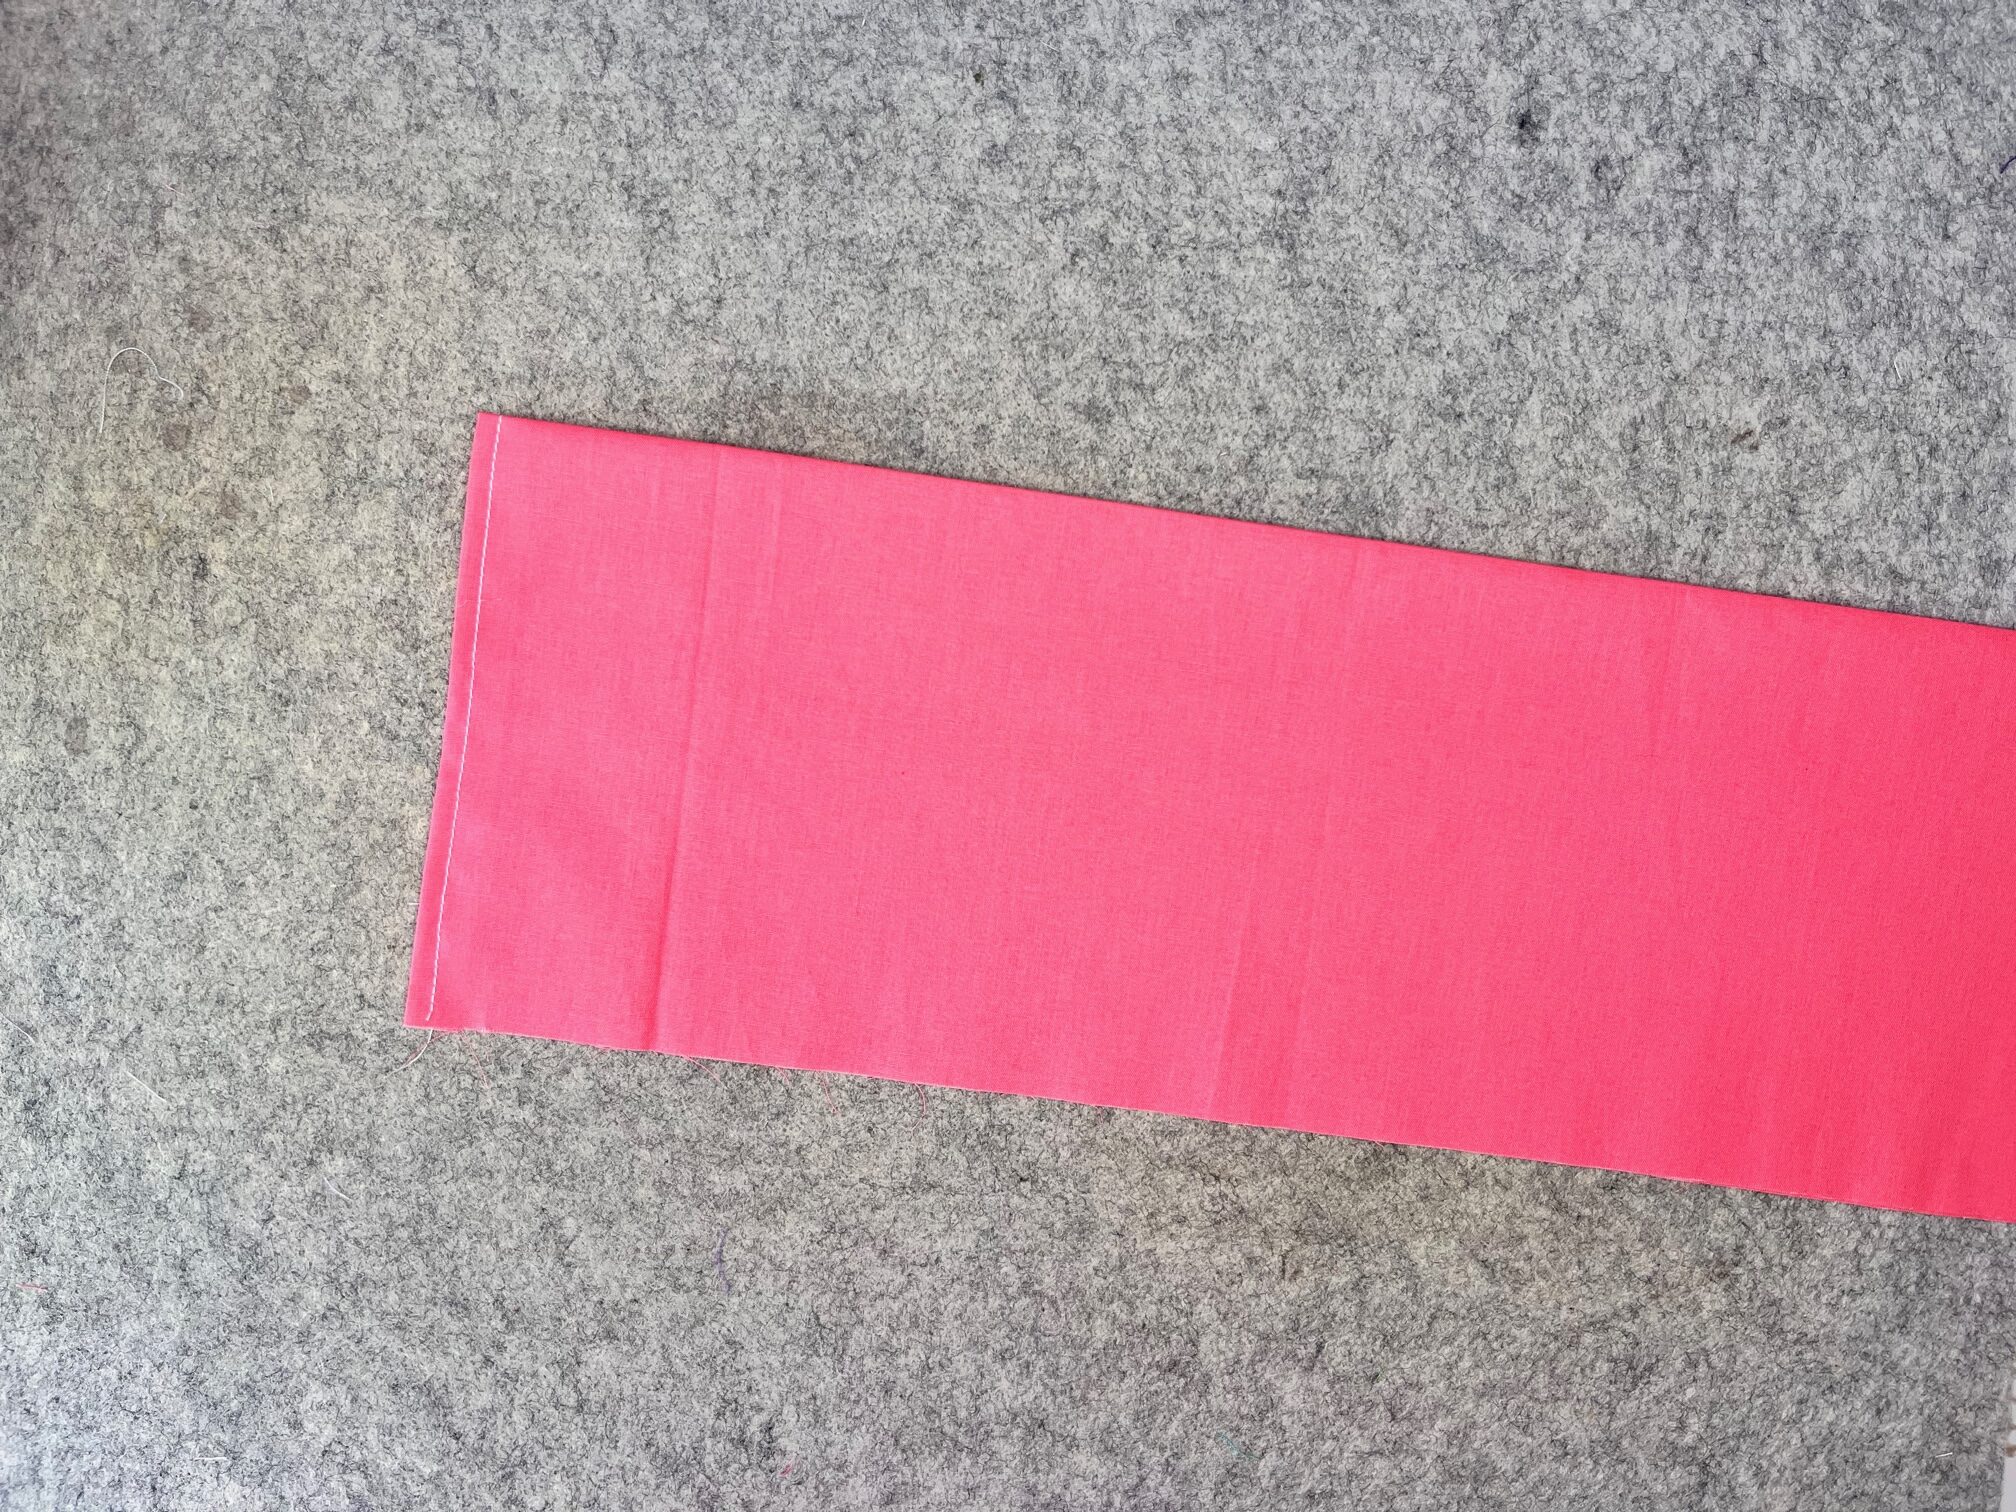
Mark 1/2″ away from the edge of the bottom half of the lining on the right side. Layer the pull string fabric and the top of the lining right sides together, raw edges align. Sew along the top with a 1/4″ seam and press the top of the lining up.
Next…
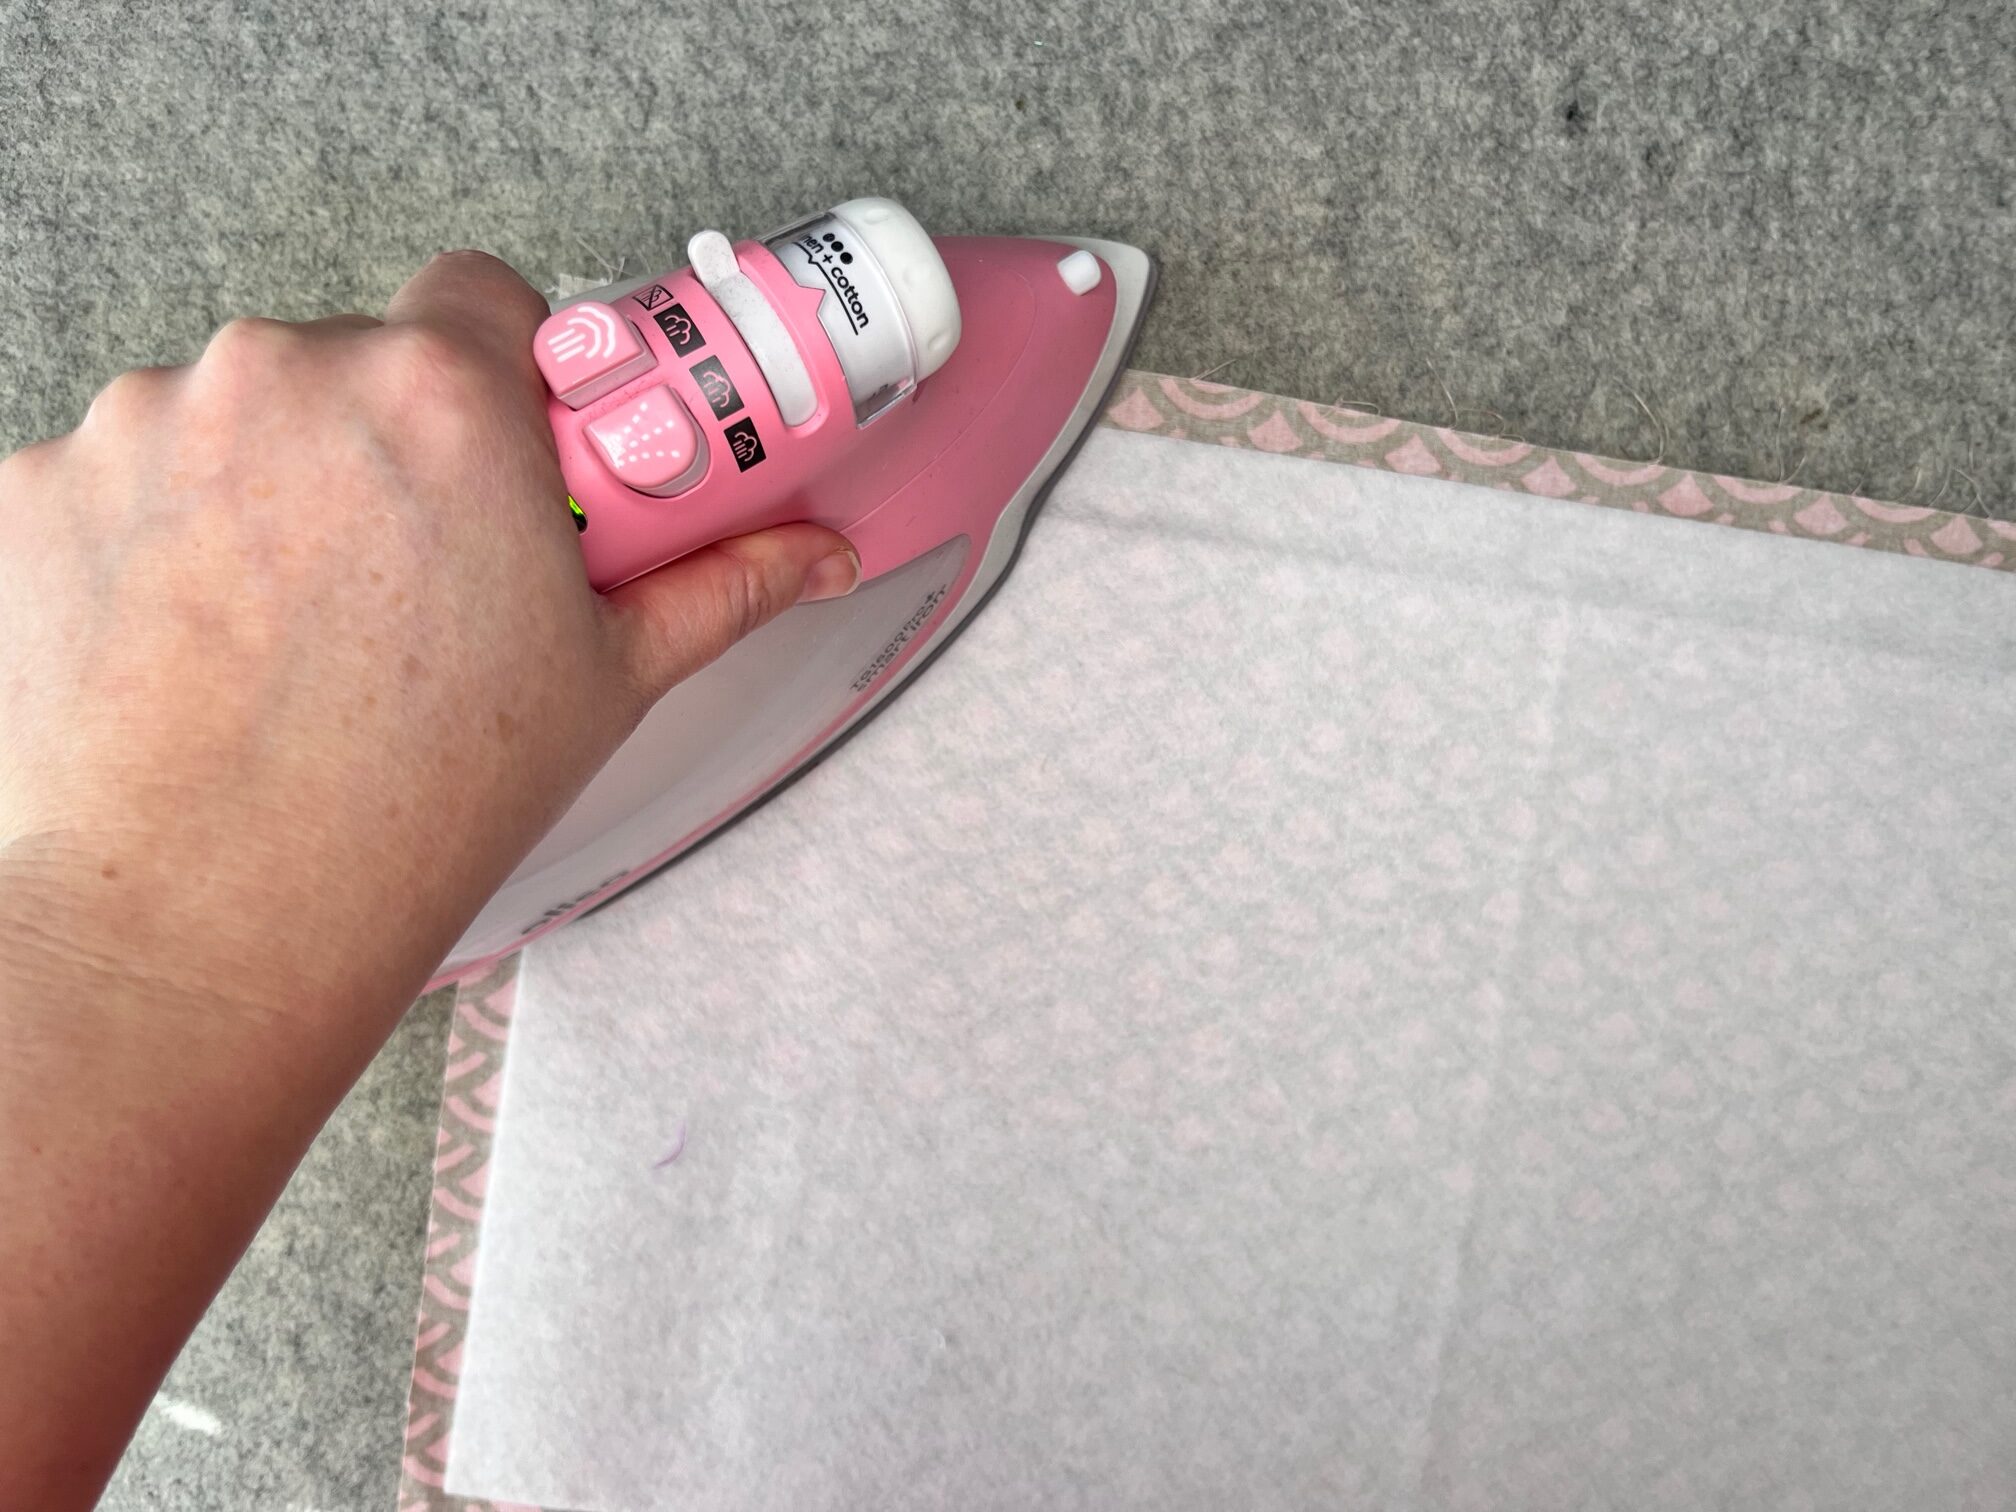
Adhere the fusible fleece to the wrong side of the lining.
Continue by…
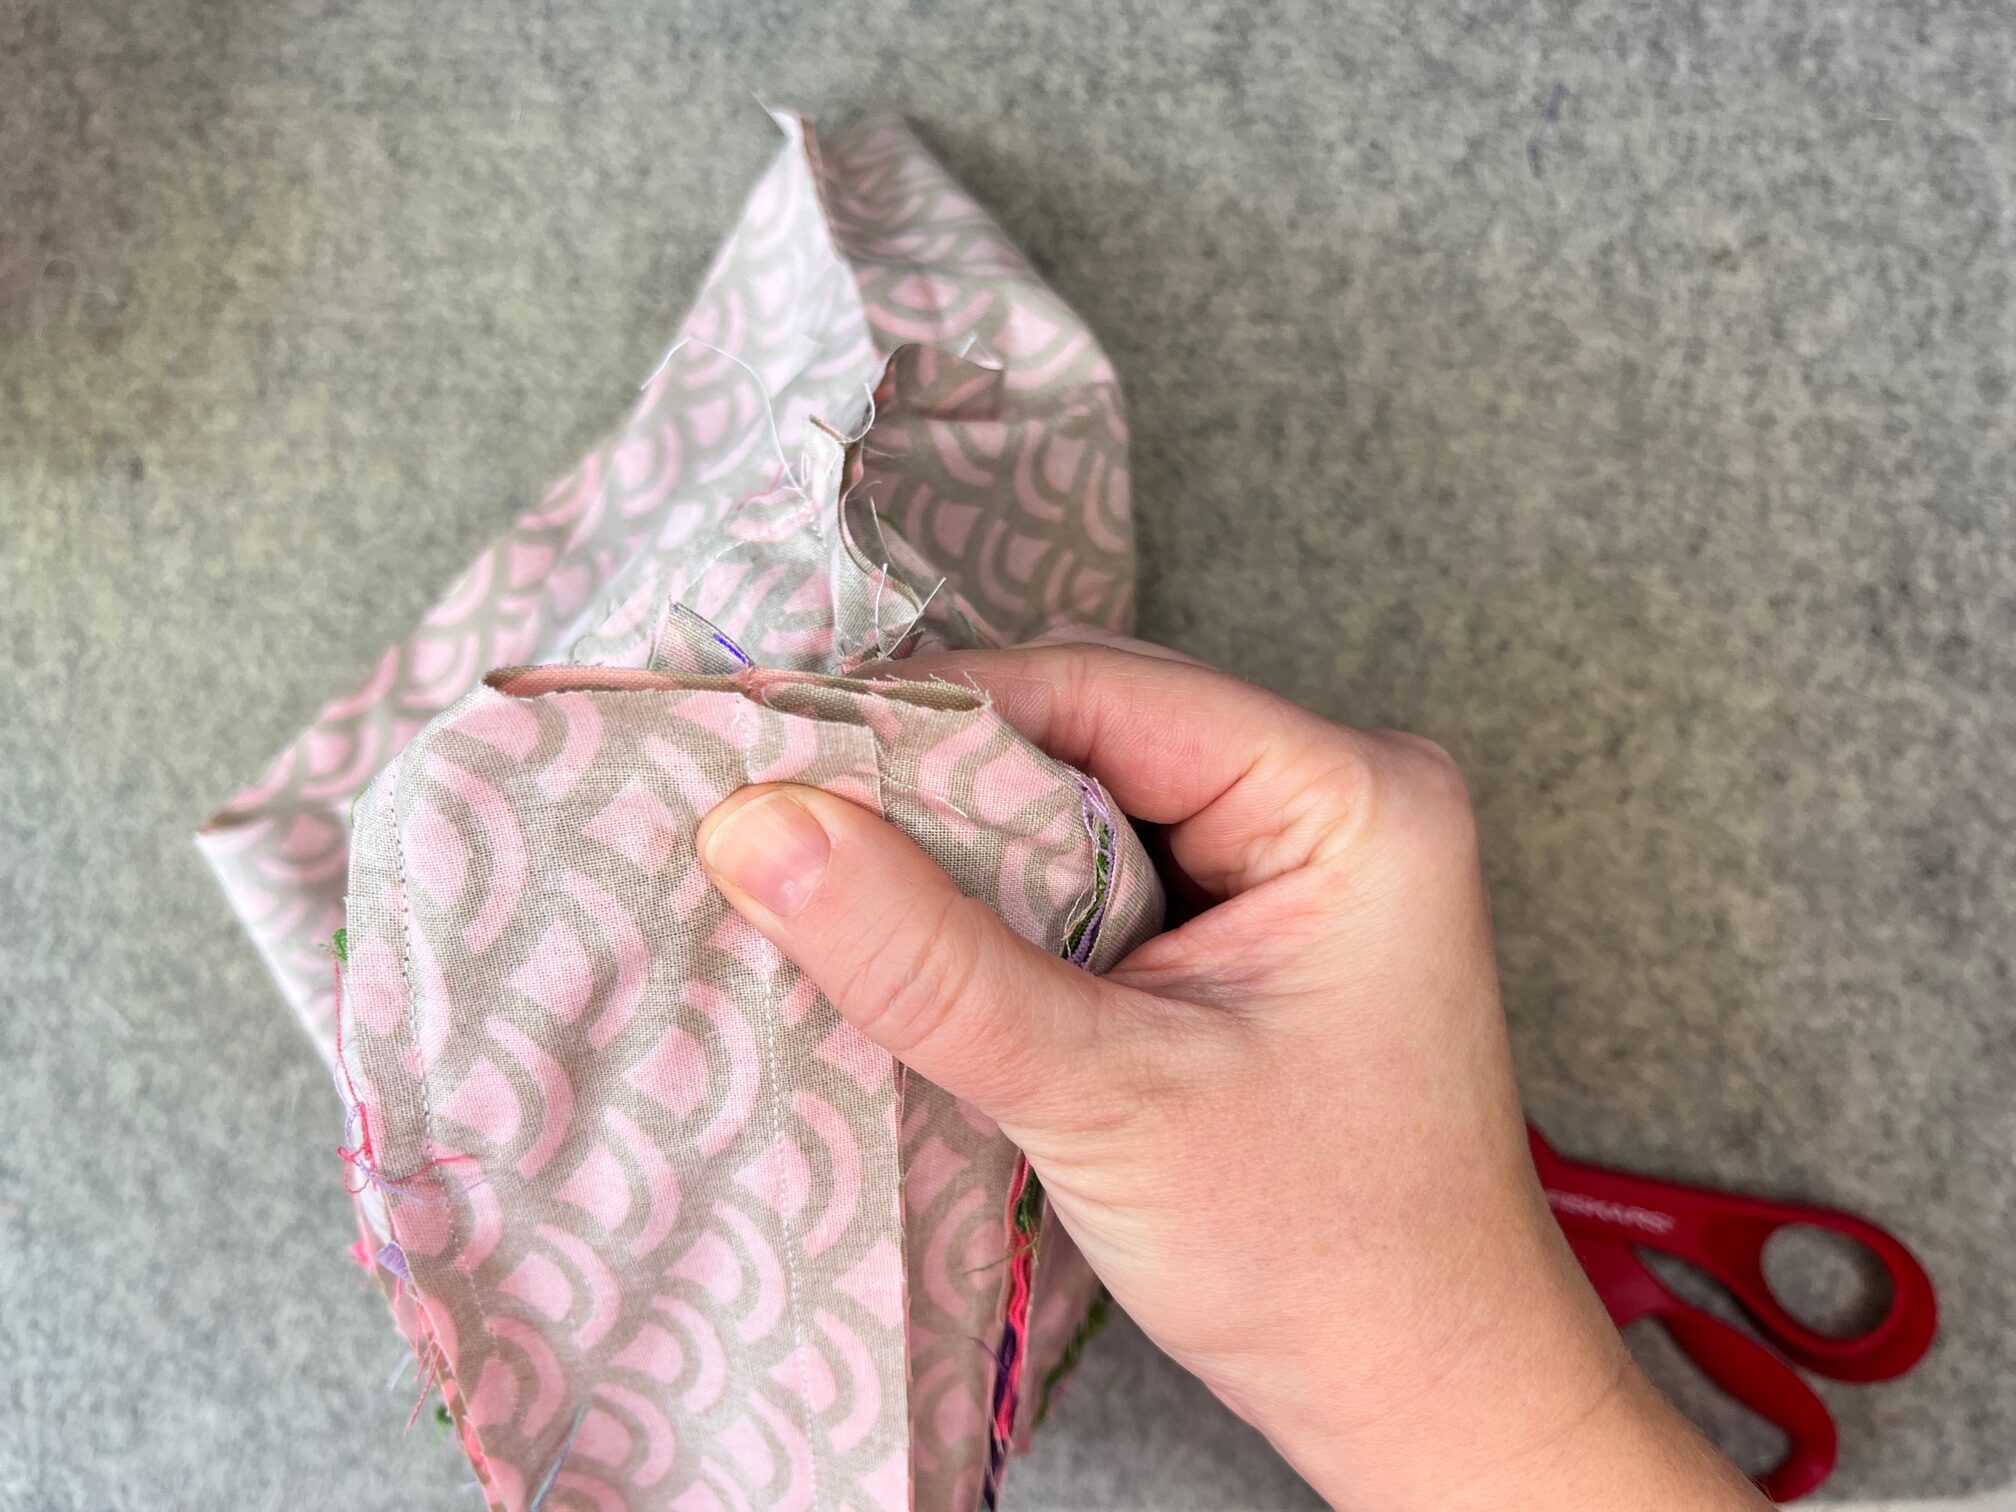
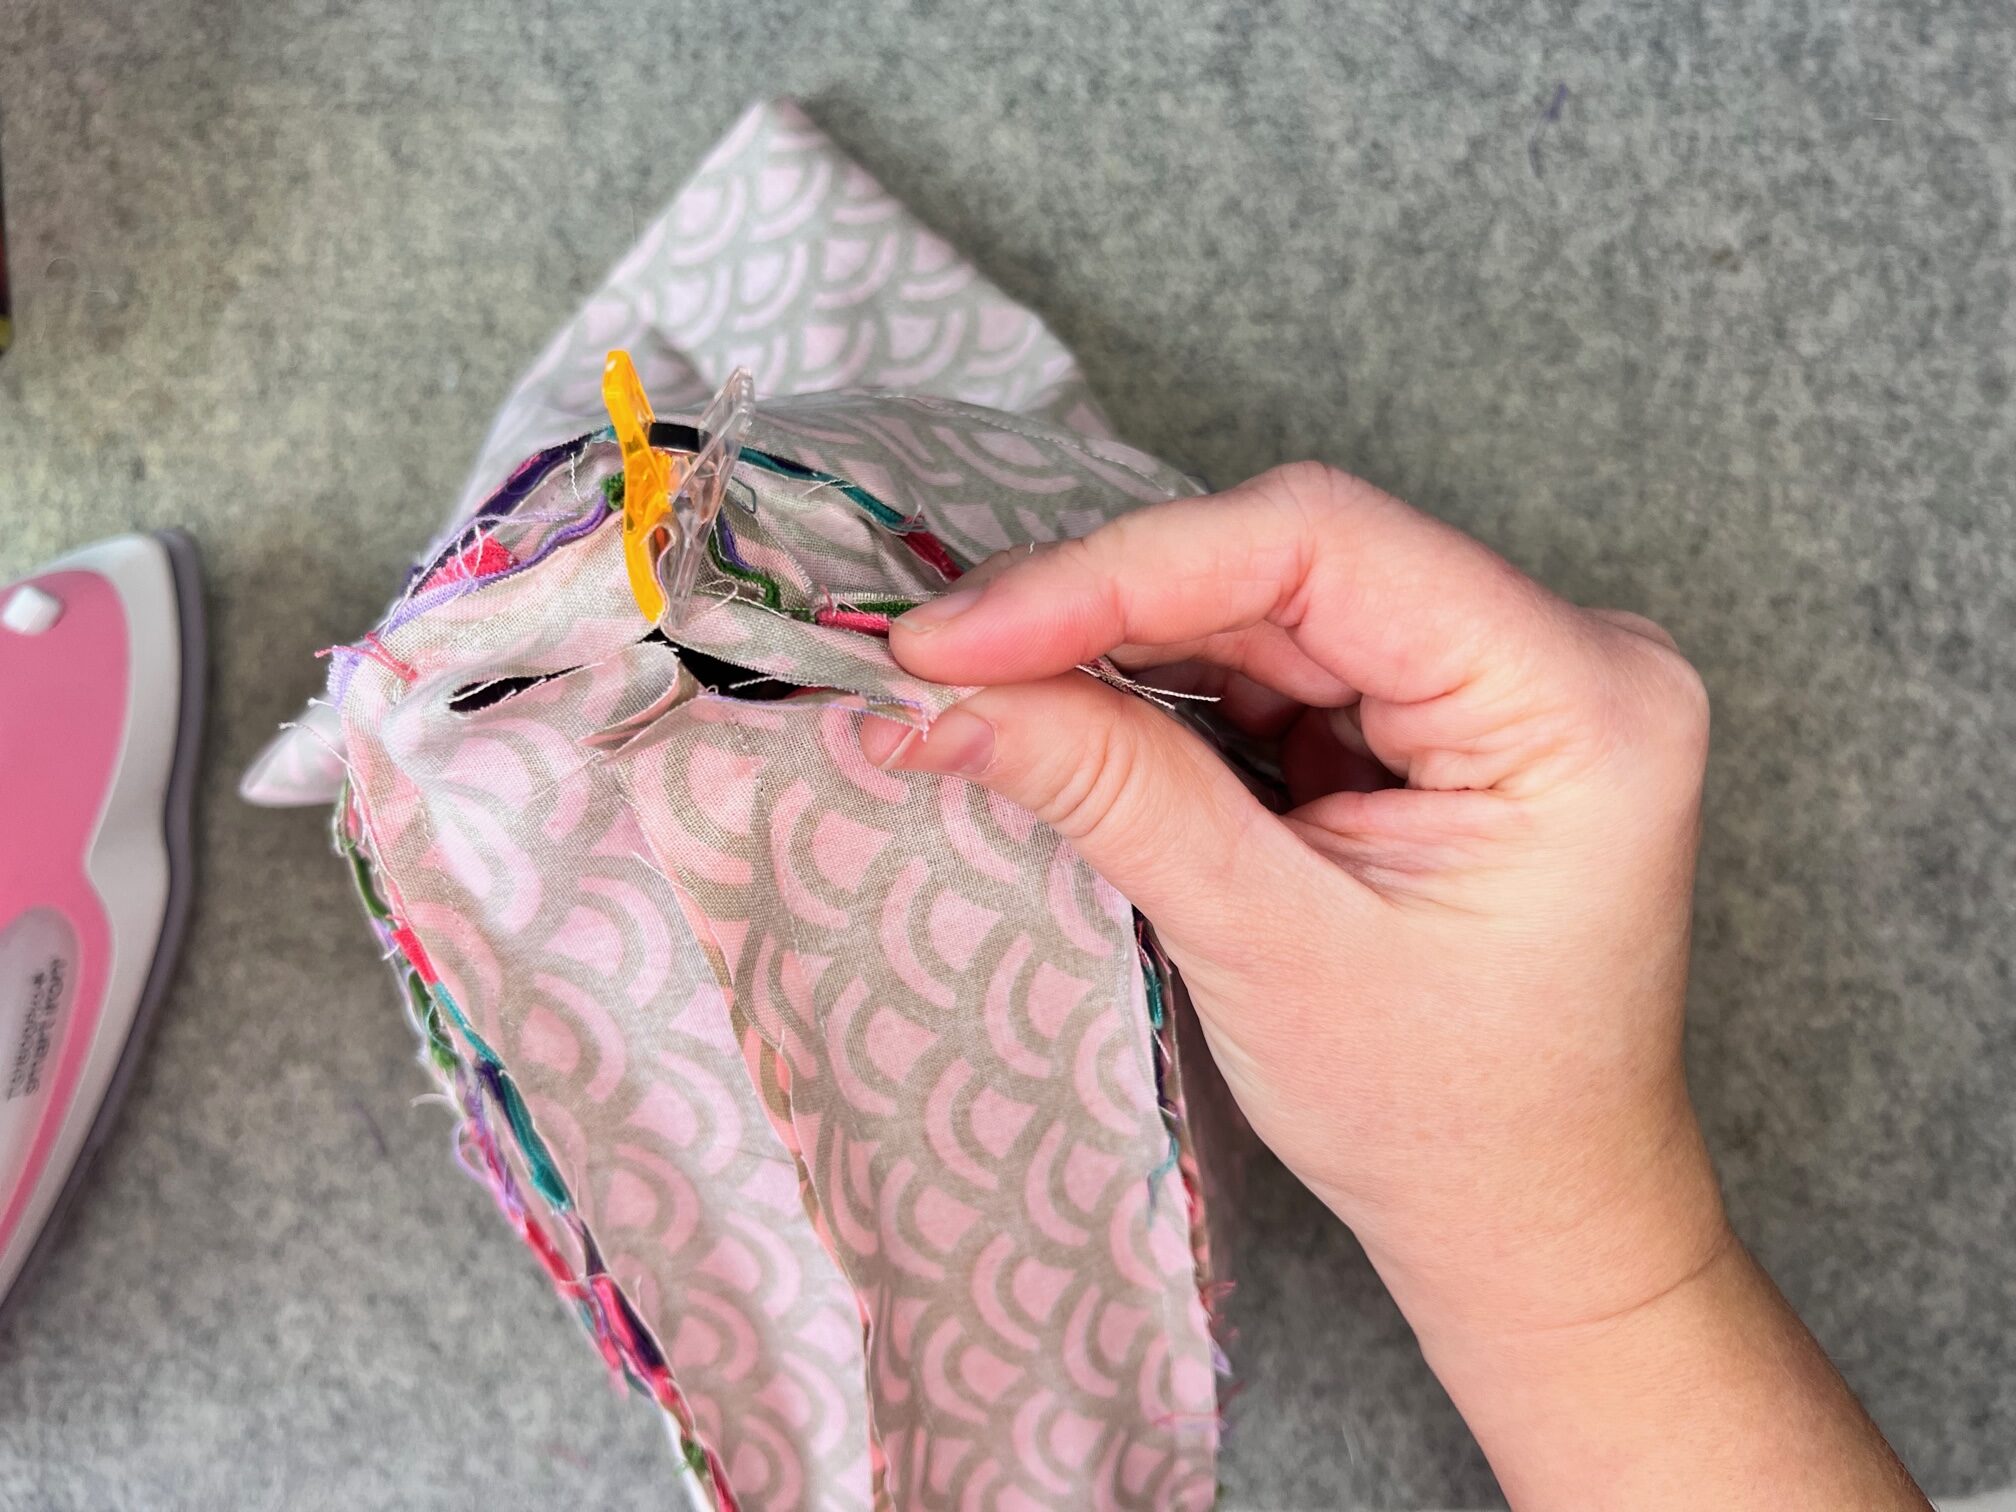
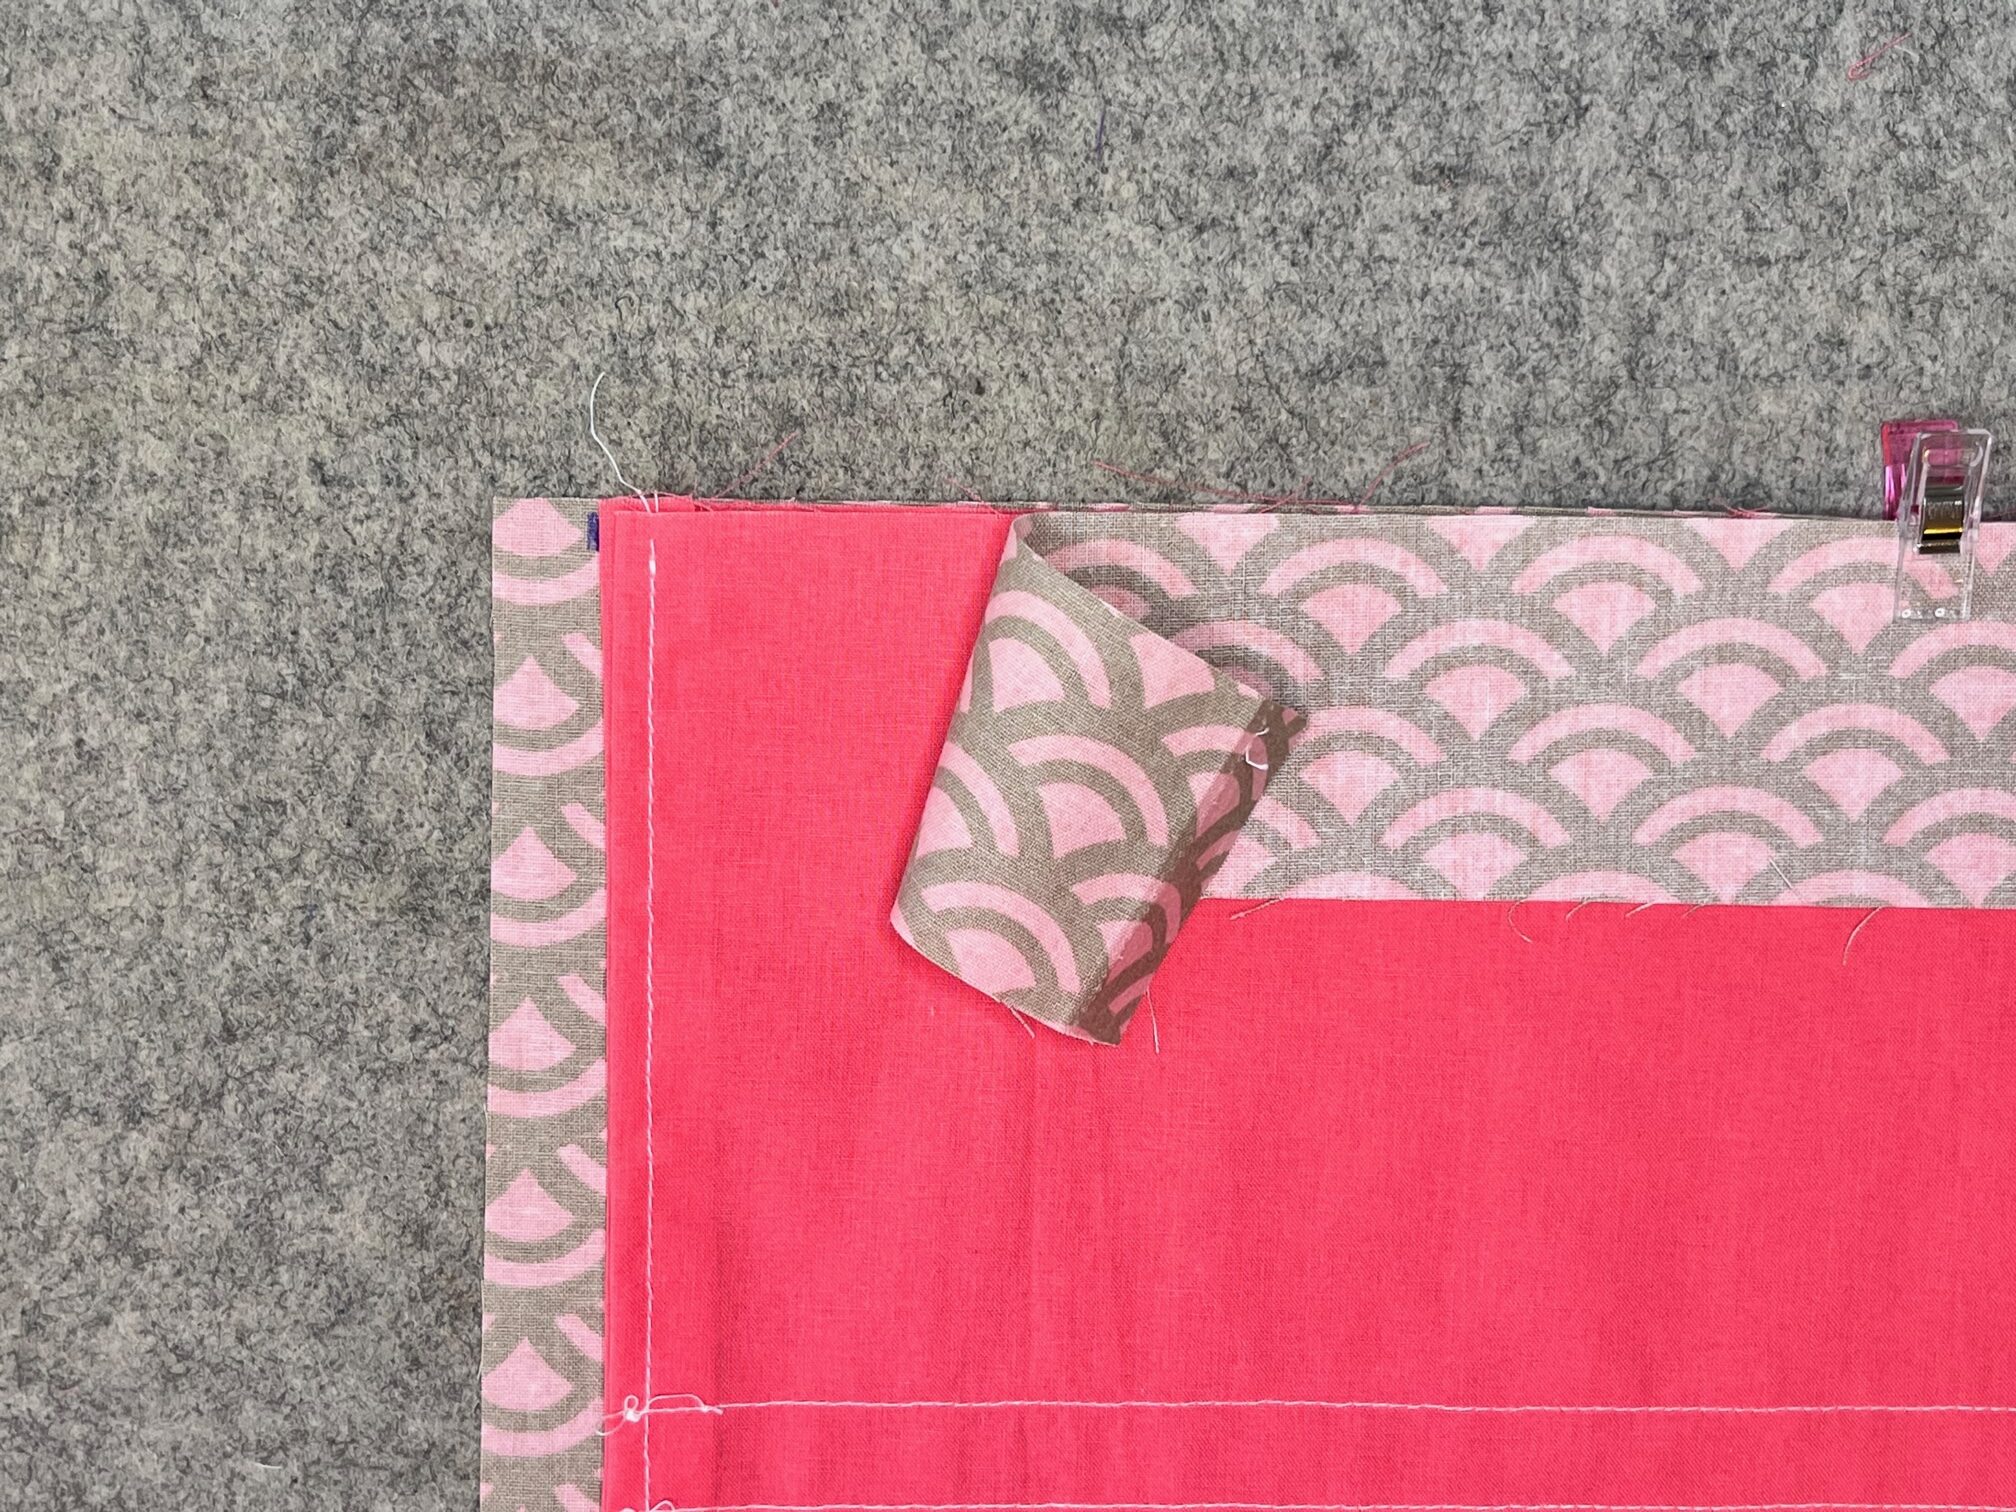
Fold the lining in half and pin the bottom and sides together. Sew a 1/2″ seam along the side and bottom edges but leave a 4″ opening on the bottom for turning. To make the box corners, repeat the process you did for the outer bag piece.
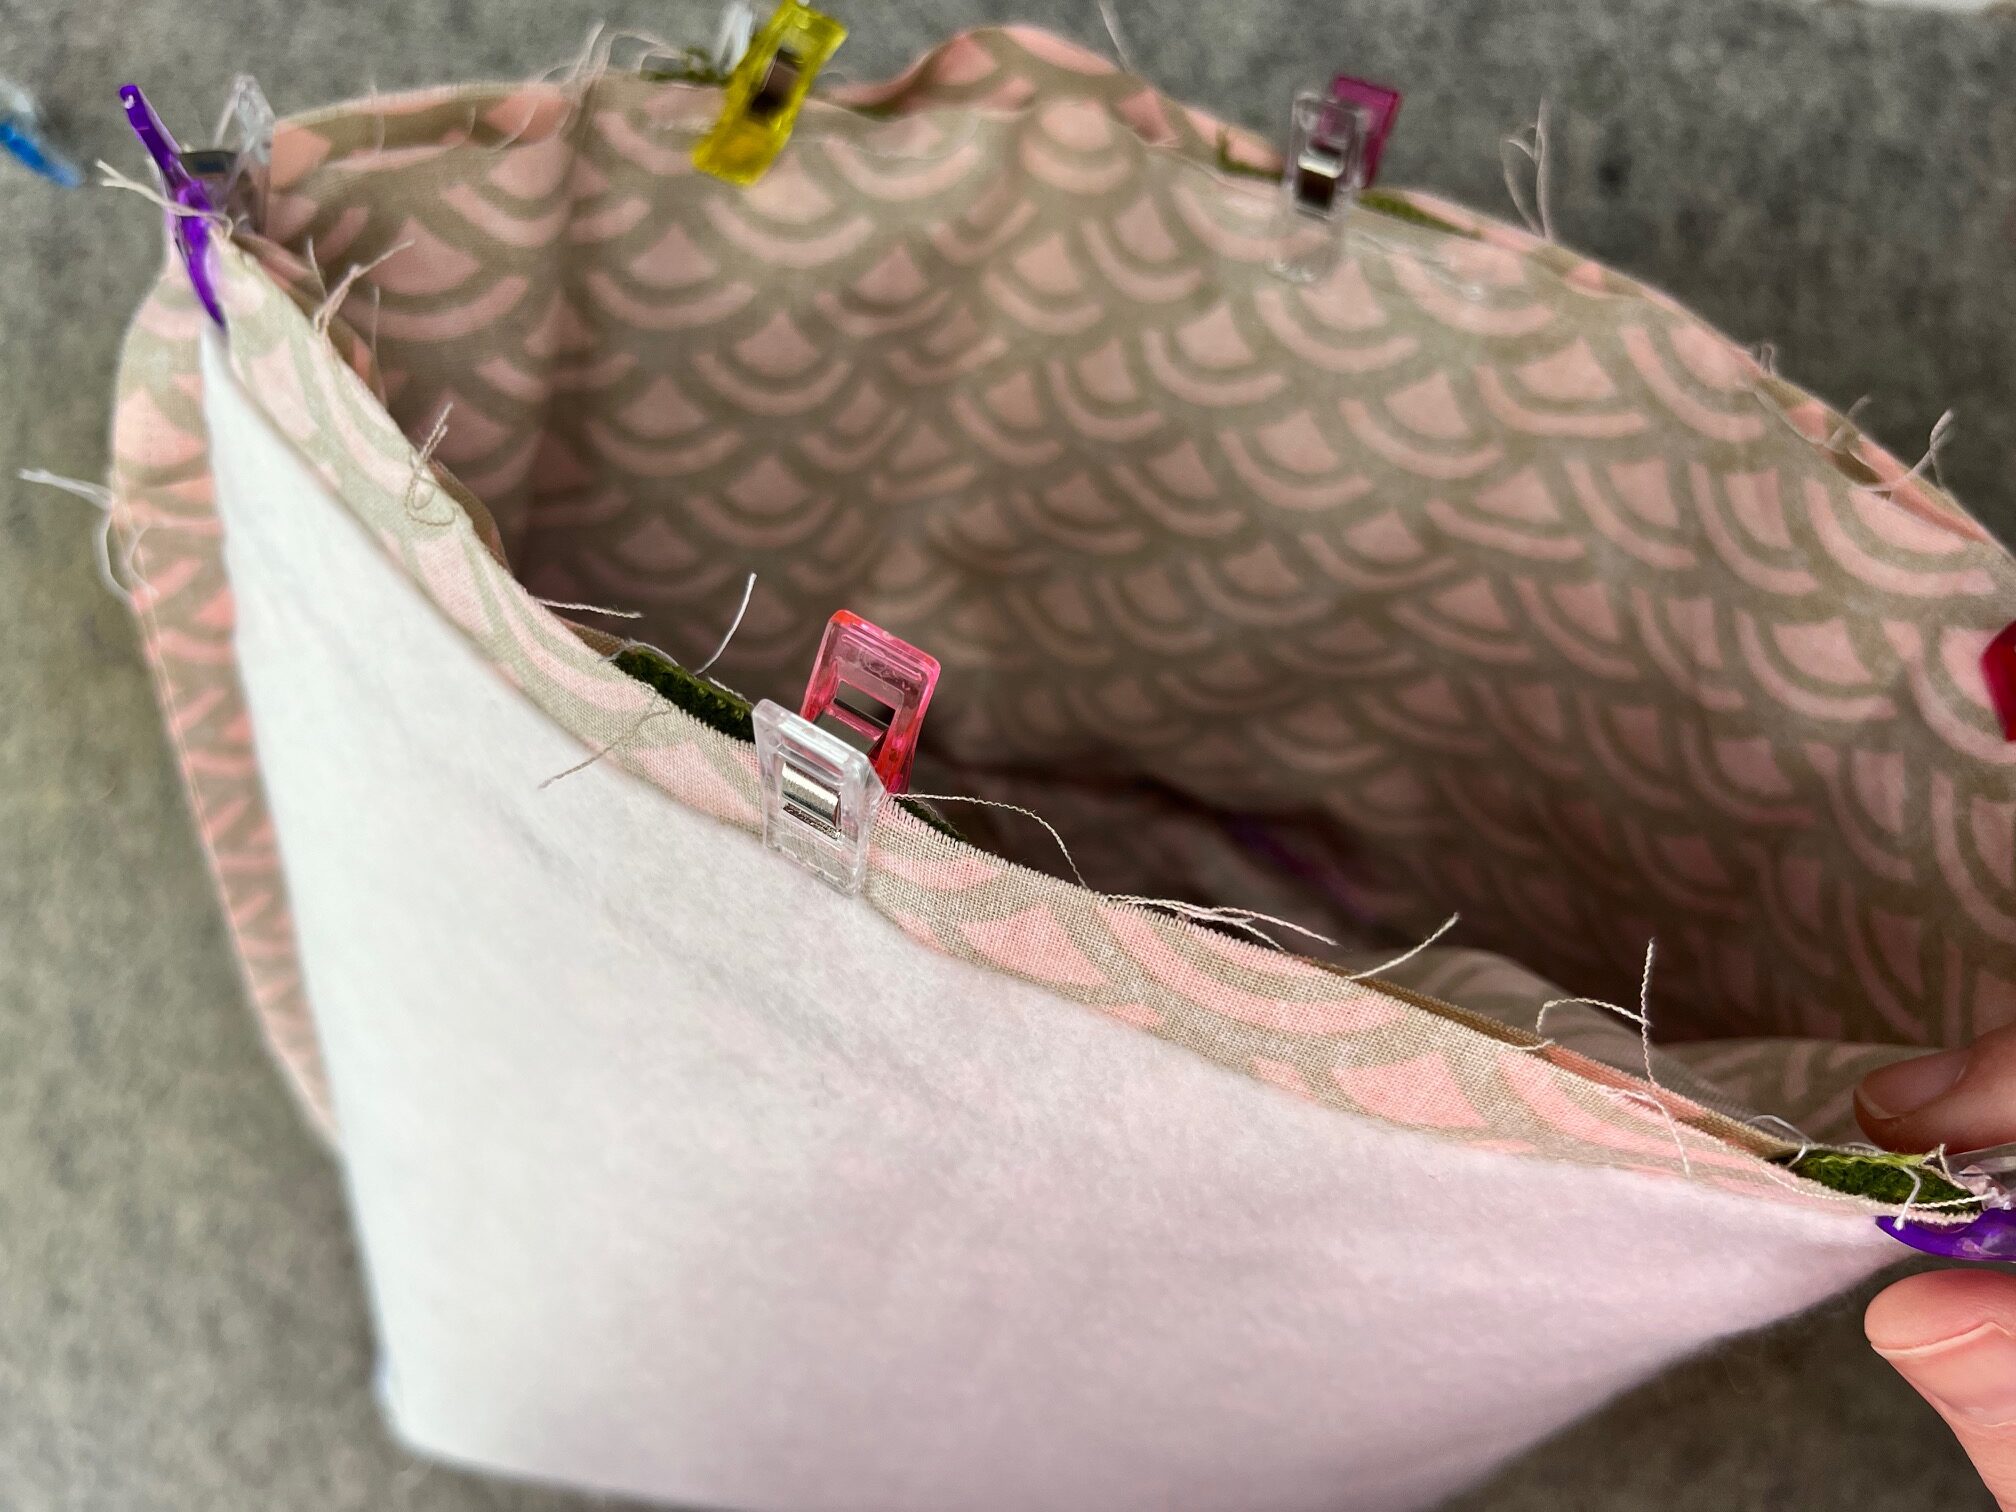
Once the box corners are sewn, insert the outer bag into the lining. Align the side seams of both the lining and outer bag pieces together. Pin around the top edge and sew a 1/2″ seam all the way around. Once sewn, pull the bag right side out through the lining.
Next…
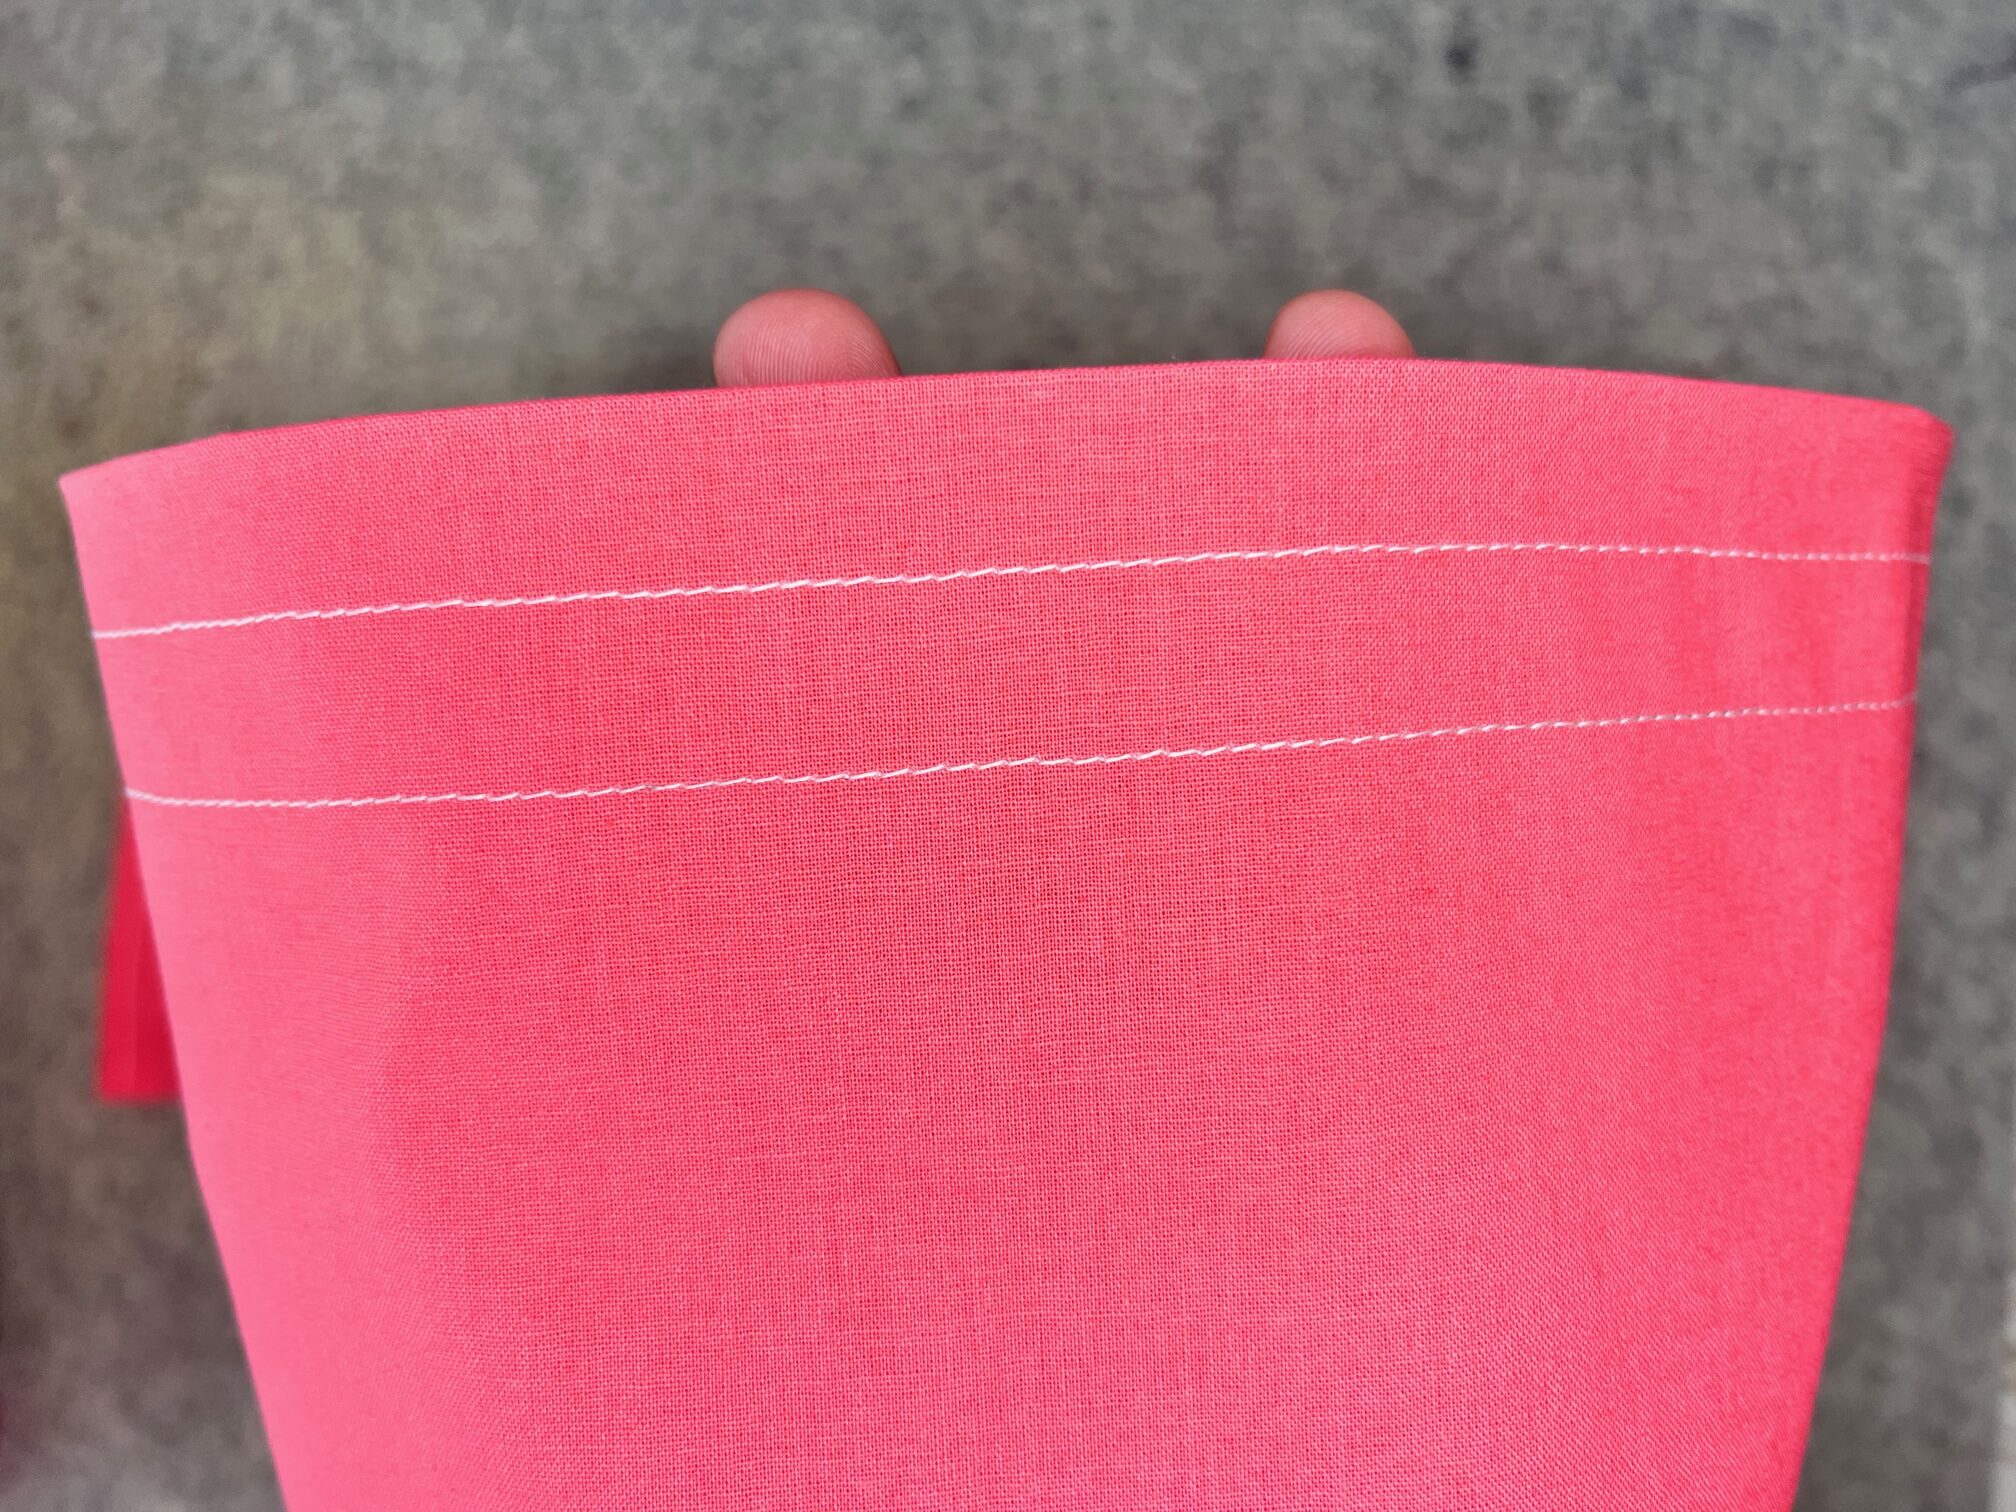
Sew the opening in the lining closed and stuff the lining into the bag. Topstitch around the top edge of the bag. I did this 2 times for a nice look.
Continue by…
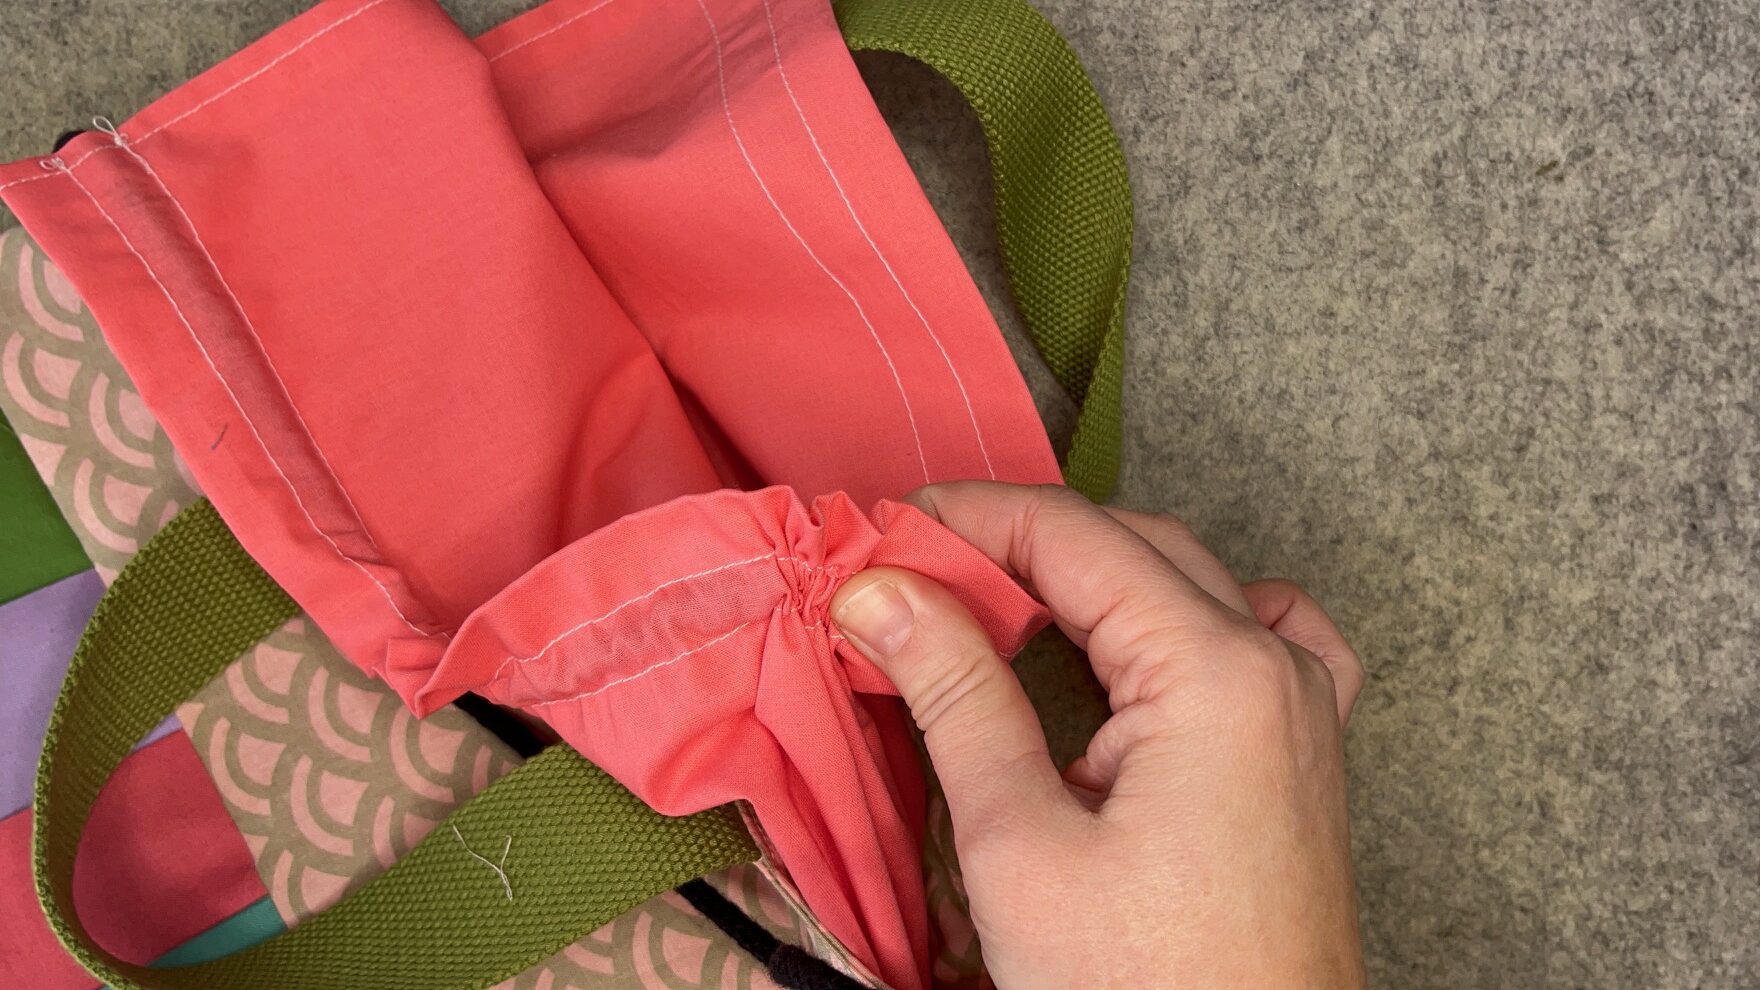
Insert the rope into the casing of the pull close fabric.
Finally…
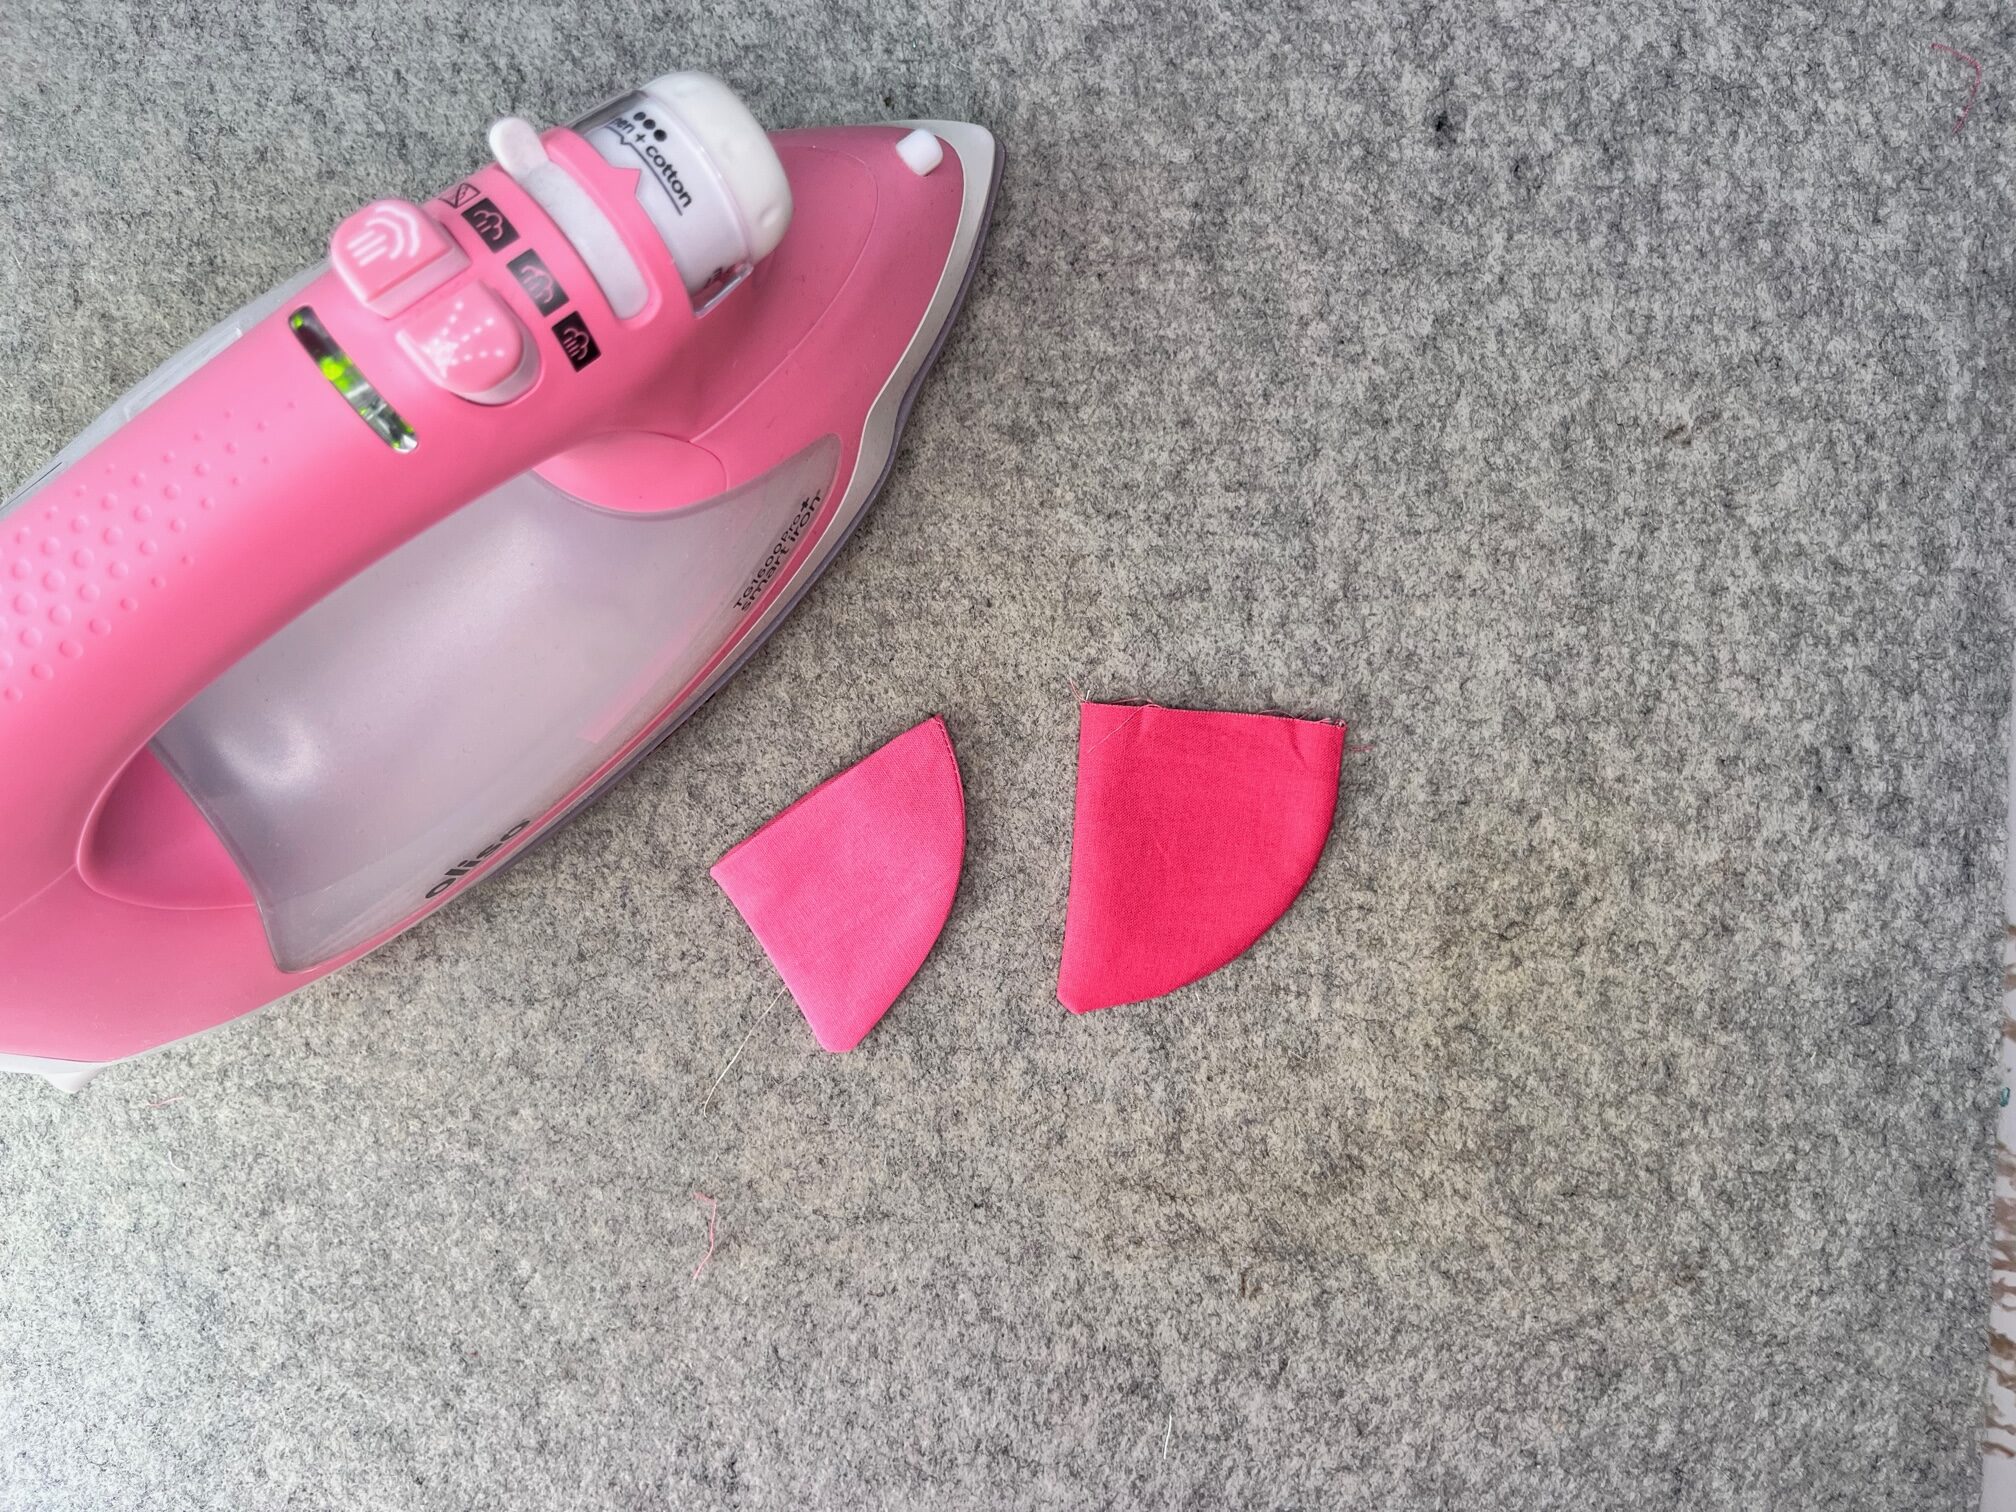
You should have 2 scales left over from earlier. Fold under the raw edges and press. Place the scales over the end of the ropes and topstitch across.
Finished!
Don’t miss the video tutorial for this fun project!
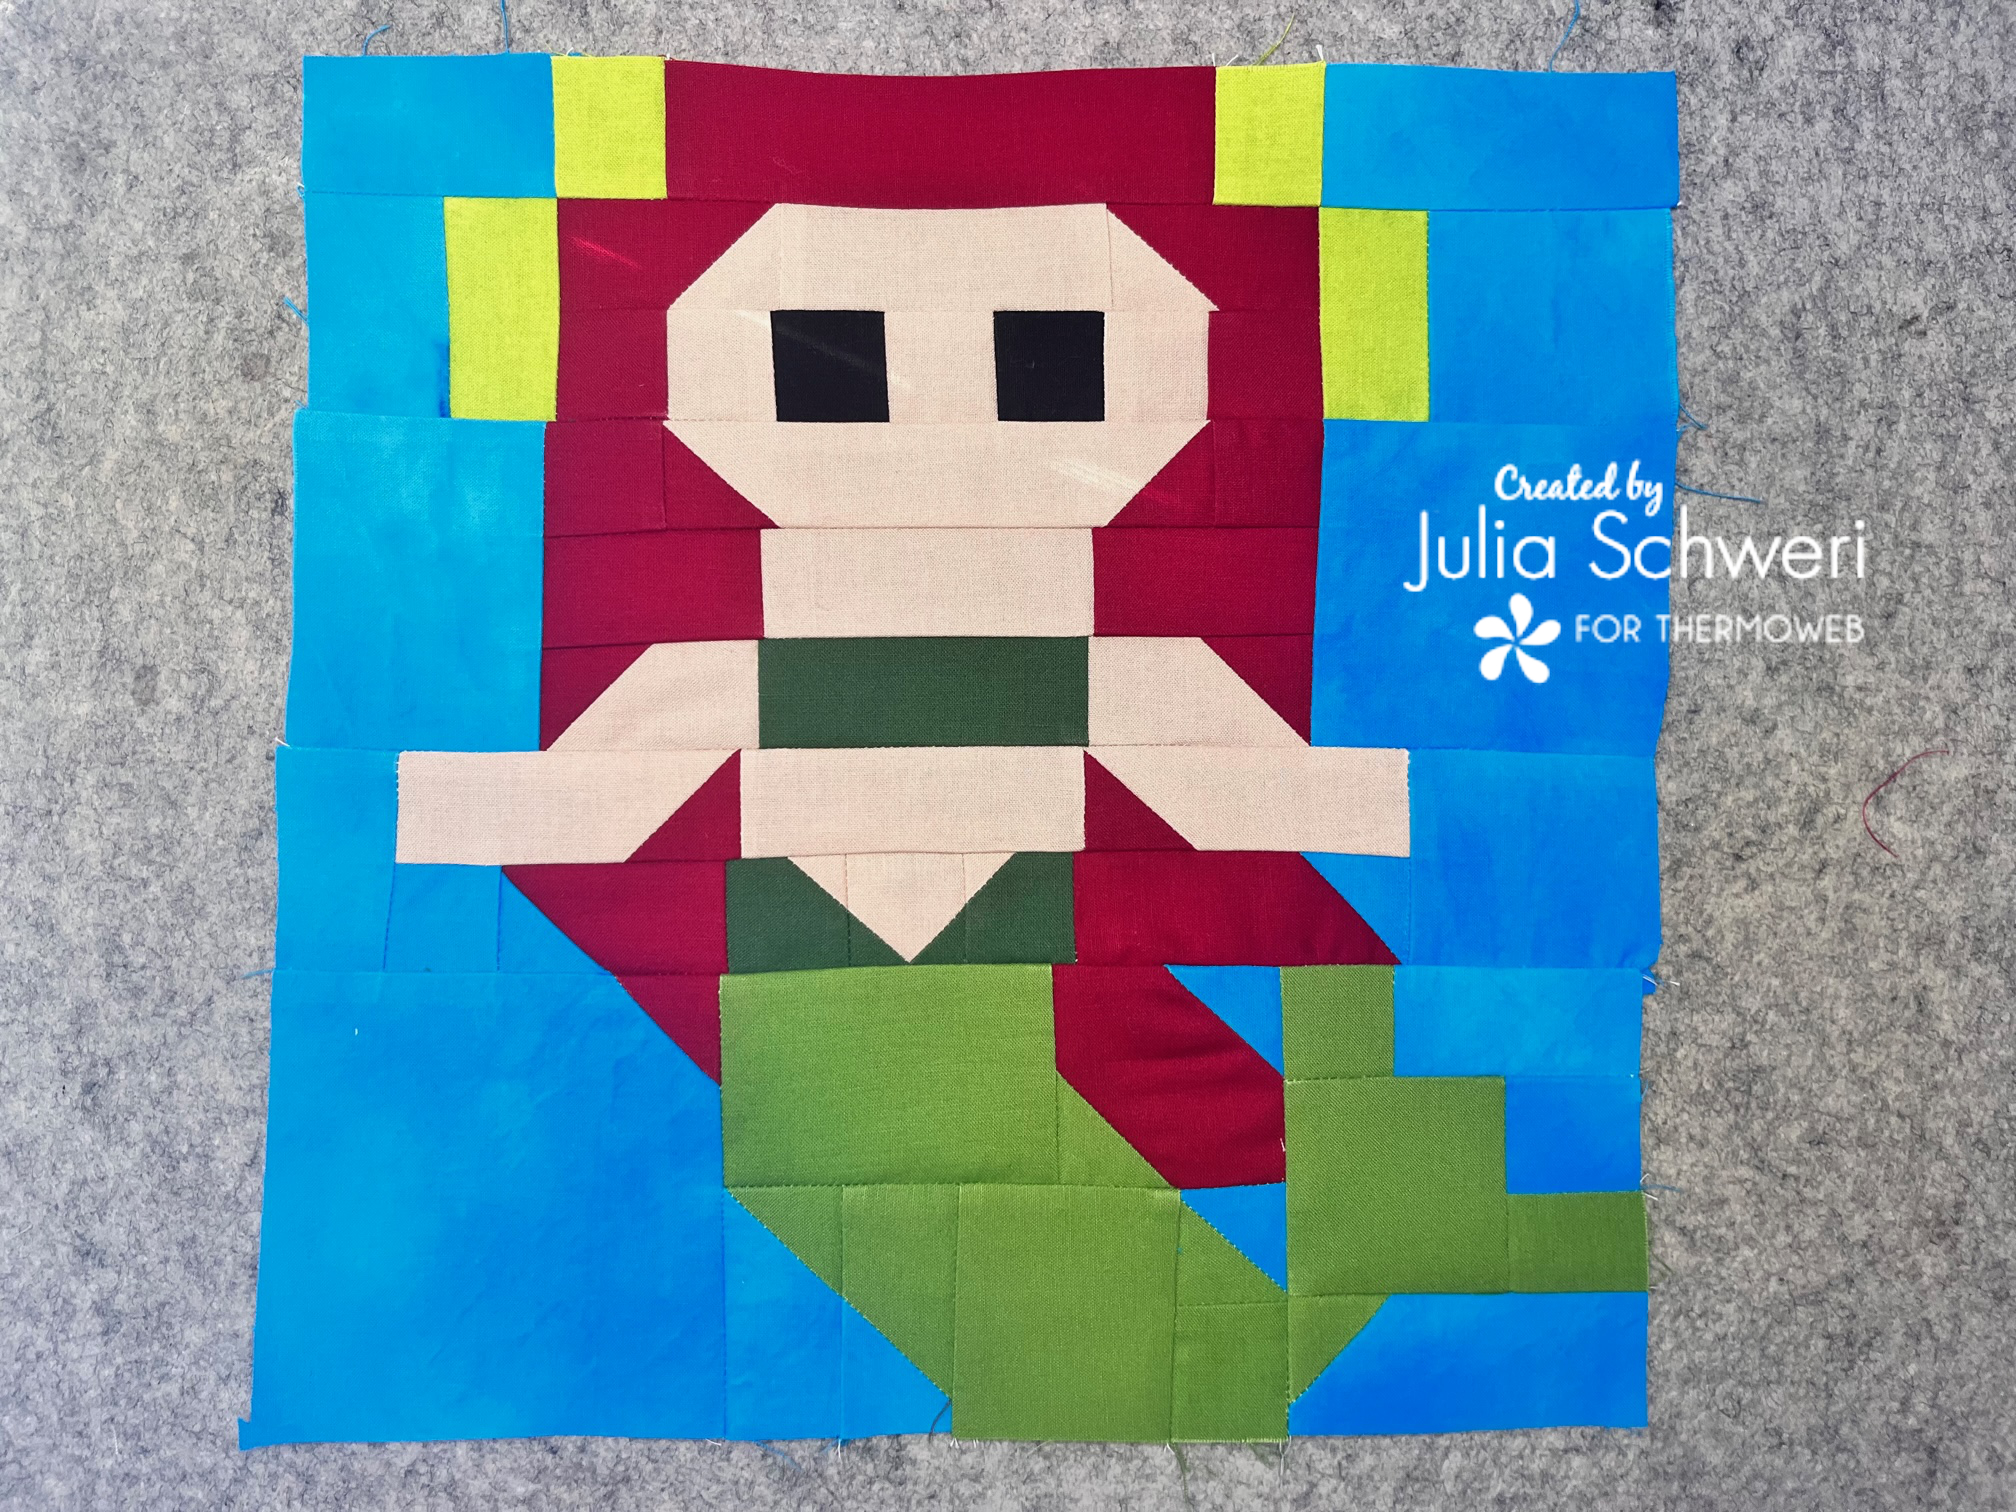
Do you need or want more mermaid fun? You can get the block below for FREE by joining the Therm O Web Craft Room on Facebook. Get your pattern HERE! You can find this pattern as well as all the other Block of the Month Patterns in the files section.
Thank you for visiting today! Come back soon to see what else will be starting to bloom with Inflorescence Designs!
Starting to bloom by choosing JOY ~ Julia