


 Hi! I’m Lisa from Love to Color My World and I’m excited to be sharing my Fabric Flower Pots. Our garden centers are opening up in Michigan, and it’s so tempting to buy all kinds of fun flowers for our porch and garden. However, I don’t have much of a green thumb, so I usually do better if I stick with succulents!
Fabric Flower Pots with HeatnBond Interfacing
These pots stitch up so quickly – they’d be a perfect Mother’s Day gift! Or a gift for a friend or teacher too! Not to mention a great excuse to purchase some new spring blooms!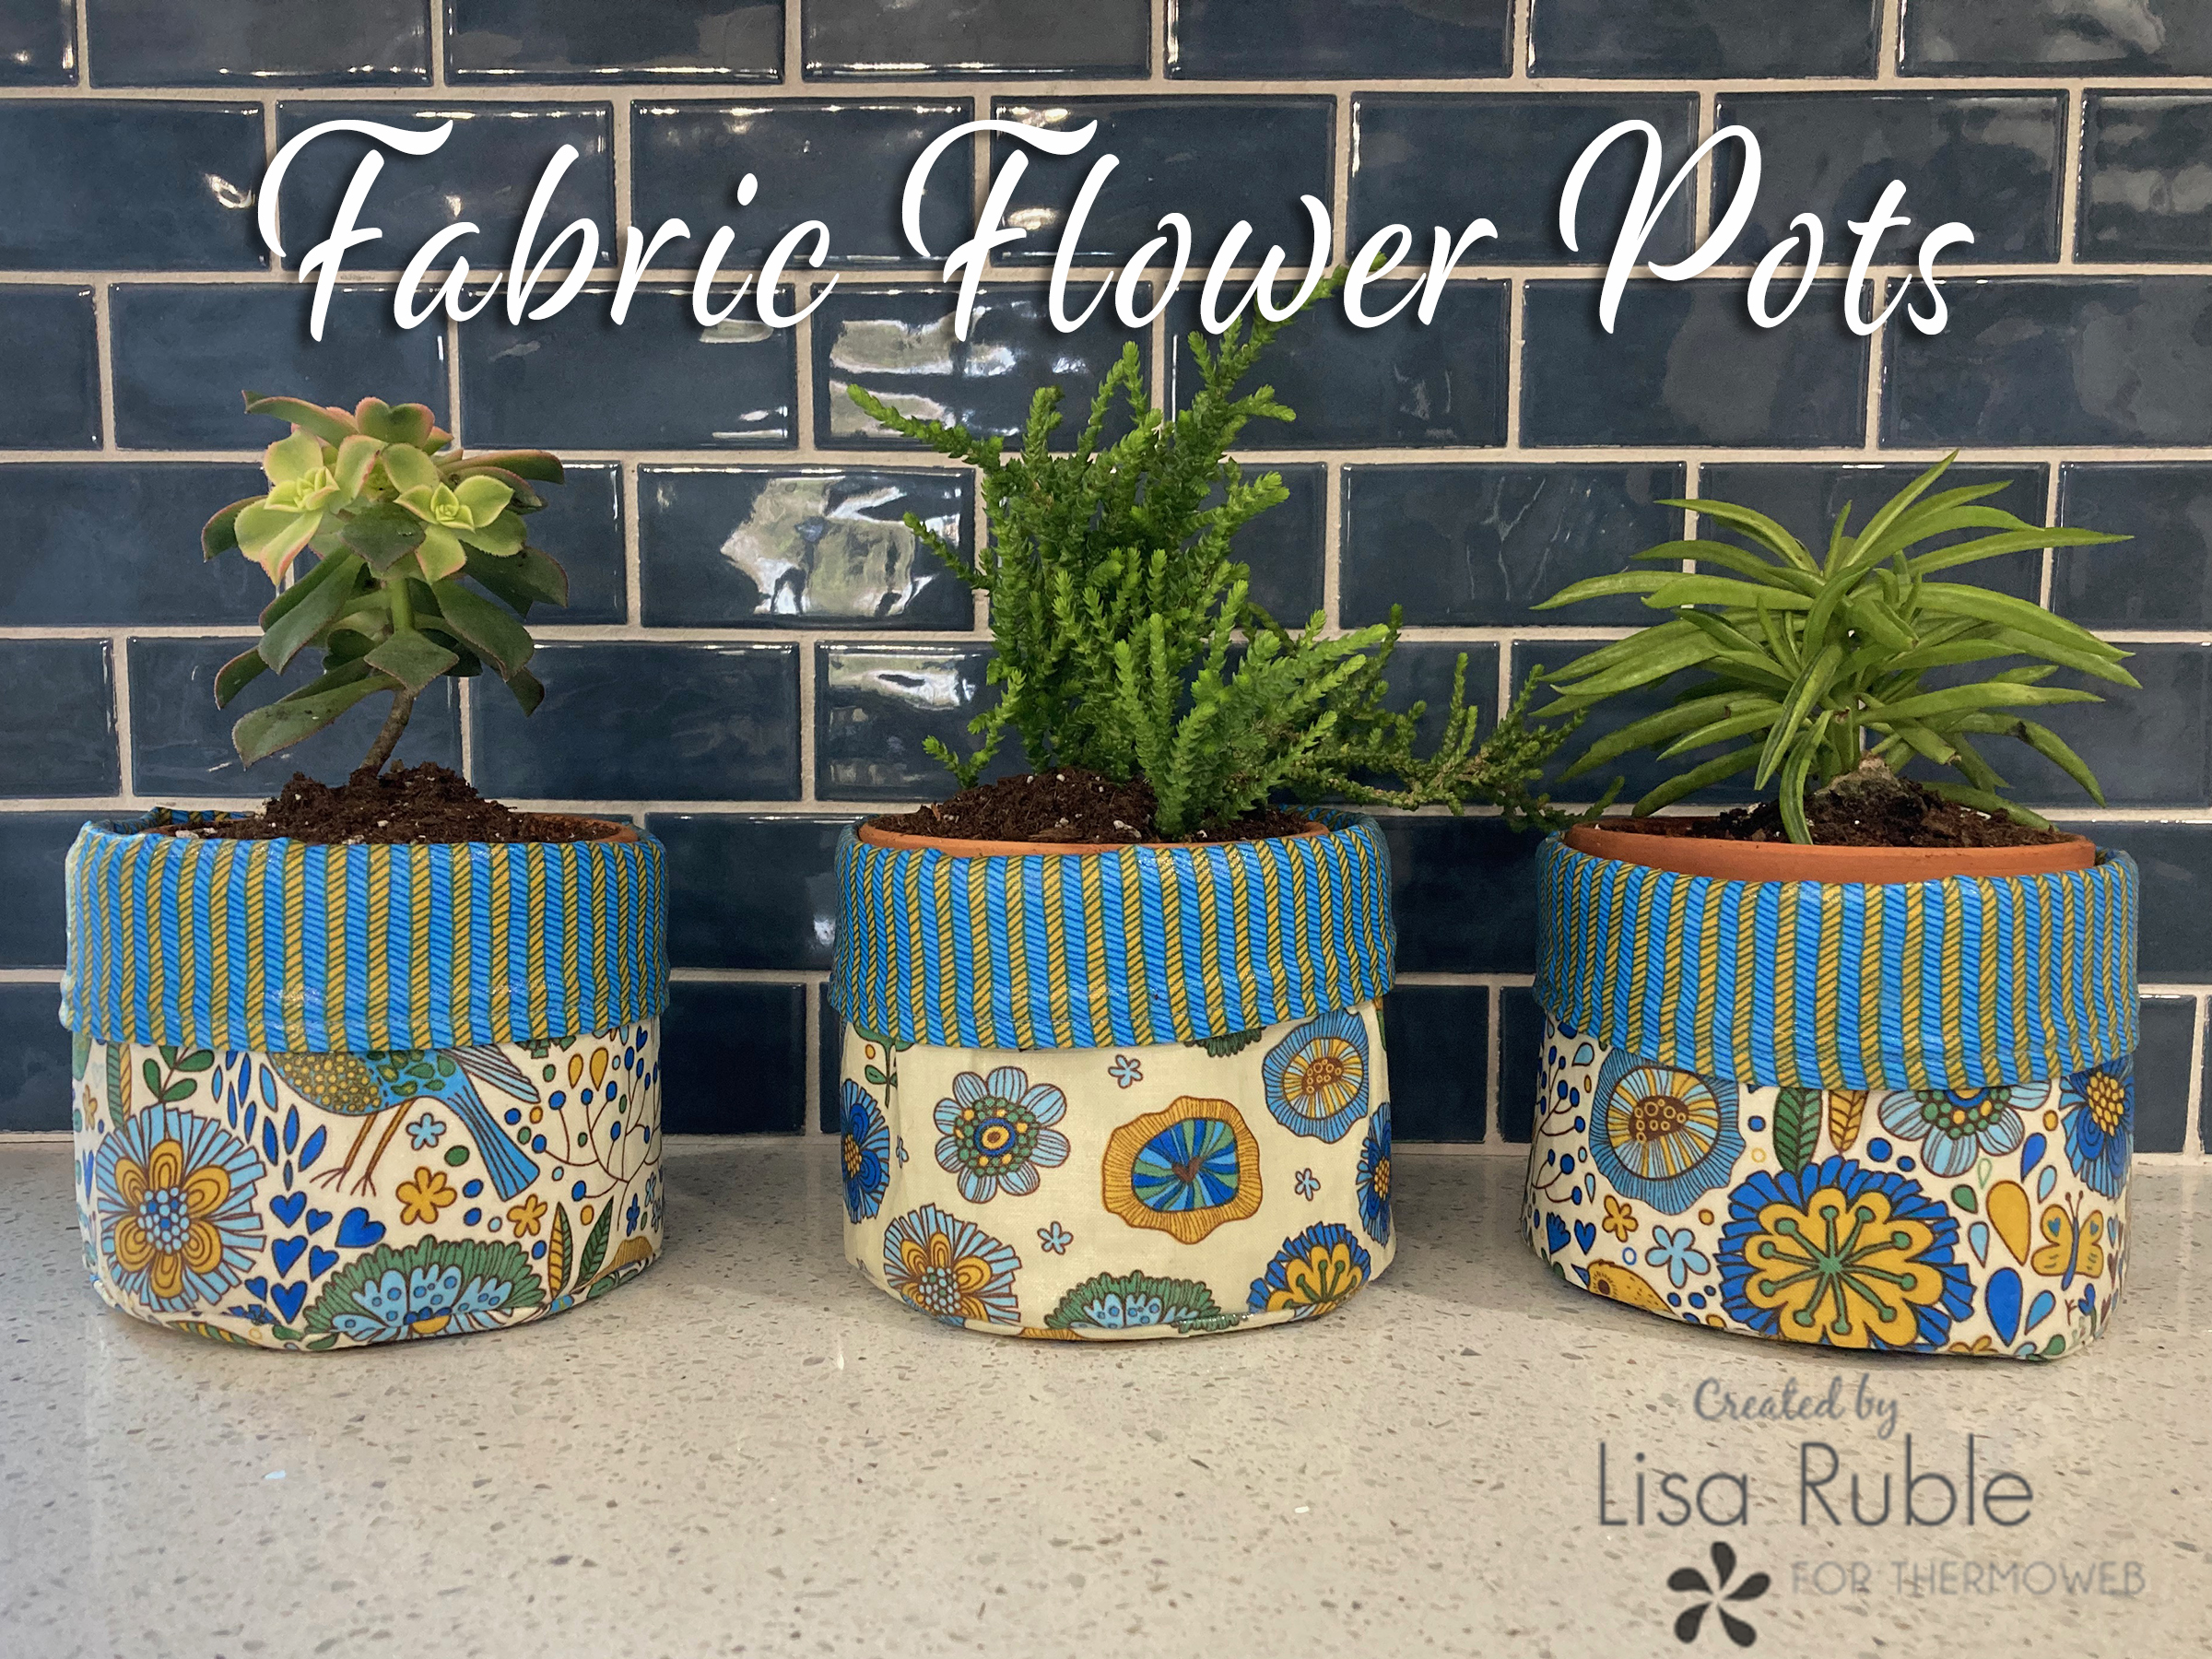
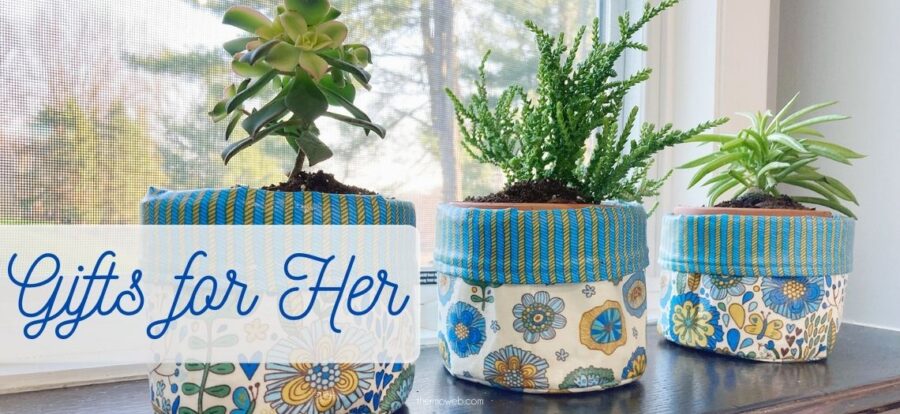
I used Pat Sloan’s Bird Song fabric collection from Benartex – so springy and garden-y! – to create these cute fabric flower pots for my new succulents. I plan to keep them on my kitchen windowsill. I used Extra Firm Craft Fusible Interfacing to give the flower pots body, and then added a couple coats of Liquid Vinyl so I could water the plants without worrying about the fabrics.
Fabric flower pots fit a 4” diameter terra cotta pot (with base)
You’ll Need (for 3 flower pots):
(3) fat quarters for outer pots
1/2 yard for pot linings
HeatnBond Craft Extra Firm Fusible Interfacing
HeatnBond Liquid Vinyl
Paintbrush
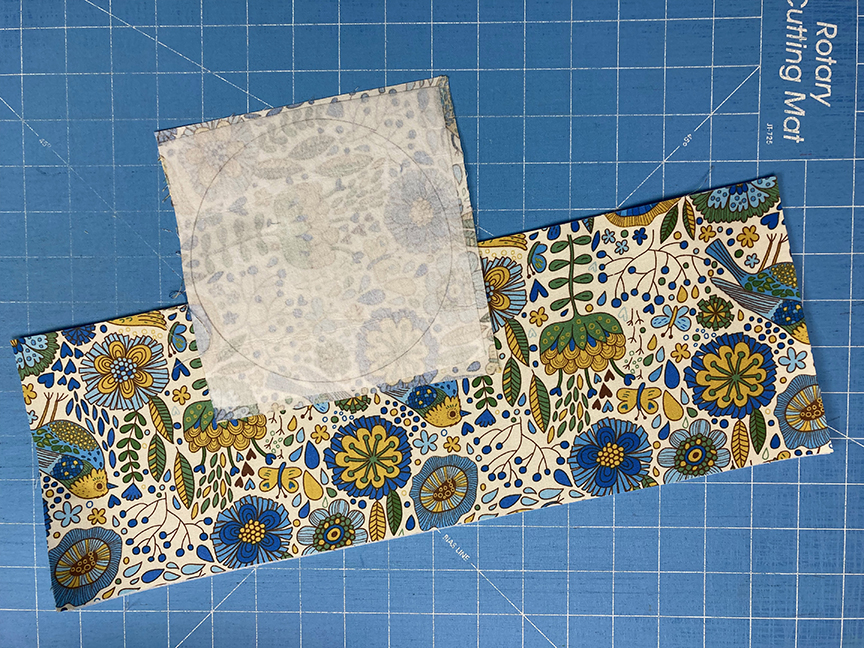
Download the circle template here. 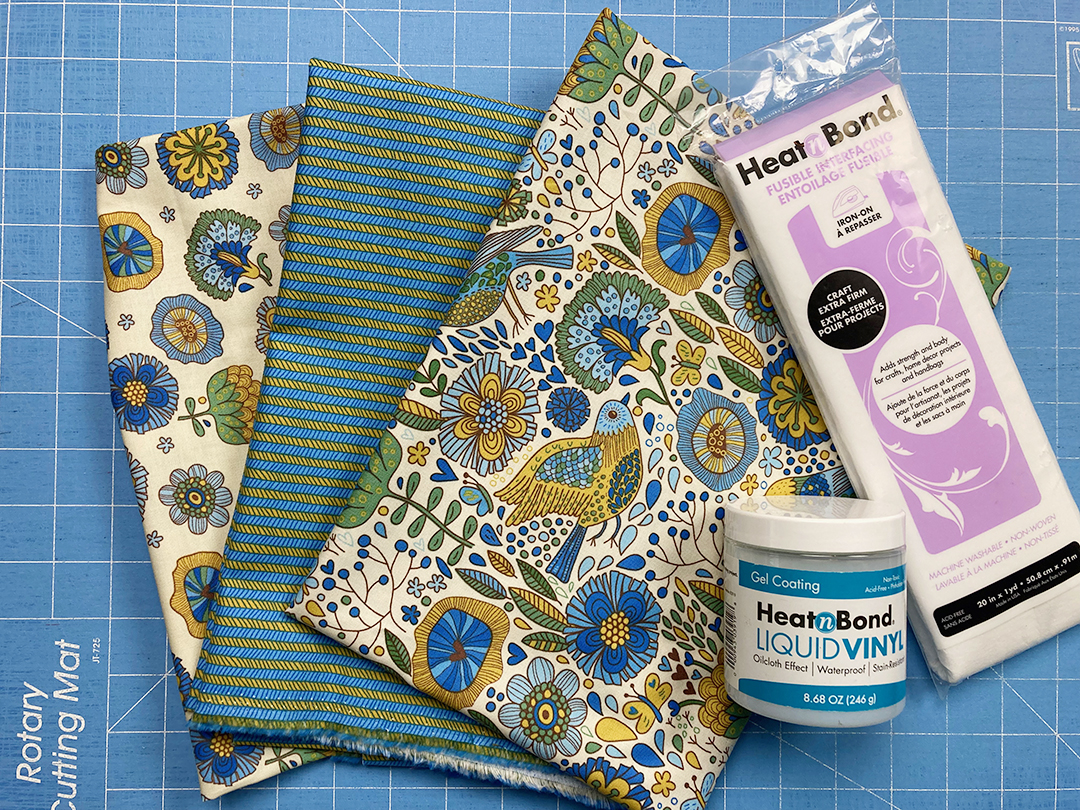
Making the Flower Pots
Step 3: Fold the 6” x 17” strip in half right sides together so it measures 6” x 8-1/2”. Stitch down the short side using a 1/4” seam allowance to create a tube. Press to create a crease opposite the seam. Fold the tube in half so the seam and the crease align in the center, and press to create creases on the folds on each side. 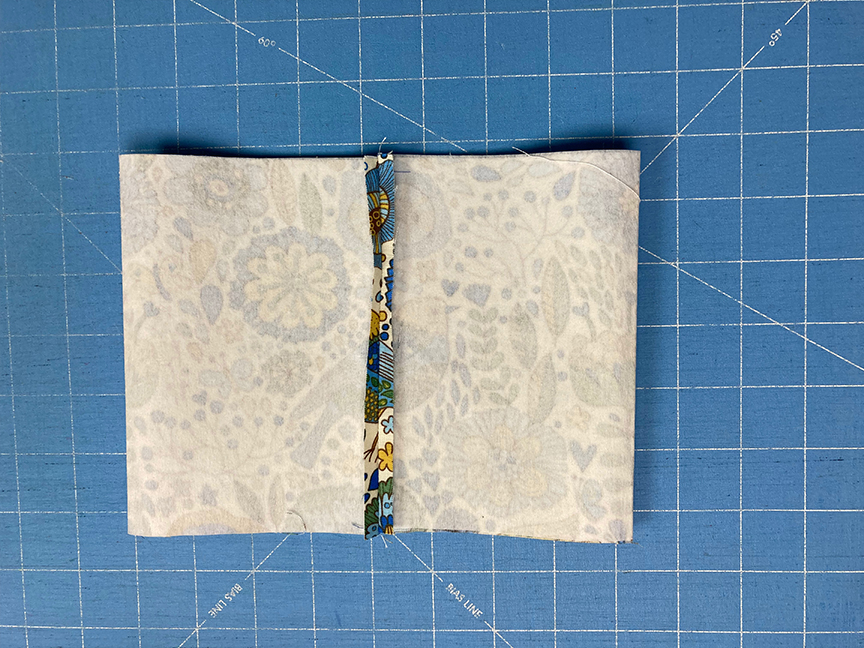
Tip: Press the seam allowance on the tube open. This creates less bulk when assembling the flower pot. 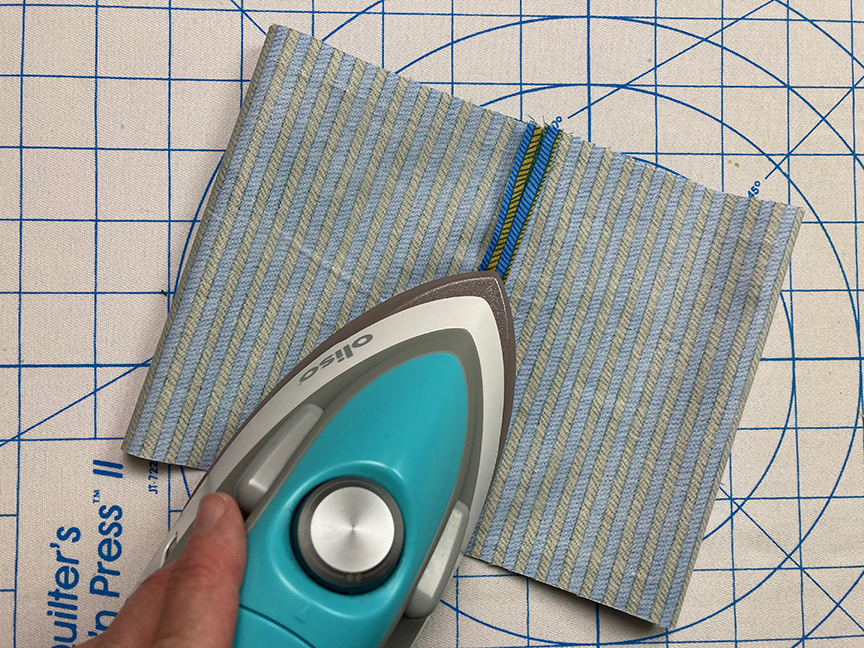
Step 4: Press the interfaced circle in half in both directions to divide the circle into quadrants. Use pins to mark the folds. 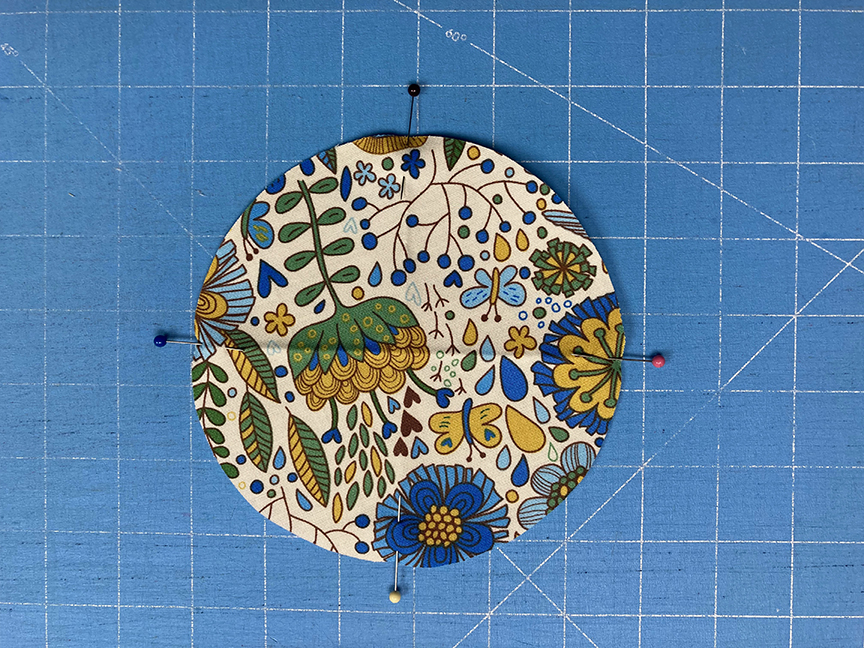
Step 5: With the right sides together and aligning the creases on the tube and circle, pin the circle to the tube. Start with pins at the creases, and then add in pins to align the edges. The more the edges match, the smoother and easier sewing will be. 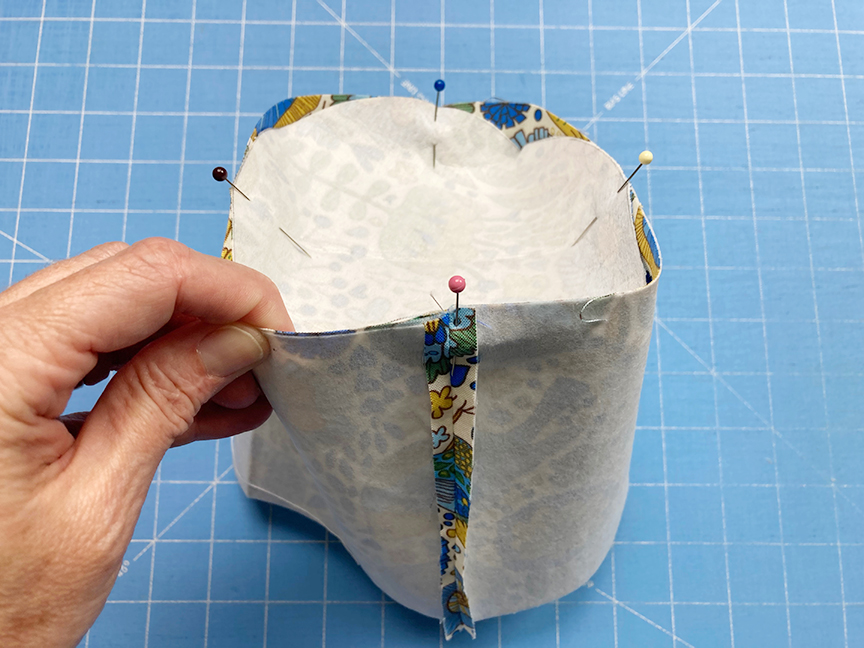
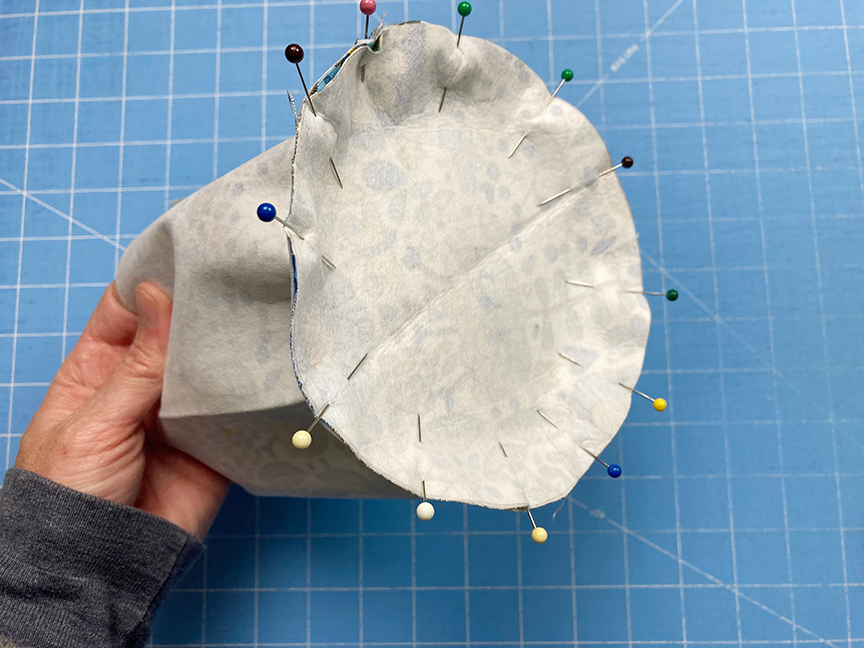
Step 6: Using a 1/4” seam allowance, stitch the tube to the circle. Go slowly and smooth out any puckers as you stitch. I find it easier to stitch with the tube on top. Turn right side out after stitching.
Tip: If this technique is new to you, consider sewing the lining pieces first (step 7). Since they don’t have interfacing, there’s more give as you sew, and it’s easier.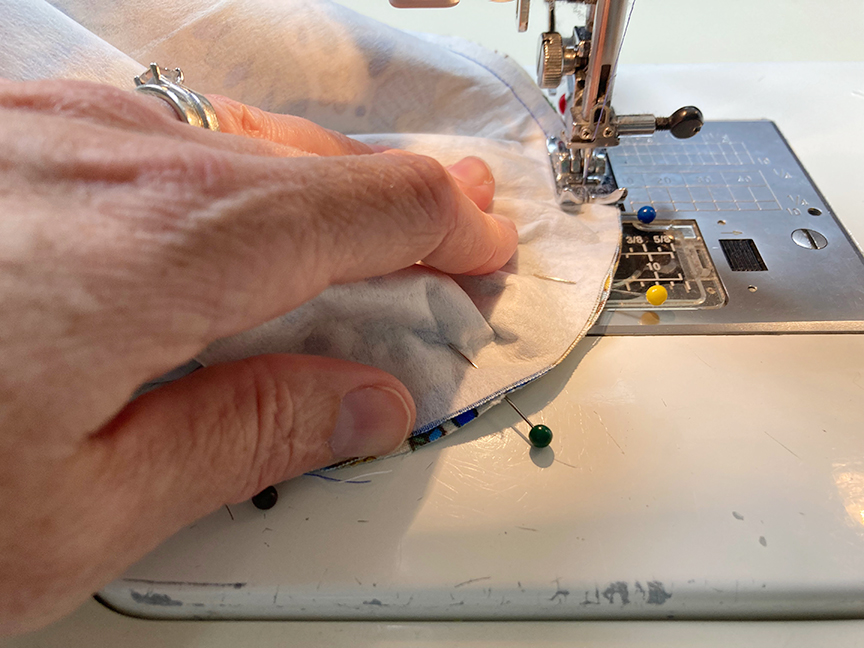
Step 7: Repeat steps 3-6 with the lining pieces. 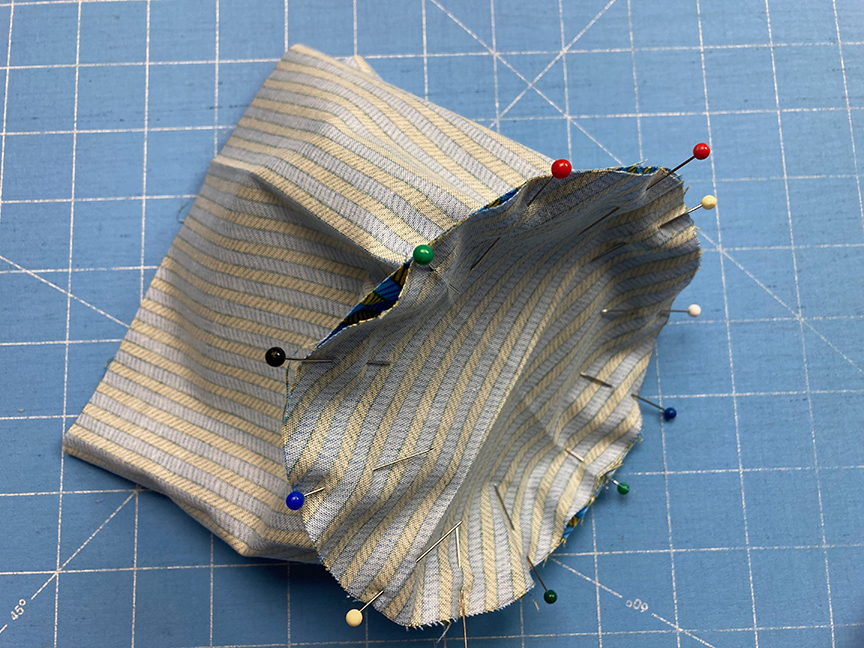
Step 8: Tuck the outer pot inside the lining, right sides together. Align the side seams and the top raw edges. Pin the raw edges together, again matching creases from step 3 to help keep the fabric aligned. Stitch around the top edge using a 3/8” seam allowance. Leave a 4” opening for turning.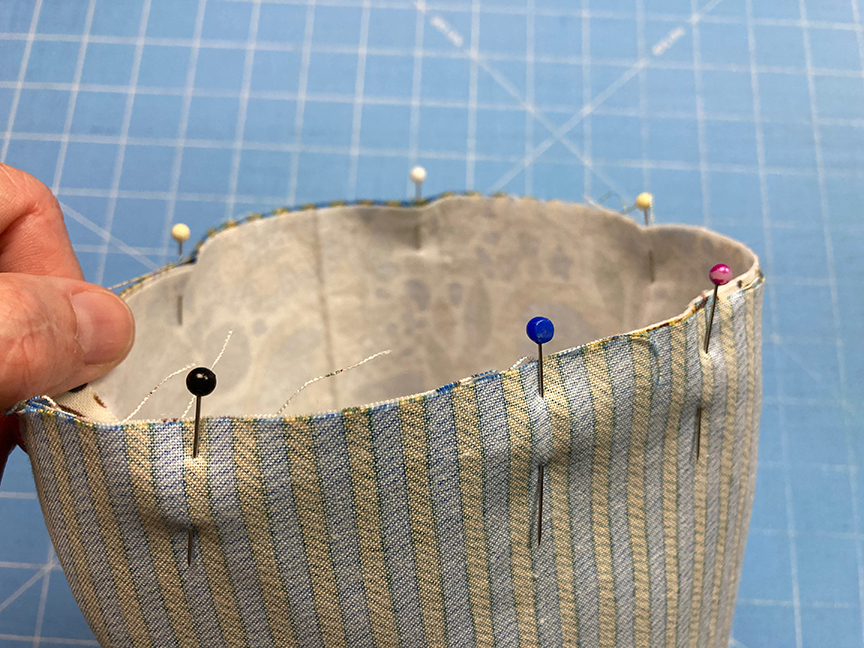
Step 9: Turn right sides out through the opening. 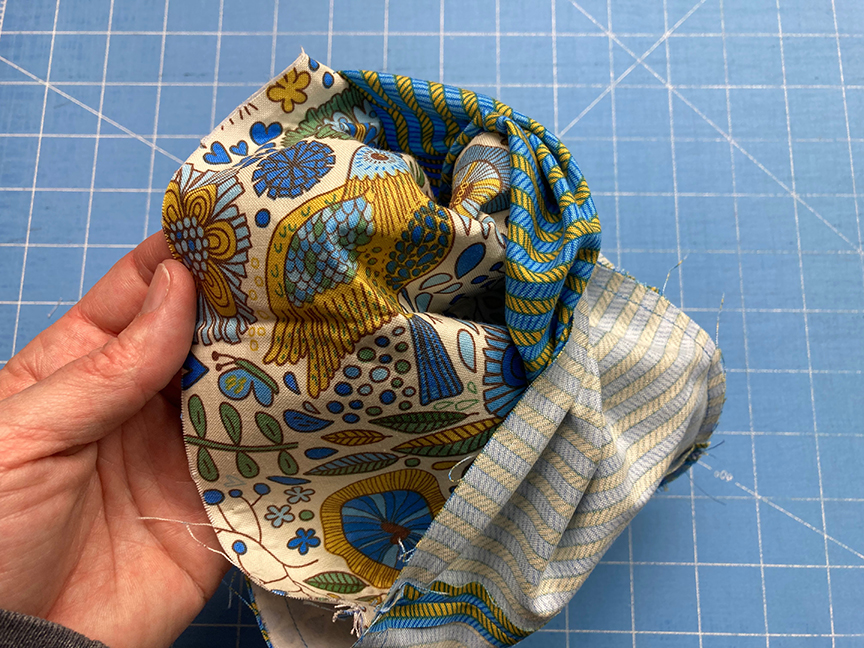
Step 10: Tuck lining inside the flower pot so the seam is along the top edge. Press. Along with the opening, press raw edges of fabric in to be even with the rest of the top of the pot (approximately 3/8”). Pin folded edges. 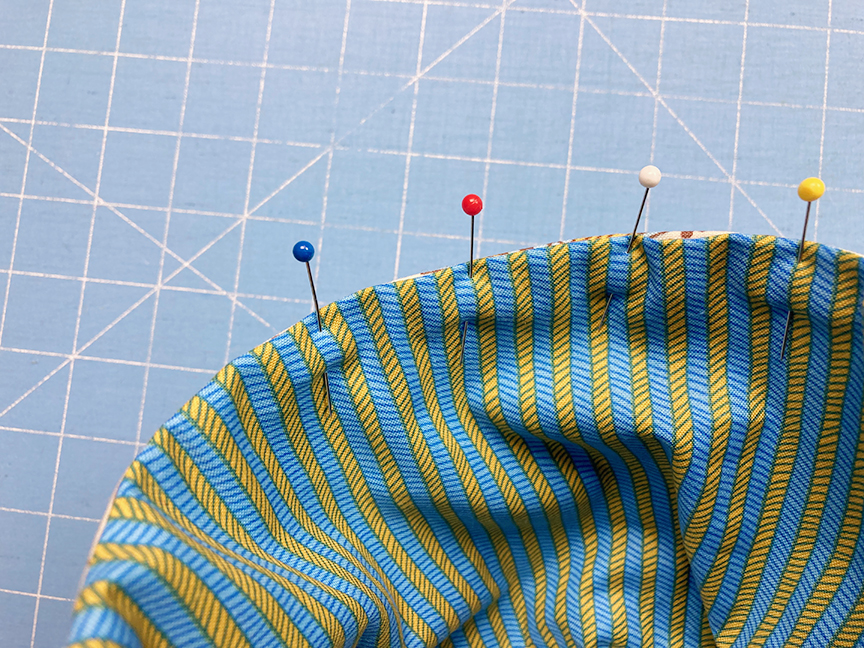
Step 11: Topstitch around the pot, 1/4” from the top edge.
Step 12: Fold the top edge over to create a contrasting cuff. Fit pot inside to help determine how much you need to fold over. 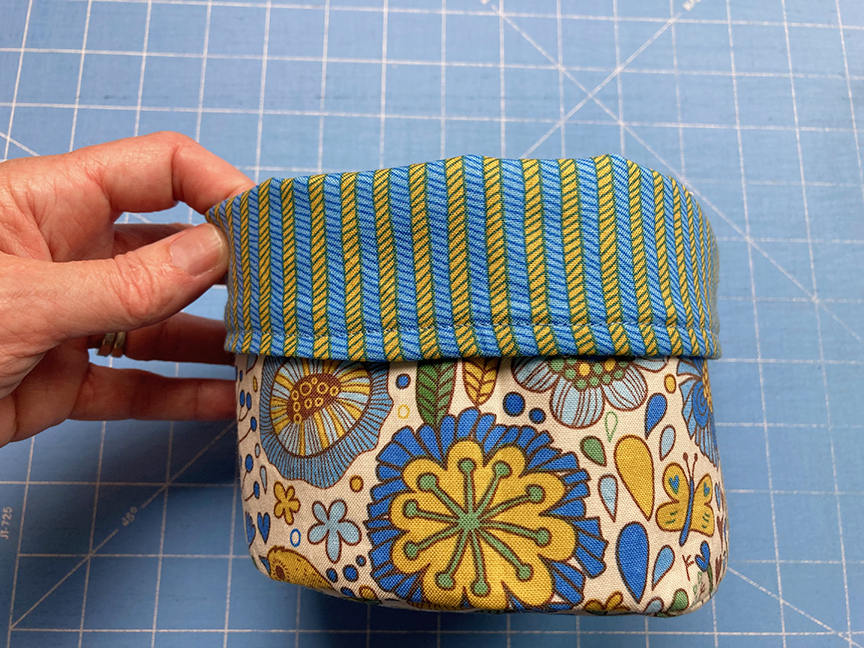
Step 13: Following the manufacturer’s directions, coat the fabric flower pot with 1-3 coats of Liquid Vinyl.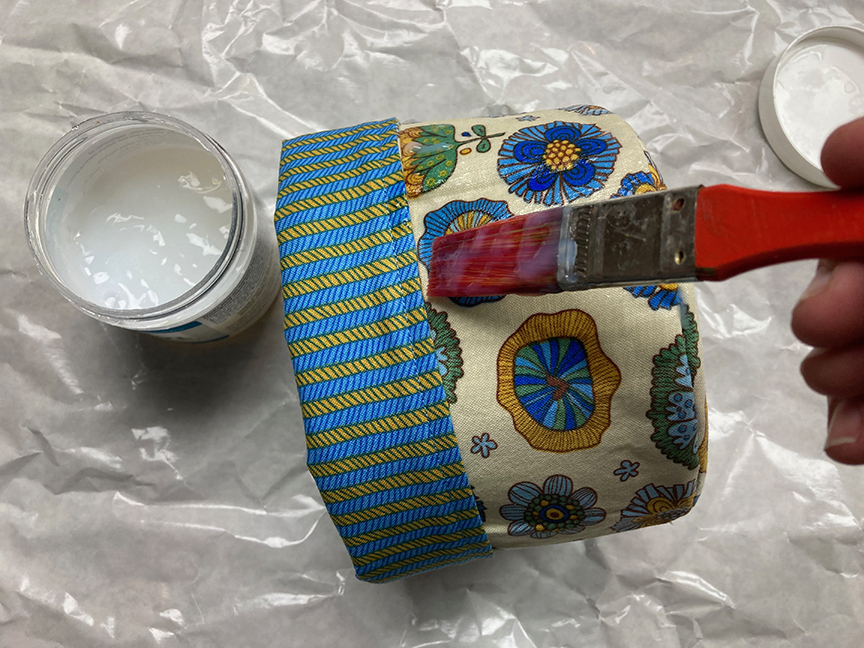
Step 14: Insert pot liner and flower pot. Enjoy! 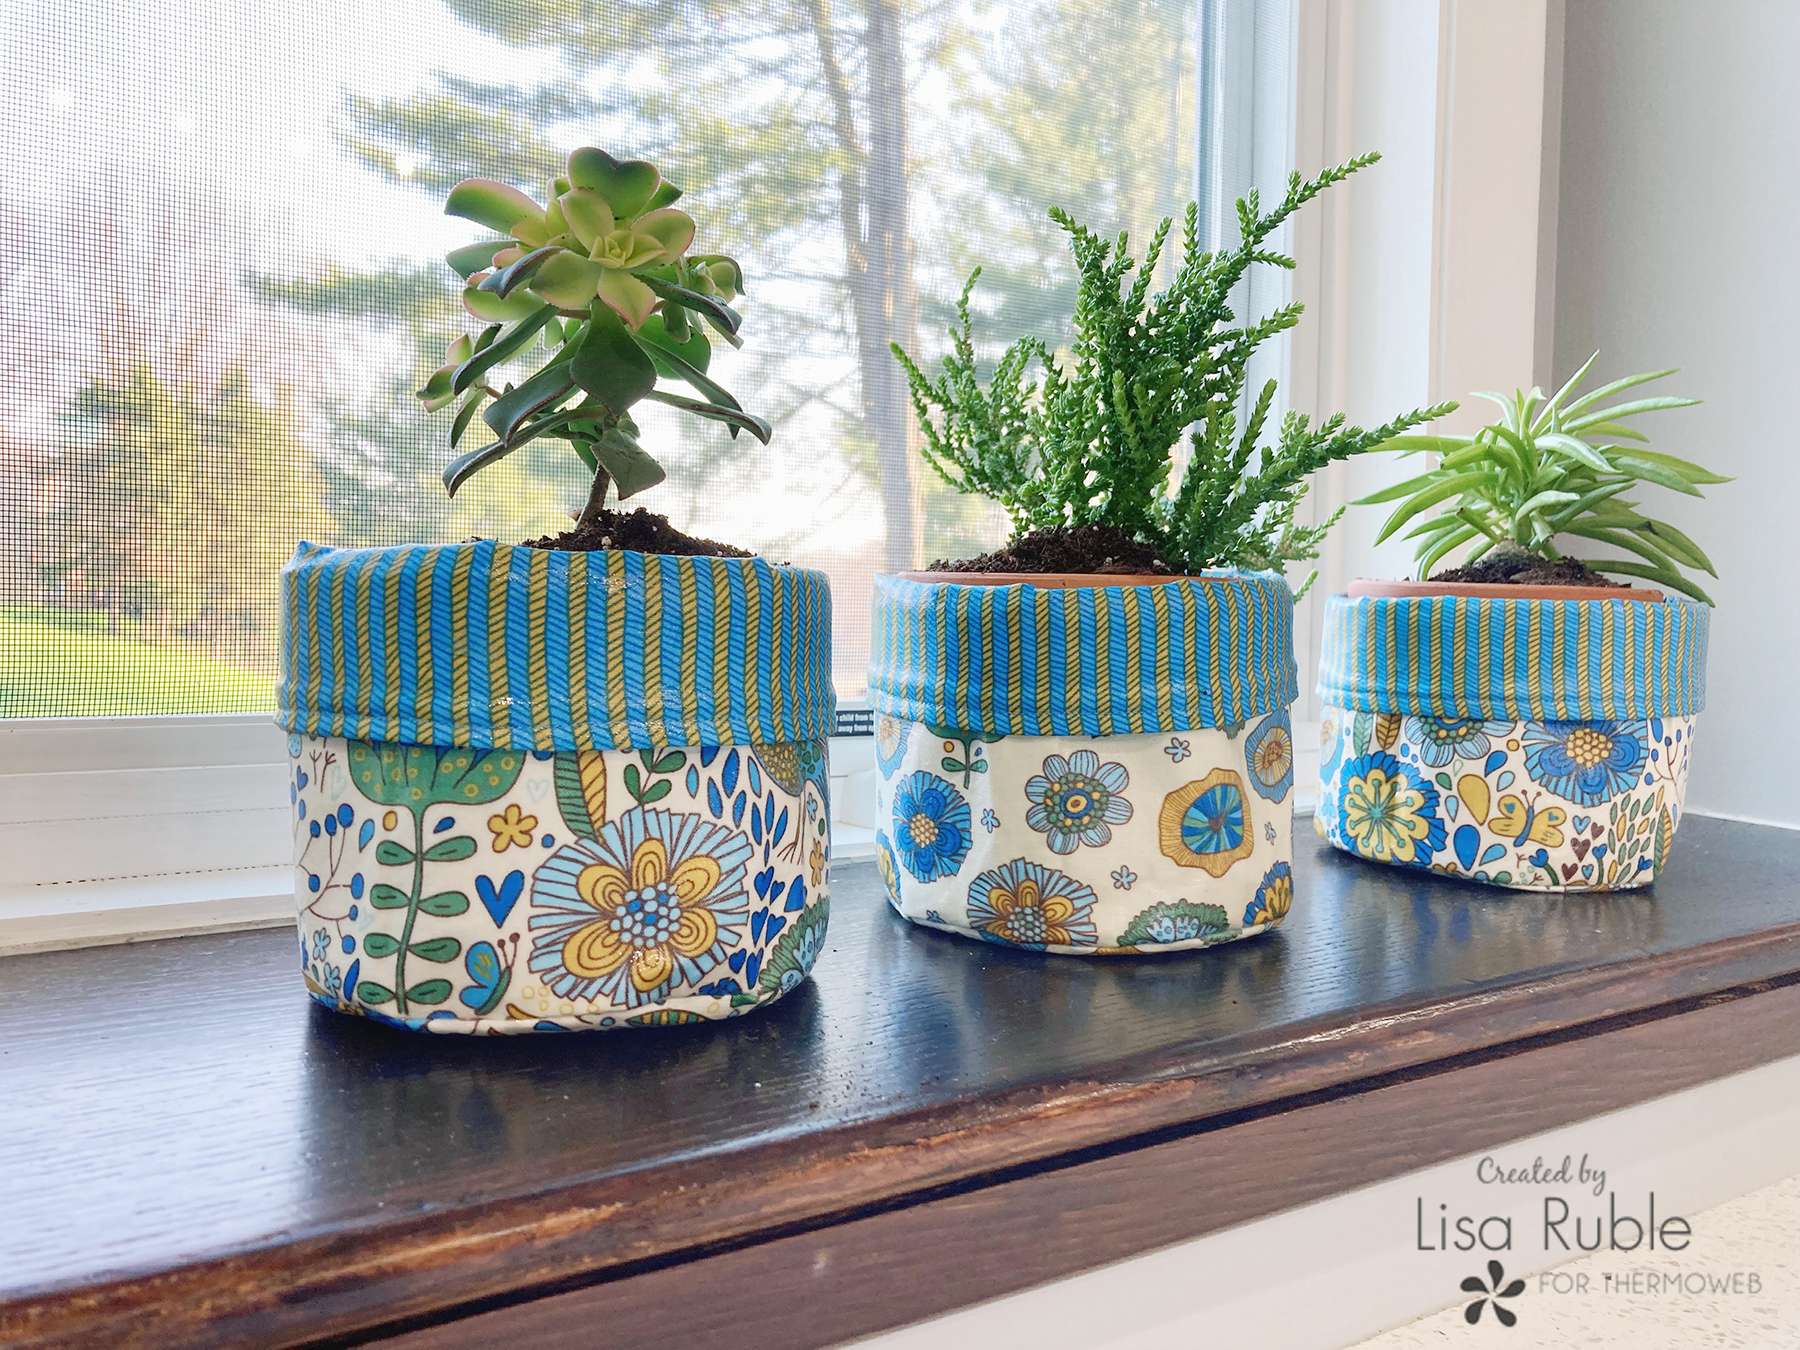
I hope you enjoyed my tutorial as much as I enjoyed creating it! I invite you to visit my blog to see more of what I’m currently working on!
[…] The dimensions given in the tutorial will create a basket to hold a 4″ flower pot. Go to Therm O Web for the […]