Hello friends! Welcome to Berry Week at Thermoweb! My name is Jennifer Long, Bee Sew Inspired, fabric designer with Riley Blake Designs and doll and quilt pattern designer. I am so happy to be here today to share with you a fun and happy fabric project!
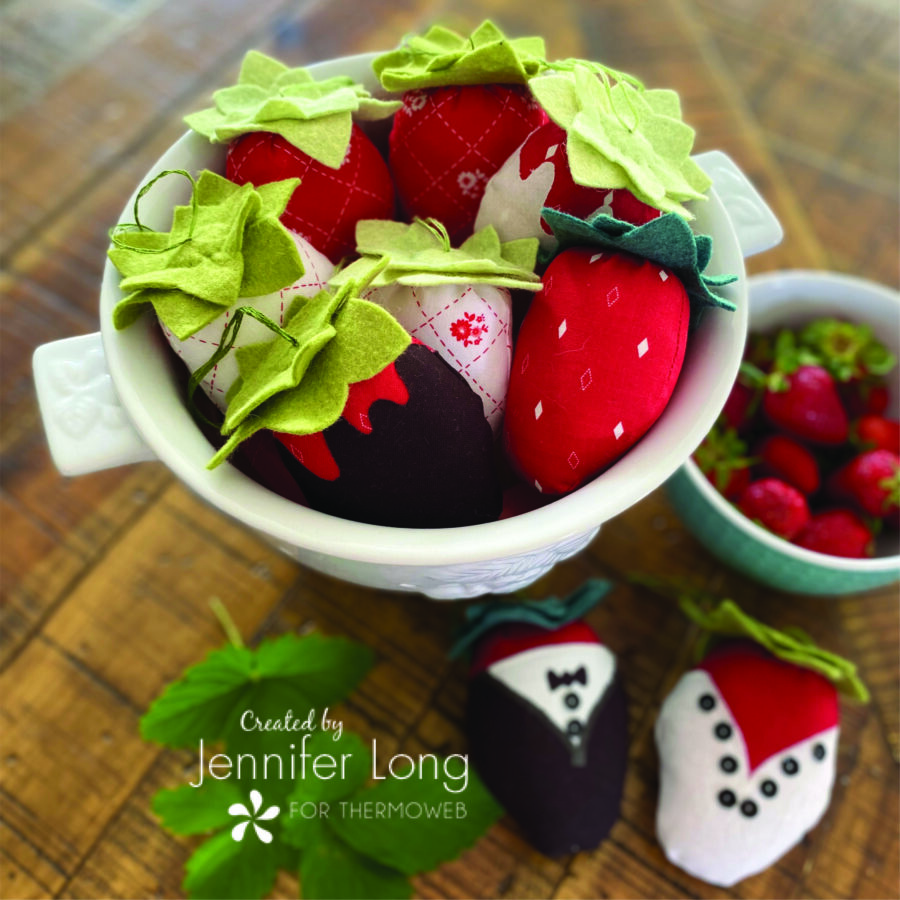
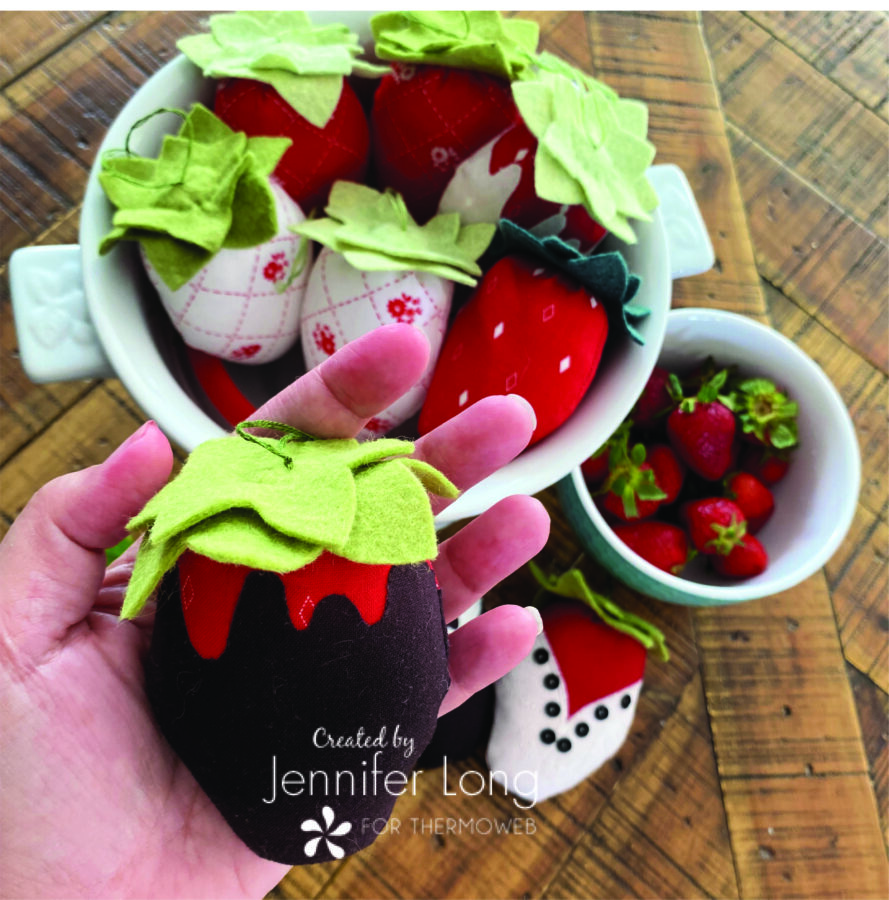
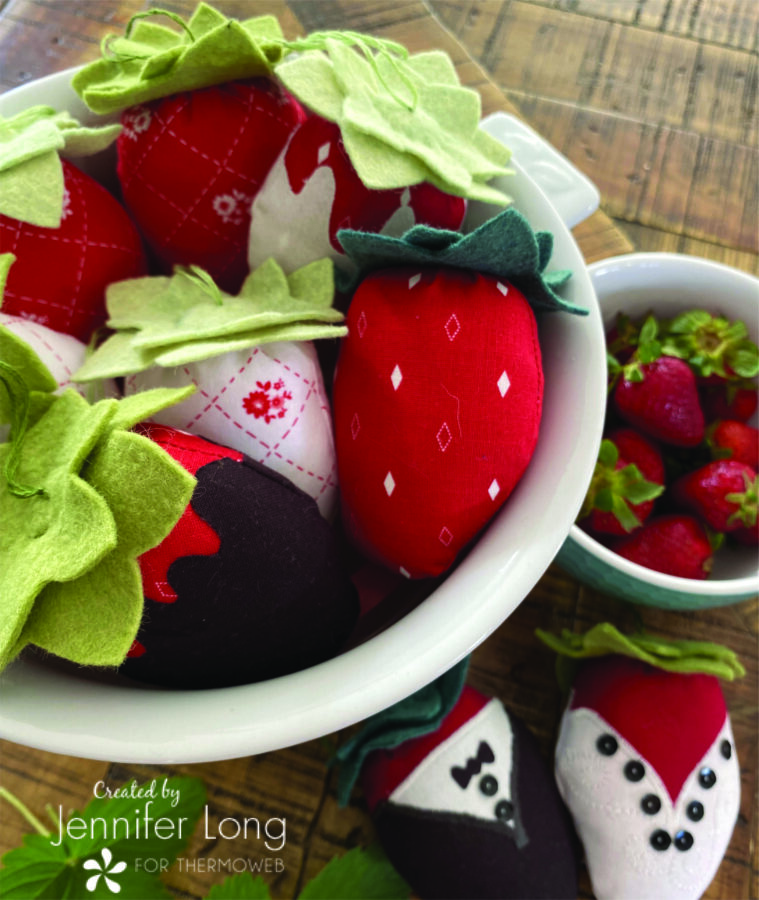
Fabric Dipped Strawberries
What you need:
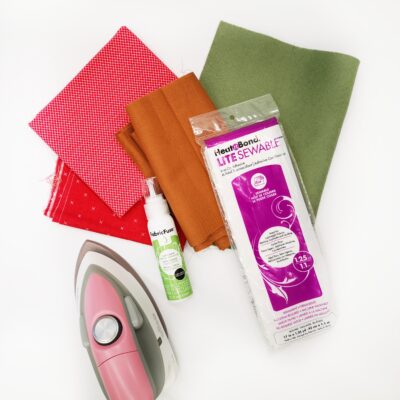
 Download the Dipped Strawberry Pattern Template: Use the code “DIPPEDSTRAWBERRYPDF” in the Download Code section of the Bee Sew Inspired Shop.
Let’s Get Started:
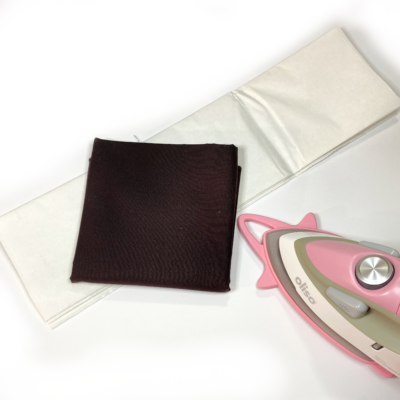
Fuse the Heat-N-Bond to the wrong side of your decorative fabrics BEFORE cutting the shape. This will help keep the fabric stable while cutting out all those curved edges of the “chocolate dip”
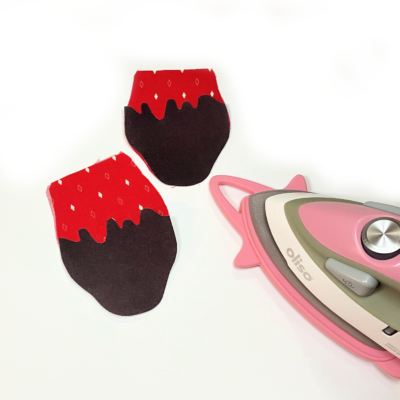
Using the templates cut out the strawberry shape and cut out the chocolate dip shape making sure to cut out two each for a back and front. Fuse the chocolate dip shape to the strawberry.
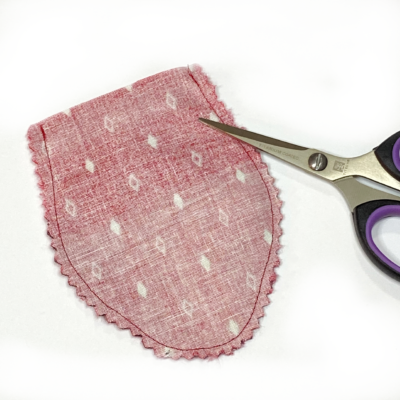
Lay strawberry shapes right sides together and stitch using a 1/4” seam allowance. Trim seam allowances and clip curves.
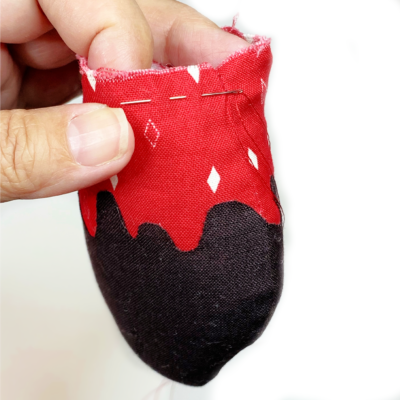
Turn right side out smoothing out the rounded edges and stuff firmly leaving the top 3/4” of the strawberry shape without stuffing. Using a hand sewing needle make long stitches to be able to gather your strawberry shape. Gather as tightly as you can. Make a few small stitches and knot your thread.
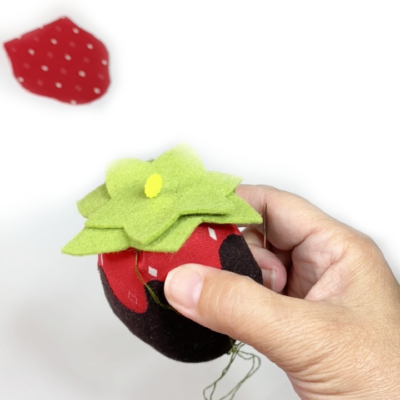
Using the leaf templates cut out two layers of leaves from the felt. Pin in place at the center of the leaves at the top of the strawberry.
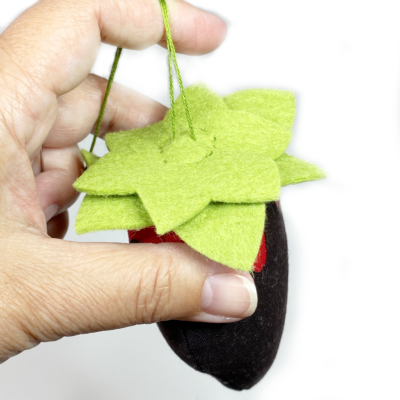
With two or three strands of embroidery floss, back stitch a circle about 1” in diameter making sure you go through both layers of the leaves and through the strawberry. Insert a length of floss to make a loop at the top if you wish to hang your strawberry.
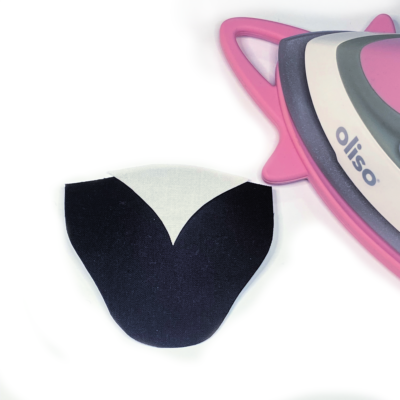
Fuse the Heat-N-Bond to the wrong side of your decorative fabrics BEFORE cutting the shape. This will help keep the fabric stable while cutting out all those curved edges.
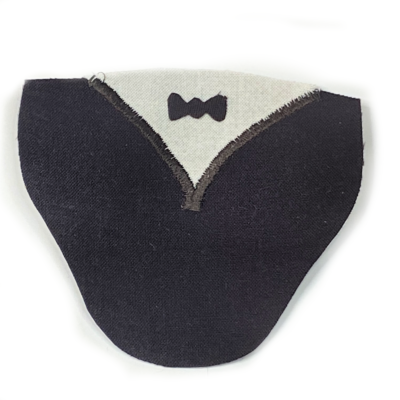
Fuse the white of the shirt to the jacket part of the groom’s strawberry. Use a sating stitch over the shirt and jacket part for a nice clean finish. Cut out the bow tie and fuse it to the shirt. You may also wish to hand embroider the bow tie.
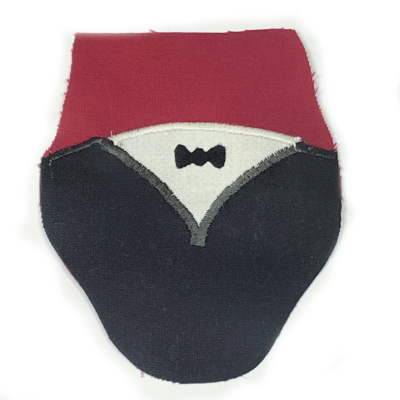
Fuse the tuxedo top to the strawberry shape, remember to create a back to your strawberry. Use a satin stitch where you want to create a nice clean finish, on the front AND the back of your groom’s strawberry. Lay strawberry pieces with right sides together and stitch along the curved edges using a 1/4” seam allowance. Clip curves.
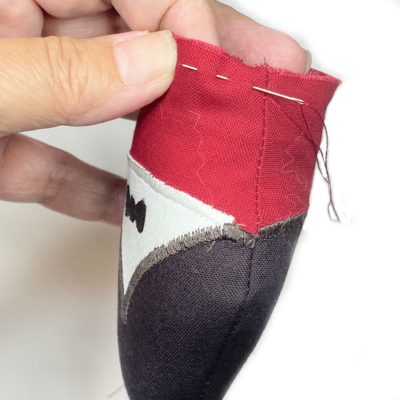
Turn right side out smoothing out the rounded edges and stuff firmly leaving the top 3/4” of the strawberry shape without stuffing. Using a hand sewing needle make long stitches to be able to gather your strawberry shape.
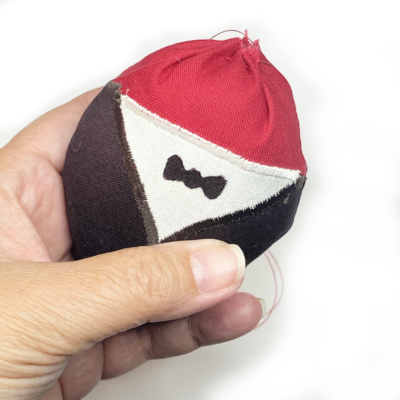
Gather as tightly as you can. Make a few small stitches and knot your thread.
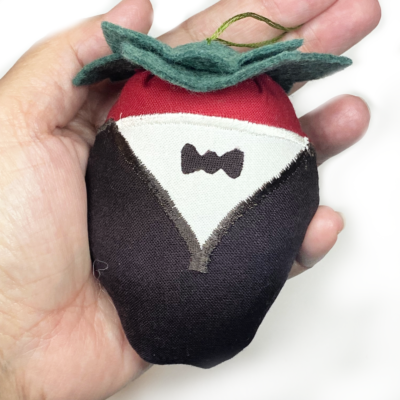
With two or three strands of embroidery floss, back stitch a circle about 1” in diameter making sure you go through both layers of the leaves and through the strawberry. Insert a length of floss to make a loop at the top if you wish to hang your strawberry.
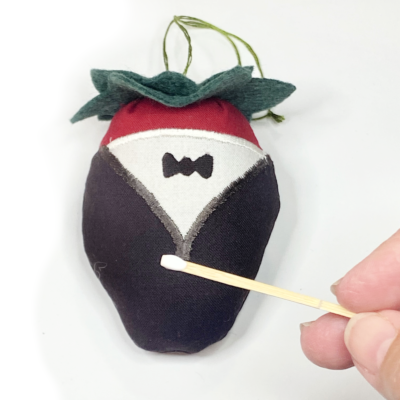
Using a small dab of Fabric Fuse, add sequins for the buttons on your strawberry grooms shirt.
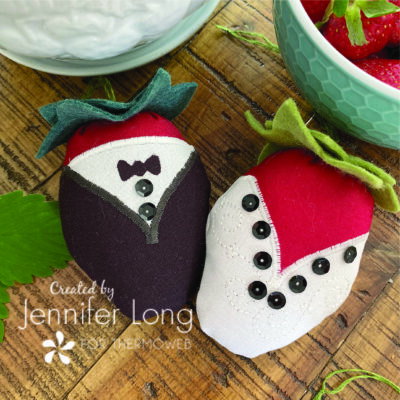
Use the same steps to create a Strawberry Bride!
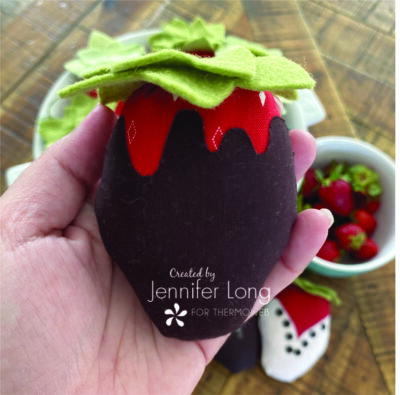
Your Dipped Strawberry is complete!
Display and enjoy!
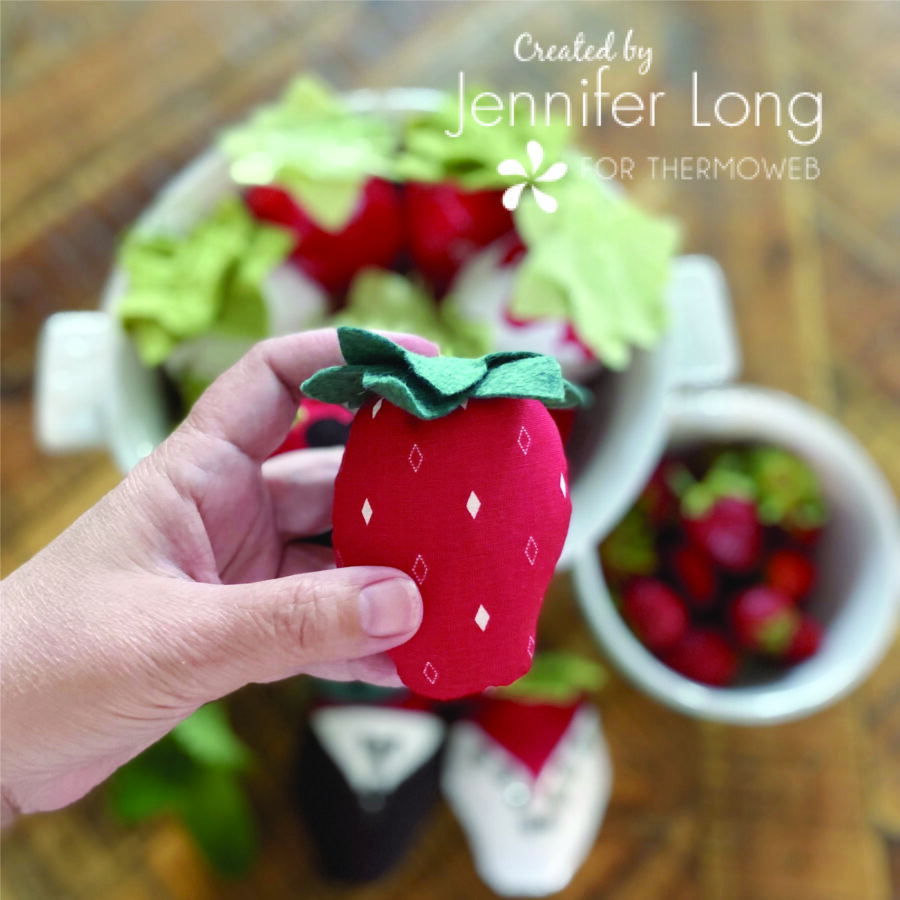
Please share your Tiger Lily on social media and tag @thermoweb and @beesewinspired so I can tag you back! Looking forward to enjoying a Sweet Treat together!
I hope these little projects brightened your day, and I am looking forward to seeing what you create with them!
Don’t forget to sign up for the Bee Sew Inspired Newsletter HERE! Thanks for stopping by!
