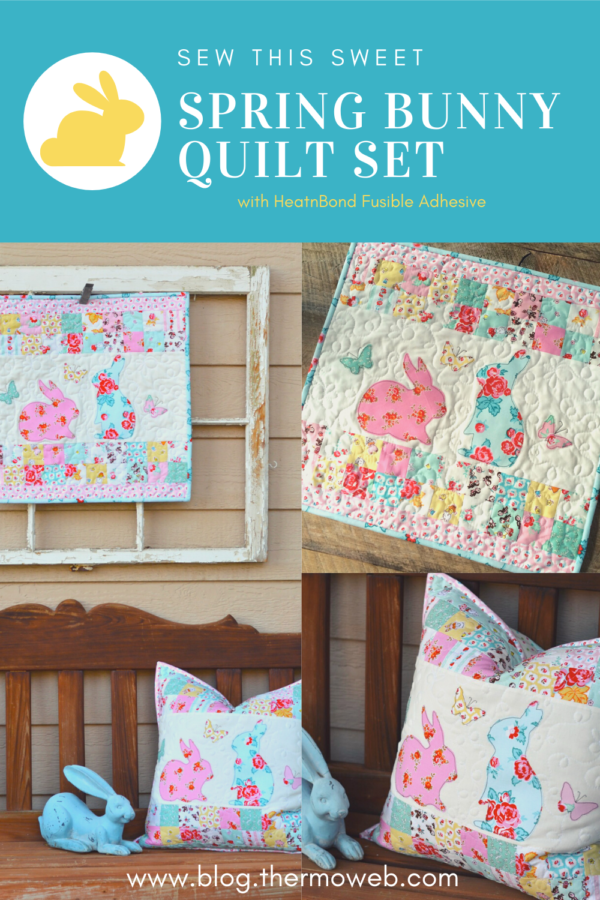
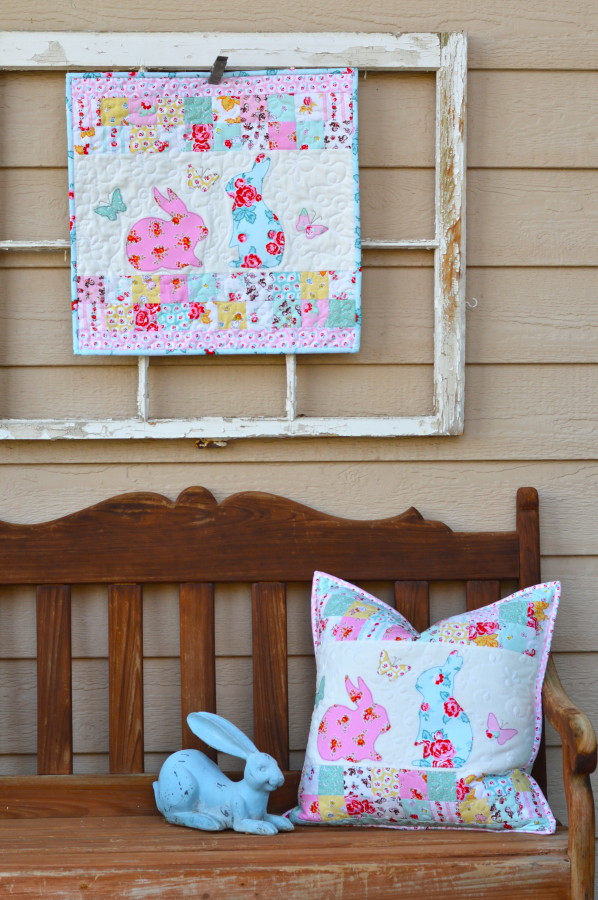
HeatnBond® EZ Print Bunny Applique Pillow and Mini Quilt
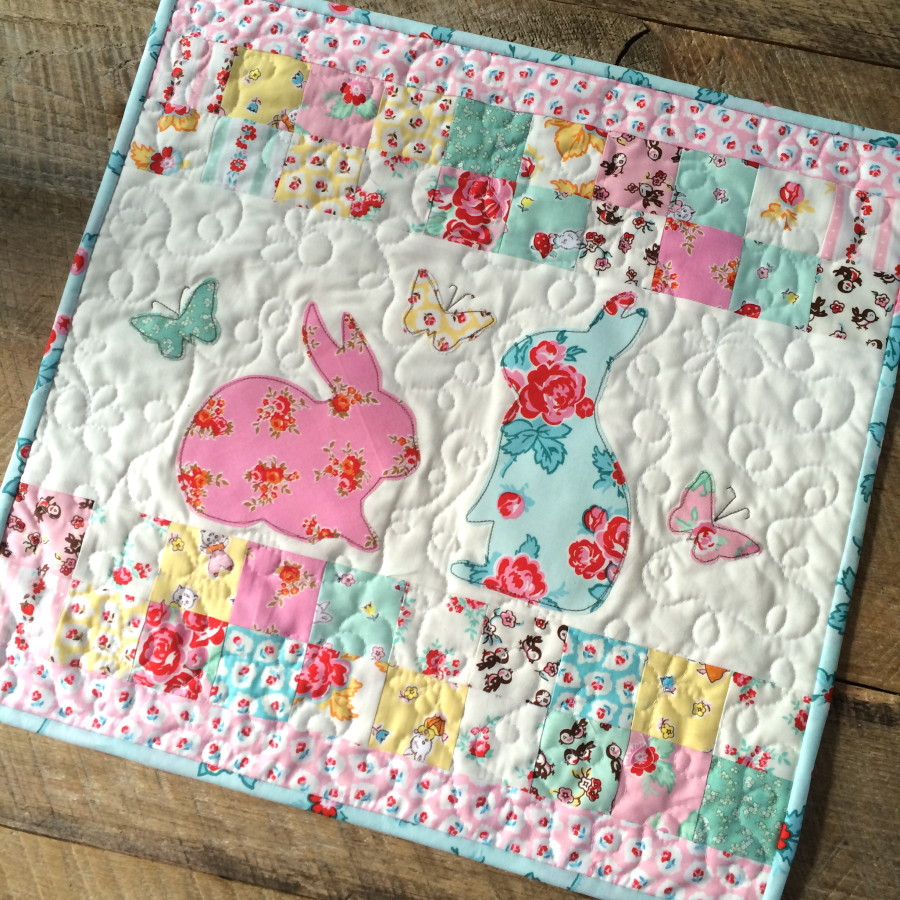
It’s Amanda from Jedi Craft Girl hopping over here with a fun spring sewing project! I can’t have too many bunny decorations during springtime! Following this pattern, you can choose to create a mini quilt or a sweet bunny pillow! or both!!
Let’s get started!
I used fabric from Penny Rose Fabrics called Milk, Sugar, Flower.
Supplies:
HeatnBond® EZ Print Lite sheets for bunny and butterfly applique
Applique pattern, click HERE
small pieces or scraps of fabric for applique and 2.5″ square patchwork border
1/4 yard white solid fabric
1/8 yard top and bottom borders
2/3 yard backing
1/4 yard binding
4″ x 20″ strip for zipper flap
cotton batting
zipper, optional
20″ pillow form
EZ Print Bunny Applique Pillow and Mini Quilt Instructions
Follow these instructions for BOTH the pillow and the quilt
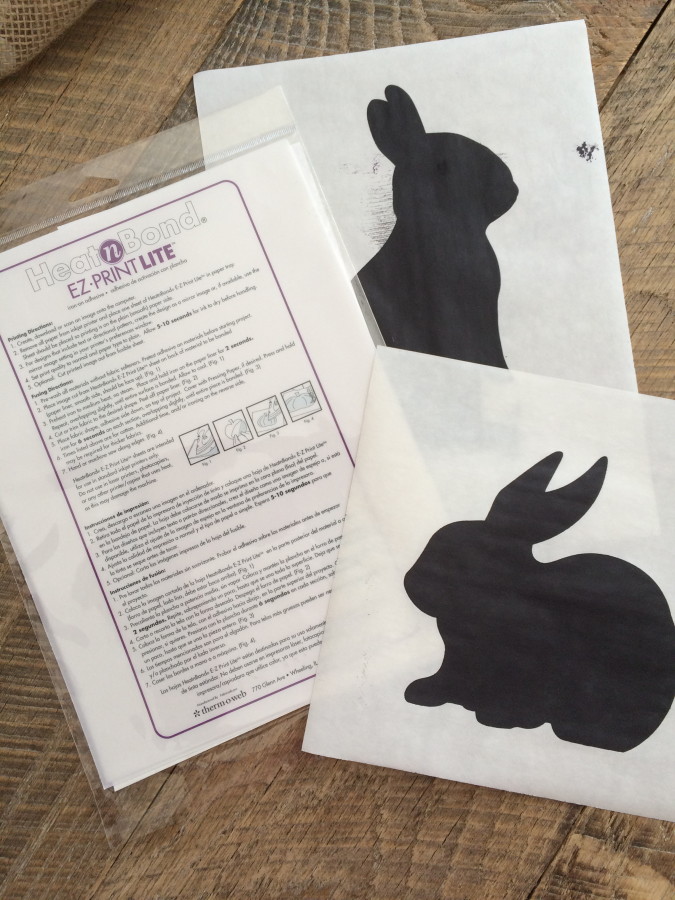 Begin by printing the applique images on the HeatnBond® EZ print sheets. These are so fast and easy to use. Simply put the sheets in your printer, select a higher quality of print and you’re done!
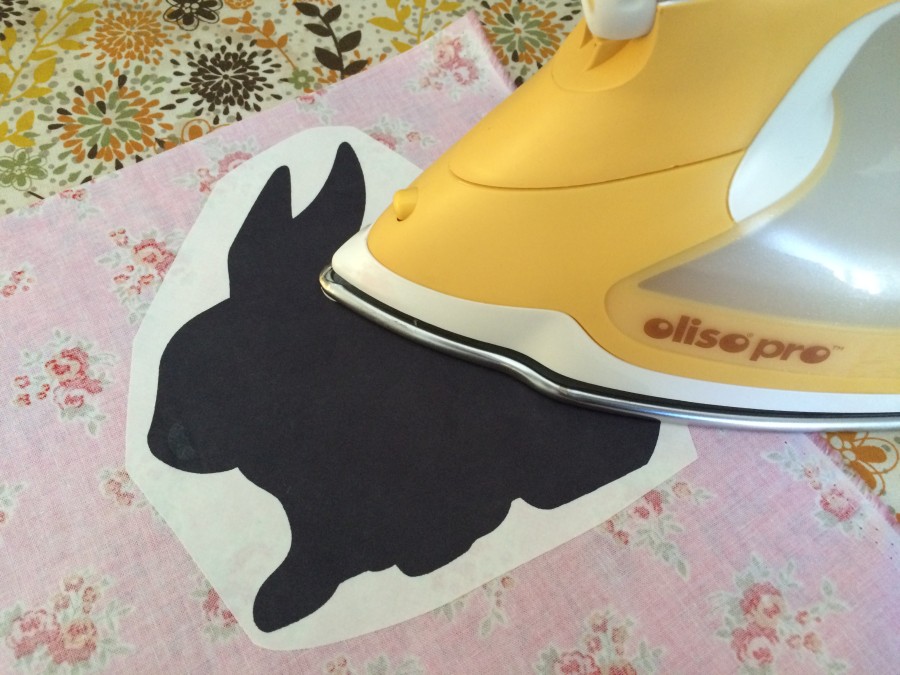 Roughly cut around each image and using a hot dry iron press the images onto the wrong side of the fabric! I just got his new Oliso Pro iron and I’m loving it!! Do this with each of the 5 applique pieces.
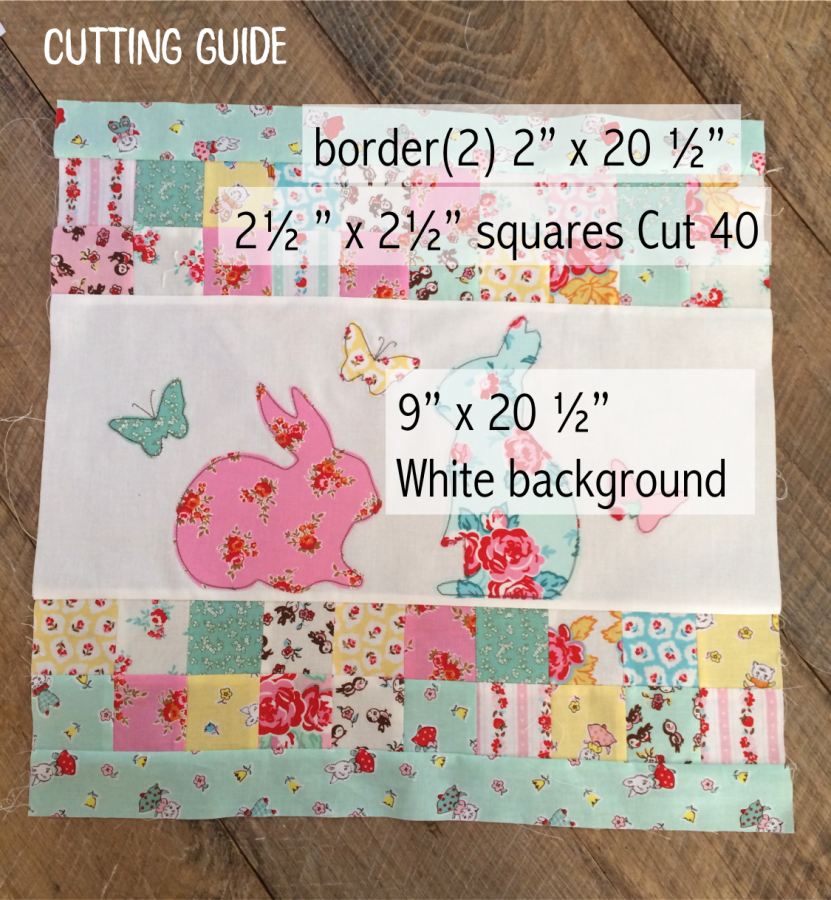 I am a visual learner so I like my cutting guides to be like a chart. Cut the fabrics according to the measurements above.
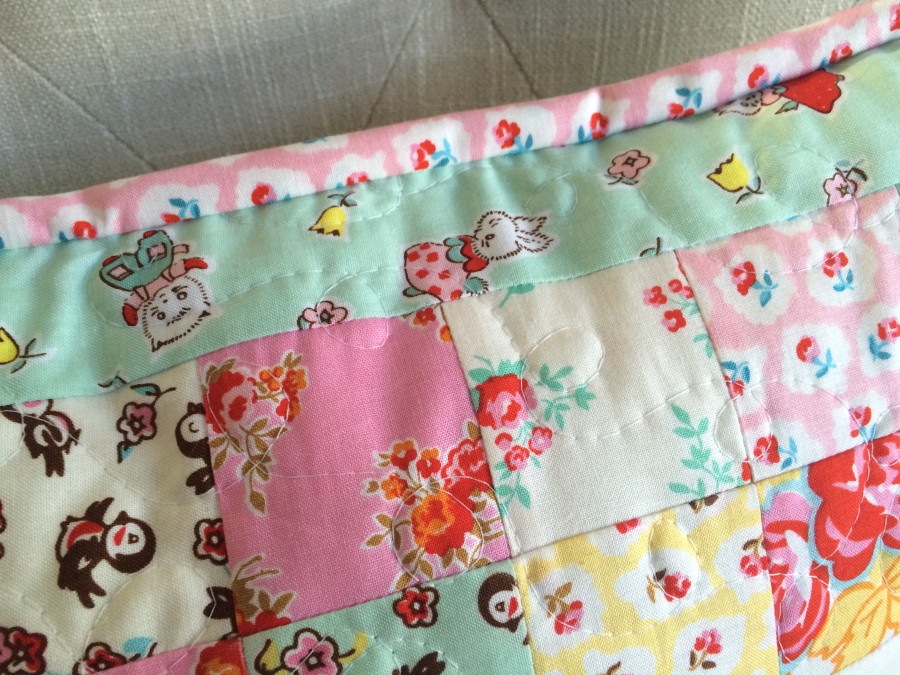
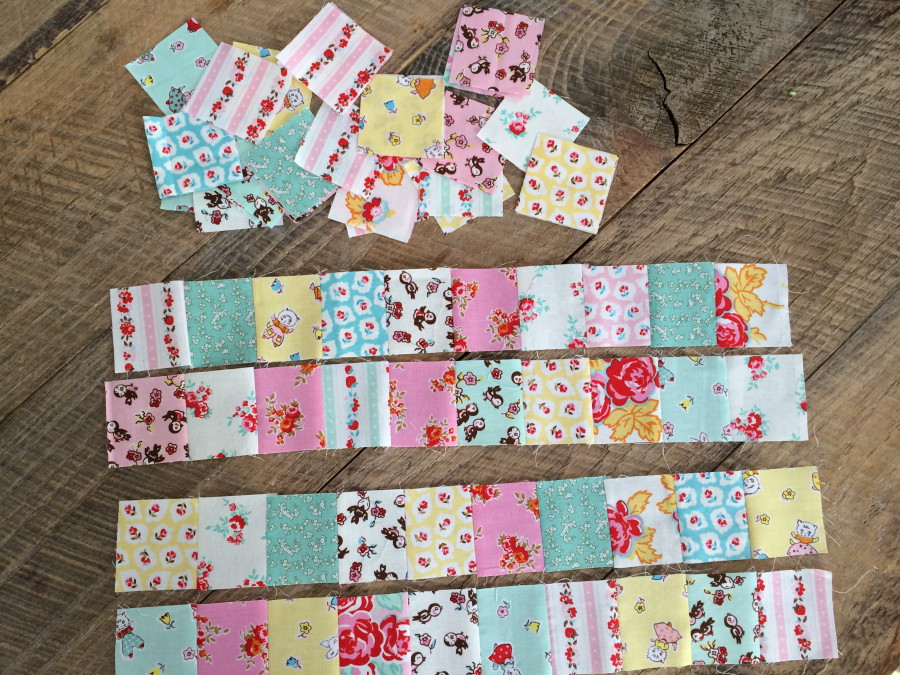 (1/4″ seams throughout ) Sew the 2.5″ squares into 4 rows of 10 squares. Press seams in alternating directions for each row. I didn’t lay mine out, they are totally random. Sew 2 rows together, matching at seam intersections. This will give you 2 pieced borders.
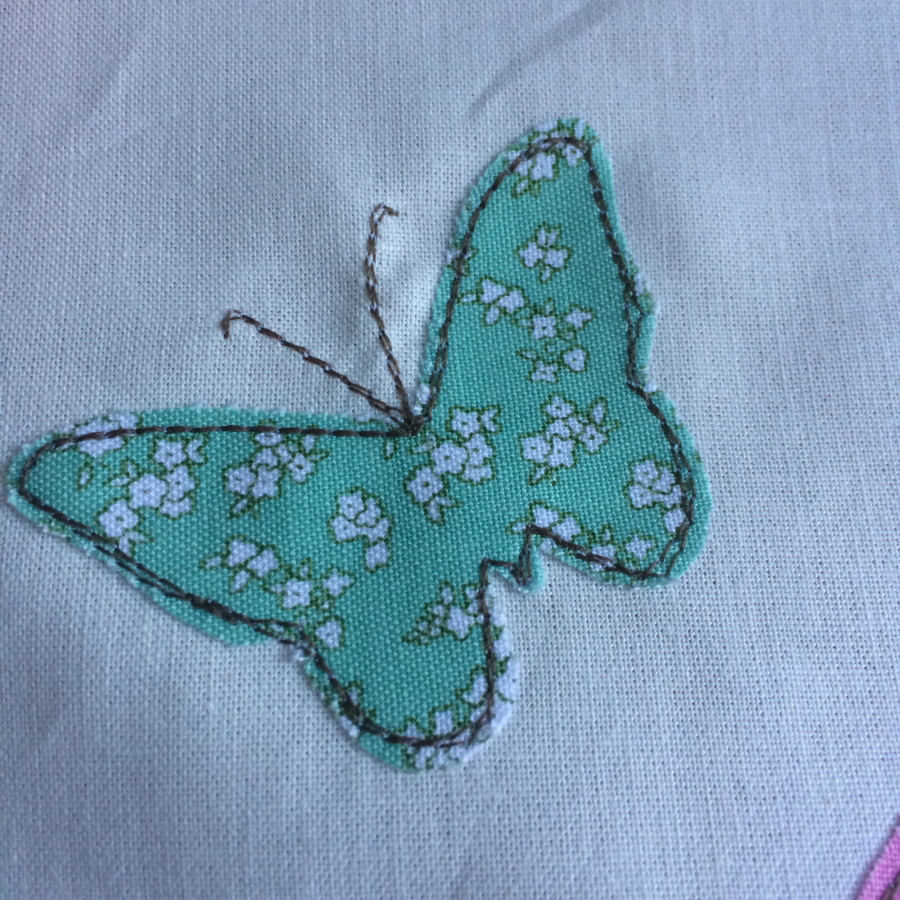
Cut out each applique piece along the pattern line and peel off the backing paper. Position the rabbits and butterflies as desired. Fuse with a hot iron. Sew around each applique piece with accent thread. I sewed 2 times around each. Sew antennas for each of the butterflies.
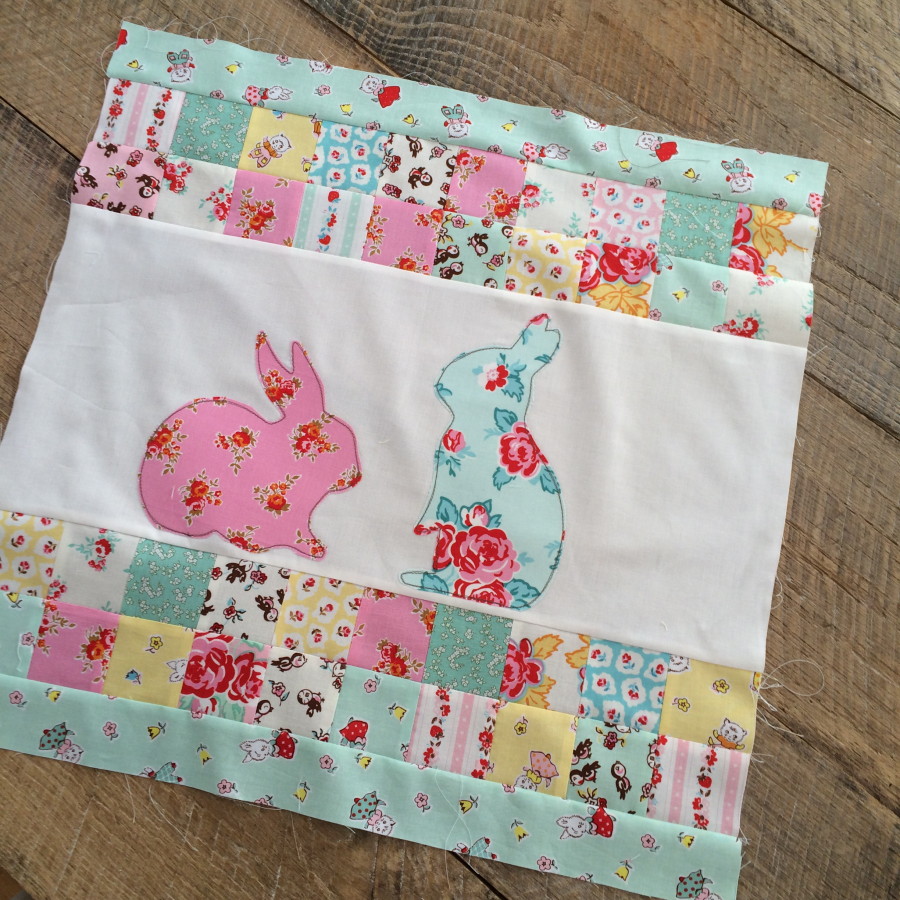 Sew each of the strips together in the above order. Press seams.
Time for quilting! Using Spray n Bond® Basting Spray, baste the quilt top to the cotton batting and then to a back. This method is the same for the quilt and the pillow. Quilt as desired.
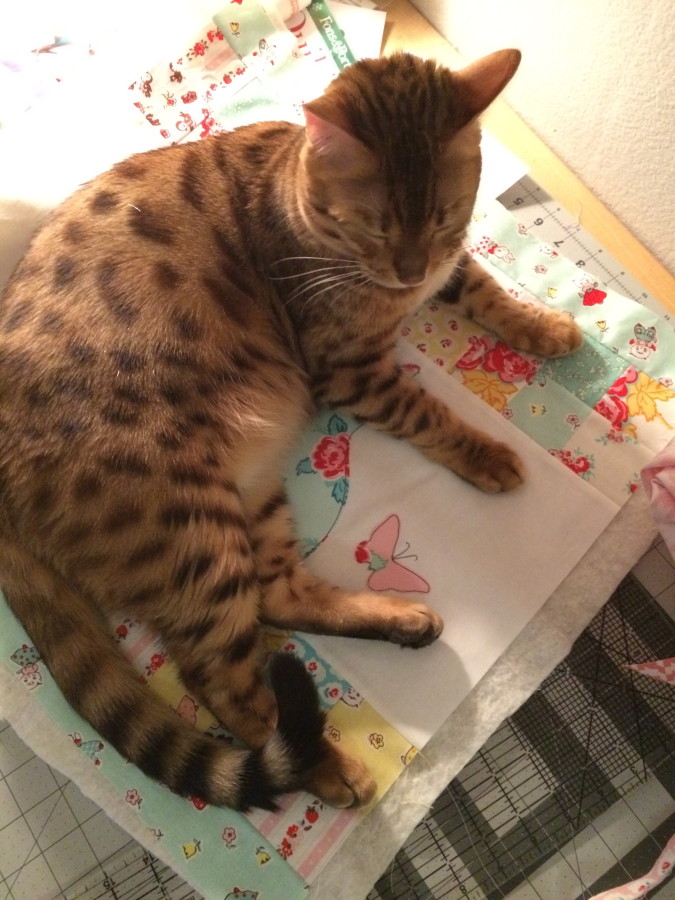 The cat basting method doesn’t work very well!
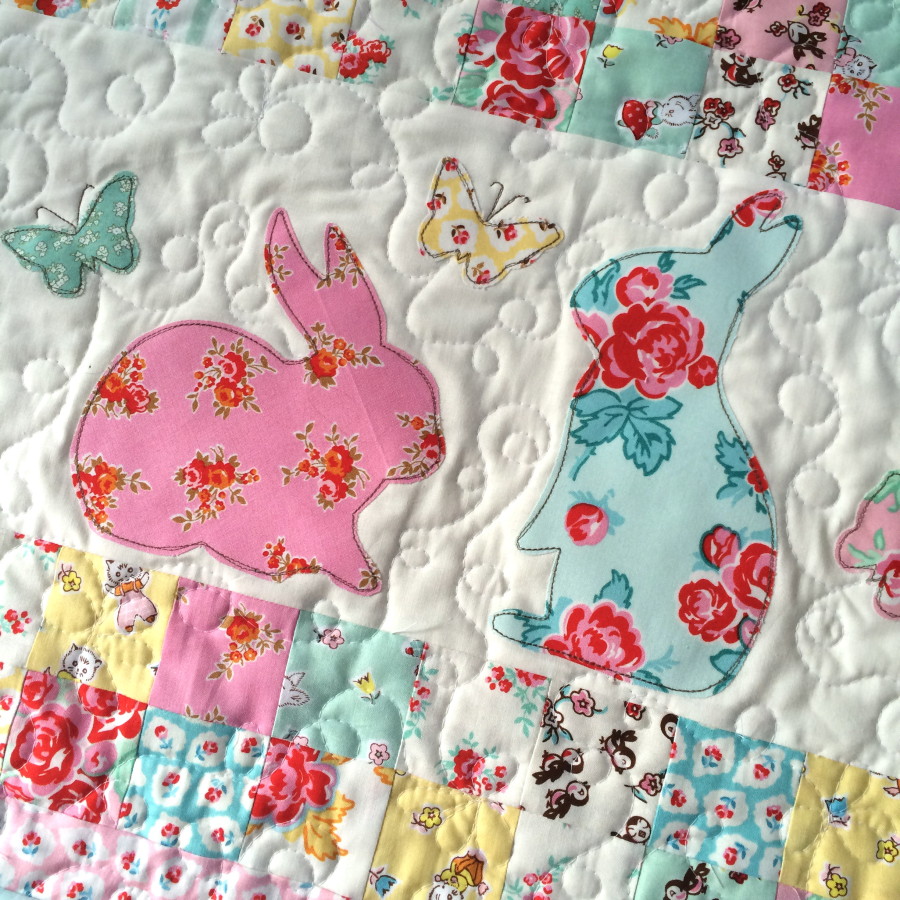 Once the quilting is finished, square up any uneven sides. The quilt should measure between 20″ square and 20 1/2″ square. If you do a lot of quilting it will shrink slightly.
If you are making the mini quilt, simply bind and you are finished!
Follow the next instructions for the pillow back.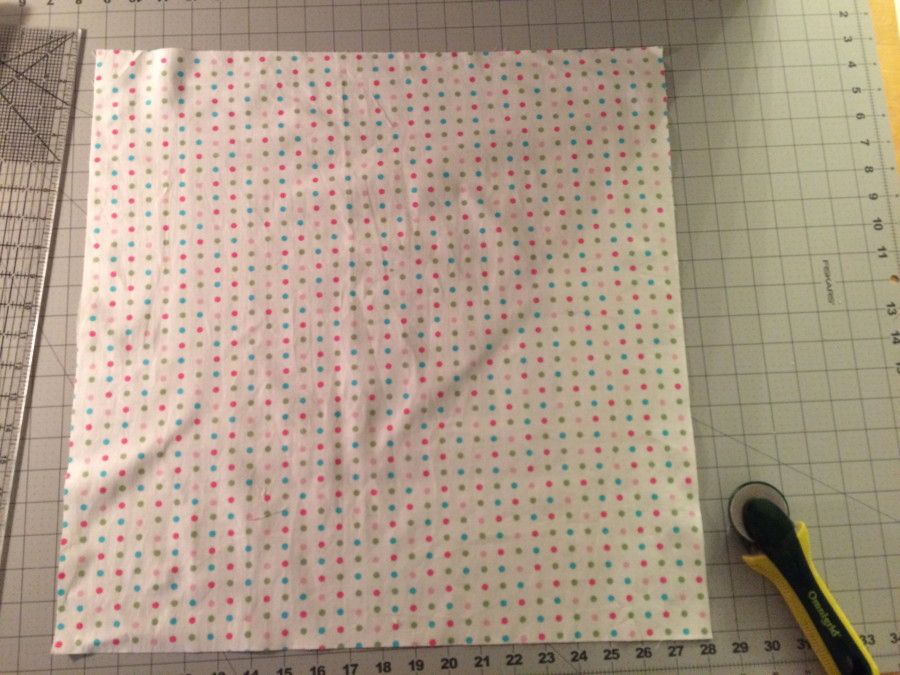
Cut the pillow back 20″ x 20″
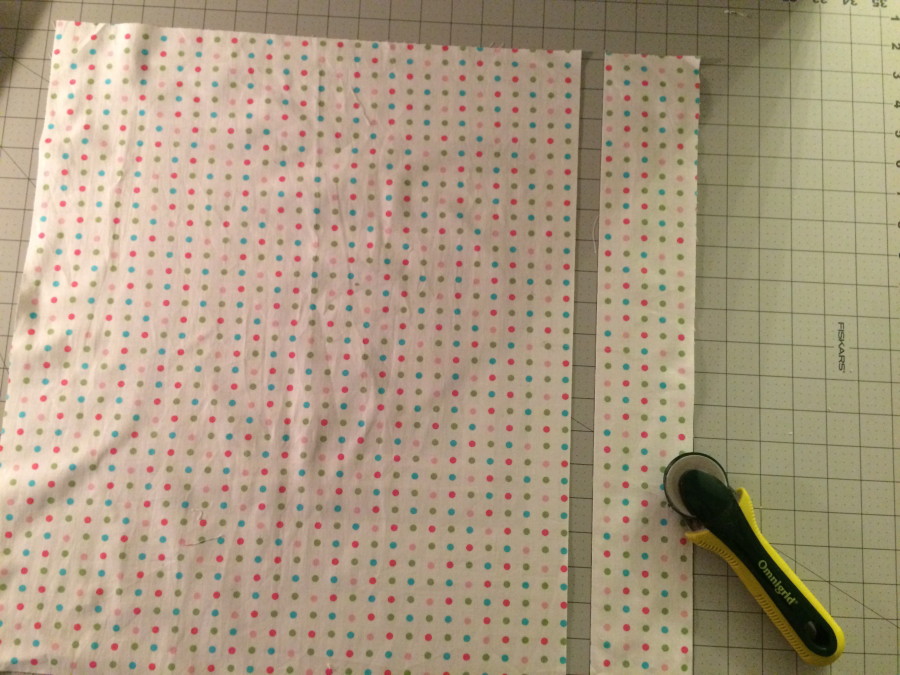 Sub cut this piece at 3″ (above).
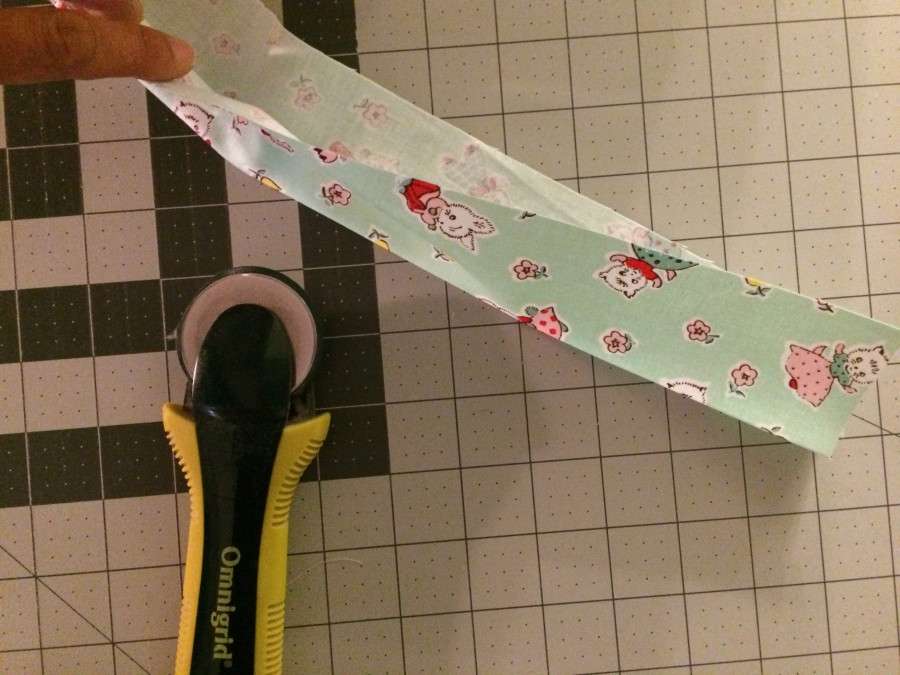 Cut the zipper flap 4″ x 20″ and press in half lengthwise.
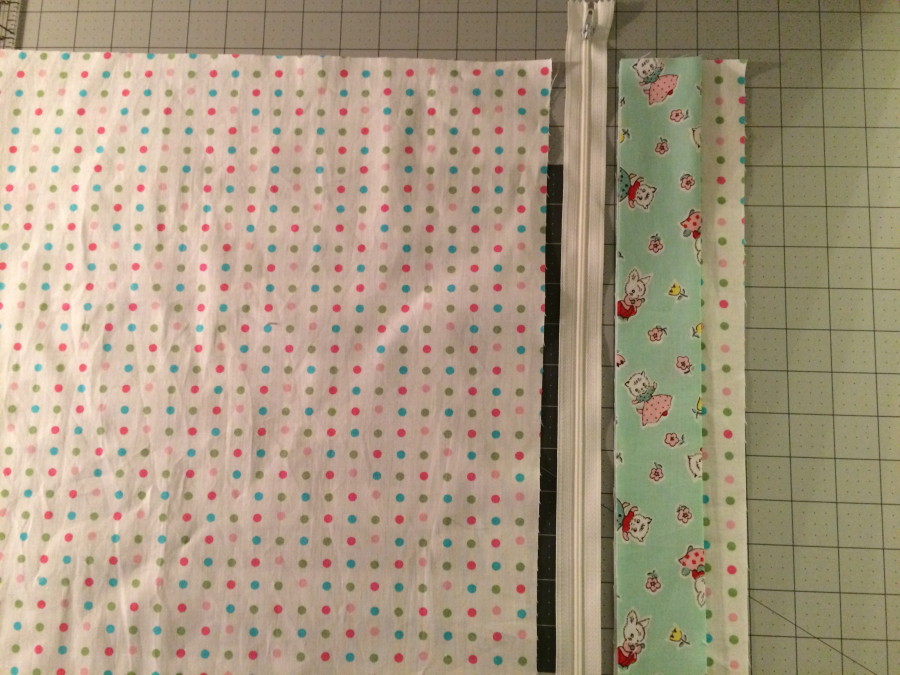 Lay each of the pieces out as pictured above, with the zipper flap and the 3″ strip aligned with the raw edges facing the zipper.
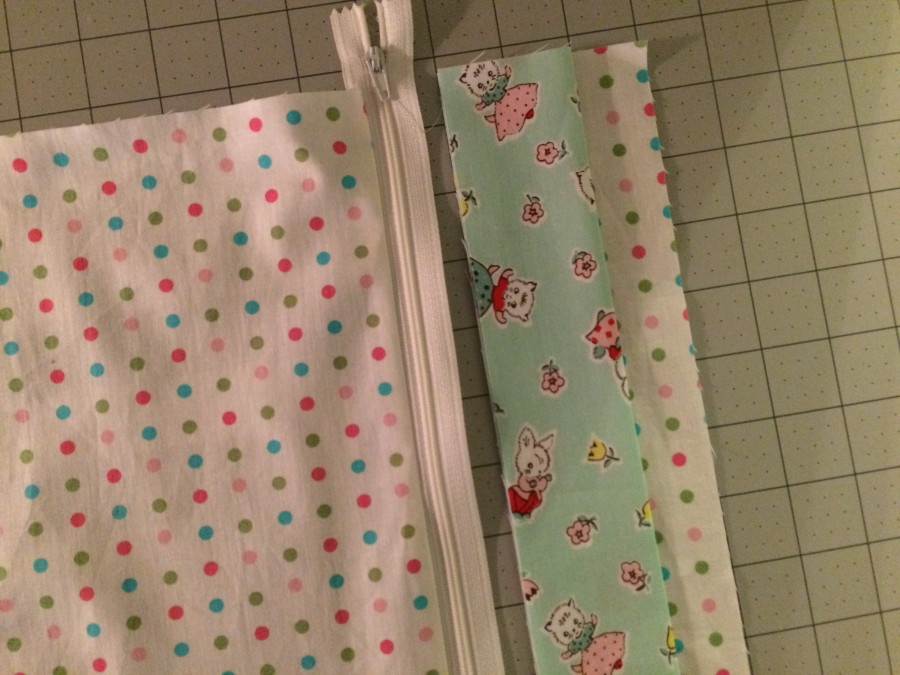
Using a zipper foot, sew the larger piece of the pillow back to the zipper. Press.
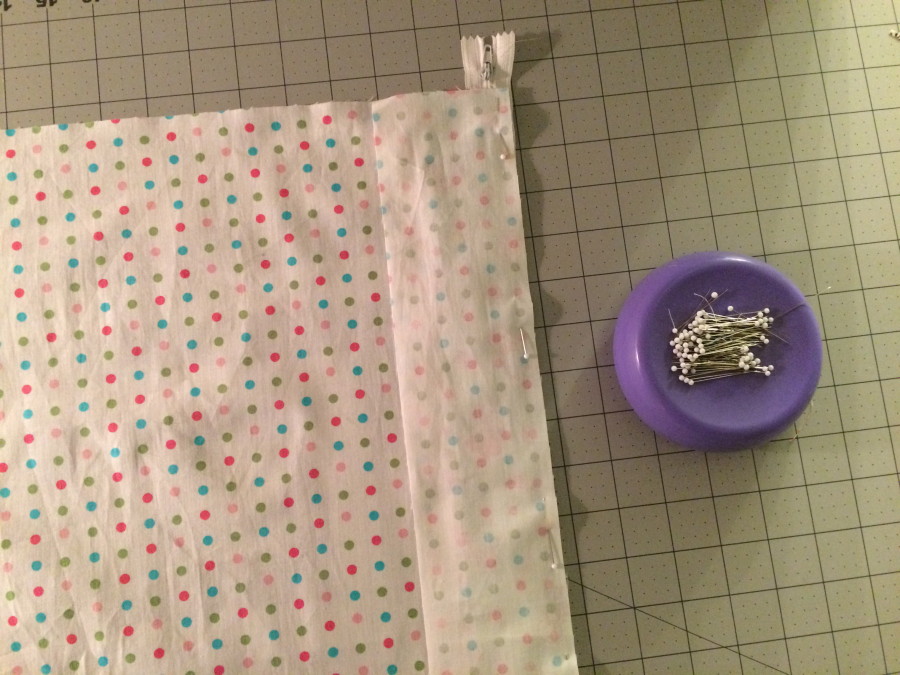 Lay the 3″ strip and the zipper flap right side on top of the zipper, aligning edges. Pin in place.
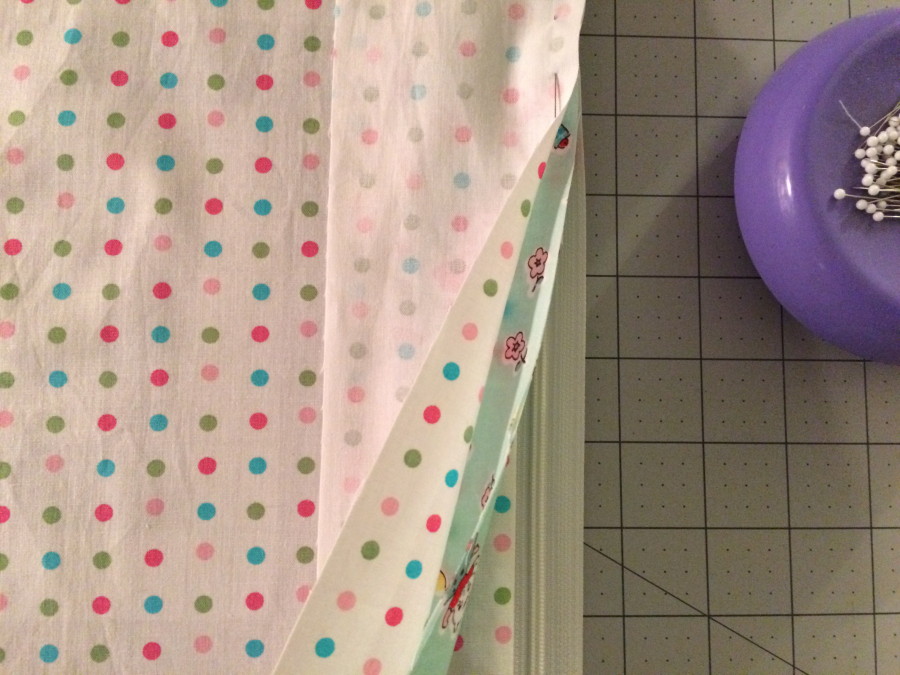 This is how it should be layered (above). Sew with the zipper foot again. Press.
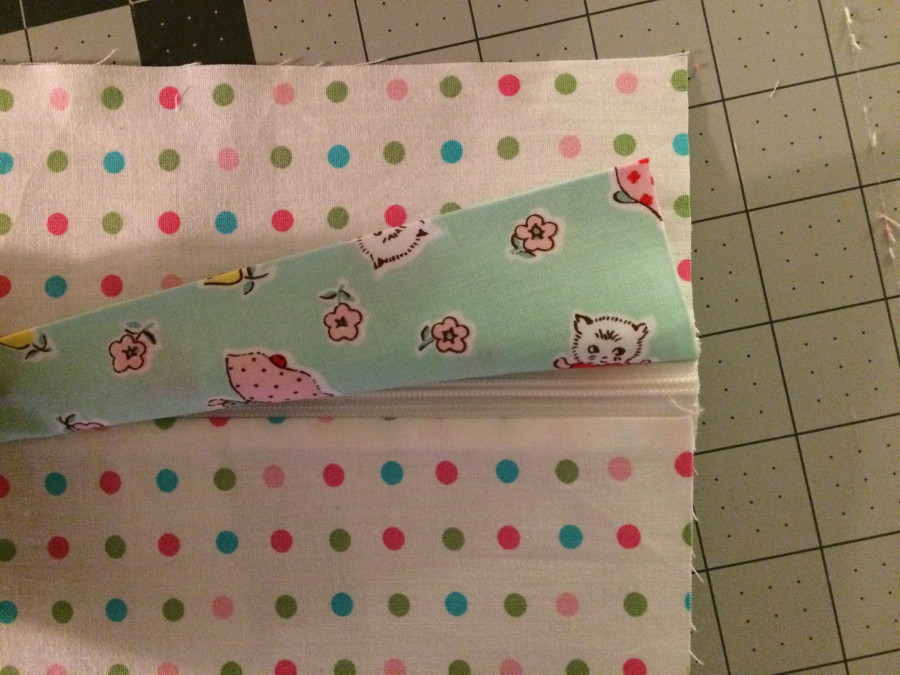 Trim off the excess zipper. Treat this entire piece as the pillow back.
Finish the pillow
I choose to bind this pillow like you would a quilt. You could easily sew and turn the pillow and omit this step. You would position the pillow front and the pillow back right sides together and sew a 1/4″ seam around the entire pillow, making sure the zipper was partially open. Then turn right side out.
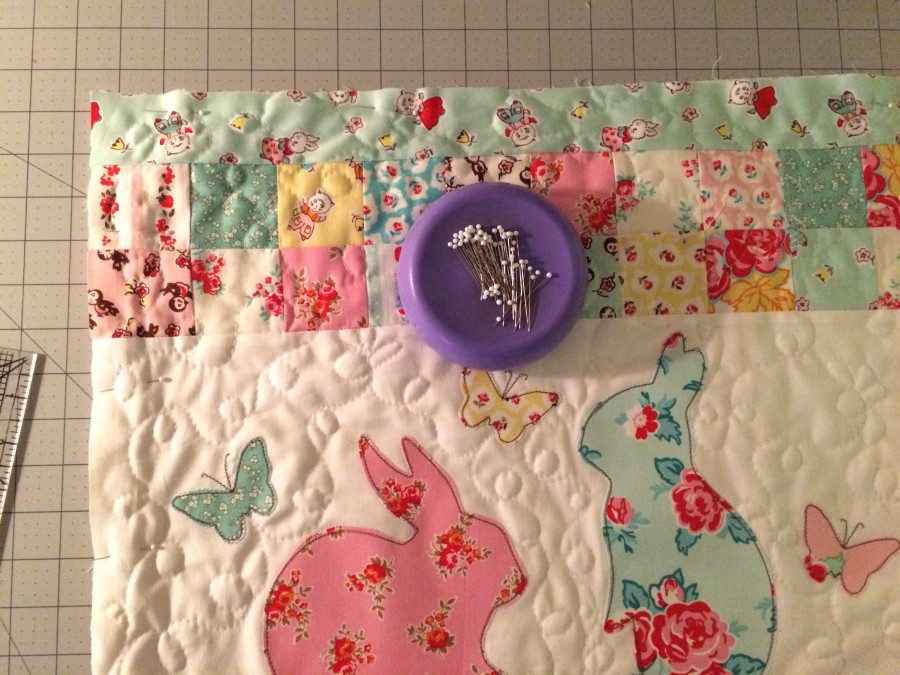 I wanted my pillow to have a cute binding! Lay the pillow front and the pillow back wrong sides together, matching all edges. Pin all the way around. Make sure the zipper is partially open. Sew a narrow basting stitch all the way around the pillow.
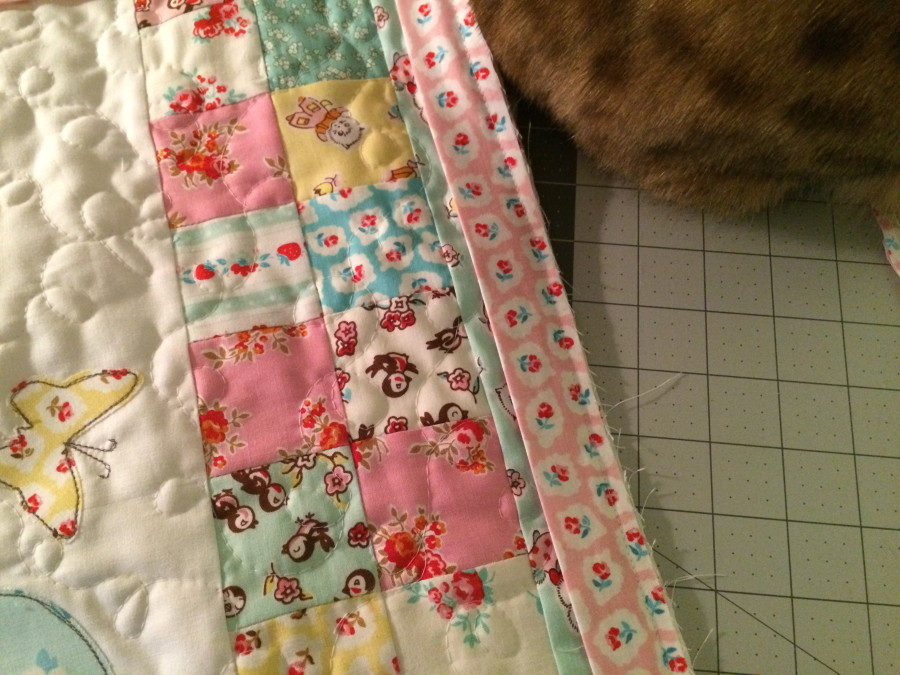 Make the binding as you would normally make for a quilt and sew it to the pillow just like you are sewing it onto a quilt. Then hand stitch in place.
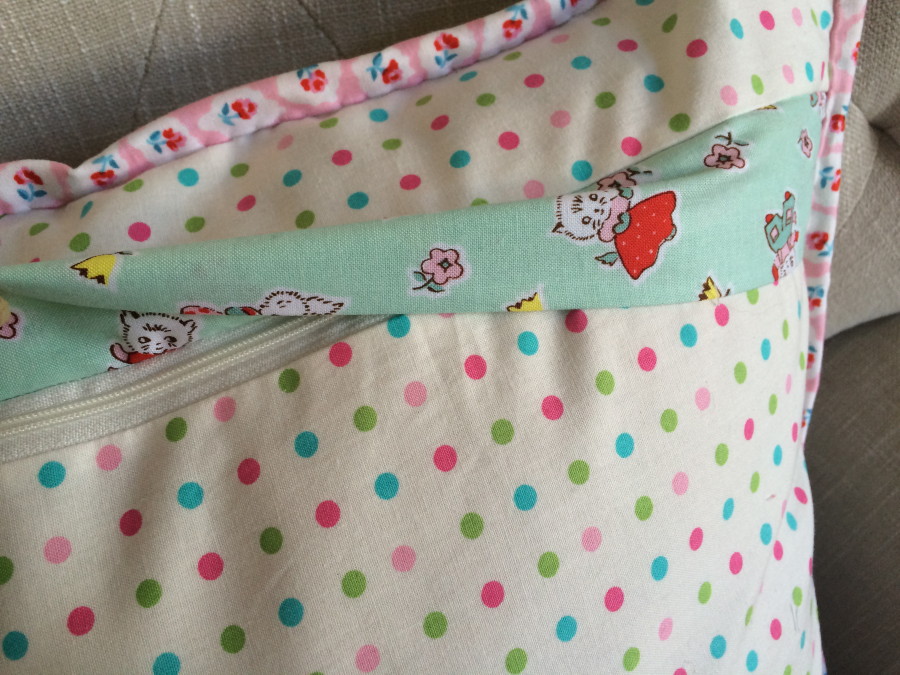 The pillow back is pretty cute – and a hidden zipper!
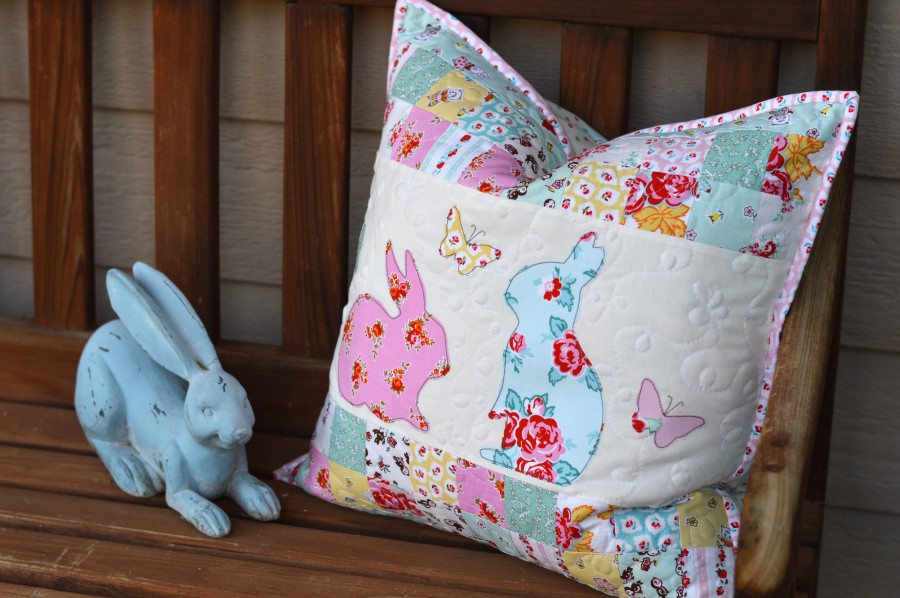 Which do you like better? The pillow or the quilt? I like them both!
14 Comments on EZ Print Bunny Applique Pillow and Mini Quilt
6Pingbacks & Trackbacks on EZ Print Bunny Applique Pillow and Mini Quilt
-
[…] house is starting to look like a rabbit hutch! (hahaha!!) I am sharing this pattern over on the Therm O Web blog today! You can choose to make a mini quilt or a pillow! The fabrics are from Penny Rose Fabrics […]
-
[…] EZ Print Bunny Applique Pillow and Mini Quilt, by Amanda […]
-
[…] way to use up scraps from other Easter projects while adding a pop of color to your table! 10. Bunny Applique Pillow and Mini Quilt – Sweet little bunnies and butterflies adorn this Easter pillow and mini quilt, combining […]
-
[…] Bunny Applique Pillow and Mini Quilt – Sweet little bunnies and butterflies adorn this Easter pillow and mini quilt, combining […]
-
[…] EZ Print Bunny Applique Pillow and Mini Quilt […]
-
[…] sure to check out this spring bunny quilt tutorial also from […]

Denise Bryant
March 17, 2016 at 12:57 pm (9 years ago)So sweet! Love the kitty too!
Susan
March 18, 2016 at 3:48 pm (9 years ago)Thank you so much for sharing this adorable bunny!
Lisa in Texas
March 24, 2016 at 6:07 pm (9 years ago)I am going to make this before Easter. Have all the supplies. Thank you for the tutorial and pattern. So cute
Carolyn
June 23, 2016 at 9:37 pm (9 years ago)I love bunnies! Thanks for the great idea.
Linda
March 16, 2017 at 3:56 pm (8 years ago)Is it possible to offer the bunny and butterfly silouettes without all the black ink?… just the outlines? Seems like a waste of ink to me.
admin
March 16, 2017 at 6:44 pm (8 years ago)Hi Linda..that is a great idea. Something you could do is print this in “draft” on your printer which uses less ink. Or if you have a photo editing program…just crop out the inside to eliminate some of the ink usage. Hope that helps!
Maureen Mate
March 18, 2022 at 9:38 am (3 years ago)It would help more if your templates were provided as outlines. Ink is expensive!
admin
March 23, 2022 at 9:16 am (3 years ago)Thank you Maureen for the tip…we will share with the designers. Please keep in mind these are free patterns we offer to you.