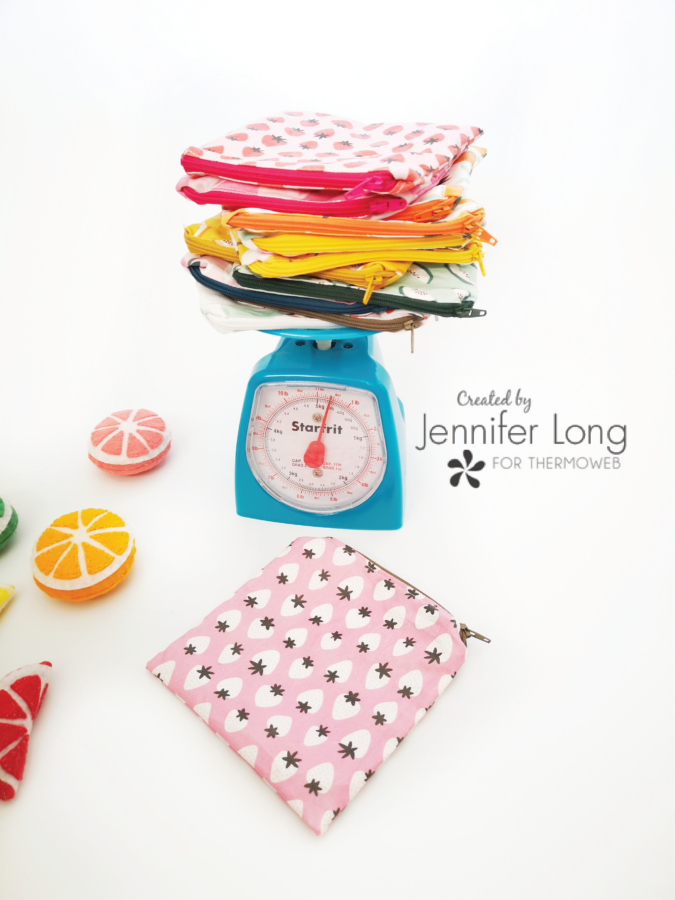
Let’s get organized and do our part to save the earth at the same time! Hi, this is Jennifer Long from Bee Sew Inspired, designer, blogger and mother of 4. Today I am sharing with you my go-to Snack Bag Tutorial with an amazing twist! Liquid Vinyl!
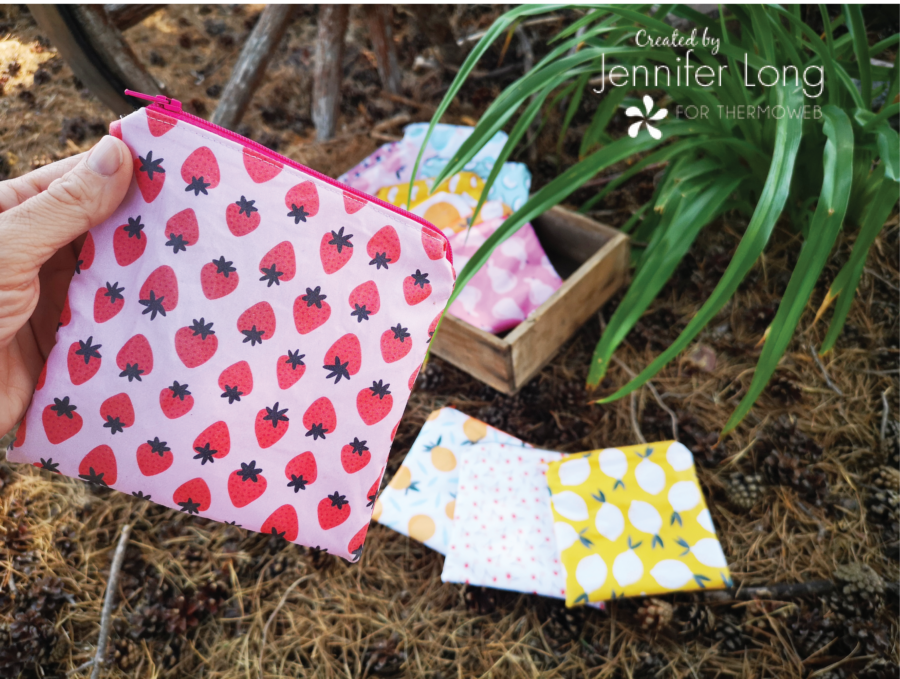
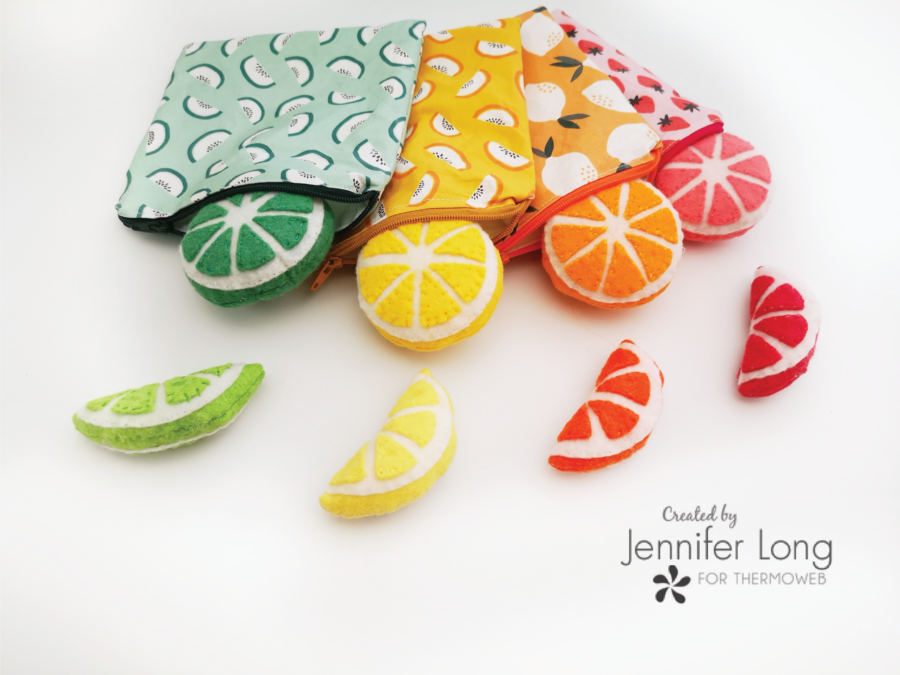
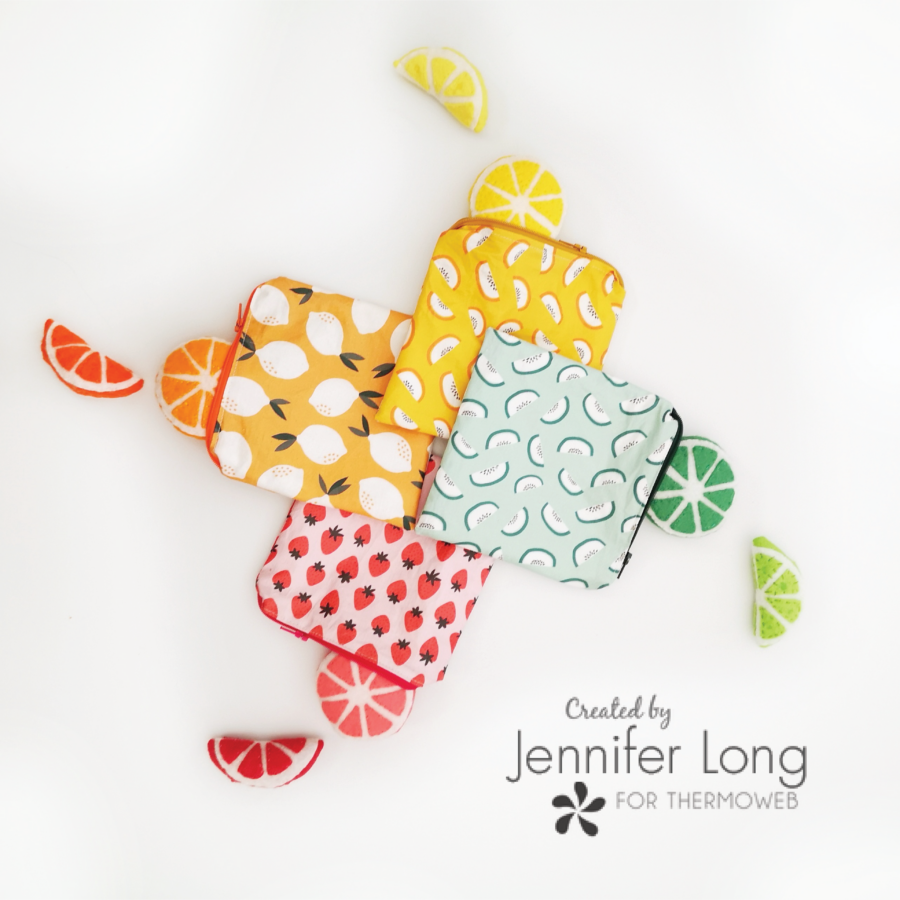
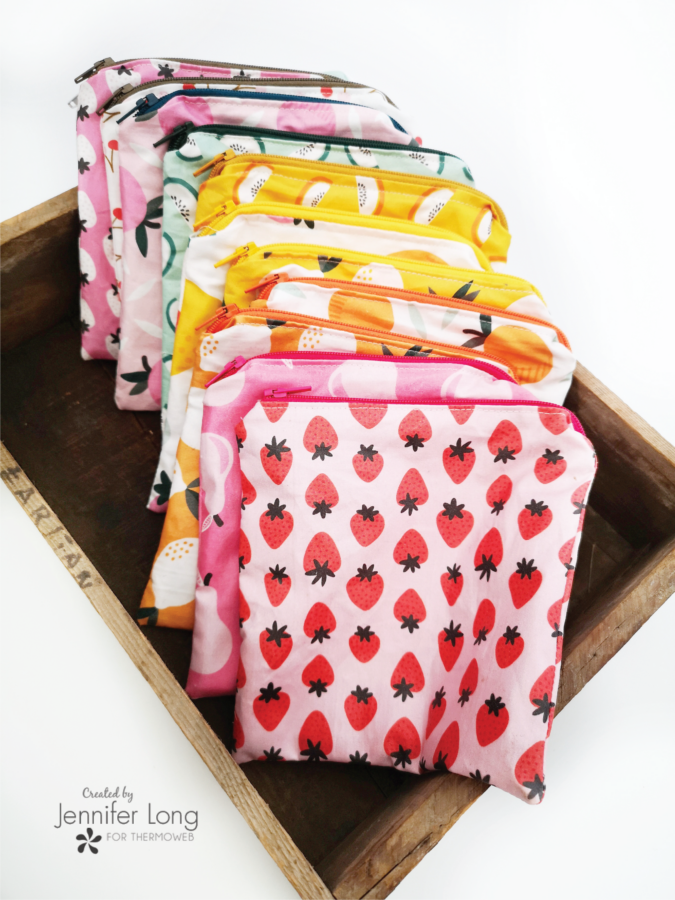
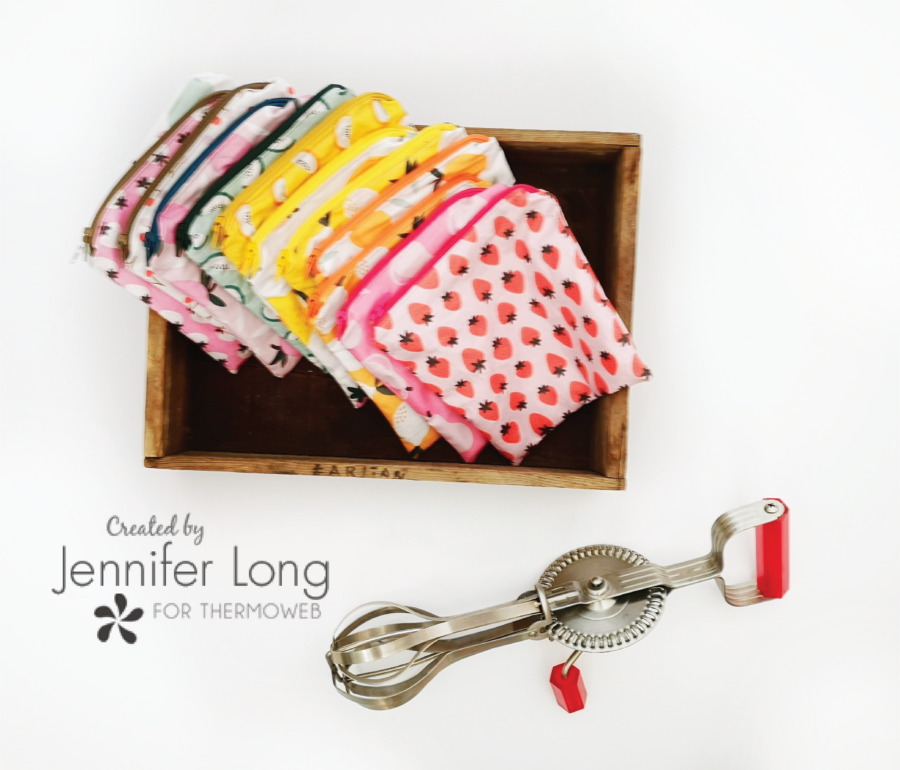
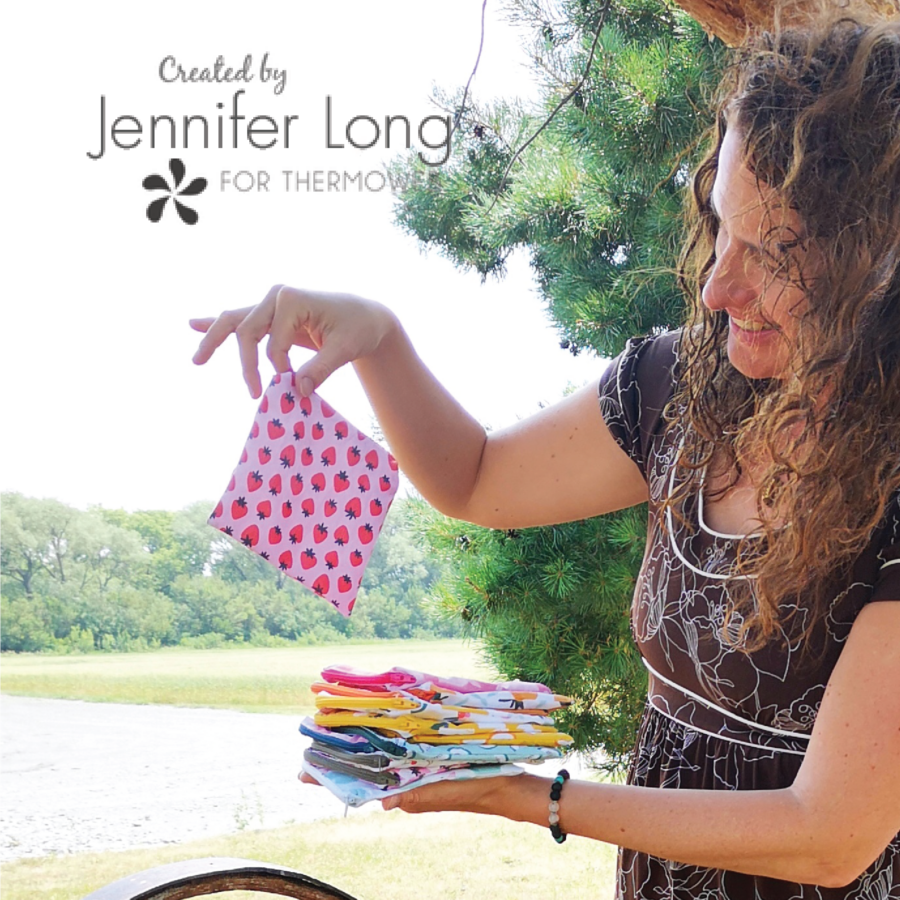
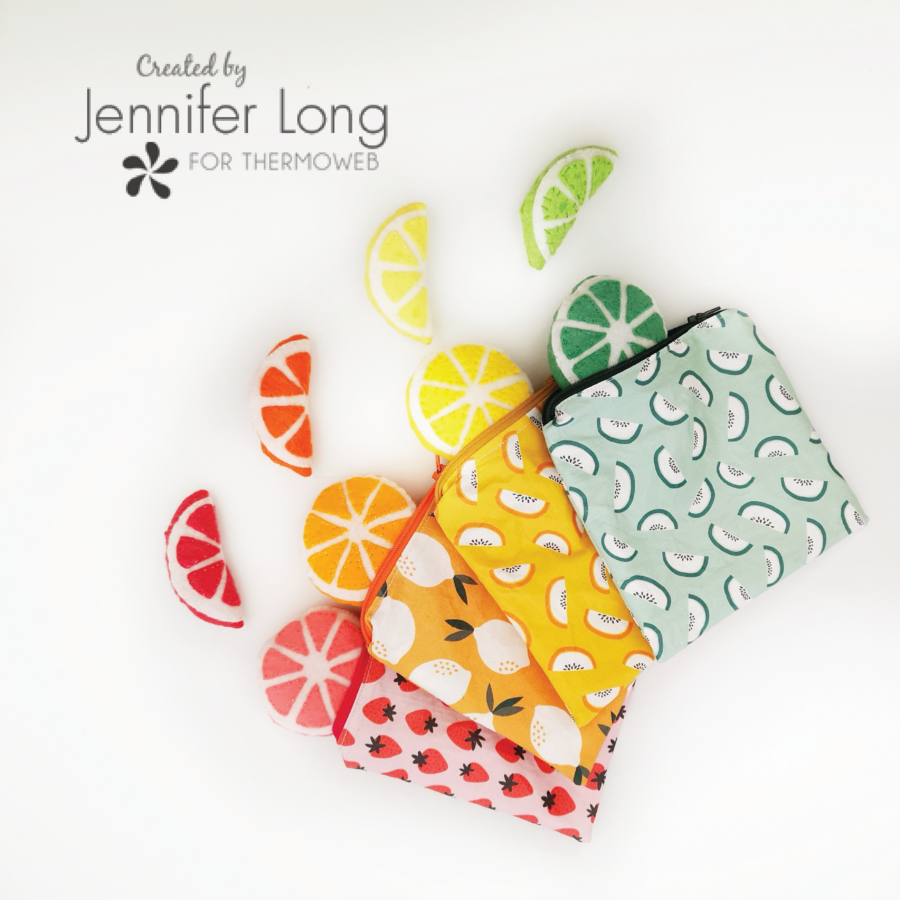
I love making these fun and fast snack bags. Our family uses them for EVERYTHING from snacks and lunches, to money for school, to goggles at the pool, toys, playing cards and so much more! They are fully washable and reusable so it is wonderful to know we also are teaching our children how to take care of the planet too!
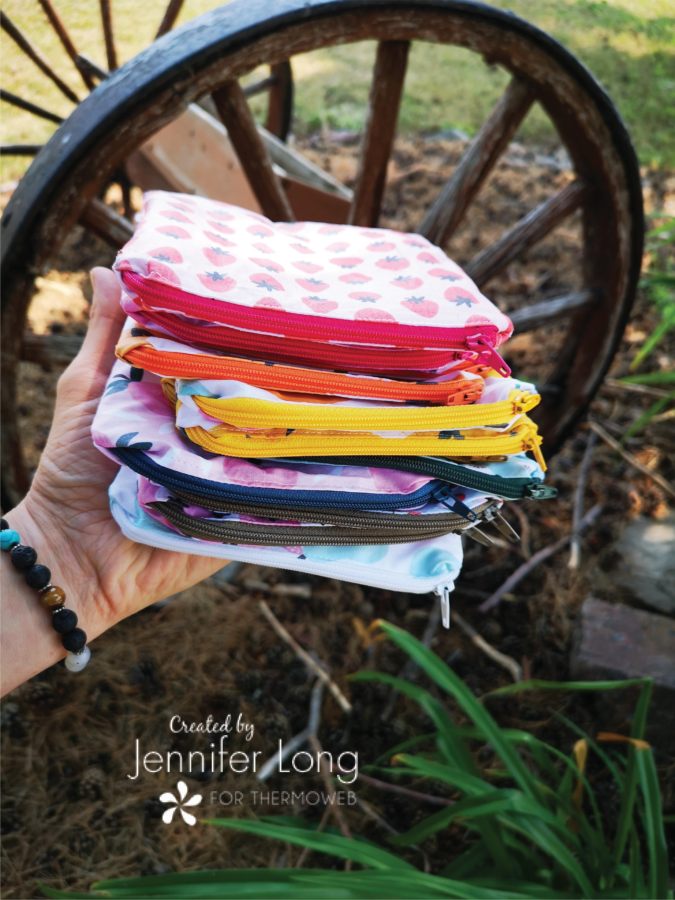
What is even more fun is choosing your favorite fabrics from your stash, matching colorful zippers and zipper pulls, and personalize it! I am adding a game-changing step and using this wonderful new product from Thermoweb called Liquid Vinyl to give them a waterproof outer layer! This will really come in handy at the pool, next to cold packs in the lunch, and really, anywhere on the go! Let’s get started:
What You Need:
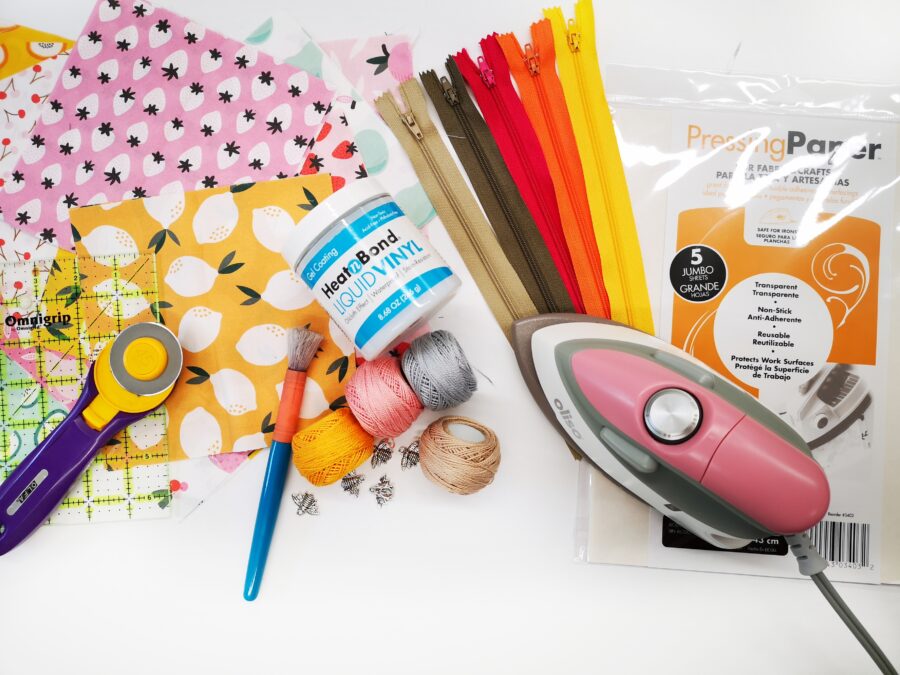
2 squares of fabric cut to 6 1/2″ square (I am using Fruity by Maja Faber for Paint Brush Studio Fabrics)
2 squares of lining fabric cut to 6 1/2″ square (I use white ripstop that is food safe)
1 standard zipper at least 7″ or longer
Other supplies Paintbrush, parchment paper, iron and sewing supplies
Optional: zipper pull and string or craft wire
Instructions:
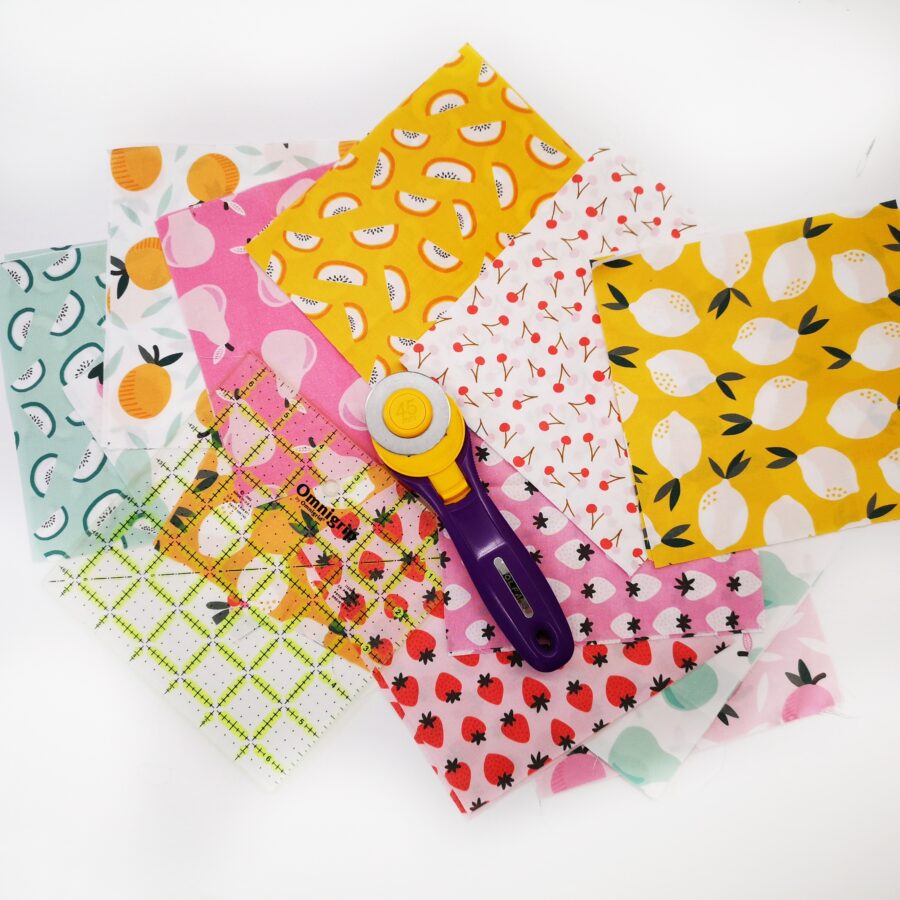
1. Cut 2 squares of cotton fabric for the outer layers of each bag you will be making.
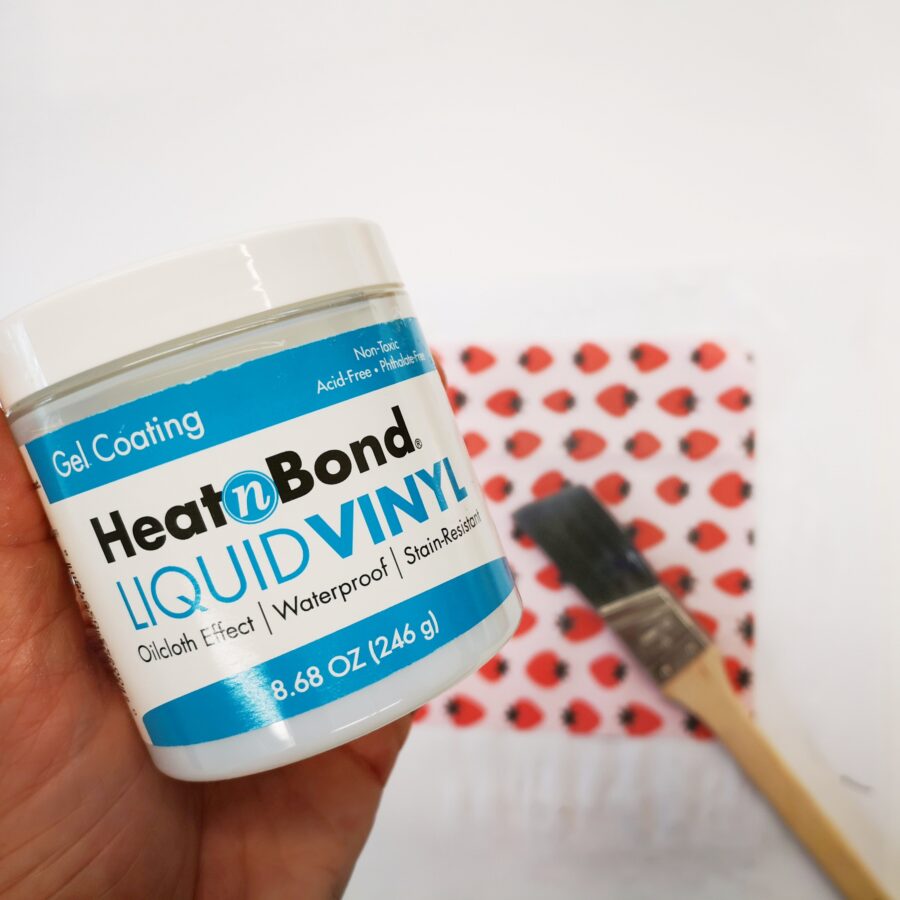
2. Place fabric squares on parchment paper and using a soft-bristled paintbrush, paint on a thin layer of HeatnBond Liquid Vinyl covering the entire fabric square. Set aside and let dry for at least 30 minutes. (Make sure to wash your brush and cover the container back up again.)
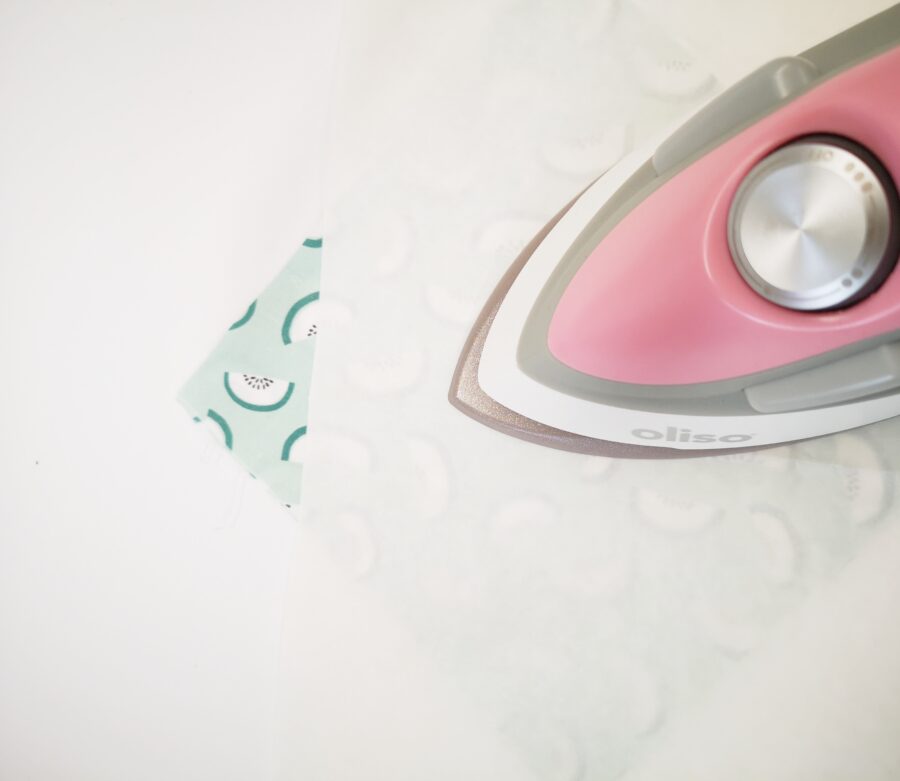
3. Pre-heat your iron to medium heat (with no steam), cover with HeatnBond Pressing Paper or a non-stick pressing sheet. Press for 45 seconds, moving iron slightly. Remove pressing paper and cool.
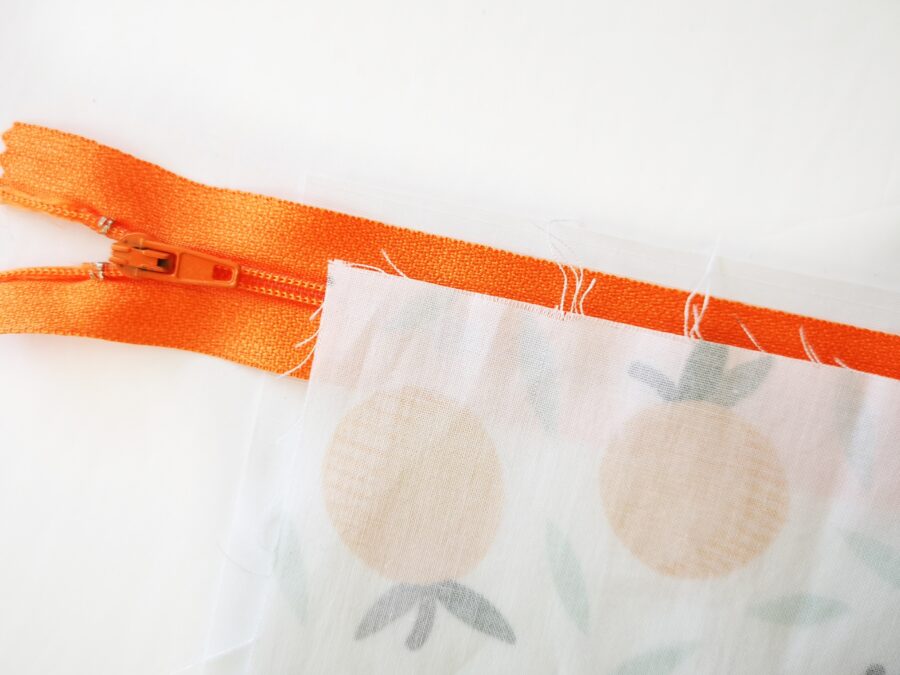
4. Start by making a zipper sandwich: Place the lining square, right side up on the table, then your zipper right side up, then your outer fabric right side down as shown. Note: the zipper should be hanging out on either side of the bag. Sew all 3 layers together as close to the zipper teeth as you can.
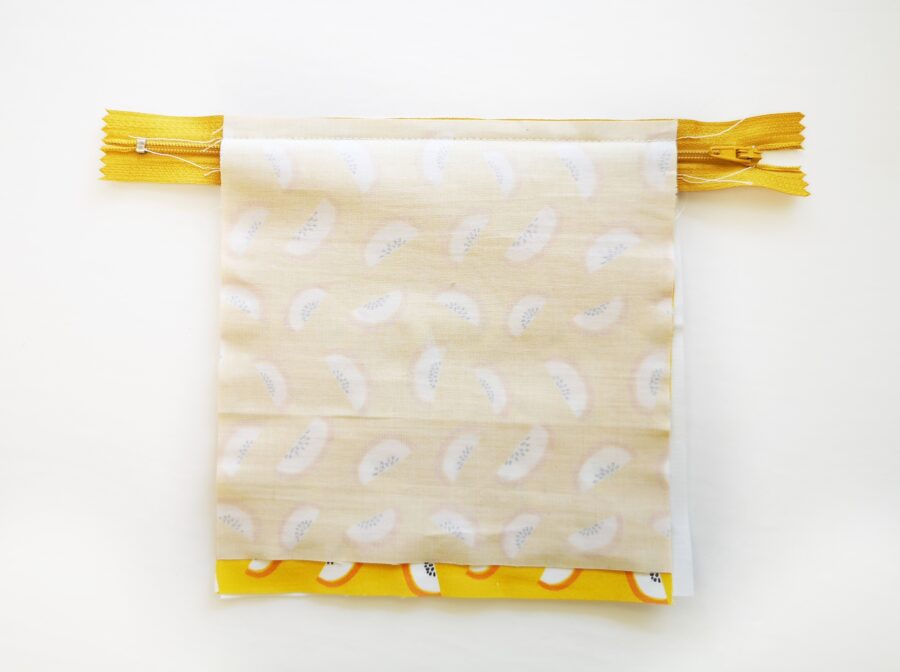
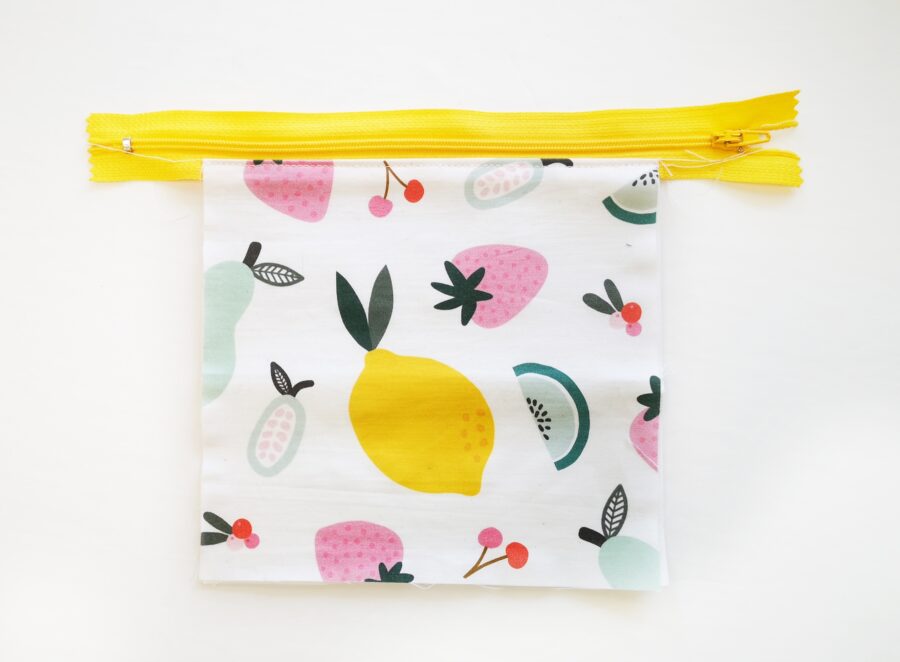
5. Flip the pieces over and top-stitch the layers down. Check to make sure you can open the zipper easily and you didn’t sew too close.
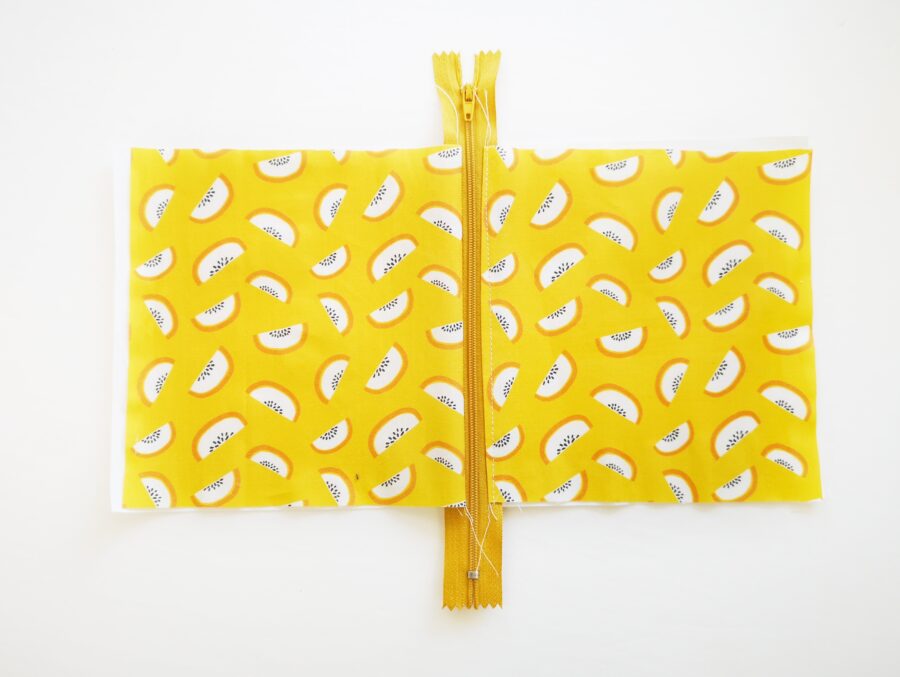
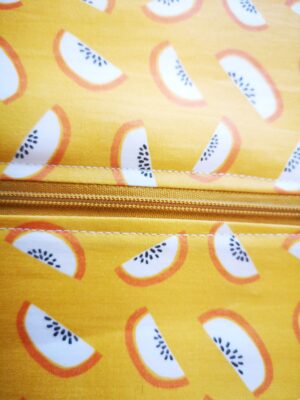
6. Repeat steps 4 & 5 on the other side of the zipper to make the 2nd zipper sandwich. Flip and topstitch down.
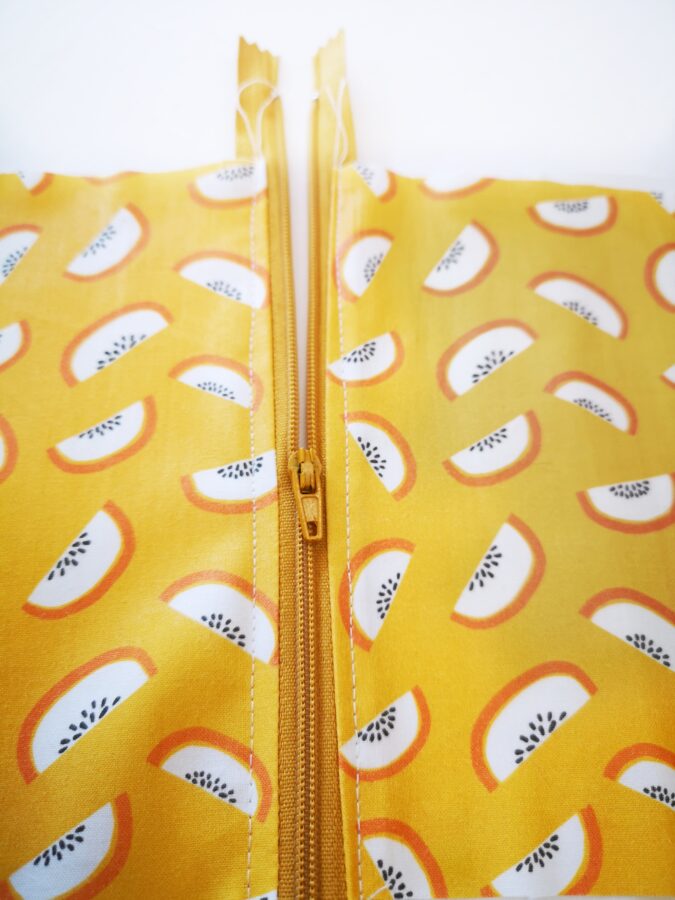
7. Next, unzip the zipper halfway to the middle. This is a very important step so you can turn your project afterward with ease.
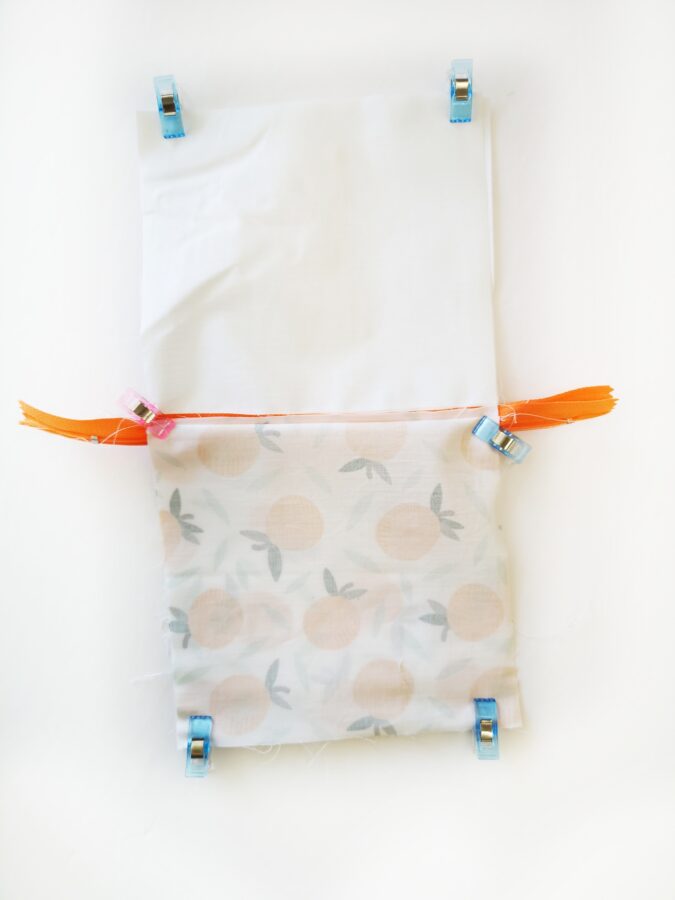
8. Flip both fabrics and lining so that both the outer layers and the lining layer are the right sizes together. Pin or clip in place around the entire perimeter.
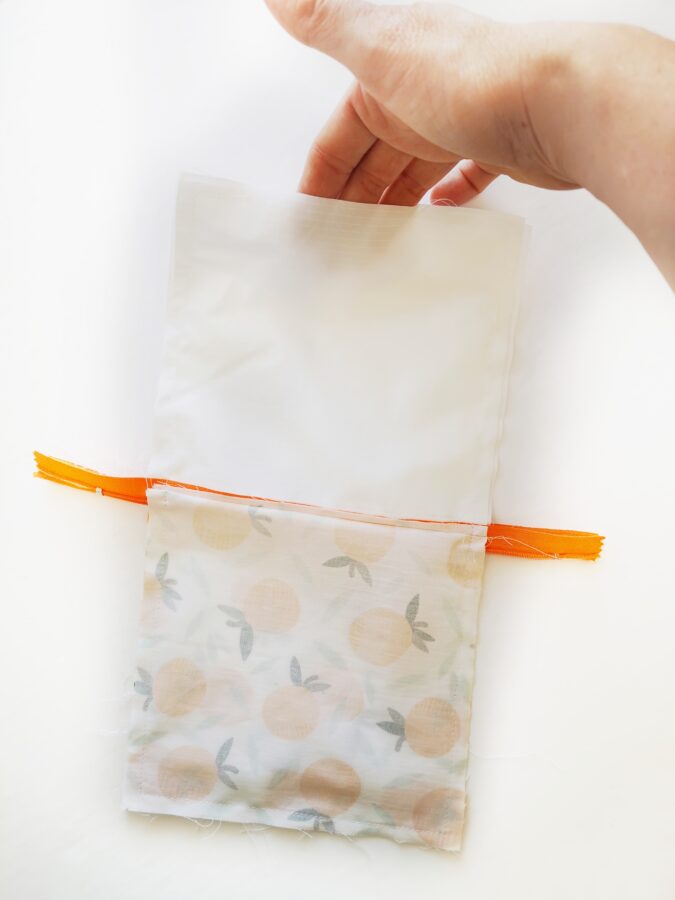
9. Starting 1/3rd from the corner on the bottom lining layer, sew around the entire rectangle leaving a small hole at the bottom of the lining for turning.
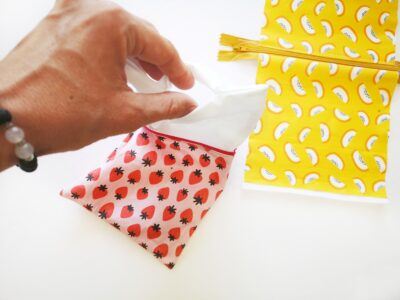
10. Turn the bag right side out using the half-opened zipper and the opening at the lining bottom. Use a turning tool or knitting needle to push the corners out neatly.
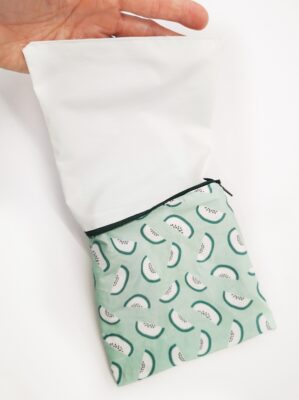
11. Sew the opening closed along the entire length of the bottom and then press the lining part of the bag fully into the outer layer of the bag.
12. Embellish with a zipper pull as desired. Children can help make these too. Be creative!
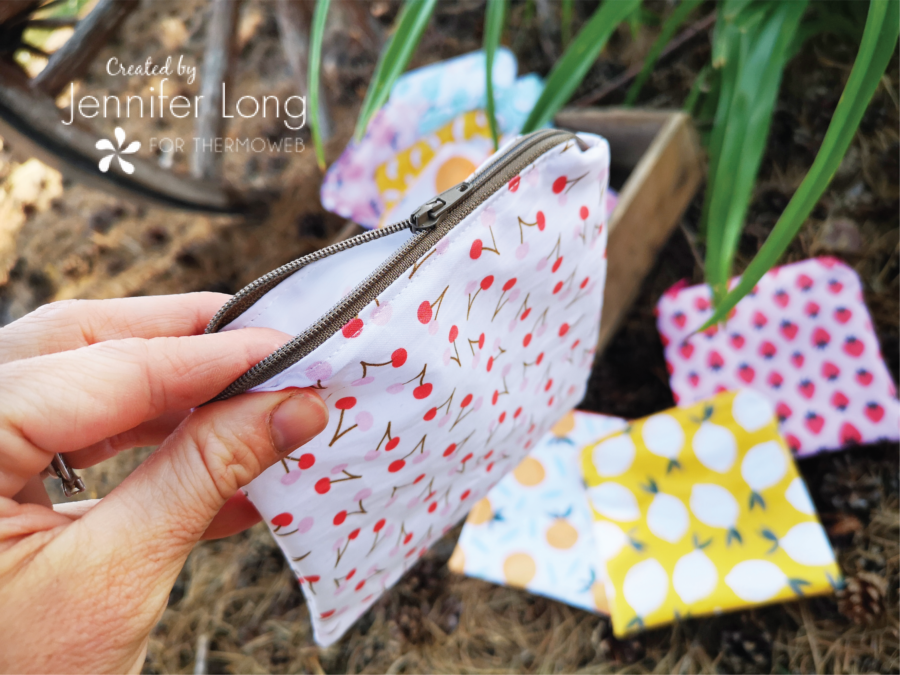
13. Your Snack Bag is now complete! Use, reuse and reuse again and again!
Don’t forget to share your makes and tag @beesewinspired for this Snack Bag Tutorial.
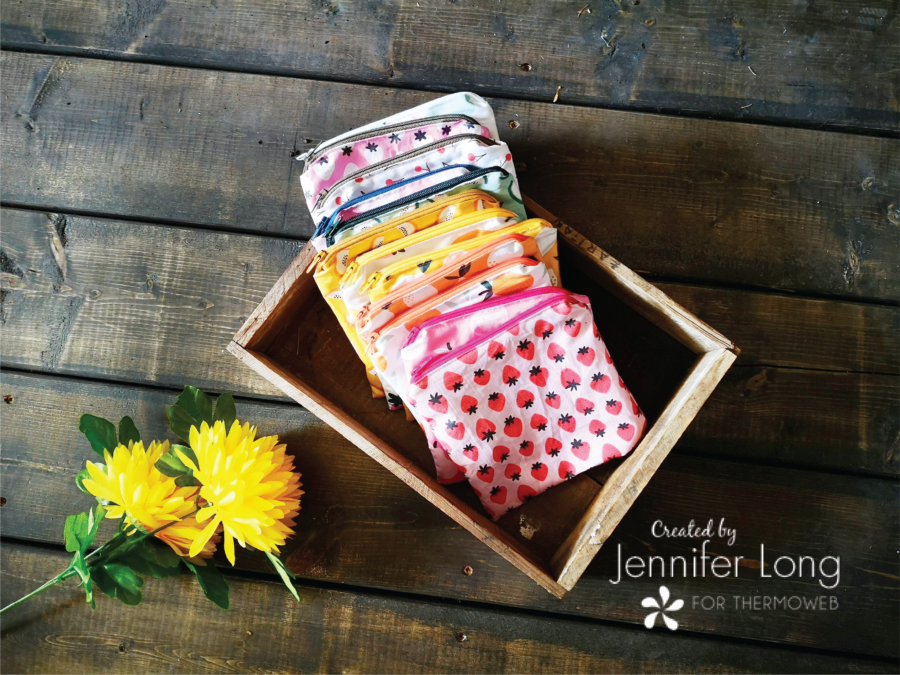
If you would like to watch this video tutorial on how to make this snack bag click HERE.
If you liked this tutorial, please come sign up for my FREE Newsletter and get inspired by my other tutorials and patterns HERE.
Thank you for joining me today! I can’t wait to see all the wonderful Snack Bags you will create!
Creatively Yours,
Jennifer Long
