
Hello and welcome!
It’s Julia from Inflorescence Designs! I’m so joyful you are visiting today.
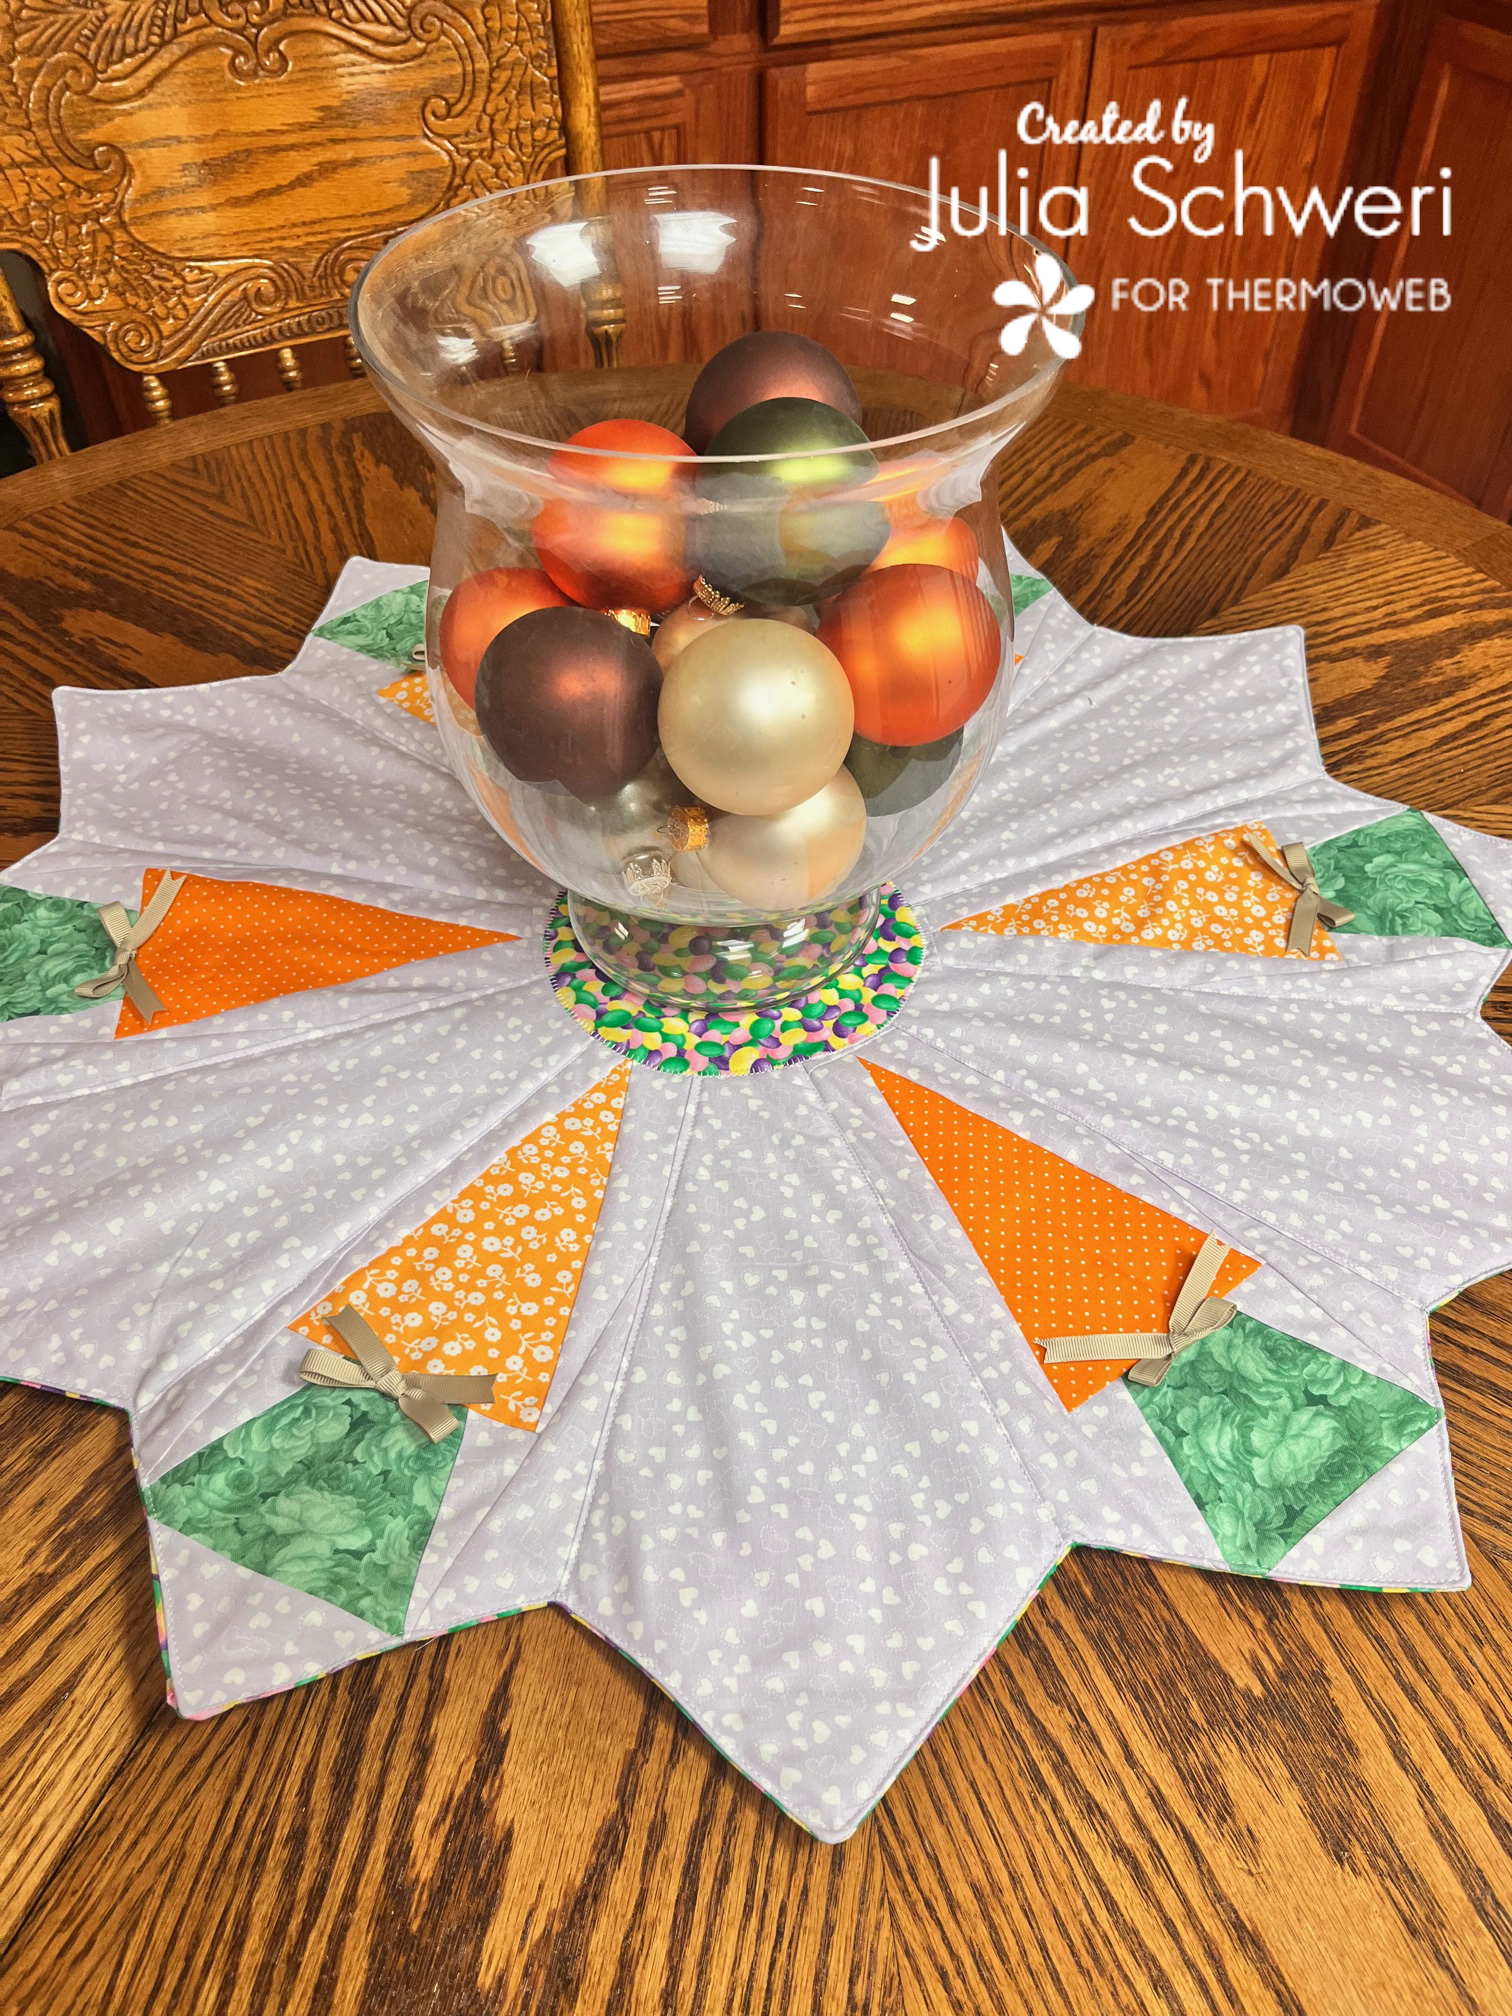
This week’s theme is all about Easter! My project for you today is a fun Dresden table topper. To make this exact table topper, you will need to download the quilt block pattern from Thermoweb’s Crafting Facebook page called Therm O Web Craft Room. There you will find not only this fun quilt block pattern but also other FREE blocks that are published monthly as part of a block-of-the-month feature. This pattern is from March 2023 BOM.
Easter Table Topper with StitchnSew Fleece
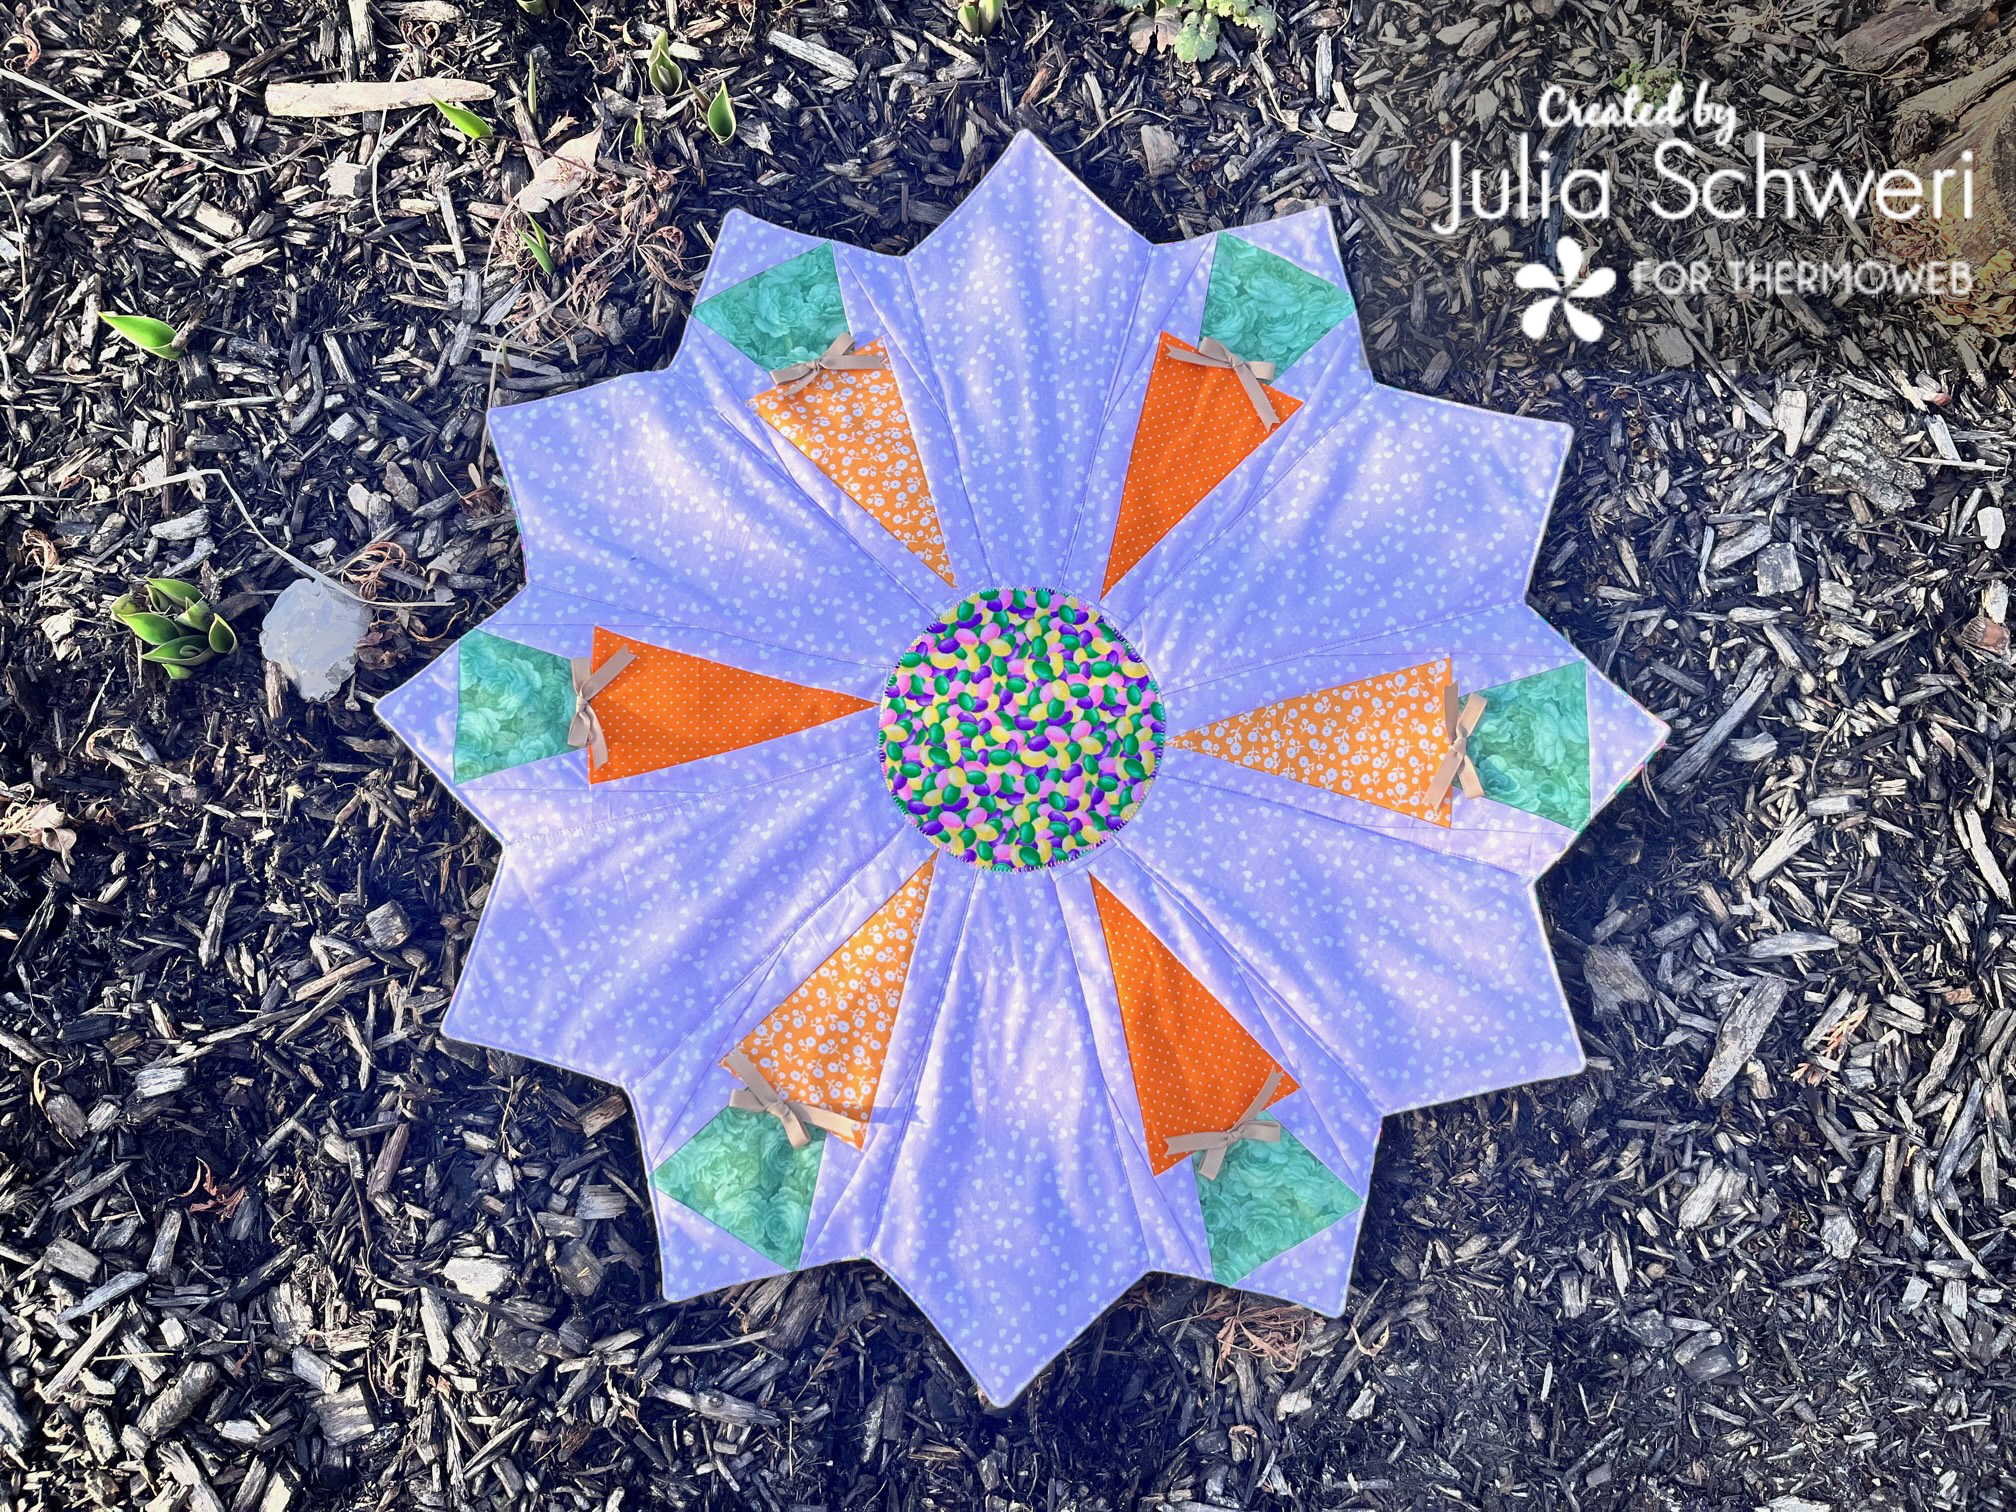
Supplies:
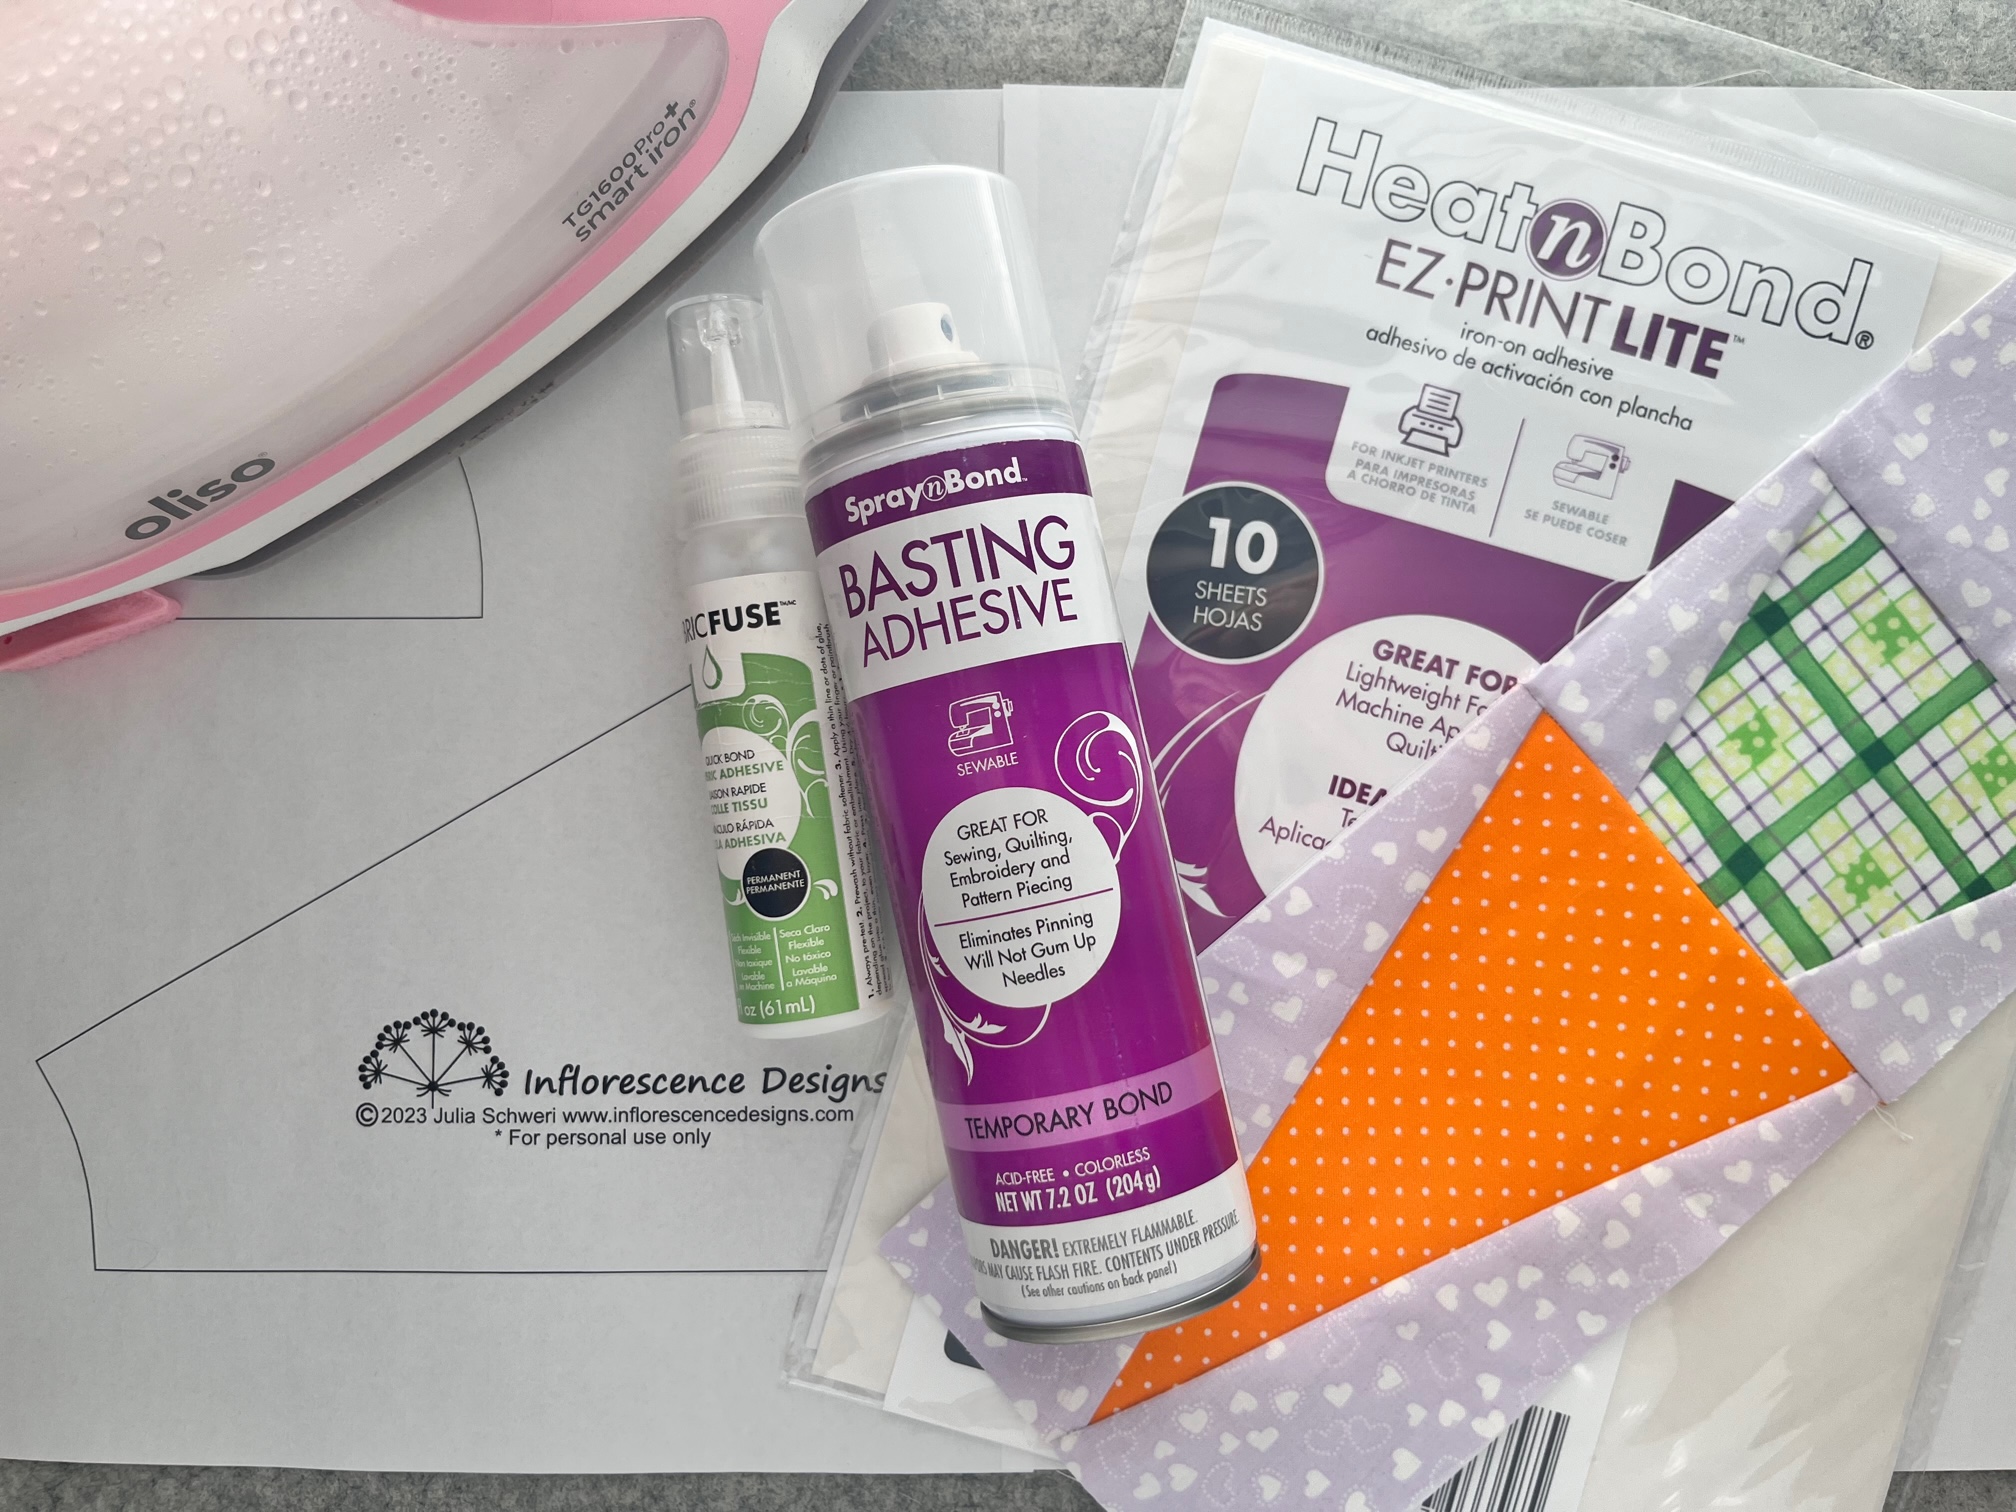
- Spring Table Topper PDF Pattern
- Thermoweb’s March BOM “Carrot” (6)
- 32″ square StichnSew Fleece or batting
- SpraynBond Basting Adhesive
- HeatnBond Fabric Fuse
- Additional fabric for Dresden Blades and block
extenders: 1 + yard - Each carrot block needs the following extenders:
(2) 3″ x 13 1/2″
(1) 1 1/2″ x 4 1/2″ - Oliso Iron
- Basic sewing notions
- Grosgrain ribbon: 6 (10″ each)
- 8″ square of coordinating fabric for center circle
- 8″ square HeatnBond Lite
Instructions:
Begin by making a Carrot Quilt Block. MAKE ONE AT A TIME. This project makes a lot of scraps that are easily used with the paper piecing pattern.
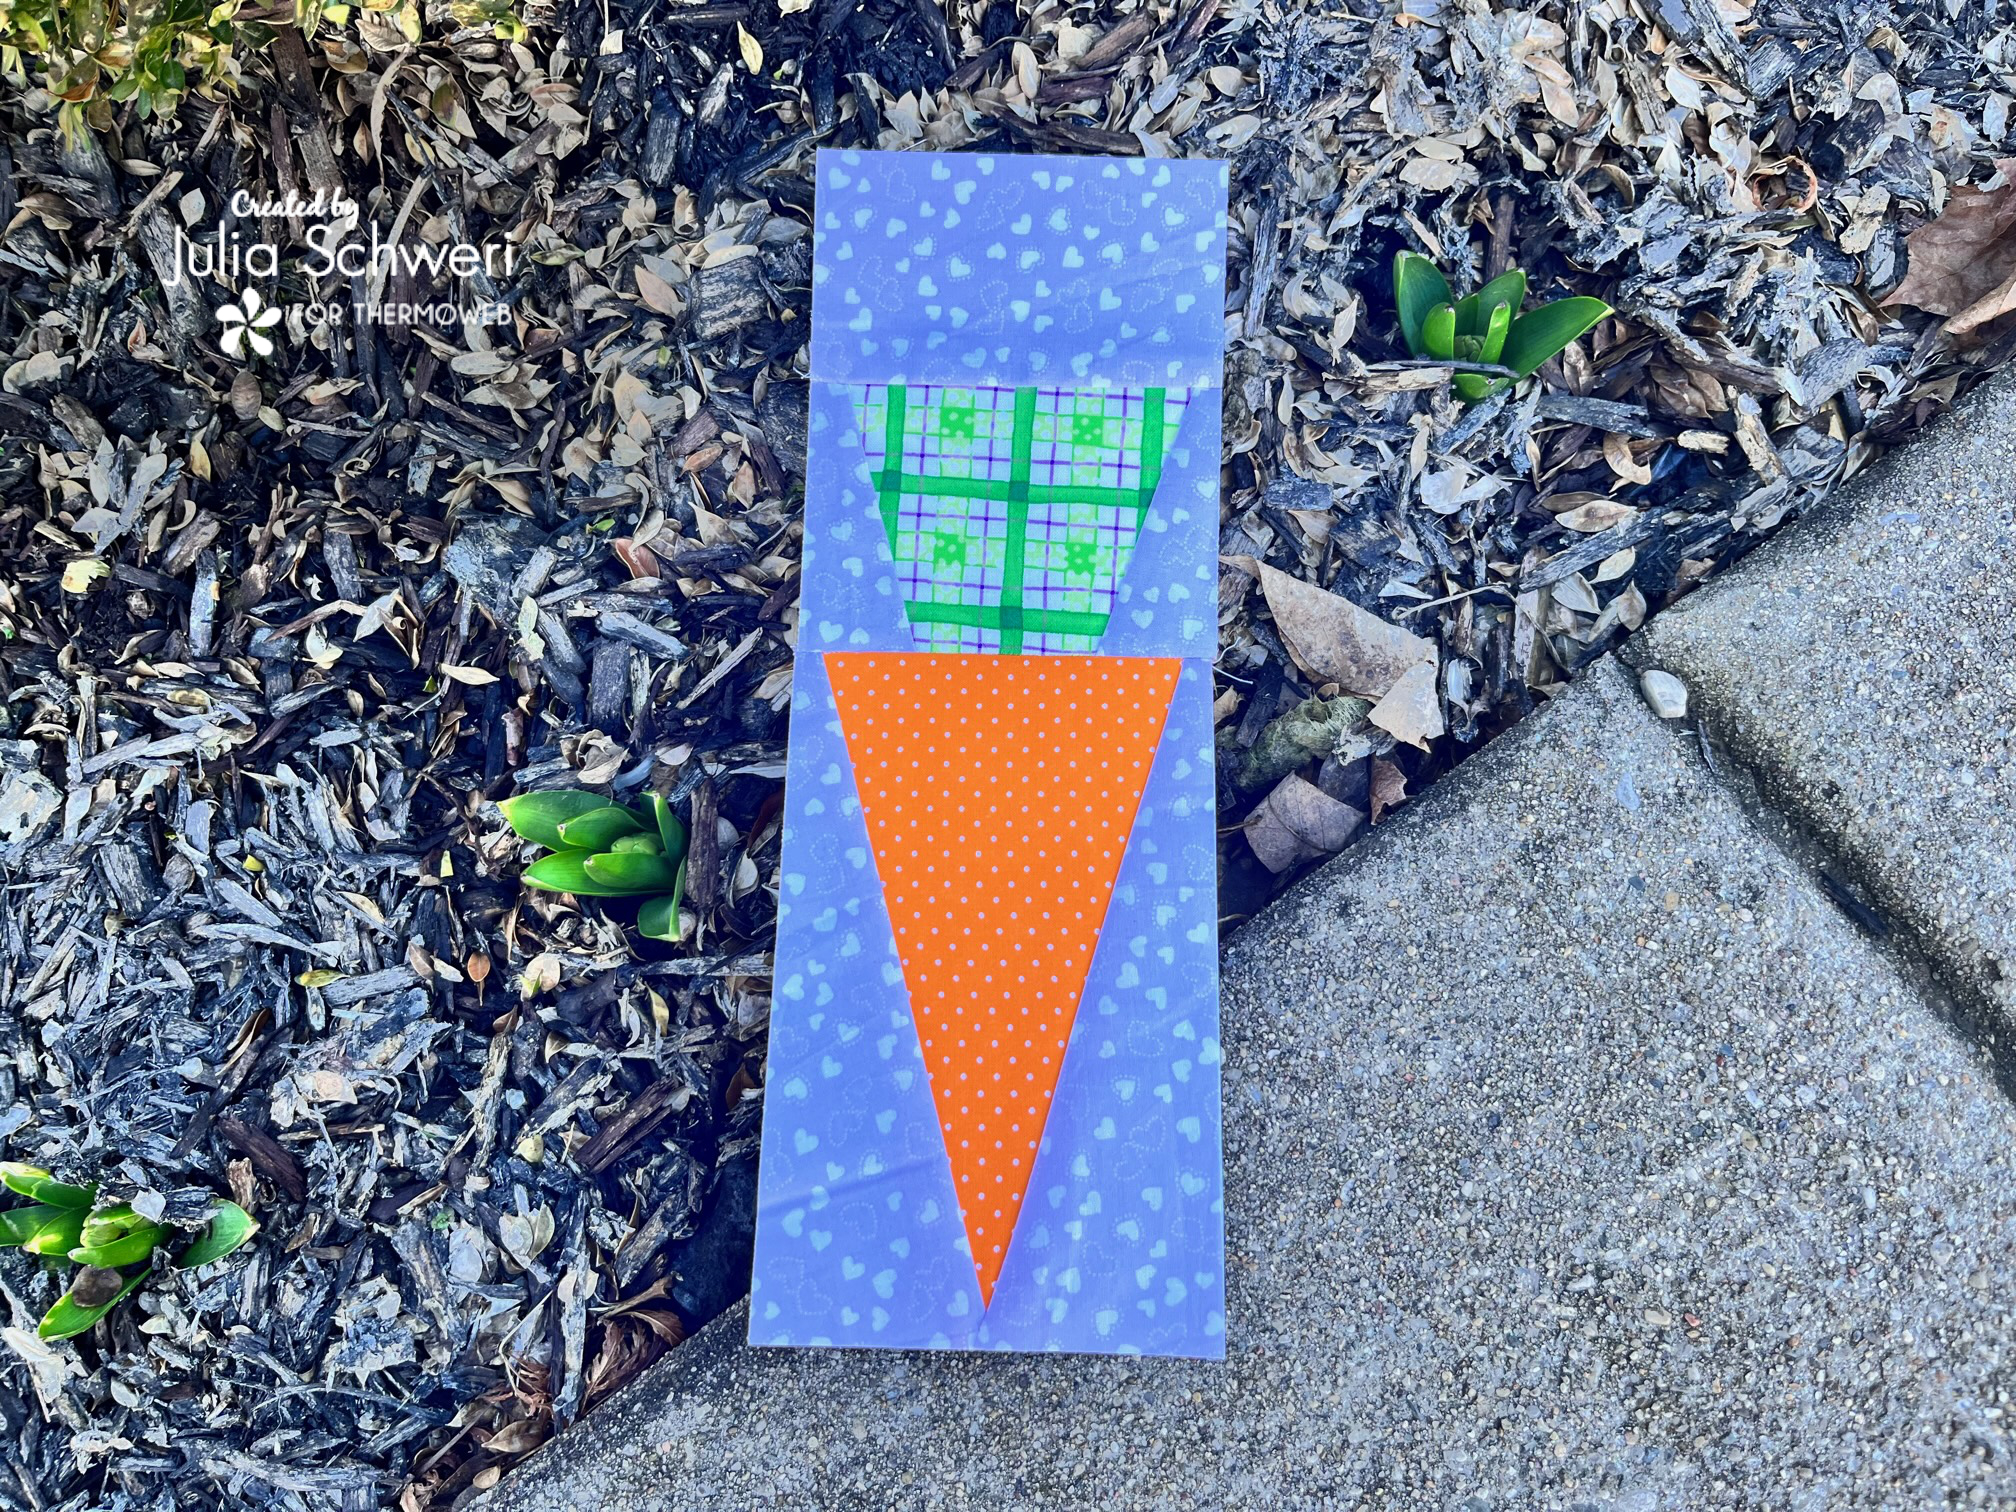
Next…
Once you have made ONE carrot quilt block, begin by first sewing the bottom block extender and then both side pieces. Press after attaching each side.
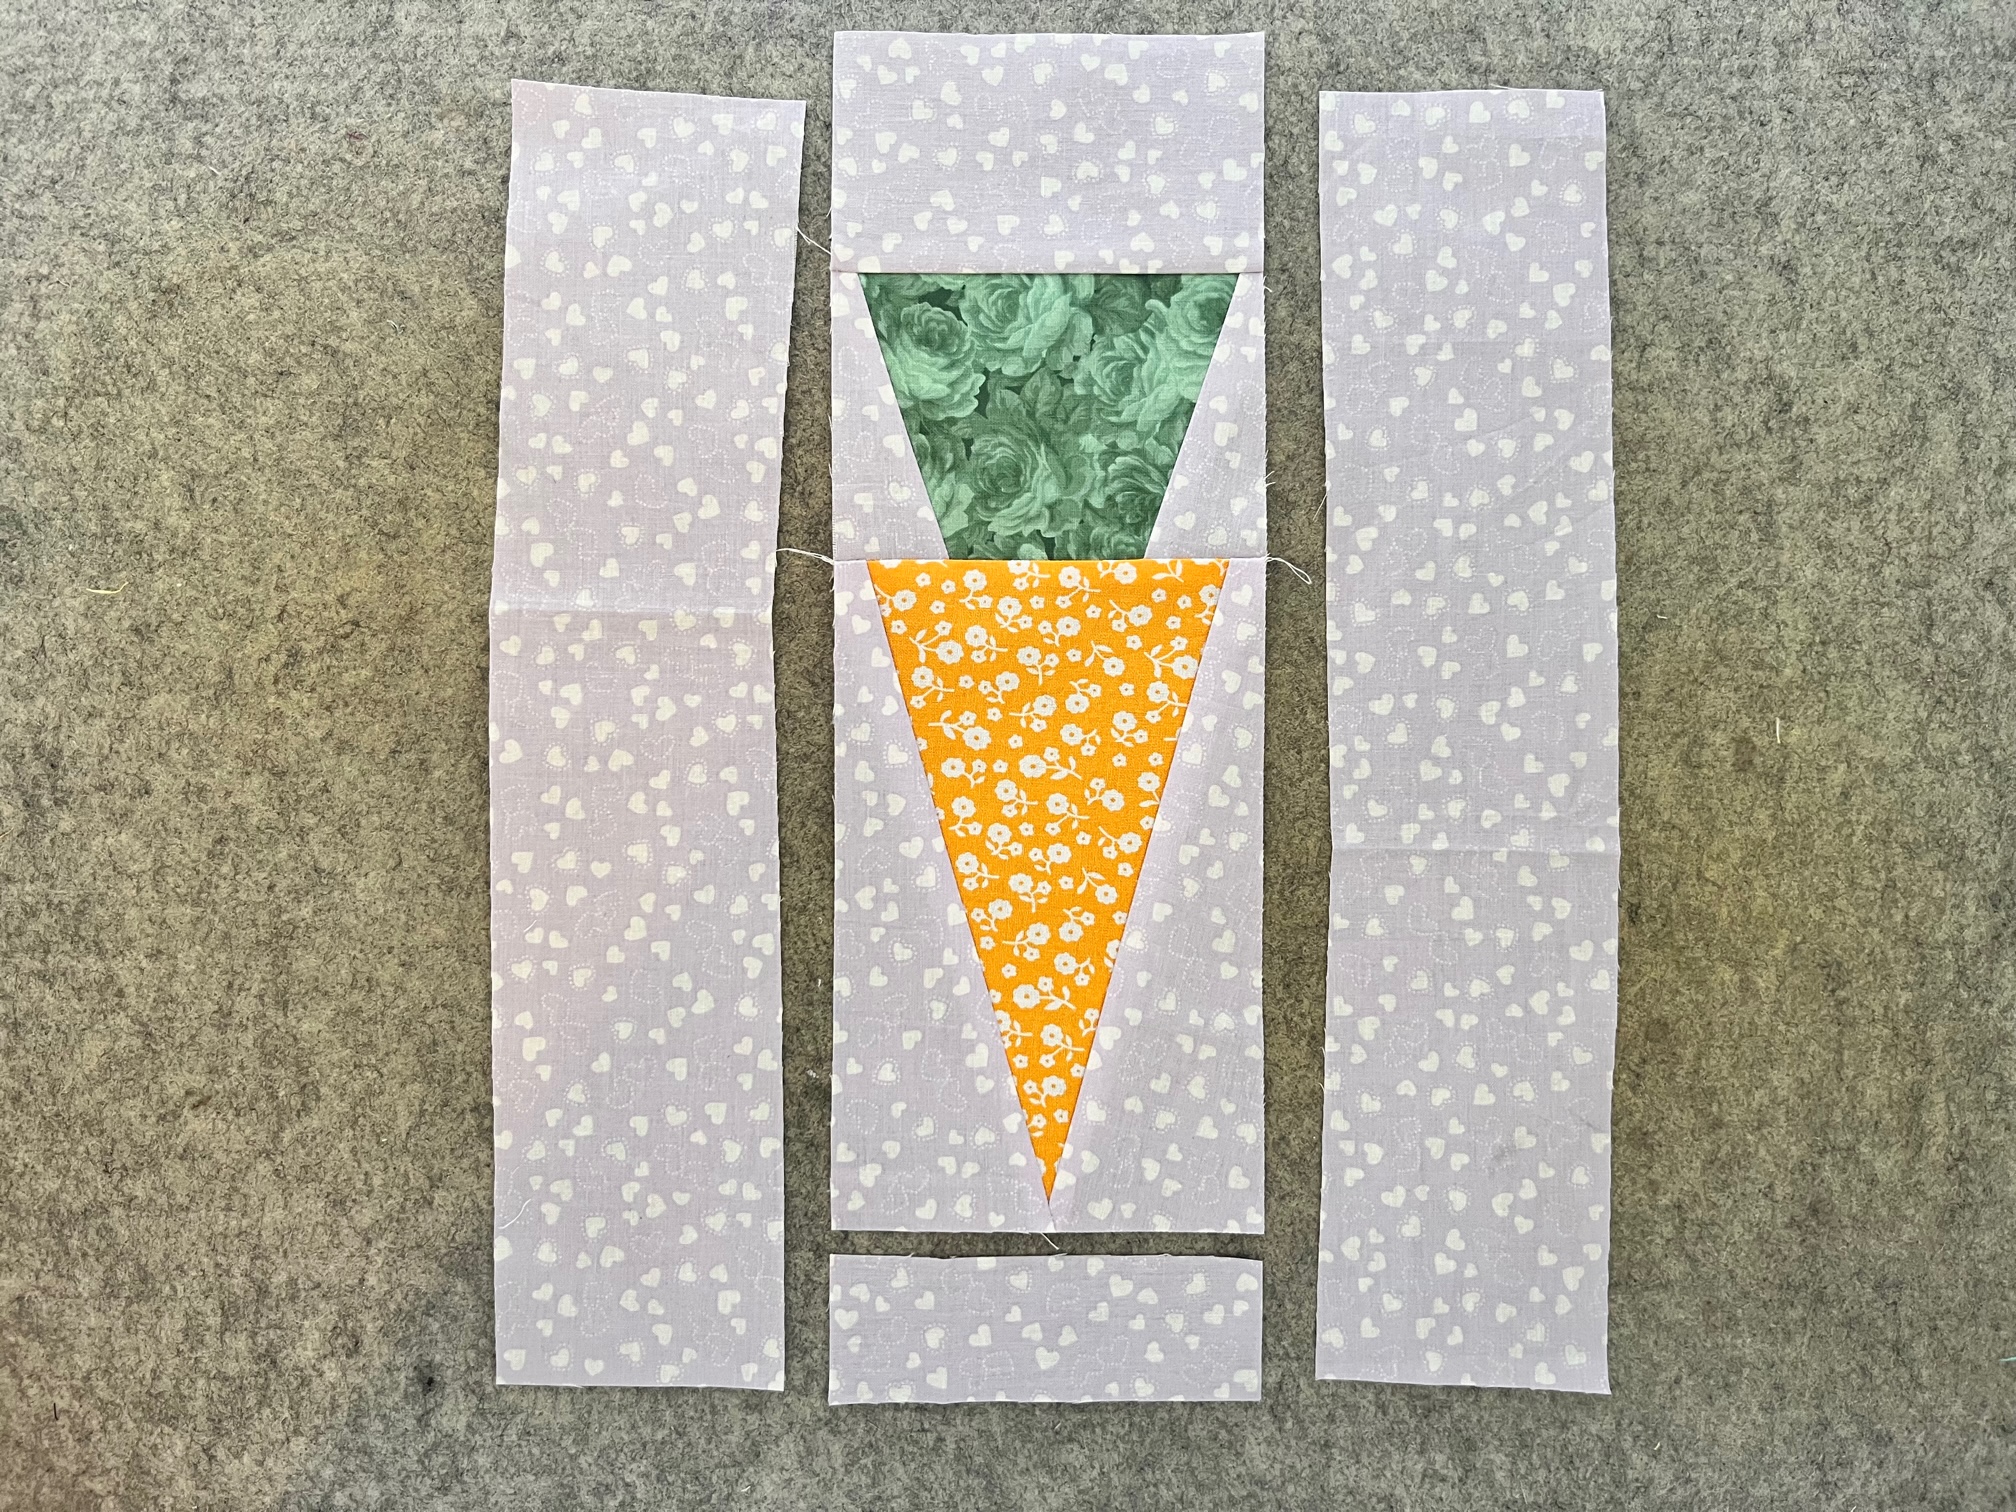
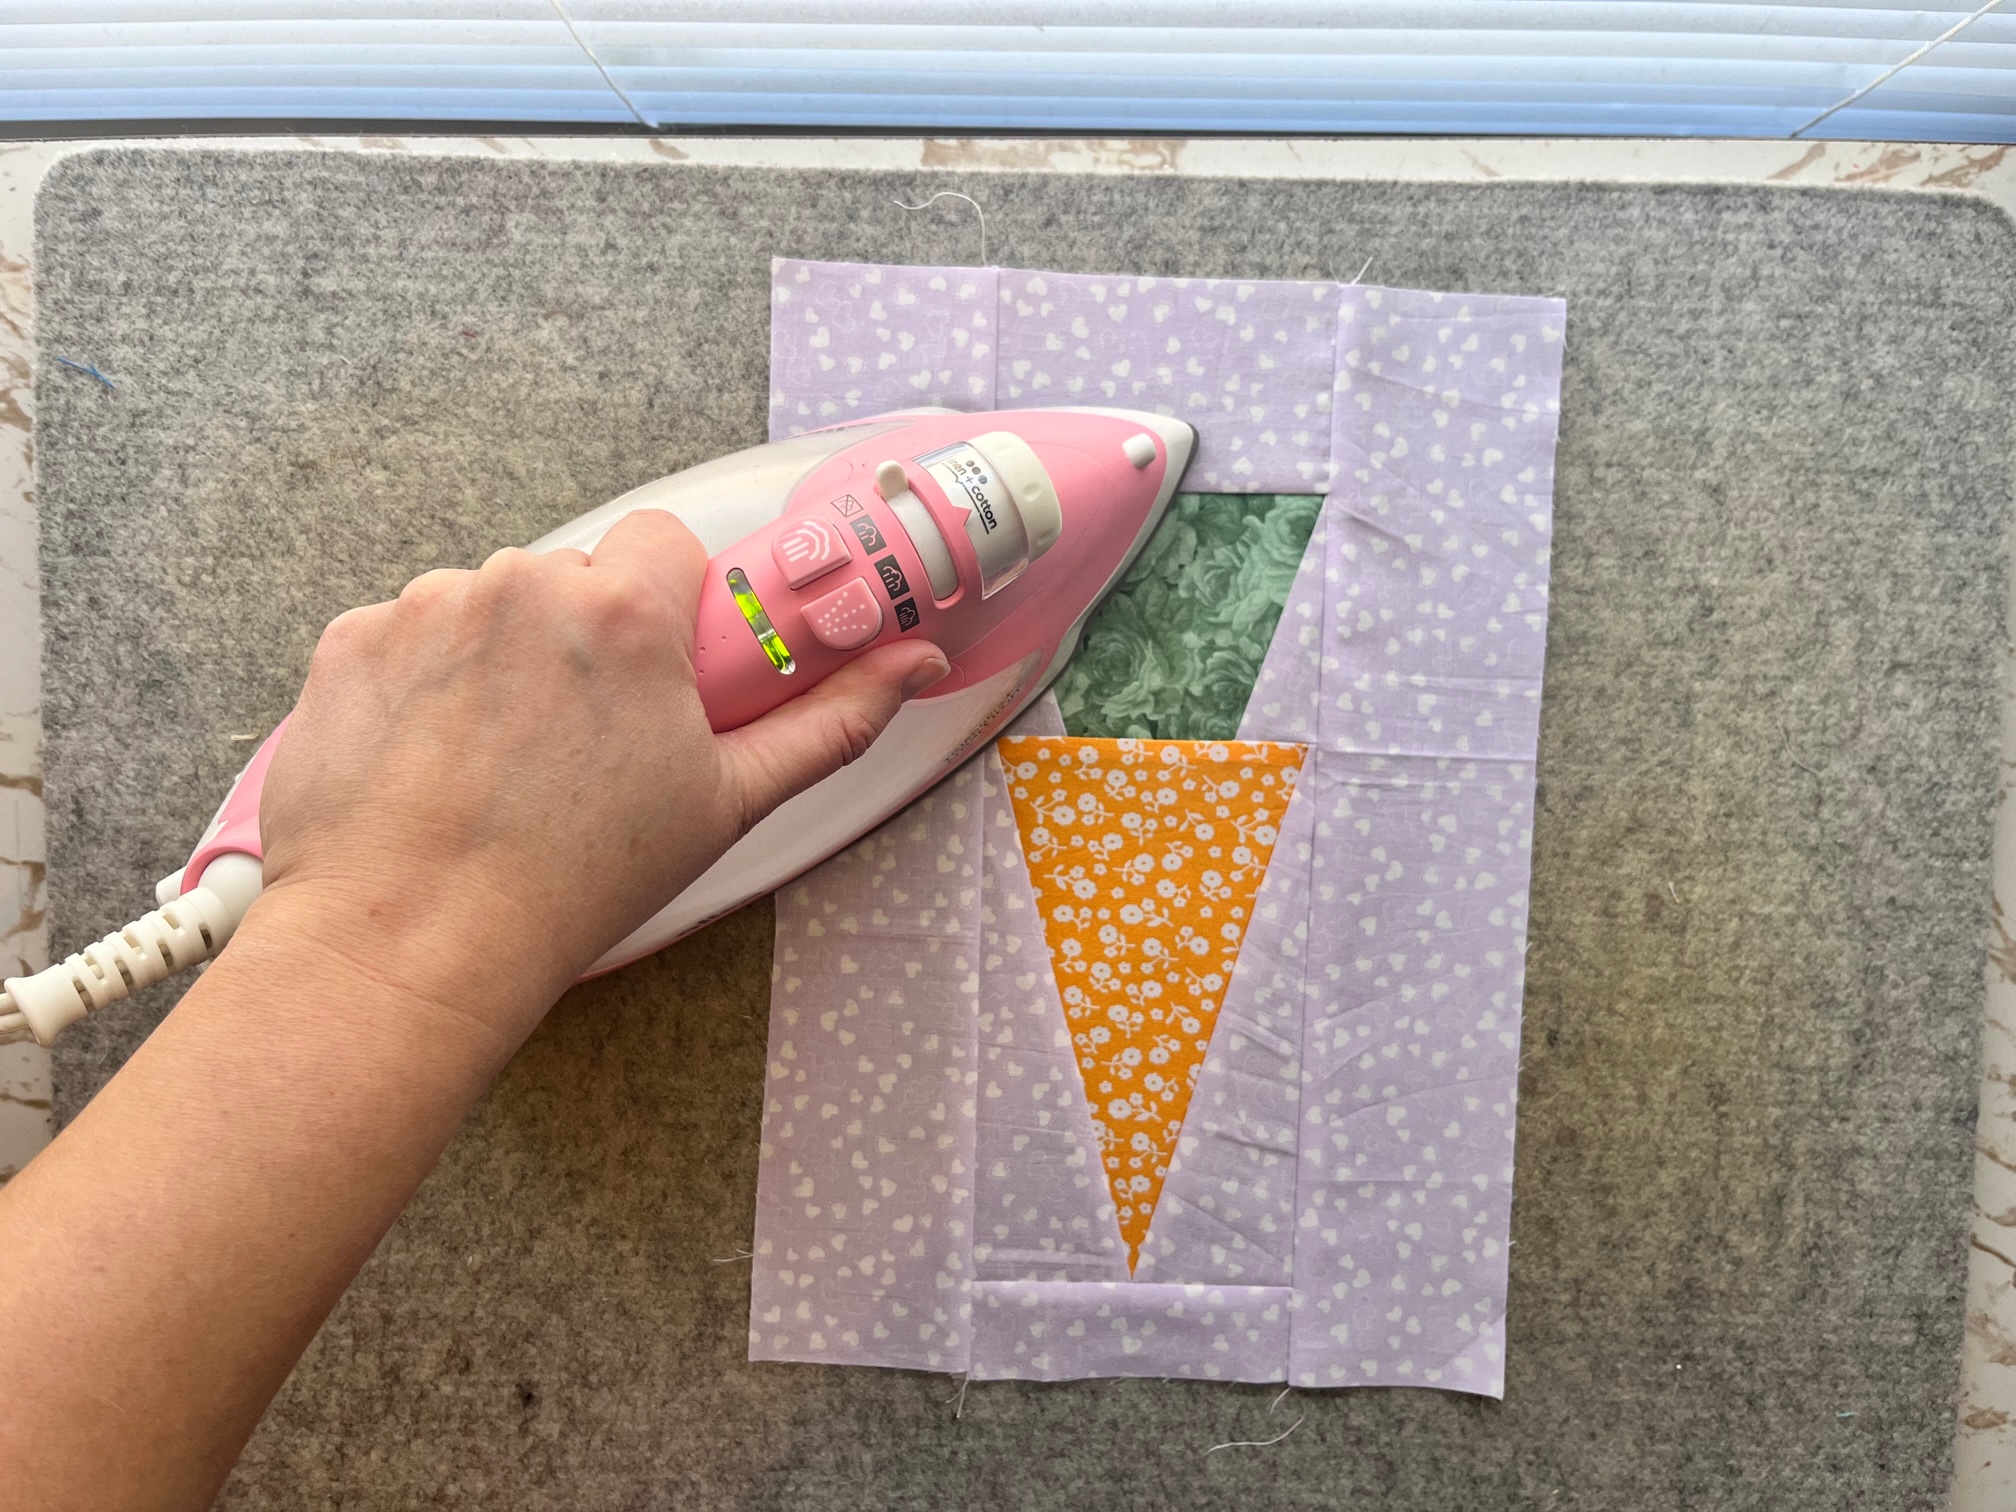
Continue by…
Using your Dresden template, trace the template onto the block you just made. Align the top of the template with the top of the block. To get it as centered as possible, refer to the image in the PDF pattern. Once you have traced the pattern, cut out the Dresden wedge. Save the scraps you trim off. They should be big enough to use on your next paper piecing carrot.
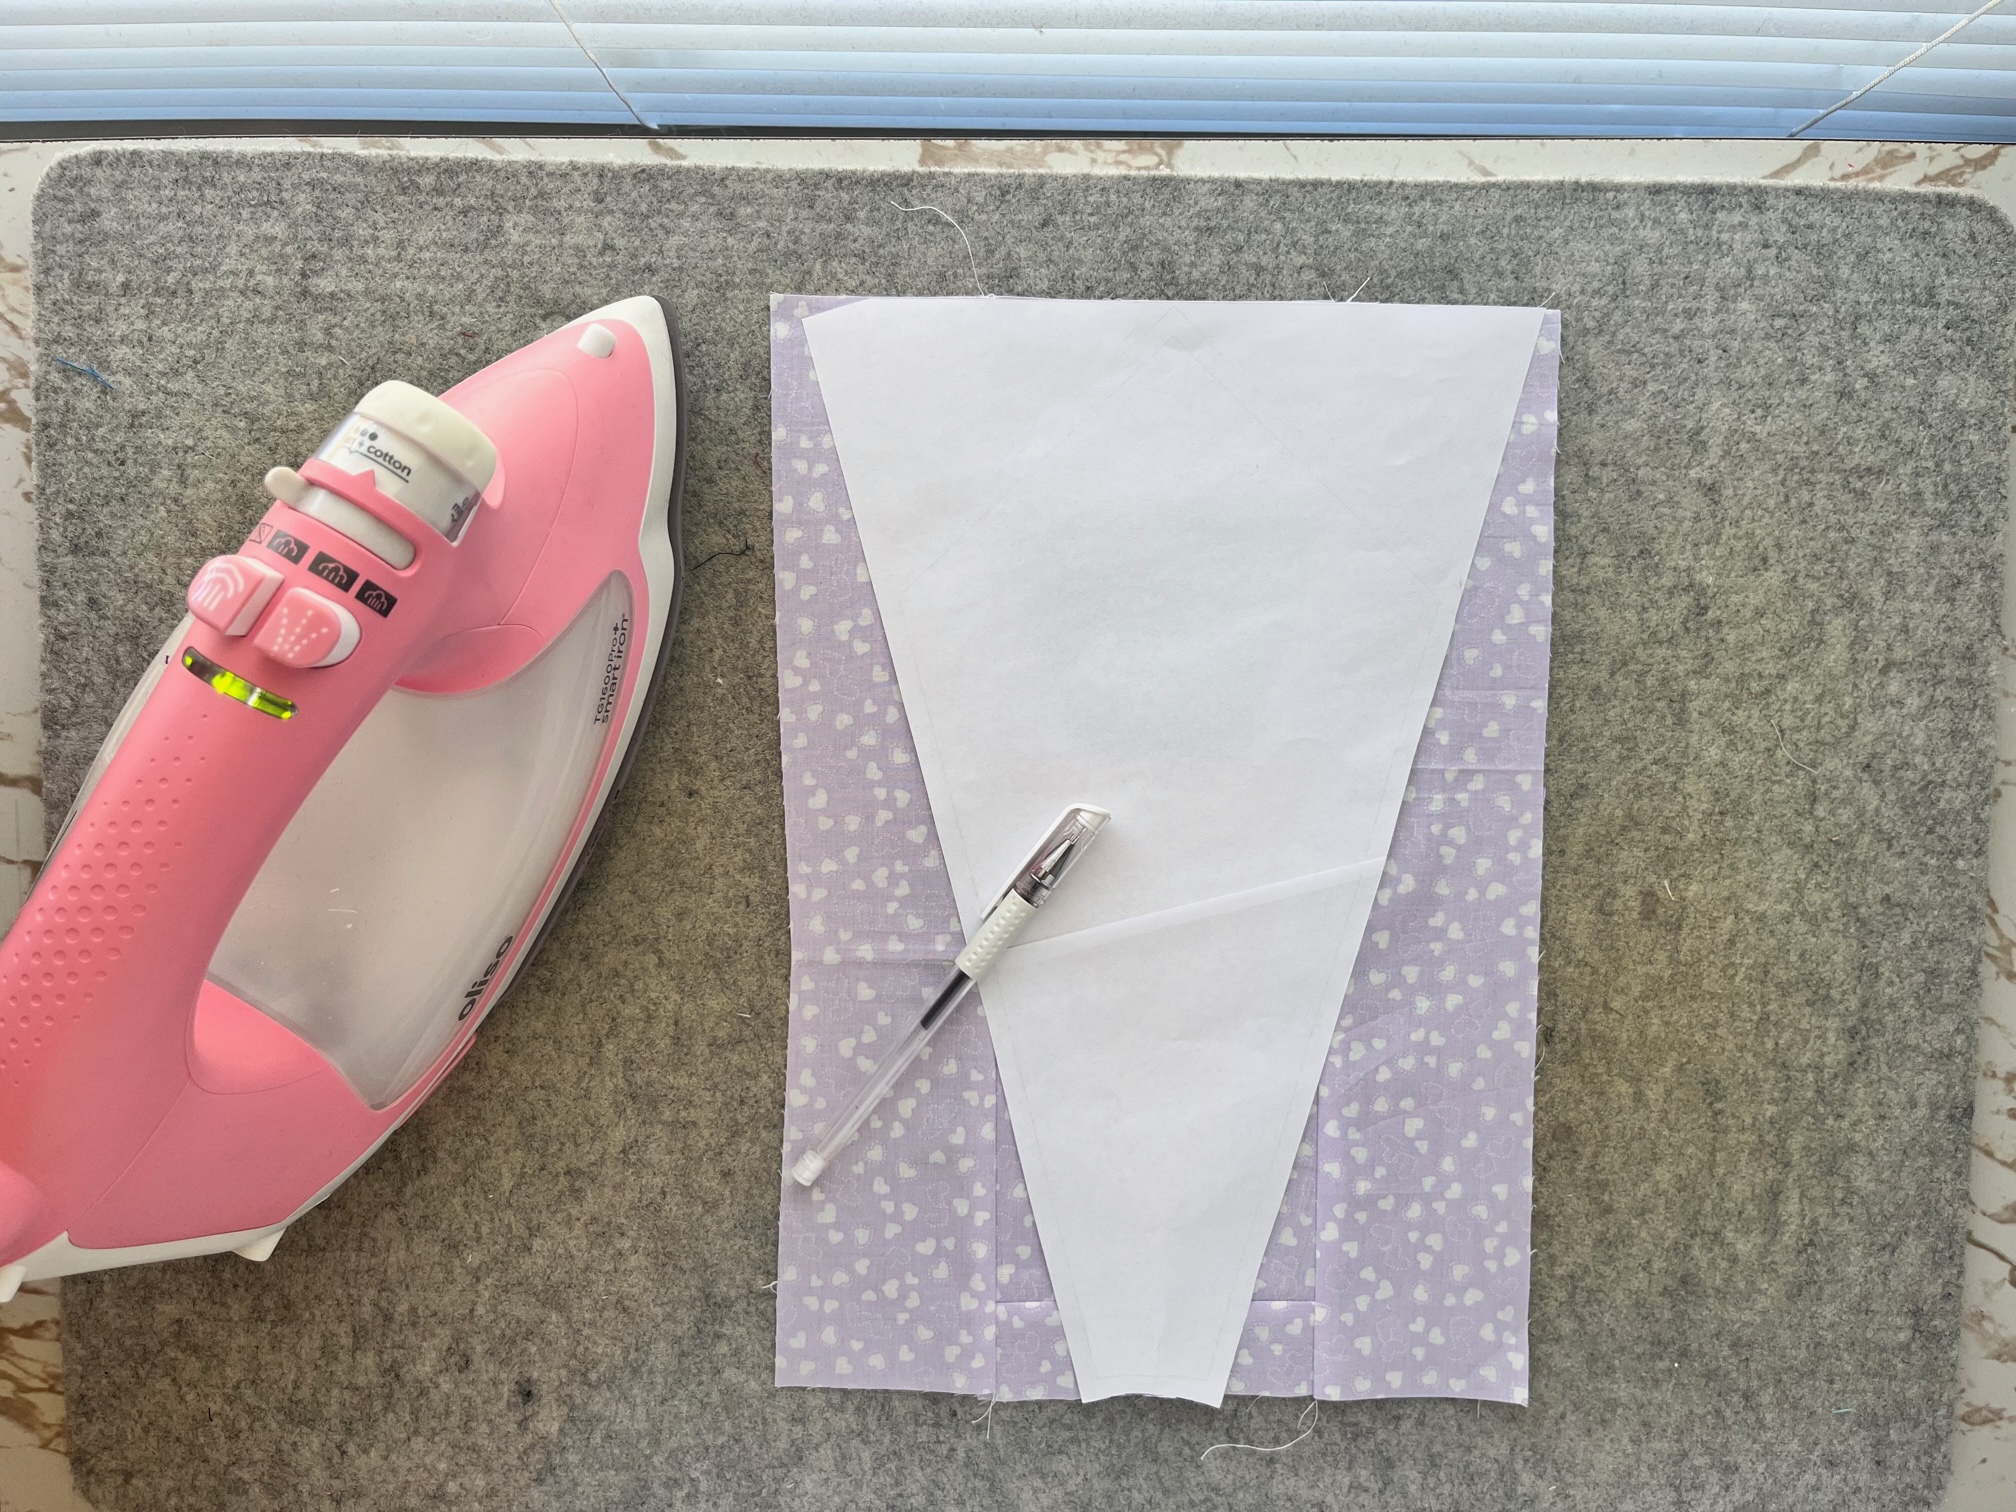
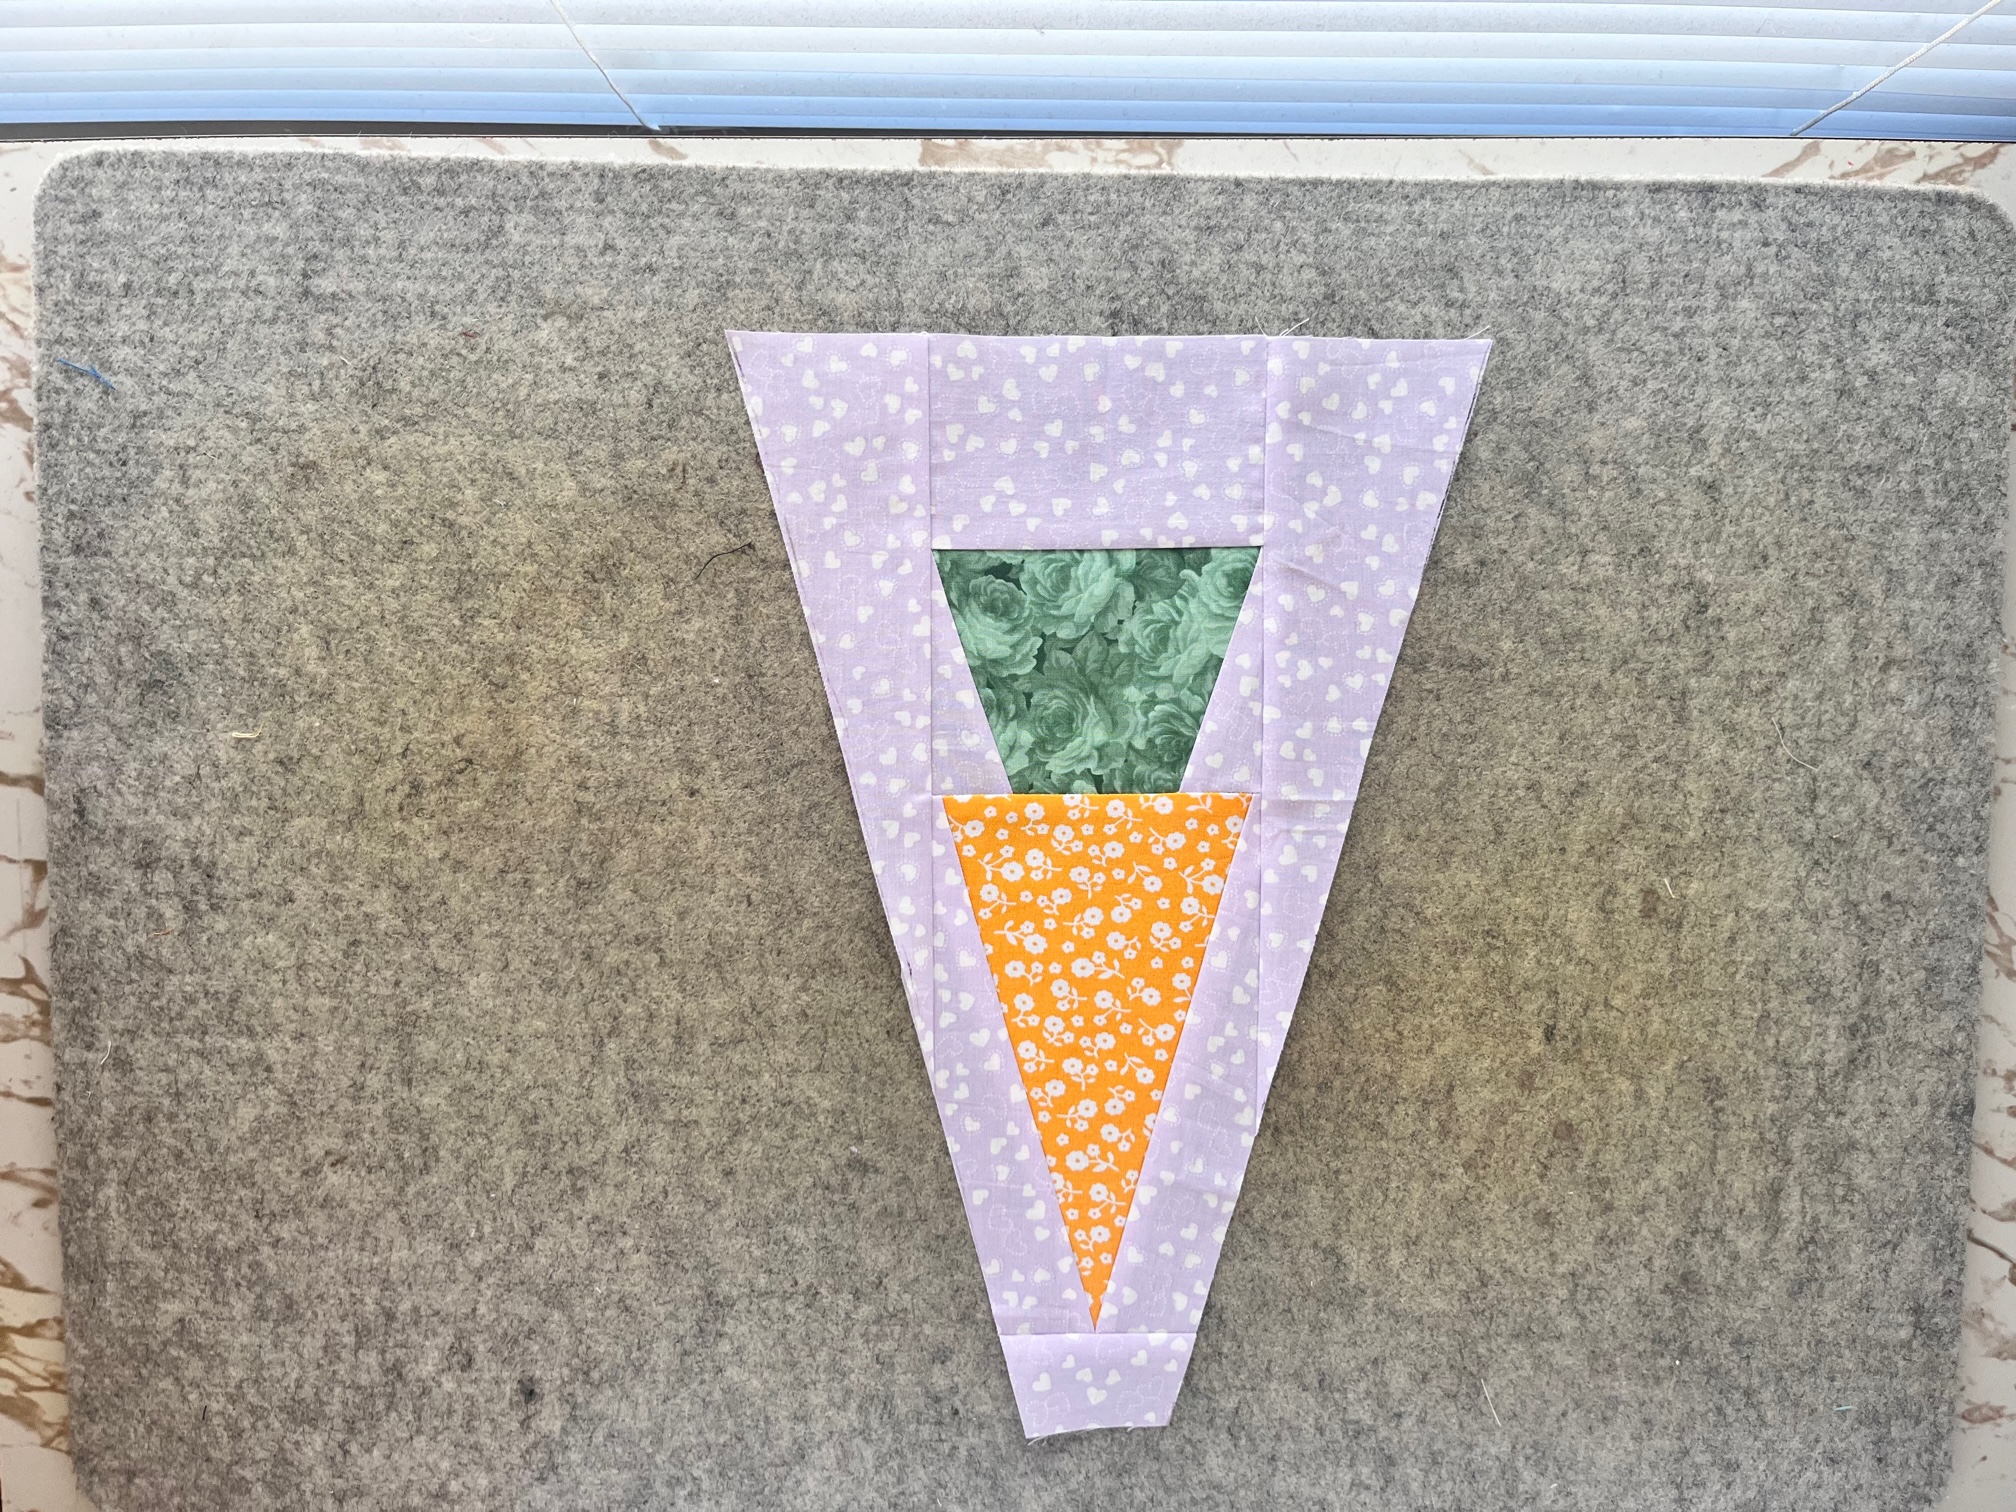
Next…
Fold the top in half right sides together. Sew across the top with a 1/4″ seam. Then, clip the corner, turn right side out and press.
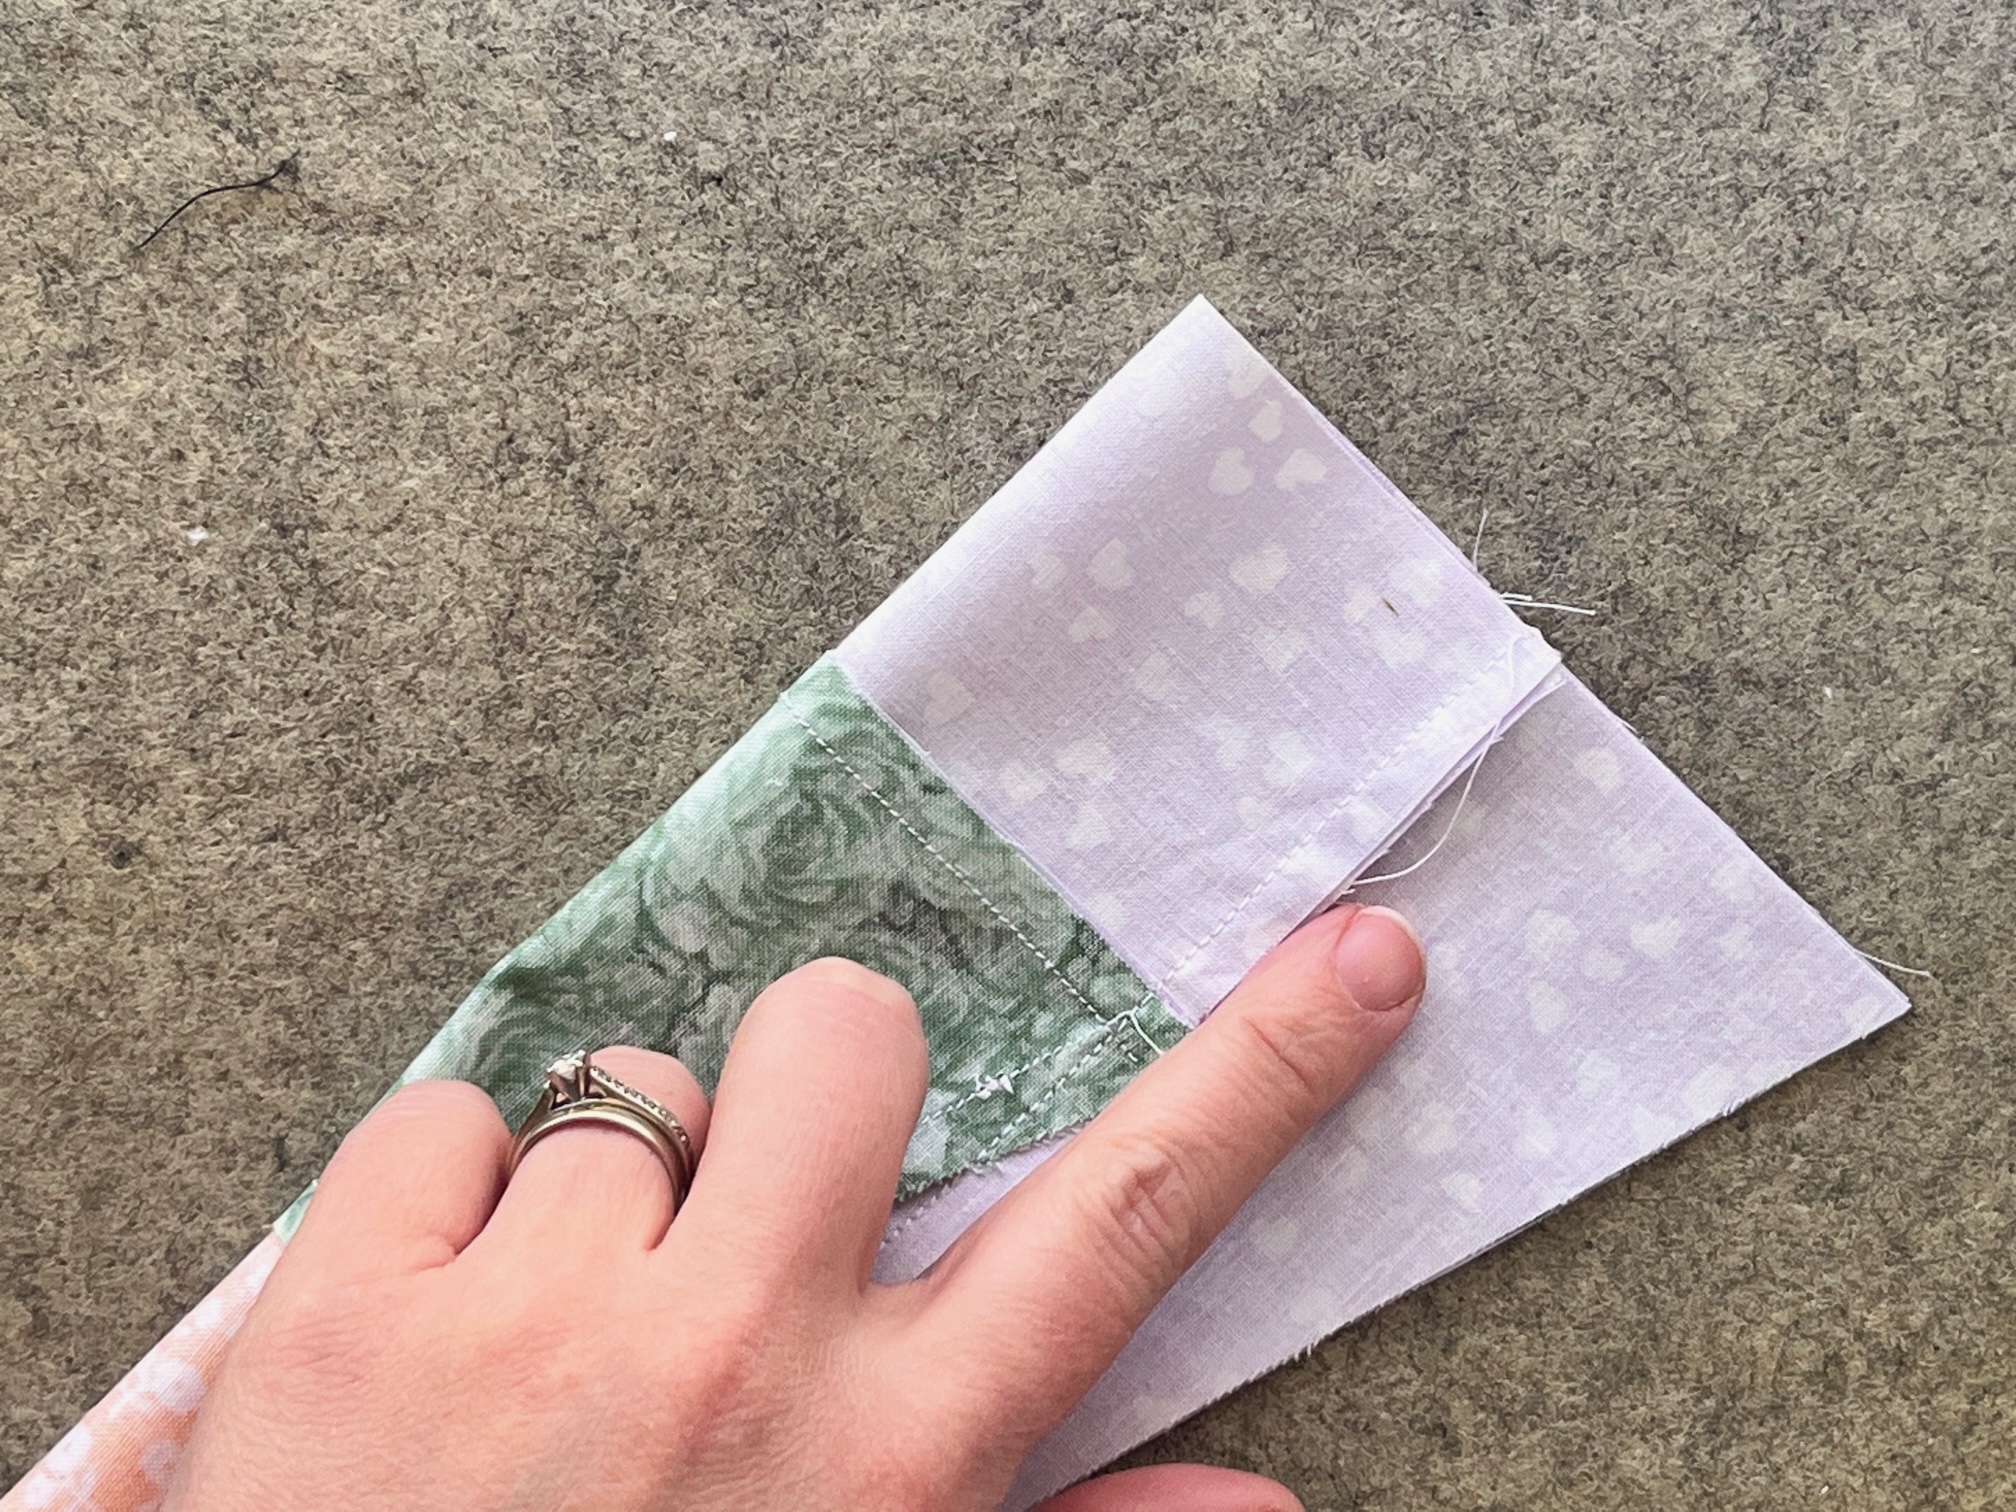
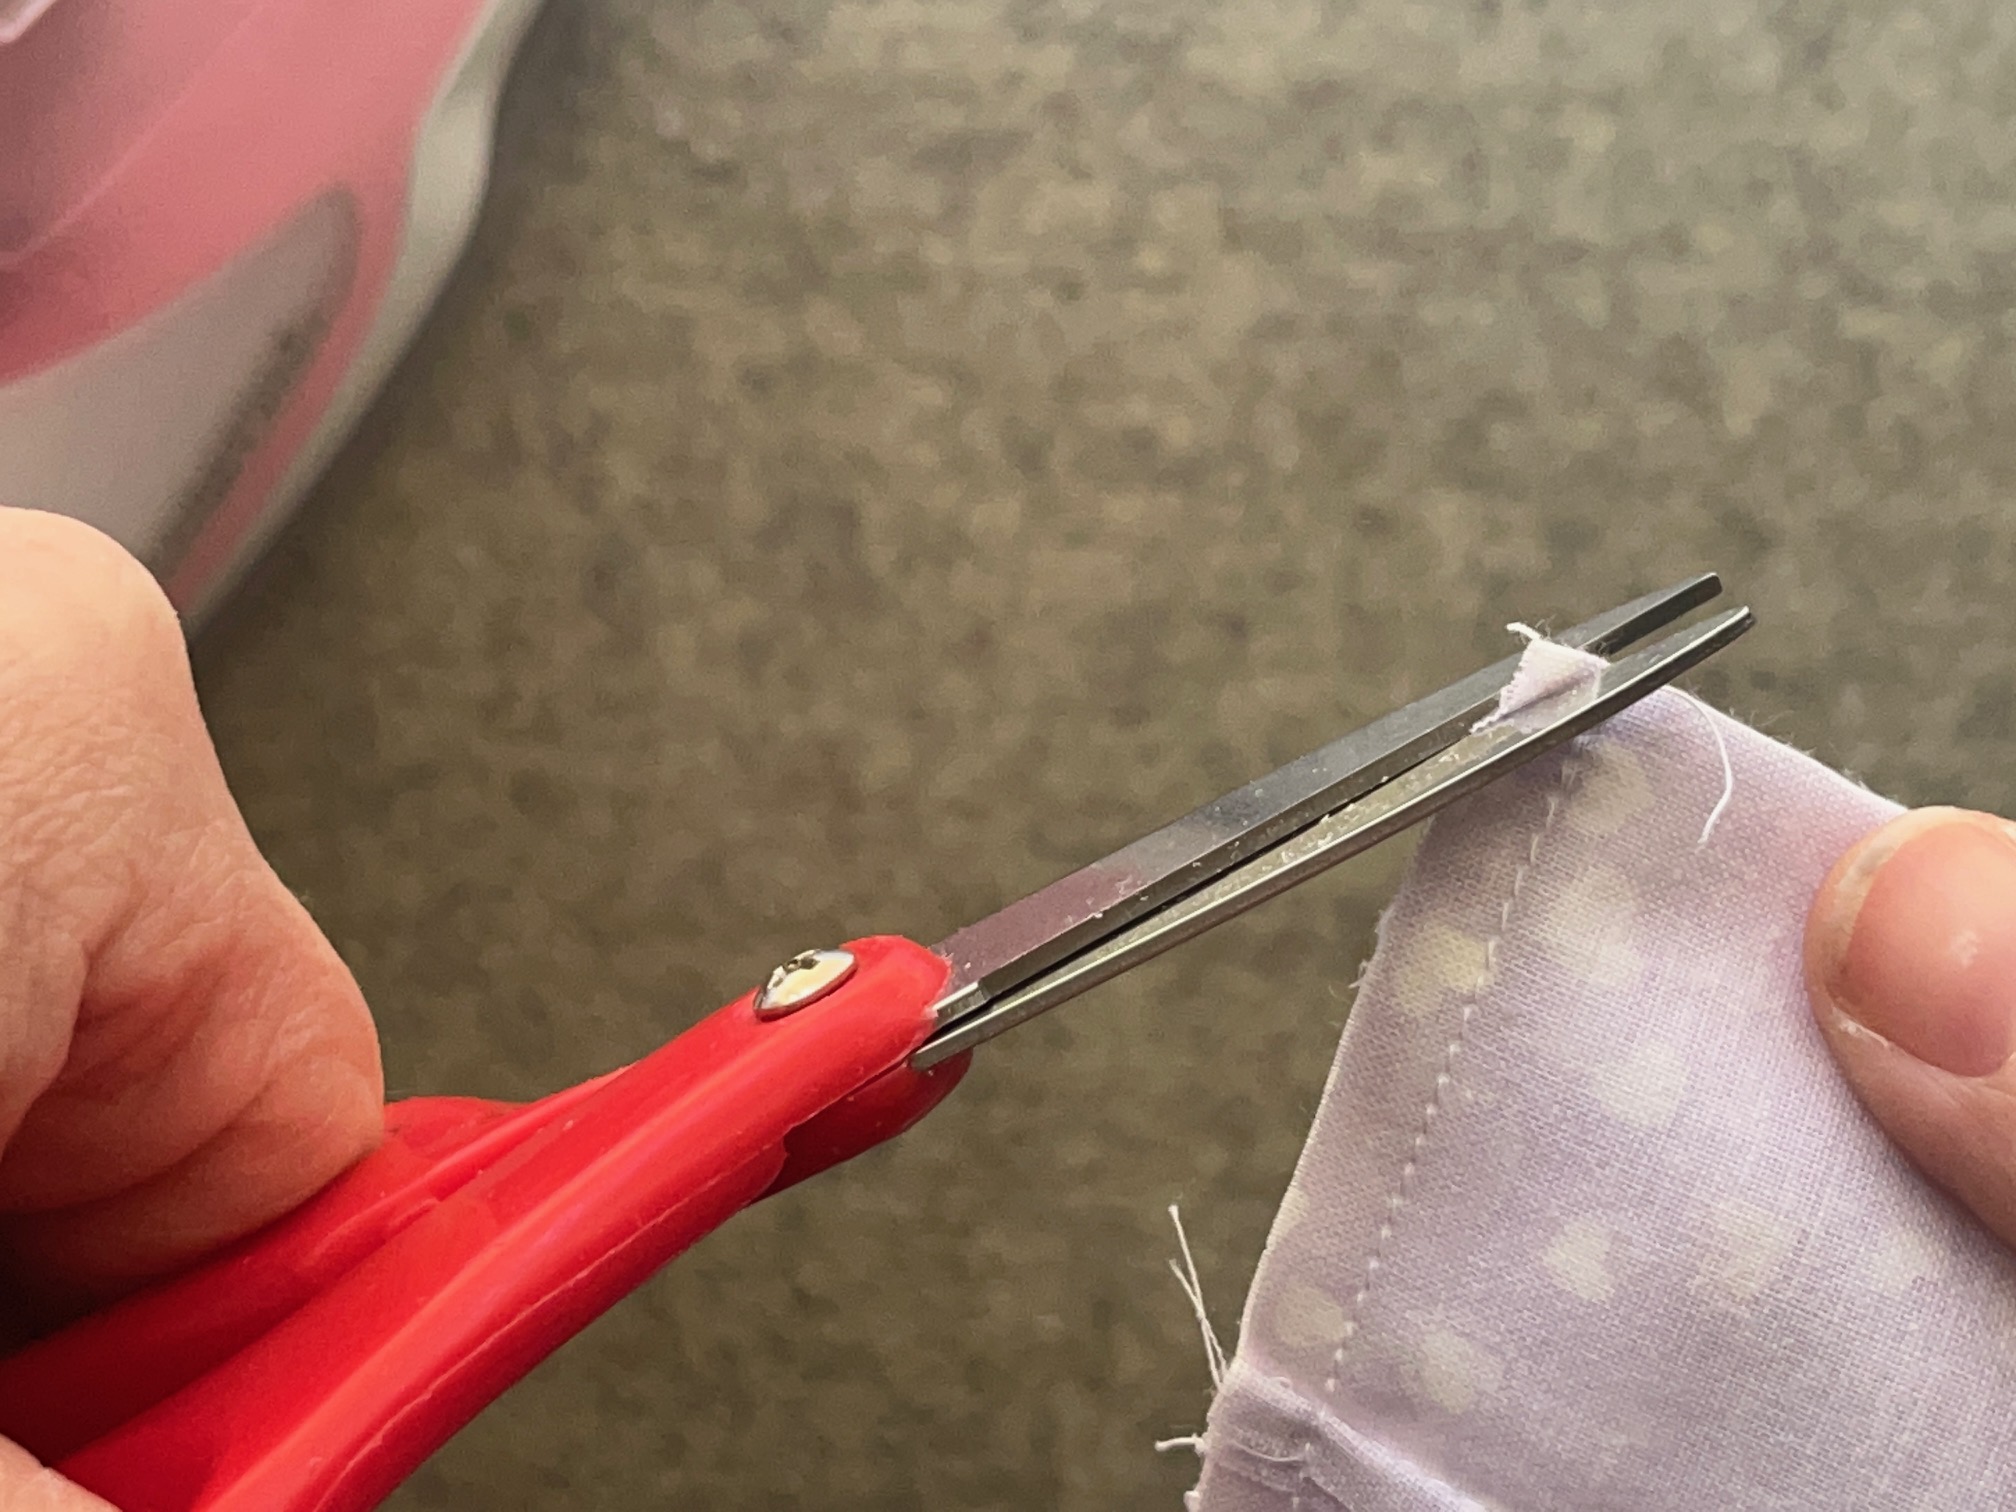
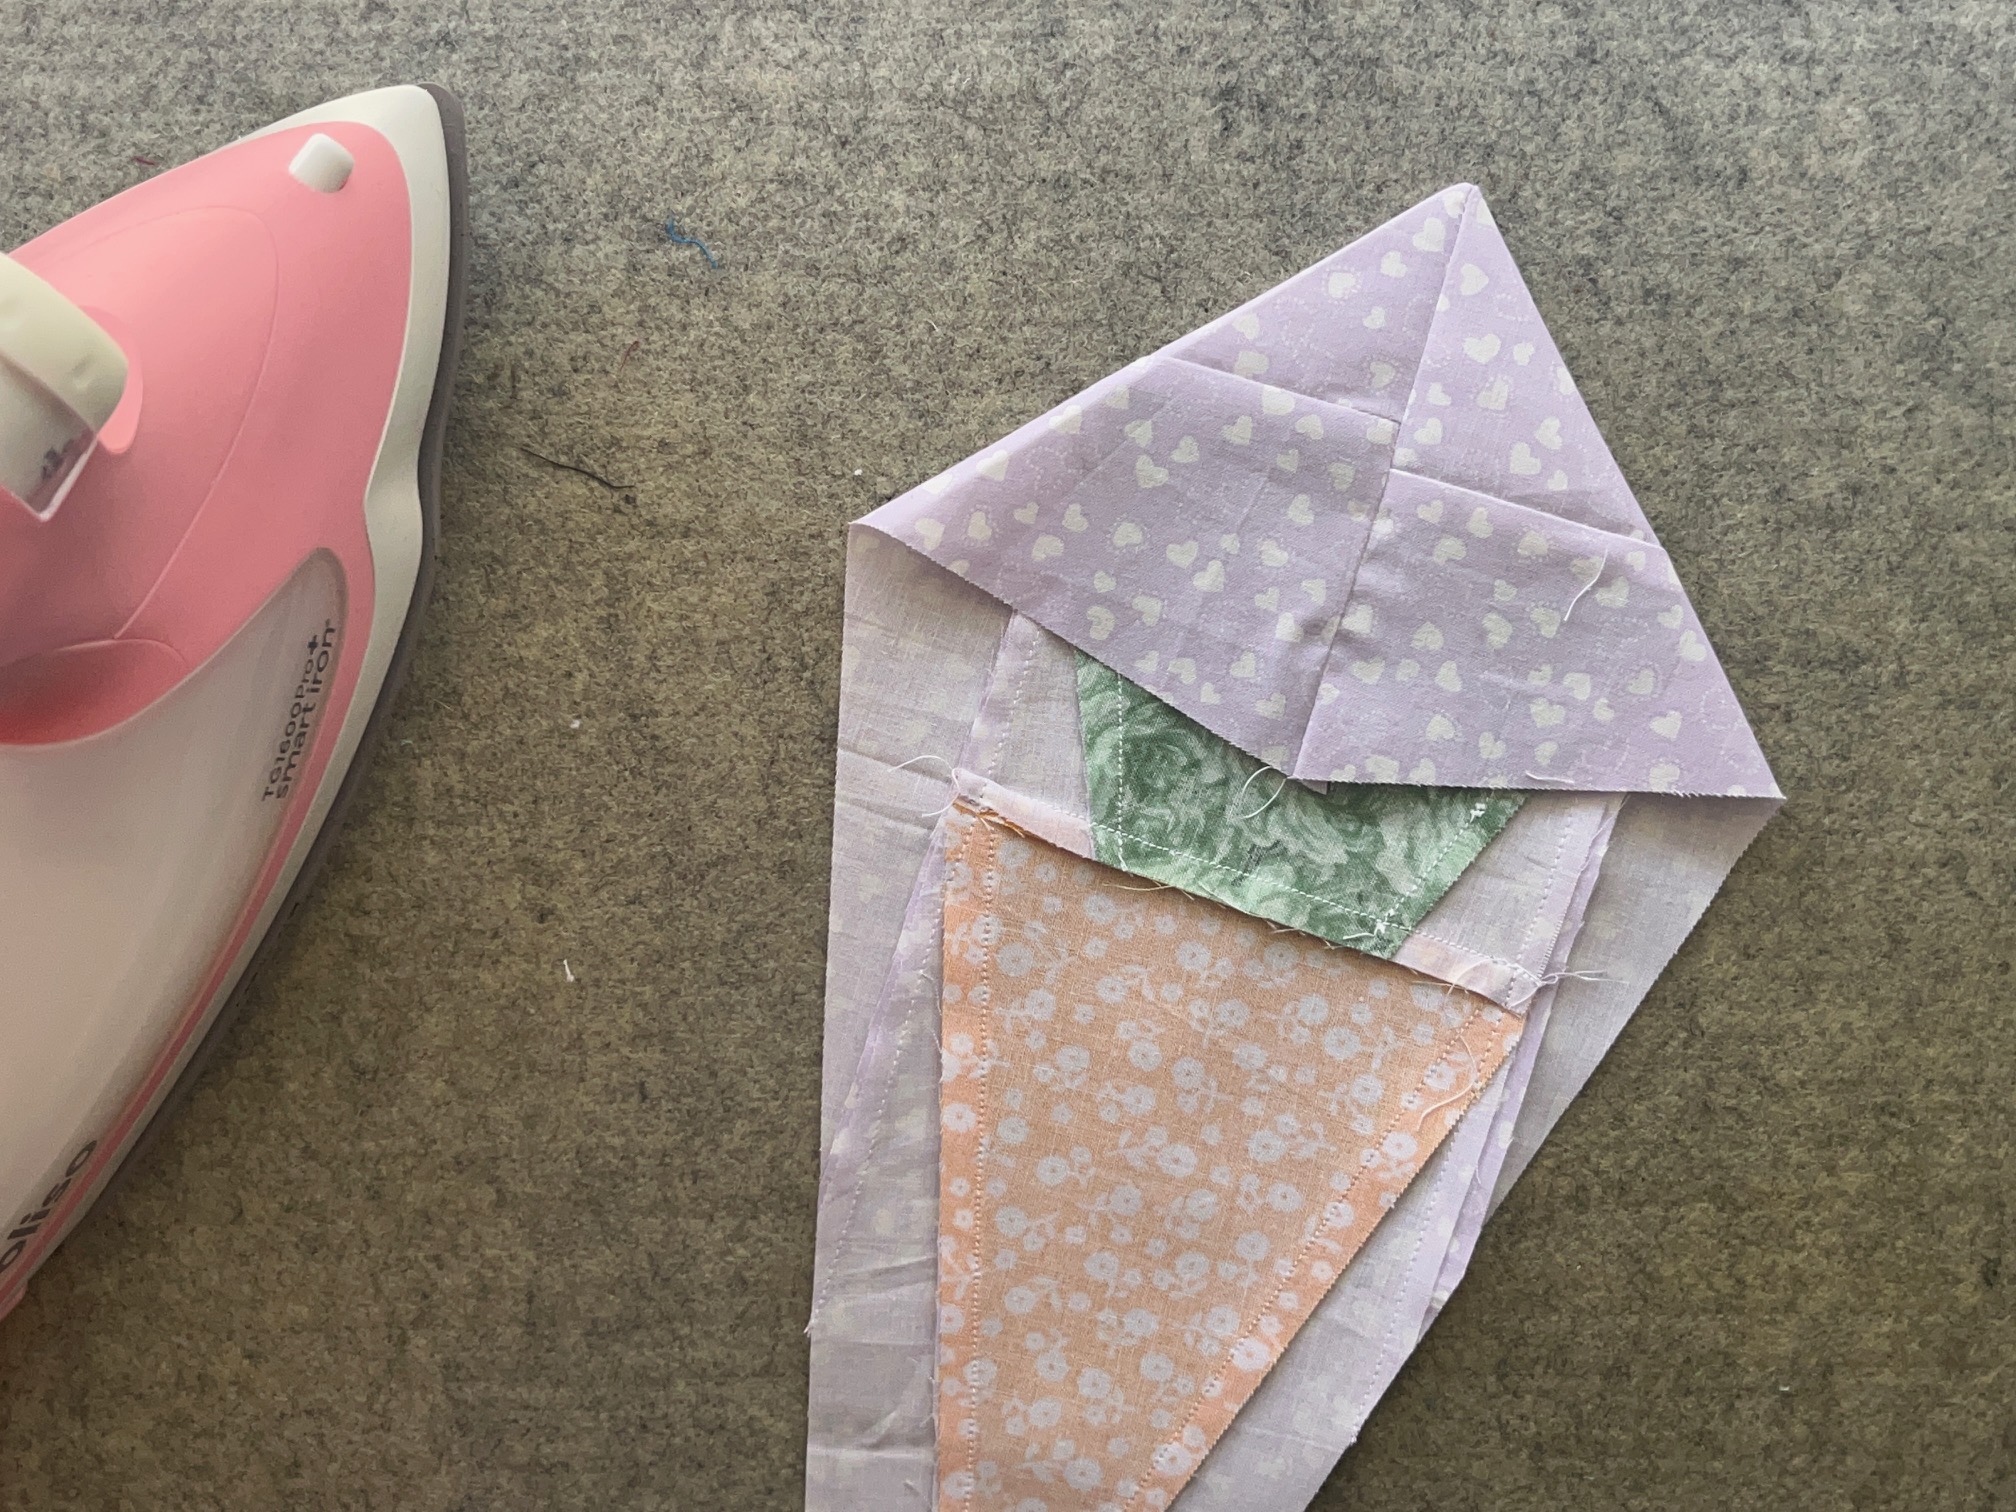
Repeat the above steps with the solid fabric Dresden blades. If you have large enough scraps save them for the remaining foundation paper piecing carrot blocks.

Next…
Layer a carrot Dresden blade and a solid fabric Dresden blade right sides together. Align the top. Your bottoms might not match completely but that is ok, they will be covered by the center circle at the end.
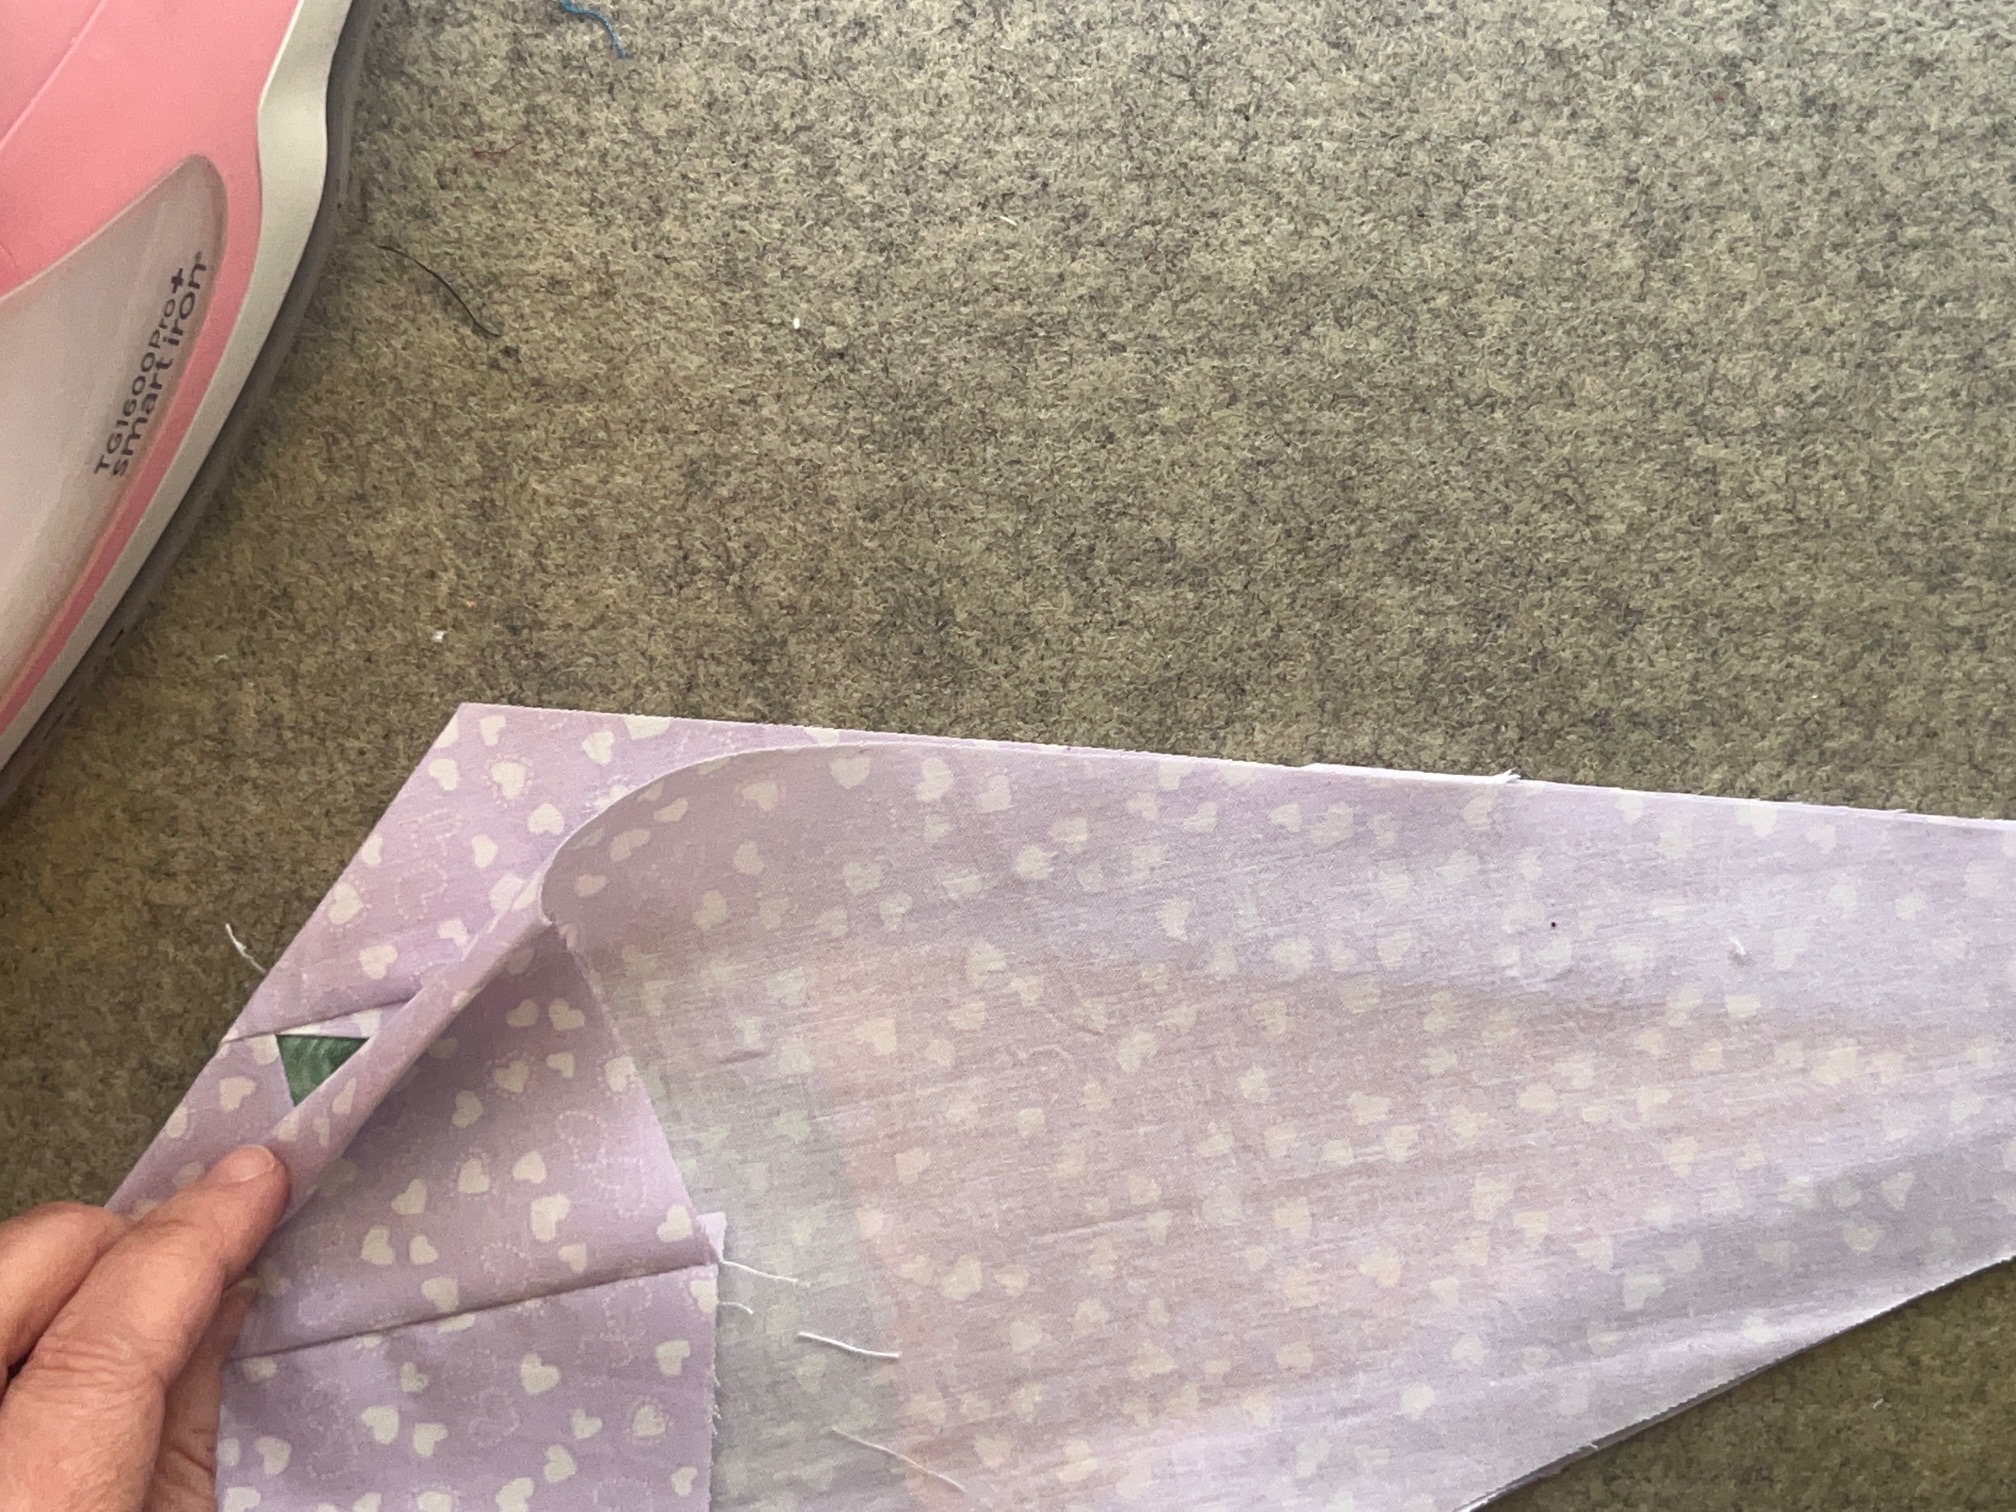
Then…
Sew your Dresden blades together with a 1/4″ seam. Press. Repeat the process of making each type of Dresden blade and stitching them together till you have completed the circle. There will be 12 blades in total.
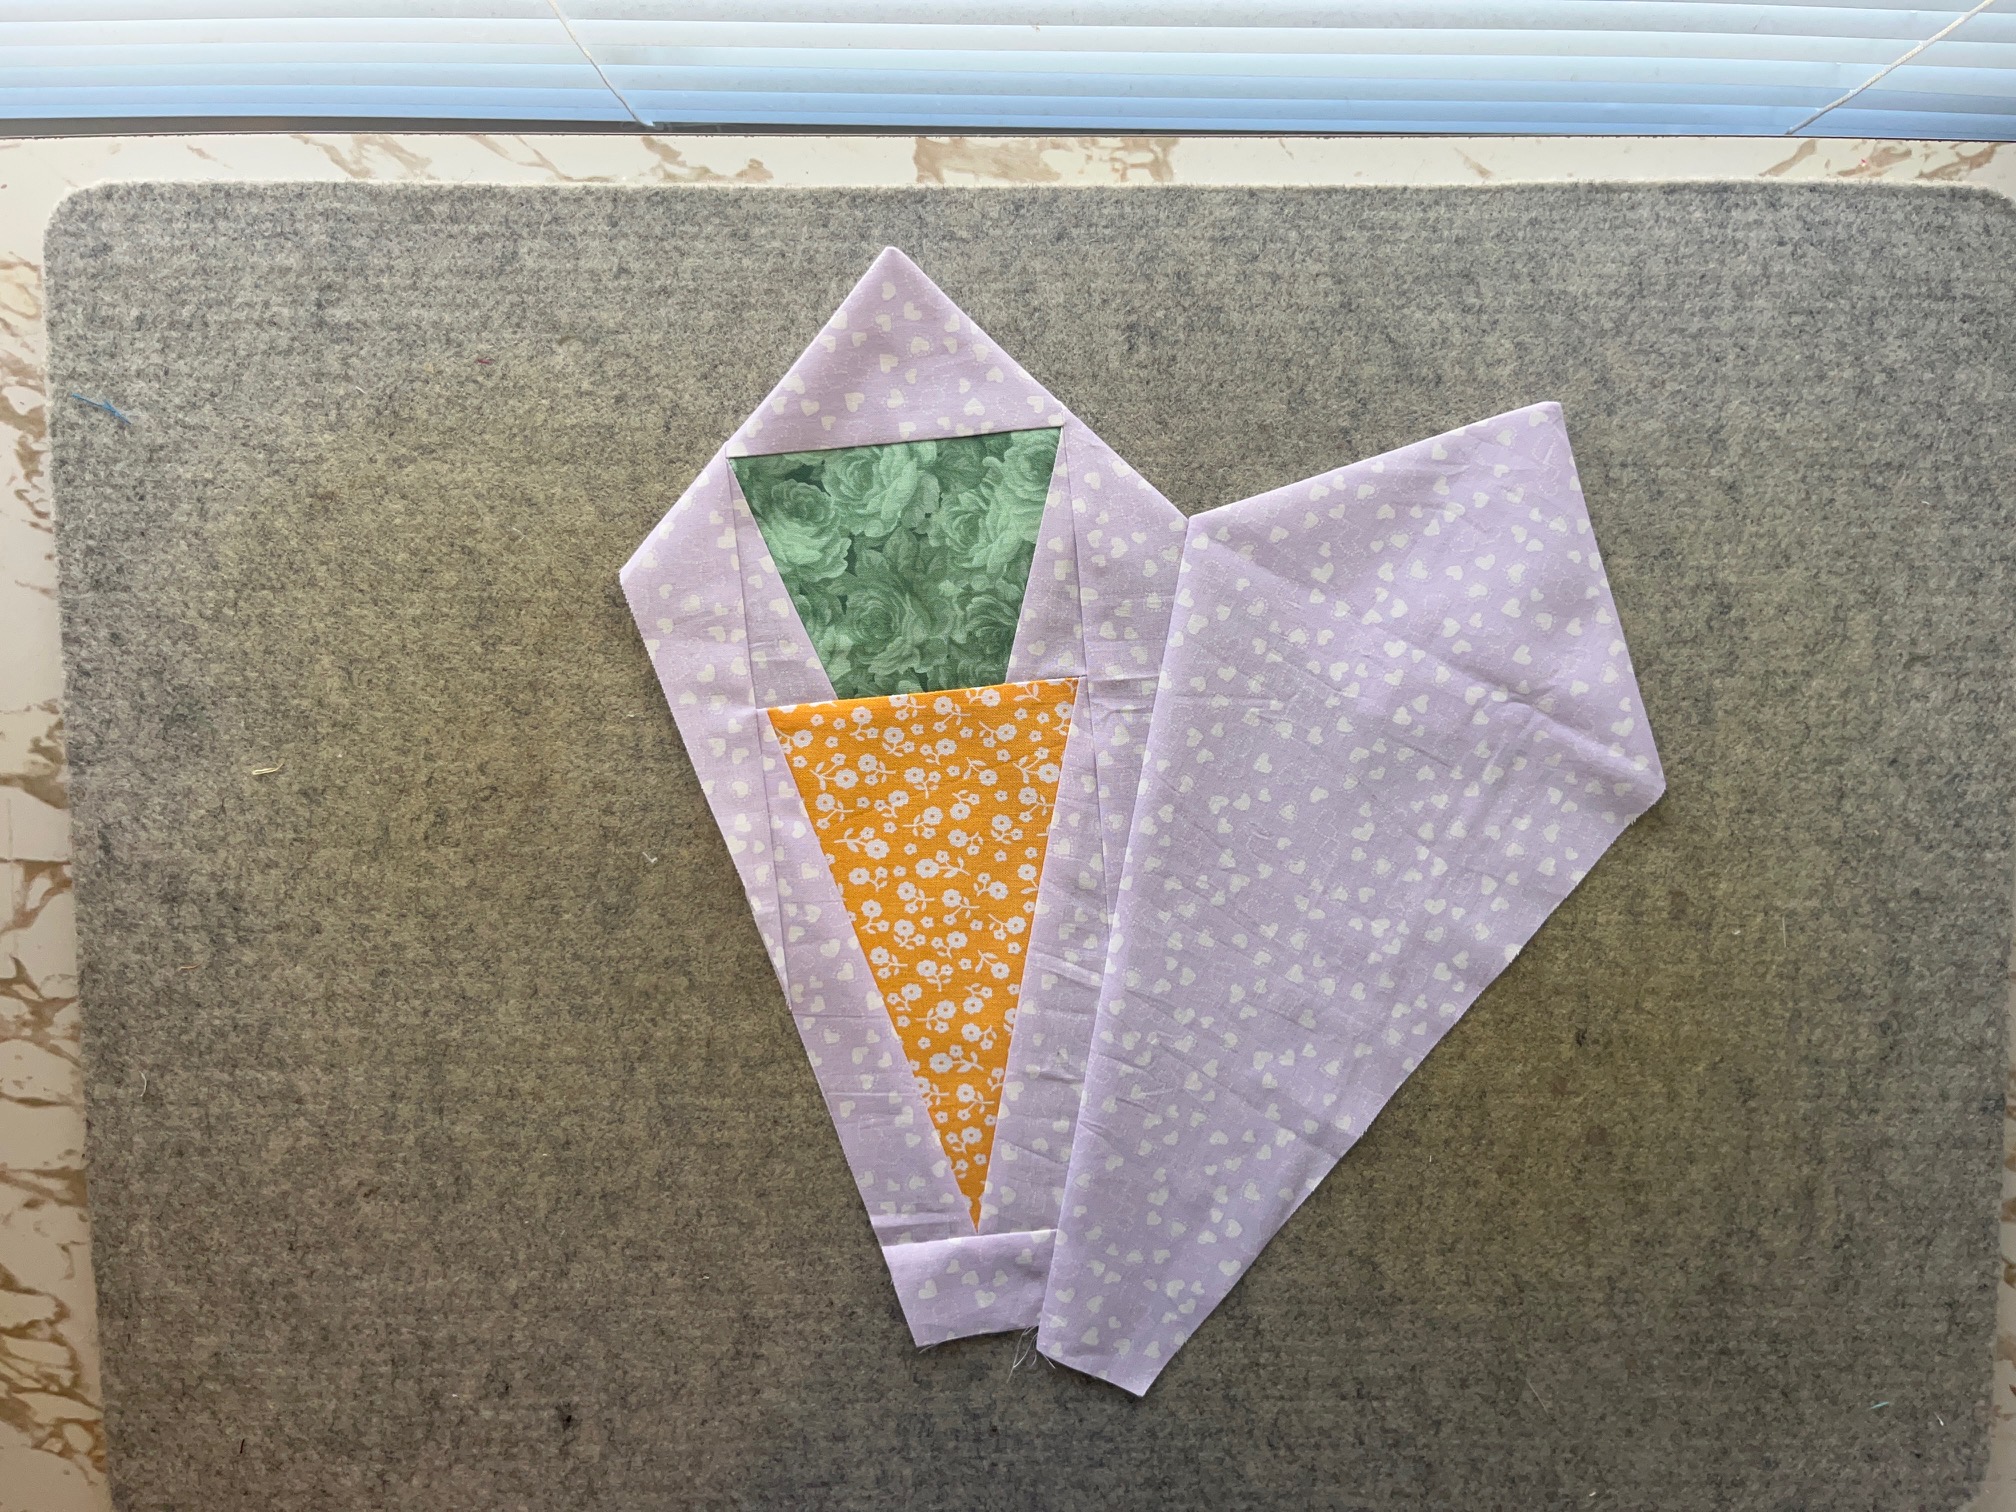
Next…
Lay your Dresden circle out flat on a piece of batting or fleece. Trace around your Dresden. Then, mark 1/4″ seam on the inside of the line you just drew and cut out the fleece.
Important Tip: I like to mark one wedge of my fleece and the same wedge on my Dresden so that when aligning them after I cut out the fleece is easier.
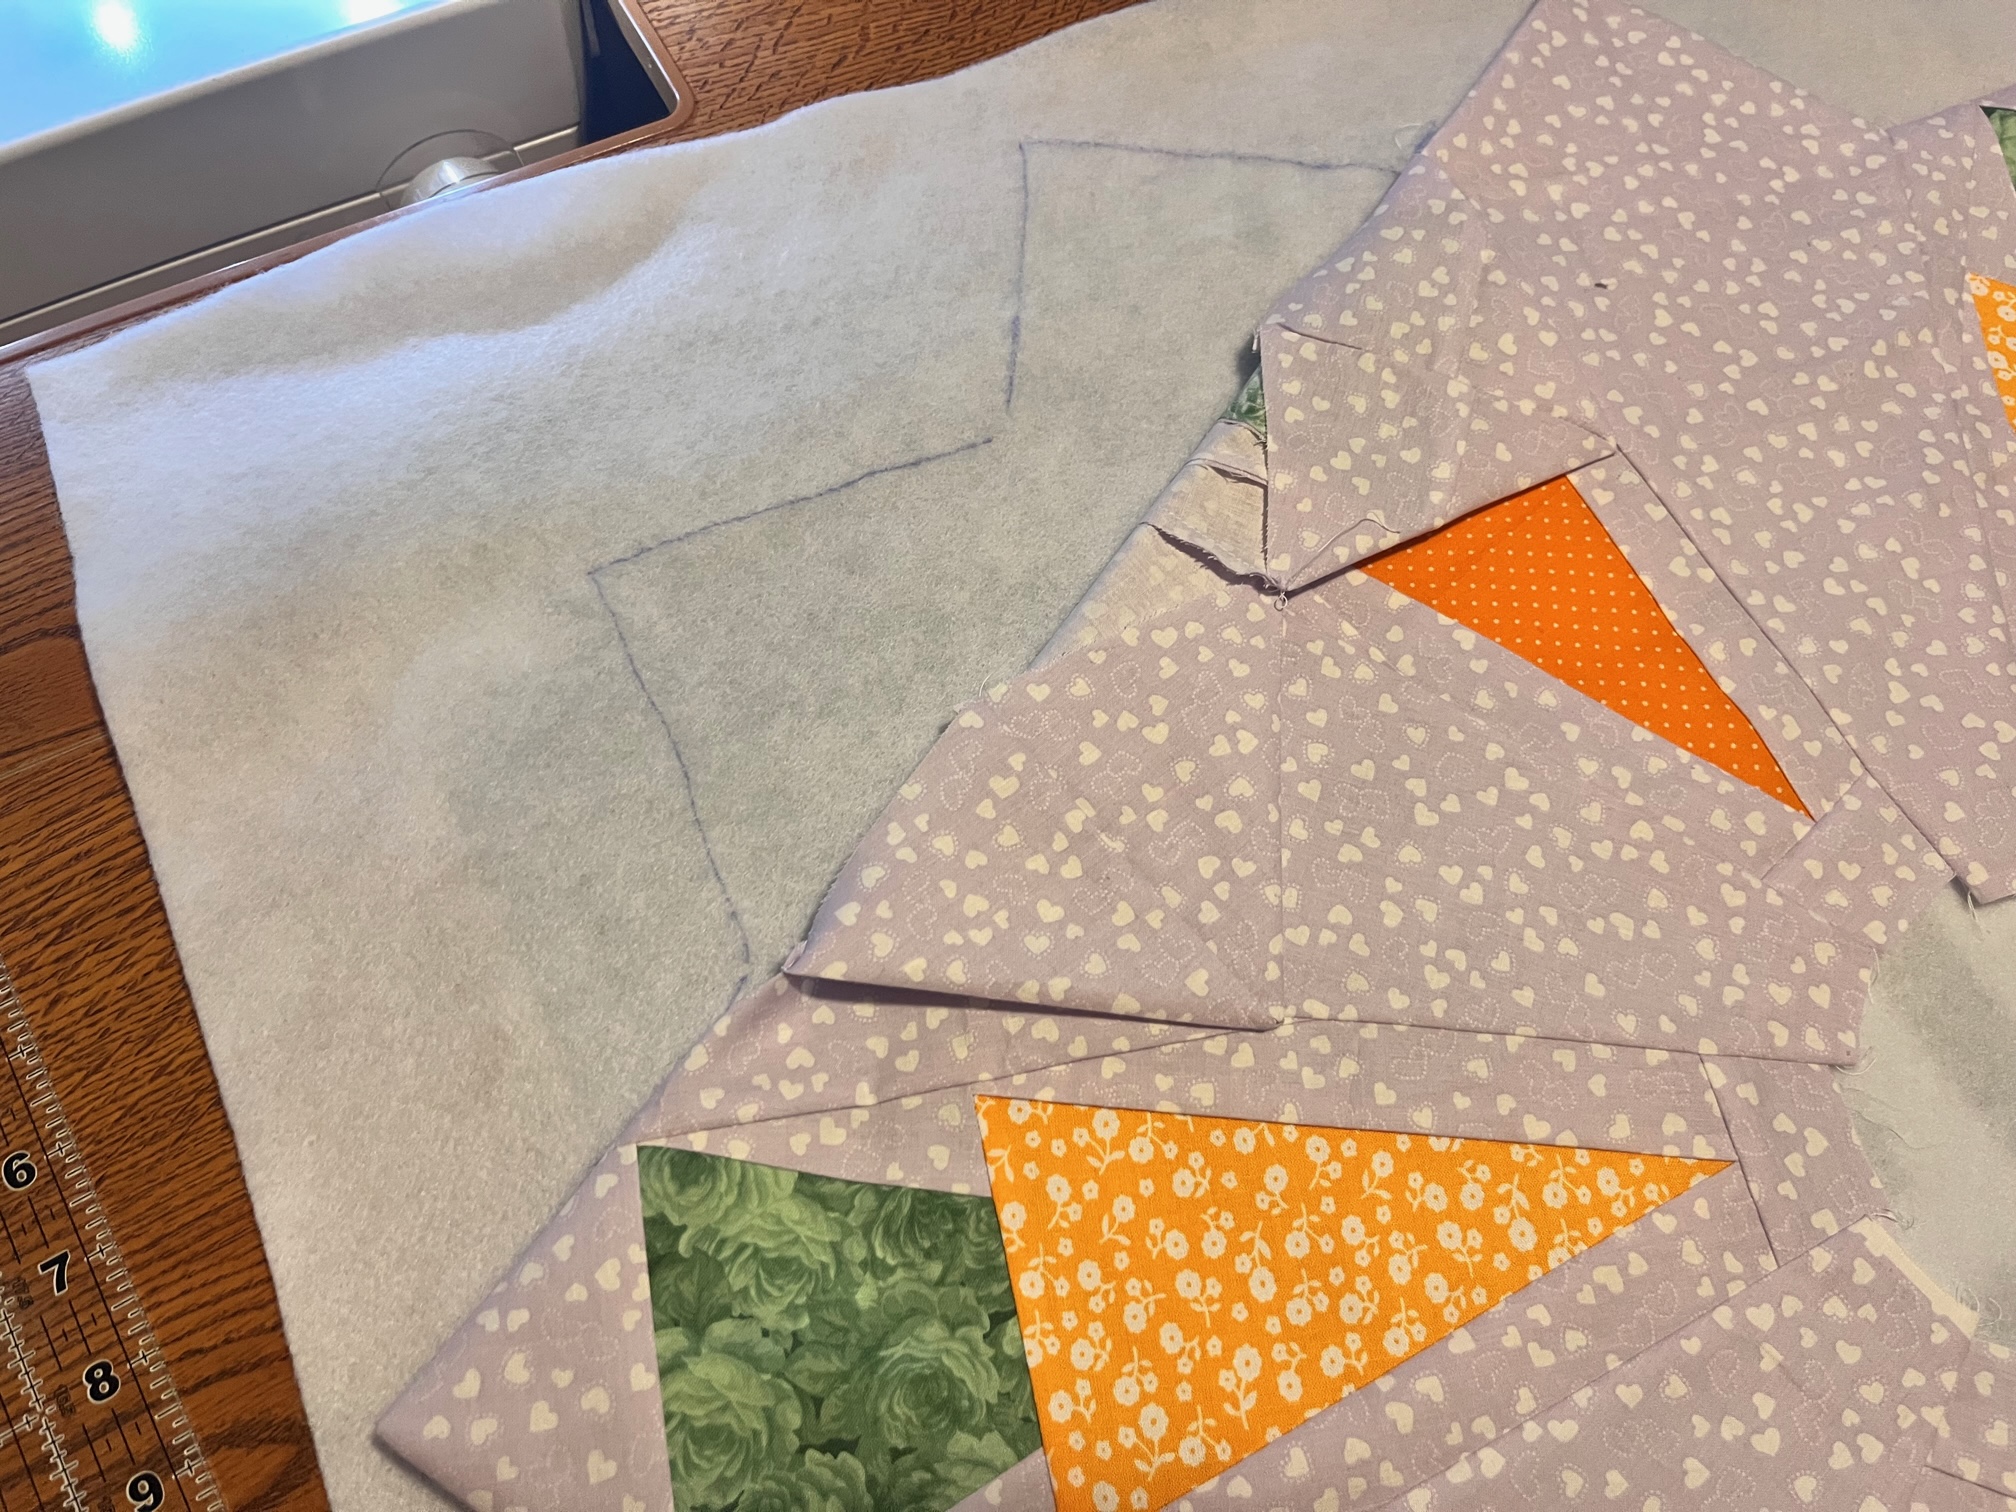
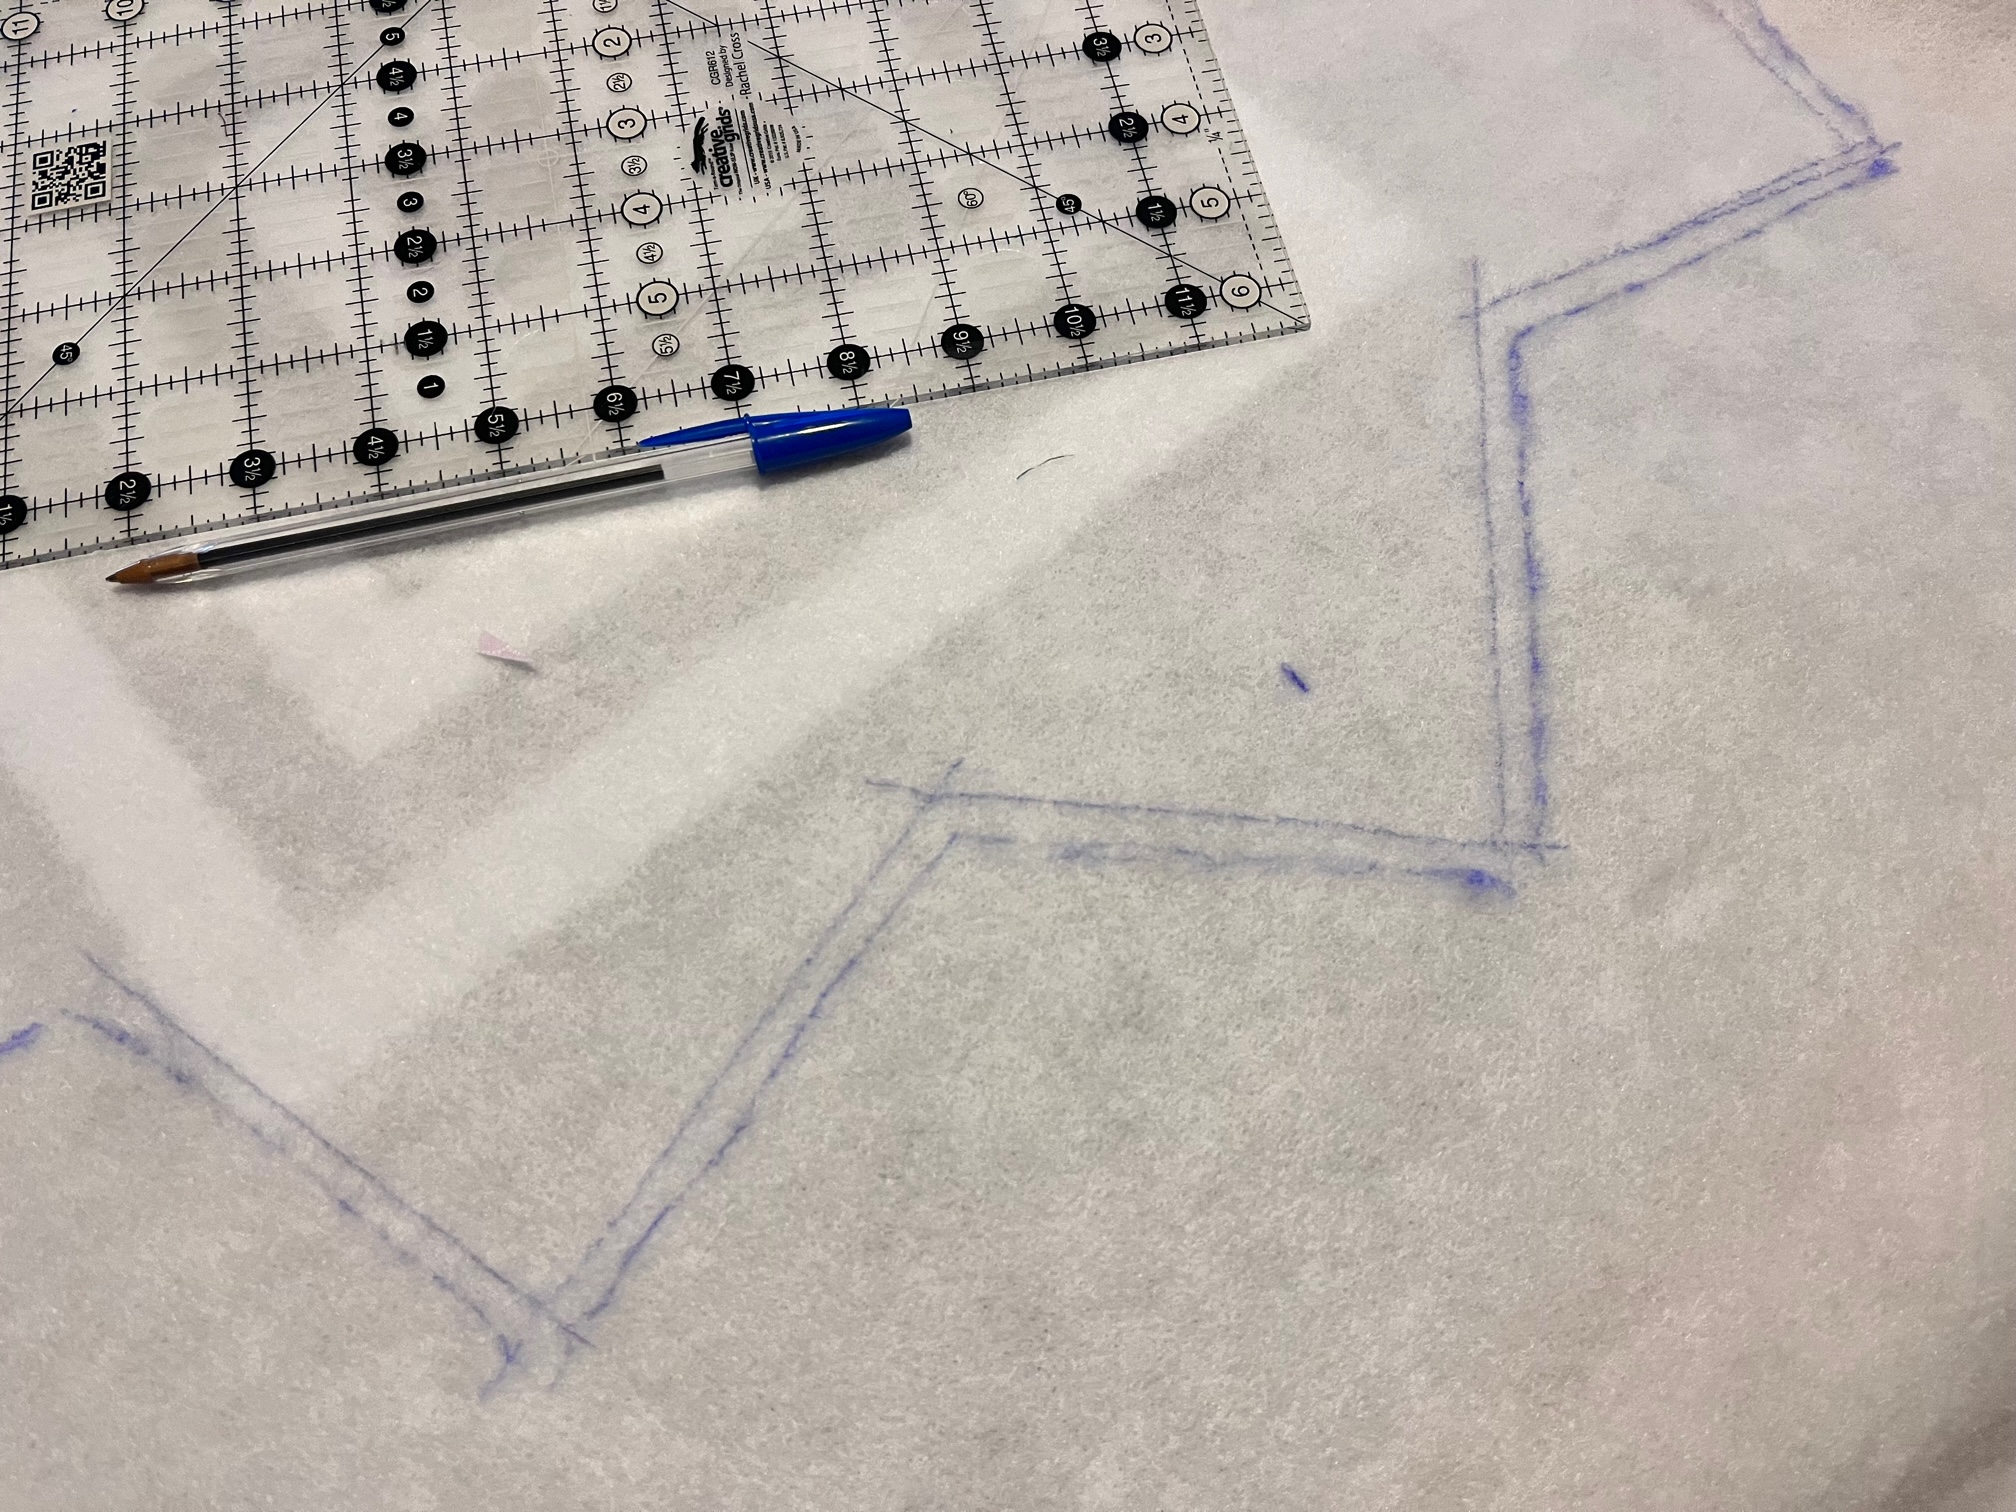
Then…
Using SpraynBond Basting Adhesive, baste the fleece to your Dresden circle. Next, lay your Dresden circle right side facing the backing fabric. Pin around to secure.
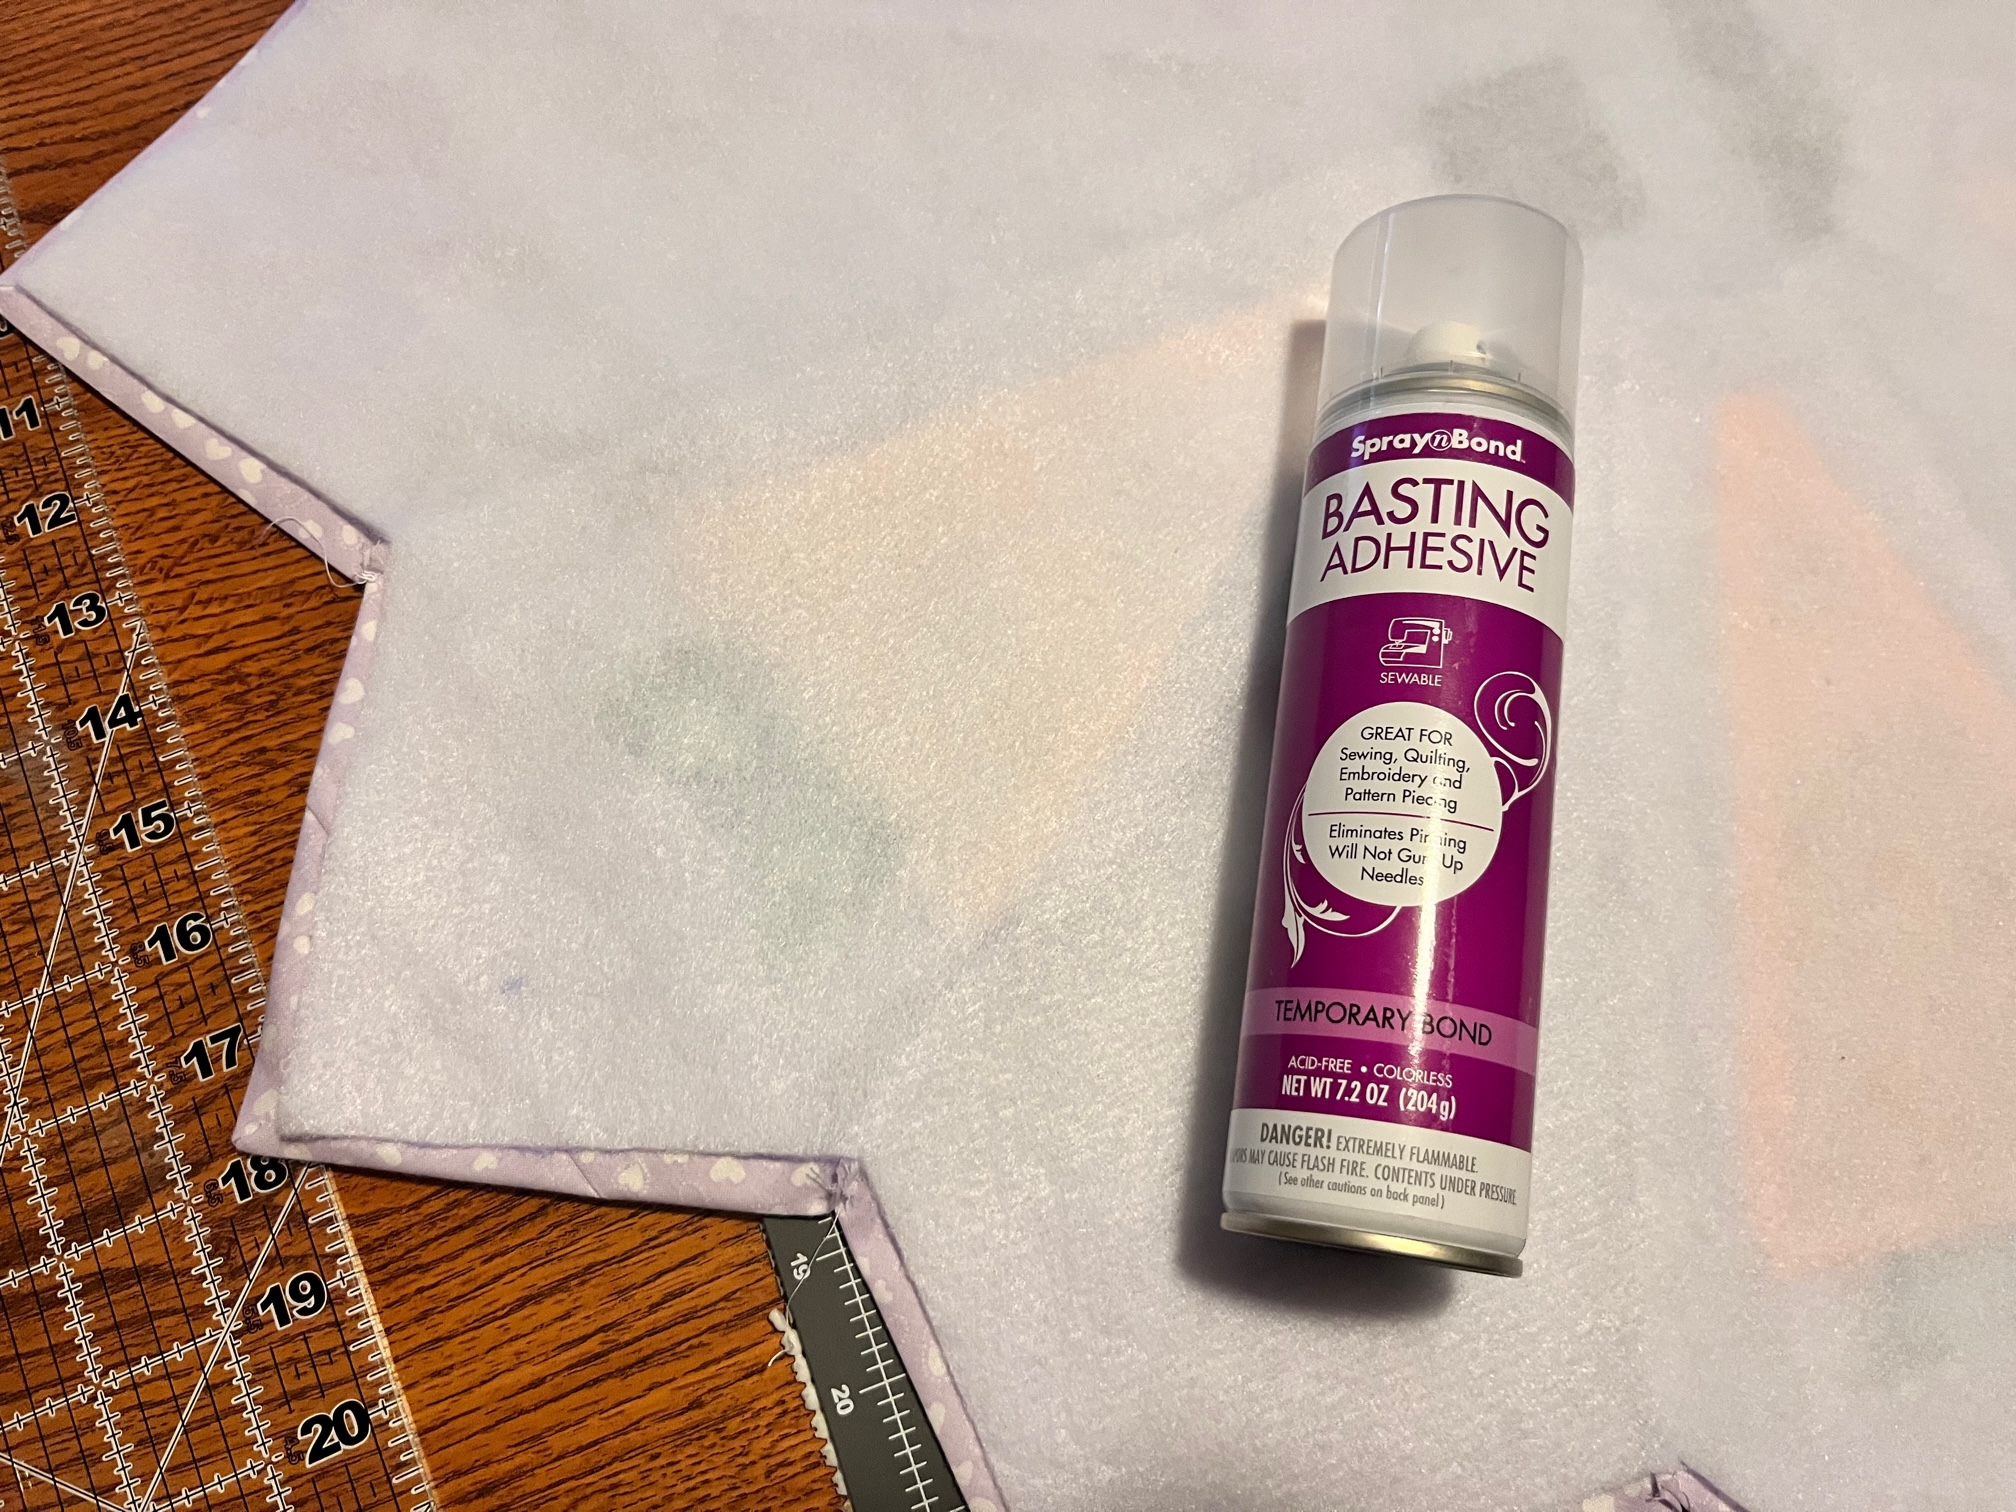
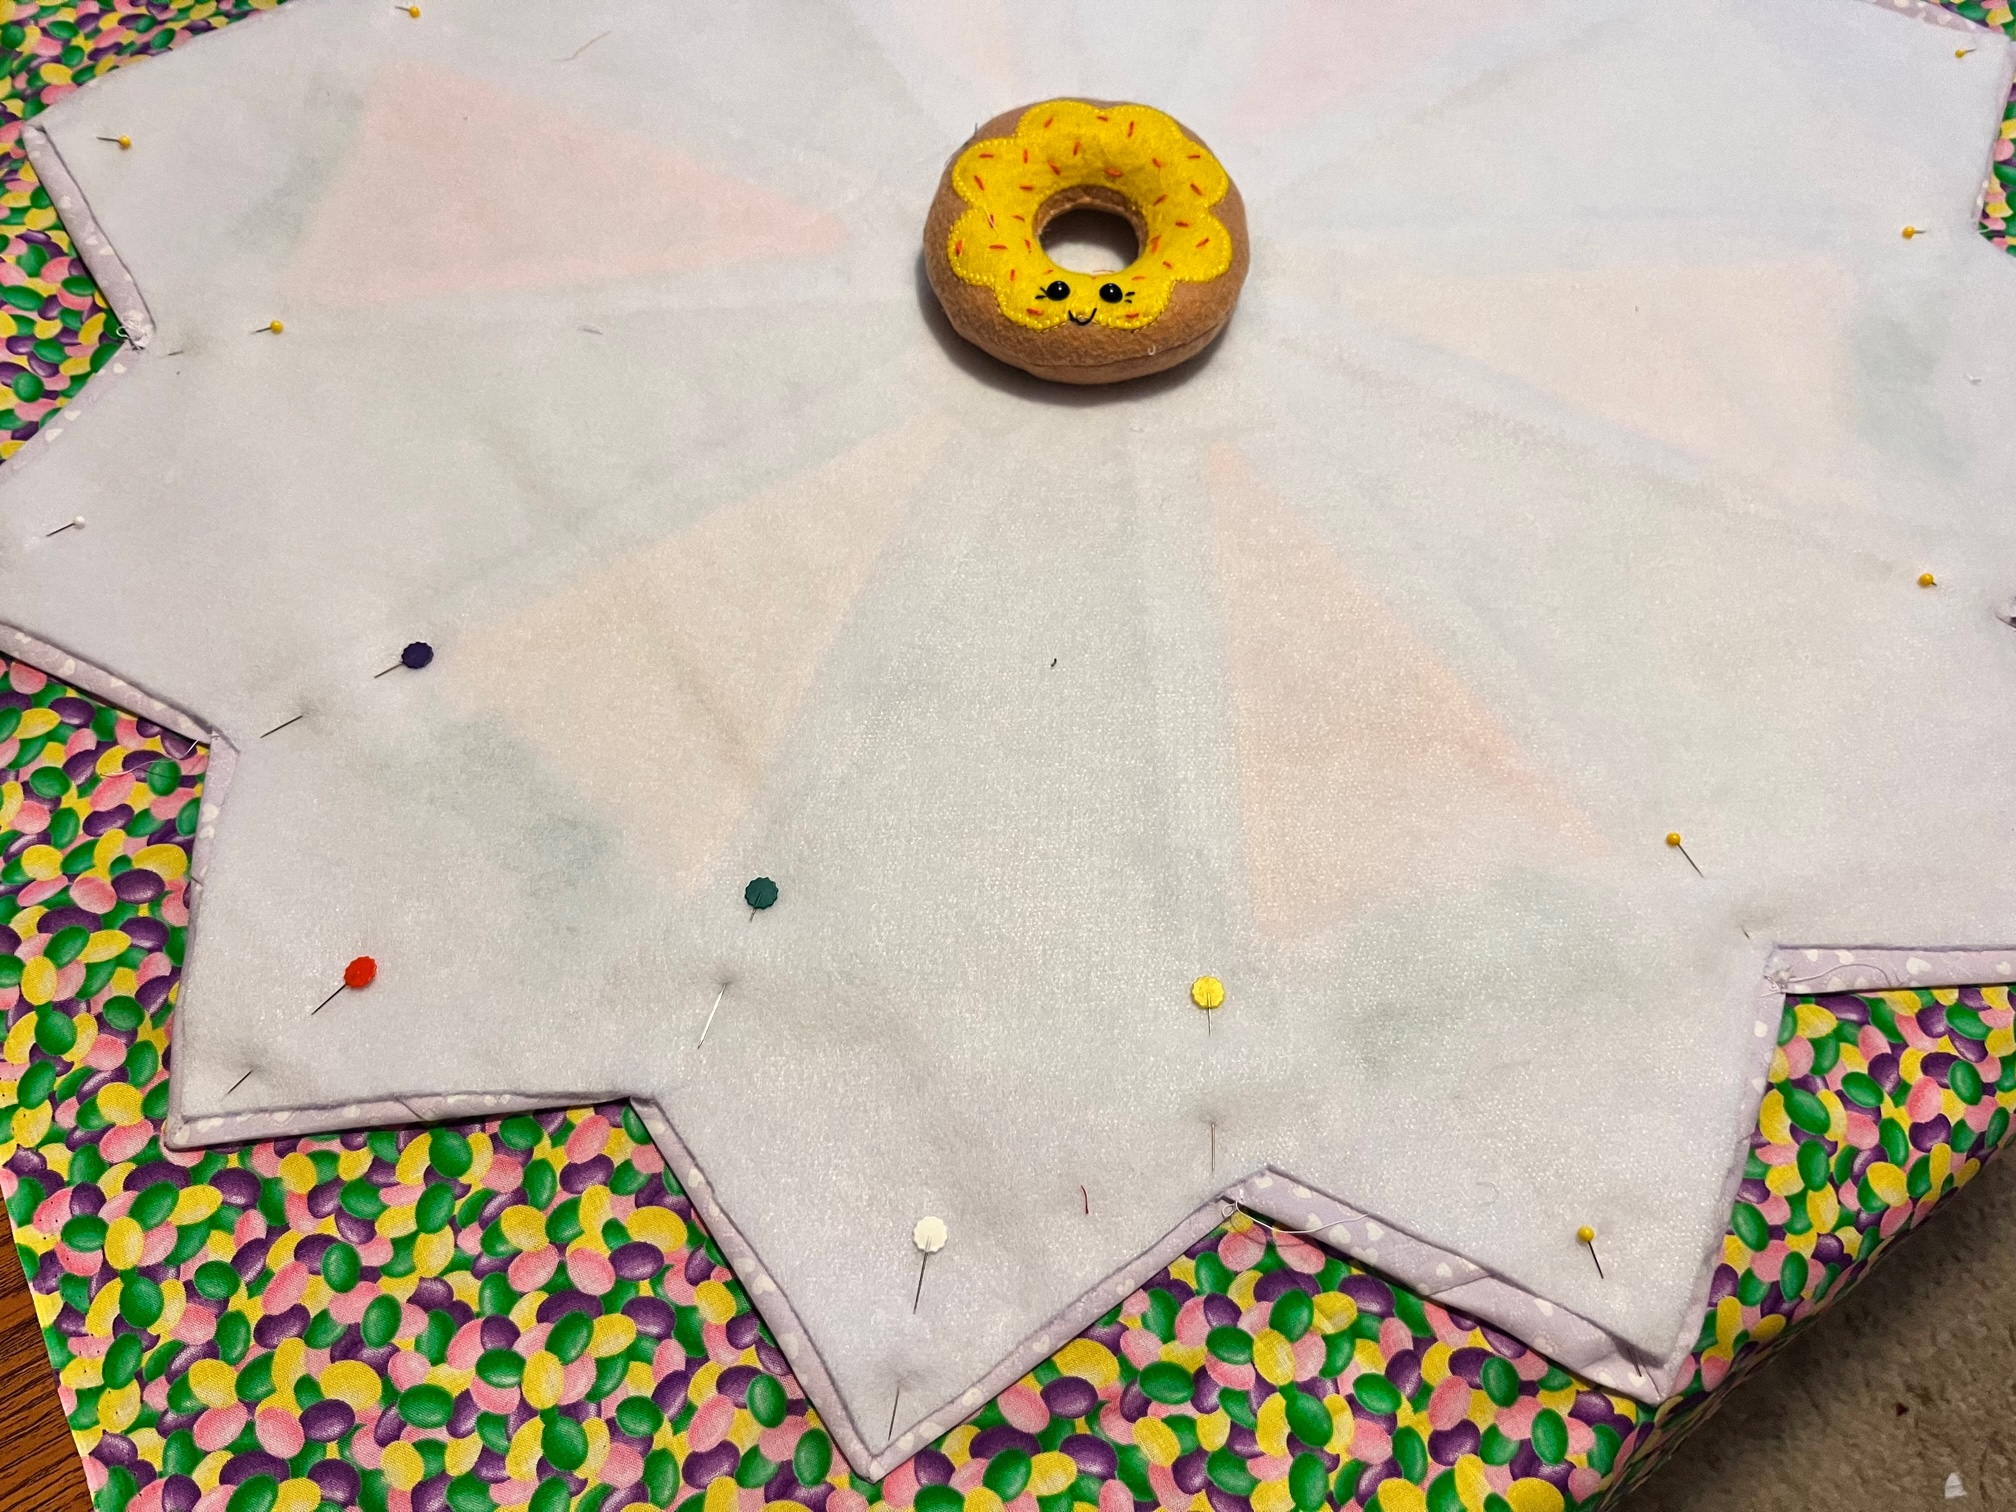
Continue by…
Sew around your Dresden using a 1/4″ seam. Leave an opening for tuning. Trim the excess fabric from around your Dresden. Next, clip the points and snip the inner corners. Turn your Dresden right side out and press. Next, fold under the opening and pin. Quilt your Dresden to your liking. When finished quilting, top stitch around to close the opening.
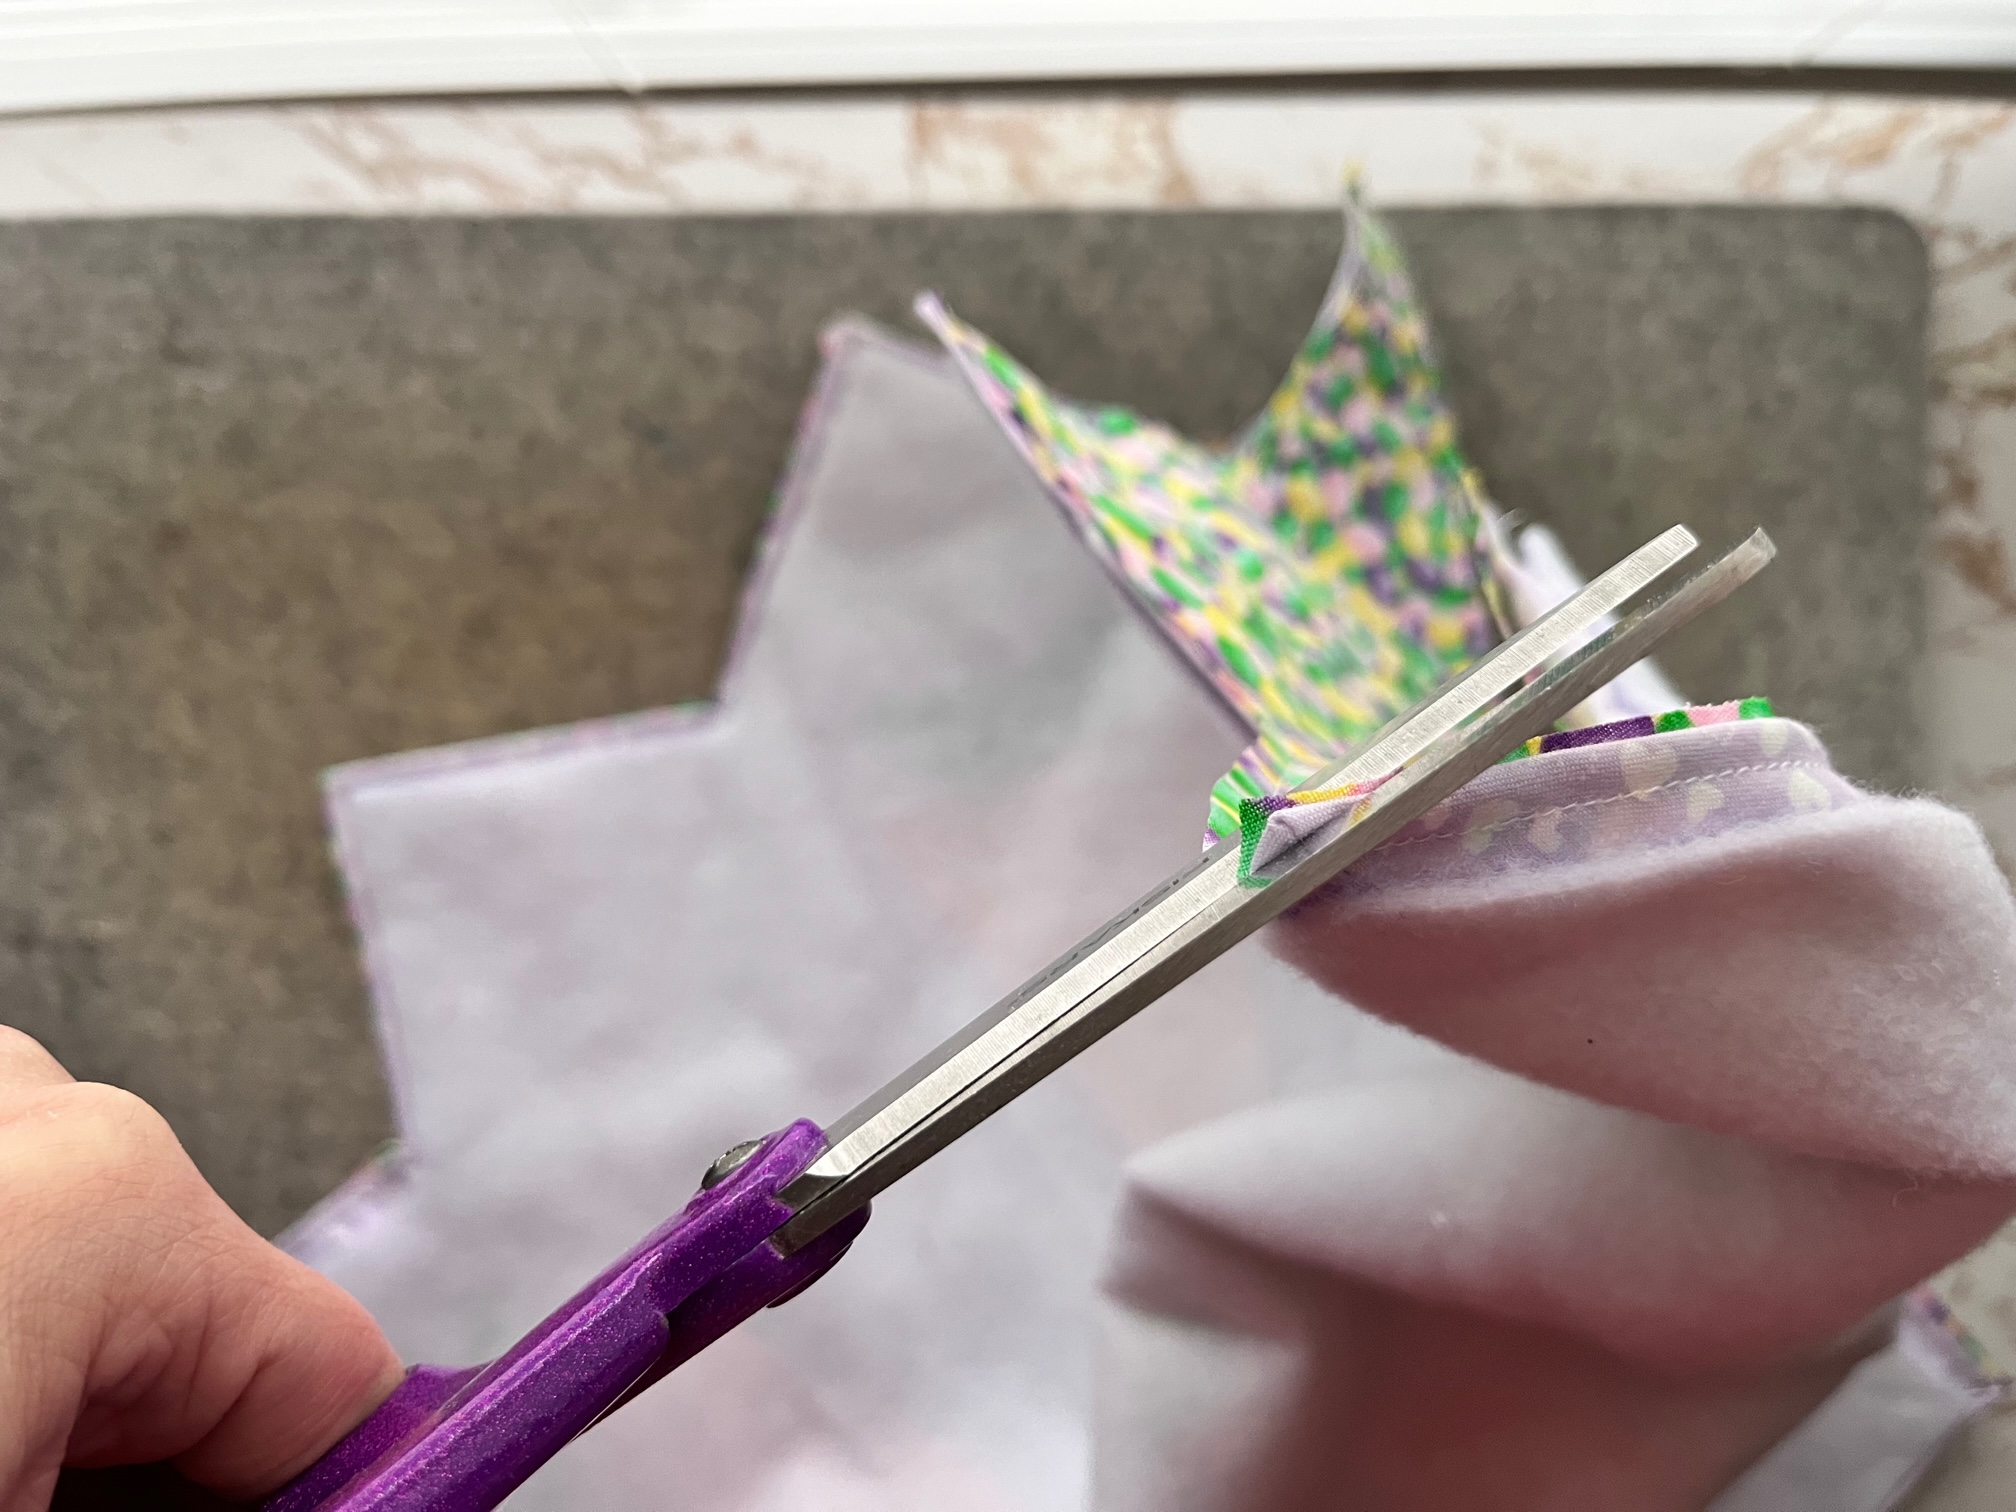
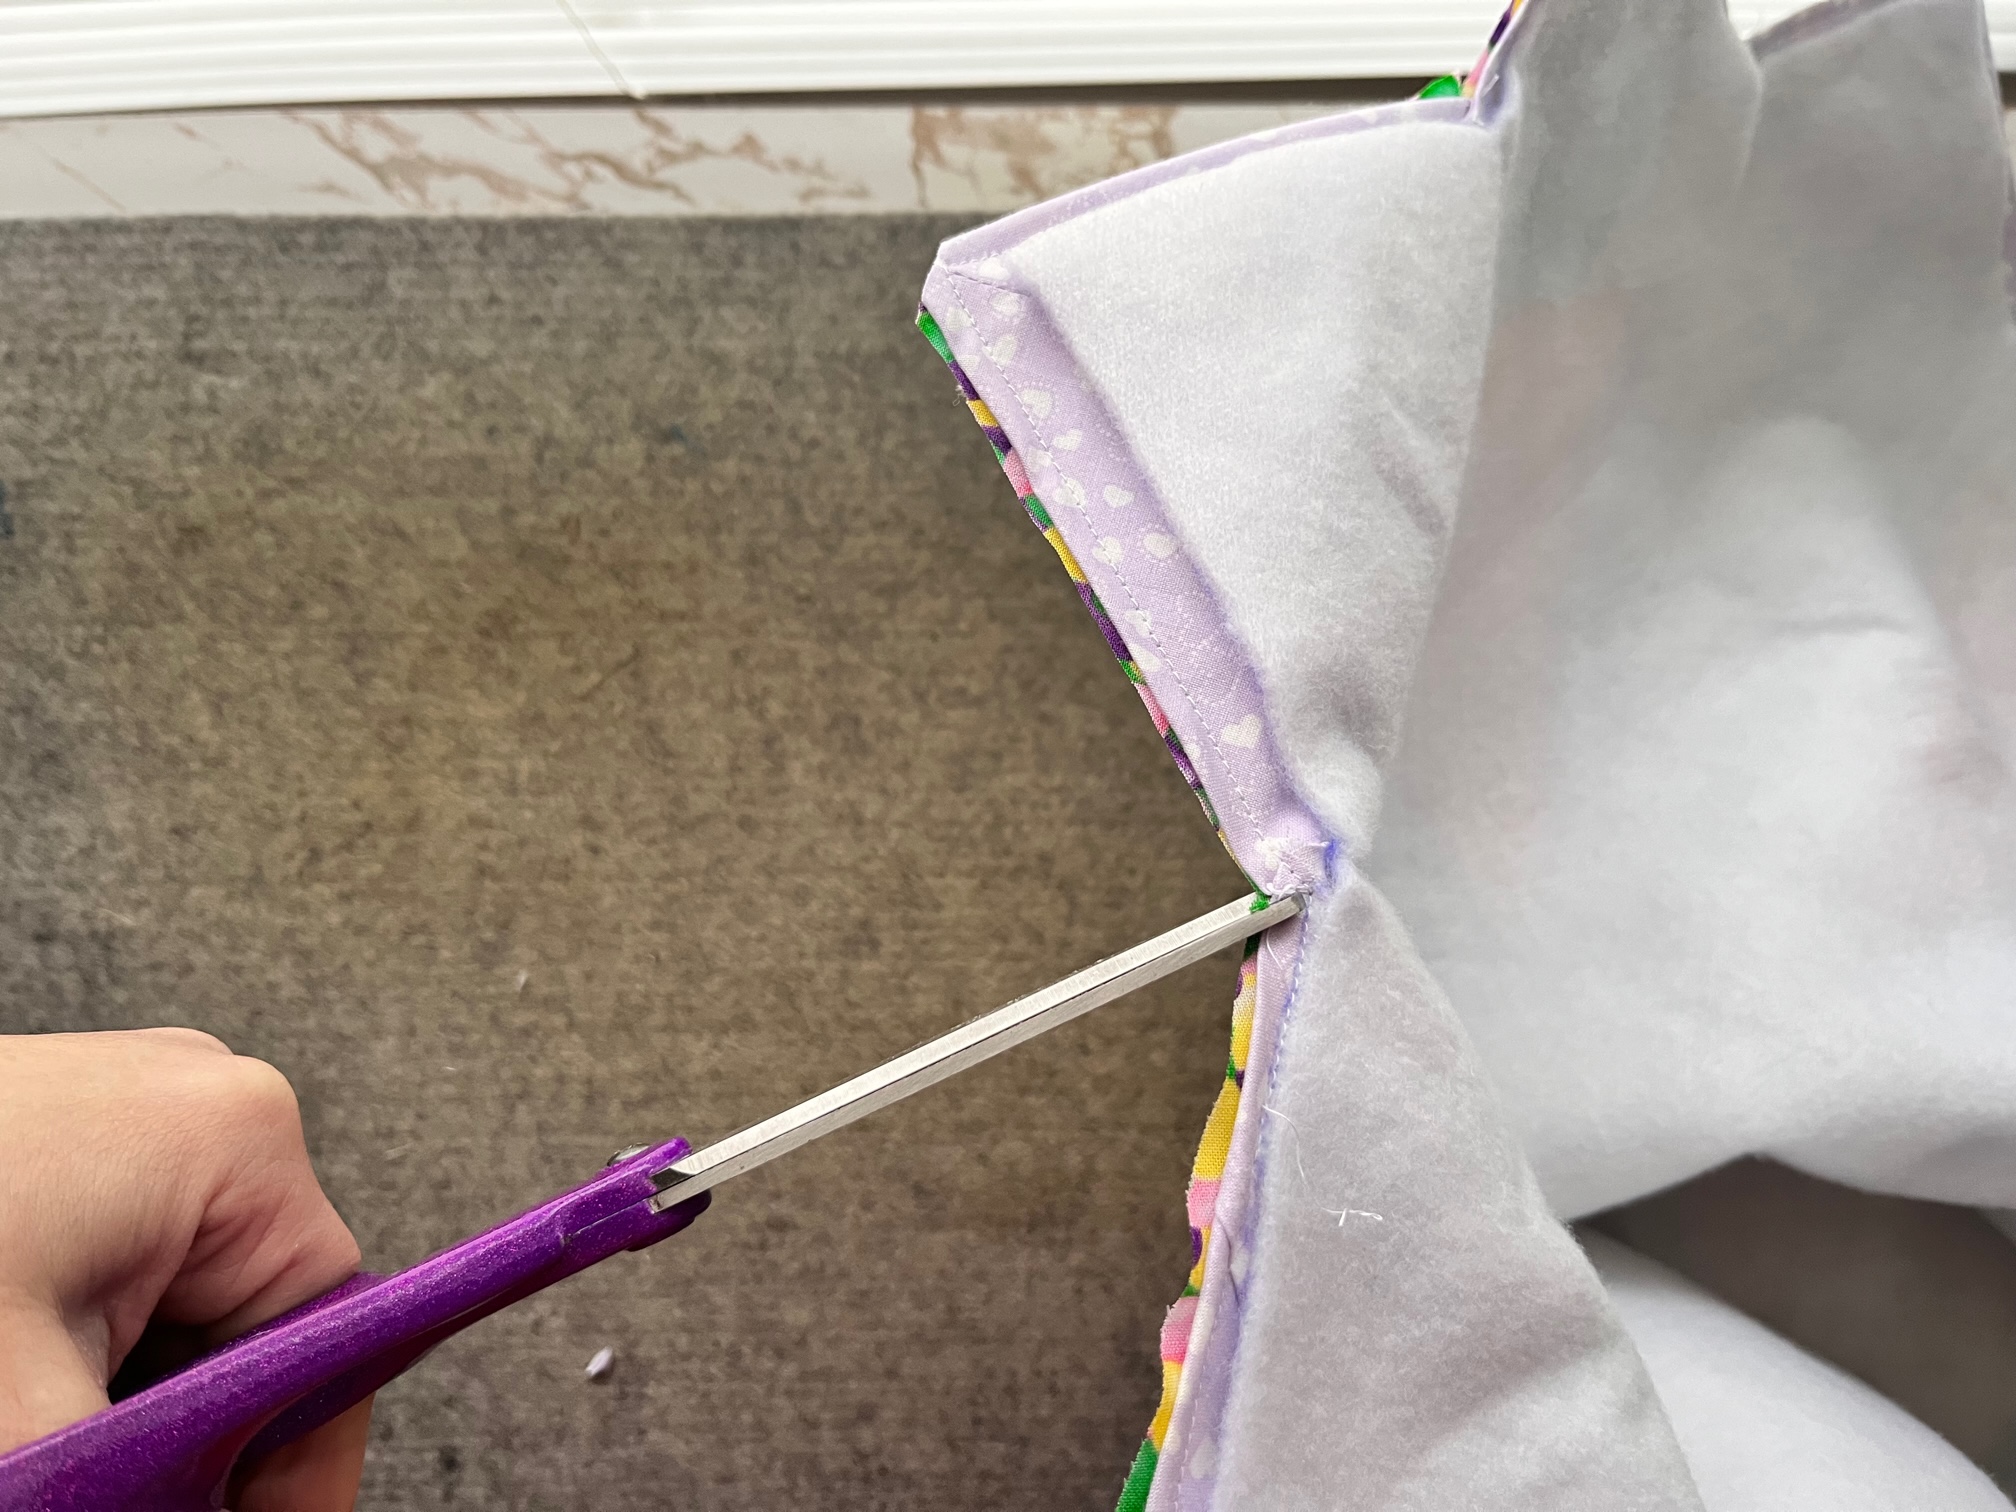
Next…
Once your table topper has been quilted and topstitched, it is time to add the circle center. Begin by adhering the HeatnBond Lite to your inner circle fabric. Using the pattern provided,
trace the inner circle onto your HeatnBond Lite adhesive and then cut it out.
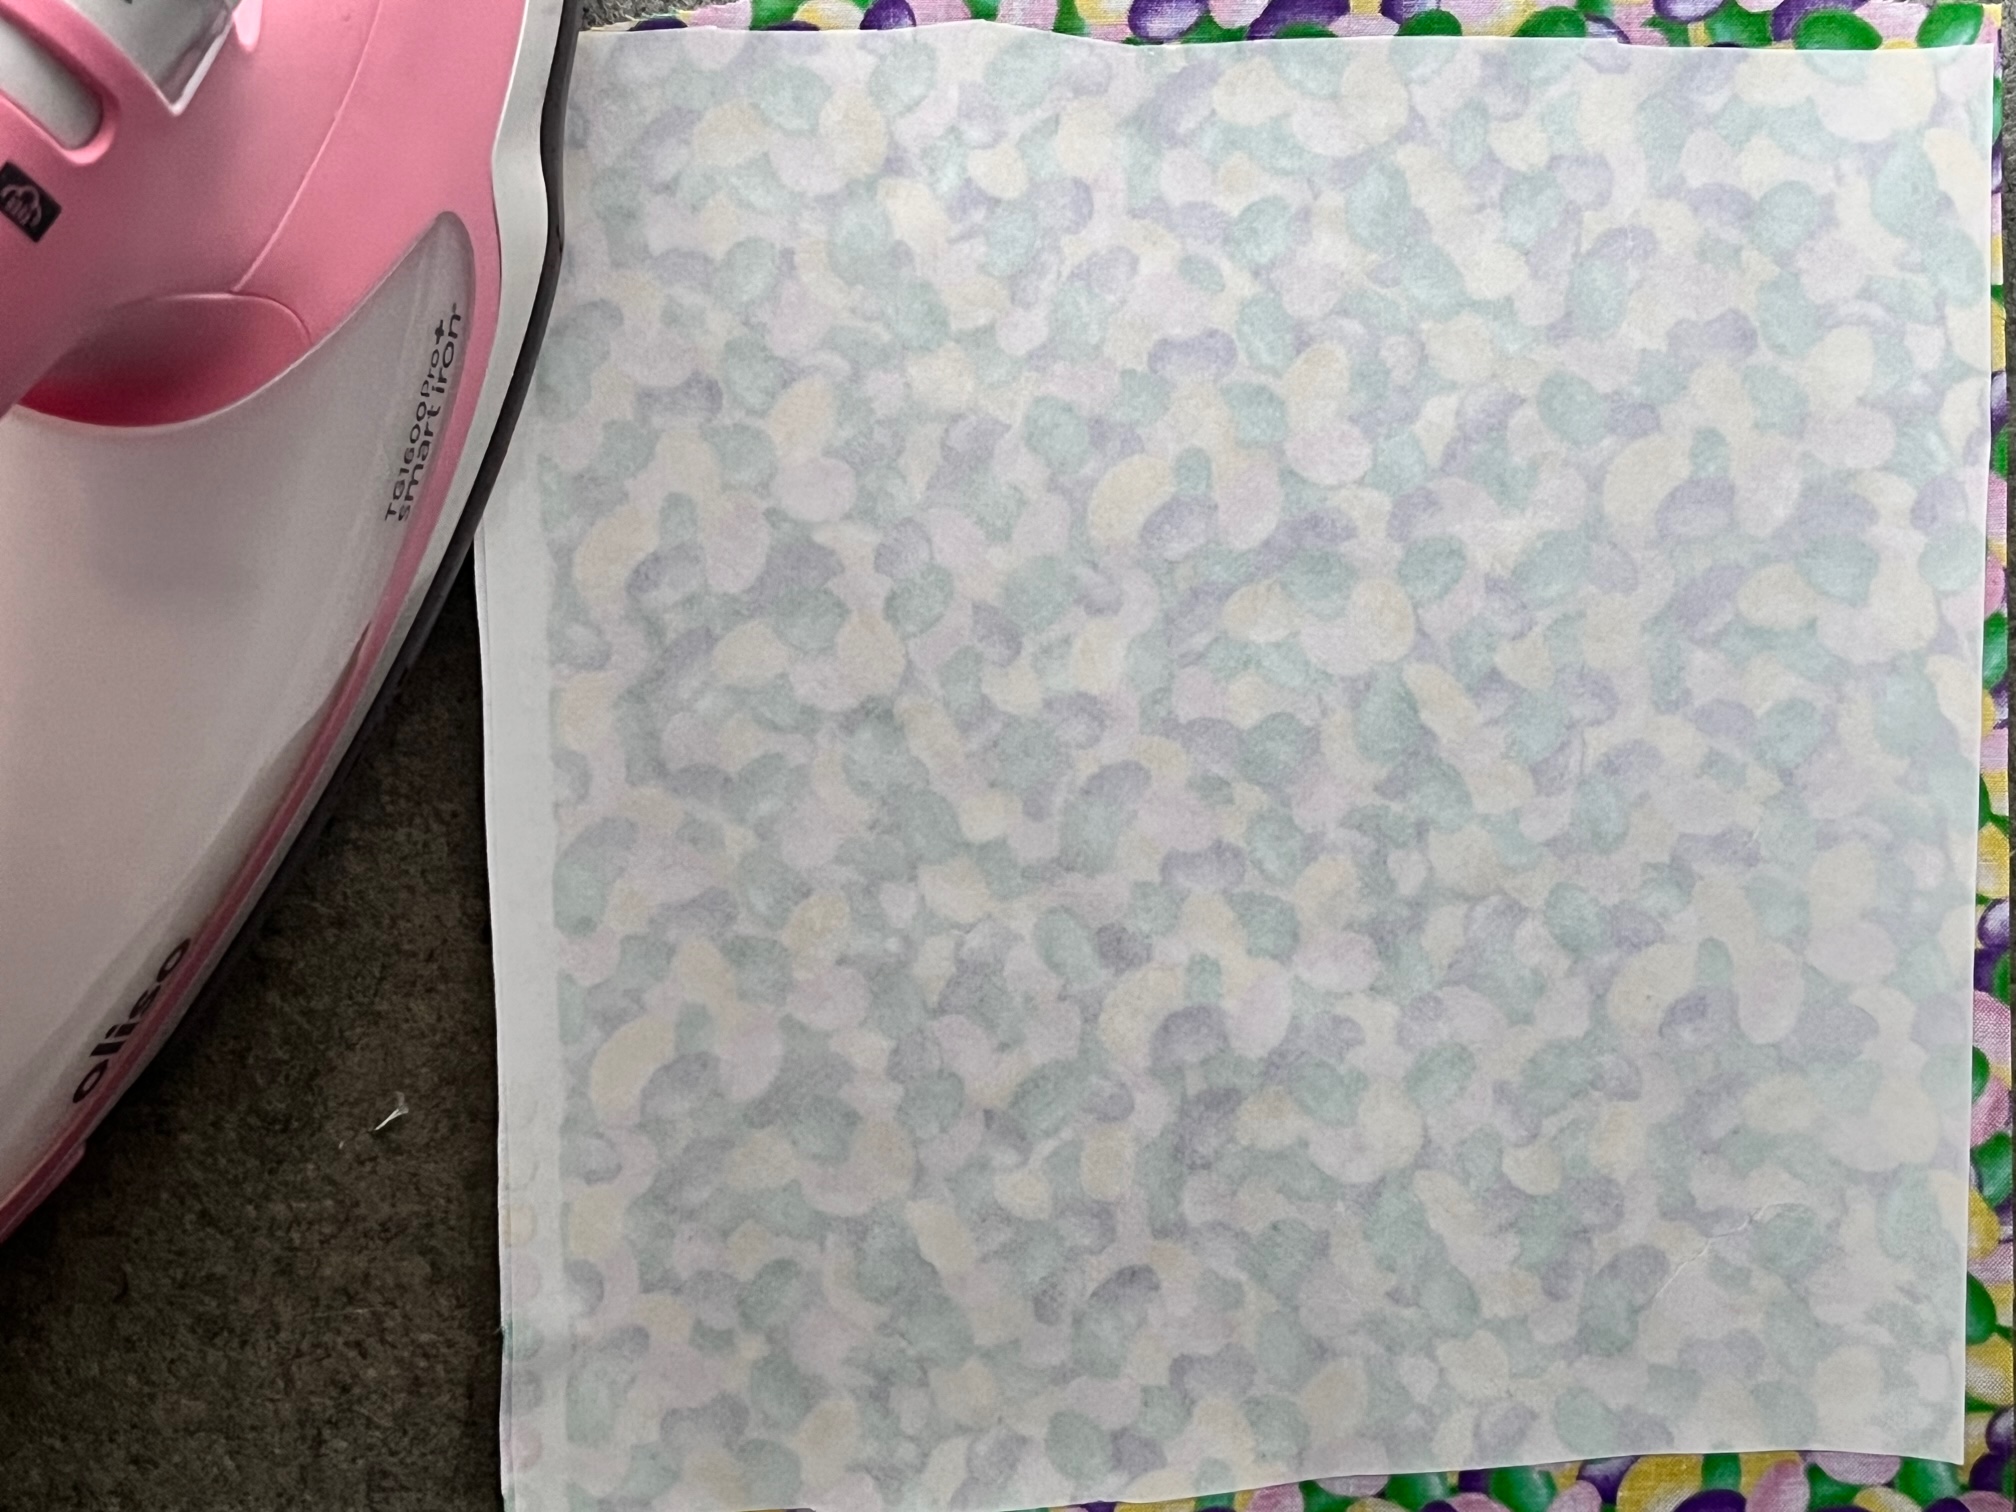
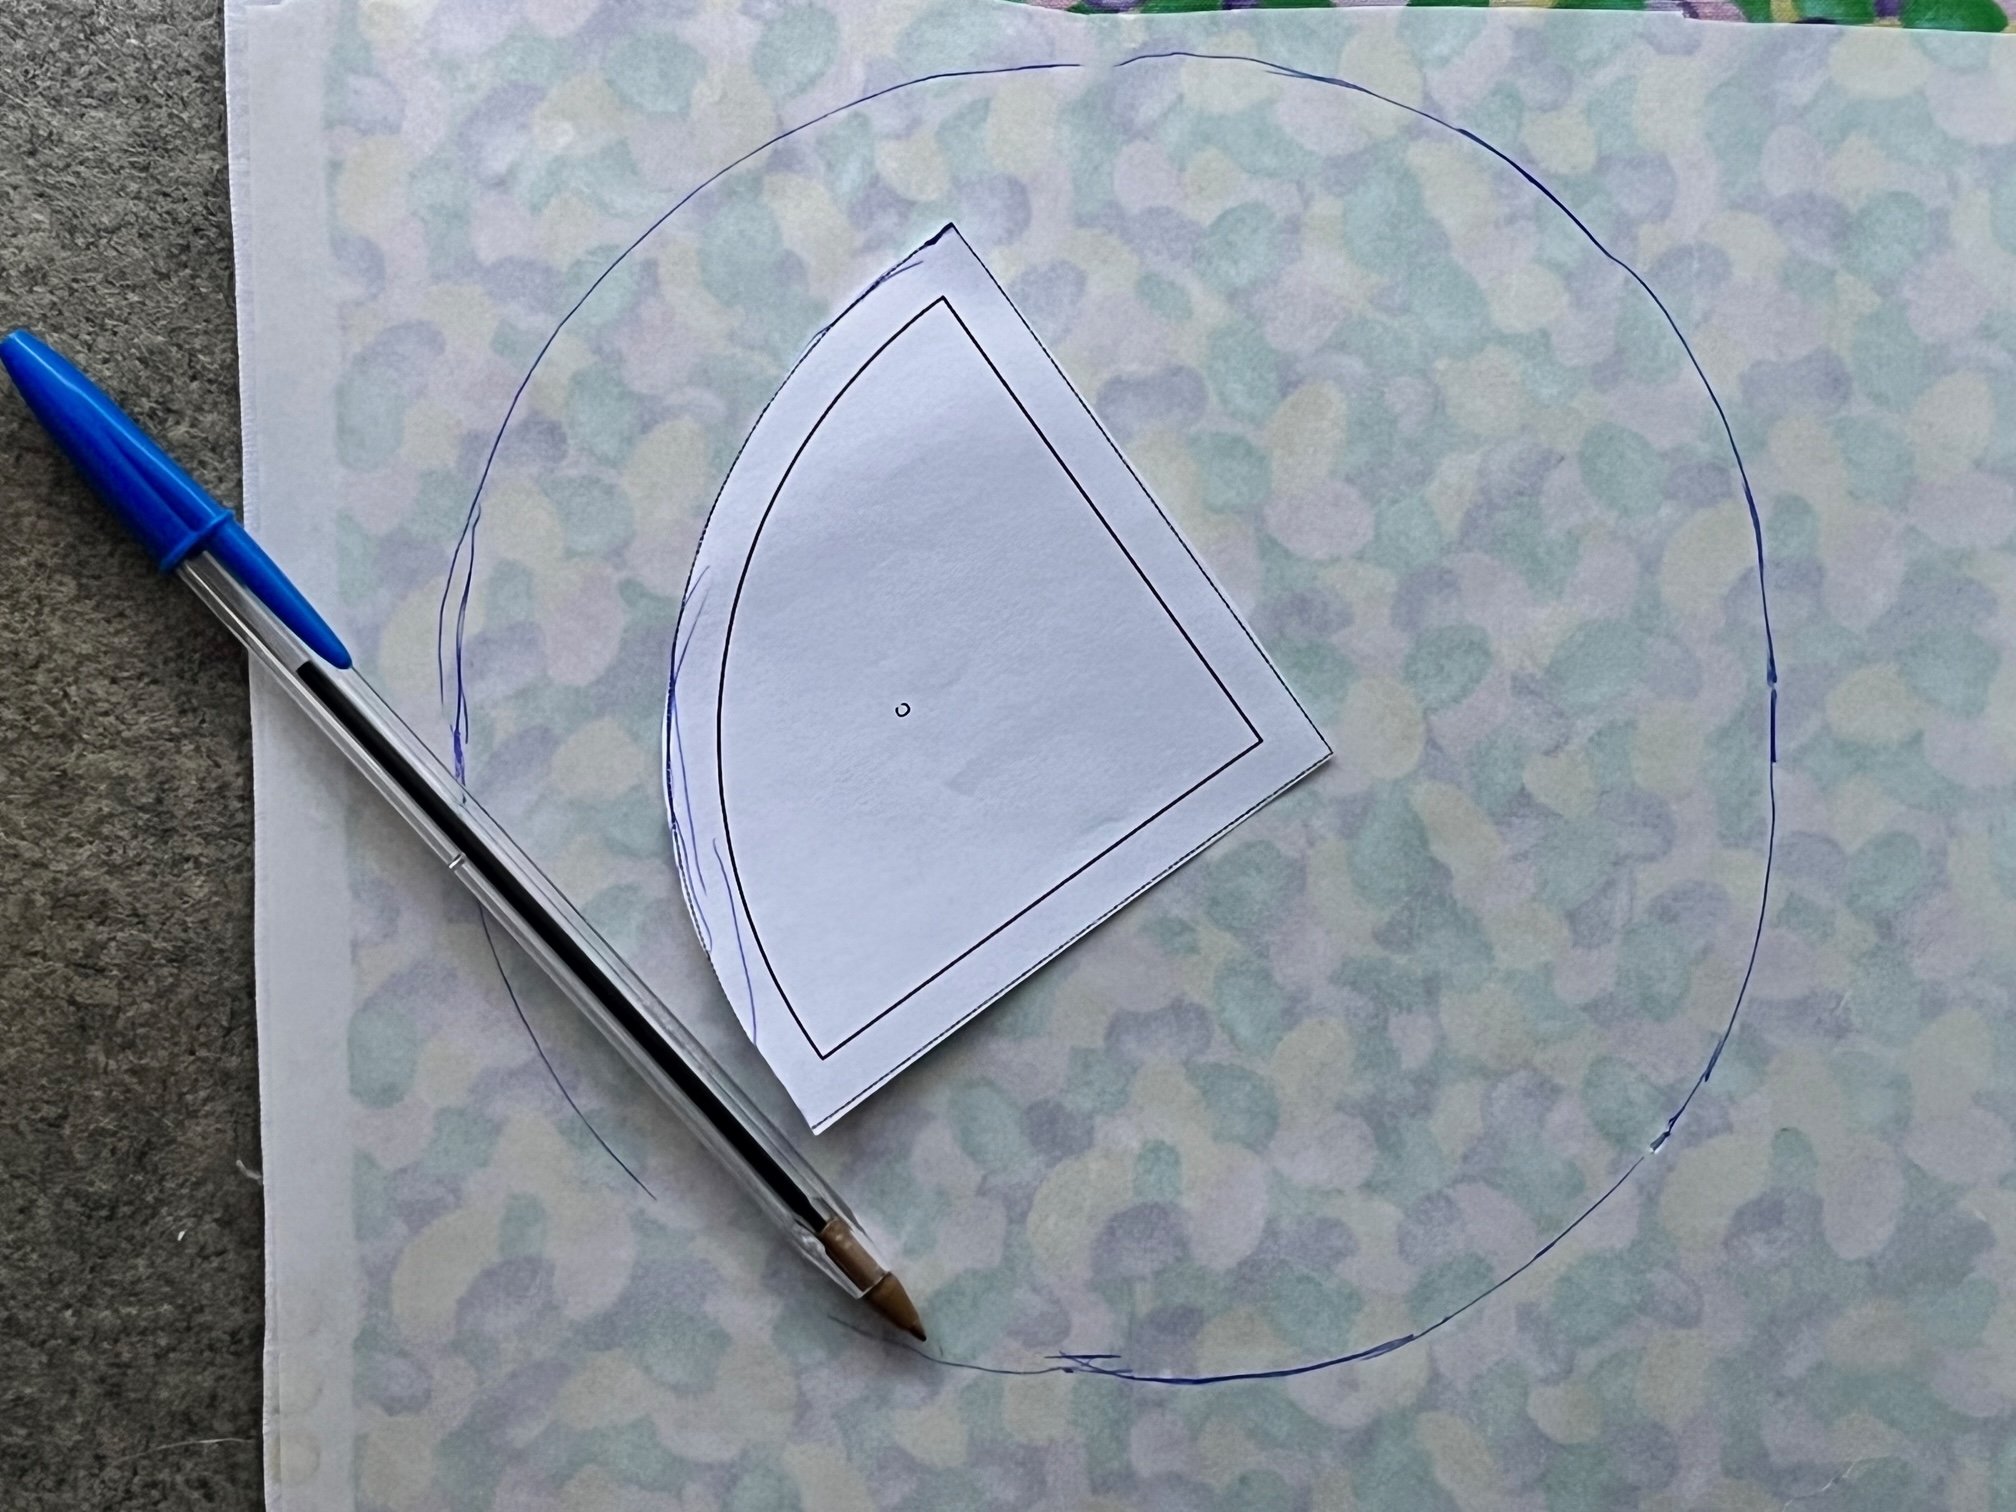
Then…
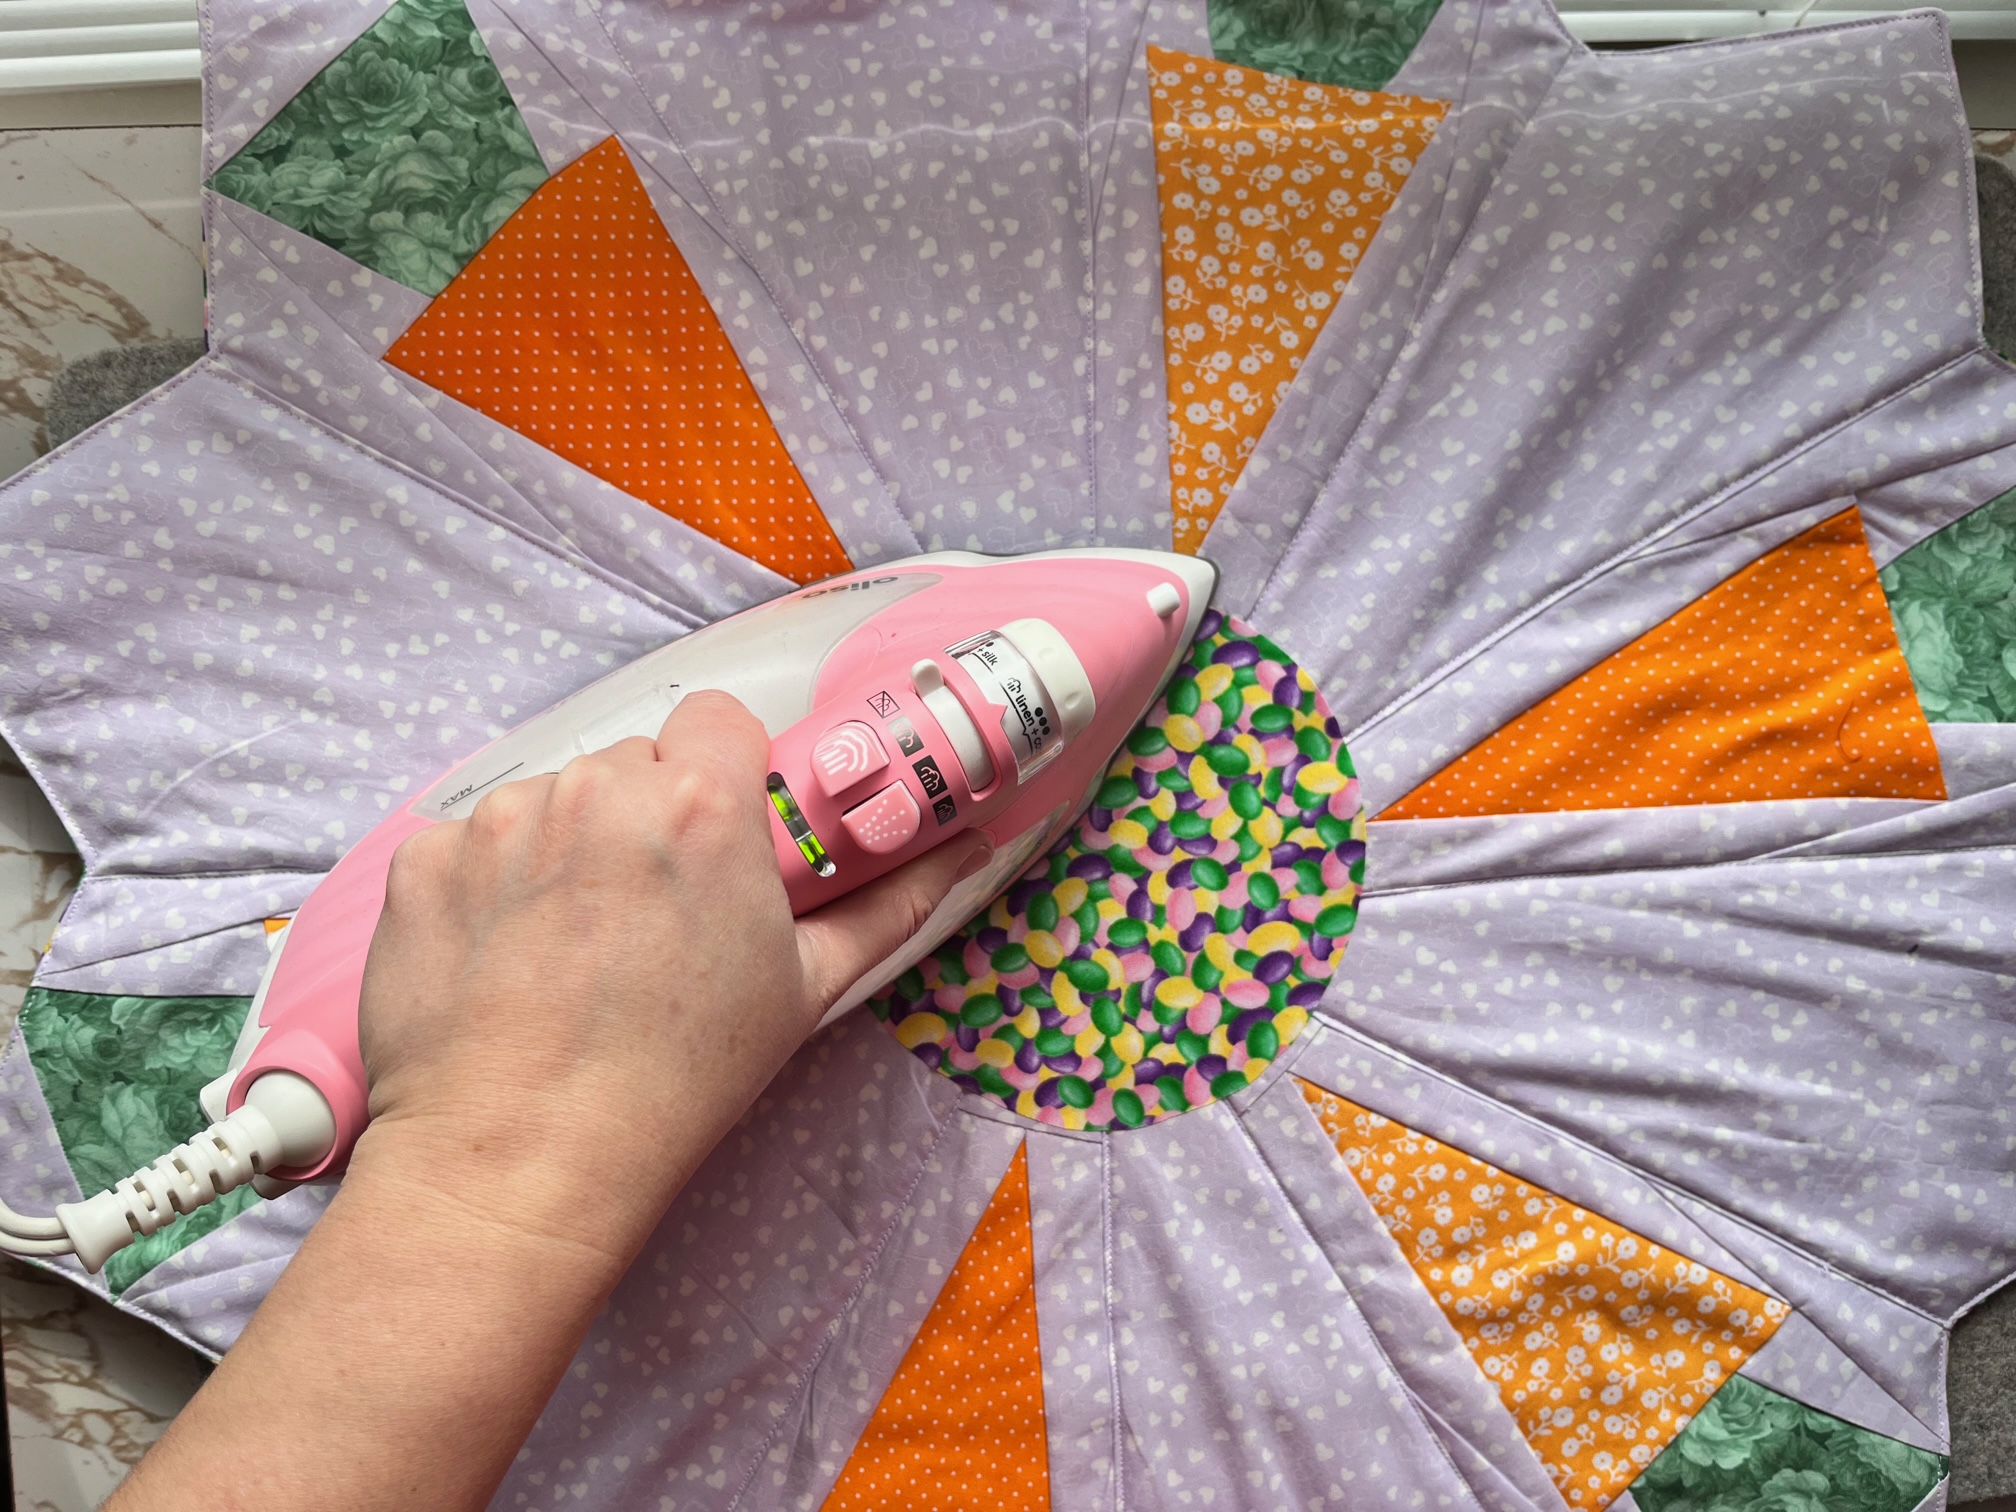
Peel off the backing of the circle and adhere it to the center of your Dresden. Applique the circle however you choose.
Finally…
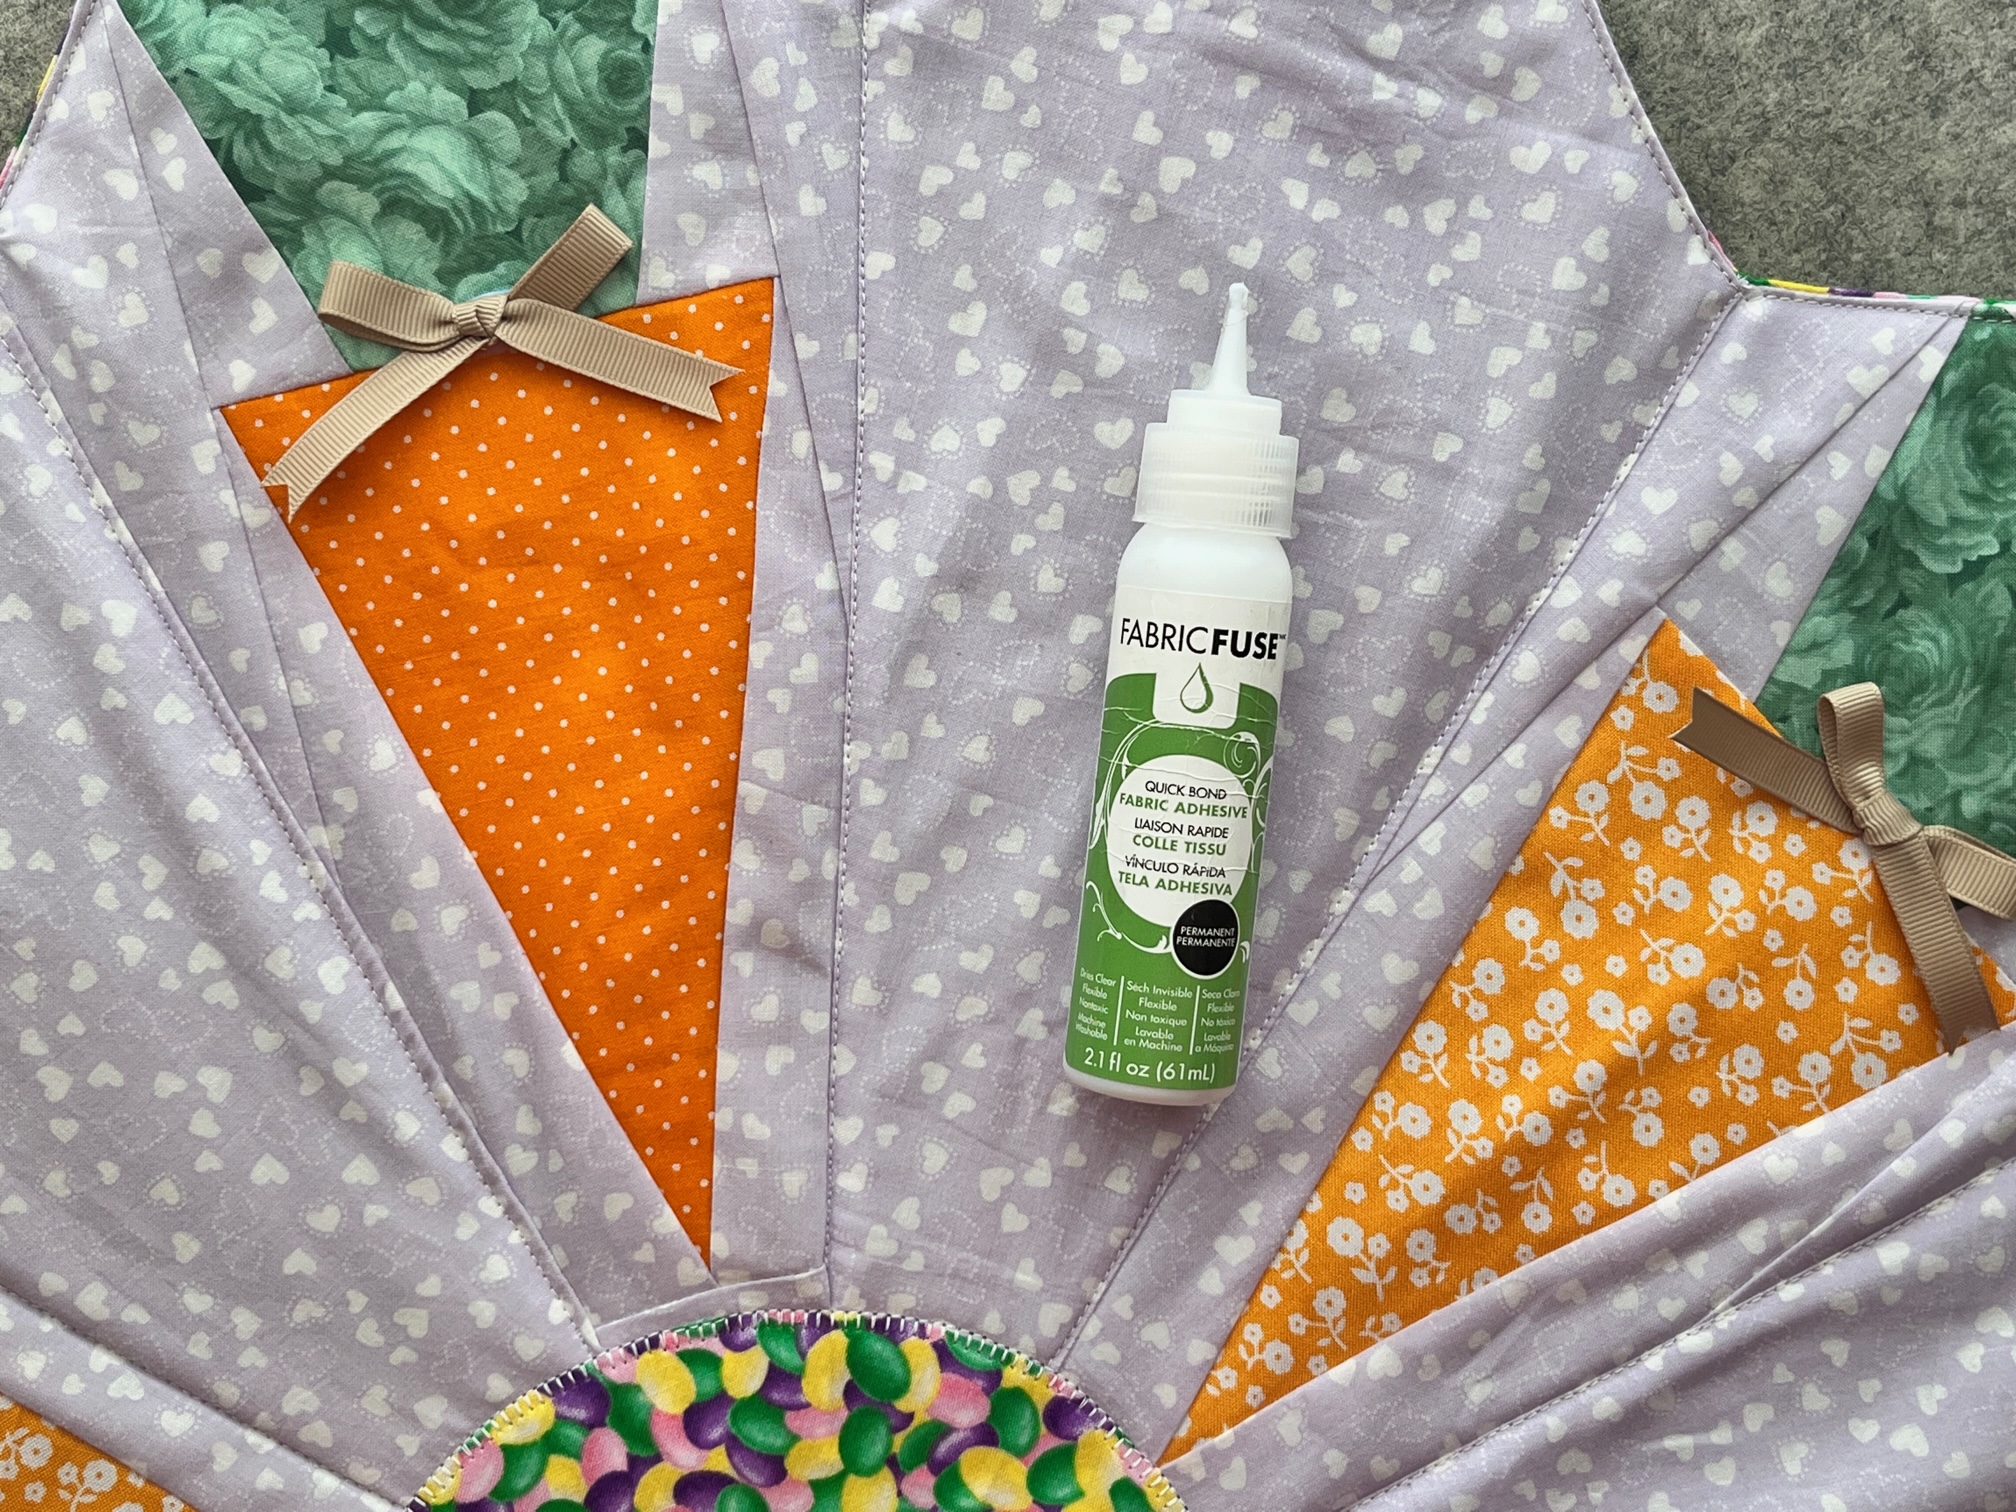
Make 6 ribbon bows and adhere them to the carrot tops with Thermoweb’s Fabric Fuse.
Finished!
Thank you for visiting today! Come back soon to see what else will be starting to bloom with Inflorescence Designs!

Carol Otter
March 14, 2023 at 5:36 pm (2 years ago)Sew Cute! Thank you for Sharing!!