
Hey there craft friends! I’m so happy you’re here today. This is Amanda from Twiddler’s Nook with a set of fun Easter creations to share with you. I used toner card fronts, stamps and dies to create a card and two coordinating gift tags.
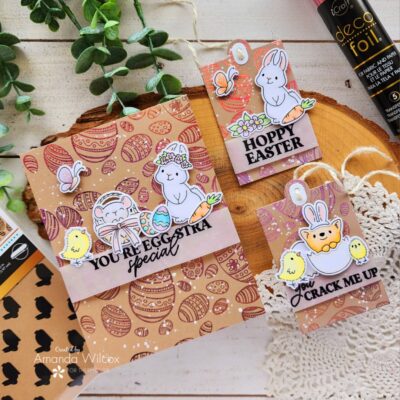
Products used:
Deco Foil Toner Card Fronts – Basket of Fun
Deco Foil Transfer Sheets – Enchanted Rose
iCraft liquid glue pen and tape runner
iCraft foam squares
Ellen Hutson Farmhouse Tags dies
Ellen Hutson Sweet Spring stamps and dies
Ellen Hutson Ears to You stamps
Pink & Main Embossing & Watermark Ink
Pink & Main Magic Anti-static Brush
Pink & Main Licorice Embossing Powder
Pink & Main Touch of Gloss
Stickles – stardust
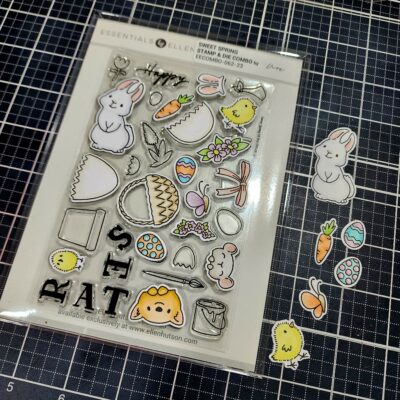
I typically start my cards with all things messy or foiling first. But today I turned my laminator on to heat up and just started stamping and coloring a billion adorable images from Sweet Spring. These critters make my heart sing they are so cute and fun to dress up and stick in all the openings!
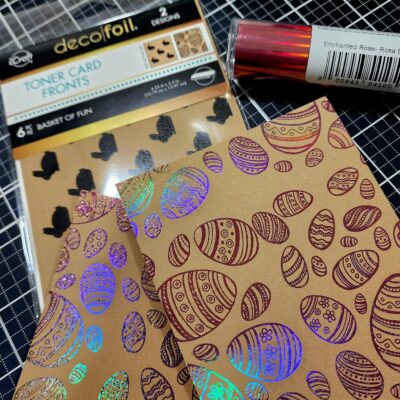
Once I finished coloring and die cutting all the cuteness. I switched gears and foiled 2 of the Easter egg pattern included in the Basket of Fun toner card front packages. There are cute little bunnies too! I love options! Today I chose enchanted rose deco foil. I love the rainbow sheen this foil gives in the light but still has the pretty pink tone.
At this point I also splattered the foiled panels with white paint for added texture. I thought the white was boring so I smooshed some picked raspberry distress oxide ink on the corner of the block I had the paint on and mixed it together for some pink splatters too. Next, practicing patience and letting them dry. I’m not good at this game usually.
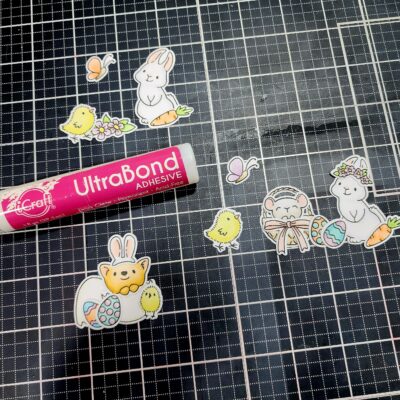
Don’t kill me but I did a bit of bouncing back and forth. Next, I set the foiled panels aside and used my liquid glue pen to adhere all the critters together. The fox went in the eggshell and the mouse in the basket, plus I had all the accessories to glue on. You get the idea.
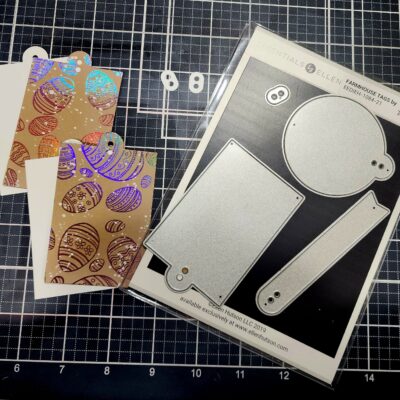
With the panels dry I cut two tags from one of them using the Farmhouse Tags set. I also cut two white tags and the hole reinforces for each. Most of the time the second tag layer is optional but this time it really comes in handy so you’ll want that extra.
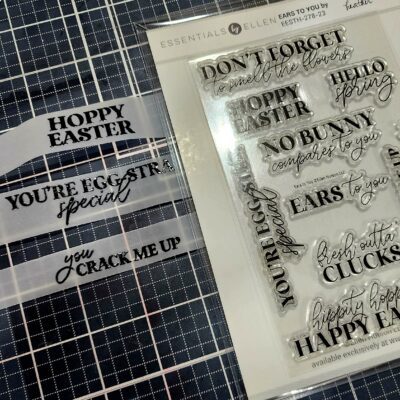
Time for sentiments! I chose to stamp and heat emboss three different sentiments on strips of vellum. These strips are going to wrap around the card front and the tags so they are cut extra long so I don’t have to worry about coming up short.
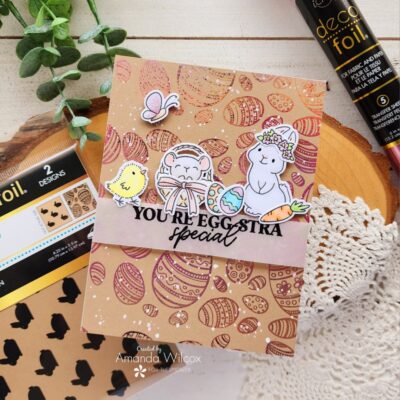
For my card, I wrapped the sentiment strip around the foiled panel and tacked it in place with tape runner. This holds vellum perfectly, without warping. Then I added all my critters with foam squares. Once they were in place I adhered the panel to a card base.
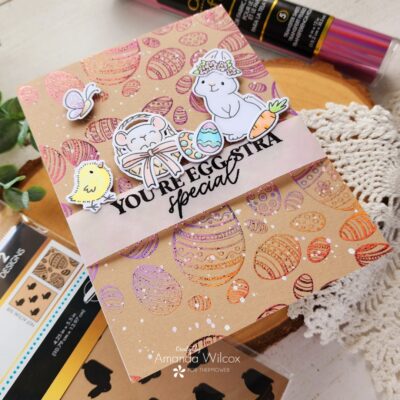
For finishing touches I added Touch of Gloss to the flower centers and all critter noses. Then I used black glaze pen on all their eyes and finished things off with some stardust Stickles on the butterfly wings and Easter eggs.
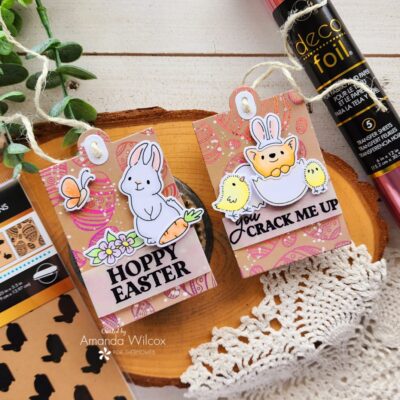
I did the same thing with each of the tags too. I wrapped the vellum around, then glued the white tag to the back to hide the ugly and secure everything in place. Then added all my images with foam squares. I also did the same finishing touches here – black glaze pen on eyes and the fox’s nose, plus Touch of Gloss for noses and beaks, with stardust Stickles for the butterfly’s wings.

I hope you enjoyed today’s projects and found some inspiration to create something wonderful to share with someone.
I appreciate you sharing your time with me. Have a fabulous day!
