


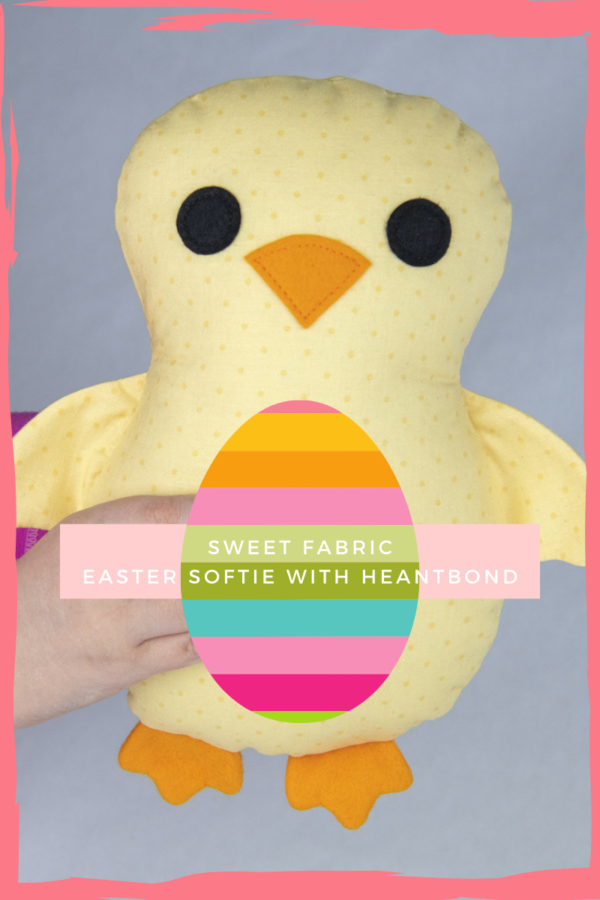
Easter Chick Stuffie with HeatnBond
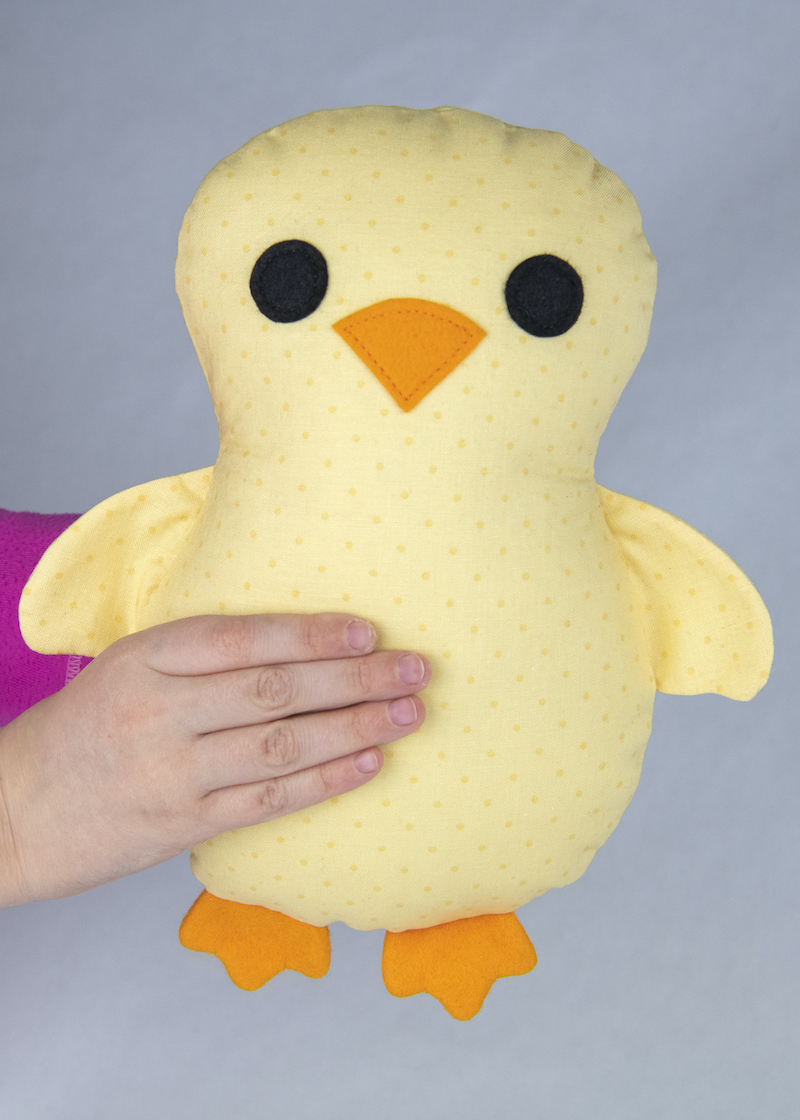
Hi, sewing friends! Lisa Summerhays of Stubbornly Crafty here to share a quick and easy stuffed chick with you just in time for Easter.
Supplies
- Pattern (DOWNLOAD AND PRINT HERE)
- Fat Quarter of 100% cotton fabric
- Fusible Fleece
- Felt scraps in orange and black
- HeatnBond Lite Iron-On Adhesive
- Hand-sewing needle and thread
- Pen
- Poly-fil
Easter Chick Stuffie Directions
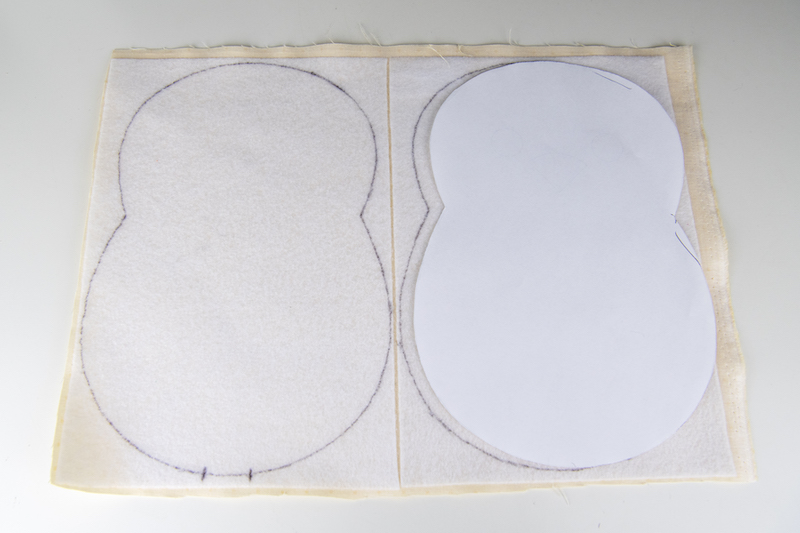 Print and cut out your pattern. Iron your fat quarter. Cut two 7.5” X10.5” rectangles from your fusible fleece and iron to the back of your fabric. Trace two of your chick’s body onto your fused fusible fleece. Transfer the foot placement markings onto one of the body pieces. We will worry about the face placement a little later. Cut out and set aside.
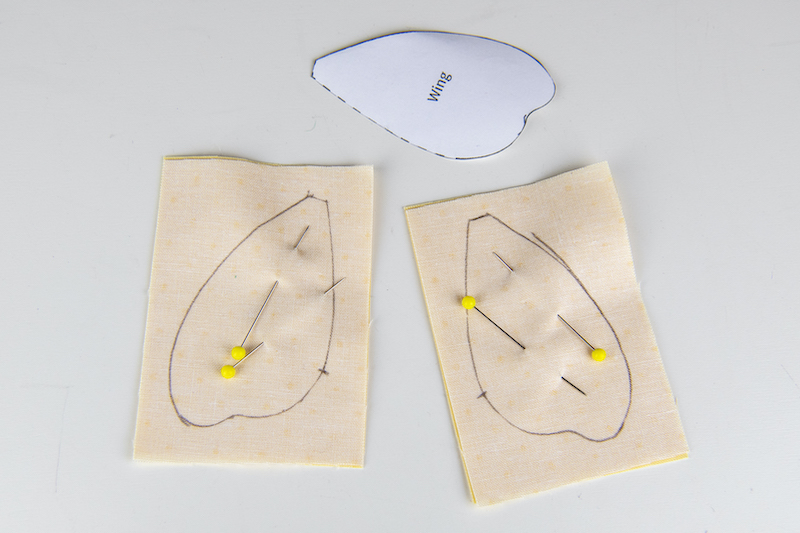 Cut four 2.5”x3.5” rectangles out of the remaining fabric (not fused with fusible fleece). Take two of the rectangles and place them right sides together. Trace your wing pattern onto the back of the top fabric making sure to mark where the dotted line starts and ends. This is the no-sew line where we will turn the wing right side out from. Repeat with the remaining two fabric rectangles.
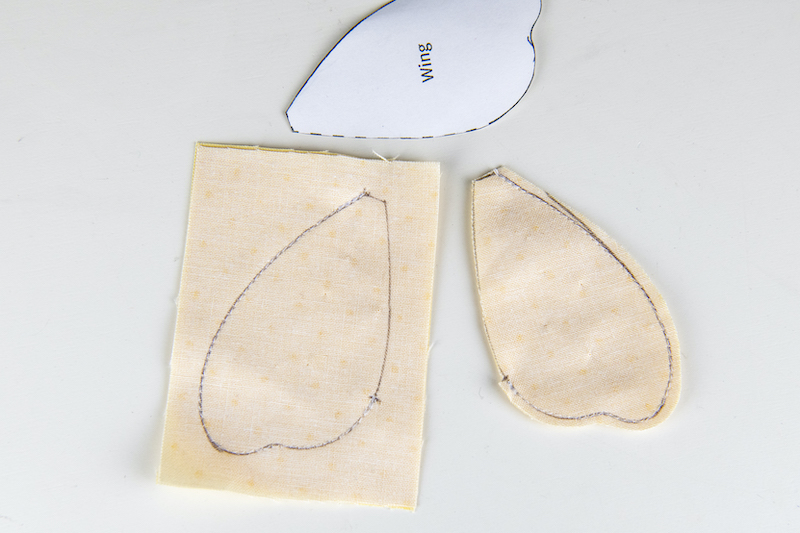 Take to your sewing machine and SEW ON THE LINE you just drew — no seam allowance. We will add that when we cut it out. This will help keep the shape exact and makes sewing easier so your fabric doesn’t get sucked into the machine. Remember to back-stitch at the beginning and end, and to not sew where the dotted line is shown on the pattern. Cut out the pieces by cutting on the line where we did not sew (the dotted line) and using a ⅛” seam allowance to the outside of your sewn line where you did sew.
 Turn right side out and press.
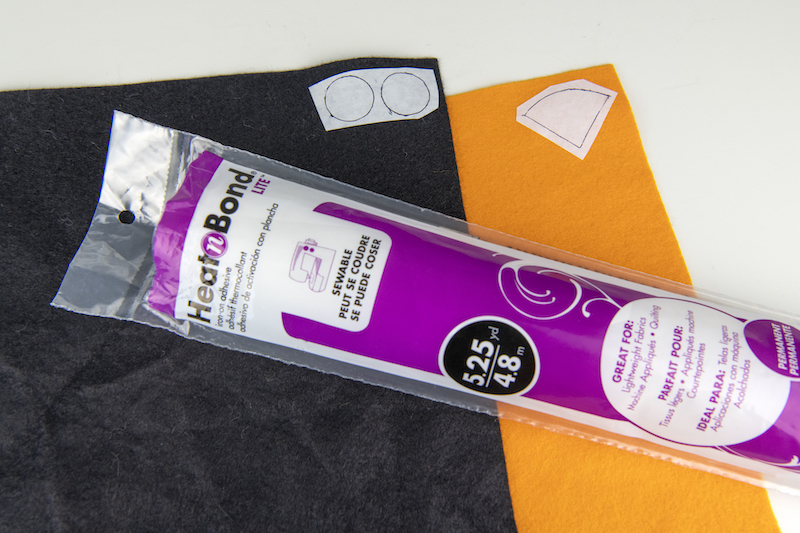 Next, let’s grab our HeatnBond Lite Iron-On adhesive and your felt. Trace one beak and two eyes on the smooth side. Cut them out leaving some negative space around each and iron them onto your felt. The beak on the orange and eyes on the black. Cut out. Also, cut out four 2.5”x2.5” squares from your orange felt.
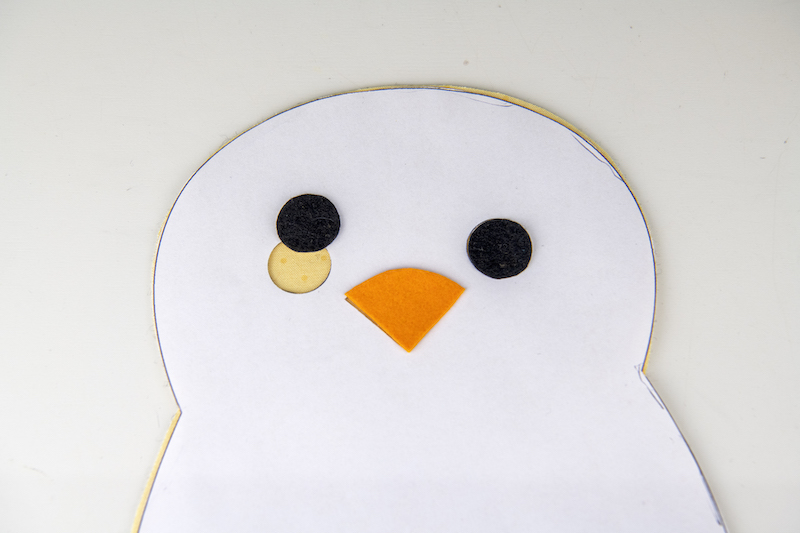 To find the facial feature placement, I like to cut the pieces out of the pattern and use those to place my eyes and beak. Iron them in place (use a barrier cloth when ironing felt or it will melt!) and then top-stitch around each. Do not back-stitch. Instead, pull your threads to the back and tie them off.
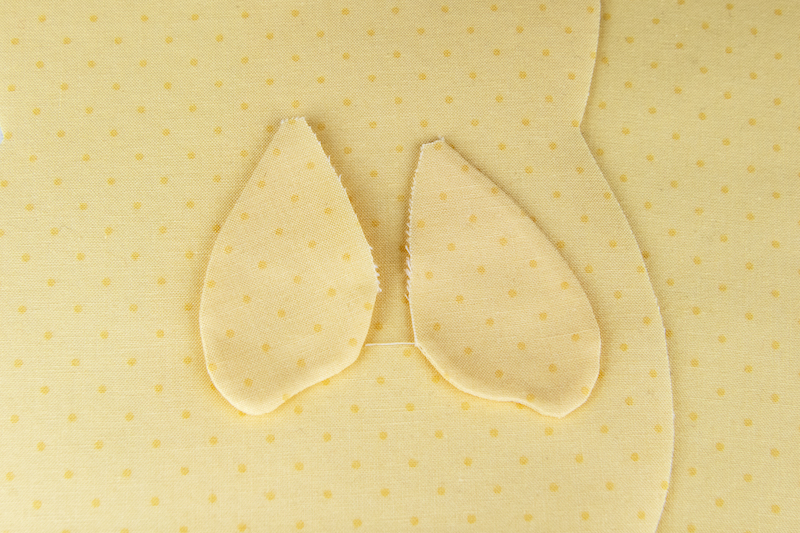
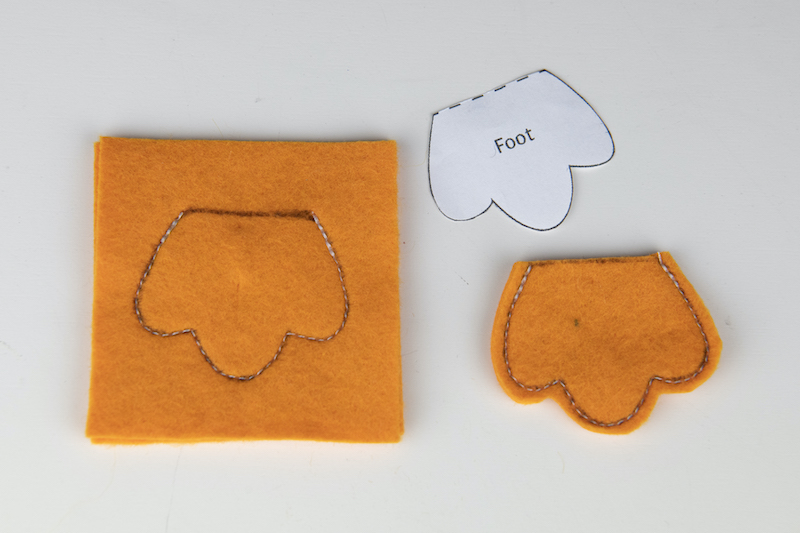 Now we will be using our orange felt squares to do the same process we did to sew the wings to now sew our chick’s feet. Take two felt squares and trace your foot in the center of the top one. We will be leaving the top straight edge unsewn. Repeat for the second foot. Take to your sewing machine and sew on the line remembering to backstitch at the beginning and end. Cut out my cutting on the line across the top straight edge and leave a ⅛” seam allowance outside of the sewn area. Turn right side out and press remembering to use a barrier cloth when doing so.
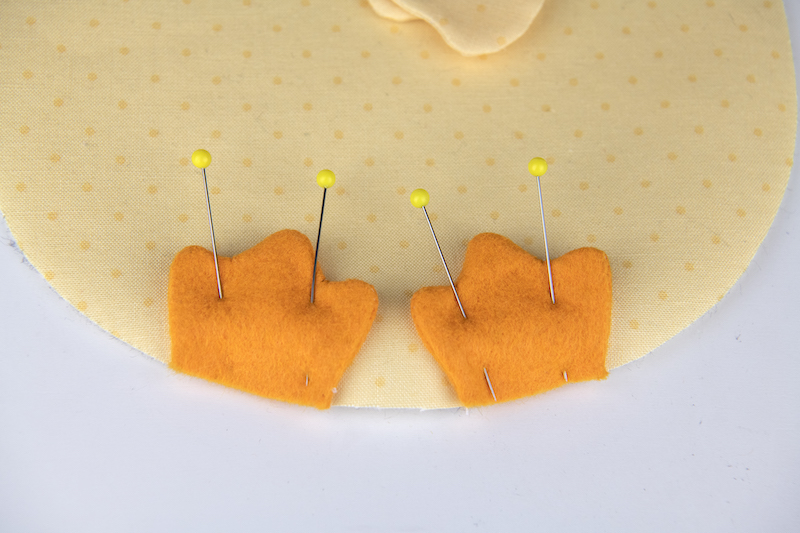 OK, now we are ready to assemble! Pin your feet in place matching the inside edge of each foot with the placement lines and matching up the raw edges (the flat edge of the foot).
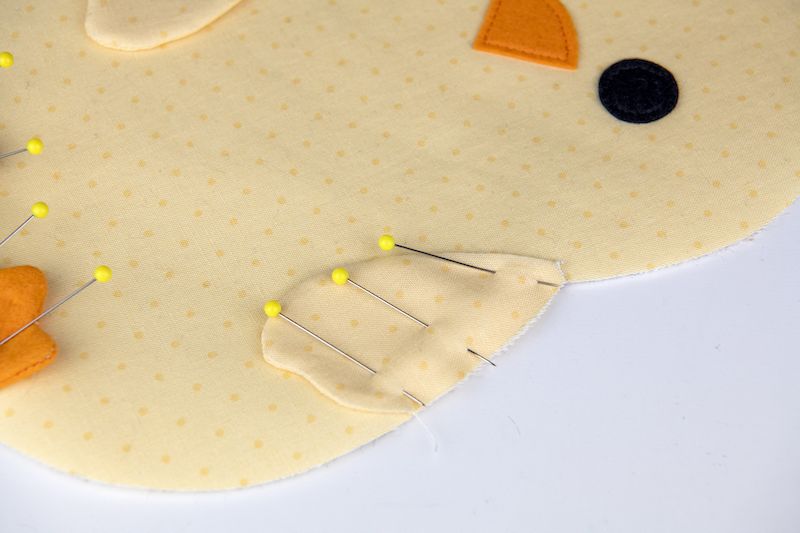 For the wing placement, the top edge of the wing matches up with the neck area of our chick. Pin in place with the raw edges to the outside and the wing facing in. Repeat with the second wing on the other side. Tack both feet and wings in place.
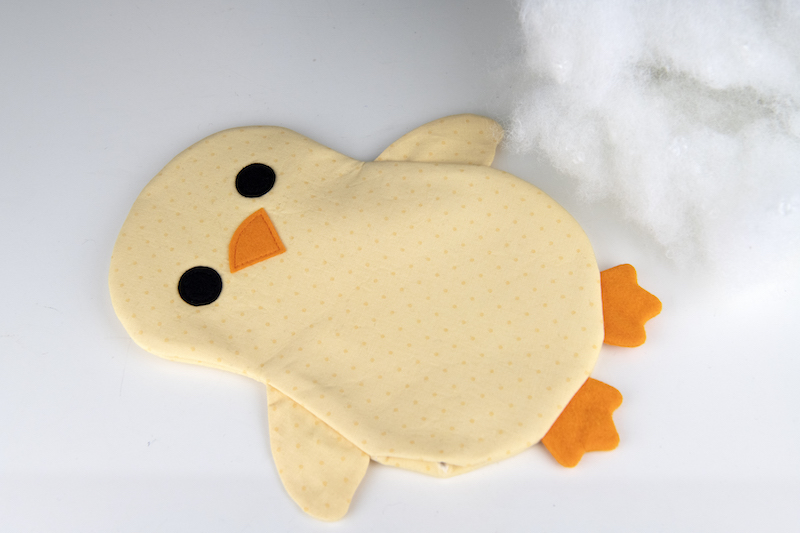
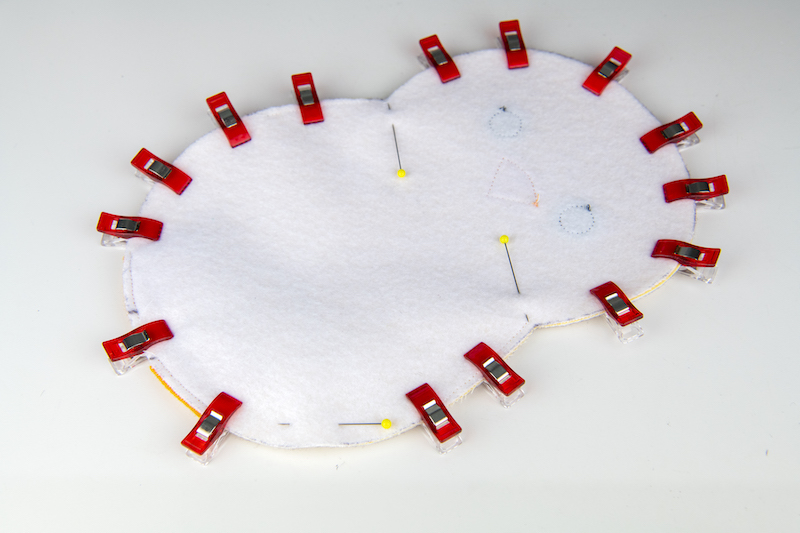 Place the back chick body piece with the front of your chick, right sides together, and pin together all along the edges. Leave an opening between the wing and foot on one side for turning (that’s where I placed the vertical straight pin). Take to your machine and sew around the perimeter using a ¼” seam allowance. Remember to leave your opening.
 Turn right-side out and press.
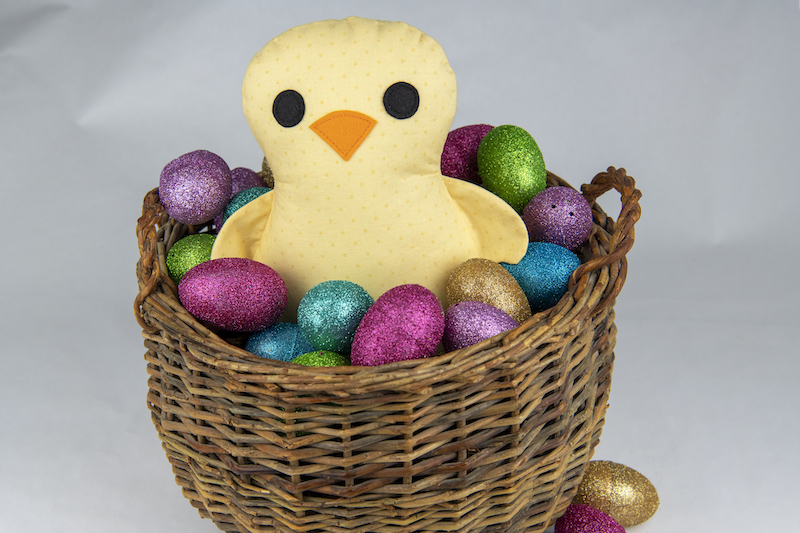
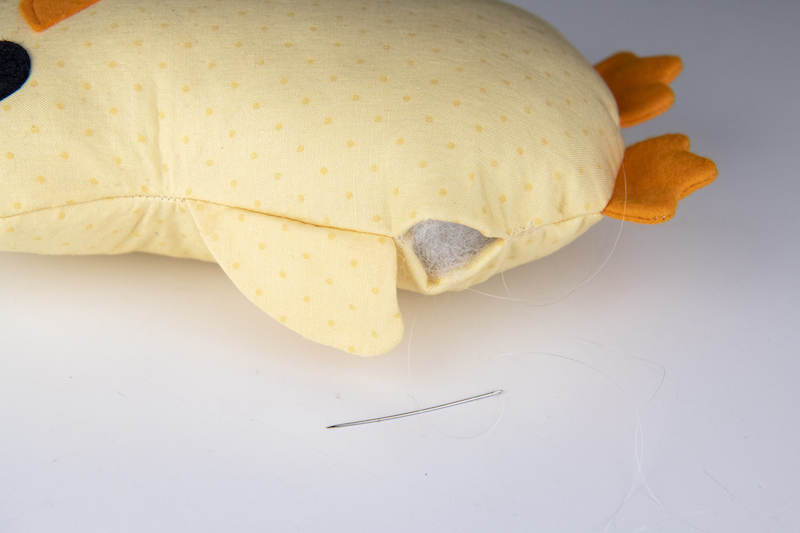 Stuff your chick with Poly-fil. Hand-sew your opening with your needle and thread, and you’re done!
This post contains affiliate links. For more information, see our disclosure HERE.