Hi!! Easter will be here in a few short weeks and what better way to celebrate than with the Rina K Designs Neon Glitz Glitter Gels and Neon Enamel Transfer Sheets from ThermOWeb!? Throw some Deco Foil Transfer Gel Blanco in the mix and you’ve got some FABULOUSLY happy Easter cards!
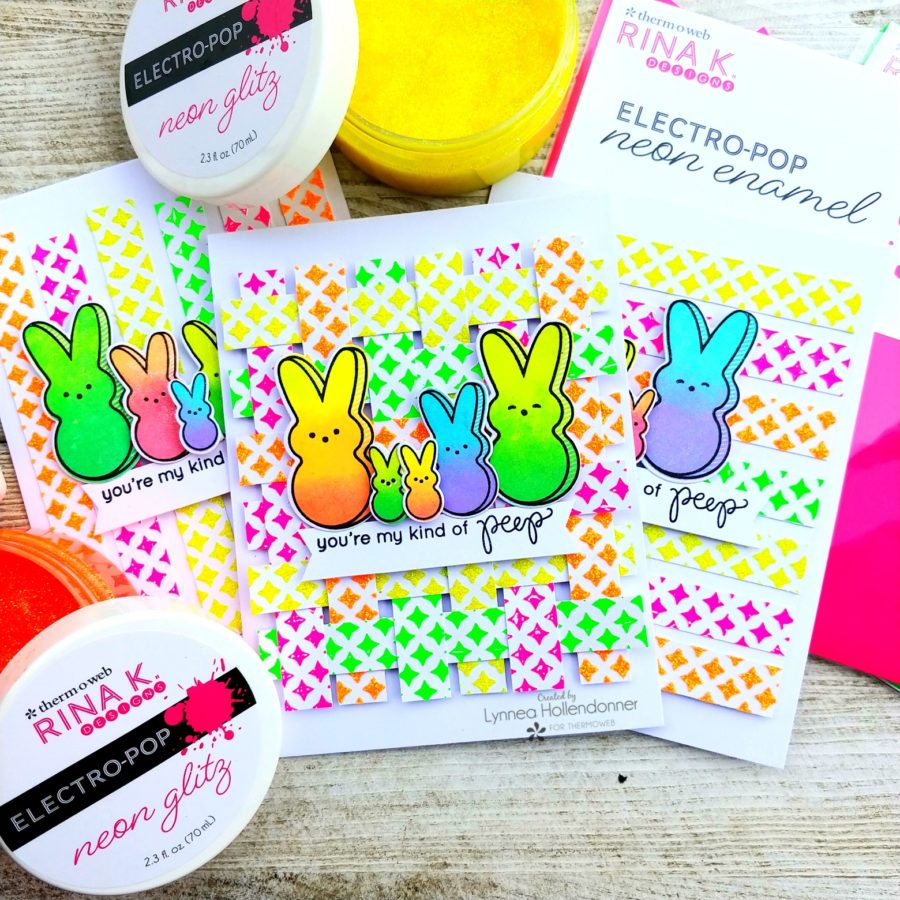
Easter Cards with Glitz
I only intended to make one card using strips of paper, but I had so much leftover that I made three cards! And I still have a bunch of scraps leftover! What’s even better is that I made all three cards from the individual backgrounds that I made. I love finding ways to use backgrounds creatively.
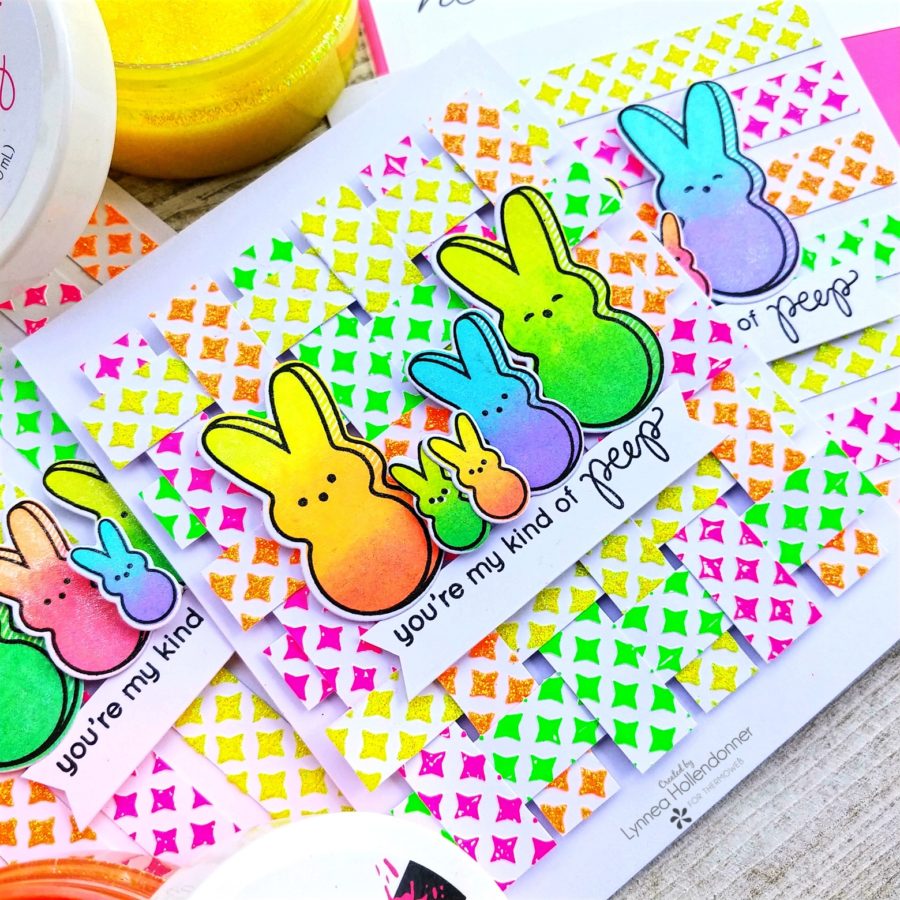
Using Blanco Gel
When I’m using what I call “wet mediums” such as Neon Glitz Glitter Gels and Deco Foil Transfer Gel Blanco I like to start with the backgrounds and as they dry I work on the rest of my project. For these cards, I created two backgrounds with Neon Glitz Glitter Gel and two backgrounds with Deco Foil Transfer Gel Blanco. I sprayed the back of the Four Point Stars Stencil from Pink & Main with a light coating of Pixie Spray and temporarily adhered the stencil onto an A2 sized piece of white cardstock.
I used a Stencil Pal to spread some Hello Yellow Neon Glitz Glitter Gel over the stencil onto the cardstock. I removed the stencil, washed it in the sink, and placed it over another piece of white cardstock and used my Stencil Pal to spread some Orange Glow Neon Glitz Glitter Gel over the stencil. I used the same stencil again to add Deco Foil Transfer Gel Blanco to two additional pieces of cardstock and set all four pieces aside to dry.
Use the Stencil Pal to Apply Glitz
I have found that when I’m using “wet mediums” it’s best to apply more of the product over the stencil than you think you’ll need and use the Stencil Pal to spread an even layer and add the excess back into the jar. This helps in getting even coverage. I do want to mention that I absolutely do not waste the extra product. I had a viewer mention that they feel it’s a waste to spread extra product over a stencil, so I added a few little tips to my video showing how I conserve my precious Glitz Glitter Gels and Deco Foil Transfer Gels!
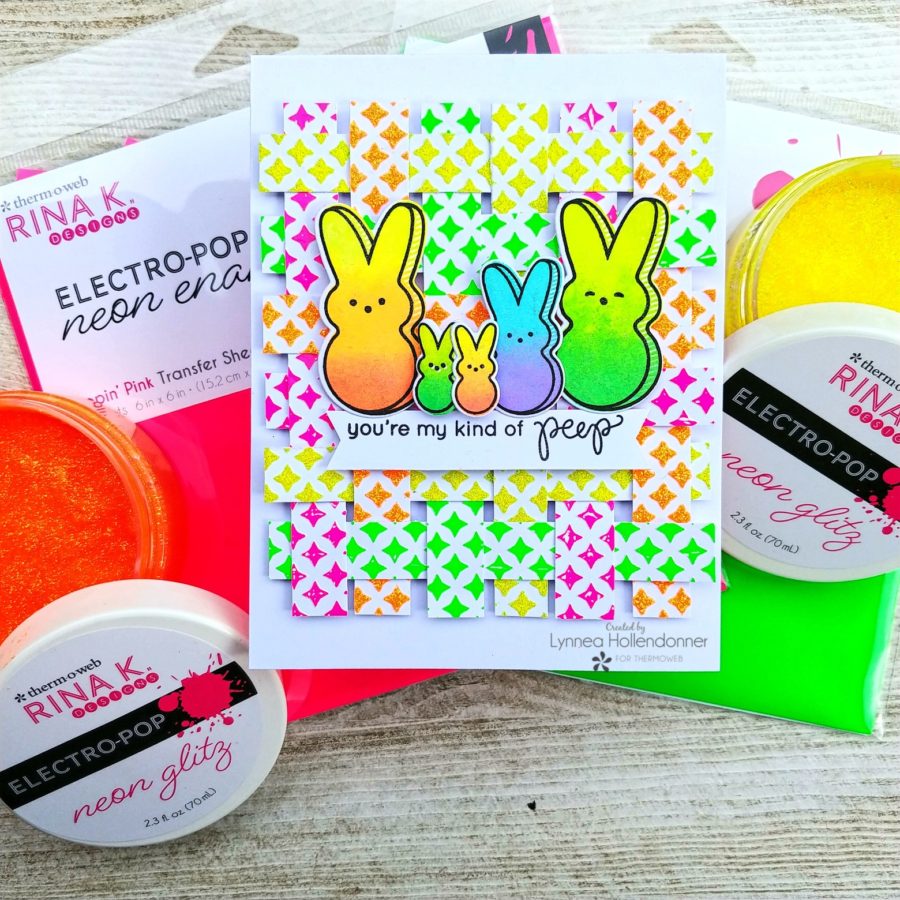
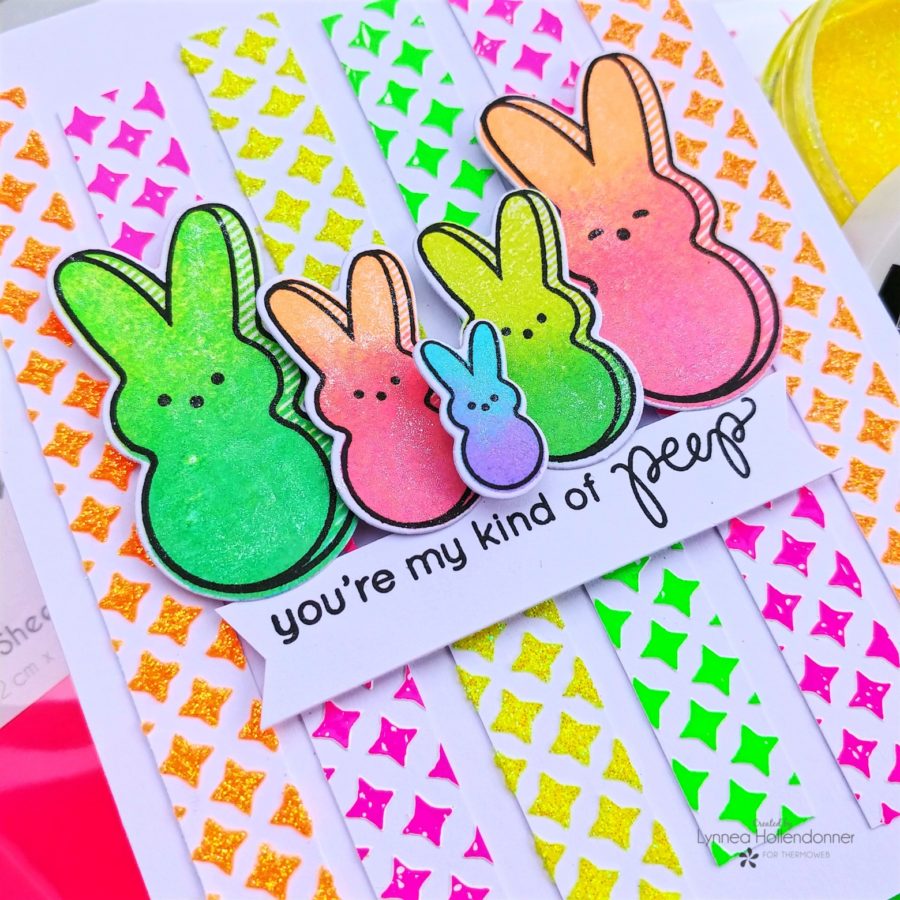
While my four backgrounds were drying I stamped my cute peeps using Rina K Designs Neon Electro-Pop Inks. I used the My Kind of Peep stamp set from Simon Says Stamp. I realized after I completed my cards that this stamp set is retired, but there are plenty of Easter Peep stamp sets on the market. Use what you have! I wanted to have ombre style peeps, so I used the whole rainbow of Rina K Designs Neon Electro-Pop Inks!
Neon Ink Stamping
I stamped the Peeps with the lightest ink color once, then re-inked with the next color of the rainbow – but only part of the Peep and stamped again. And then I inked just the bottom portion of the Peep with the darkest color of Neon Electro-Pop Ink and stamped a third time. This stamp set comes with an outline for each Peep, so I stamped that with a crisp black ink. And boom! Rainbow, ombre, NEON PEEPS!
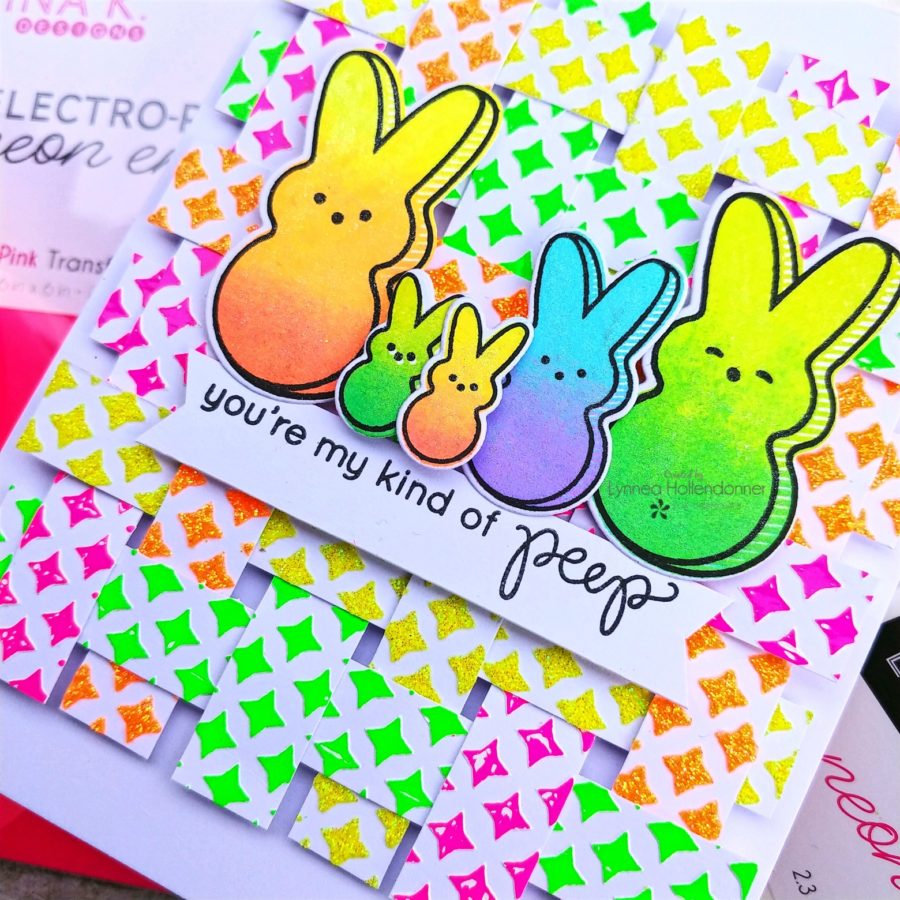
It didn’t take long for my four backgrounds to dry – just an hour or two, but you could leave them to dry overnight if you wish. I do all the time! I trimmed a piece of a Poppin’ Pink Neon Enamel Transfer Sheet and placed it shiny side up over one of the Deco Foil Transfer Gel Blanco backgrounds and ran it through my HOT laminator with a piece of parchment paper as a carrier sheet. I did the same with a piece of Screamin’ Green Neon Enamel Transfer Sheet. When I peeled back the Neon Enamel Transfer Sheets I had a fun stenciled background with a gorgeous candy-coated enamel finish!
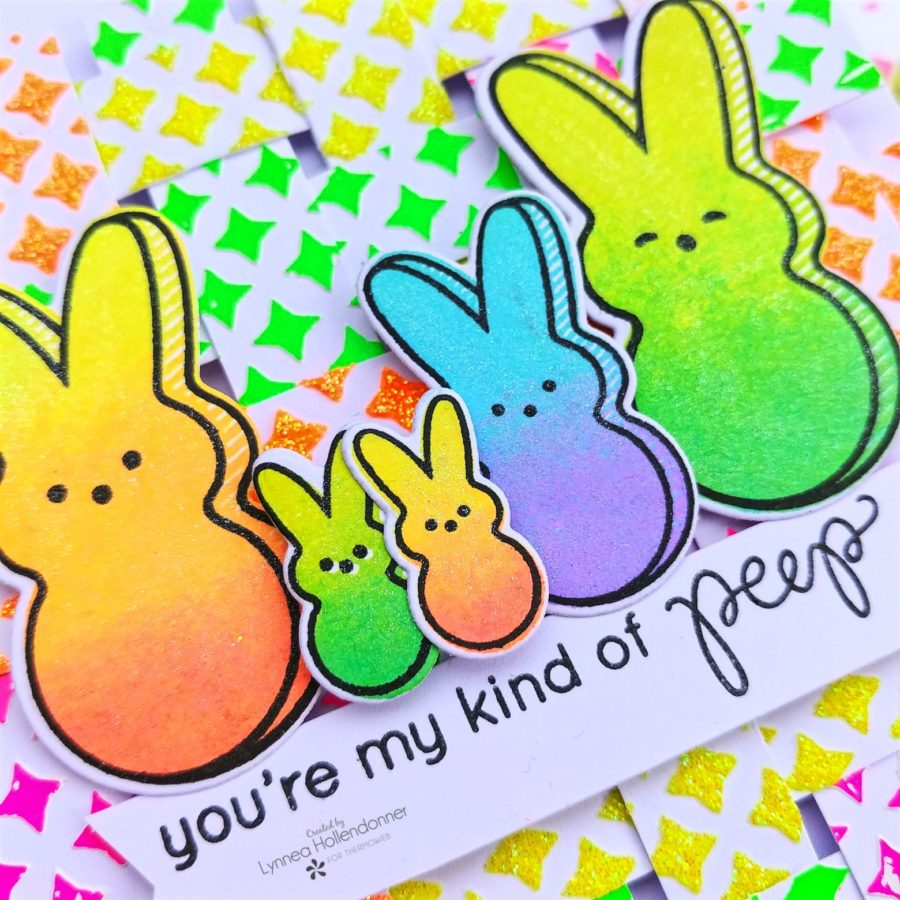
I took all four backgrounds and trimmed them down into 1/2″ strips. And yes… I held my breath the whole time! Haha! I love to do this “paper weaving” technique and I thought it would be especially fun to do it on an Easter card since it makes the background look like a basket! And it’s a great way to incorporate a BUNCH of color into a background. I placed 6 strips of the stenciled backgrounds vertically onto my table. I didn’t follow the rainbow color order. Instead, I alternated the types of background strips between Neon Glitz and Neon Enamel.
Then I used another background strip and placed it horizontally on top of the vertical strips. I moved the horizontal strip so that it was “weaving” going over one vertical strip and under the next – and over and under and over and under. It’s much easier to see in the video! I repeated this process with 5 additional strips of the background pieces until I had a whole background piece. I found it was easiest to use little bits of iCraft Ultra Bond Liquid Adhesive along the way to keep my strips in place.
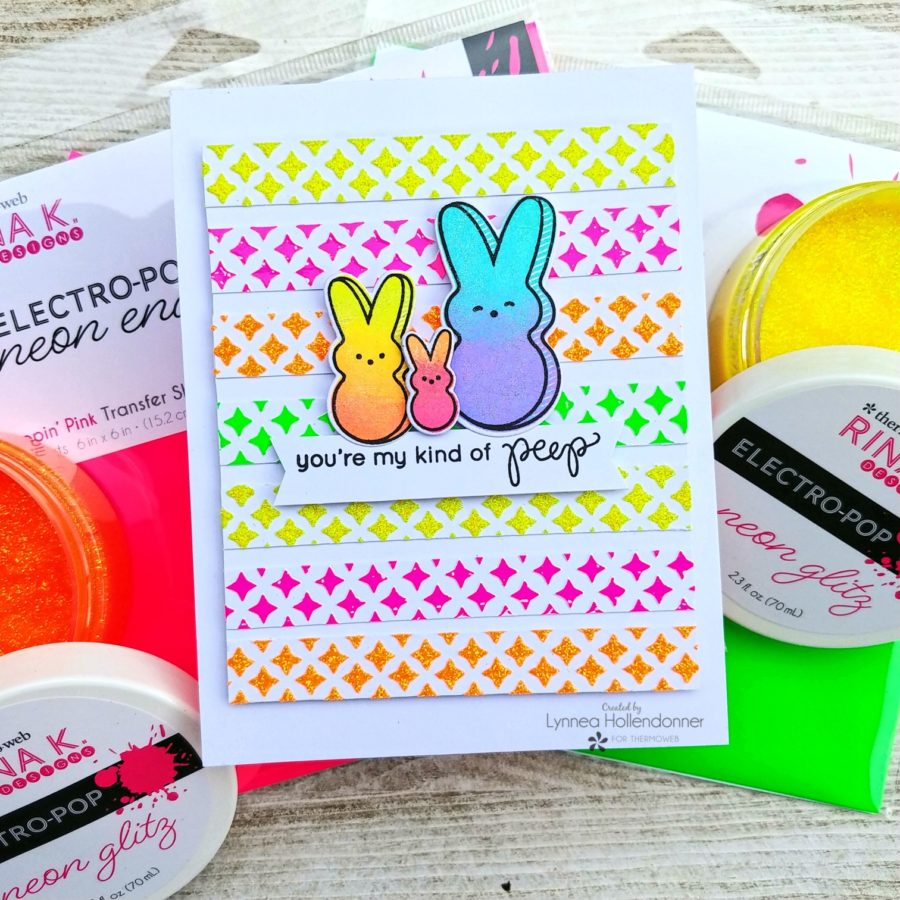
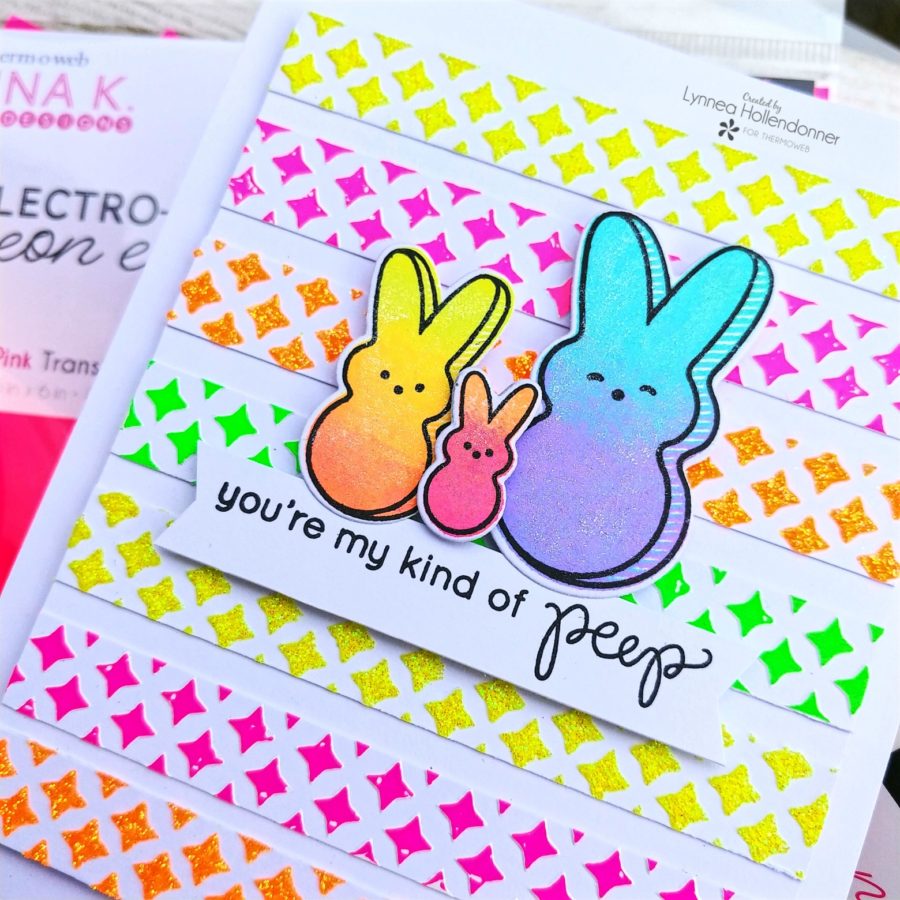
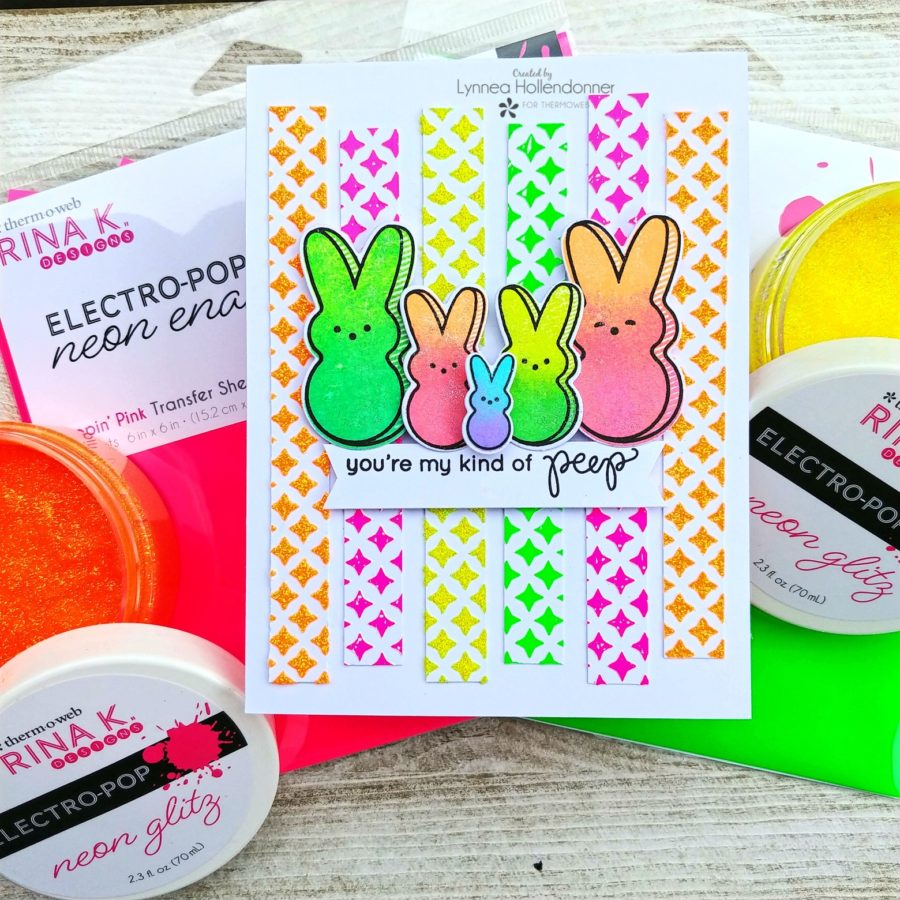
I had so many strips leftover that I decided to show you some simpler backgrounds. I placed a few strips horizontally on a piece of cardstock and used Gina K Designs White Foam Squares to pop them up onto my card. I also created a third background with vertical strips which I glued down with iCraft Ultra Bond Liquid Adhesive.
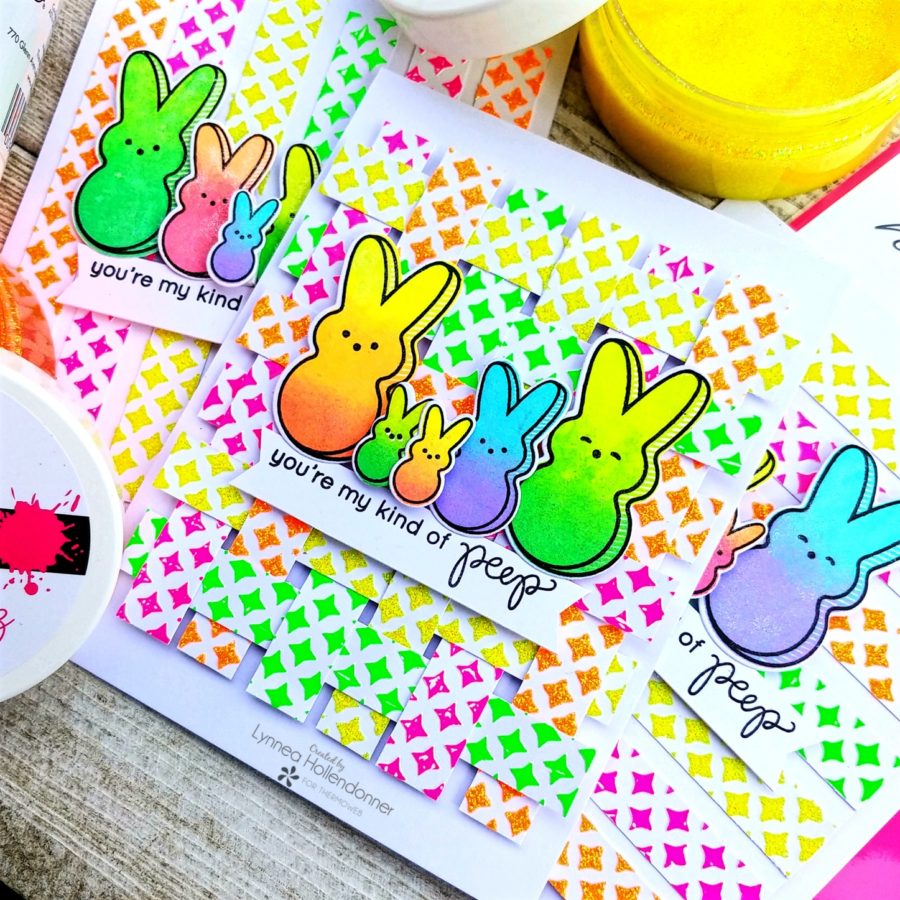
I added little families of the Neon Electro-Pop Peeps and sentiment strips with Gina K Designs White Foam Squares. That finishes all three cards! I hope they give you some bright, neon, Easter inspiration! See you soon!
Rina K Designs Electro-Pop Neon Inks
Rina K Neon Enamel Transfer Sheets
iCraft Ultra Bond Liquid Adhesive
Gina K Designs White Foam Squares
Other Products Used –
Pink & Main Four Point Stars Stencil
Simon Says Stamp My Kind of Peep stamps and dies
