


 Hello friends! Thanks for joining me today at the Therm-O-Web blog. Today I am sharing some fun Easter card ideas with Glitz Glitter Gel and our newest toner release Basket of Fun.
Easter Cards with Glitz Glitter Gel and Deco Foil Toner Sheets
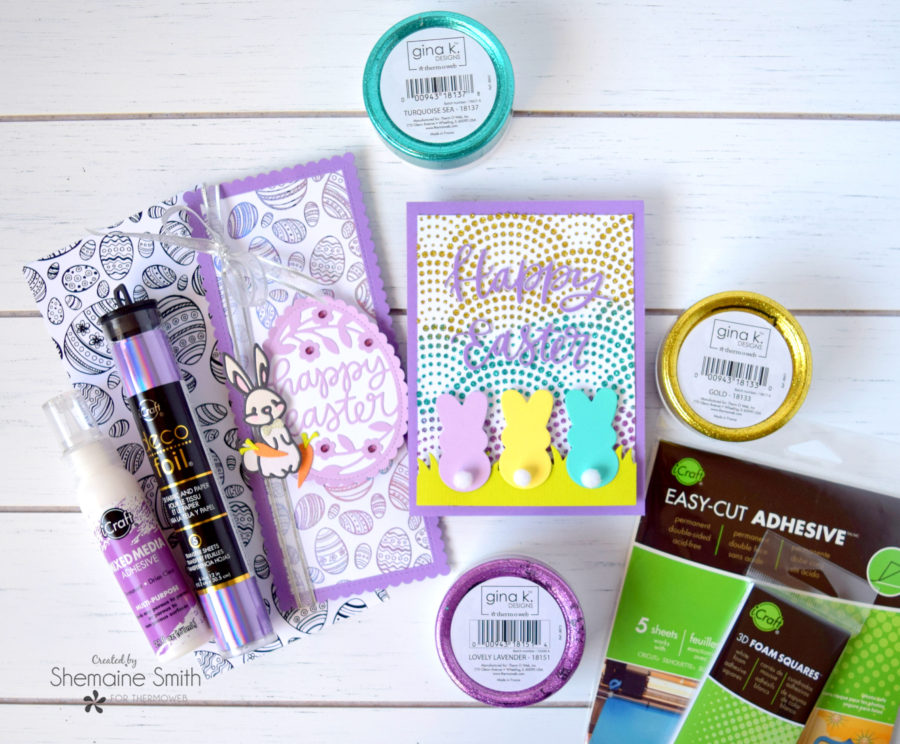
Project Supplies
Deco Foil Basket of Fun Toner Sheets
Purple Tape
Pixie Spray
Gina K. Designs Lovely Lavender
Deco Foil Prince Periwinkle
Mixed Media adhesive
3D Foam Squares
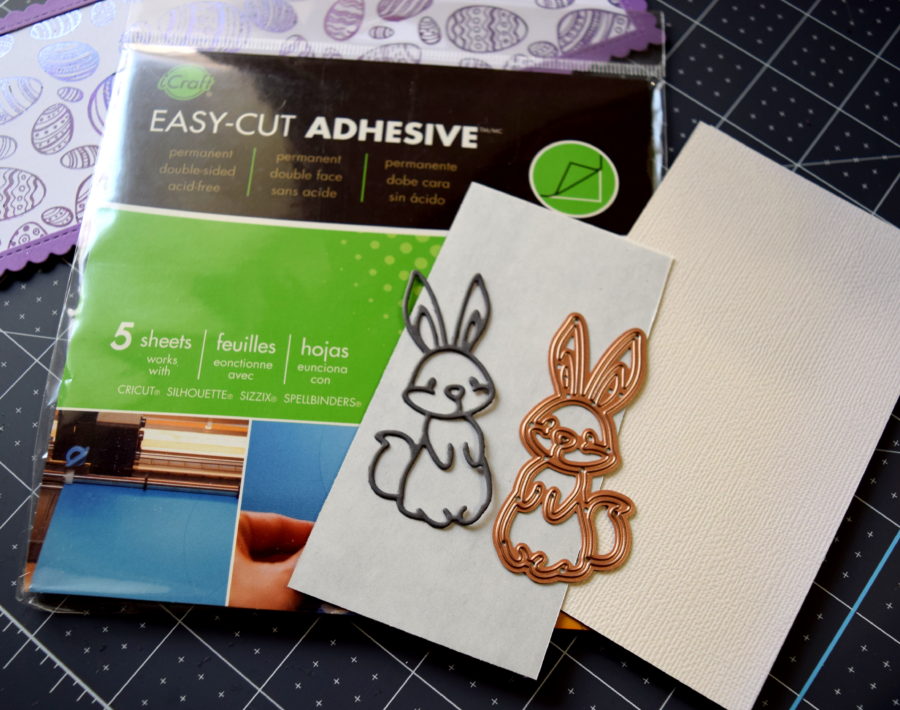
Easy-Cut Adhesive
Glitz Glitter Gel – Turquoise Teal
Glitz Glitter Gel – Gold
Easy-Cut adhesive
Other Supplies Used:
Stencil
Slimline scallop die and Happy Easter die -Hello Bluebird
Bunny dies-Simon Says Stamp
Misc craft poms white
Happy Easter Shaker Die- Pretty Pink Posh
Bunny with bowtie and carrots-Spellbinders Small Die of the Month March 2019
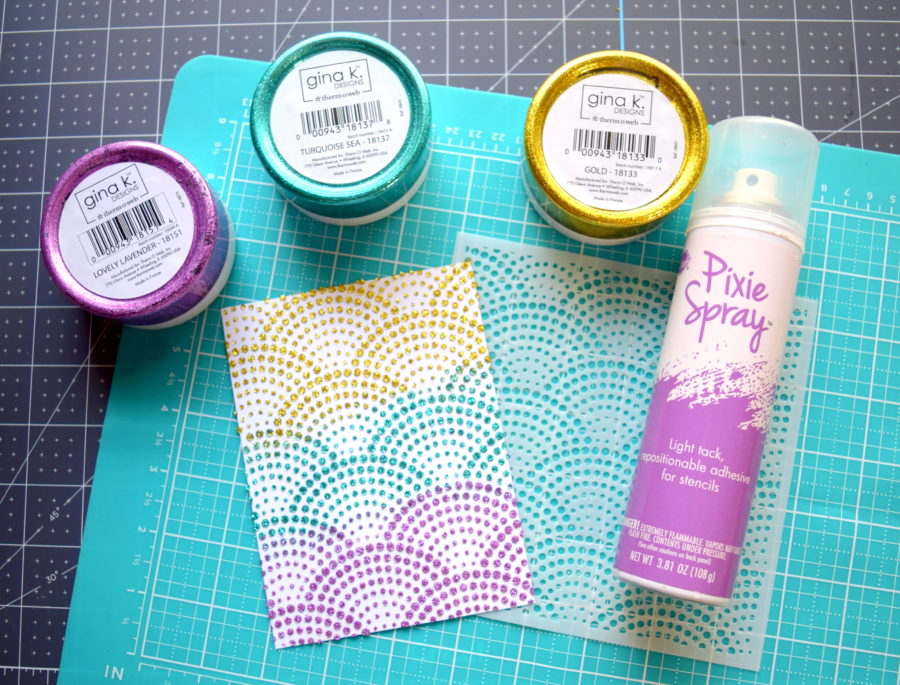
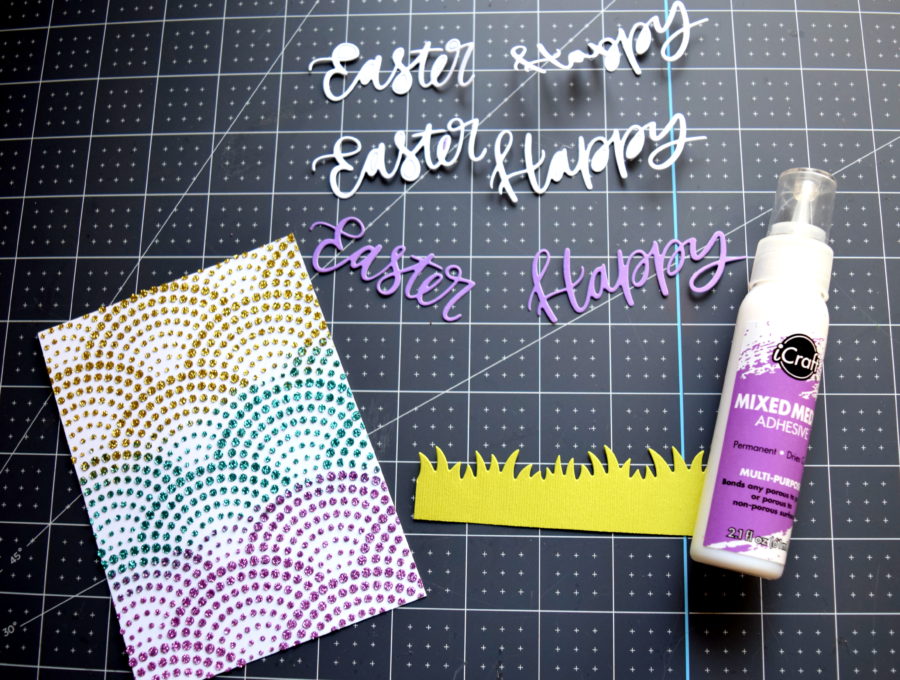
Let’s get started by using some of our purple tape down to hold the stencil over the cardstock. For the stenciling technique, I’ll be spreading the Turquoise Teal, Lovely Lavender, & Gold over the stencil to create an ombre look.
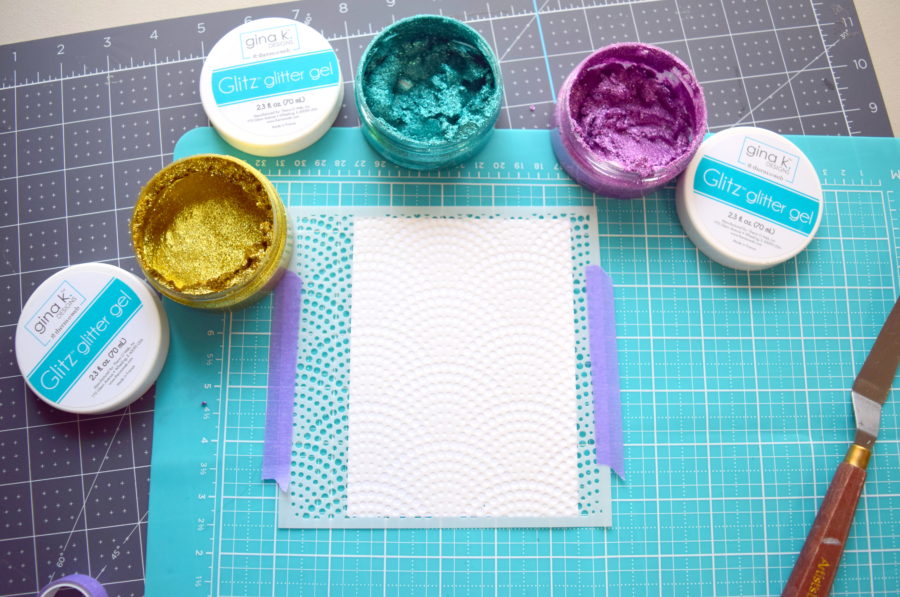
Using the paste tool I spread each of the colors across the stencil and scrape off the extra back into the gel containers.
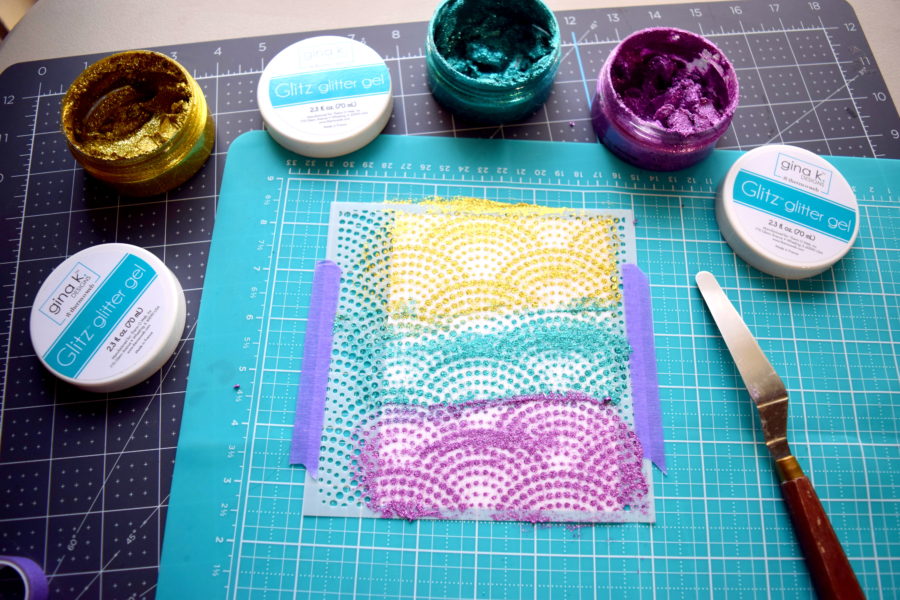
Once I lift the stencil, I have a beautiful background on my card base.
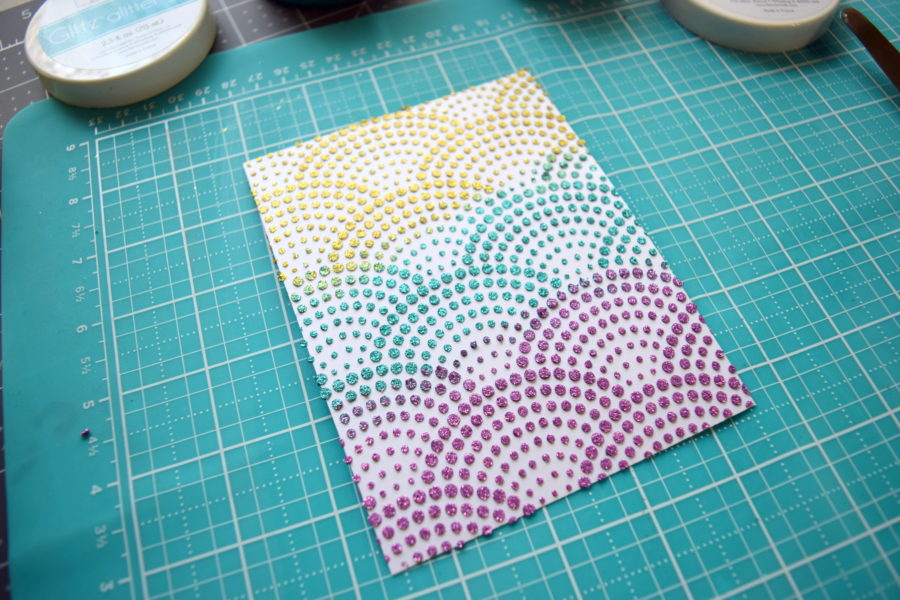
I set the finished card stock panel to dry for about 30-40 mins. Using Pixie Spray can help hold your stencils in place better.
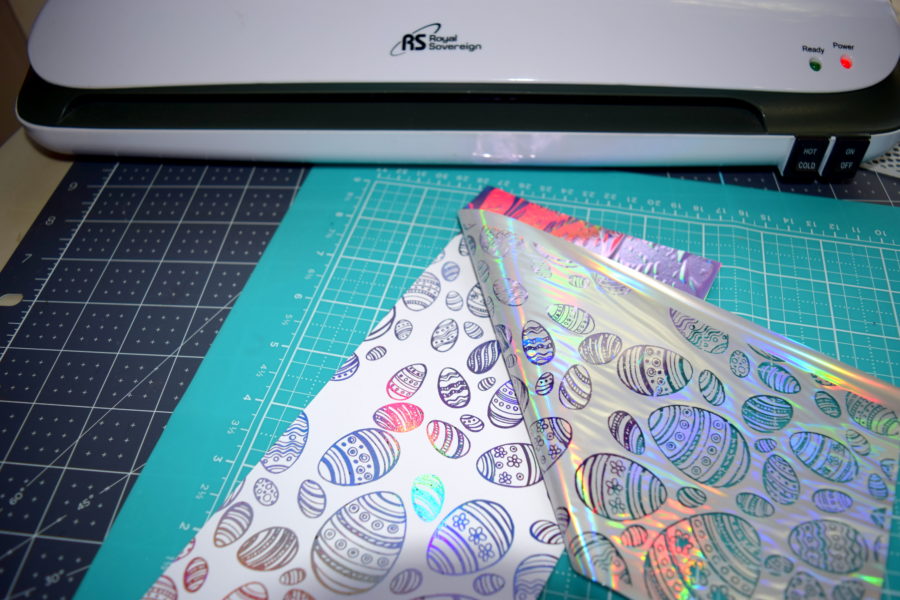
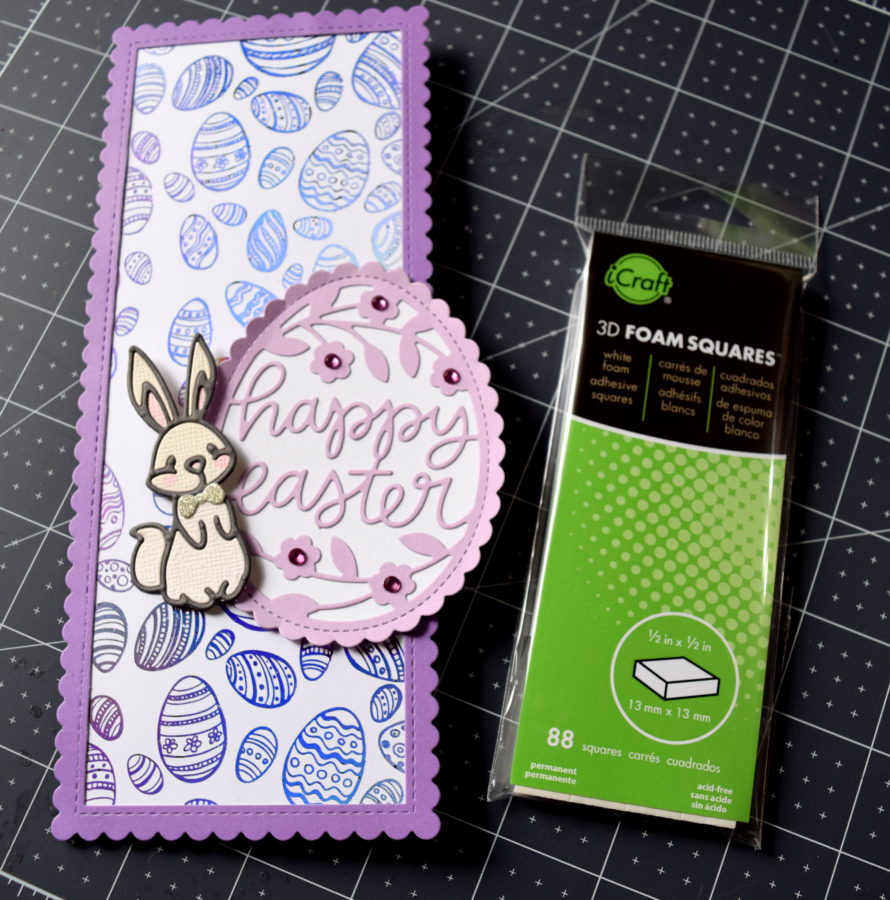
For my second card, I foiled the new Basket of fun Easter egg toner sheet.
Next, I cut the frame out for a slimline card in purple to match the Prince Periwinkle foil.
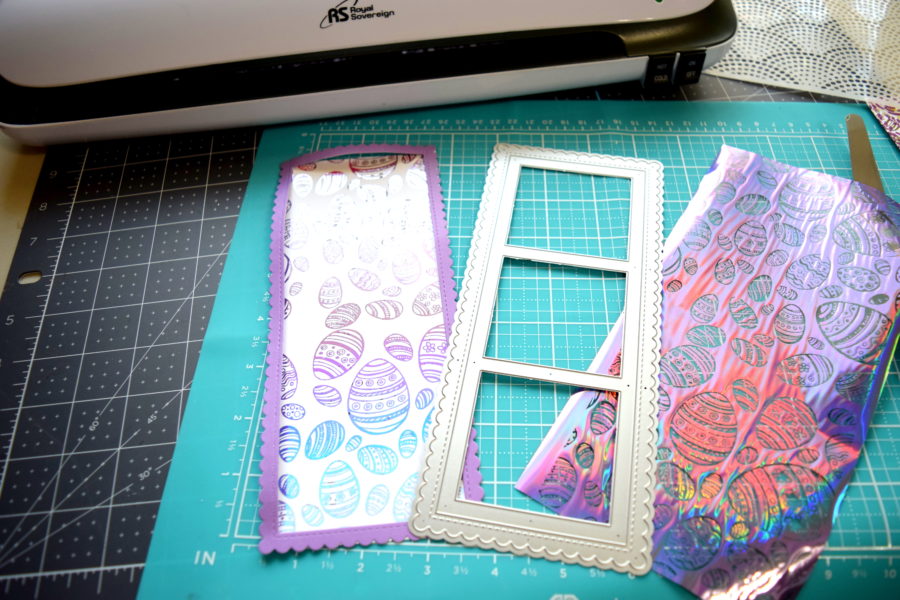
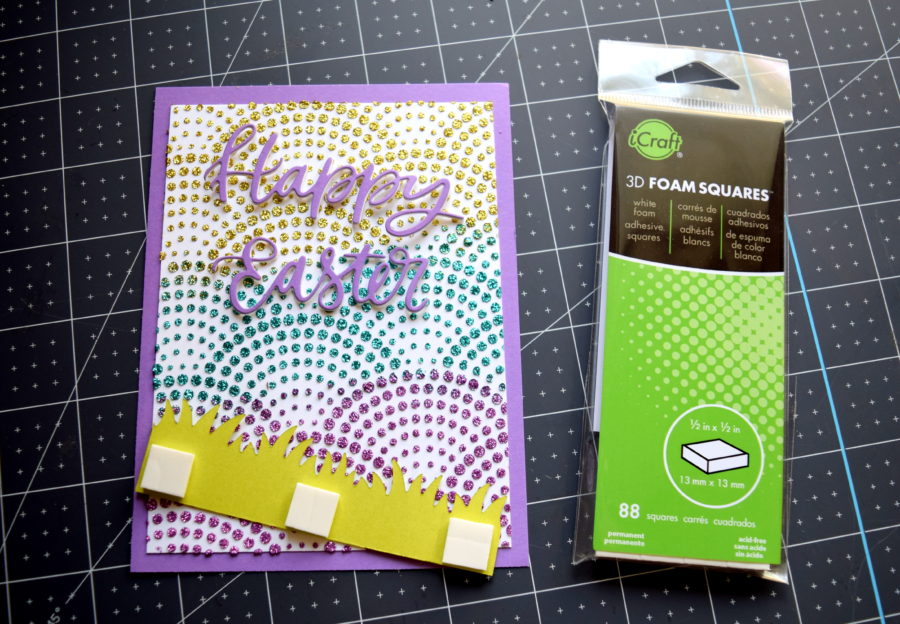
To make my sentiment stand out I like to cut 3 layers and use the Mixed Media adhesive to adhere them.
Next, I used our 3D foam squares to adhere the die-cut grass to the card base.
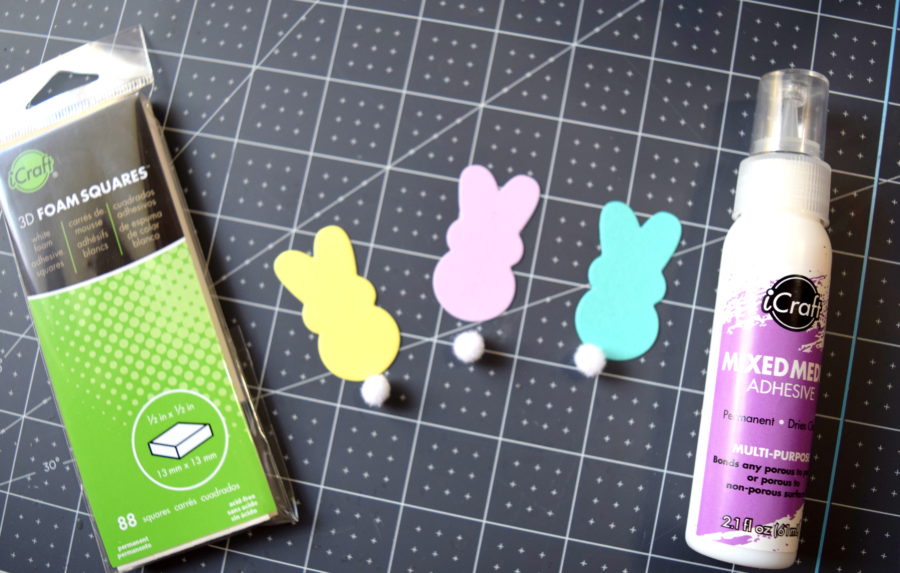
Next, I die-cut some colored bunnies and glued their tails on using the Mixed media adhesive and 3D foam squares to adhere them to the card base.
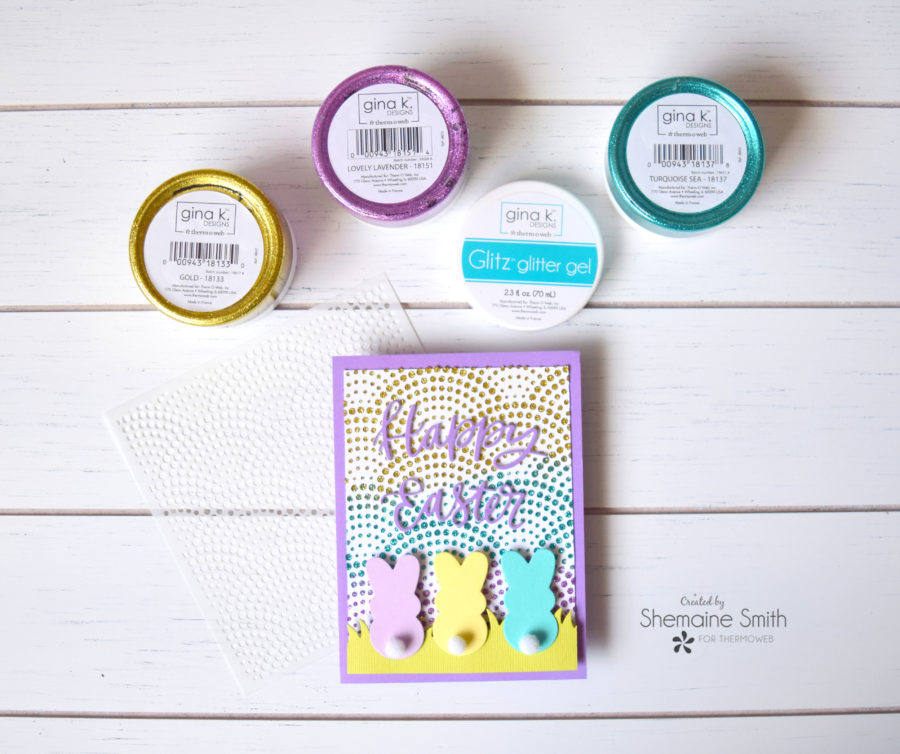
Here’s the finished card. So cute right?
For the second card after I foiled to toner sheet I used some Easy-Cut adhesive to back the grey and eggshell cardstock so when I cut the dies I could glue them together easily.
Once I put the bunny together I colored his cheeks with a Copic marker and adhered him to the Easter egg die cut sentiment using our 3D foam squares.
Here are both of the finished Easter cards. Two fun and totally different looks which were easy to achieve.
Thank you so much for stopping by today! We love seeing what you are creating with Therm-O-Web’s products so please share your Therm-O-Web creations with us via social media using the hashtags #decofoil, #thermoweb, and #decofoilflock
Have a creative day!
{S}
 Deco Foil
Deco Foil has quickly become one of our most popular products and it’s easy to see why! With a Rainbow of colors available at your fingertips and a wide variety of products to use to apply the Deco Foil…it’s easy to say once you dip your toe in…there’s no going back! Our Deco Foil is perfect for cardmaking, papercrafting, mixed media and of course for scrapbooking. And now you’ll find more ways to include it with our NEW Deco Foil Toner Sheets available in A2 and Slimline Sizes! So miss entering to win our FairyTale Foil Collection, Deco Foil DUO Transfer Gel, Deco Foil Foam Sheets, Deco Foil Toner Sheets plus your choice of two of our A2 or Slimline Size Toner Sheets, This prize is worth $60!
https://kingsumo.com/js/badge.js
https://kingsumo.com/js/embed.js
This post contains affiliate links. For more information, see our disclosure HERE.