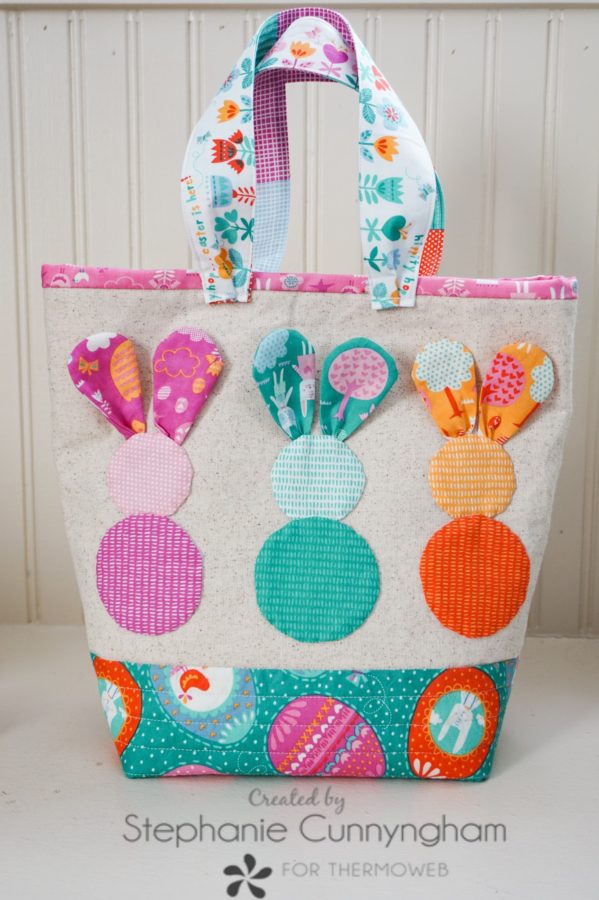
Hello! It’s Stephanie from Sissy Belle Sews, and today I’m sharing this super cute Easter Bunny Tote tutorial! I don’t know about you, but it’s still winter here in the Midwest, though we are starting to see subtle signs of spring. I’ll have to admit that spring is my favorite of all the seasons. I love the birds chirping, the longer days, flowers popping up, and grass turning green. I especially love Easter time. It’s a great time of hope, and I enjoy spending time with family and hiding Easter eggs with my boys.
Easter Bunny Tote
When I first started thinking of an Easter project, I had originally intended a pillow. But as the project evolved, I decided to turn it into something I could use and take with me every day. It was just too cute to leave home on my couch! So yes, I’m a grown woman carrying around an Easter bunny purse. And you know what? I bet you would too if you had one! That’s why I’m sharing this tutorial with you today!
Supplies Needed
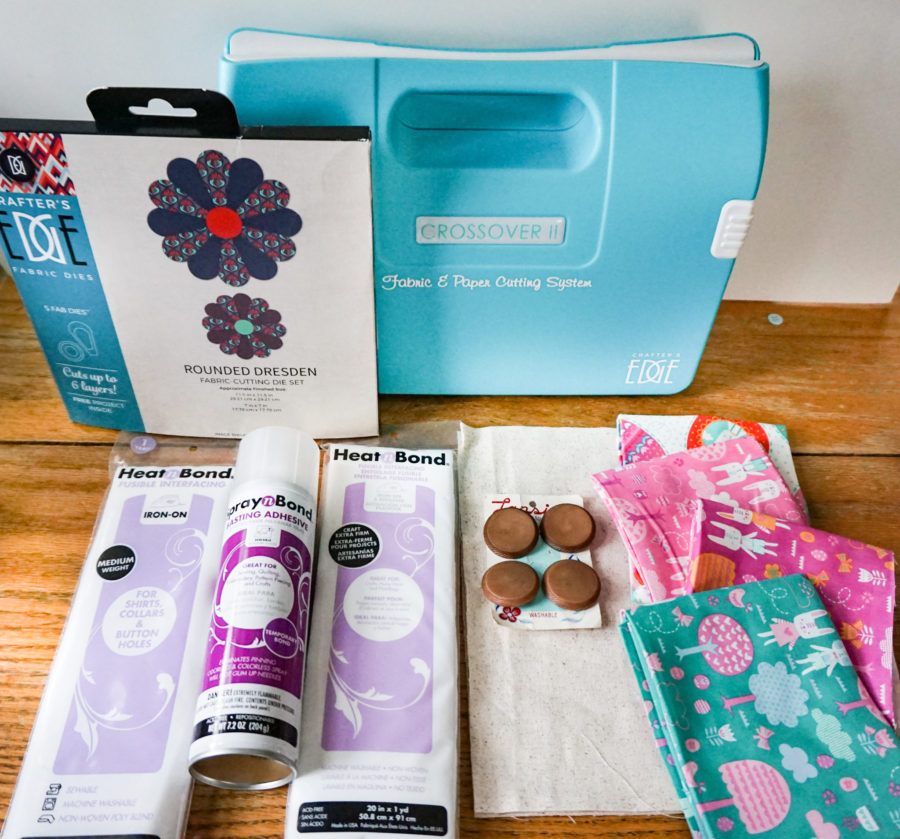
- 1 fat quarter of solid fabric or linen
- Cut into two 9″ x 14″ rectangles
- 1 fat quarter of print fabric for the button
- Cut into two 6″ x 14″ rectangles
- 1/2 yard of lining fabric
- Cut into two 12″ x 16″ rectangles
- 1/4 yard of binding fabric
- Cut two 2″ x WOF strips
- 2 pieces of batting cut into 11″ x 15″ rectangles
- Scraps of fabric for the bunnies
- Four 2.25″ x 20″ fabric strips for handles
- 1 package of HeatnBond Craft Extra Firm Fusible Interfacing
- 1 can of SpraynBond Basting Spray
- 1 package of HeatnBond Medium Weight Fusible Interfacing
- Needle and thread for hand sewing
- Crafter’s Edge Crossover II Die Cutting Machine with Rounded Dresden Die Set
Sewing Instructions
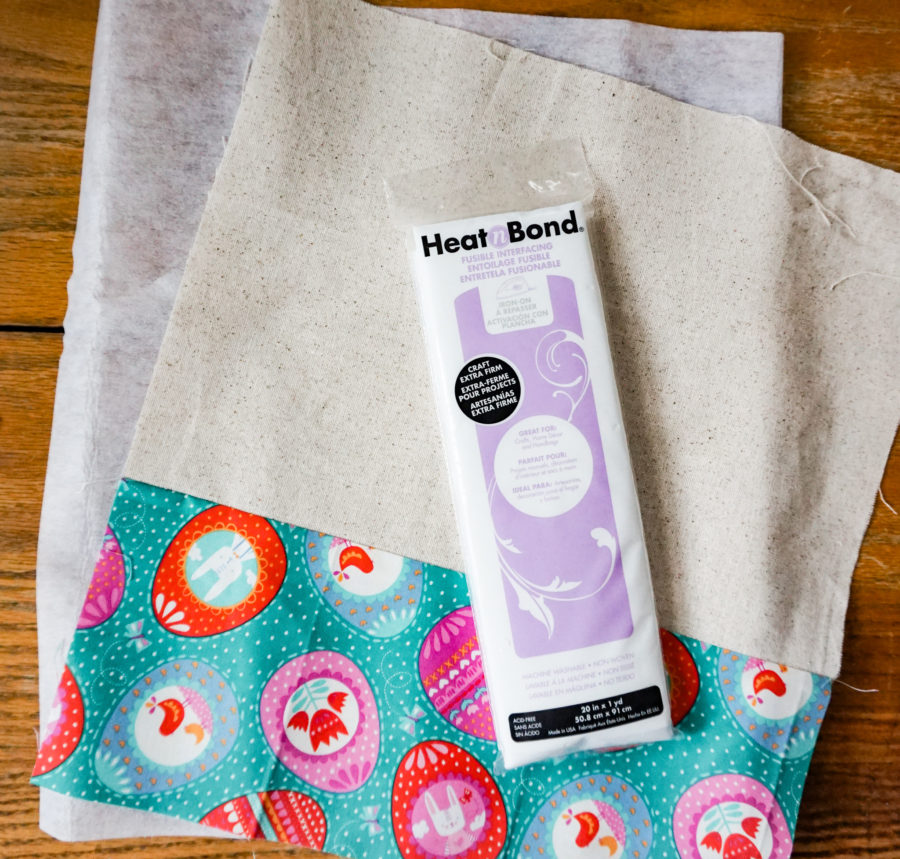
- Sew one of the 6″ x 14″ print rectangles to the 14″ edge of the solid fabric. Press toward the print fabric. Repeat for the other rectangles. Cut two rectangles 14″ x 14.5″ from the HeatnBond Craft Extra Firm fusible interfacing and fuse to the back of these two fabric rectangles.
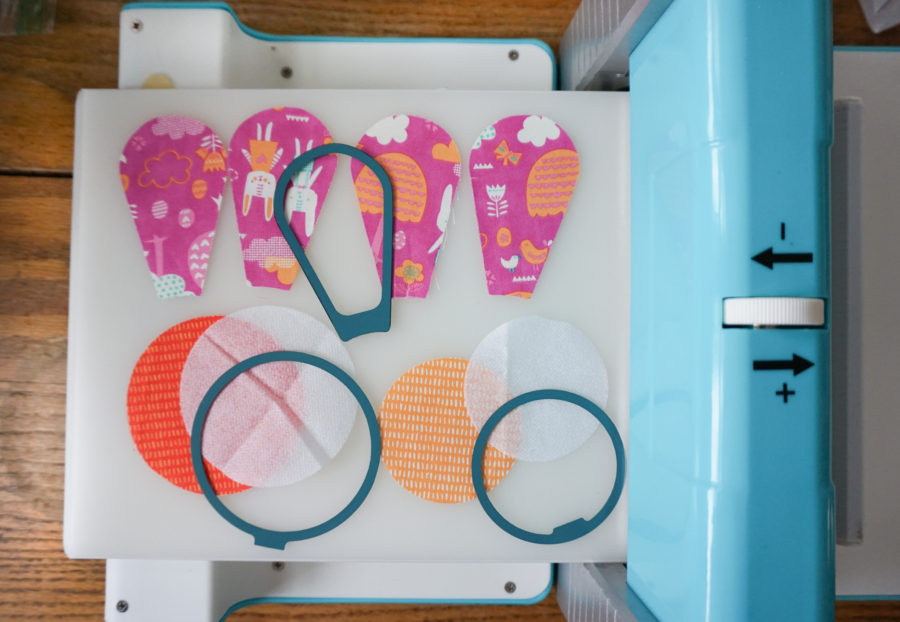
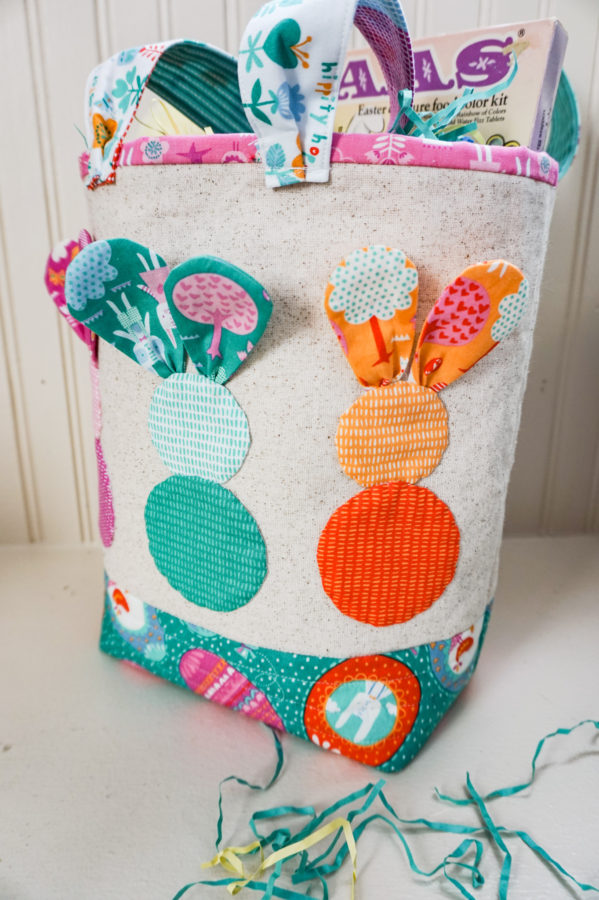
- Using the die-cutting machine and rounded Dresden dies, cut the following pieces for each bunny. NOTE: you will need three bunnies.
- One large circle of fabric and medium weight interfacing
- One medium circle of fabric and medium weight interfacing
- Four fabric ears from the smaller Dresden petal
- Place the bumpy side of the interfacing circles to the right side of the fabric circles and sew all the way around. Cut a small opening in the interfacing and turn the circle right side out. Sew two of the fabric Dresden petals together, right sides facing, leaving an opening along the short, straight edge for turning.
- NOTE: having a turning tool makes turning these ears out much easier! Press the ears flat, but do not press the circles yet. Repeat these steps for the other two bunnies.
- Arrange the bunnies on one of the fabric rectangles made in step one. Pin the ears in place, then stitch them down with your machine. NOTE: I pleated the ends of the ears slightly while stitching to give them a little more shape.
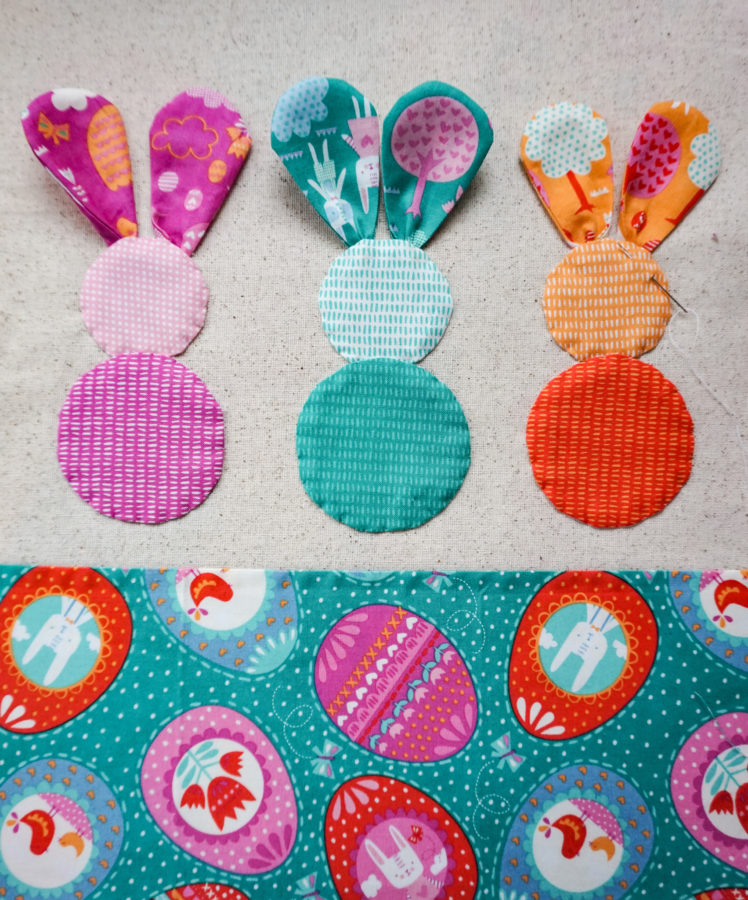
- Place the smaller circle for each bunny overlapping the stitched ears and press in place. Place the larger bunny circle slightly overlapping the smaller one, and press this one in place too.
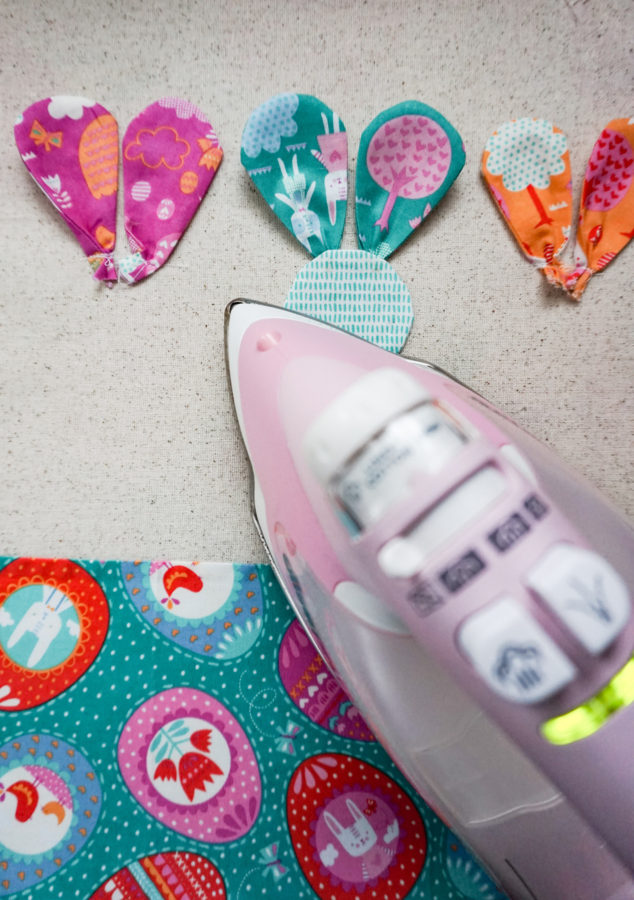
- Once all of the circles are fused in place, stitch them down by hand to secure them.
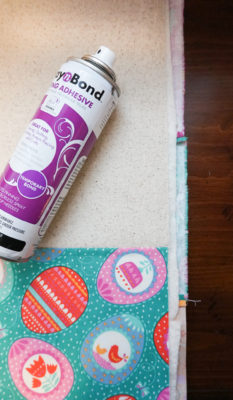
- Layer this outer panel, batting, and lining fabric (right side down). Secure with basting spray and quilt as desired. NOTE: I only quilted the print fabric part of the panel. Repeat for the second panel as well.
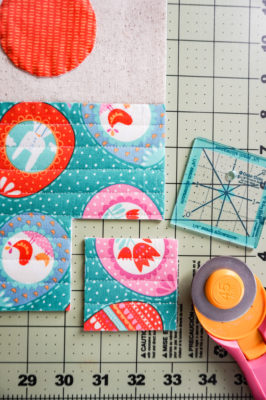
- Trim off excess batting and lining after quilting.
- Cut a 2.5″ square from the bottom corners of each panel.
- With right sides facing, sew the two panels together along side and bottom edges. Do not sew the short edges you just cut. Press these seams open.
- Make your seam binding by taking the two 2″ x WOF strips you cut from the binding fabric and pressing each of the long edges under by 1/2″. Cut the binding strips into two 7″ long pieces, two 12″ long pieces, and one 10″ long piece.
- Center a 12″ piece of the binding strip over the side seam to cover the raw edges. Hand sew in place.
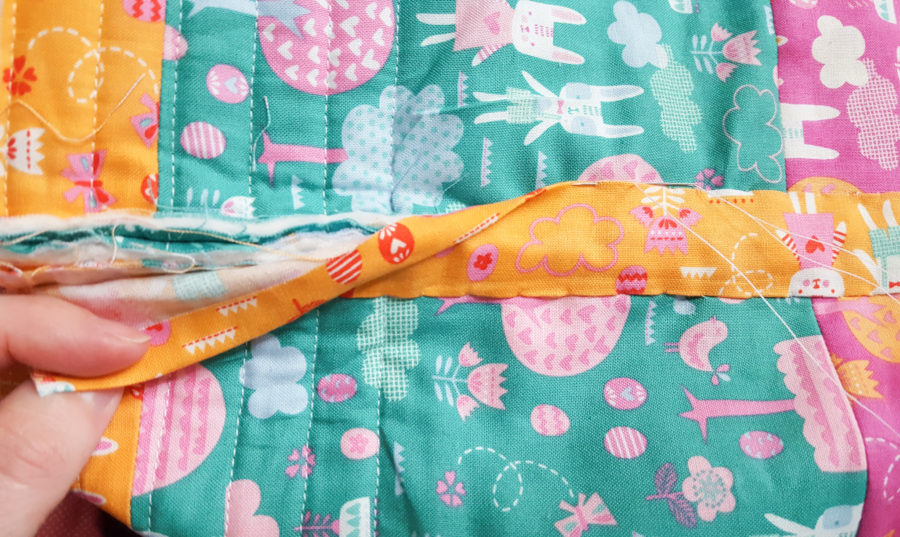
- Repeat for the other side seam. Trim off any excess length. Use the 10″ binding strip to bind the bottom seam in the same fashion.
- Pinch the bottom seam and a side seam together and pin in place. This will give your bag a boxy bottom. Sew along this edge.
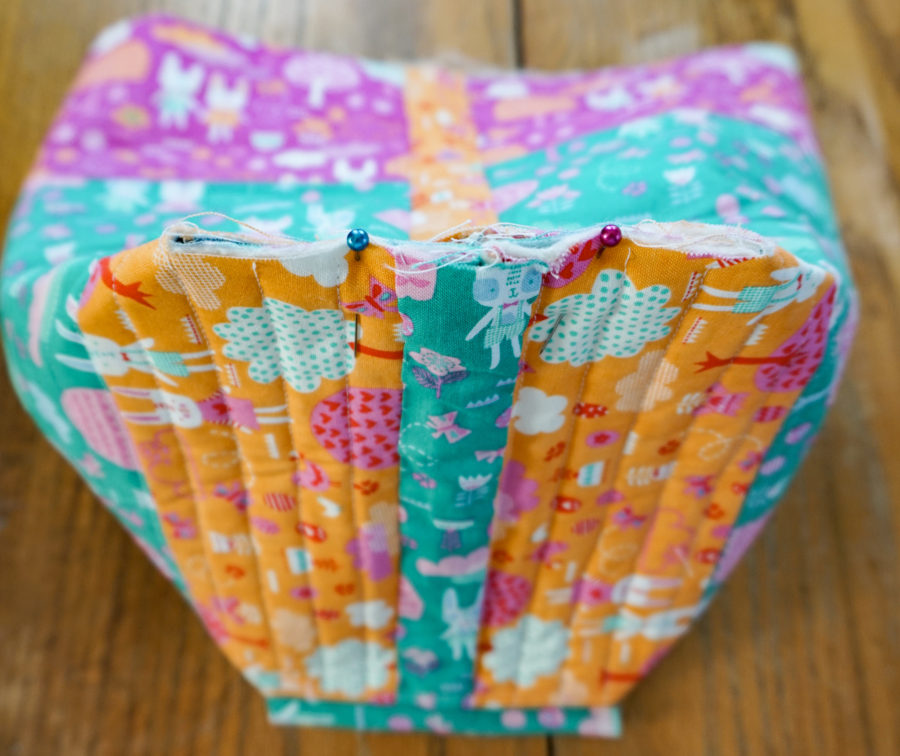
- Repeat for the other side, and bind these seams using the 7″ binding strips. NOTE: You will need to press the short end of the binding strip under approximately 1/2″ so finish the short side of the strip. Sew strip in place.
- Turn bag right side out.
- NOTE: feel free to add a magnetic snap closure at this point. They are super easy to install. Make sure you do this before you add the binding to the top!
- To make the top binding, measure the circumference of your bag and add 2″. You will use the fabric strips you used to make the inner binding strips. The bag should measure approximately 26″ around, so I cut my binding strip to 28″.
- Overlap the ends of the binding strip and sew on the bias. Cut off the excess fabric and press the seam.
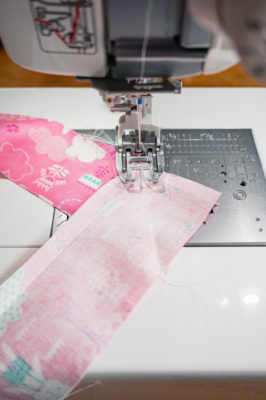
- Slip this binding circle over the top of the bag, right sides together. Sew along the pressed edge of the binding strip.
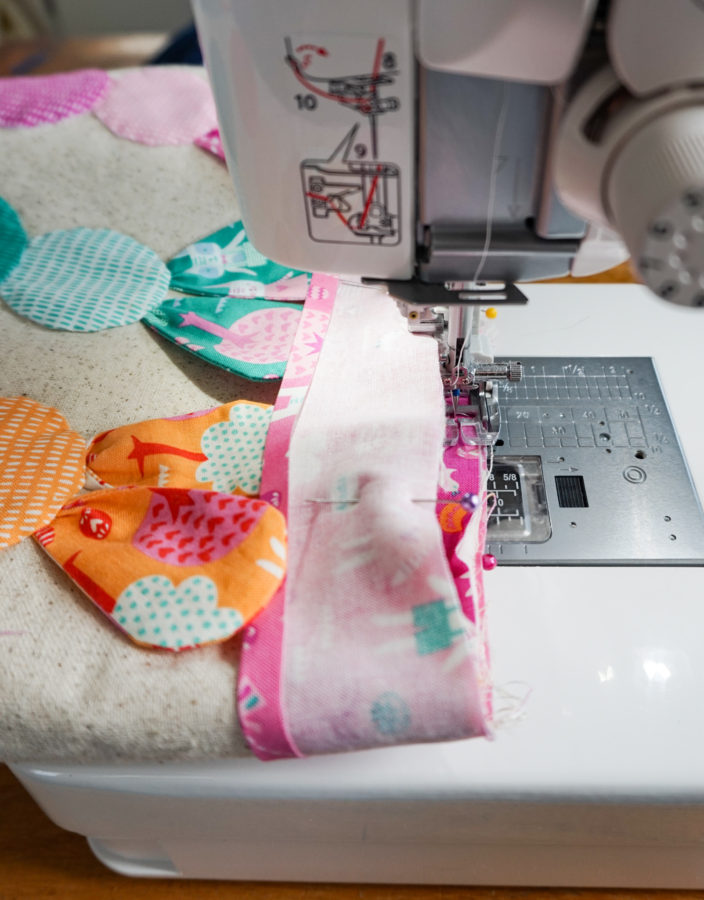
- Fold the remaining bias fabric over the raw edge of the top of the bag and toward the inside of the bag. Hand stitch in place.
- To make the handles, cut two pieces of HeatnBond Craft Extra Firm fusible interfacing into 1.5″ x 20″ strips. Fuse one strip of interfacing to one handle fabric strip. Sew two handle fabric strips together along one side, right sides together. Press the other long edge under approximately 1/4″. Press the short ends of the handles under 1/2″ as well.
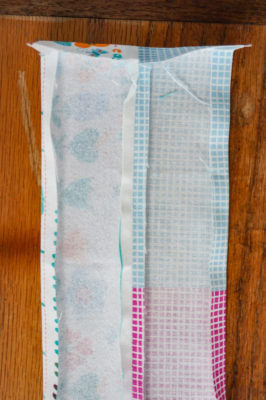
- With wrong sides together, sew all the way around the handle strips. Make two.
- Place the handles on the outer panels of the bag and sew in place with your machine. If desired, sew a button on to cover the ends of the handle strips.
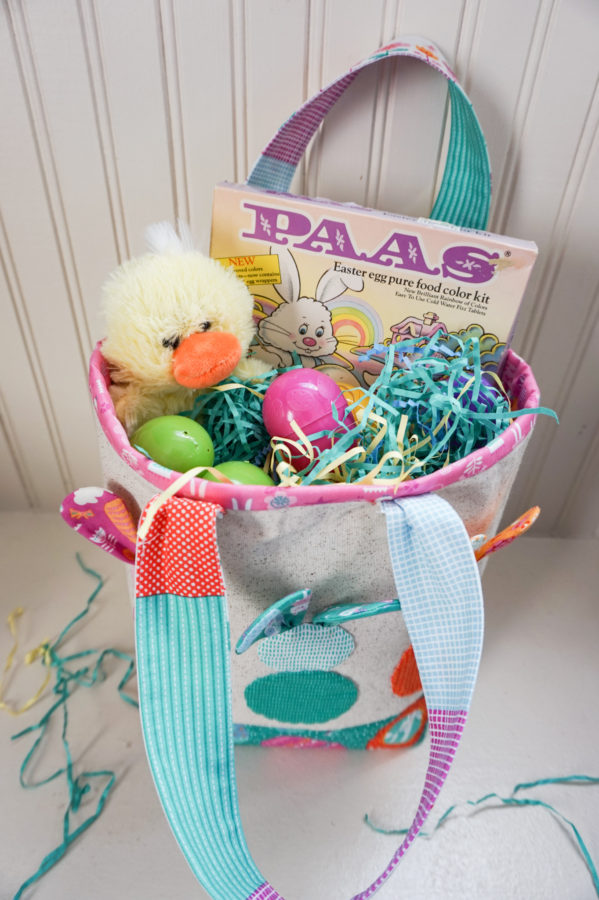
- Fill your bag and enjoy! I guarantee if you are carrying it out and about, it will be a conversation piece!
Thanks for following along with me today! I hope you are seeing signs of spring where you live.
-Stephanie-
