Easter Bunny Treat Pockets by Designer Audrey Pettit:
Supplies:
Therm O Web Heat n’ Bond® Lite Sewable Iron-On Adhesive
Therm O Web PeelnStick™ Fabric Fuse Tape
Therm O Web Zots™ Clear Adhesive Dots- Tiny and Medium
Wool Felt, Decorative Fabric: Sewing Supply
Floss: DMC
Buttons: Maya Road, Foofala
Paint: Delta
Cello Bags: Stampin’Up
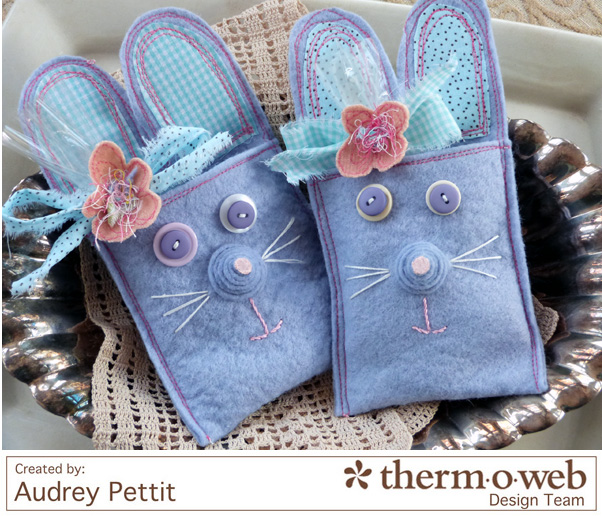
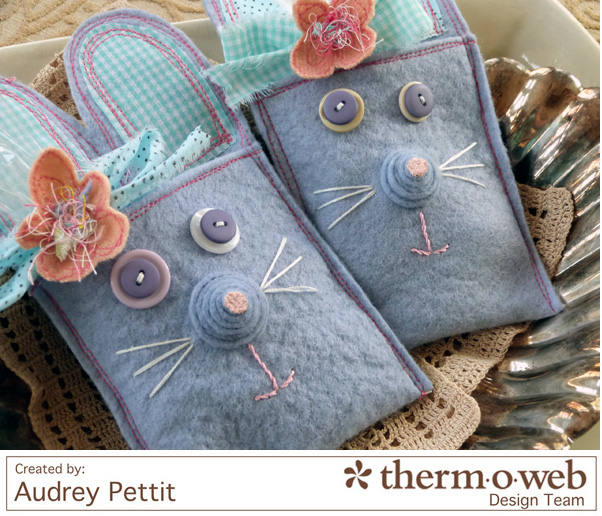
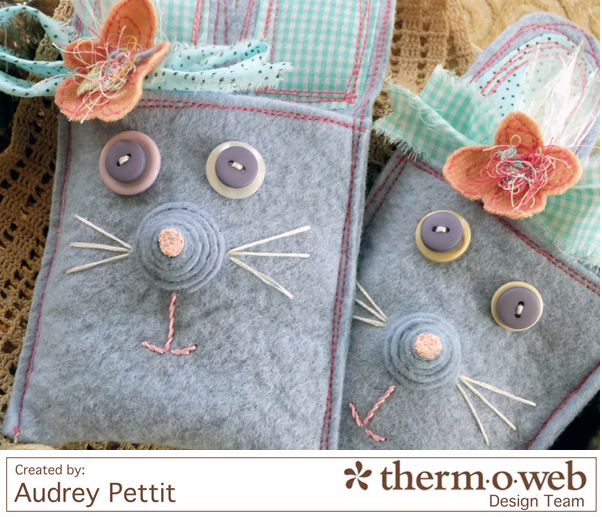 These bunny treat pockets are a fun way to gift some sweet treats to your favorite sweeties this Easter. Fill the pouches with any small gift item or candy treat for a quick gift-giving idea. Or tuck a napkin and silverware into the pocket to create instant place settings or table favors for your Easter gathering. Whatever you do, these pocket pouches are sure to bring a smile.
Here’s all you need to do:
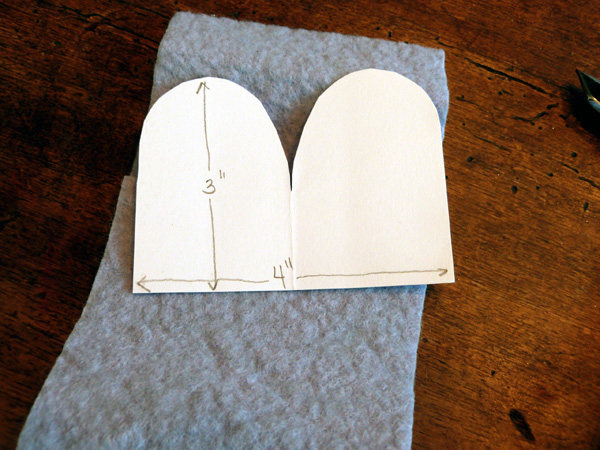
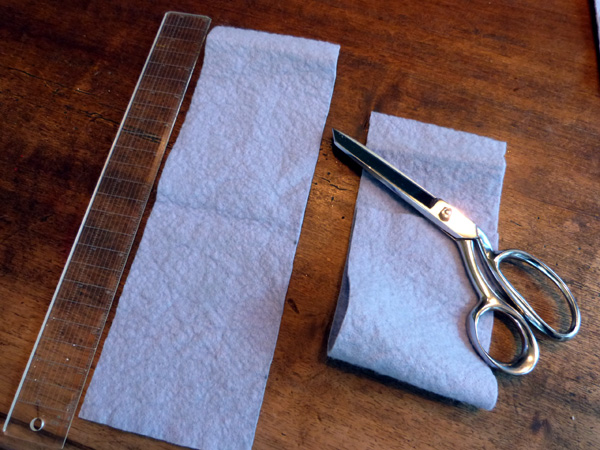 Cut heavy wool felt pieces to 4″ x 12″. One for each pocket pouch.
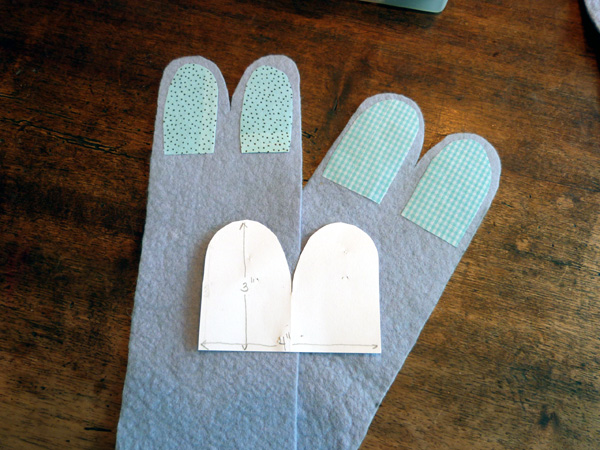
Cut a 4″ x 3″ panel of scrap cardstock, and fold it in half along the 4″ length. Cut a curved arc around the top of the folded paper to create an ear shape, then unfold the paper. You’ve now created a pattern for the bunny ears.
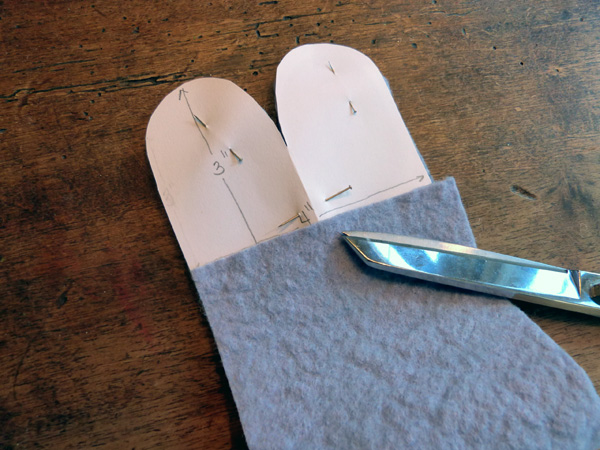
Pin the ear pattern to the top edge of the fabric and cut around the ear shape.
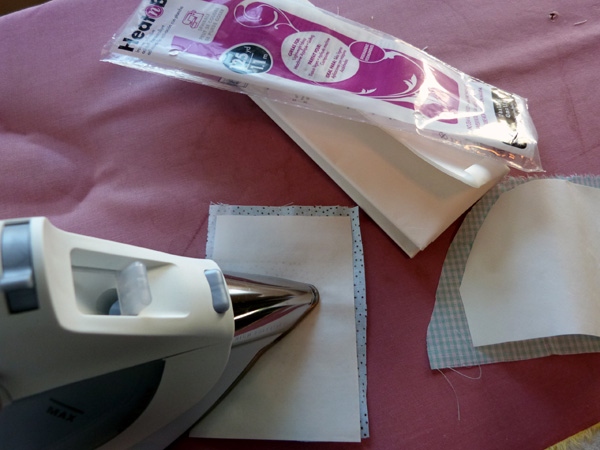
For the inner ear detail, iron Heat n’ Bond® Sewable Iron-On Adhesive to the backside of 3″ x 4″ pieces of decorative fabric. Free-hand cut two rounded ear pieces that are slightly smaller than the felt base.
Peel the paper liner off the inner ear pieces, place onto the felt base, and iron to fuse the fabrics together. Using brightly colored thread, stitch around the inner ear pieces several times.
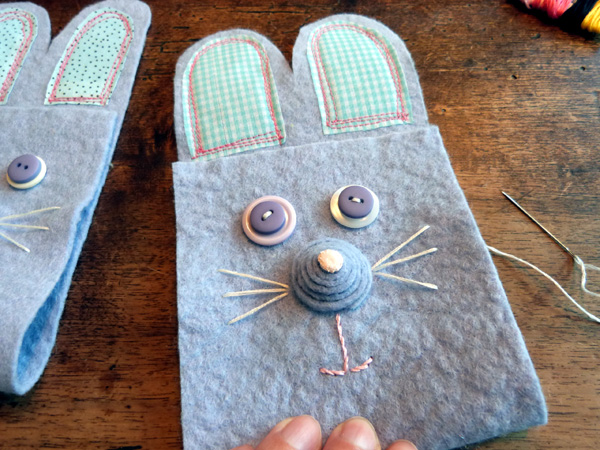
Fold up the bottom edge of the felt panel so that the bottom edge meets up with the bottom of the ears.
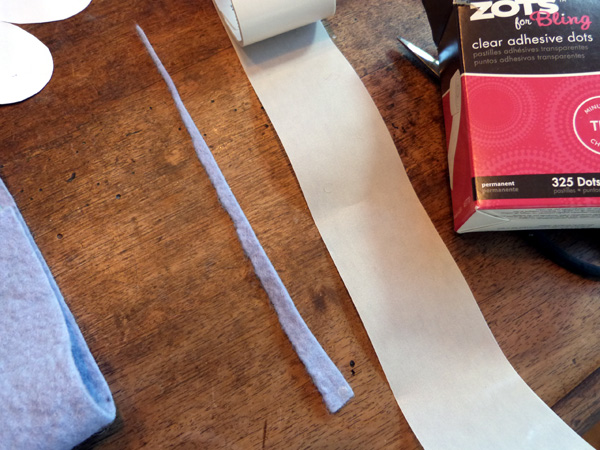
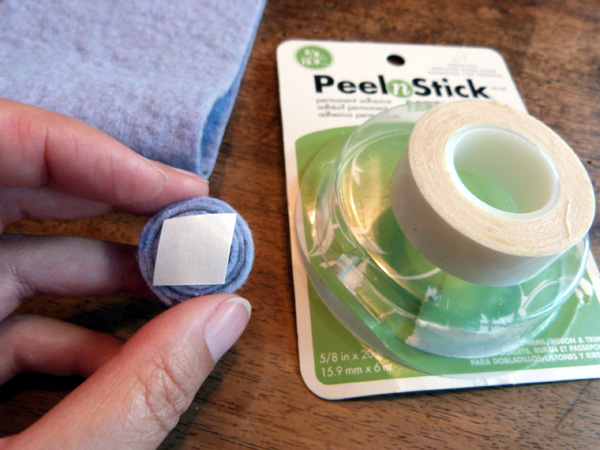
Now we’ll add the face details. For the nose, cut thin strips of wool felt that are at least 8-10″ long. Start out about 1/4″ wide, but taper off the cut to around 1/8″ at the end. You’ll have a skinny, triangular piece. Place a Tiny Zots™ adhesive dot at the wide end, , then roll the strip into a coil, securing the end with another Tiny Zots™ dot.
Cut a small piece of Fabric Fuse® Tape and apply to the bottom of the rounded coil. Peel off the protective liner, and adhere the nose to the center of the front of the pocket.
Apply a dot of light pink paint to the middle of the nose. Hand-stitch whiskers and a mouth. Add buttons for eyes. Be sure to only stitch through the top layer of fabric, though, so you don’t stitch the pocket closed!
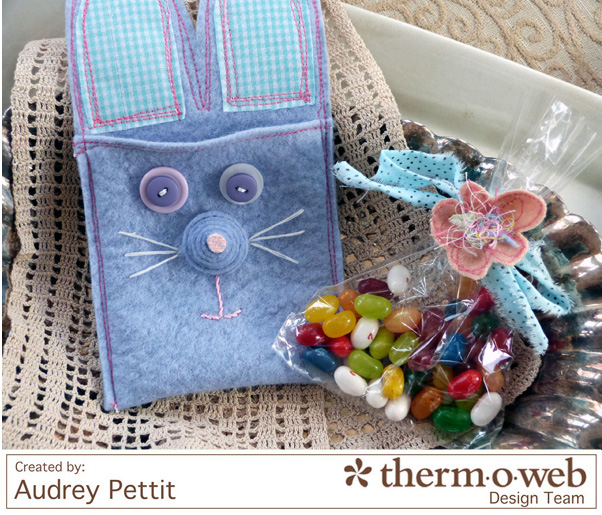 Starting at the bottom left corner, stitch up one side, around the ears, and down the other side. Now go back and do that one more time.
Fill a cello bag with treats, and tie closed with a torn strip of fabric. I added some fun feltie flowers to the center of my bows, too, using all my leftover scraps of fabric and thread. Here’s how I made those.
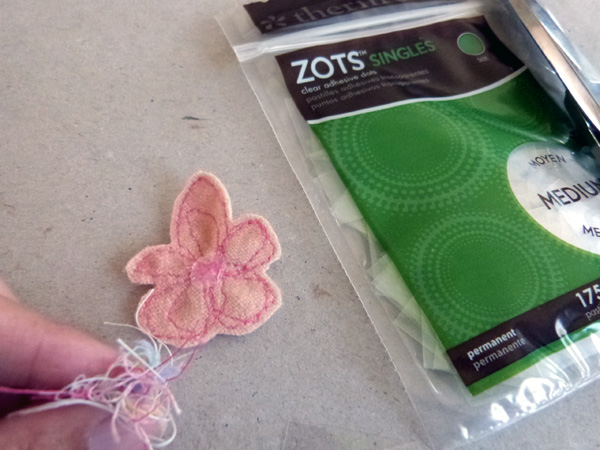
Start by machine stitching rounded flower shapes onto felt or fabric scraps. I went around each petal twice to match the stitching on my bunny pockets. Cut out the flowers. Apply a Medium Zots™ Clear Adhesive Dot to the center of the flowers. Then wad up some fabric and thread scraps, and press them into the Zot™. Whatever sticks, stays.
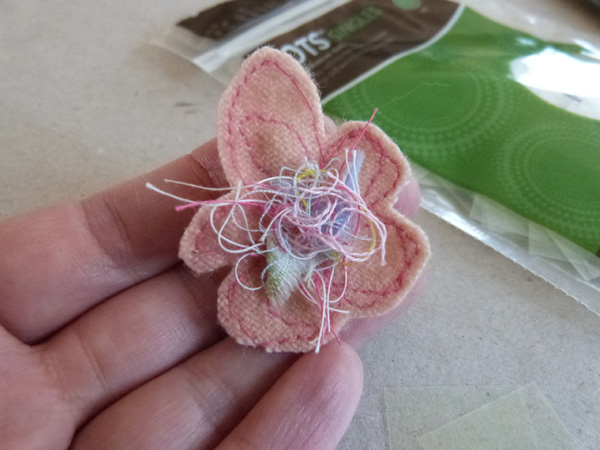 Add the flowers to the bows using another Zot™ dot, then tuck your treats into the pockets.
5 Comments on Easter Bunny PeelnStick Treat Pockets
2Pingbacks & Trackbacks on Easter Bunny PeelnStick Treat Pockets
-
[…] to finish any of the edges. Make a bunch of them, each with his or her own bunny personality. Go to Therm O Web to get the […]
-
[…] Hi Sweeties! I’m sneaking back in today with a surprise extra post. I don’t want to let Easter week slip by without sharing my new Easter projects with you. You all know I can’t just let a holiday pass by! So I hope you don’t mind if we have a busy week here on the blog. I’ve got lots of fun little bunny rabbits to show, starting with these softie felt pocket pouches I made for Easter Treats Week on the Therm O Web blog. […]

lynn zukowski
April 14, 2014 at 12:08 pm (11 years ago)Aren’t these the cutest ever? How I wish I had grand kiddies- will have to make for my girlfriend’s grandbabies instead. Fast and easy- what could be better. great idea- thanks for sharing.
Debbie Kaste
April 15, 2014 at 8:32 am (11 years ago)Audrey, your creations are so clever and sooooo inspirational. Hope I have time to create some of these before Easter. Running out of time, perhaps I’ll have to give up sleeping…lol!
Lynn Darda
April 15, 2014 at 8:01 pm (11 years ago)What a great tutorial. Love those sweet bunnies. The flower centers are so clever!