Hi! It’s Lisa from Quilty Zest here with a tutorial to share.
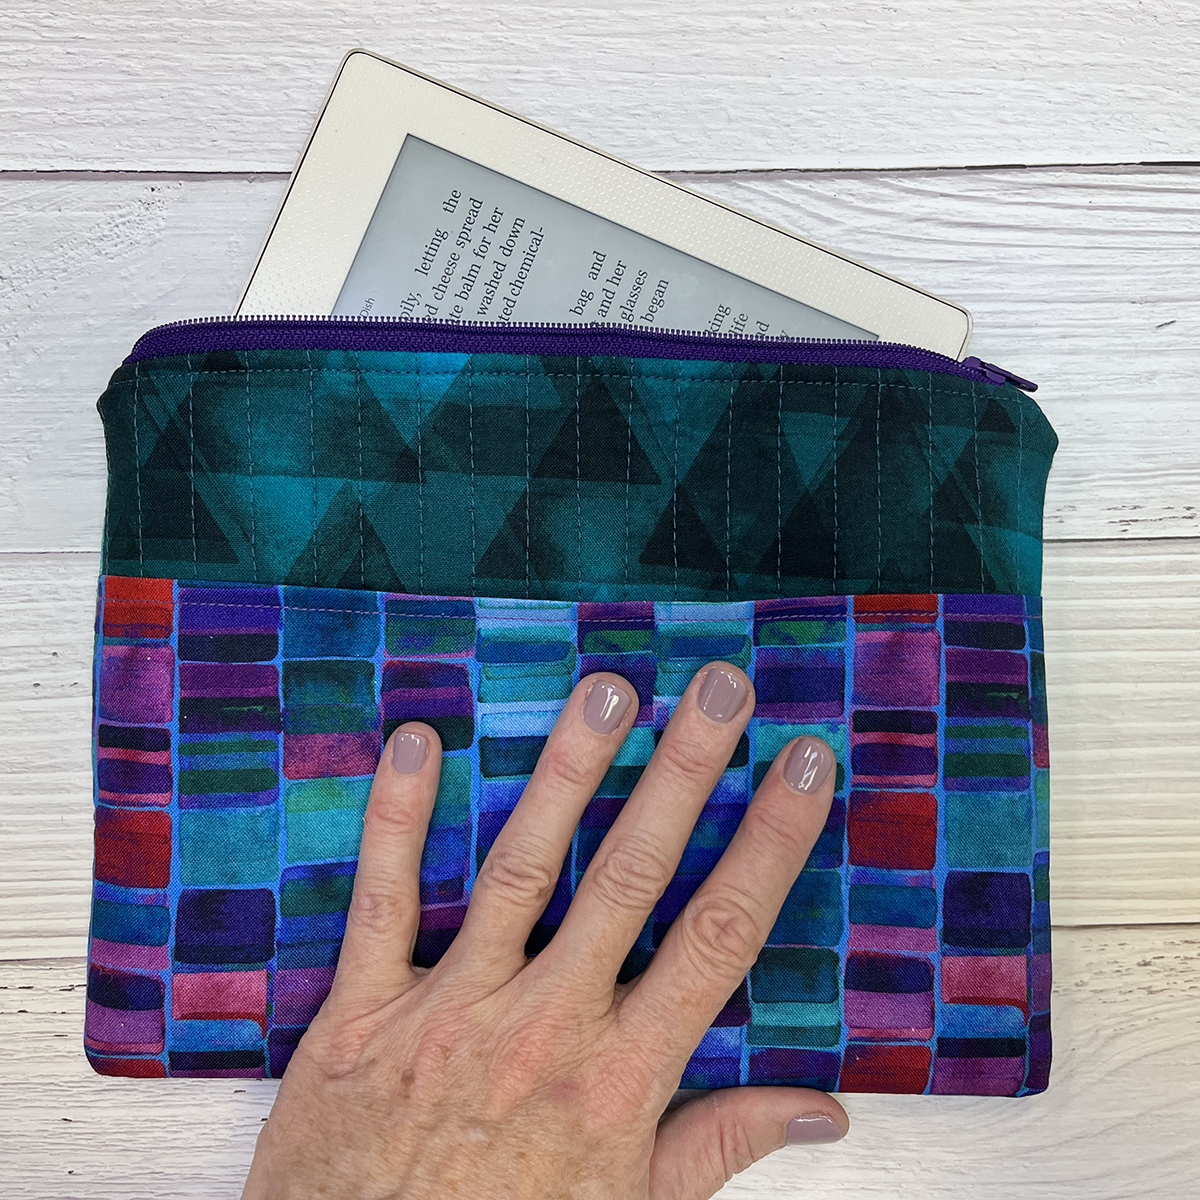
I’m a huge book lover, but these days, the majority of my reading happens on my Nook. I love the flexibility of carrying all my “books” with me on one thin, lightweight device. Of course, an e-reader deserves a colorful, padded carrying case! 
Opposite side: 
I used prints from the Watercolor Geometry collection by Marta Cortese for Benartex. I love the watercolor-y feel of these prints, and the color palette is right in my wheelhouse! I had leftover 10″ squares from a layer cake, and they were the perfect size for this project. 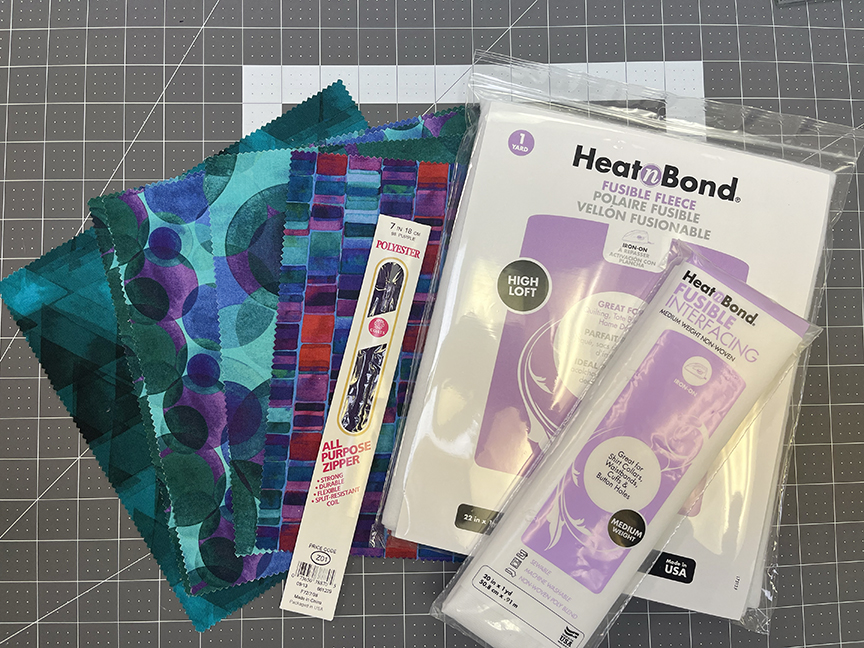
Here’s what you’ll need to make your own e-reader case:
(5) 10″ squares (2 for lining, 2 for outer case, and one for outer pocket)
HeatnBond Fusible Fleece
HeatnBond Mediumweight Fusible Interfacing
HeatnBond Craft Extra Firm Non Woven Fusible Interfacing
(1) 9″ zipper
Cutting:
Note: This case is sized to generously fit my Nook, which measures 4-3/4″ x 6-1/2″. If your e-reader is larger, you may need to adjust the sizes of your pieces.
For the outer case:
(2) 7-1/4″ x 9-3/4″ pieces
(2) 2-1/2″ squares for zipper tabs
For the pocket:
(1) 9-3/4″ x 10″ piece
For the lining:
(2) 7-1/4″ x 9-3/4″ pieces
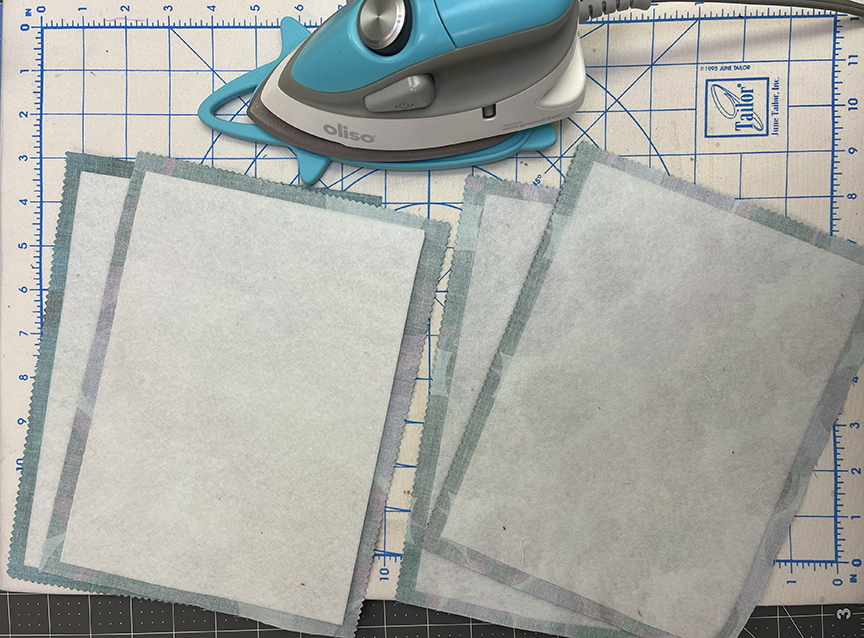
From the Fusible Fleece:
(2) 6-1/2″ x 9″ pieces
From the Medium Weight Fusible Interfacing:
(1) 5″ x 9-3/4″ piece
From the Craft Extra Firm Fusible Interfacing:
(2) 6-1/2″ x 9″ pieces
Make the E-Reader Cover
Step 1: Fold the 9-3/4″ x 10″ pocket piece in half, wrong sides together, and press. Insert 5″ x 9-3/4″ Mediumweight Fusible Interfacing piece inside and press to fuse. 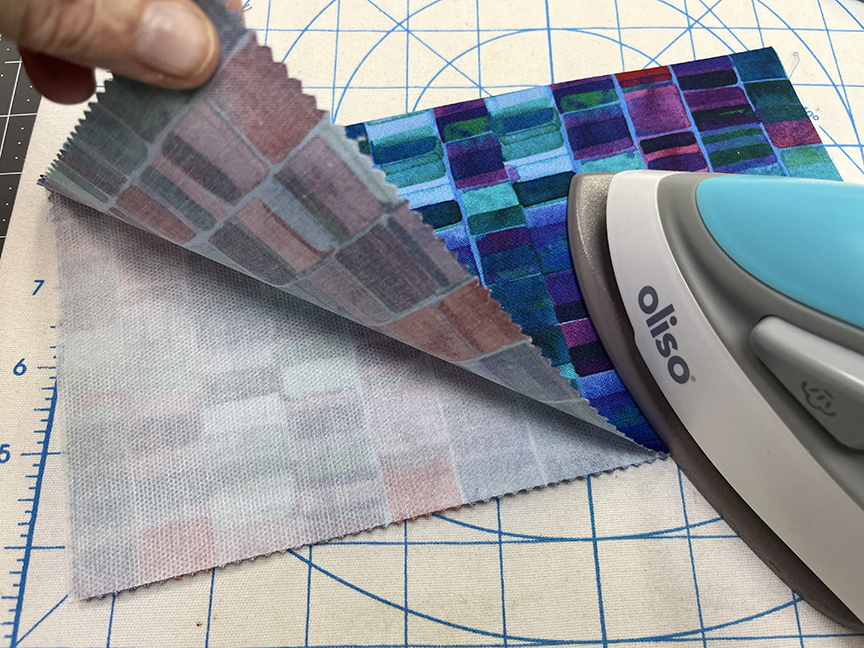
Step 2: Topstitch along folded pressed edge. 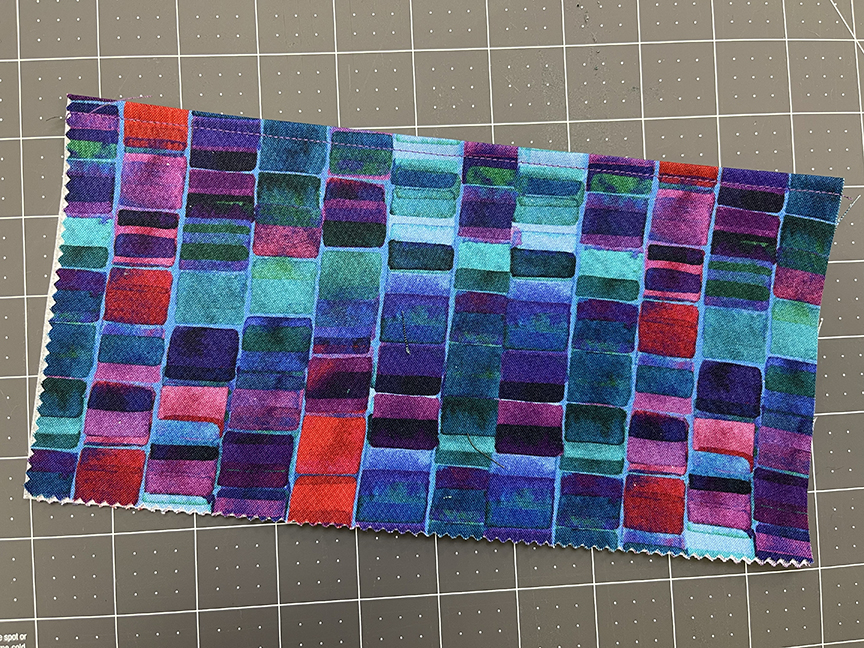
Step 3: Following manufacturer’s directions, adhere Fusible Fleece pieces to the wrong side of each lining piece, centering the fleece. Repeat with the Craft Extra Firm Fusible pieces on the wrong side of both outer case pieces.
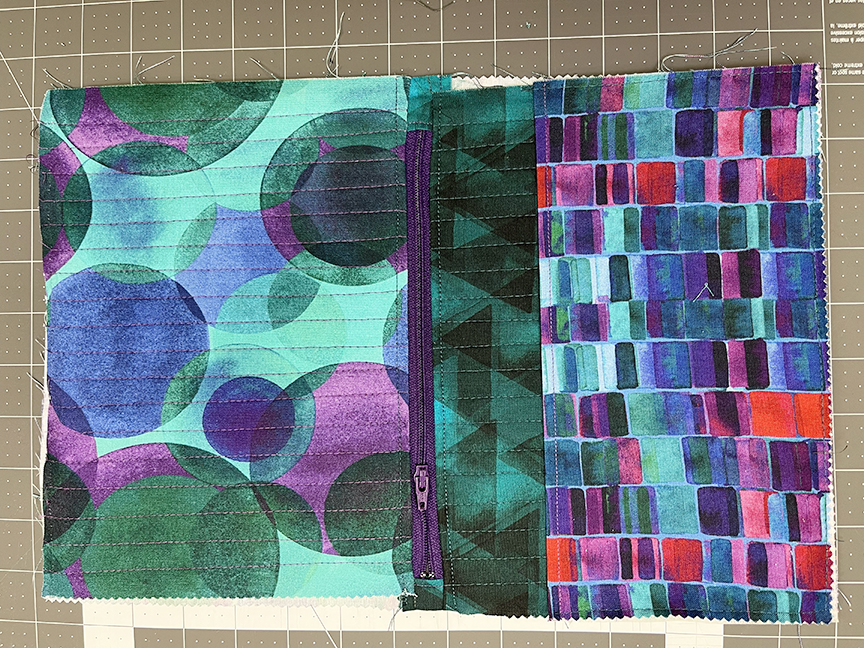
Step 4: Machine quilt outer case pieces as desired. (I used straight line quilting.)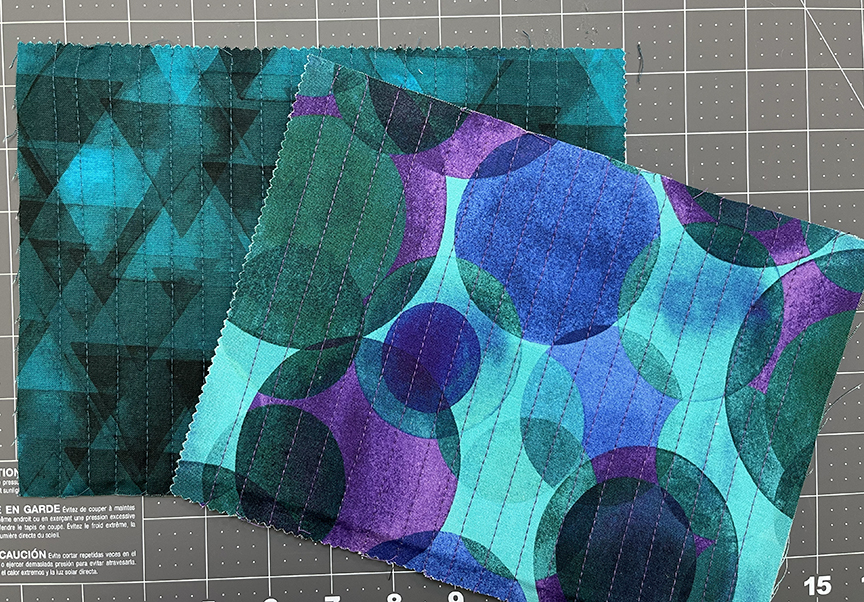
Step 5: Position pocket on (1) outer case, matching raw edges, and baste to secure in place.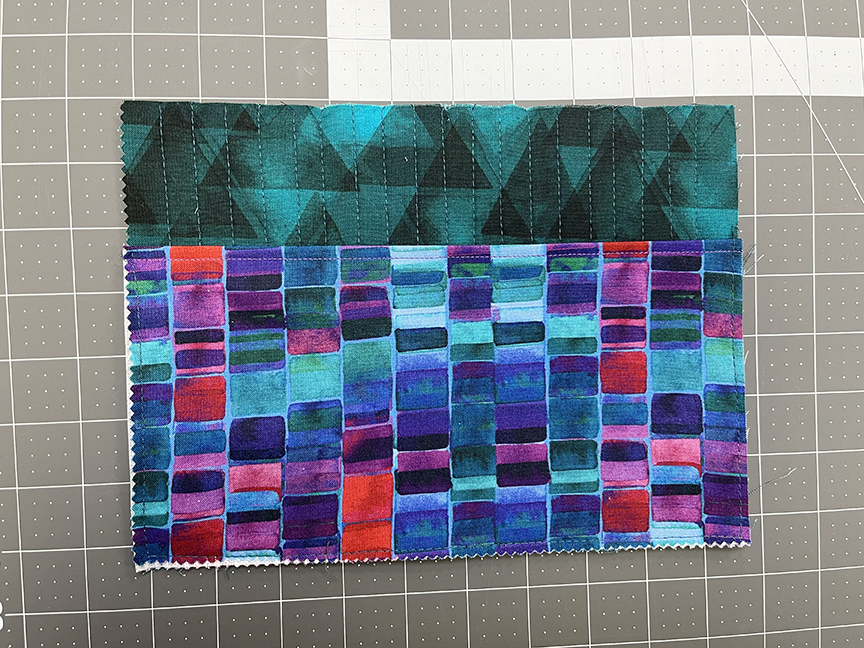
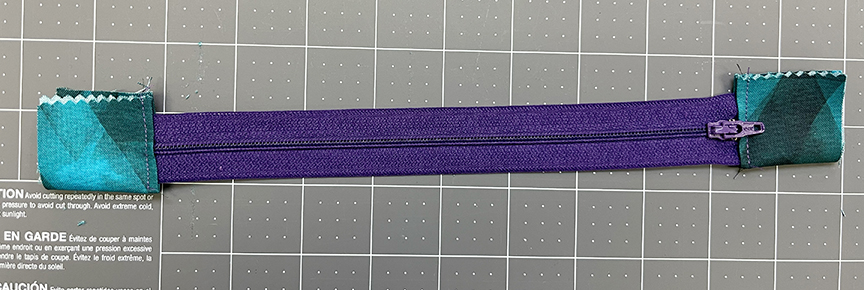
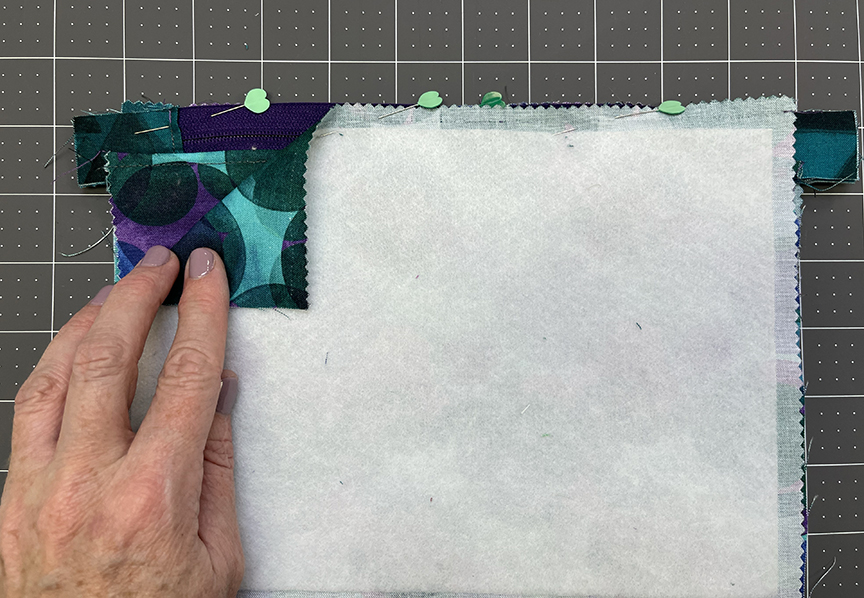
Step 6: Fold (1) 2-1/2” zipper tab square in half and press. Position folded piece over end of zipper with folded edge toward zipper.
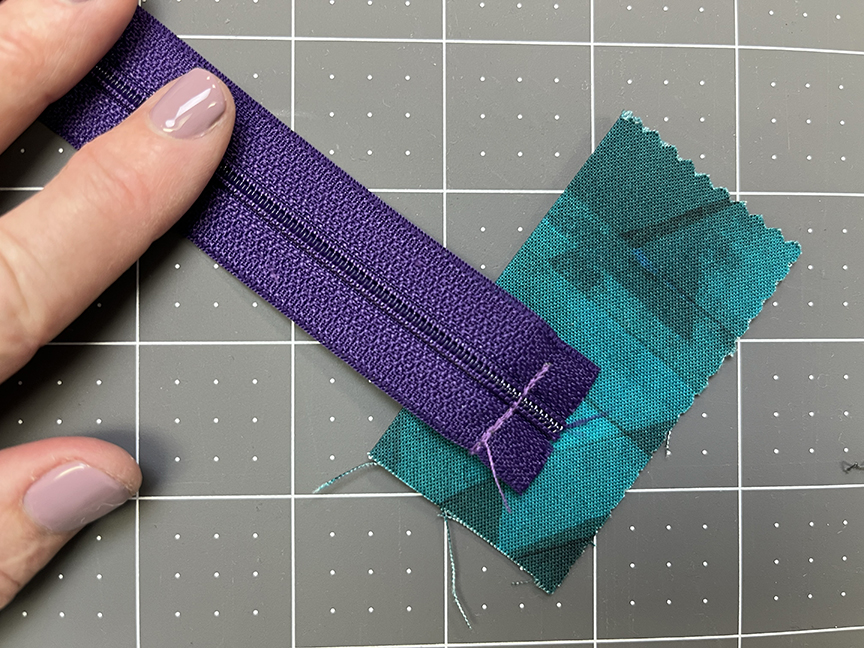
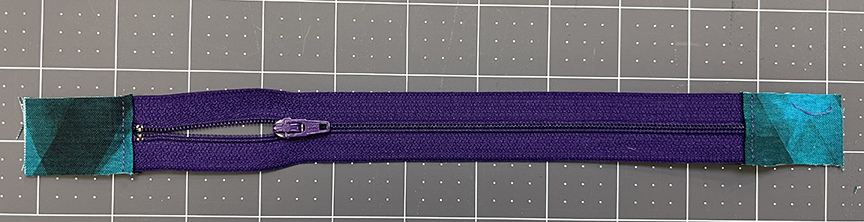
Step 7: Fold zipper tab over and topstitch through all layers to secure end of zipper. Repeat on opposite end of zipper. The zipper with tabs should be approximately the length of your outer case (9-3/4″). Tim edges of tabs even with zipper.
Step 8: Layer (1) outer case right side up. Position the zipper on top, right side down as shown, and pin in place. Position (1) lining piece on top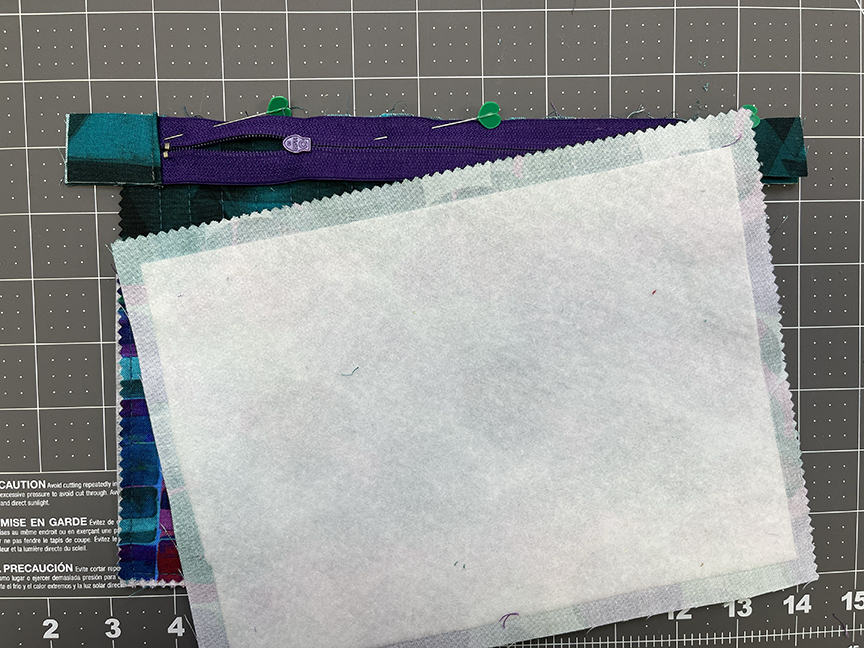
Step 9: Fold outer case and lining away from zipper and press. Topstitch close to zipper edge.
Step 10: Repeat with remaining outer case and lining piece on opposite side of zipper.
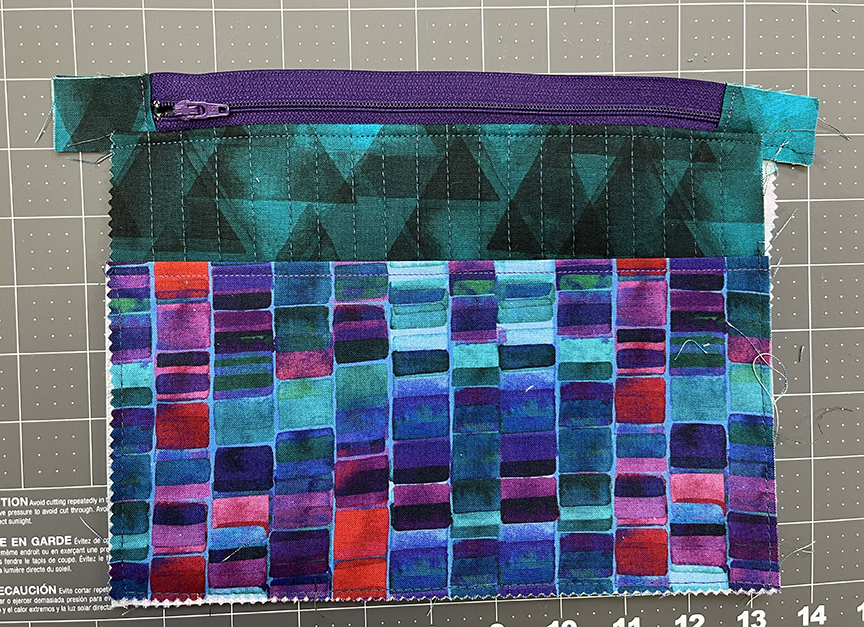
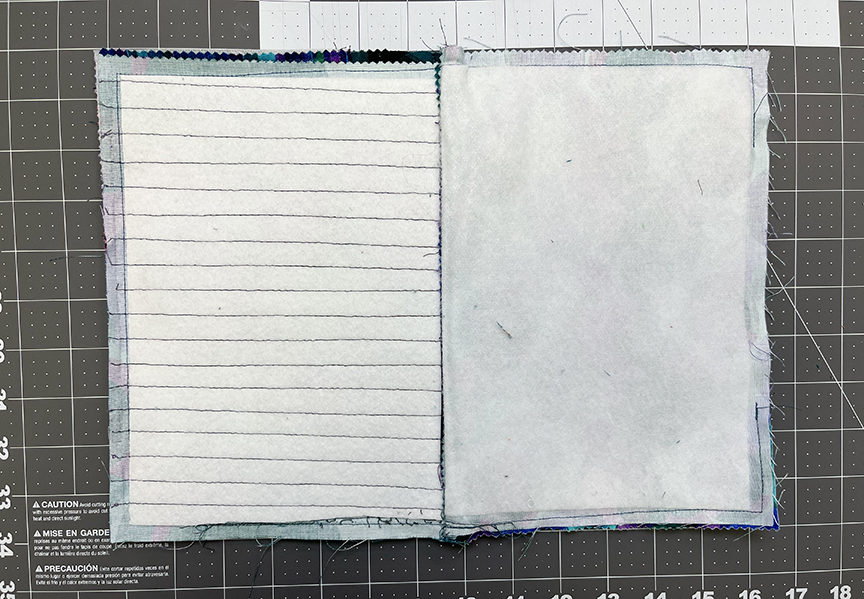
Step 11: Your case should look like this now.
Step 12: Open zipper (this is important!) and align so outer case pieces are right sides together on one side of the zipper and lininig pieces are right sides together on the other side of the zipper. Match raw edges and pin. Stitch around the outer edge, just outside the interfacing and fleece edges. Leave a 5″ opening for turning on the lining side.
Step 13: Turn right side out through opening. Stitch opening closed and tuck lining into the outer case. Add your e-reader and enjoy!