Hello, friends! It’s Ellen here with two fun cards featuring different ways to use Plush Paper on a card.
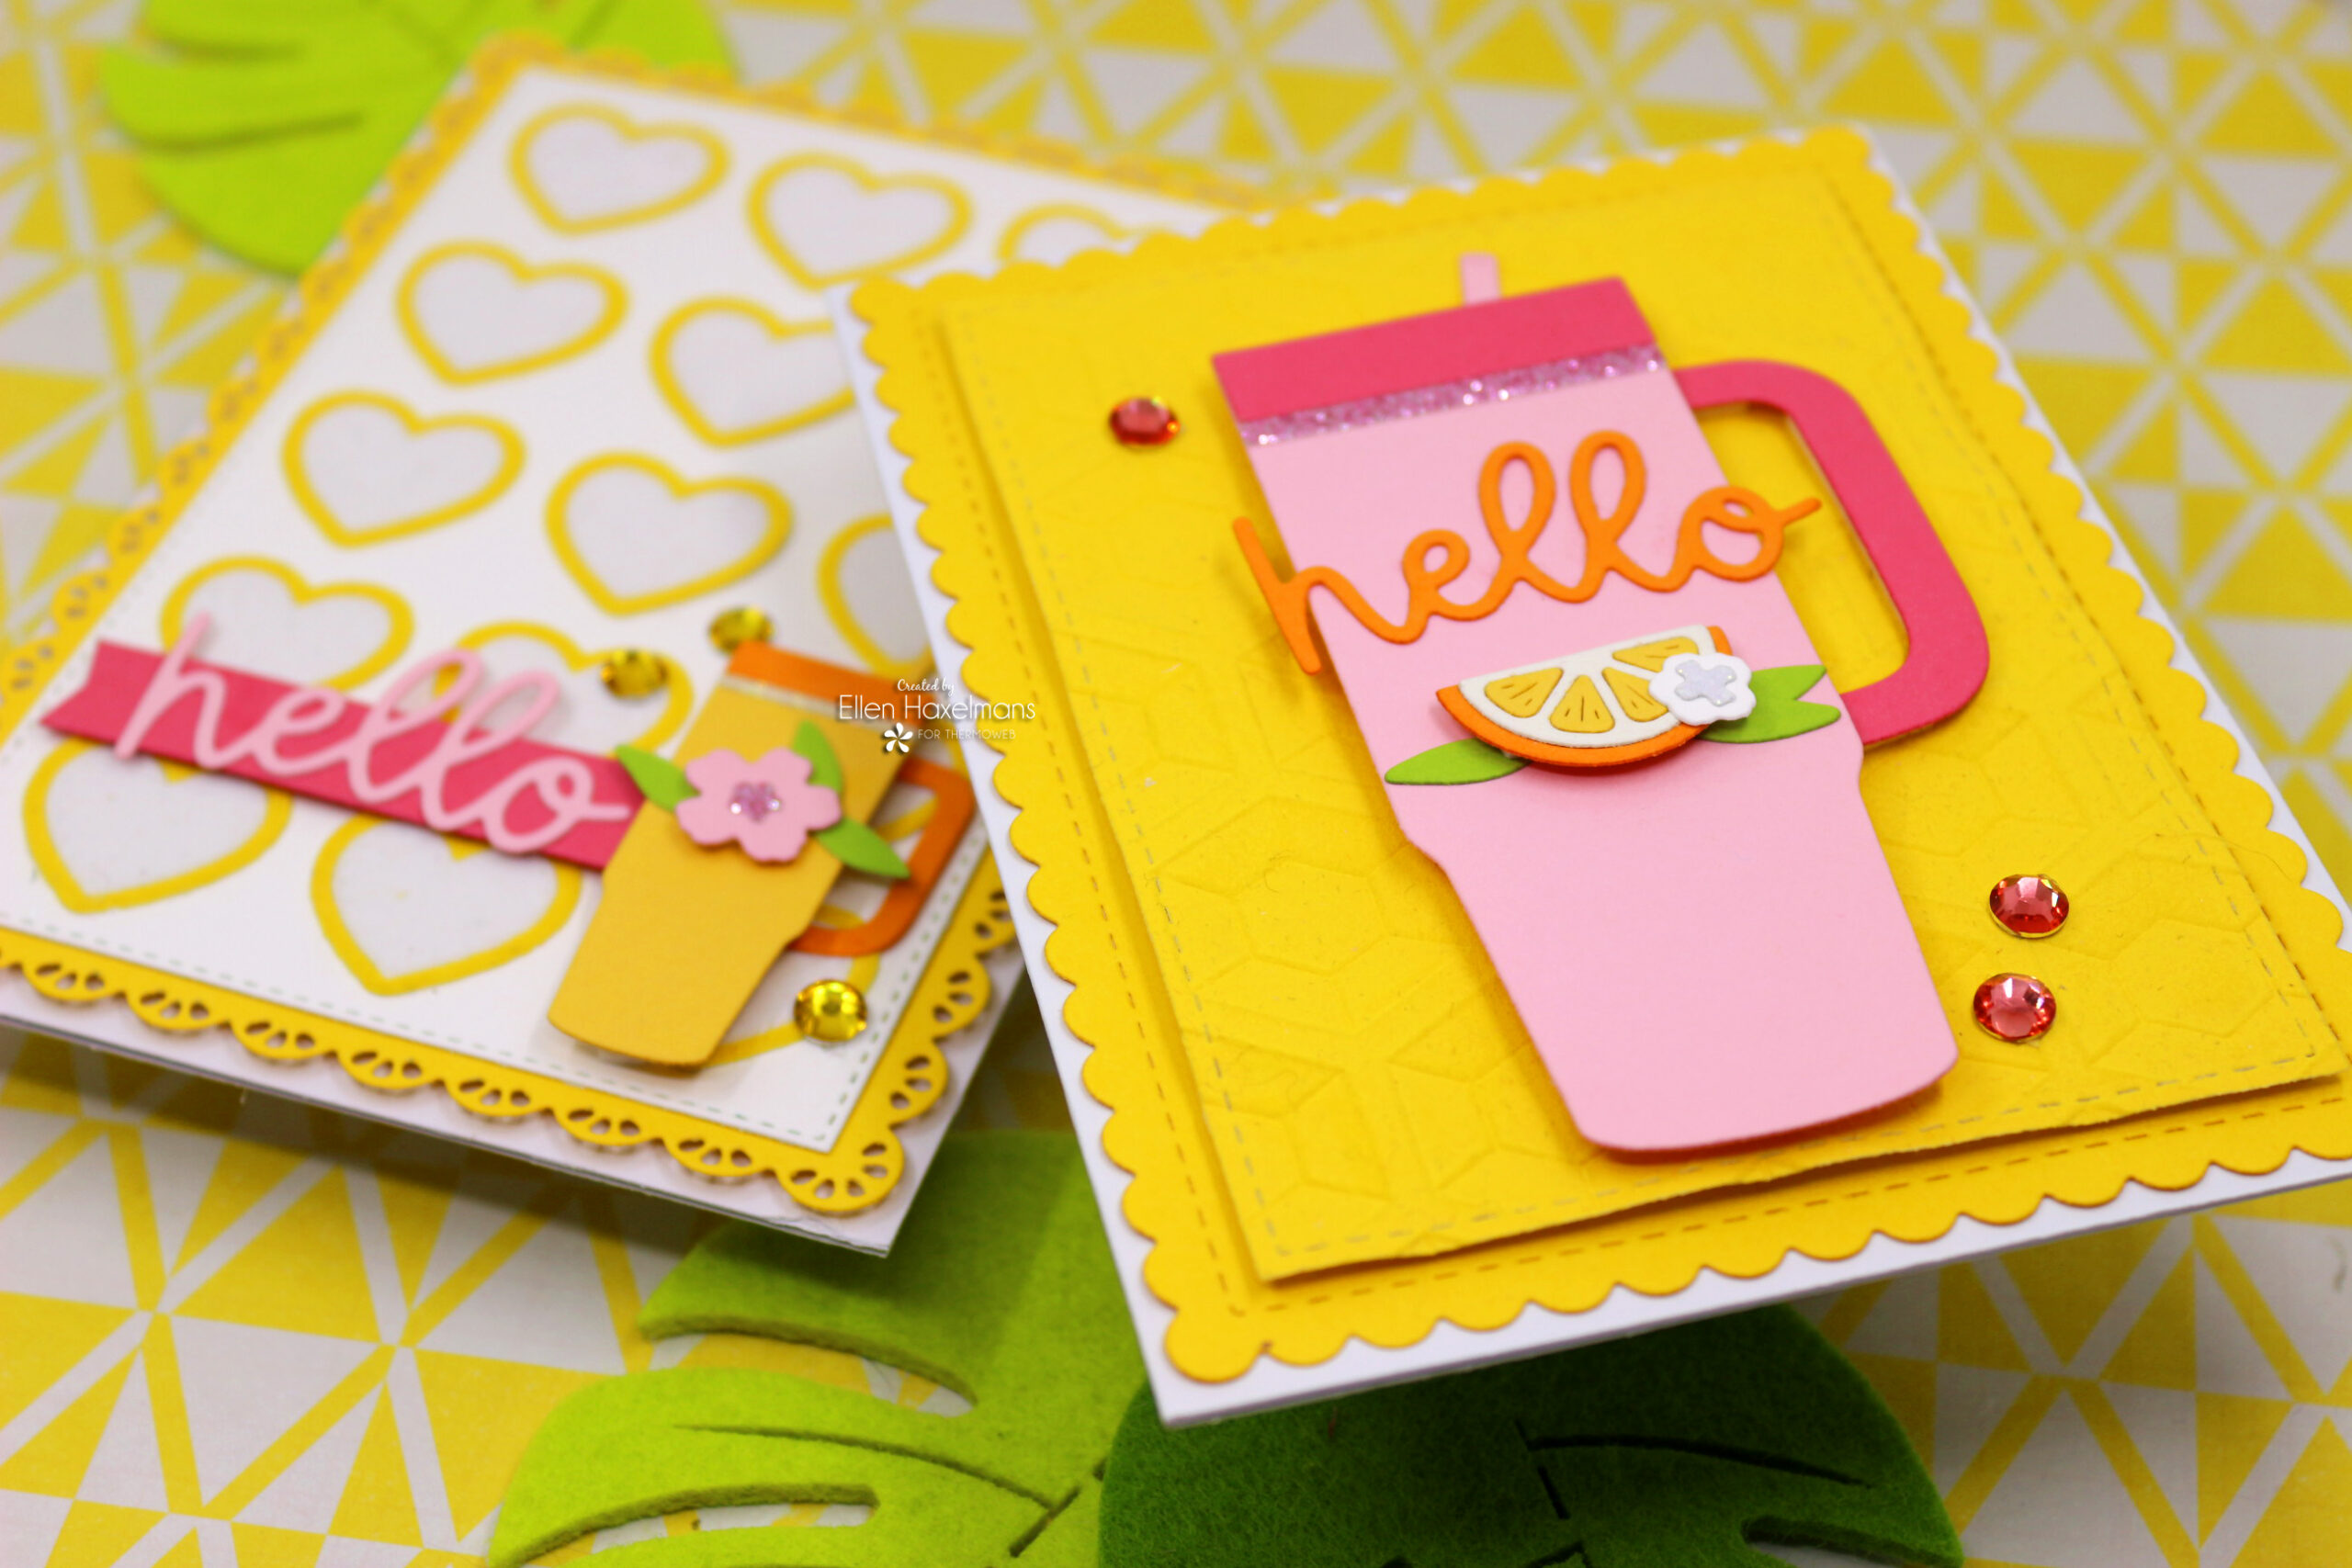
In this blog post, I’d like to share two ways to use Plush Papers as a background.
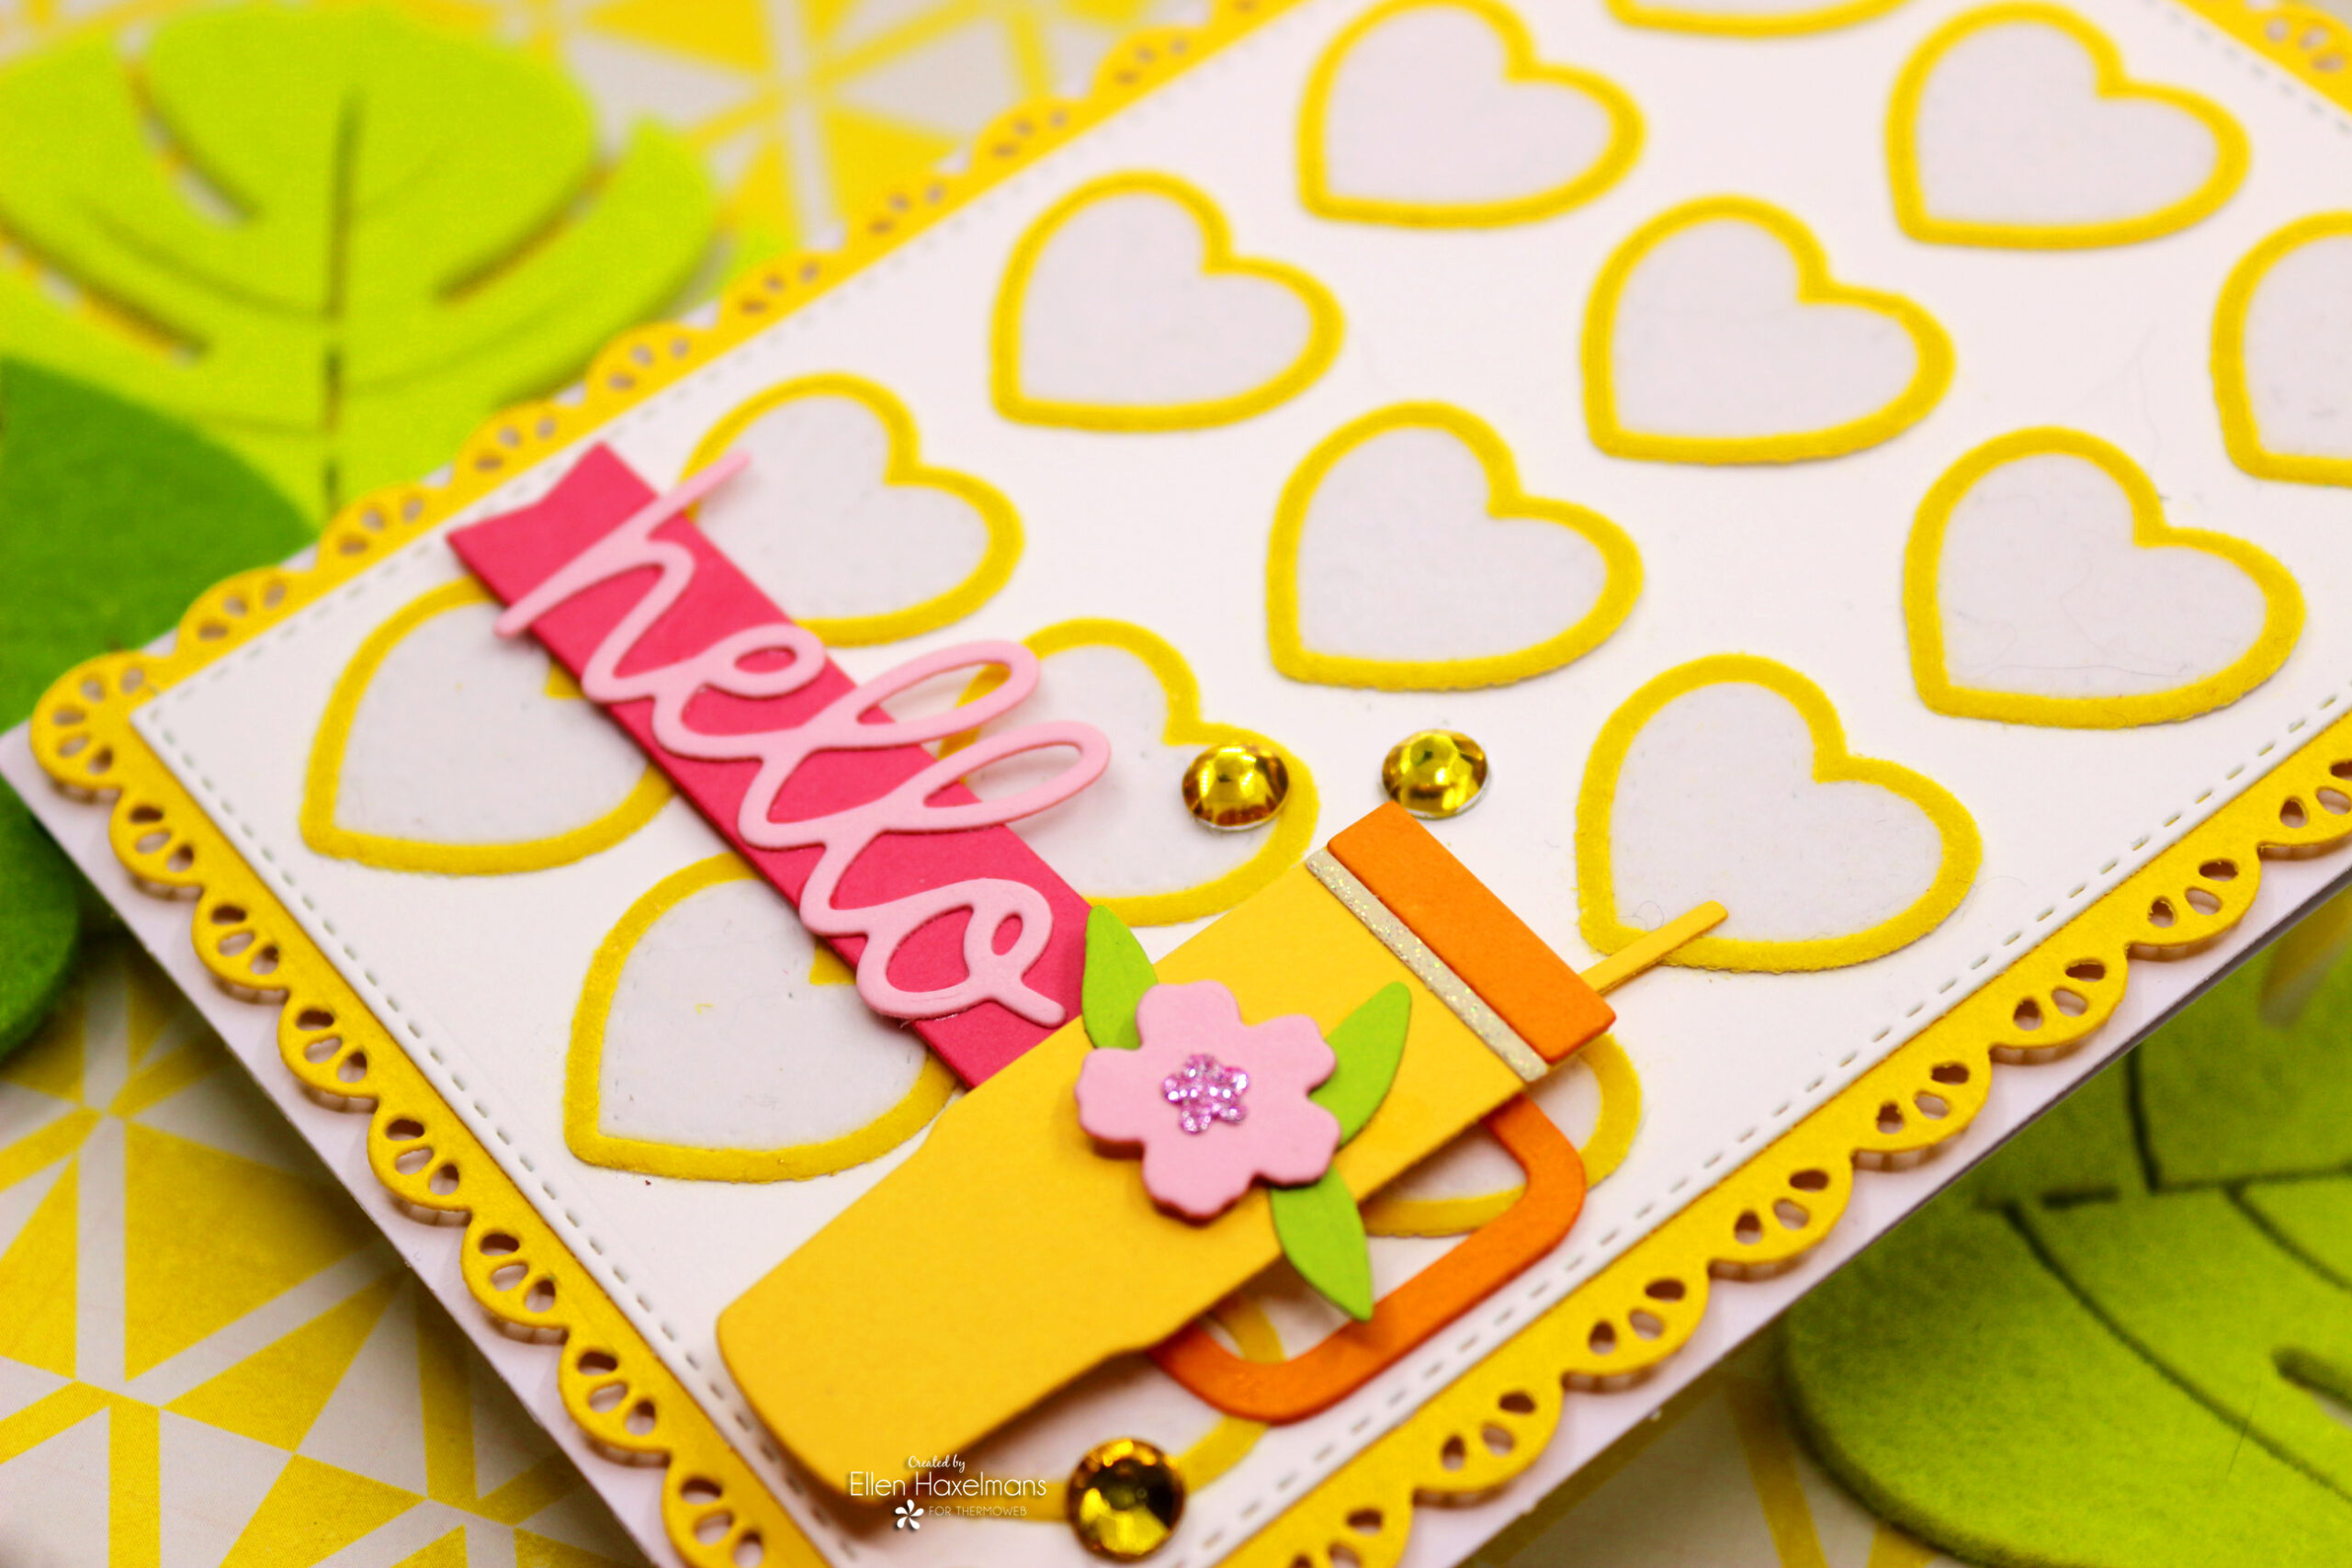
I use the ‘Plush Papers’ without Foam Adhesive (as I normally like to do).
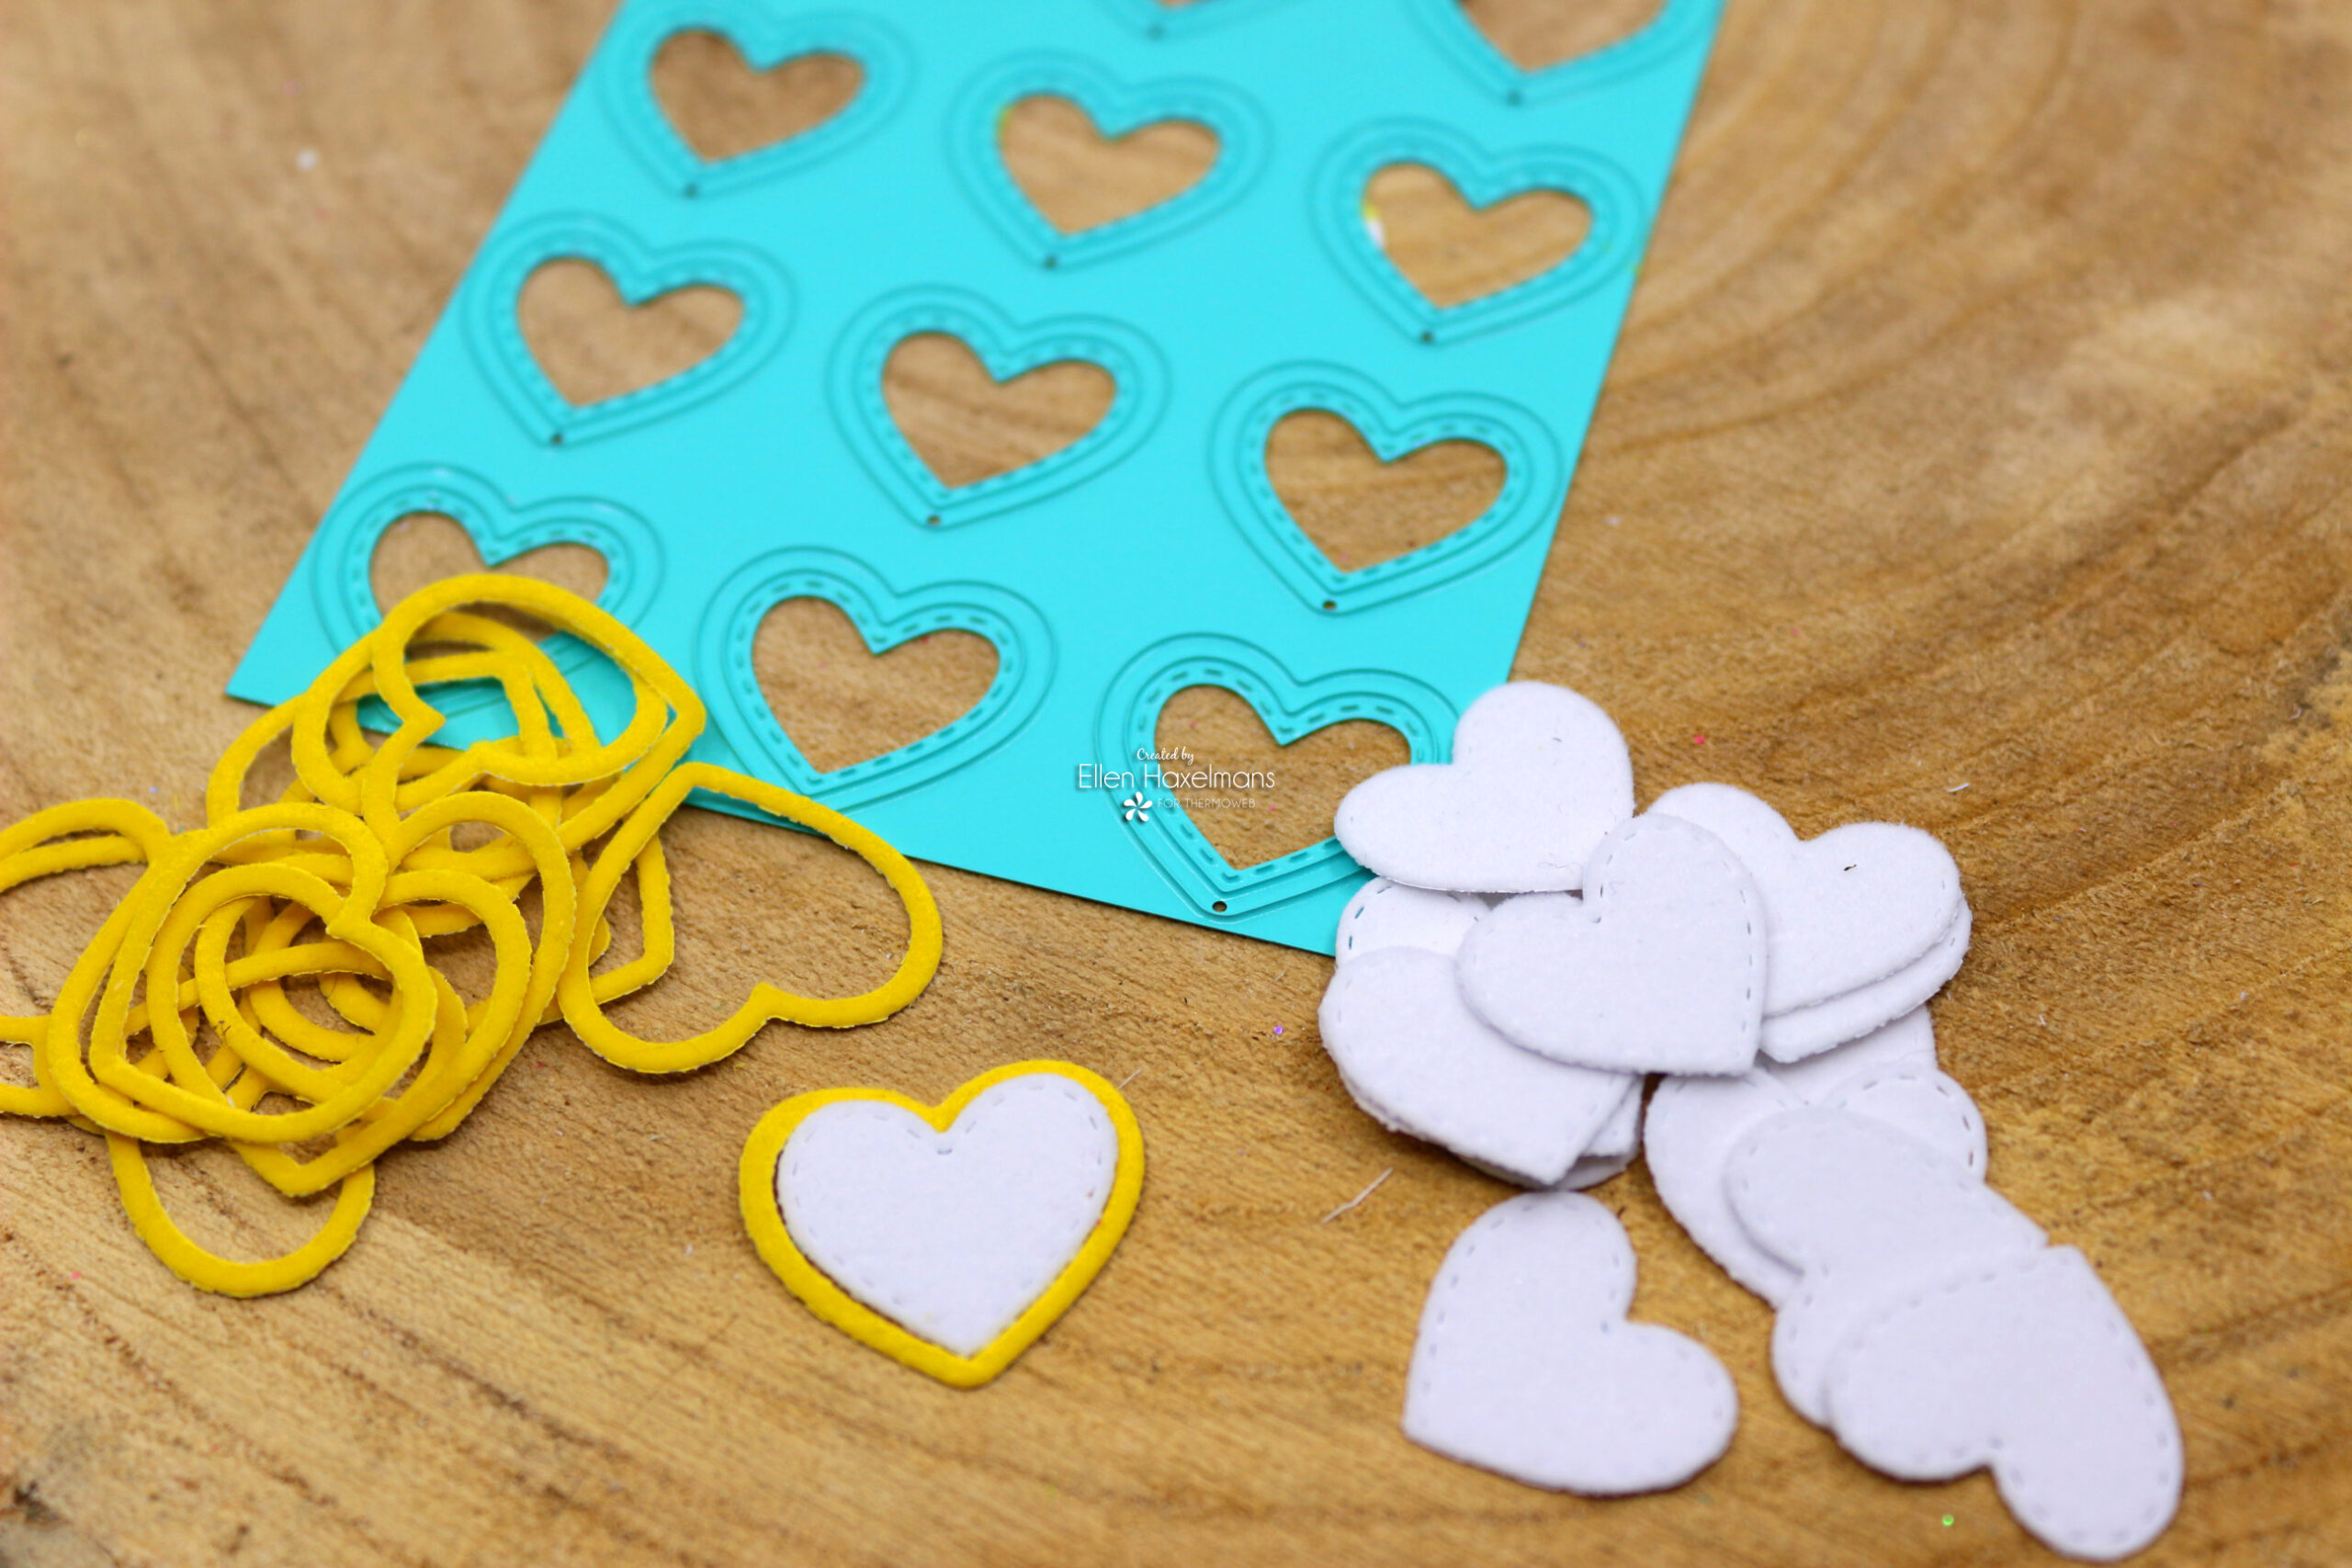
I simply cut a piece of the soft Plush Papers with a background die.
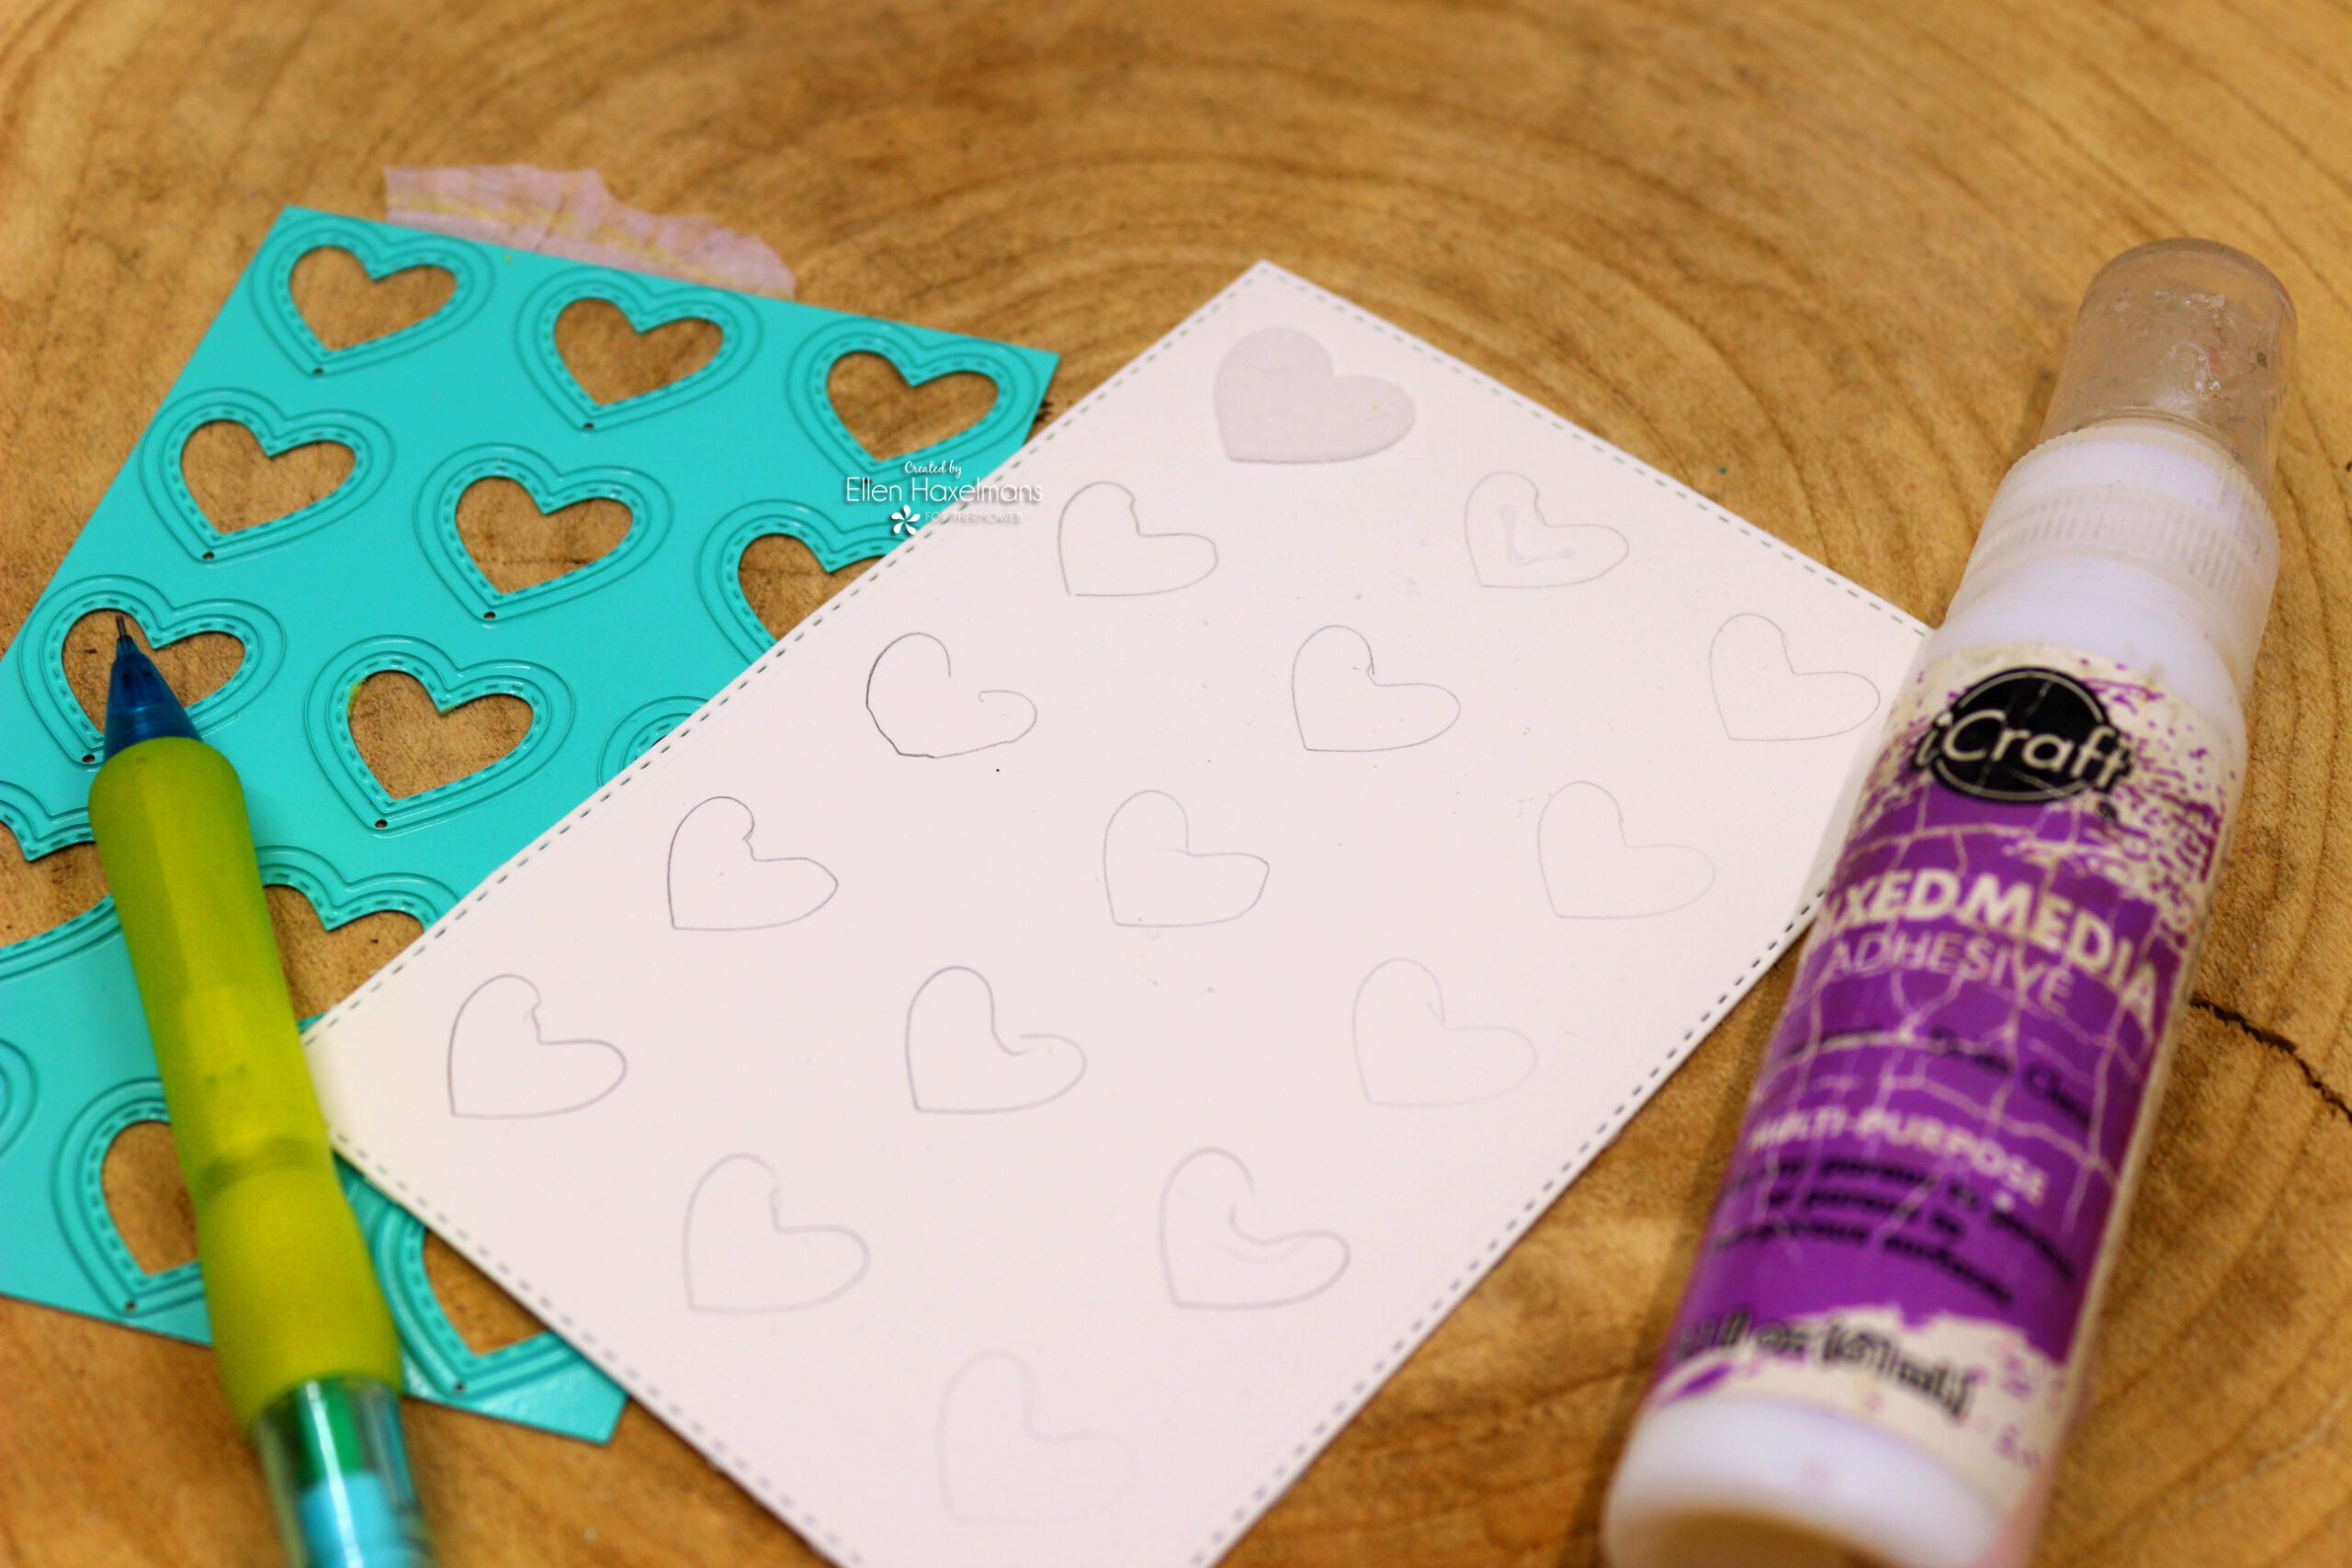
To place the hearts lined up perfectly, I traced all the hearts using the die as a stencil. Next I glued all the Plush Papers with the ‘Mixed Media Multi-Purpose Adhesive’ (my bottle no longer looks nice at all, but it has been well used and is still perfectly usable after many years).
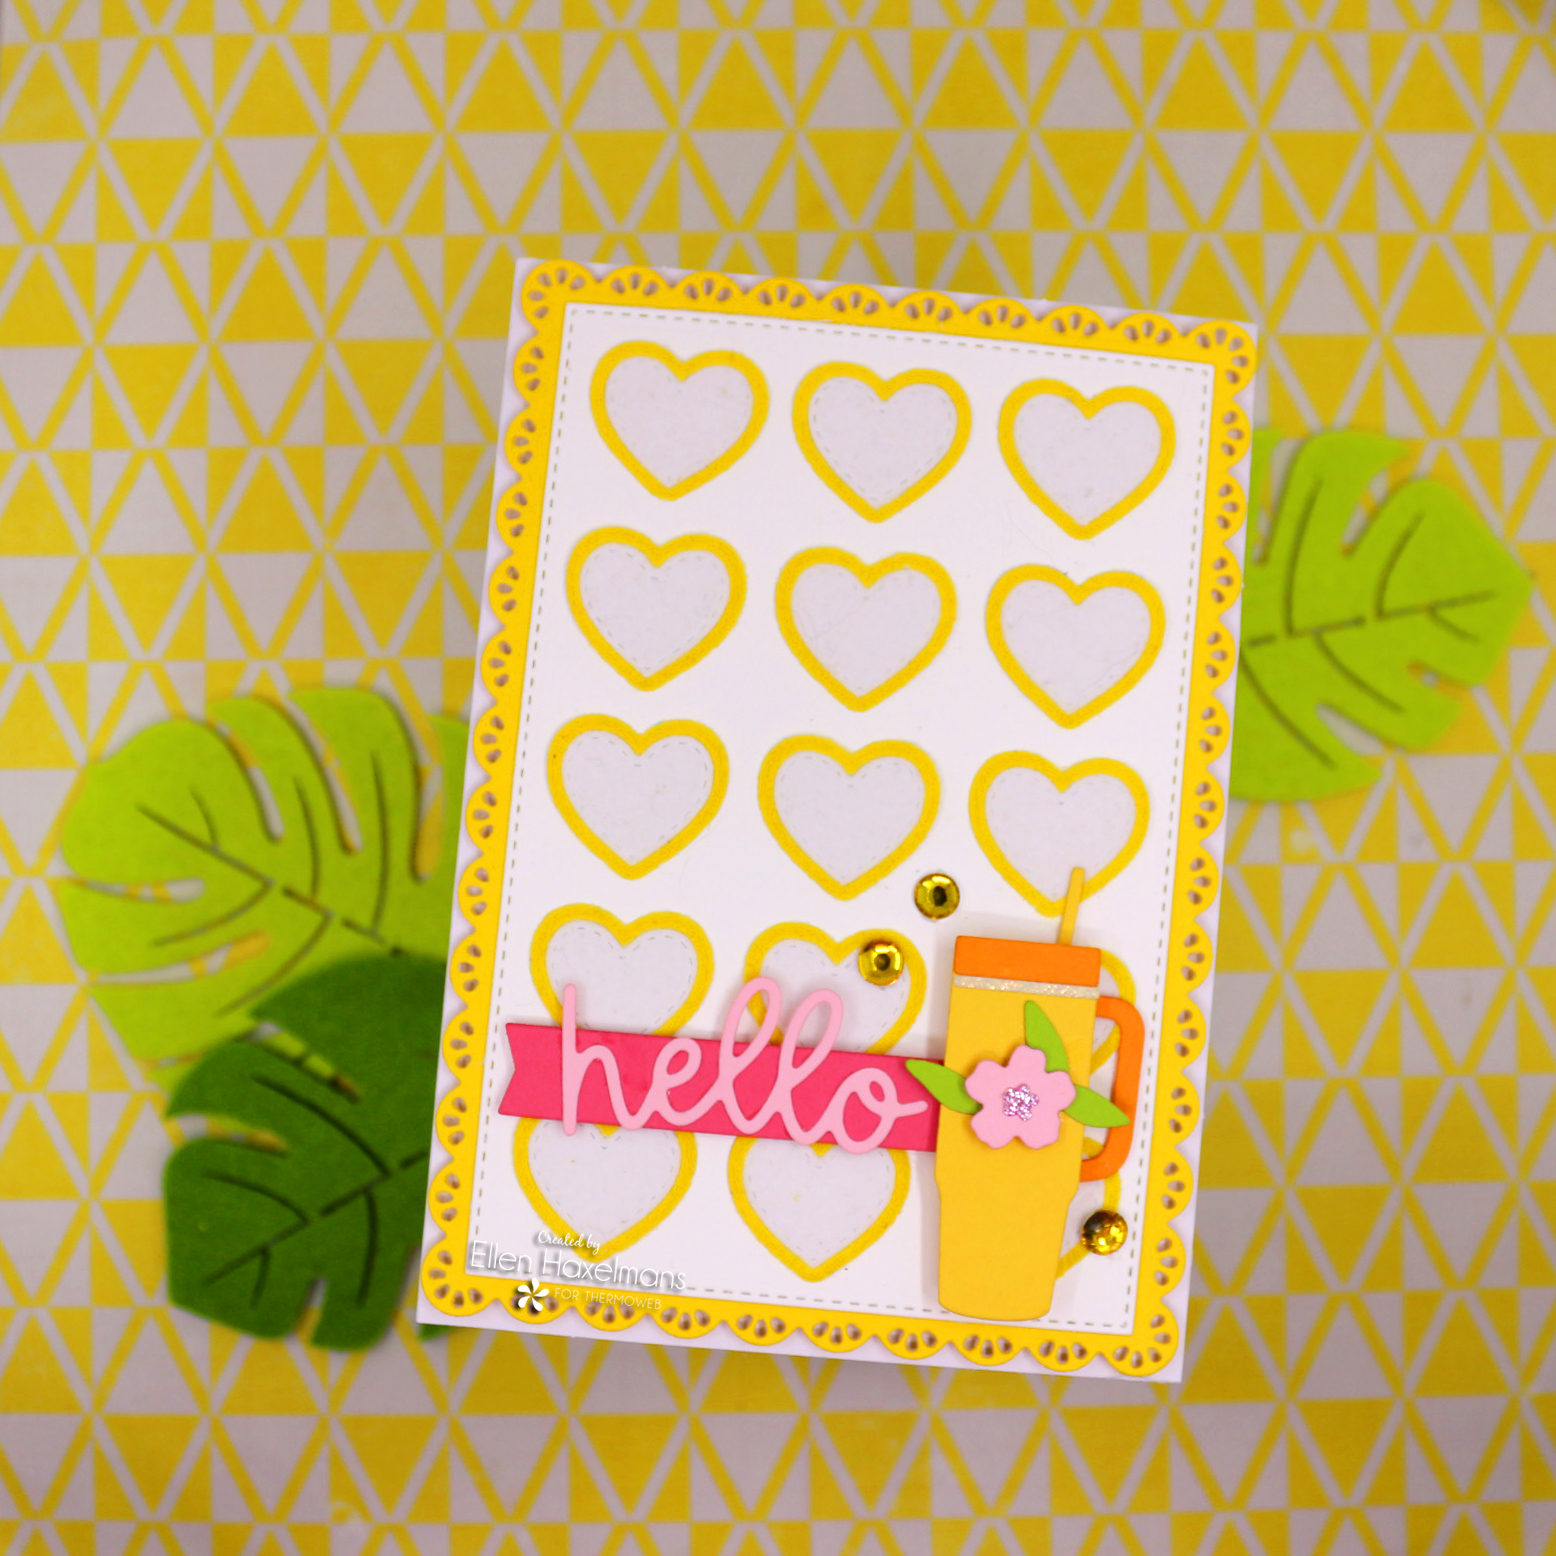
The result is again astonishing.
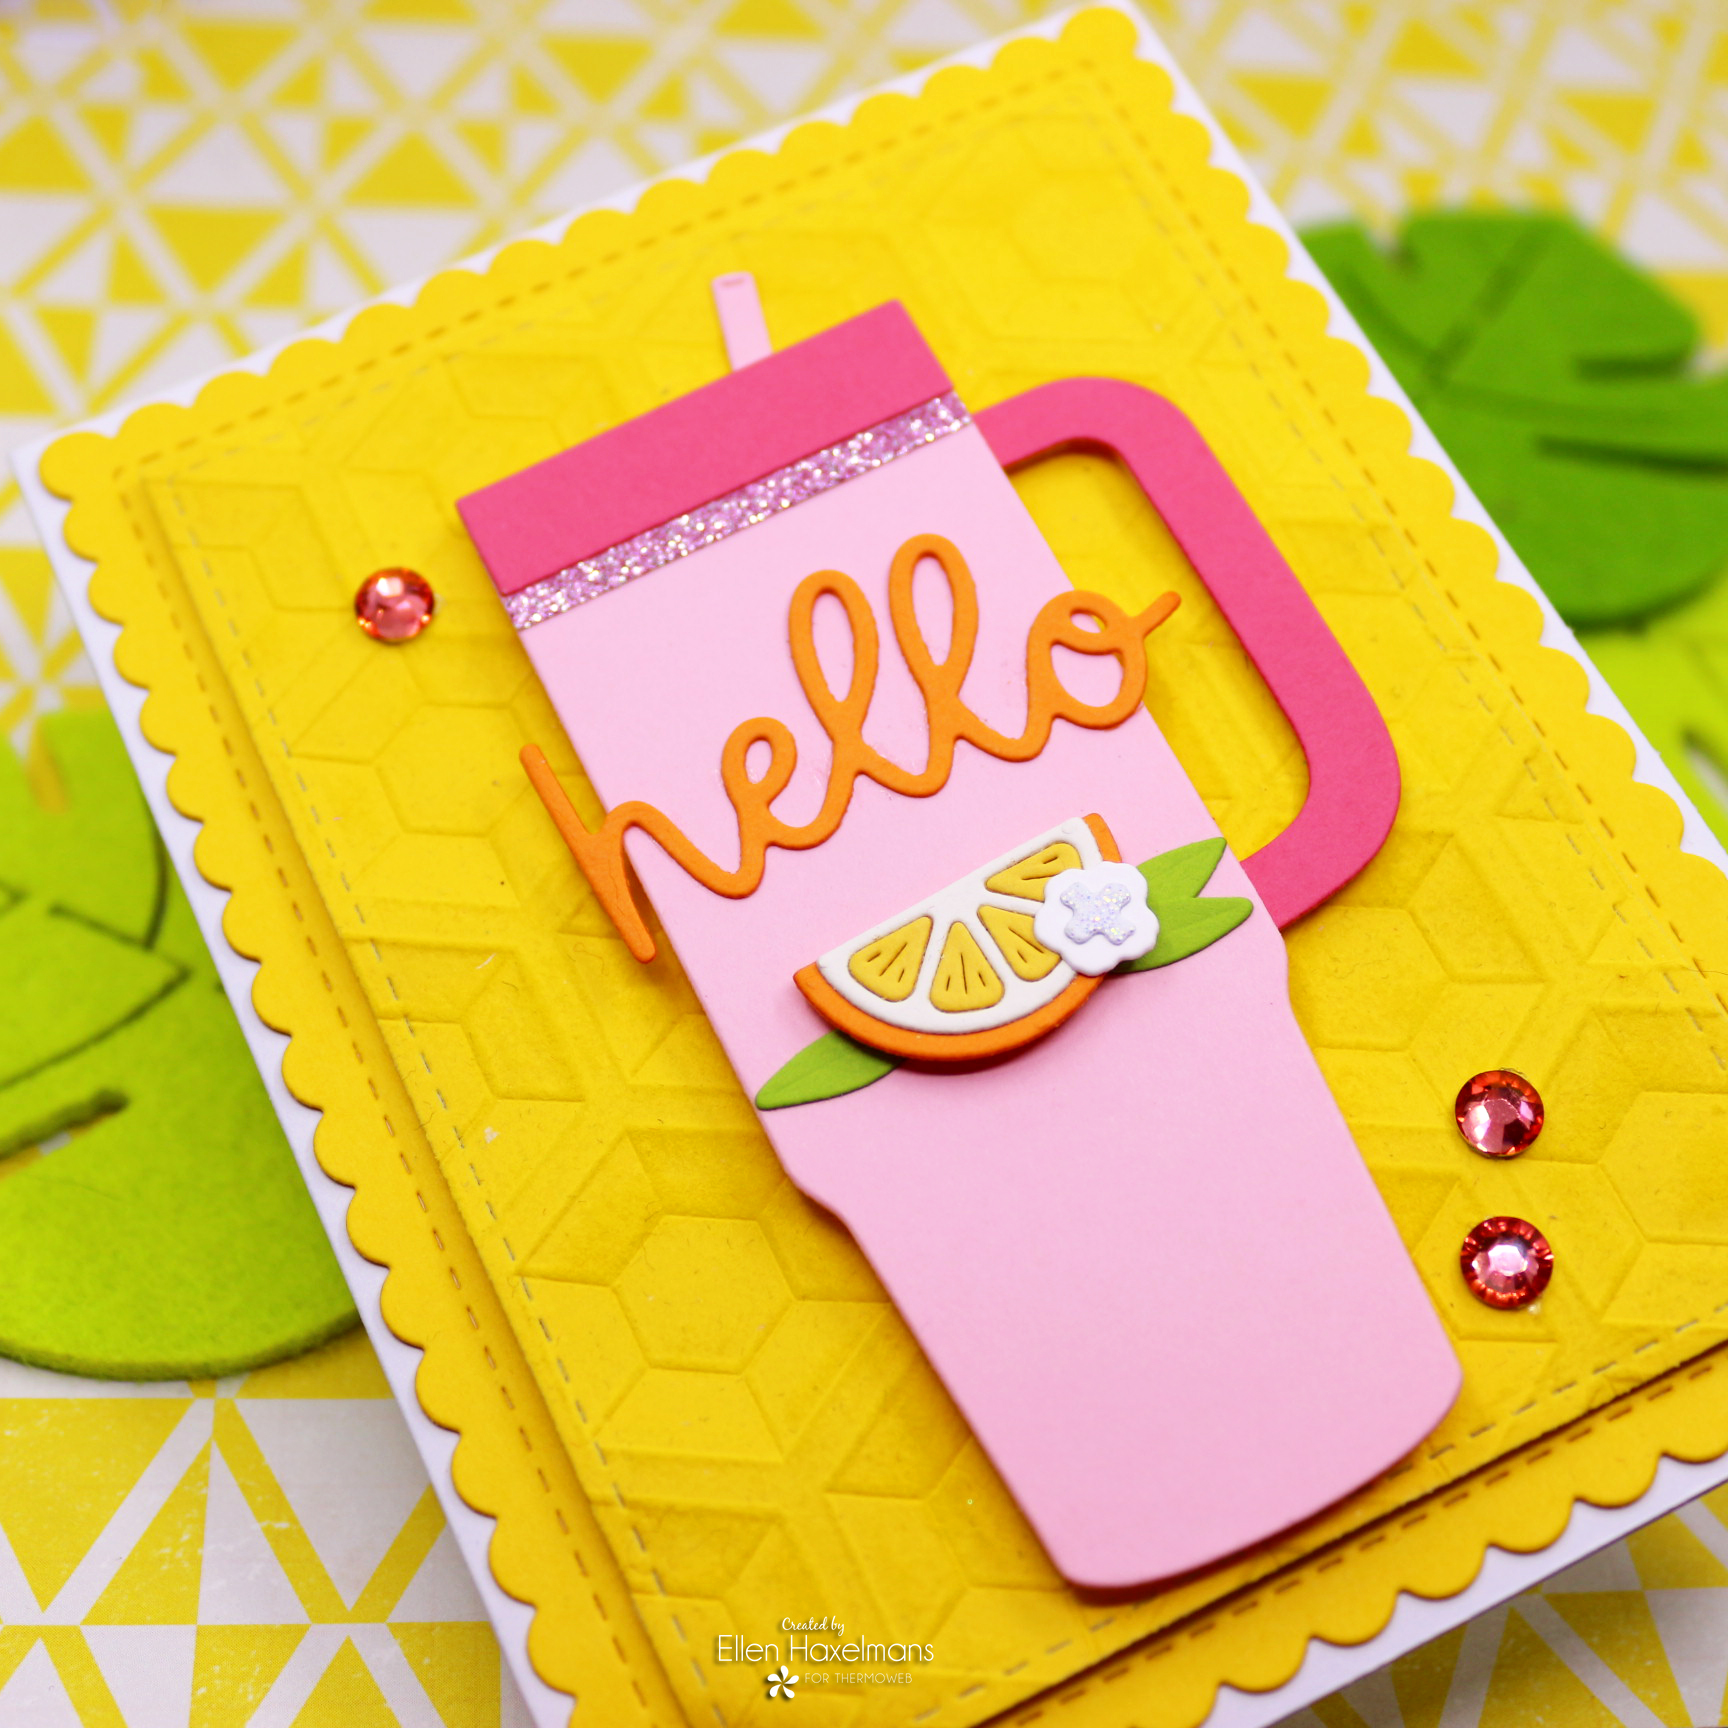
Let’s go one step further with the next card.
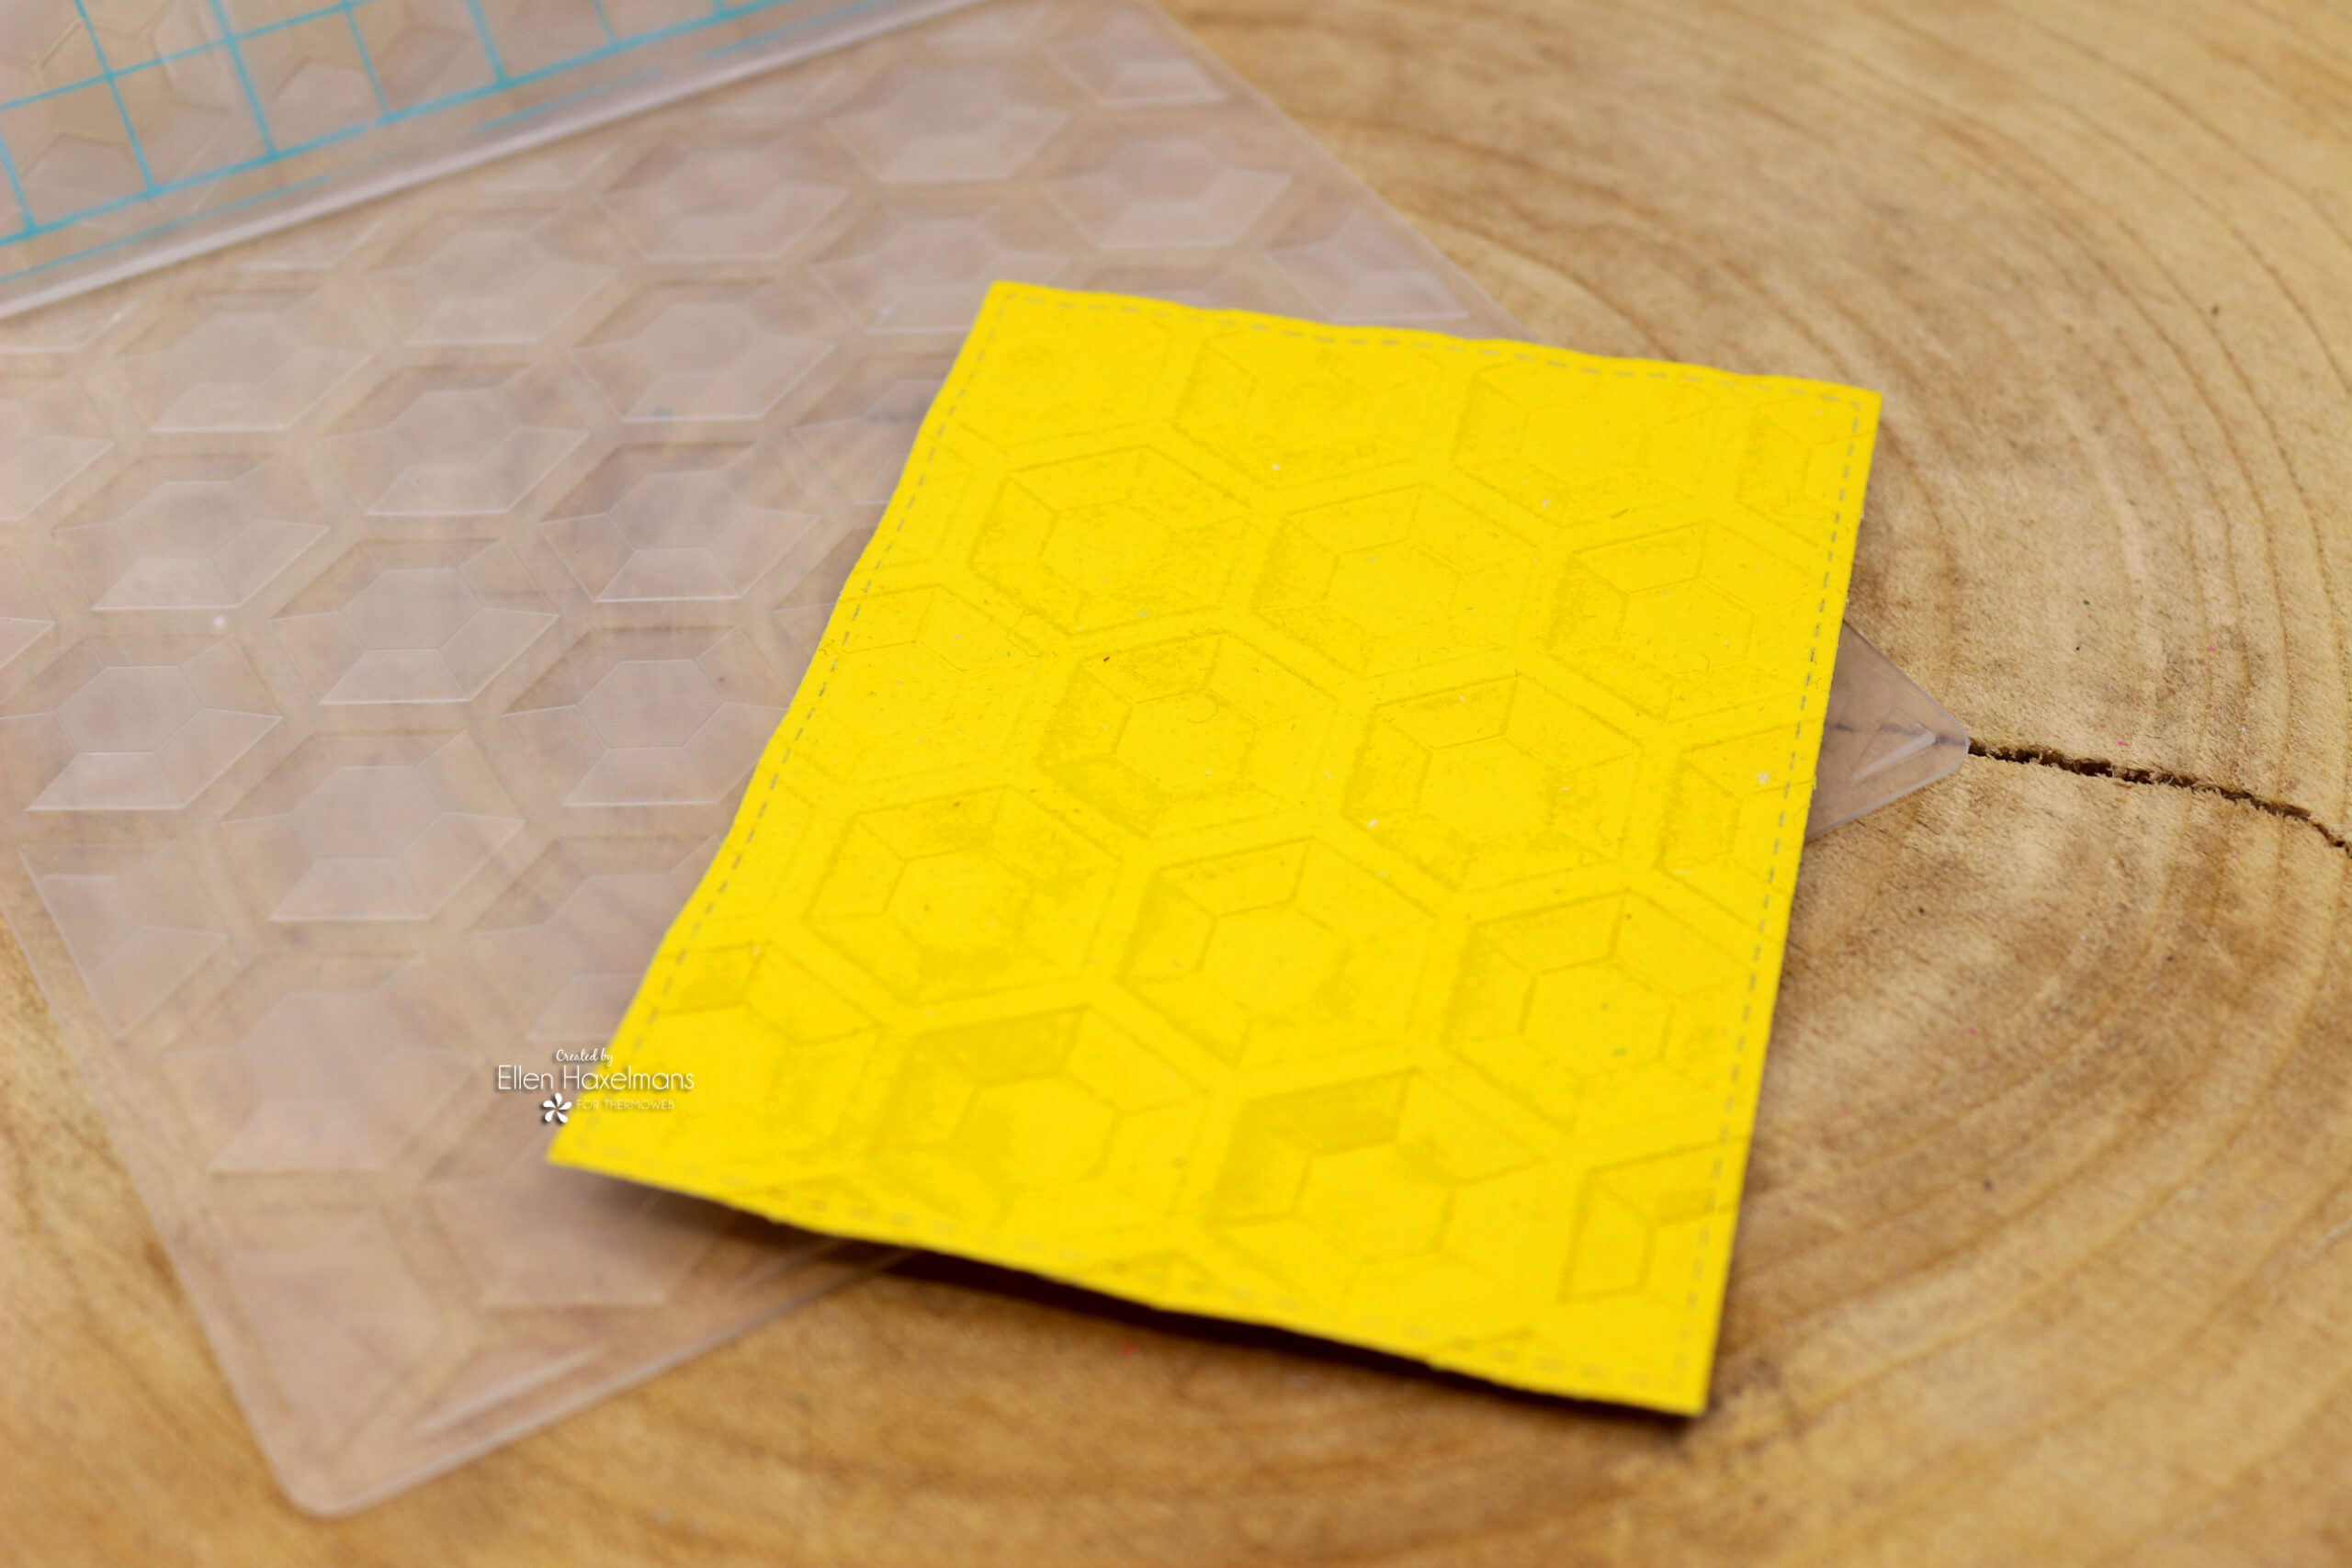
After cutting out a rectangle from the Plush Paper, I added depth with an embossing folder.
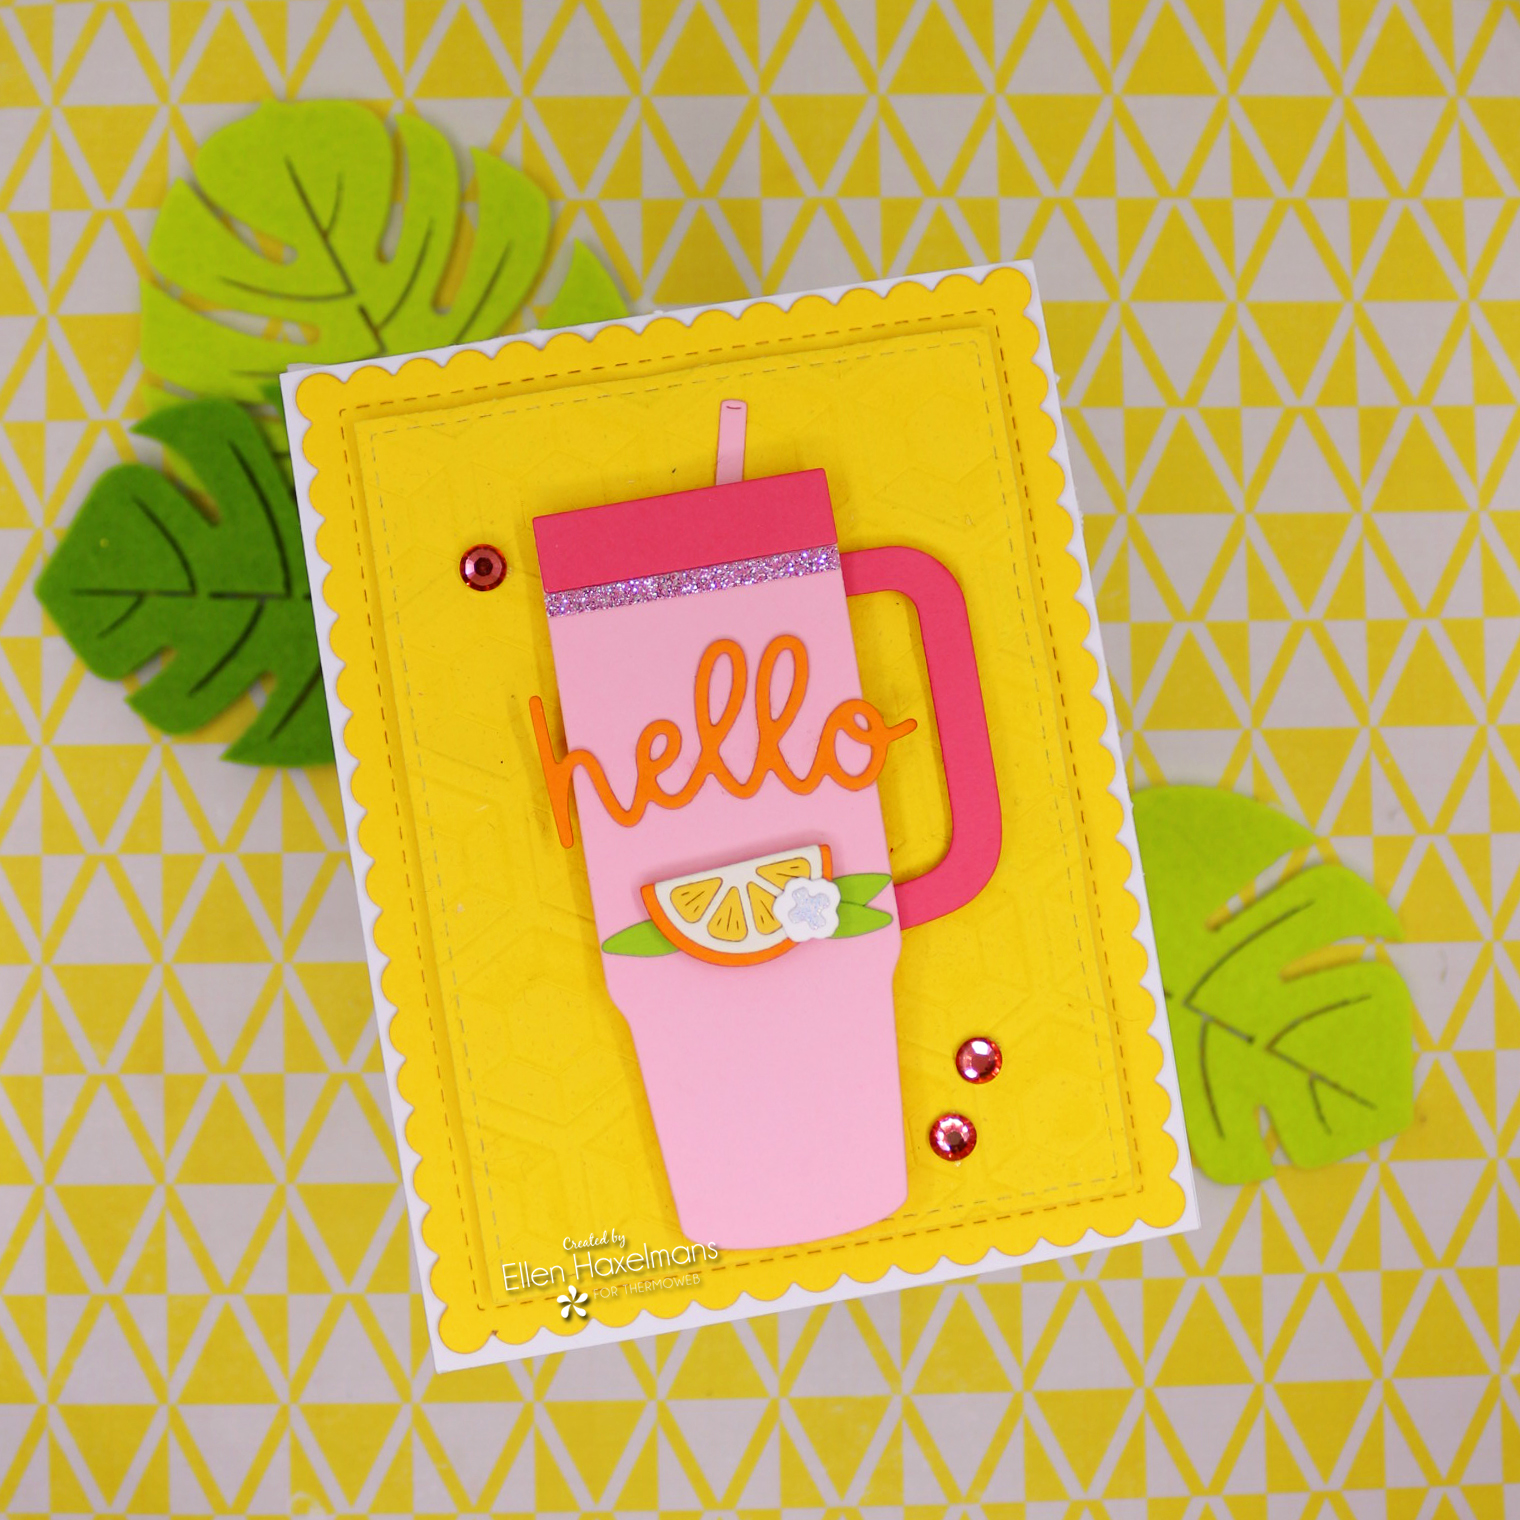
The Zots Clear Adhesive Dots helped me with adding all the bling. The iCraft 3D Foam Tape and an Adhesive Dot Runner helped me putt the card together.
I really love how this turned out, and hope it inspires you to get out your Plush Papers. It’s just so much fun to use. Thank you for stopping by!
Supplies
Deco Foil Plush Paper, Sunshine Yellow
Deco Foil Plush Paper, White Latte
iCraft Mixed Media Multi-Purpose Adhesive, 2.1 fl oz
iCraft 3D Foam Tape Jumbo Roll (White) 1/16 Thick x 108 ft
Gina K. Designs Permanent Adhesive Dot Runner, 30 ft., Clear
Zots Clear Adhesive Dots Roll 325 count, Bling
Other Supplies: H2Hello Dies – Concord & 9th, Build-a-drink – Lawn Fawn, Basic Frames Die Set – Newton’s Nook Designs, Frames & Flags Die Set – Newton’s Nook Designs, A6 Rechthoek hartjes snijmallen – Carlijn Designs, Notenkrakers kerst Snijmallen – Carlijn Designs