Hi, Everyone! My name is Jessica Dayon- You can find my blog here and you can find me on Instagram here– and I’m back to share another tutorial with you!
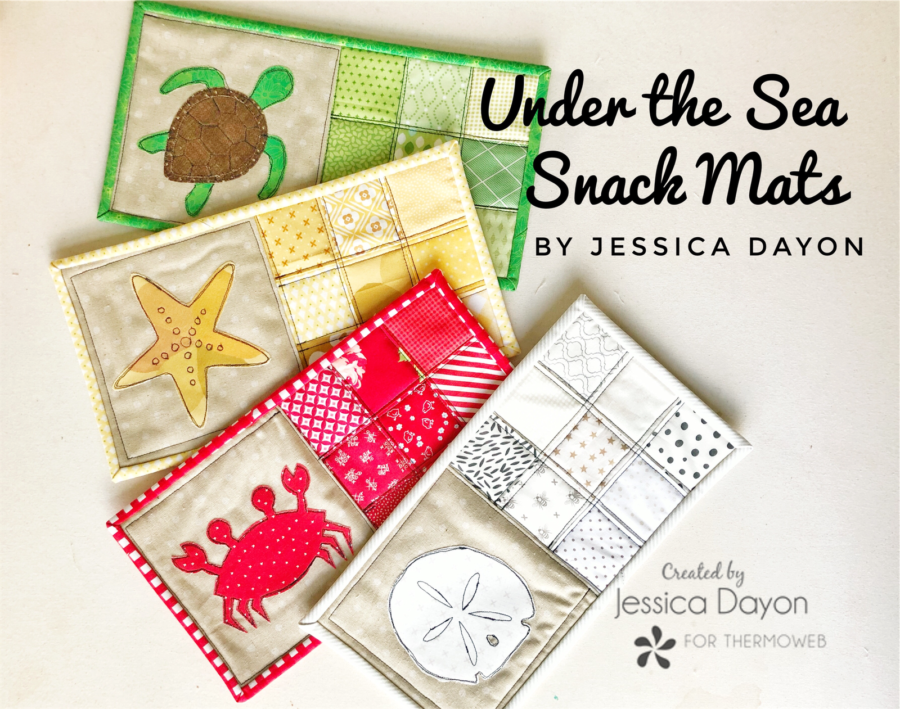
Today I am here to show you how to make these sweet ‘Under the Sea’ snack mats! In my opinion, a snack mat is like a placemat but smaller. It is the perfect size for a drink and a snack. Snack mats are a really fun and enjoyable project that, once completed, you can use daily with your coffee, tea, or snacks. Let’s get started on the tutorial!
DOWN BY THE SEA SNACK MATS
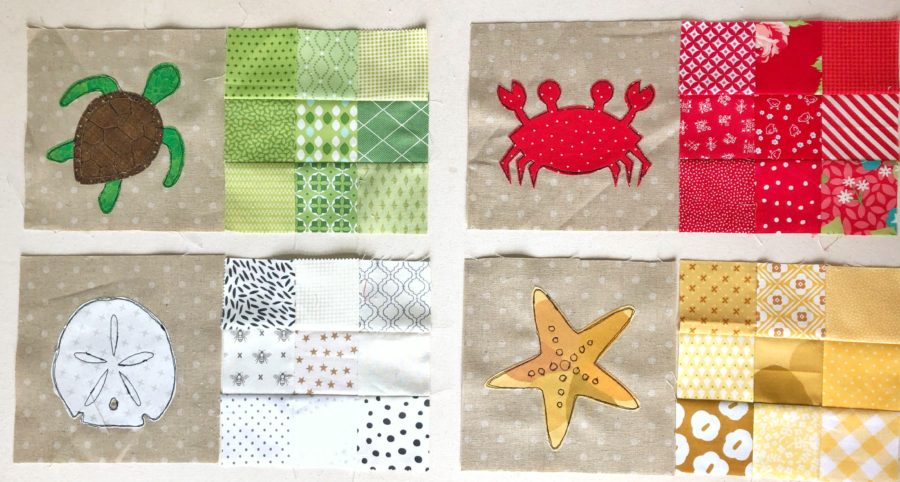
This tutorial will make 4- 6″ x 12″ snack mats
MATERIALS
1/4 yard linen blend fabric – used here: Moda Fabrics Mochi Linen Dot
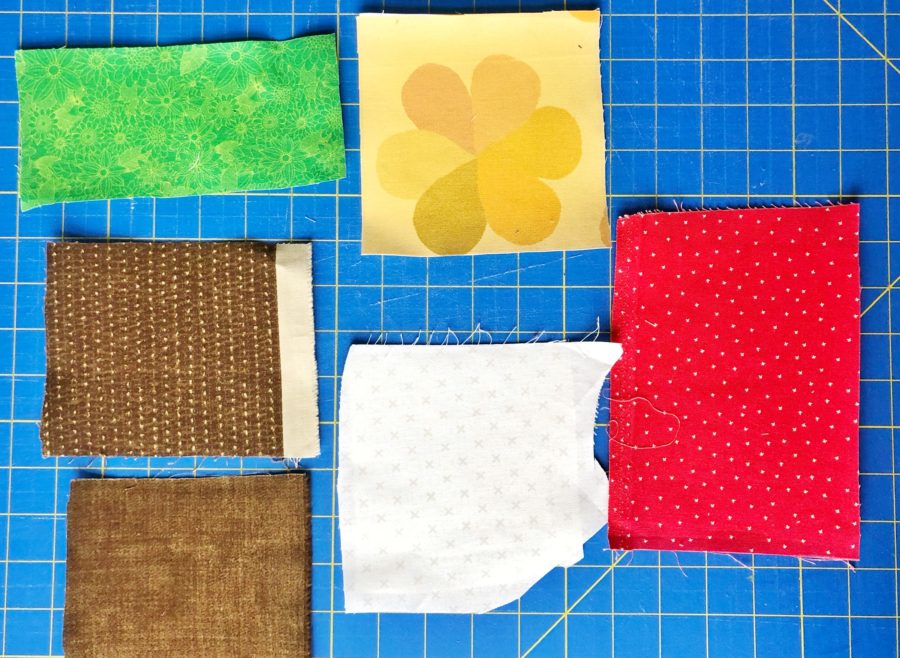
Scrap fabric for the sea creatures in red, green, 2 browns, low volume, and yellow- each color about 6″ square
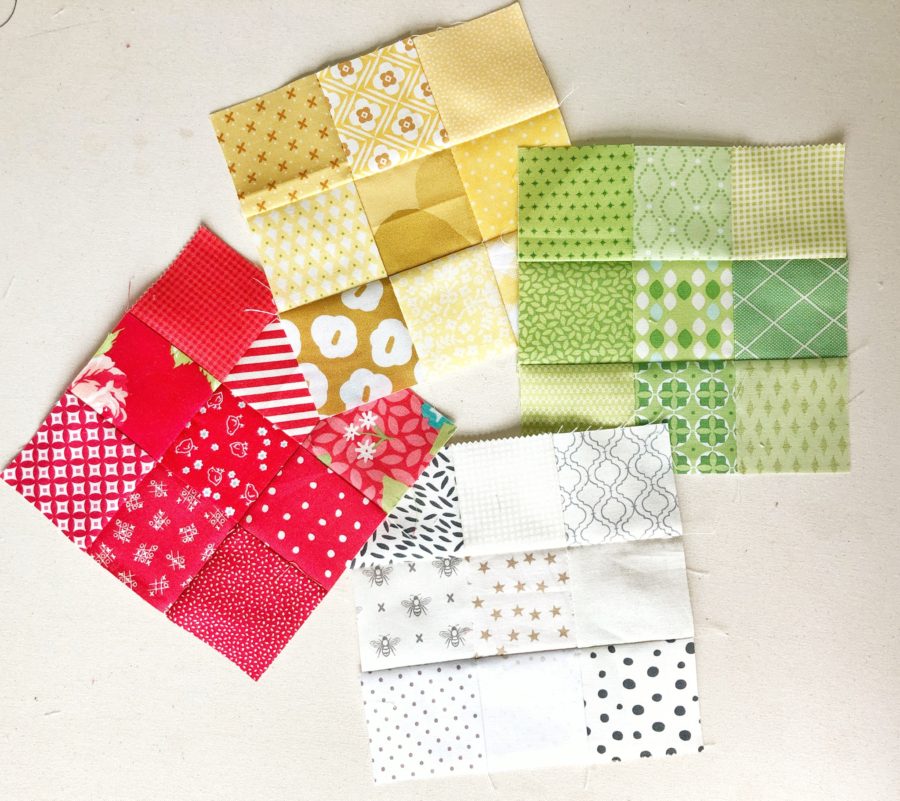
Scrap fabric for the 9 patches- 9- 2.5″ squares in each color- red, low volume, green, and yellow
1/8 yard in each color- red, low volume, green and yellow (for the binding)
1- 8″ x 14″ piece of fabric in each color- red, low volume, green and yellow (for the backing)
4- 8″ x 14″ pieces of batting
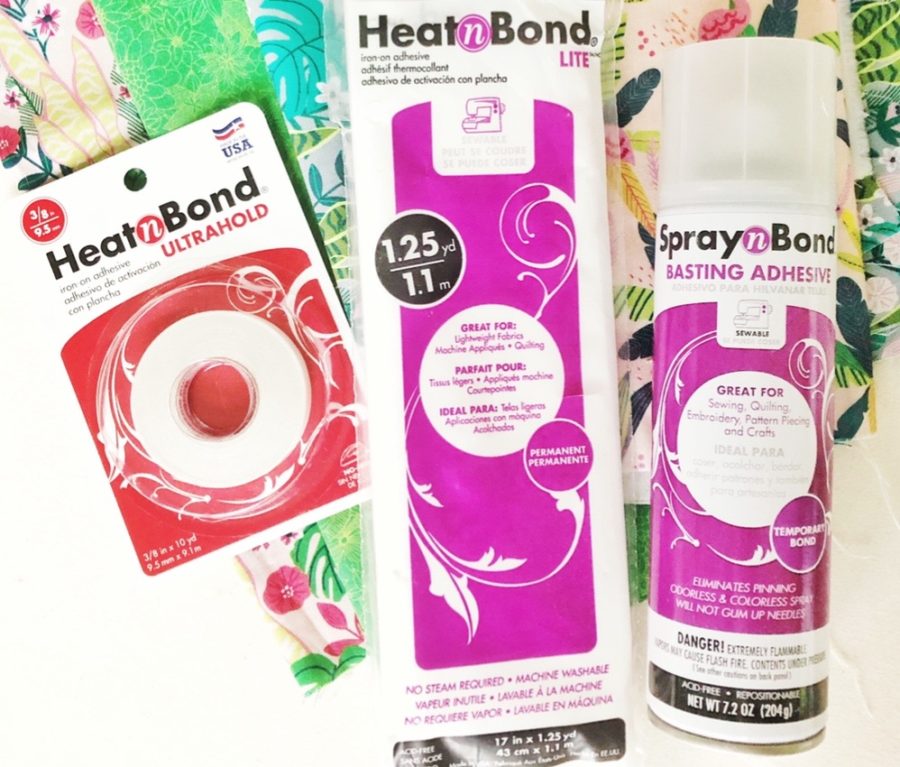
Heat n Bond Ultrahold 3/8″ Hem tape
Down by the Sea templates- TEMPLATE 1 and TEMPLATE 2
INSTRUCTIONS
BASIC INSTRUCTIONS
Read through the instructions before beginning
All seams are sewn with ¼” seam allowance unless noted
RST means right sides together
WOF means Width of Fabric
CUTTING
From the linen fabric, cut 4- 6.5″ squares
From the 1/8 yard of red, low volume, green and yellow, cut 1- 2.5″ x WOF strips from each (to be used as binding later)
MAKING THE SNACK MAT TOPS
Cut Heat n Bond Lite into roughly 6″ pieces and fuse to the backs of the 6″ fabric scraps, following the directions of the package.
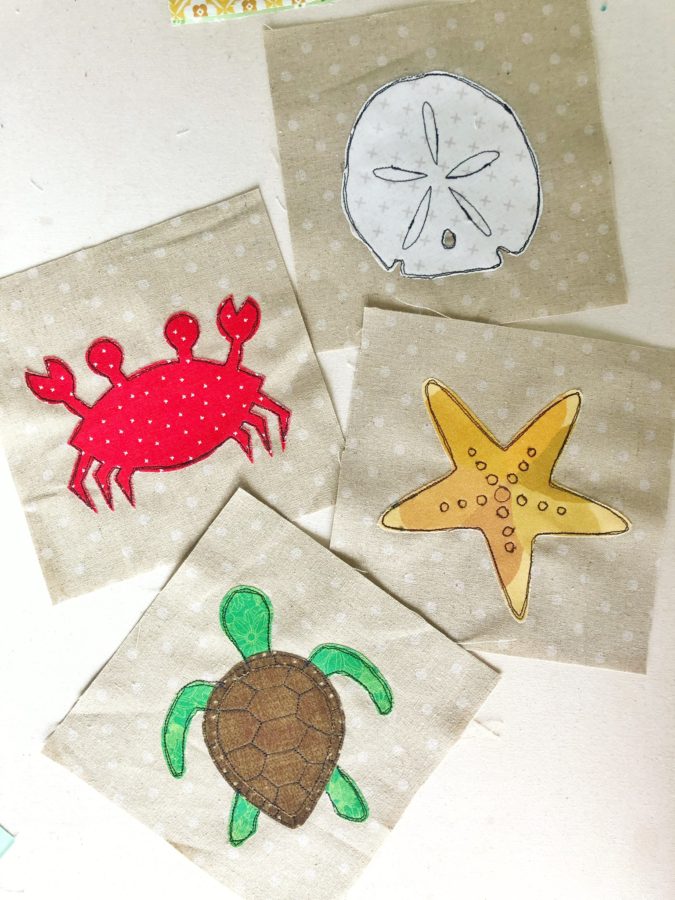
Print the templates and trace each one onto the paper side of the fused Heat n Bond. Cut them out. Peel the paper and fuse each sea creature to its own 6.5″ square of linen- aligning it to the center of the square before fusing.
Sew each sea creature to the linen using an appliqué stitch. For the creatures that have portions with more than one layer, appliqué each layer and stitch down each layer. In addition to sewing around the edges, you can also sew some details into each of the creatures. On the template page, I have drawn details that you can choose to transfer or not.
For example, for the turtle, I lined up the head, arms, and legs, under the bottom portion of the shell (the bigger one on the template).
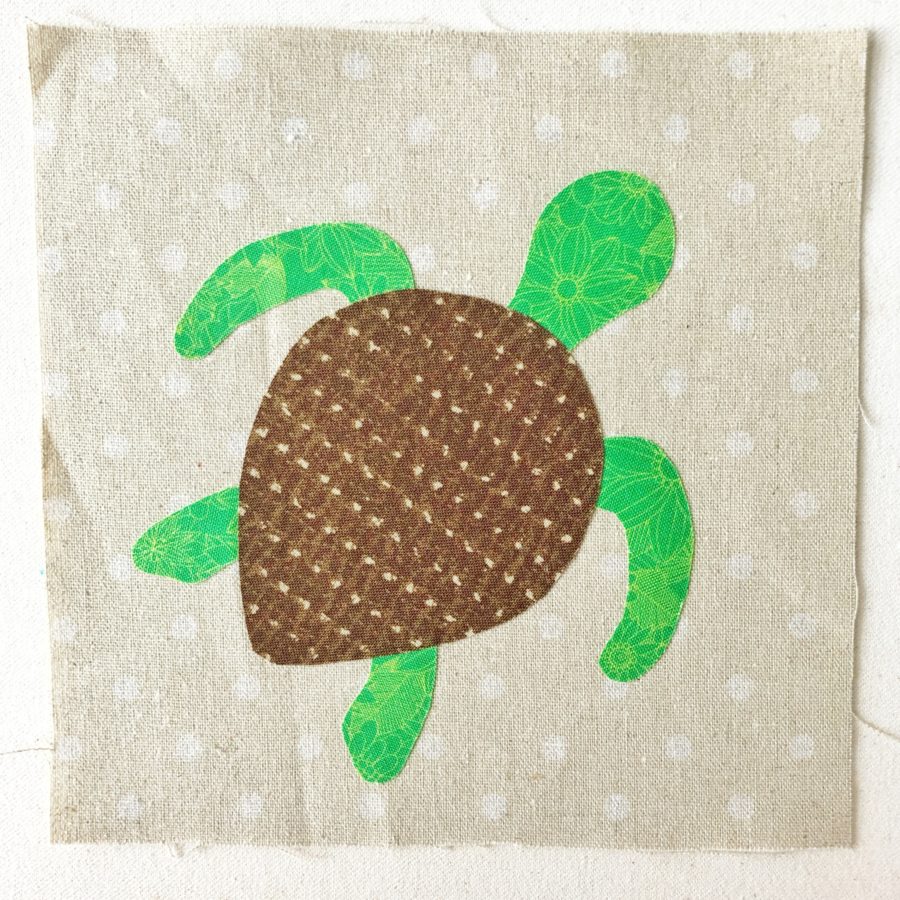
Then I used a straight stitch to secured it down around the whole perimeter. Then I also stitched the bottom portion of the shell details.
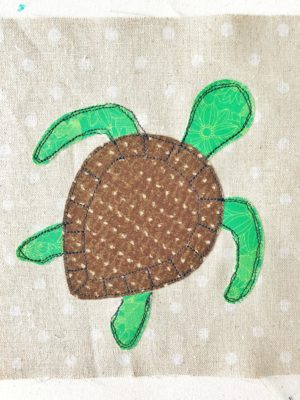
Then, I fused the top portion of the shell stitched around the perimeter, and added detail to the shell.
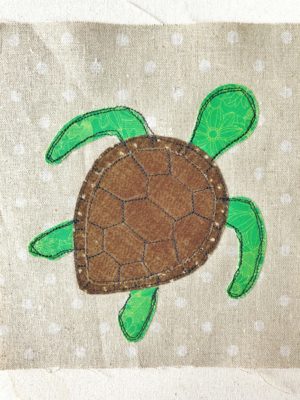
Repeat for all 4 creatures.
Make the 9 patch blocks. Layout your 9- 2.5″ in 3 rows of 3. Sew the squares into rows and then sew the rows into the block.
Sew the sea creature squares and 9 patches together.
SNACK MAT ASSEMBLY
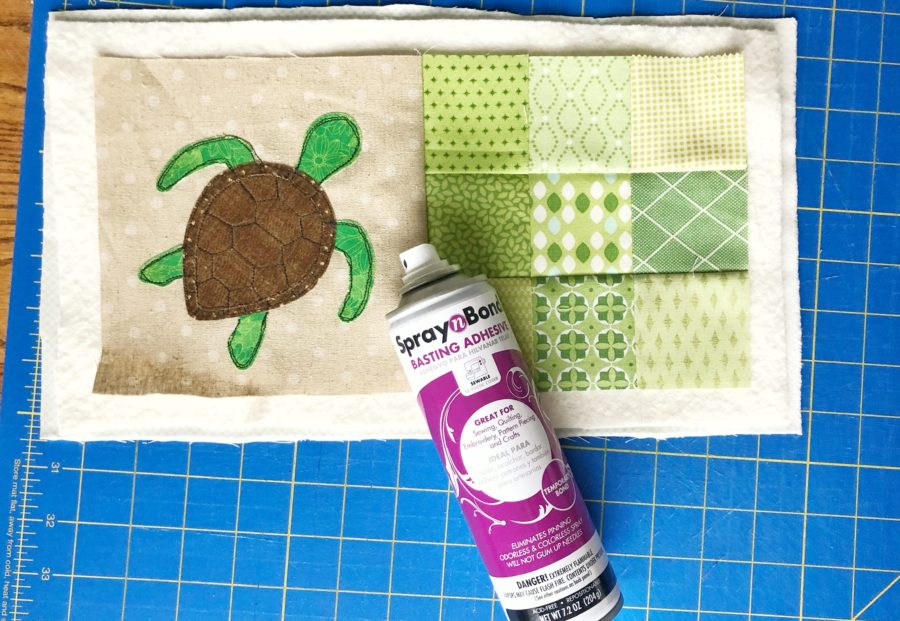
To assemble the snack mats, spray baste the layers of the snack mat together (top, batting, and then backing) with the Spray n Bond Basting Spray.
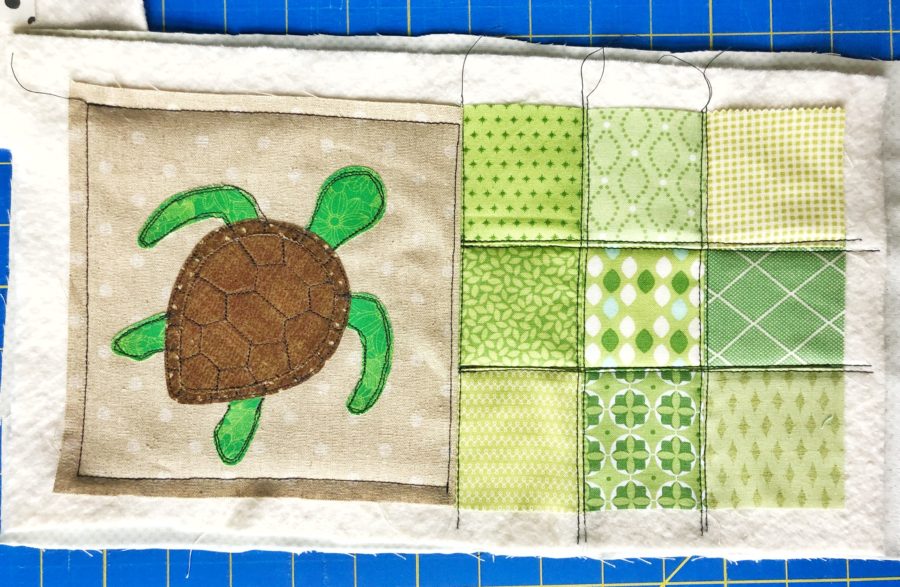
Quilt as desired.
Use the 1- 2.5″ x 42″ strip of the correct color for binding. Sew the binding onto the front of the corresponding mat. Once that is completed, flip the mat over and use the Heat n Bond Ultrahold 3/8″ hem tape to secure the binding to the back of the snack mat.
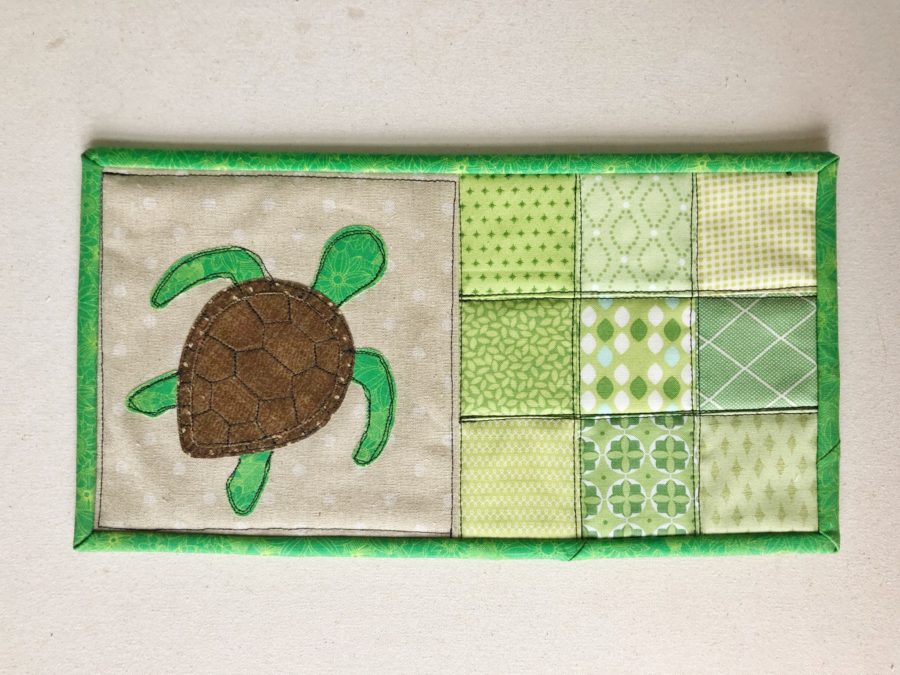
Repeat for the remaining snack mats.
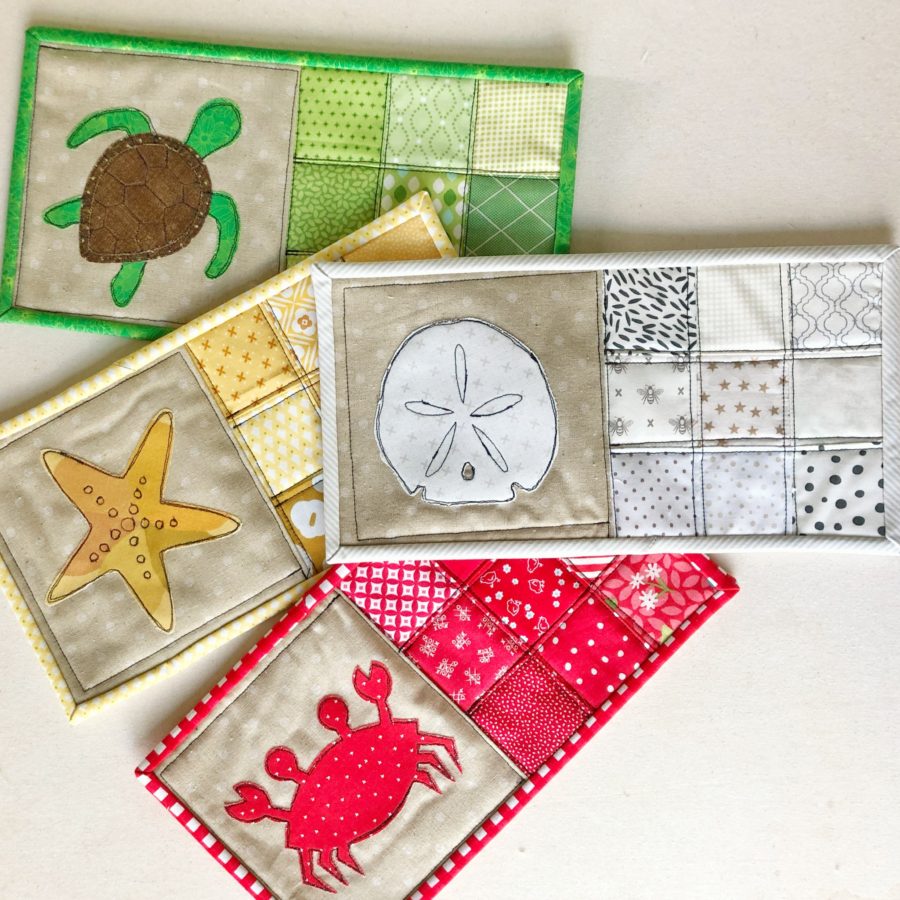
You are all set! I hope you have enjoyed this tutorial!
You can find my blog HERE. On it, I share free quilt patterns and tutorials so go check it out! You can also find me on Instagram @jessicadayon where you can connect with me and see my daily work, current projects, inspiration, giveaways, quilt alongs, and all of my patterns. Share what you made! I’d love to see your progress photos and finished mini quilt! Use the hashtags #jessicadayonpatterns #thermoweb #heatnbond #spraynbond and tag me so I can see your version @jessicadayon
