Hello and welcome!
It’s Julia from Inflorescence Designs! I’m so joyful you are visiting today. Today’s project features an amazing pattern by Lindsey at Pen and Paper Patterns. It is her “Donut Delight Quilt Pattern.”
I absolutely LOVE making projects that have a food theme. Whether it’s designed to look like food (particularly sweets), or the material used has food on it, I just cannot get enough of food-related projects.
Donut Delight Quilt with HeatnBond
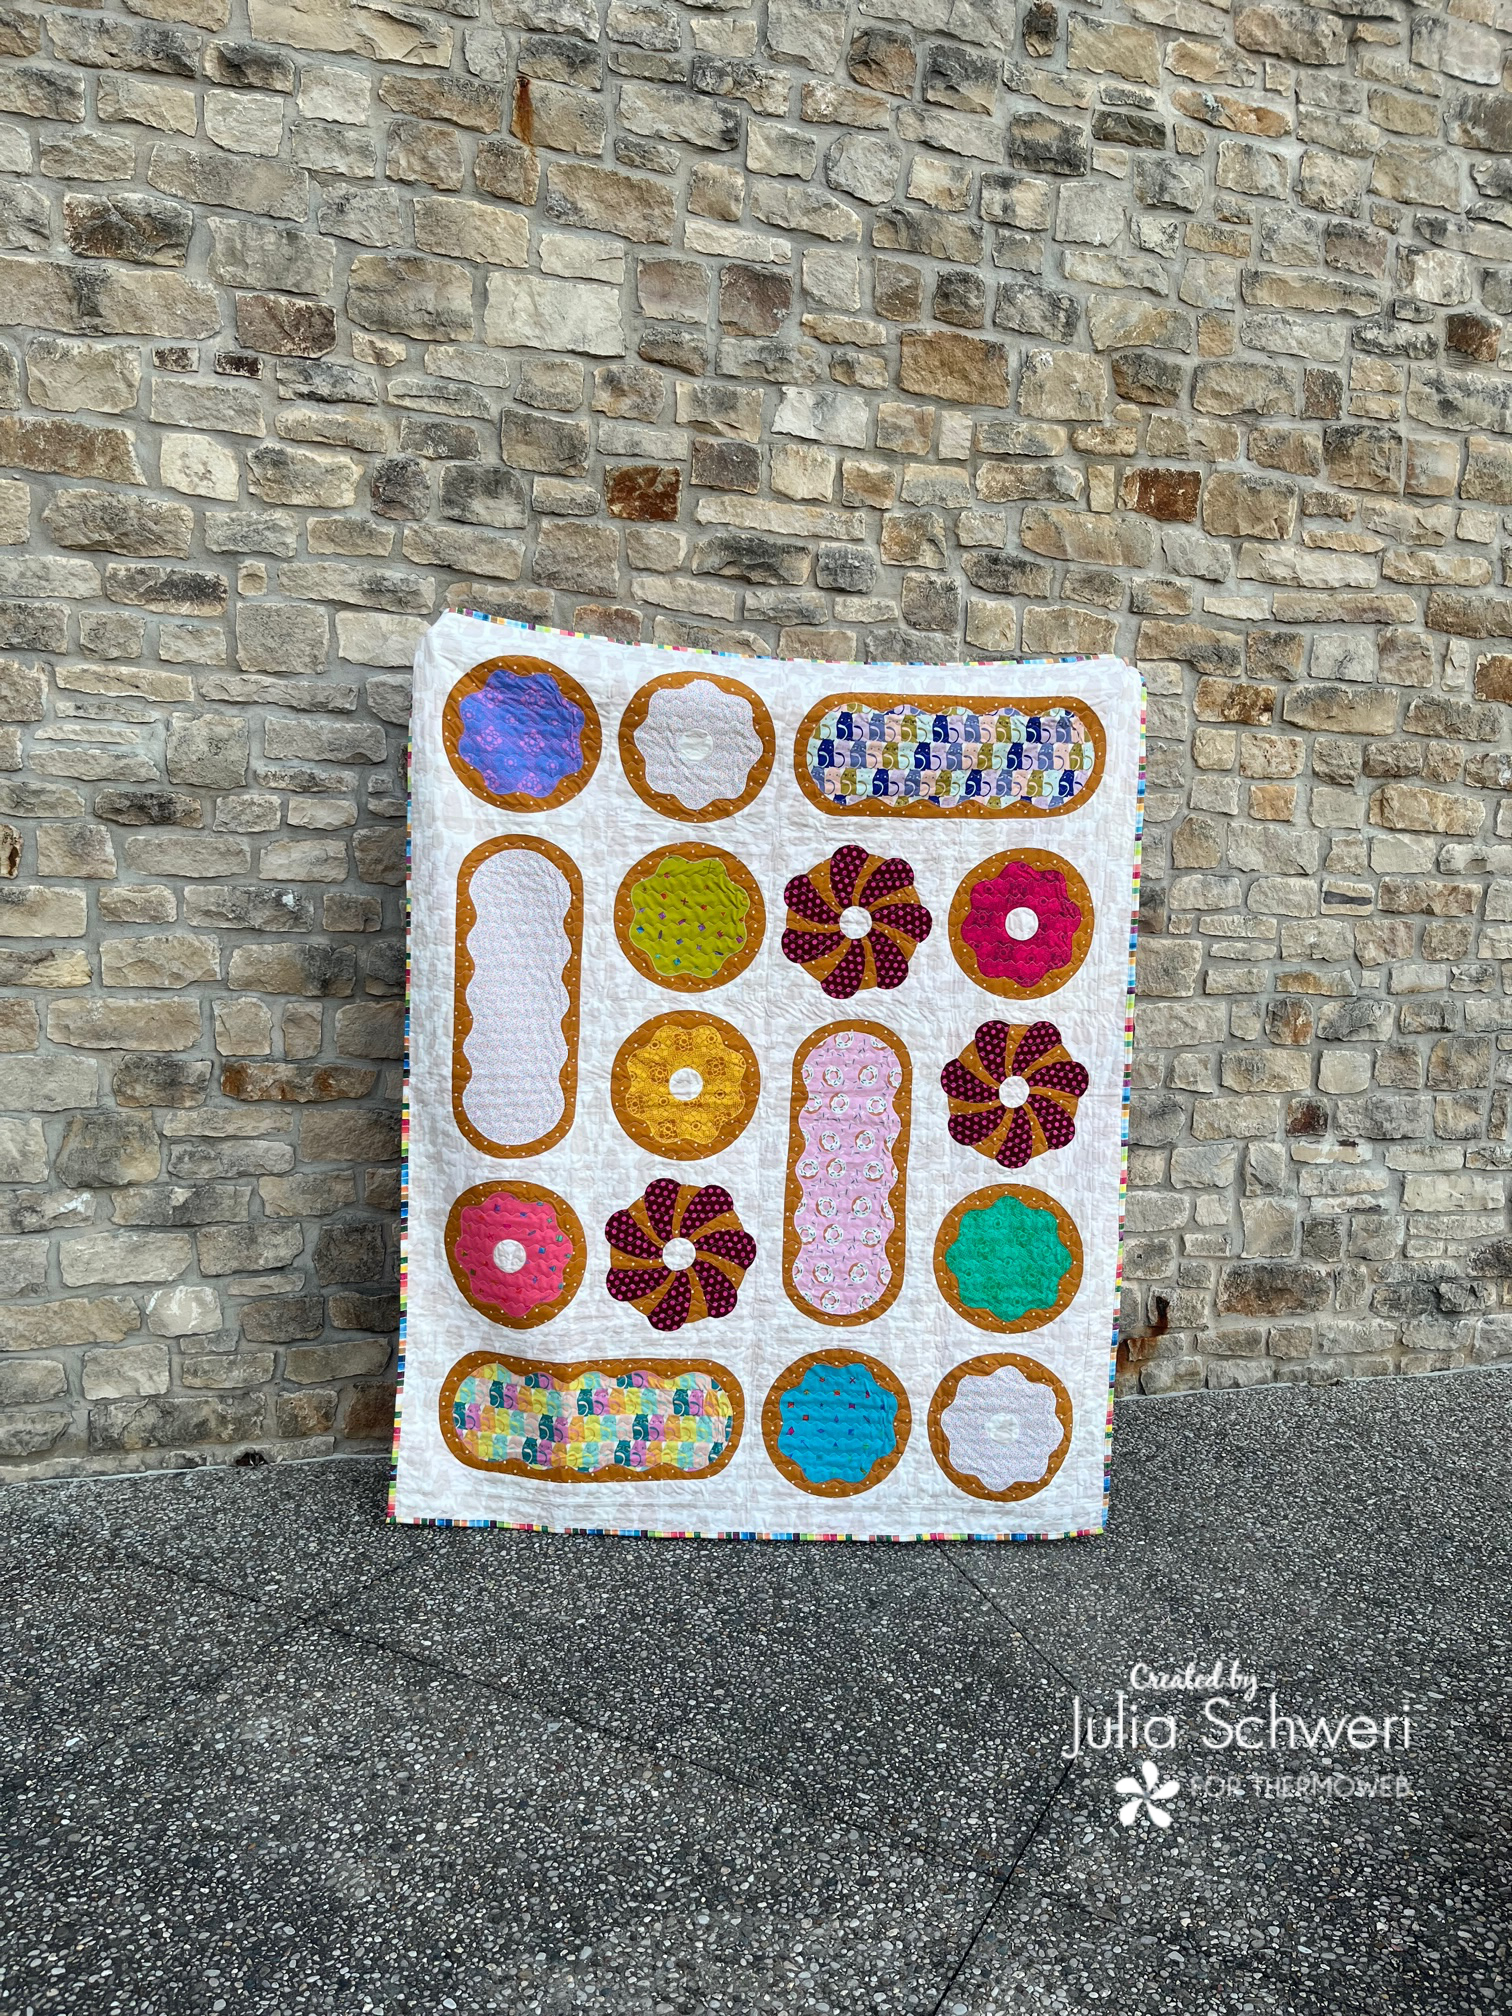
You can find the pattern for this project HERE.
Today, I will be showing you how I used HeatnBond Lite and the “window” applique method to make the “Donut Delight Quilt Pattern.” I will also be showing you how I used Therm O Web’s Fabric Stiffener Spray to prevent fraying when cutting my inner circles for the donuts.
Supplies:
- Purchase the “Donut Delight Quilt Pattern” from Pen and Paper
- Use the pattern for fabric and other materials needed
- The Fabric I used for this project includes the following:
- Andover Whiskers and Dash- Cream for the background
- Various Sun Prints 2021 by Alison Glass for Donut icings
- Donut Pint-Food Trucks by Jeannie Phan for Paintbrush Studio Fabric for the icing
- Catitude Snooze and Slumber-Oh Meow by Jessica Swift for Art Gallery Fabrics for the icing
- Spot Merlot-Kaffe Fassett by Freespirit Fabrics for the icing
- Spark Butterscotch by Melody Miller for Ruby Star Society for the donuts
- Fresh As A Daisy by Create Joy Project for Moda Fabrics for the binding
- Shannon Minky Cuddle Tie Dye Pastel for the backing
- Sprinkle Fabric- Fabric I had in my stash from Joann Fabrics
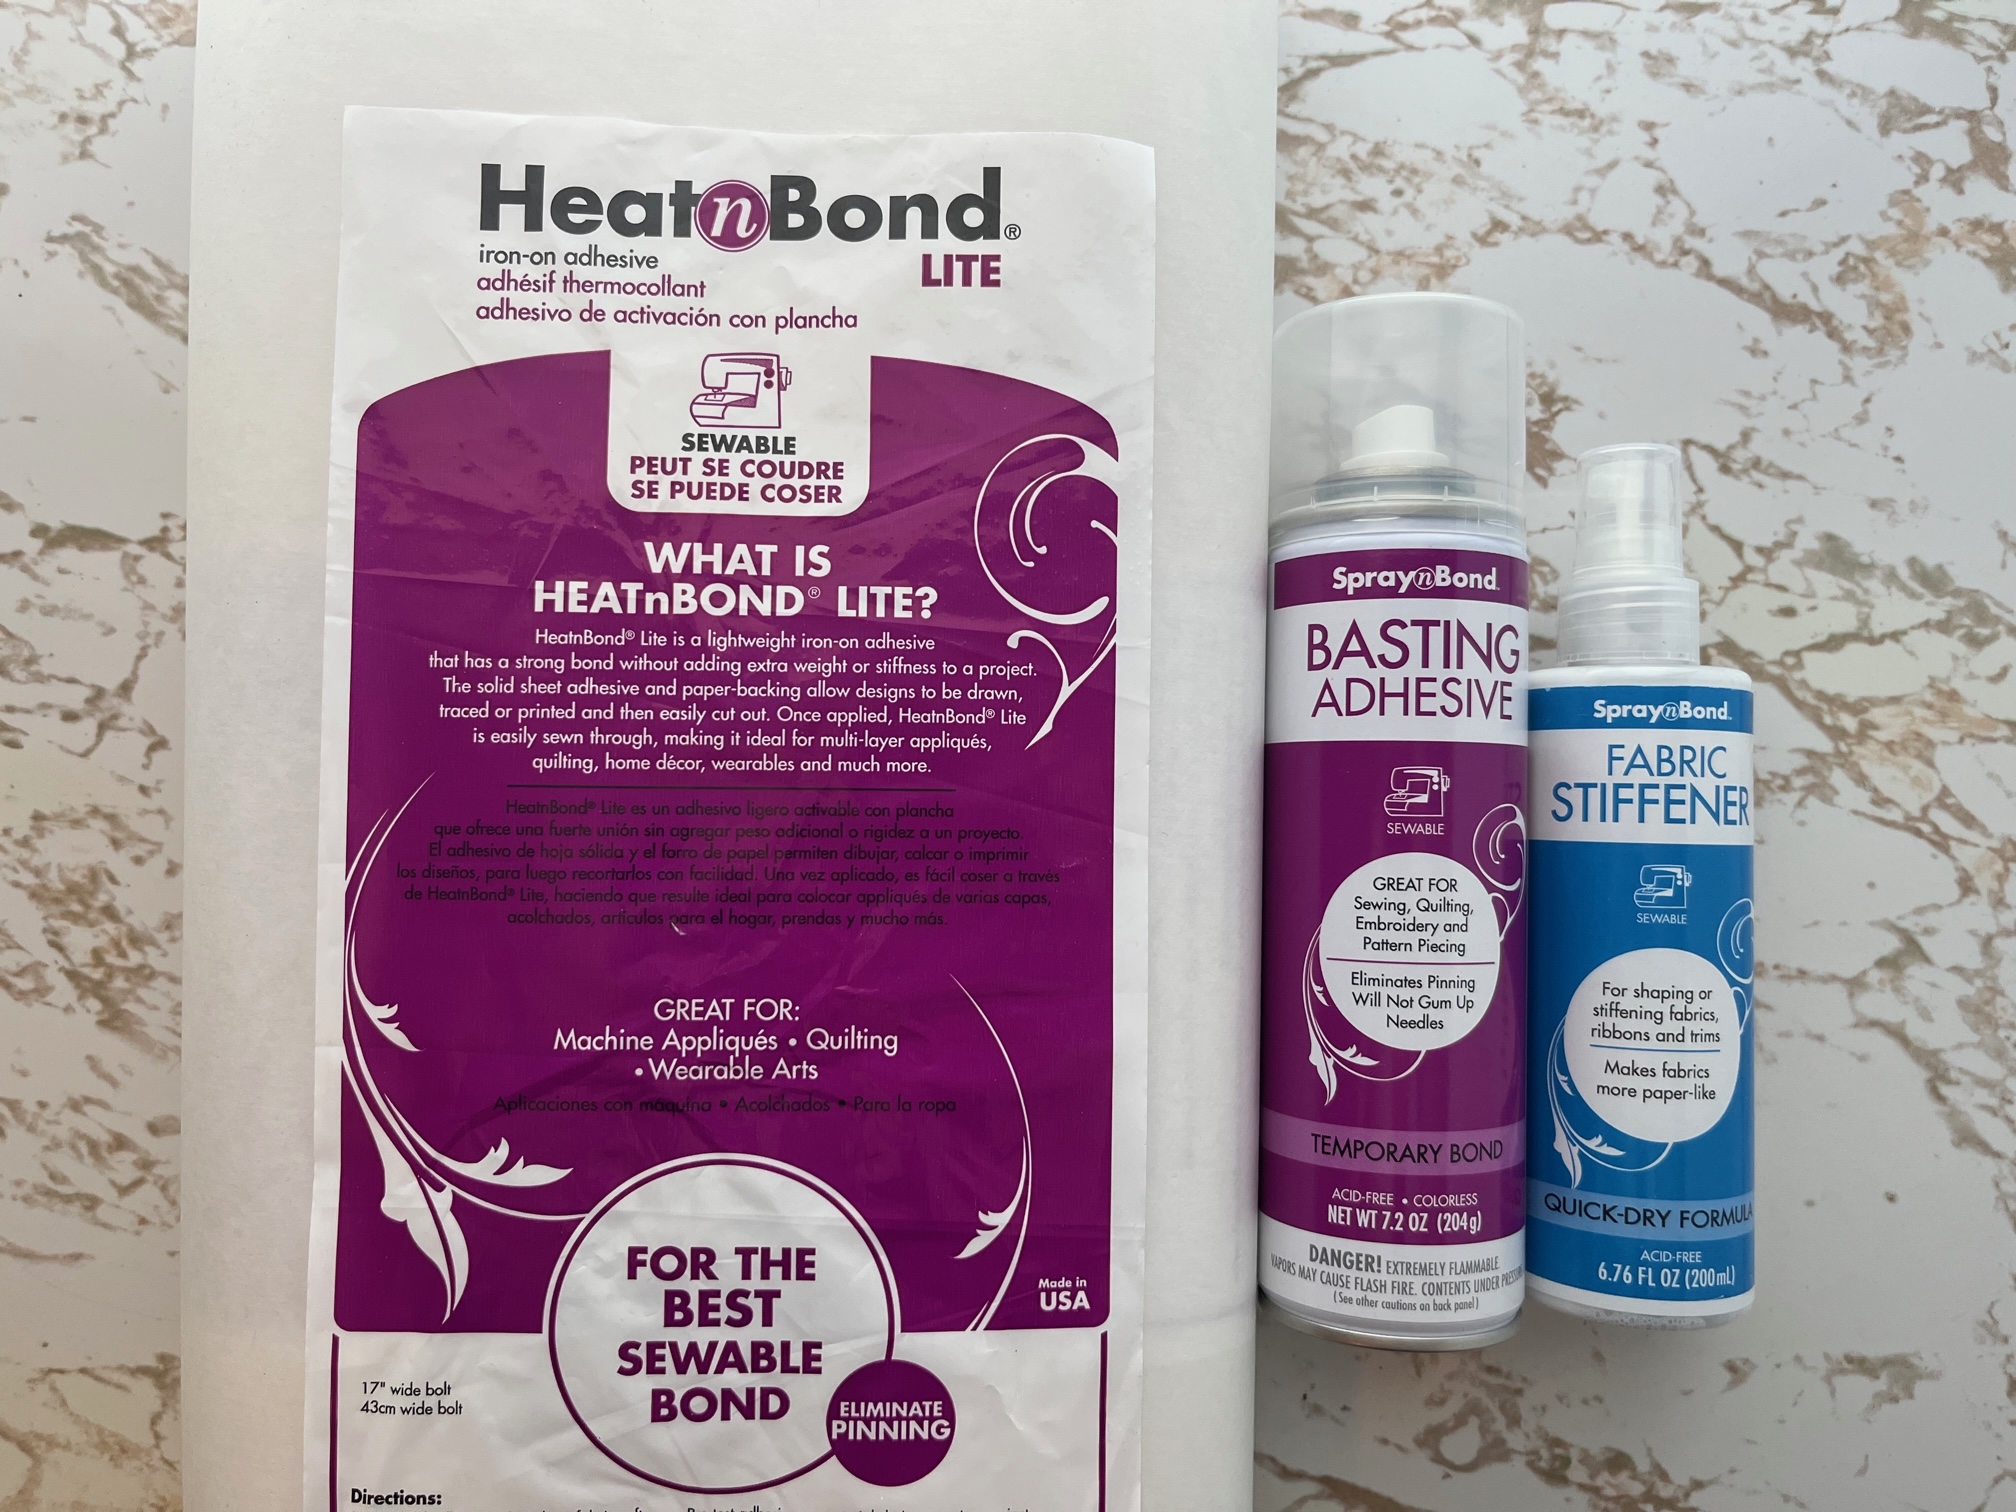
- HeatnBond Lite 6 1/2 YARDS (I used this instead of HeatnBond Featherlite. I also added an extra row of donuts. If following the pattern, you may not need all this fusible since we are doing the window applique method. You can also use HeatnBond Featherlite
- SpraynBond Fabric Stiffener
- SpraynBond Basting Spray
- Crafter’s Edge Crossover II and circle dies (Optional)
- Oliso Mini Iron
Window Applique Method:
The window applique method is known by other names, but it is essentially an applique method that helps eliminate the stiffness that can be created by using fusible webbing, especially when there are multiple layers. When making a wall hanging or small decorative piece the stiffness of the quilt may not be an issue. However, if making a quilt to be used as a blanket or pillow cover you want it to feel soft and snuggly.
Thermoweb has several fusible webbing options including HeatnBond Lite and HeatnBond Featherlite. Their Featherlite is great for layering but with the window applique method, you can use their slightly stiffer HeatnBond Lite and still achieve a soft and cuddly quilt.
Let’s Begin…
Step One:
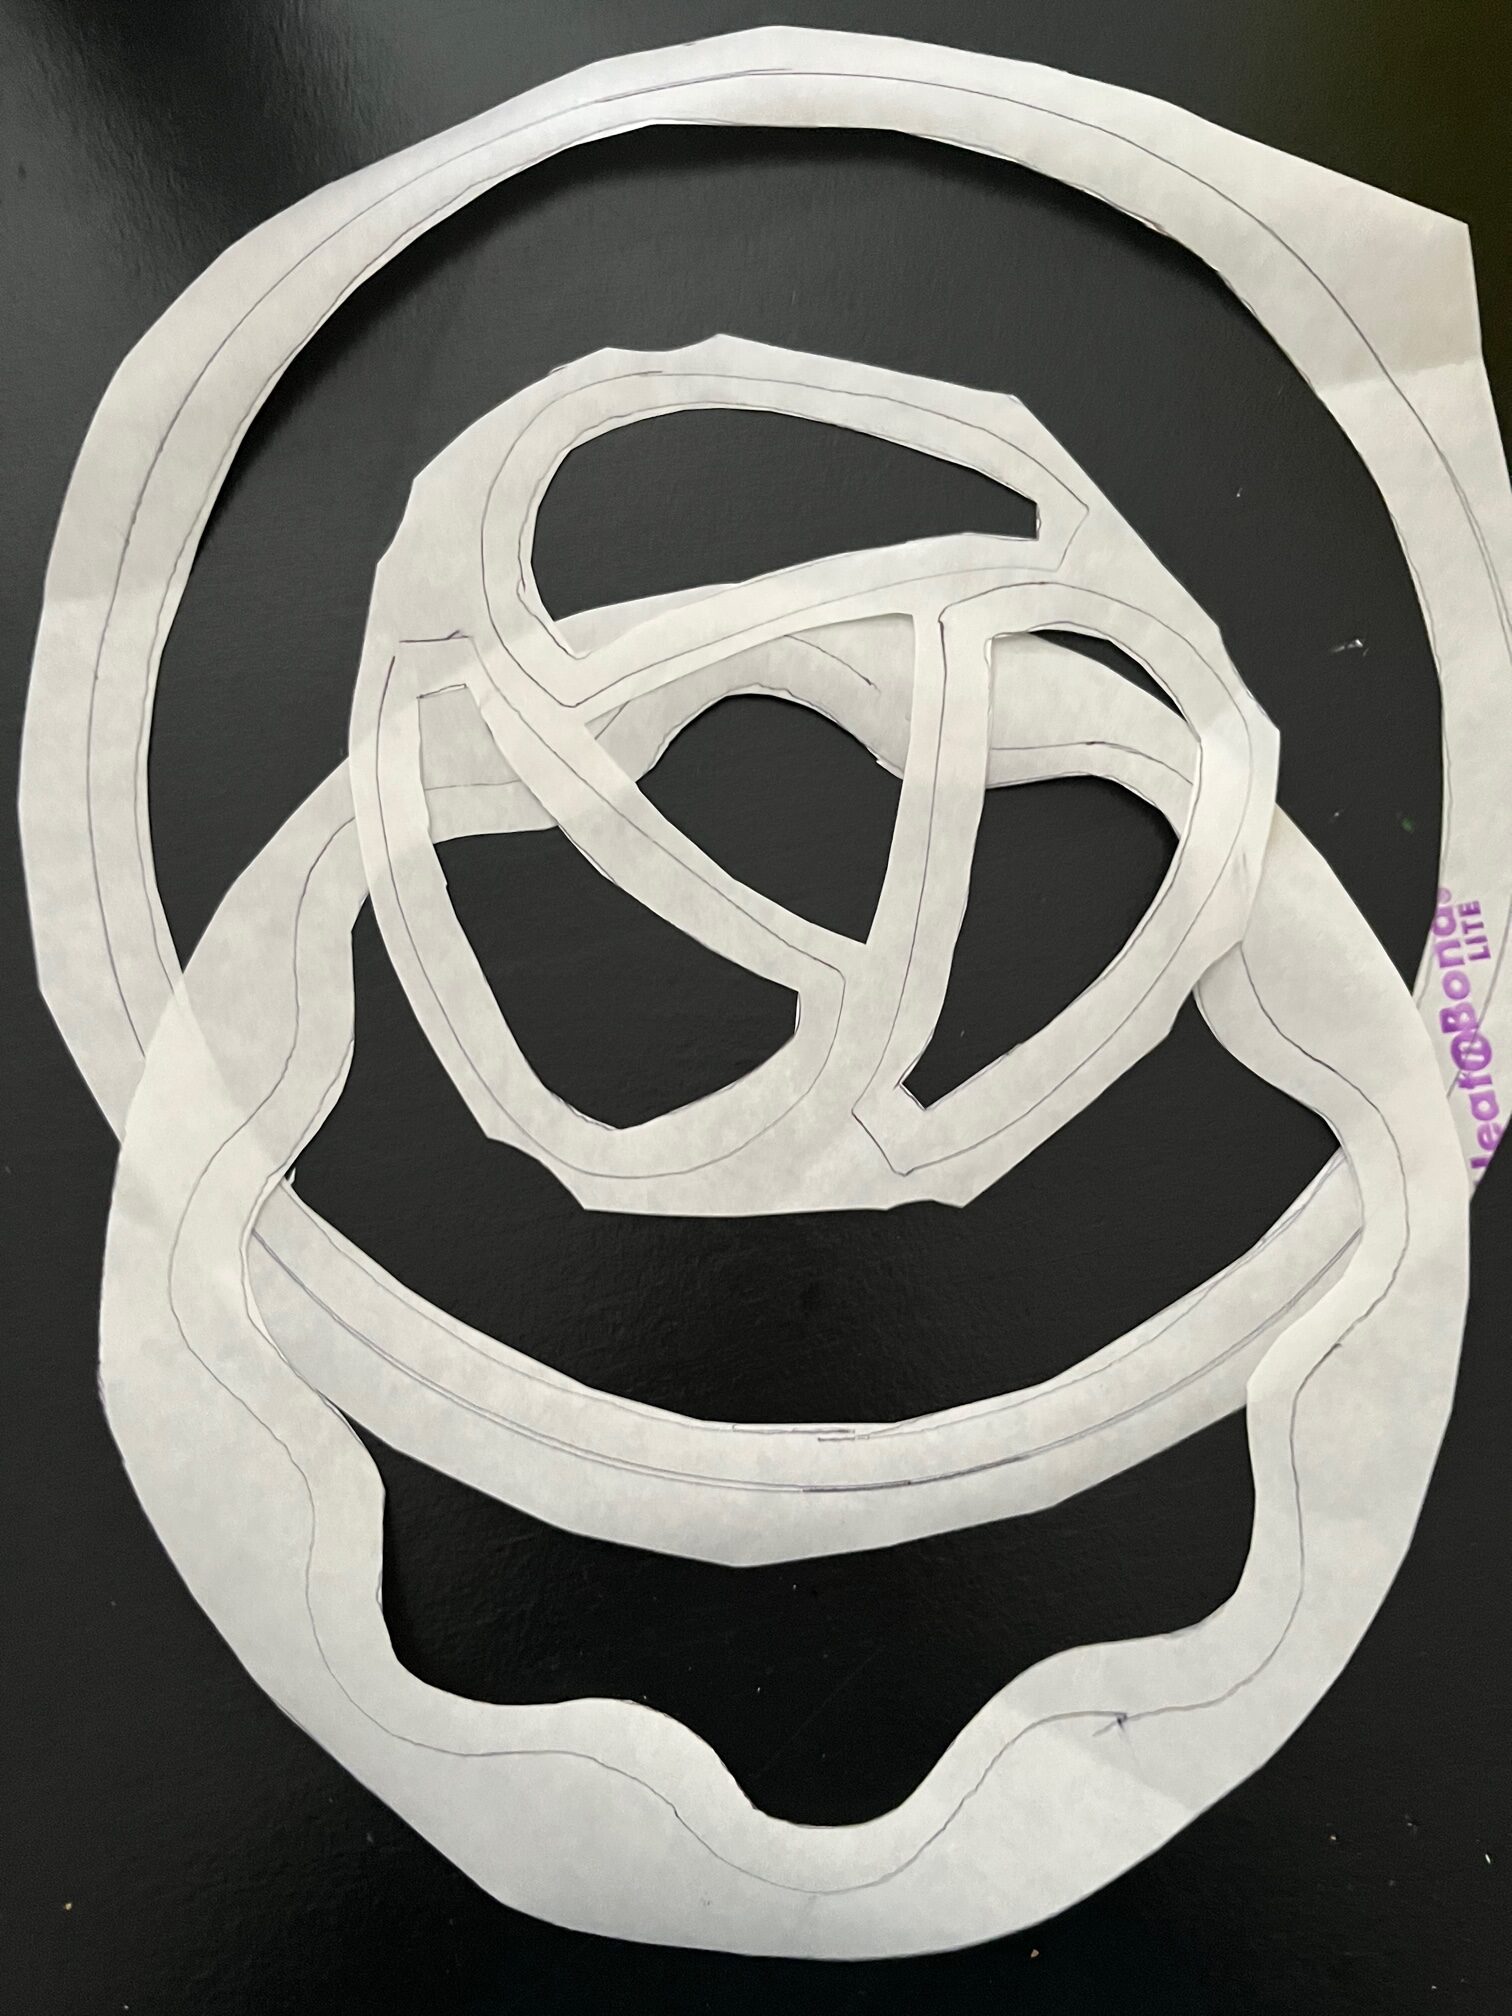
Begin by cutting out your templates provided by the pattern you are using. The window applique method also allows you to use less fusible by drawing several templates in the windows of others.
Trace your template. Then, draw a line following the shape of the template 1/2″ smaller all the way around on the inside.
Helpful Tip: Watch the YouTube video for a live action tutorial.

Step Two:
Cut out your fusible pieces. Make sure to cut at least 1/4″ away from the template line you drew first. Continue by cutting out the center of each fusible piece. For this cut, you can cut directly on the drawn line.
Step Three:
Fuse the fusible webbing to the wrong side of your fabric.

Step Four:
Cut out each shape on the outer drawn line (the traced template).
Step Five:
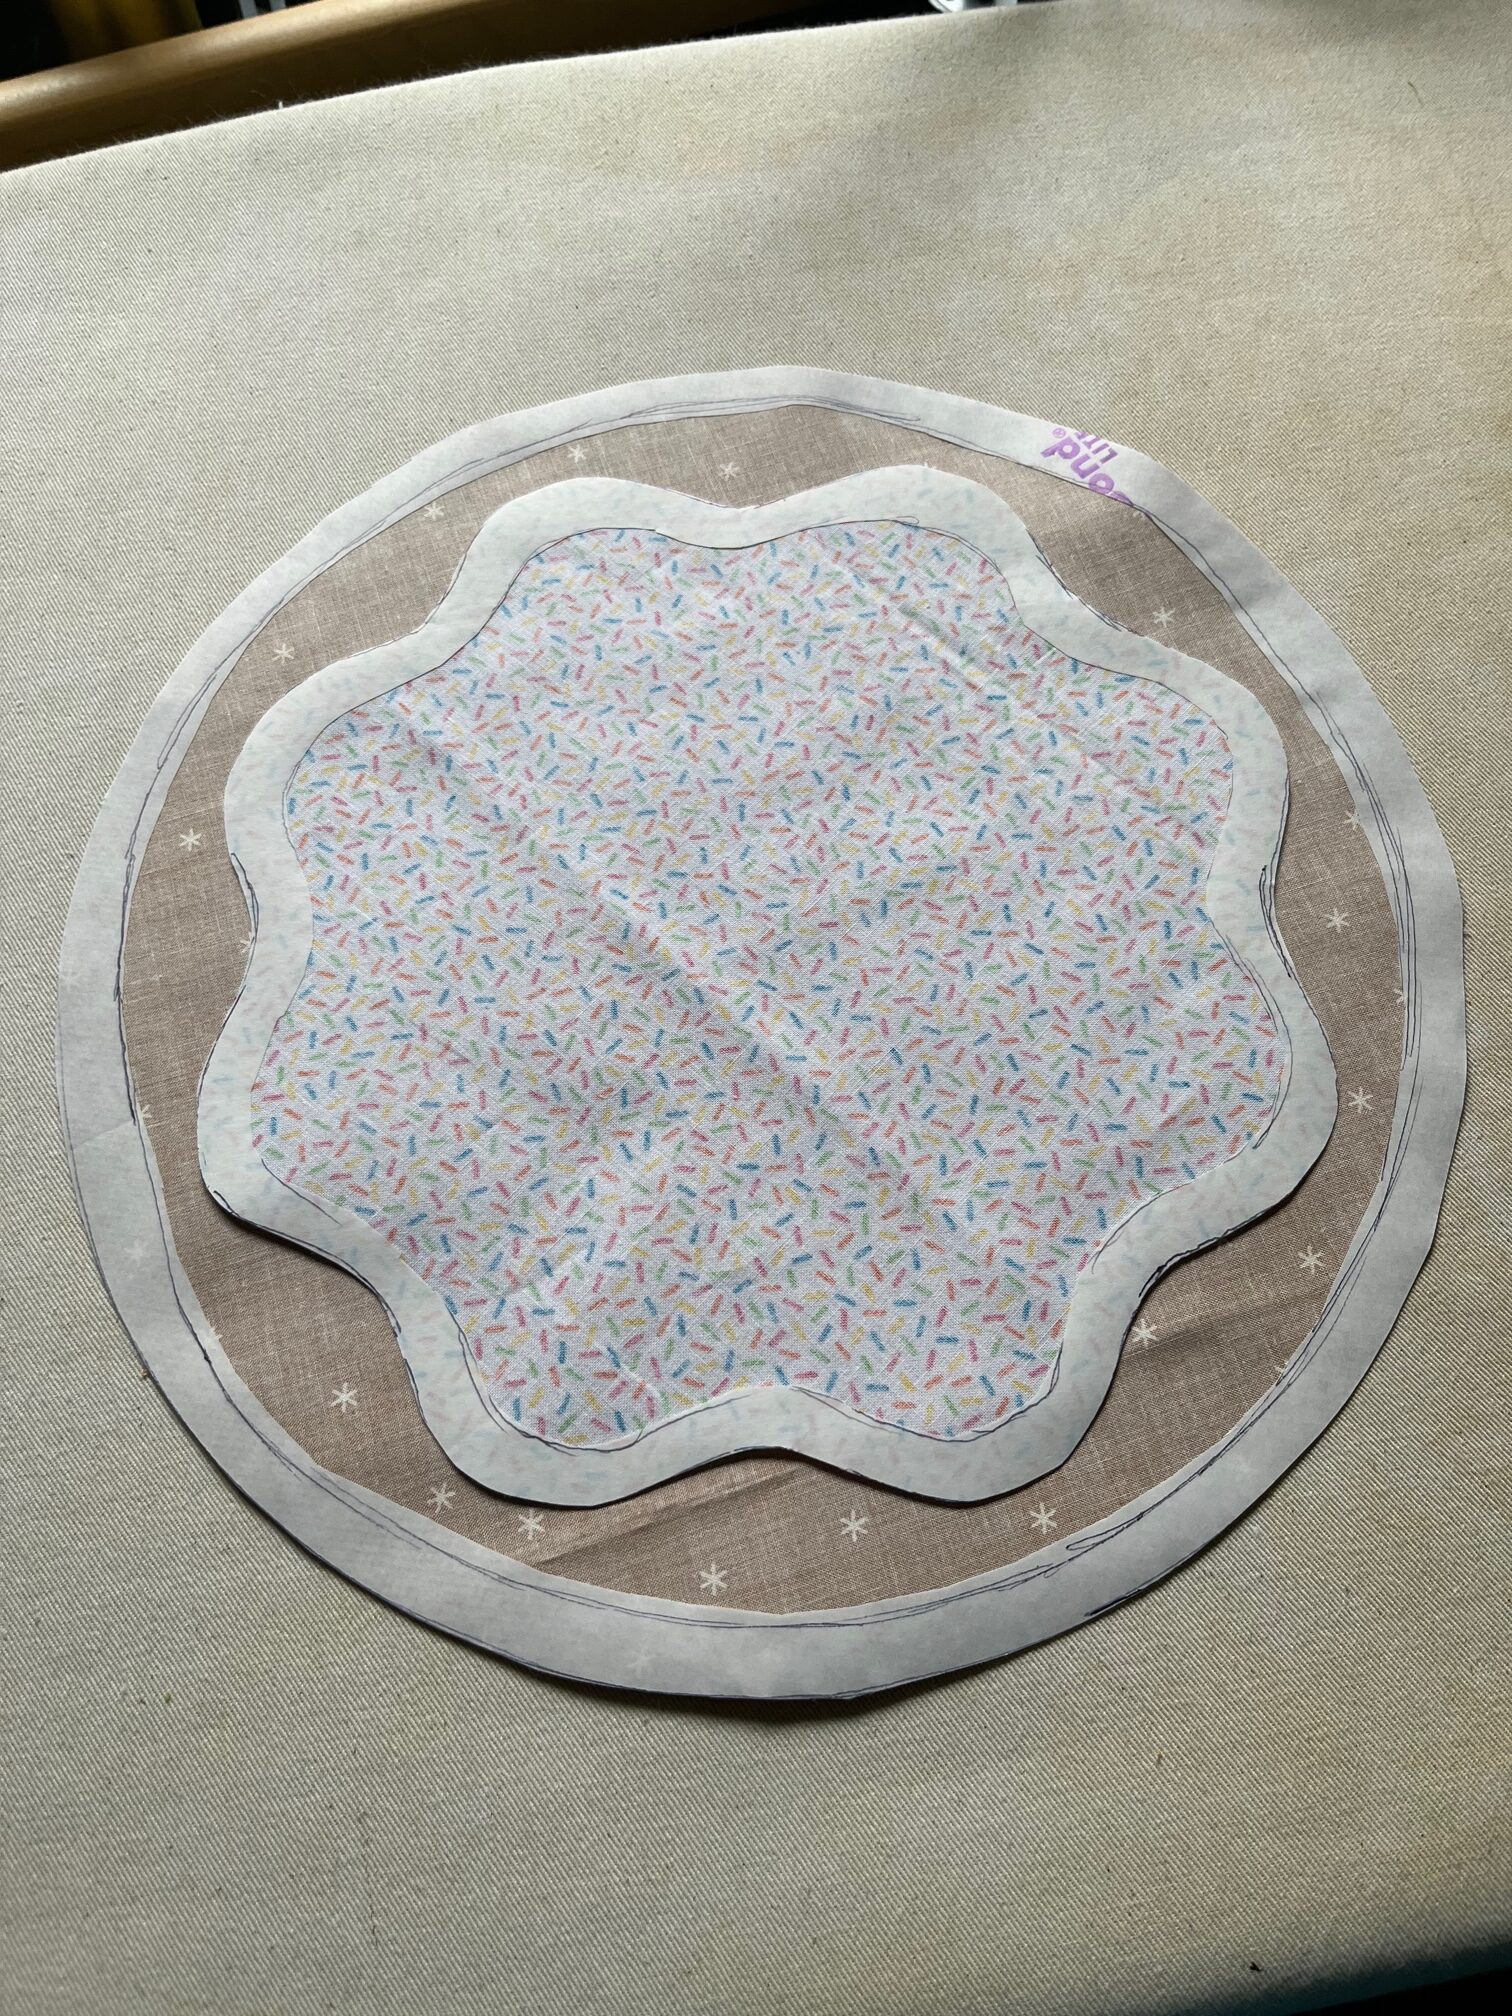
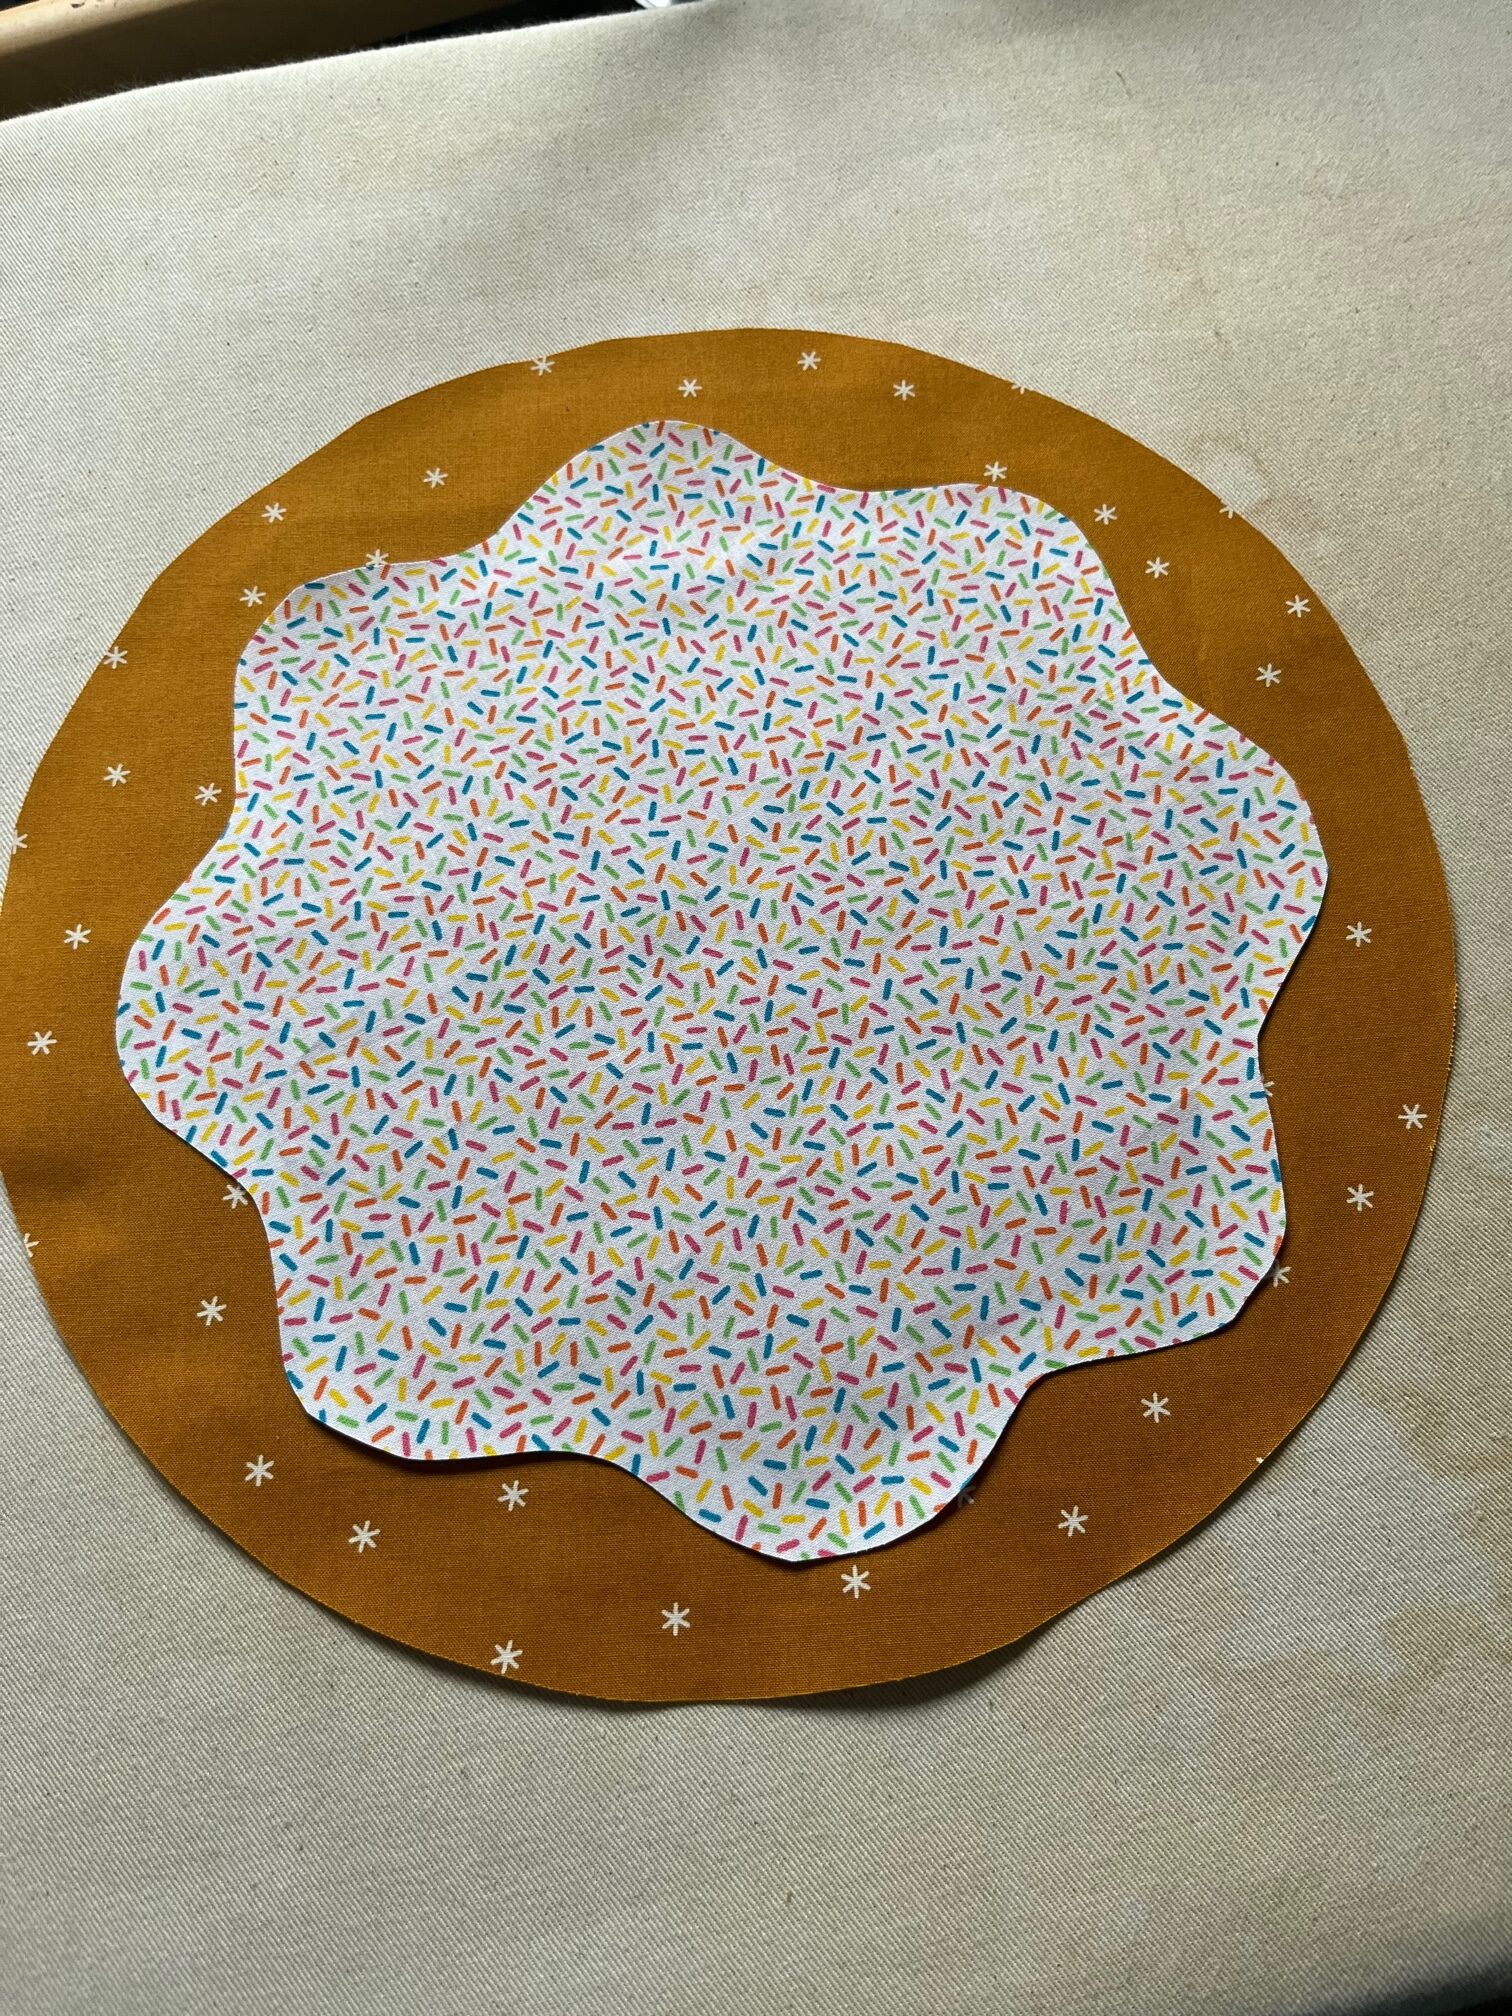
Fuse your shapes according to your pattern. Notice how none or almost none of the fusible webbing overlaps? This will help create a softer quilt overall.
Using the Fabric Stiffener:
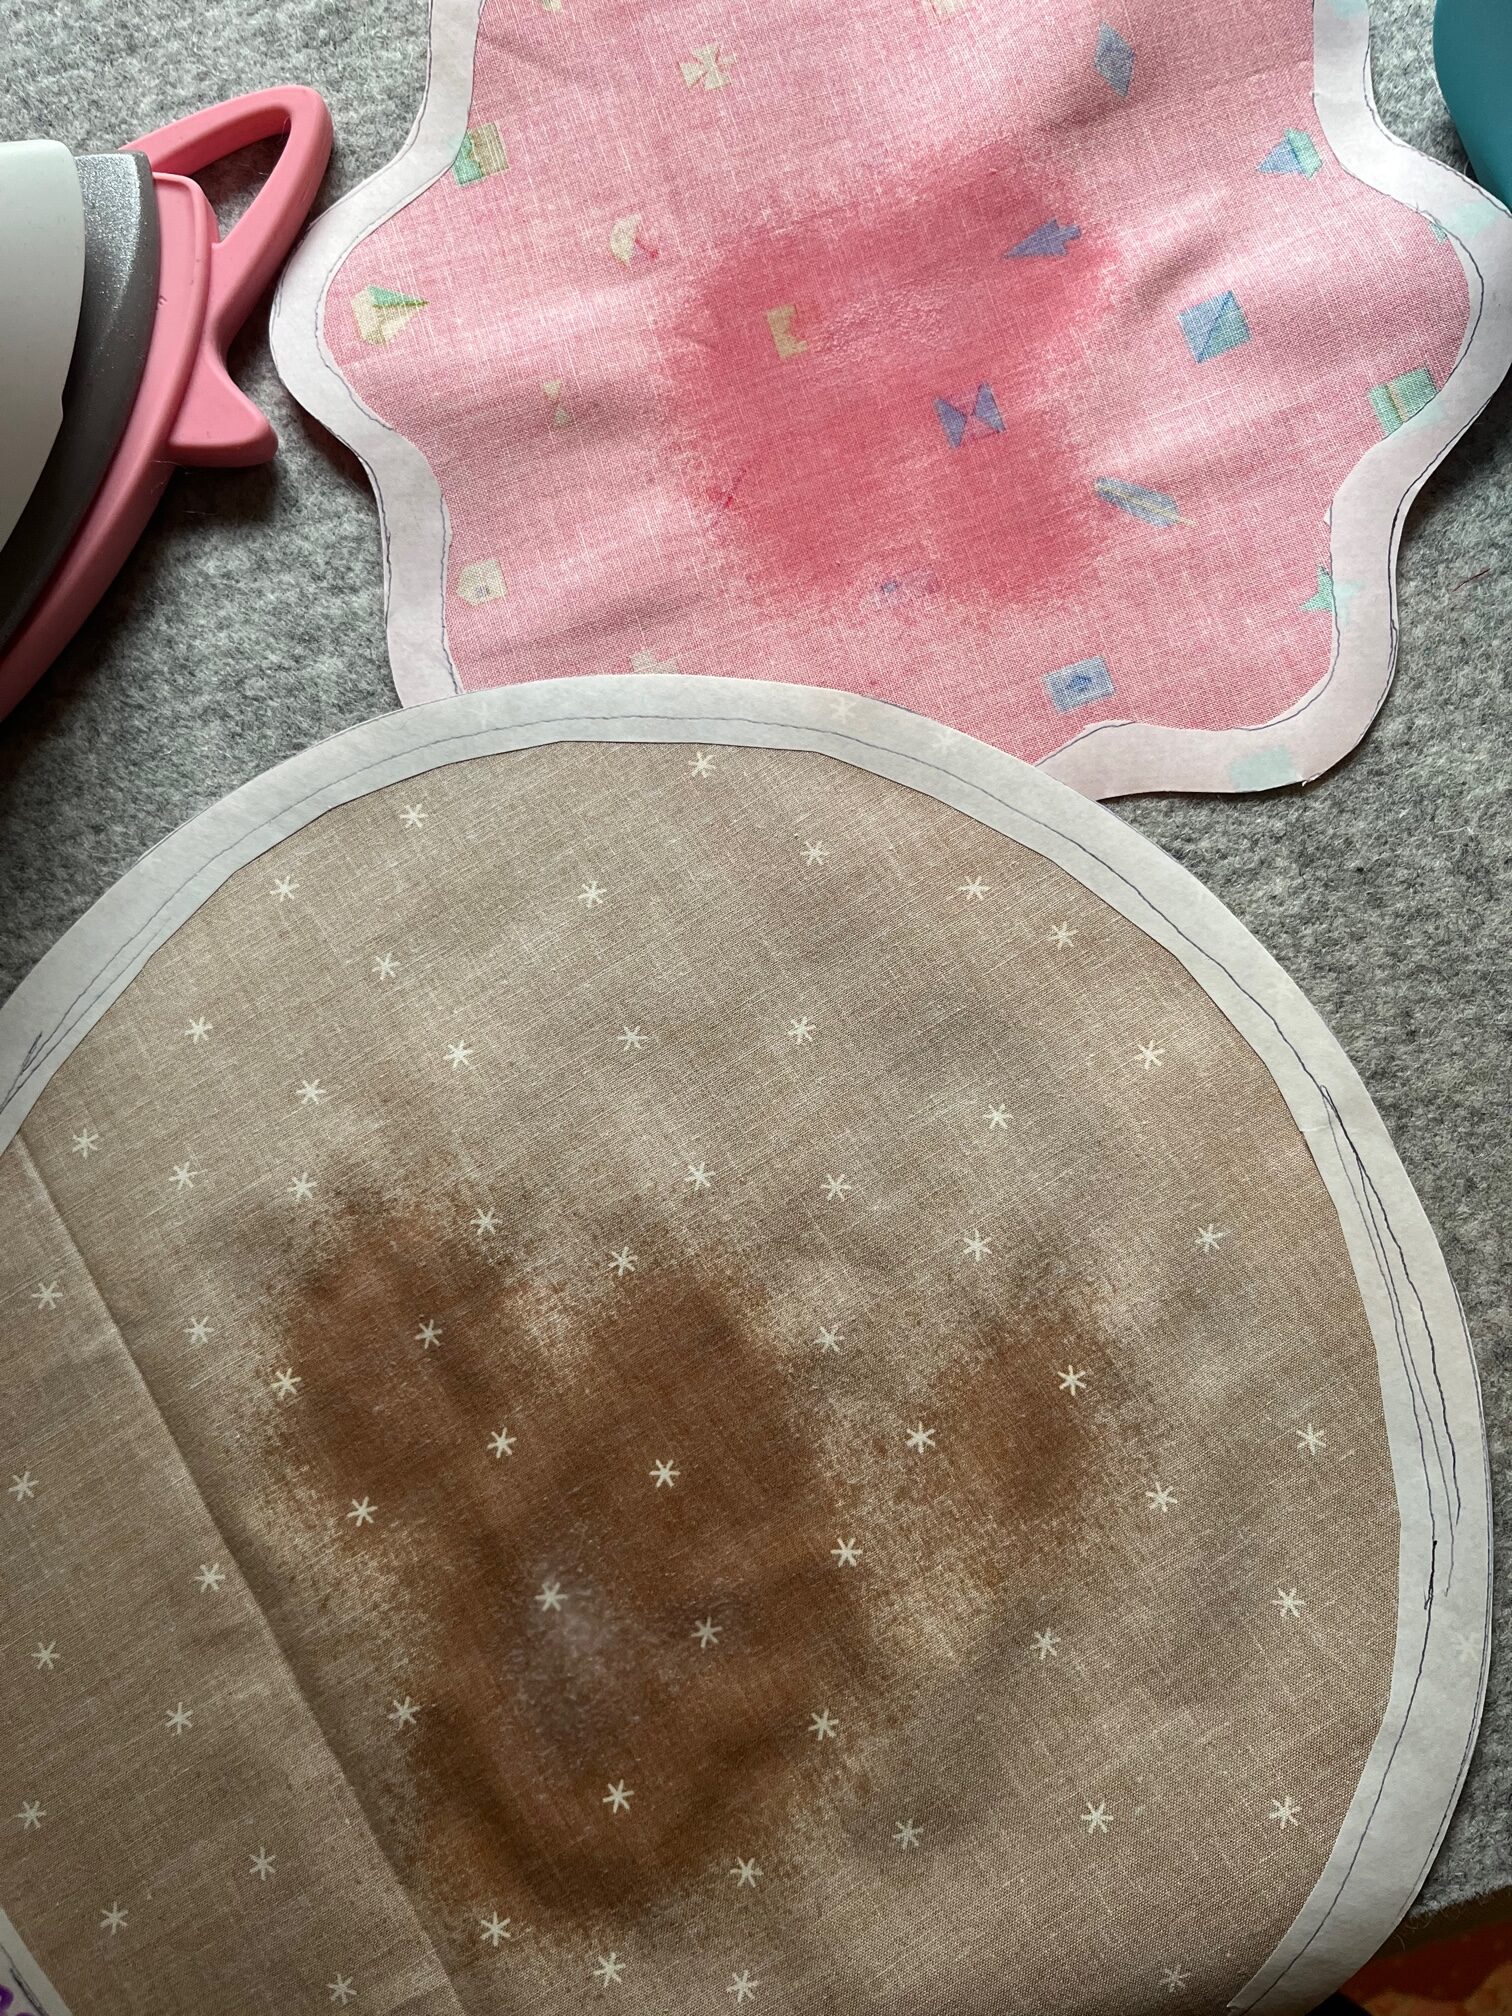
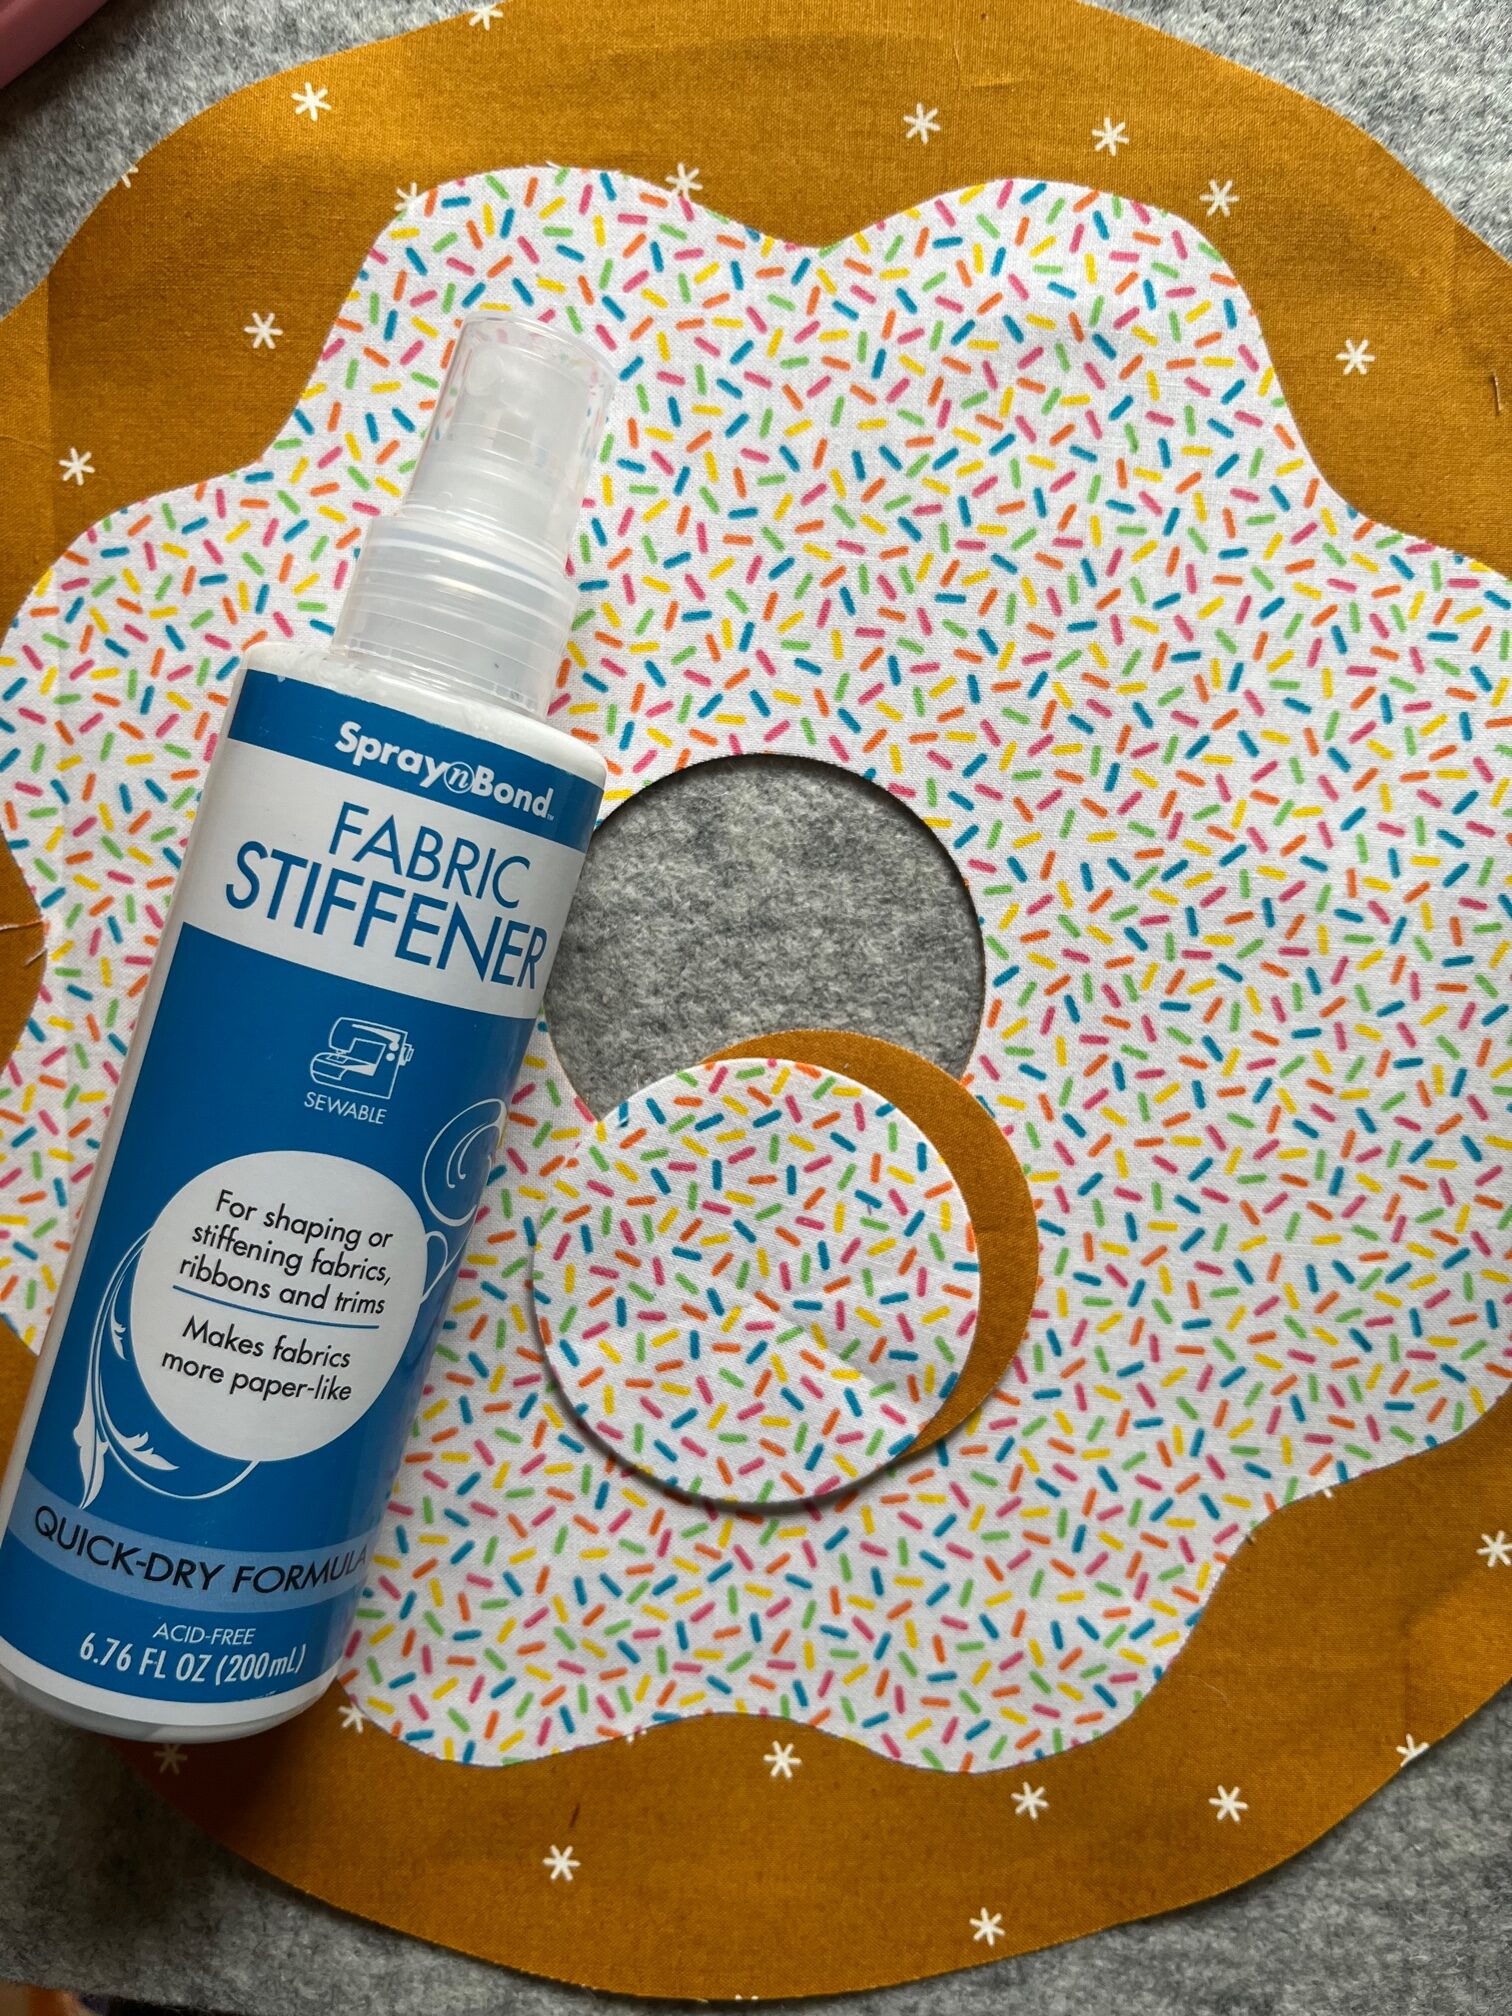
For my “Donut Delight Quilt Pattern” I used Thermoweb’s Fabric Stiffener Spray. SpraynBond Fabric Stiffener makes fabrics more paper-like and fray-free for easy cutting, pressing and stitching. This quick-dry, non-aerosol formula dries clear and can be left in or washed out depending on your needs. Unlike other fabric stiffeners on the market, there is no need to soak the fabric, just spray until damp. Let fabric air-dry or iron it for immediate use.
The Fabric Stiffener worked amazing at keeping my inner circles perfect and fray-free during the applique process.
I began by spraying just the center of each of my donuts that have an inner cut circle. Each donut was sprayed till damp and I used my iron to set each one so I could use the pieces immediately. Next, I fused my icings to my donut pieces. Once fused, I used my Crafter’s Edge Crossover II to cut out my inner circles. I decided to use my die-cutting machine so that I could achieve perfect circles for every cut.
Check out my finished “Donut Delight Quilt Pattern.” The photo below was taken at a quilt retreat where I did all of the applique as well as assembled, quilted and finished this quilt. It was my first quilt retreat and I had a BLAST! It was amazing to be around others who share the same passion as me and it is also a great self-esteem booster because everyone was so kind and thoughtful of all the work being created there.
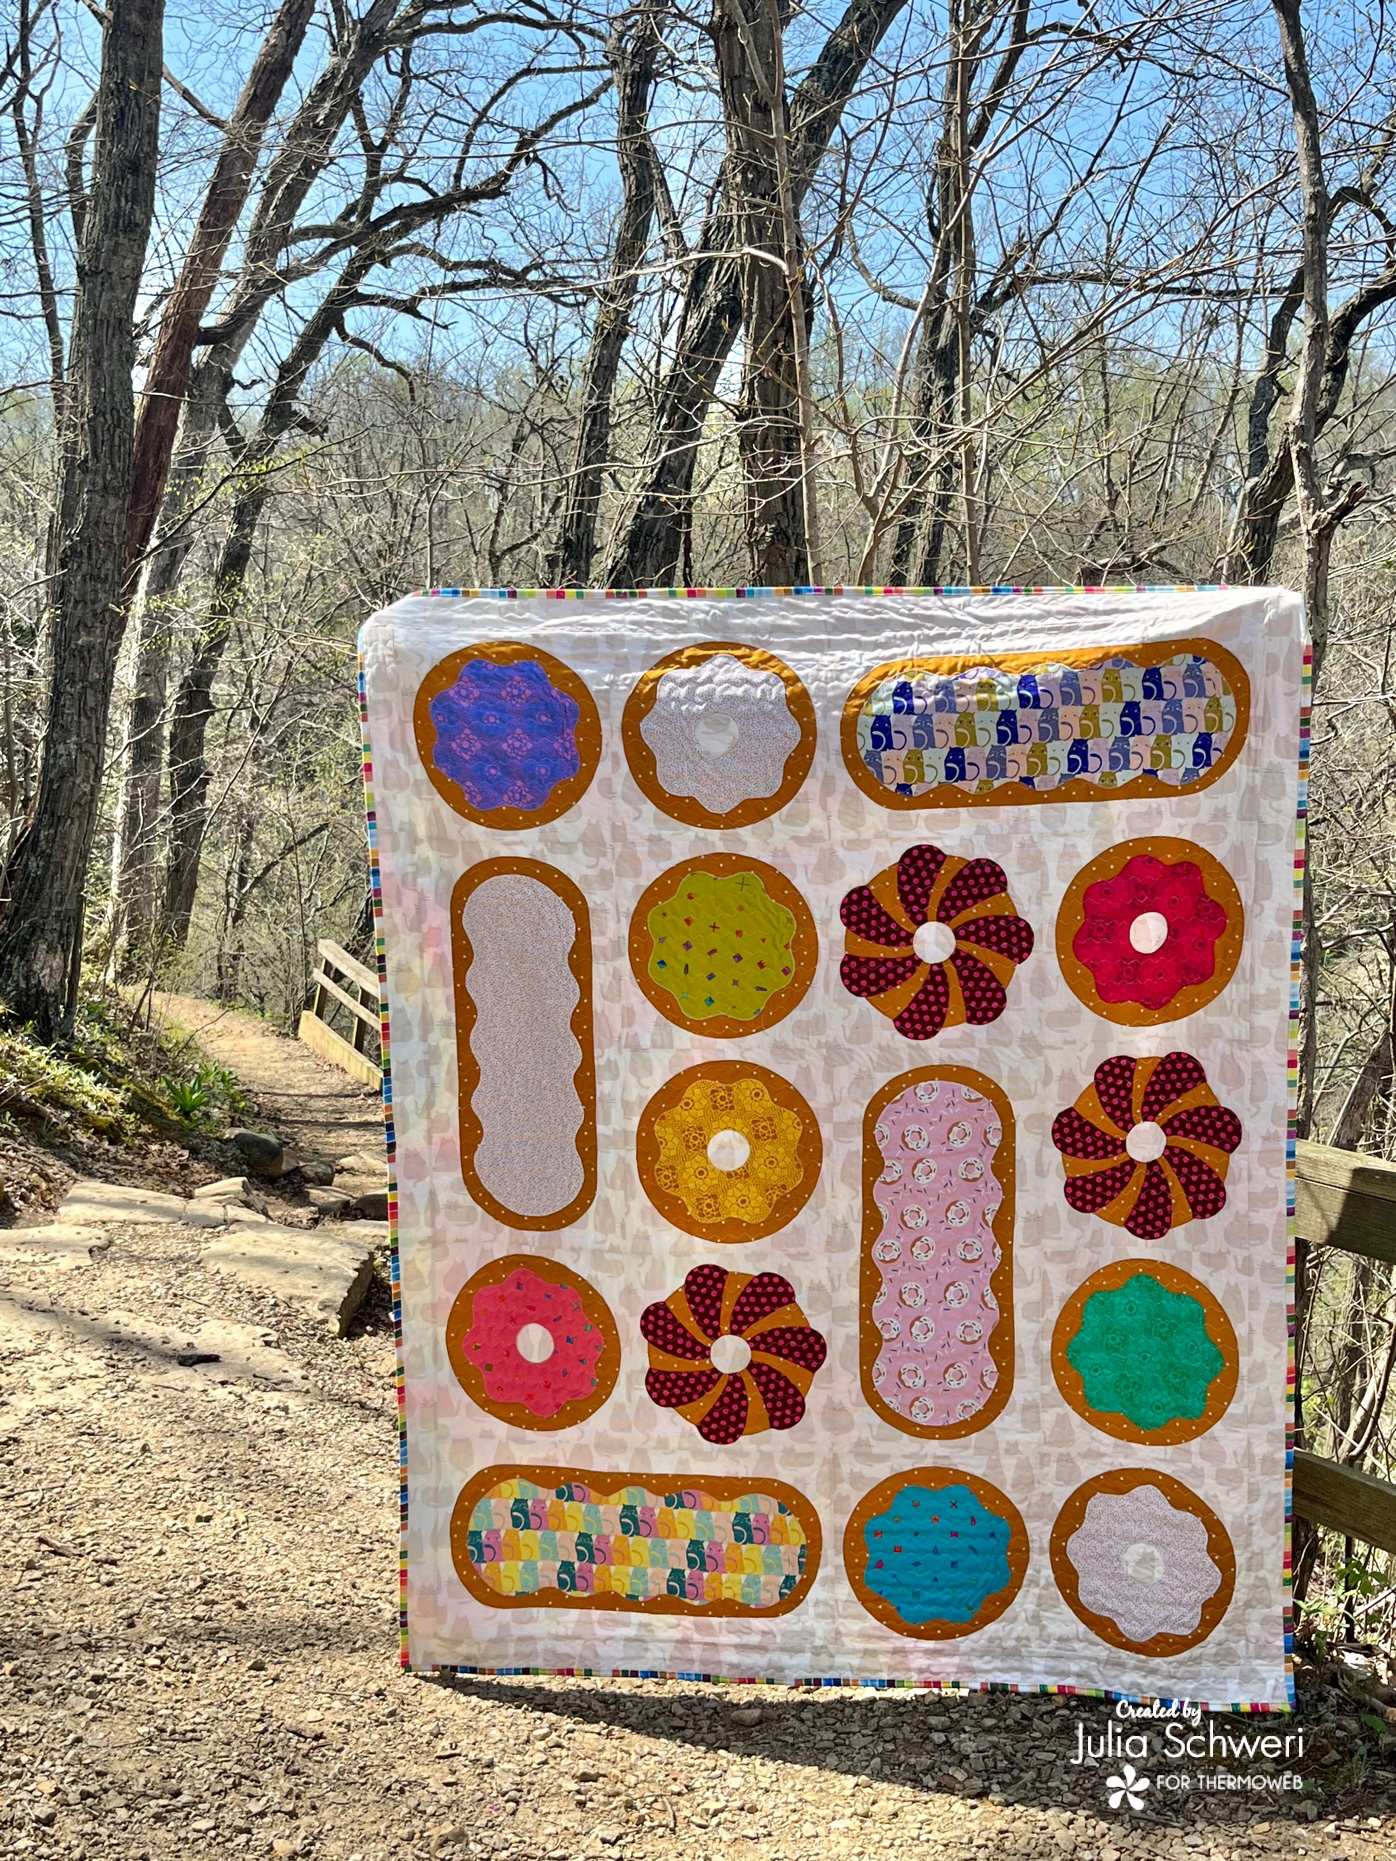
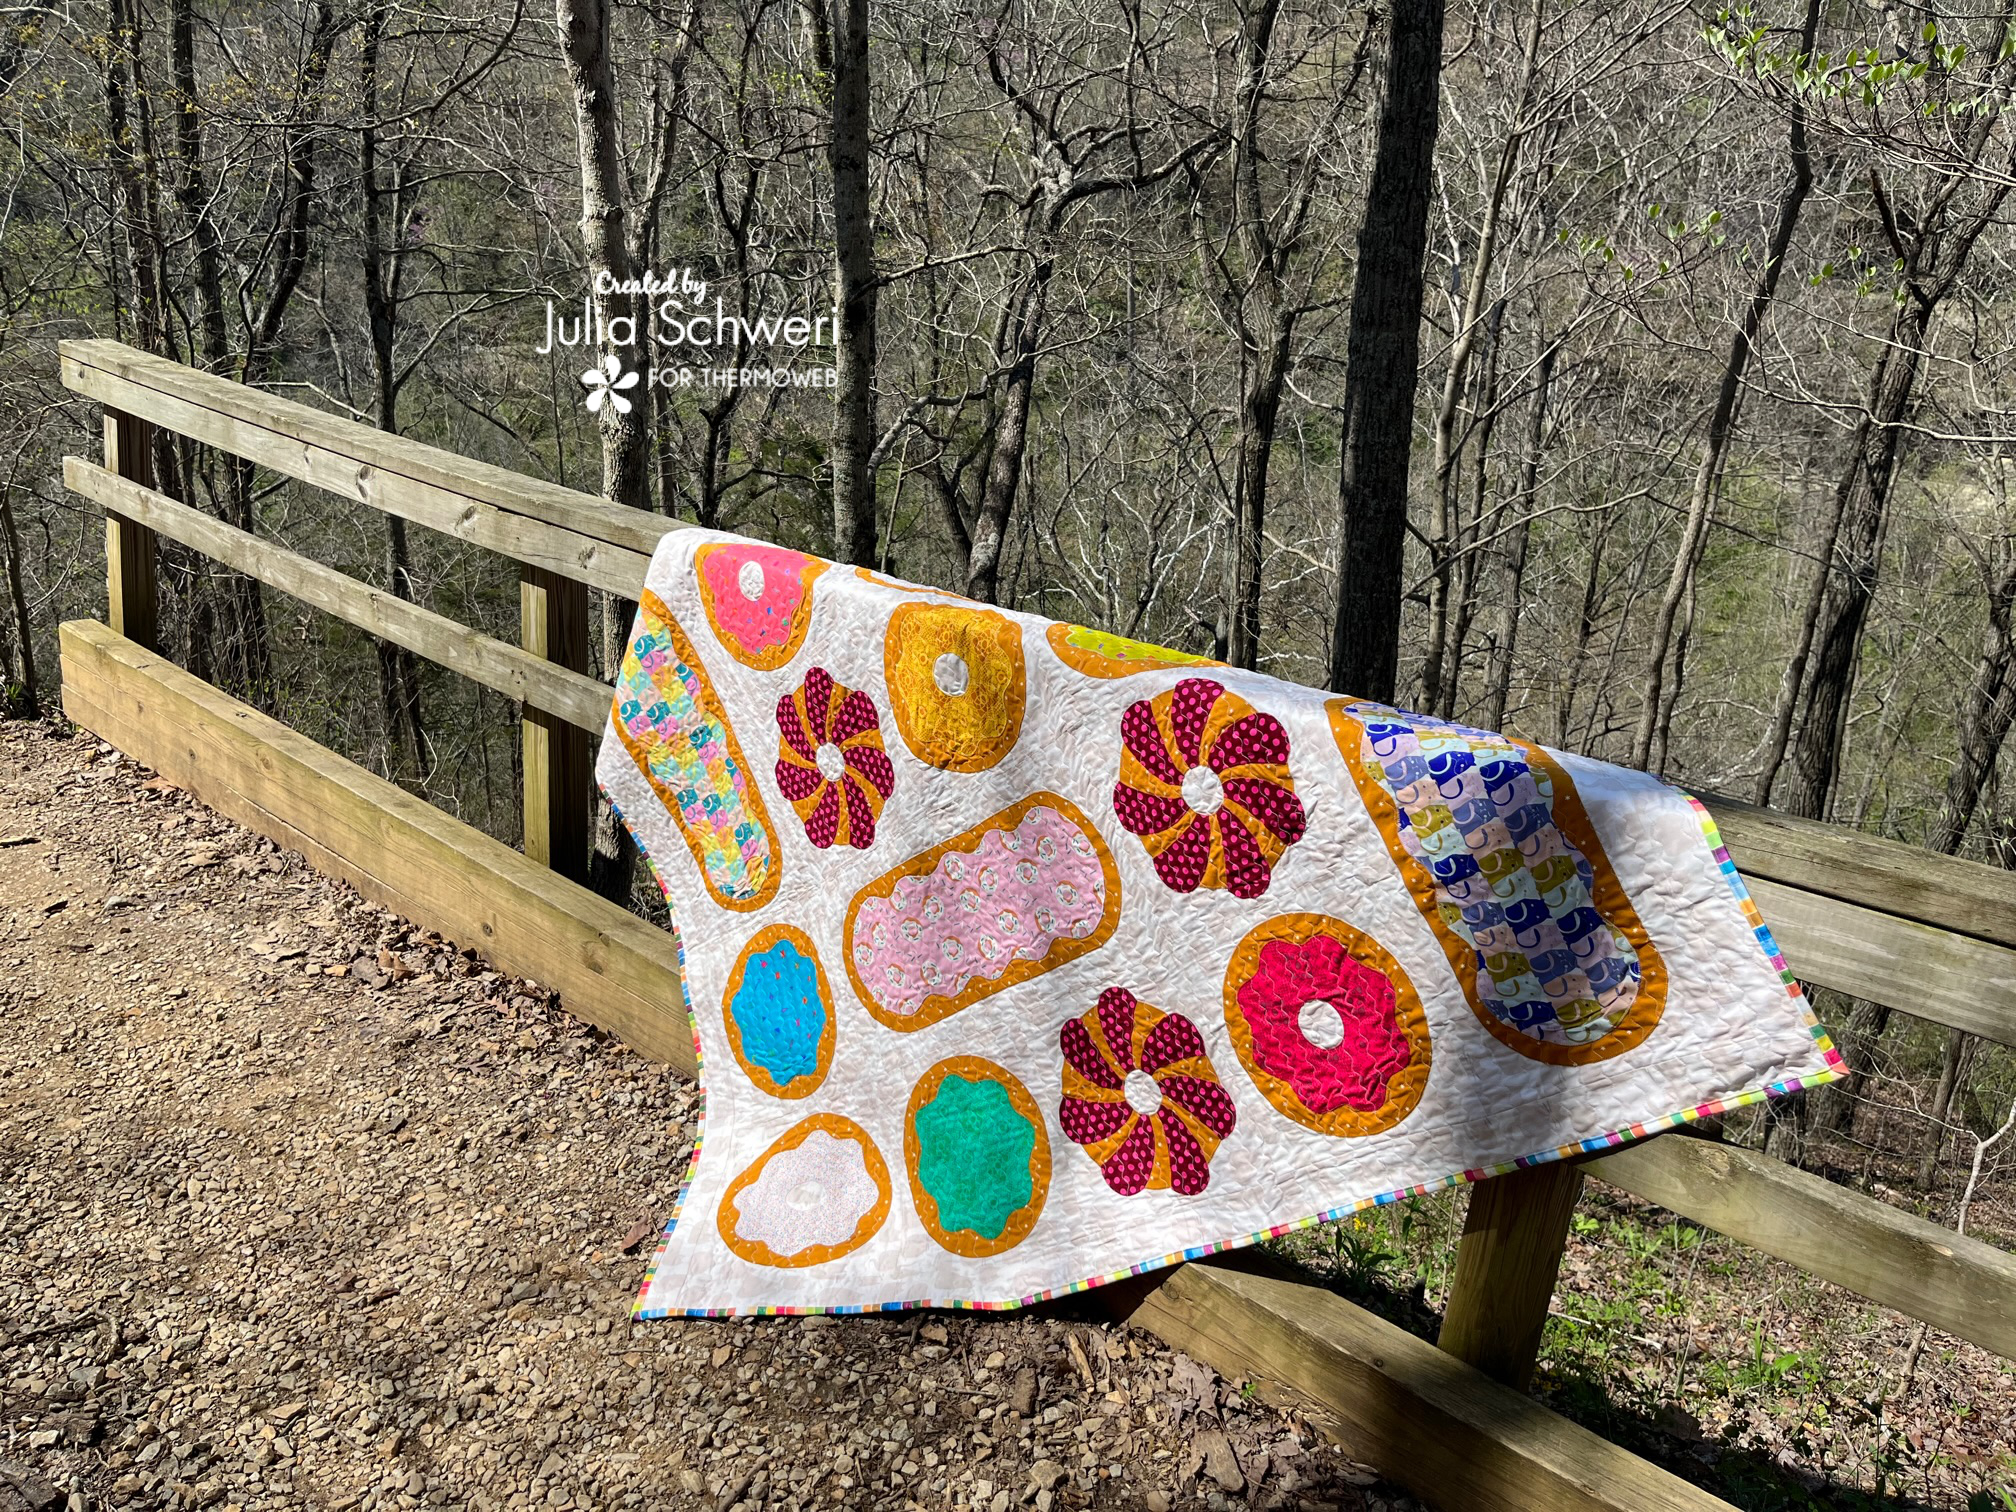
The photos above were taken a Clifty Falls State Park in Madison Indiana. It was a beautiful park with amazing scenery and an awesome Inn.
Thank you for visiting today! Come back soon to see what else will be starting to bloom with Inflorescence Designs!
Starting to bloom by choosing JOY ~ Julia
