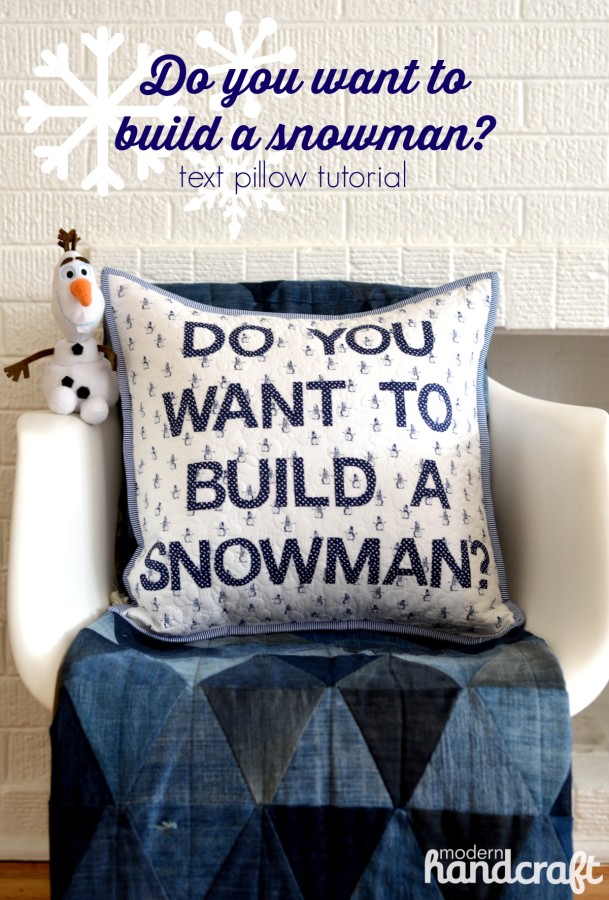
Hi Therm O Web friends! Nicole here from Modern Handcraft with a fun snowman themed pillow for your little Frozen fans – The “do you want to build a snowman” text pillow.
I used three prints from the Dear Stella Tinsel Town collection that I felt coordinated well together and made for a fun pillow that would look great on my son’s bed the entire winter (or spring too here in Chicago). The little snowman figures are so perfect along with the fun confetti dot fabric that looks like snow falling!
Do You Want to Build a Snowman Pillow
- Dear Stella fabrics: 1 fat quarter of Snowmen Navy for pillow front, 1 fat quarter of Mini Confetti Dot Ink for text, 1 fat quarter of Sunburst Stripe Navy for binding, 2 cuts of white fabric measuring 18″ x 12″ for an envelope back or 1 cut measuring 18″ x 18″ for a pillow with a zipper.
- StitchnSew™ Sew-In Fleece – cut to measure 18″ x 18″
- SpraynBond® Basting spray
- Heat n Bond® no-sew fusible interfacing
- DO YOU WANT TO BUILD A SNOWMAN (enlarge or decrease to the size you like when printing)
- Coordinating thread
- Sewing machine and notions (rotary cutter and mat, straight pins or magic clips, acrylic ruler)
Snowman Pillow Instructions
Step 1:
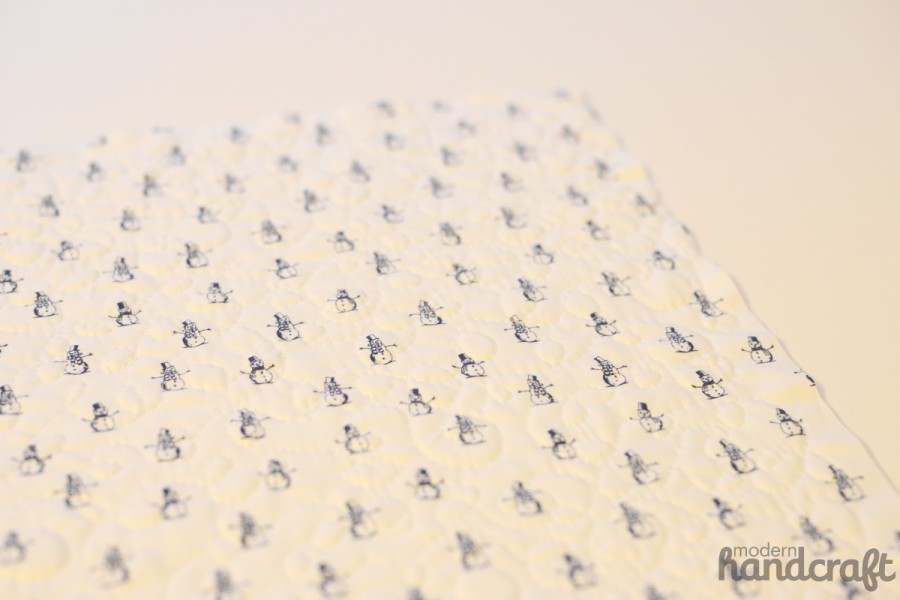
- Cut your pillow front fabric to measure 18″ x 18″. Spray baste onto a piece of sew-in fleece that also measures 18″ x 18″ and quilt as desired. I chose to do a loop de loop free motion pattern that I just learned how to do using Molly Hanson’s new book Free-Motion Quilting for Beginners!
Step 2:
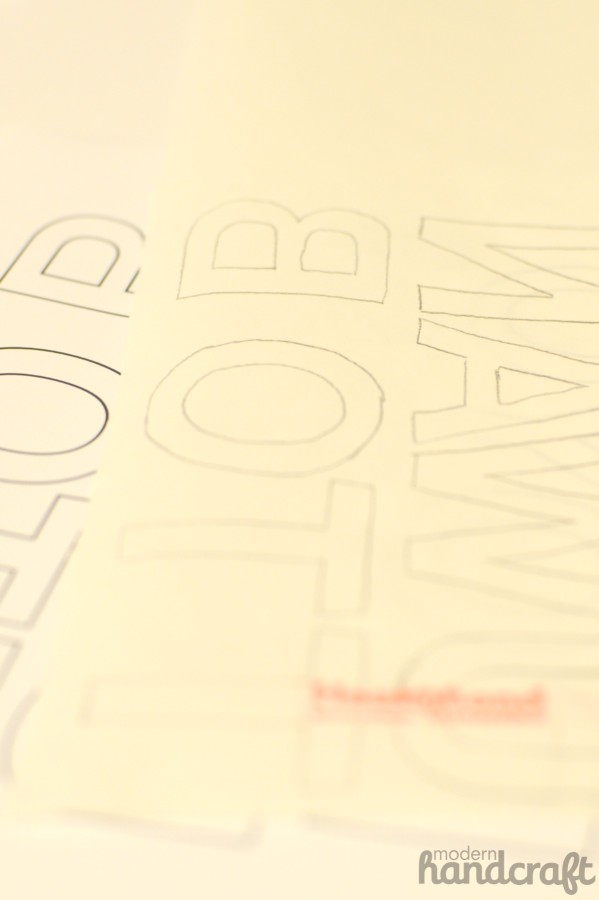
- Print out the attached pdf that includes the letters you will need for your project, I like to trace onto my Heat n Bond No-Sew sheets grouping the letters as close as possible to eliminate waste. The font is a simple 2″ Helvetica, feel free to use your own custom font.
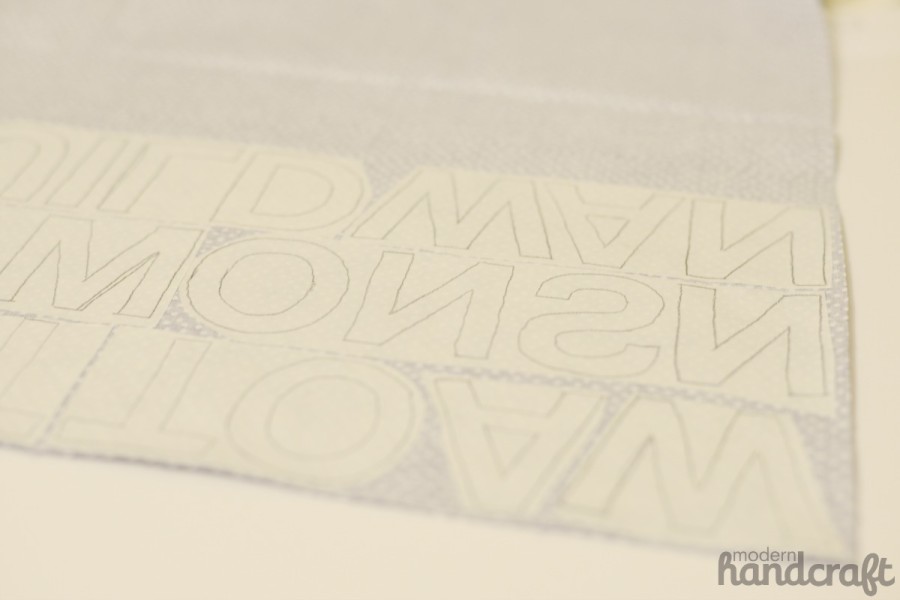
- Cut closely around the letter groups and iron onto the backside of your text fabric. The letters are backward so that when you iron to your fabric backing and cut the letters out, the front side will be facing the correct direction. Once the material cools cut around each letter using a pair of sharp scissors.
Step 3:
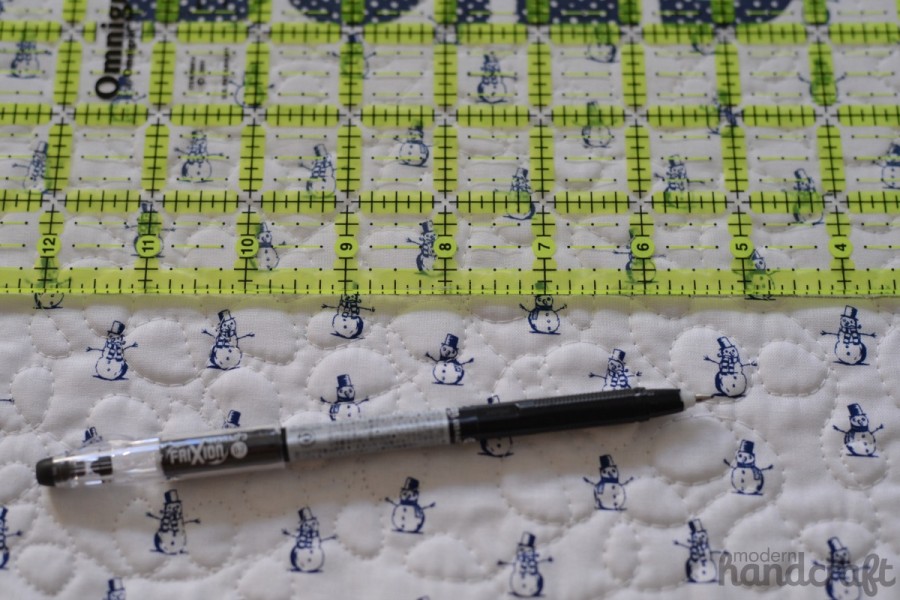
- Now that your letters are cut out you can start to space out your phrase. I found that measuring down around 5″ for my first row and spacing every three inches seemed to fit nicely. Play around with it until you like the layout. I love using a Frixion pen to make markings on my fabric. It is heat sensitive so any marks disappear when I iron over my project.
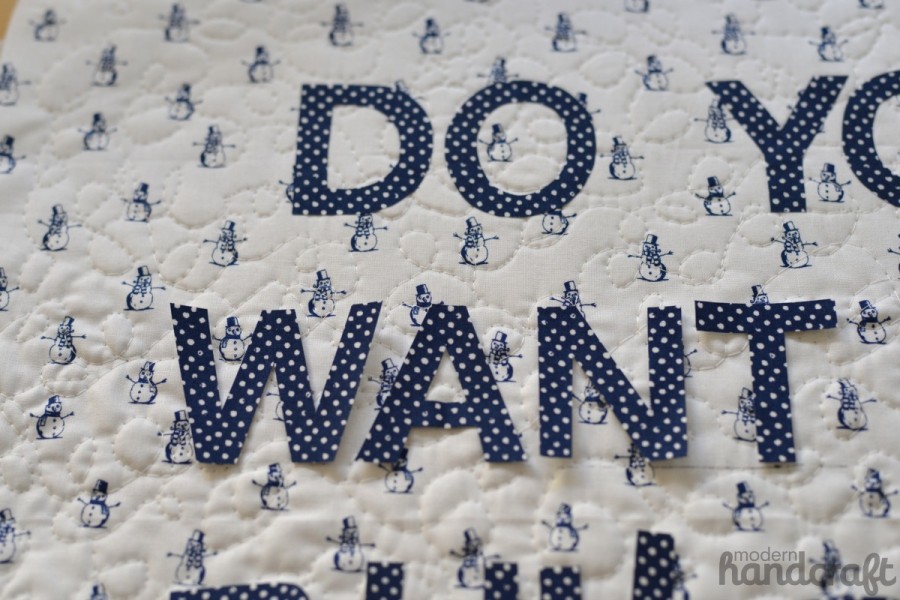
- Once you are set, peel off the paper backing and iron carefully to your pillow front. The great thing about the no-sew Heat n Bond® is the fact that you do not have to sew around each letter!
Step 4:
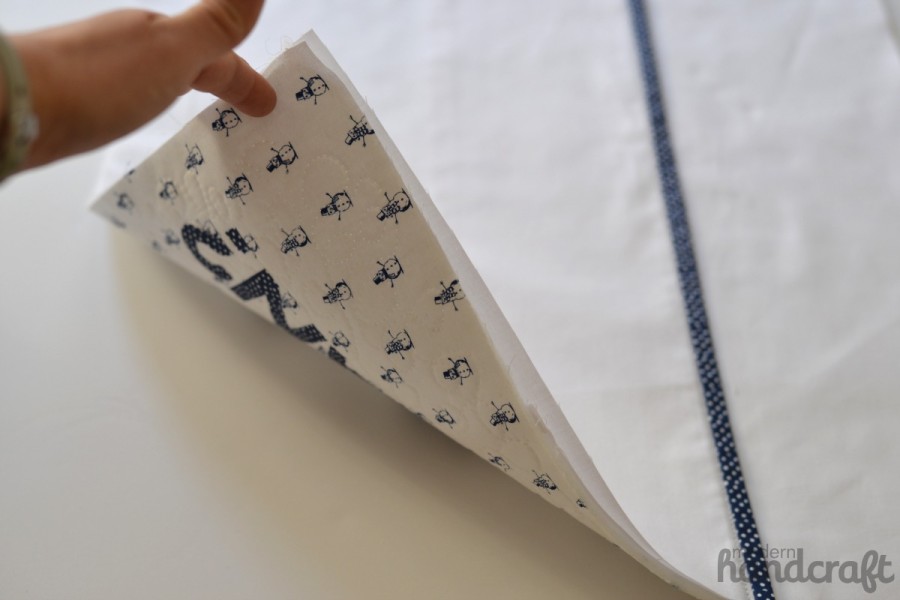
- Now that you are finished with your pillow front, time to assemble your pillowcase. I like to use two pieces of fabric measuring 12″ x 18″ and create an envelope back. Adding a binding strip along the top fold makes for a nice edging as well. Since I am adding a binding to the entire pillow lay your pillow front face down and layer your envelope back on top like it would look when finished.
- Pin around the edges and sew around the perimeter using a 1/4″ seam allowance.
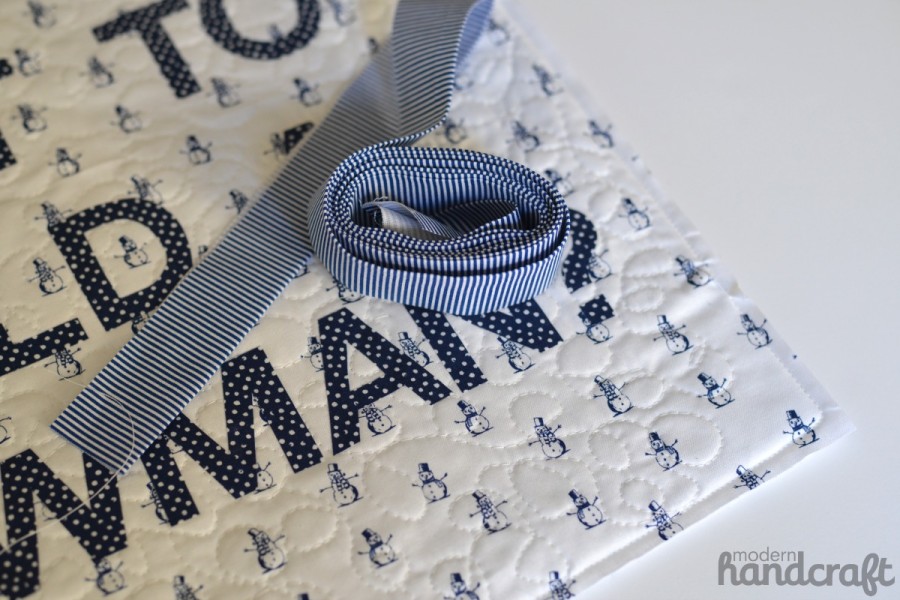
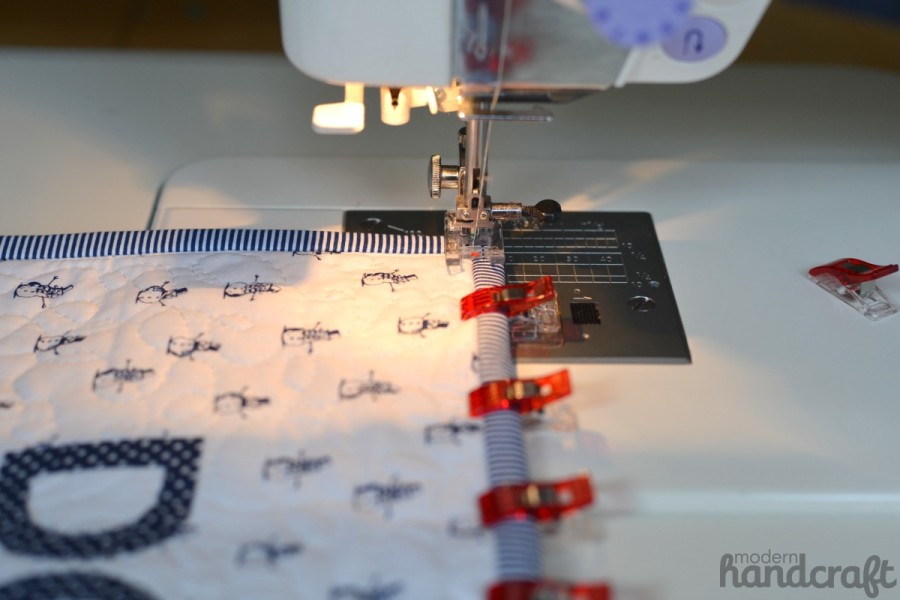
- You may now add your striped material as a binding just like you would with a quilt.
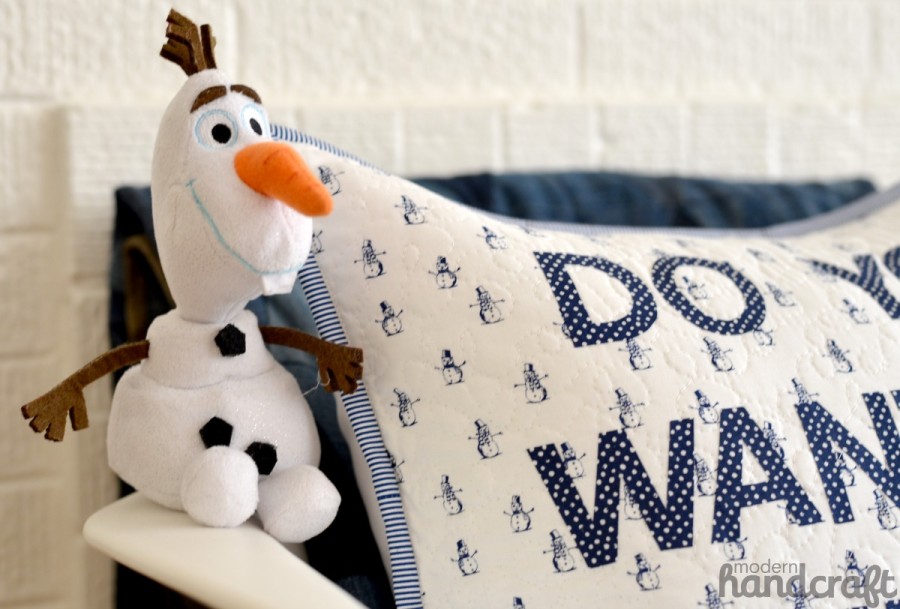
You are finished! I added an 18″ pillow form to make this nice and stuffed…. my little friend Olaf likes this pillow as well 🙂
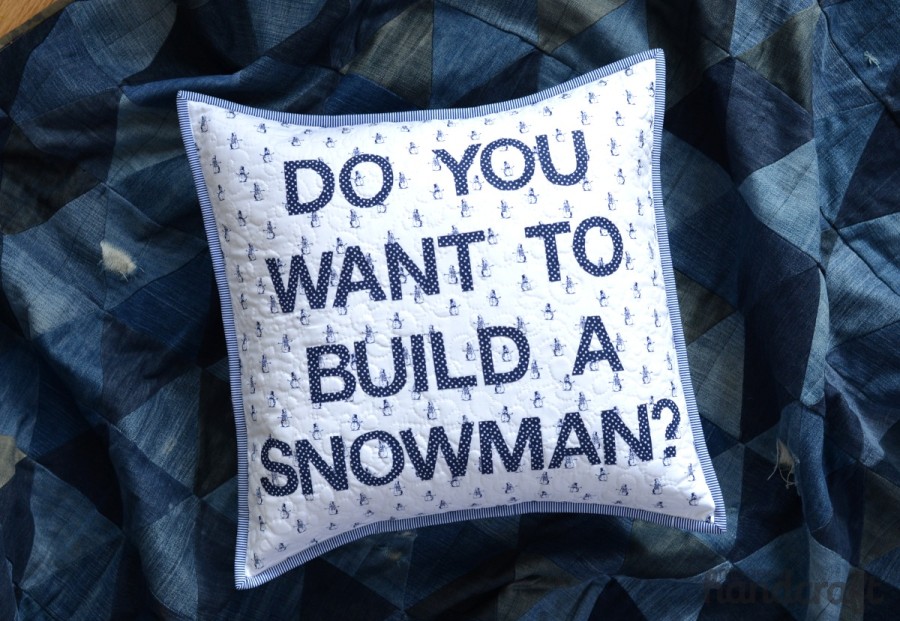
-Nicole

[…] design I chose was one of the first in the book, loop de loops and I chose to use it on my Dear Stella project that was on the blog this week. I felt like the loops would look like snowballs and would make for […]
[…] 5. I bet some of you, maybe many of you, have young ones in your life who have been taken with the Disney movie “Frozen”>. When I saw this cute pillow tutorial I felt someone out there would be happy to see it so here it is. Frozen, the snowman pillow from thermoweb.com HERE. […]