


Halloween is just around the corner and I have been having so much fun this year planning out decorations for our new house. Becca from Sunflower Seams is on the blog today with a quick, fun and slightly spooky Hocus Pocus Witches Boot pillow tutorial for you!!
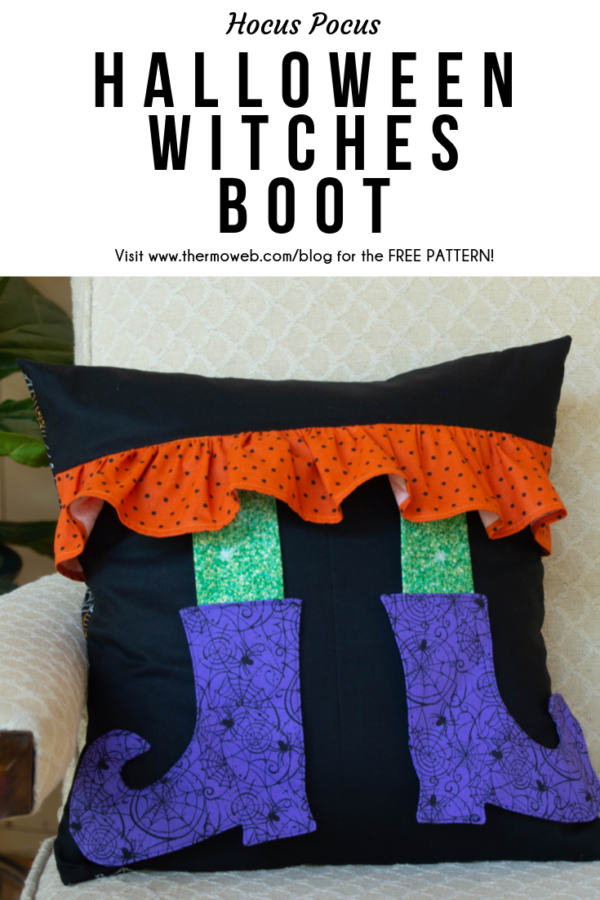
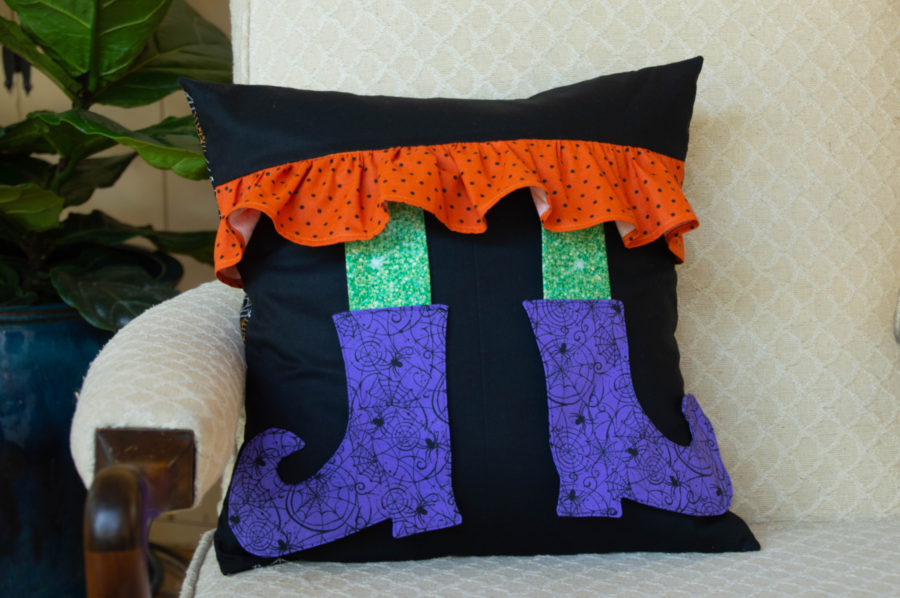
How to Sew a Witch Boot Pillow
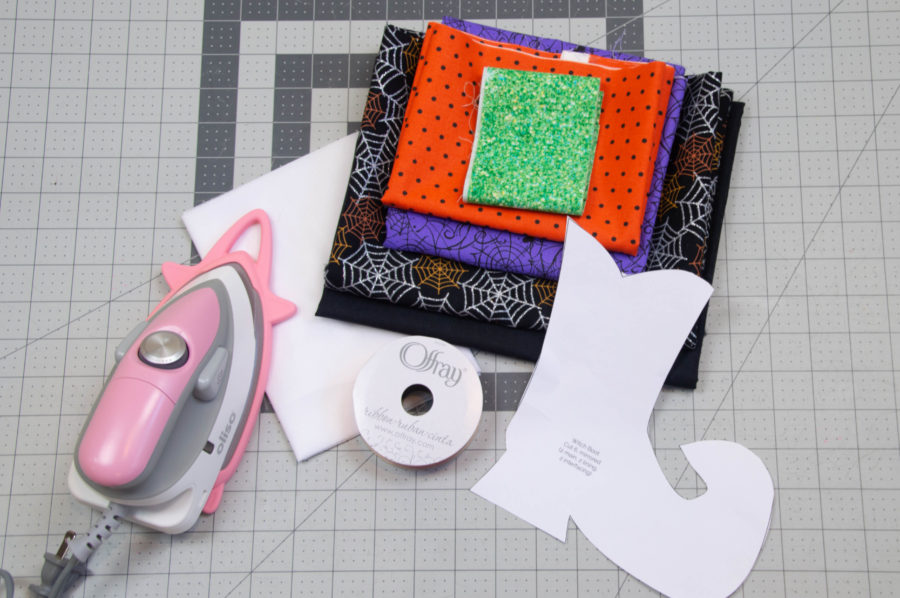
Supplies Needed:
Heat N Bond Non-Woven Fusible Medium Weight
1 Fat Quarters Black Fabric
1/2 yard Halloween Fabric for Backing
1 Fat Quarter Purple Fabric
1/4 yard of Orange Fabric
3″ Strip of Green Fabric
Coordinating Aurifil Thread
Basic Sewing Supplies
Witch Boot Pillow Instructions
Download the Witch’s Boot Template HERE
Seam Allowance 1/4″
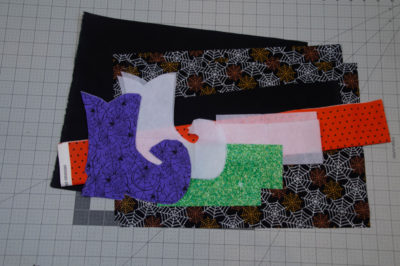
Step One: Cut out your fabric as follows:
Black Fabric- Cut One 4″ x 16.5″ and Cut One 13″ x 16.5″ for the pillow front
Spider web Fabric- Cut Two 12″ x 16.5″ for the pillow envelope back
Witch’s Legs- Cut Four 2.5″ x 5.5″ for the witch’s legs
Interfacing- Cut Two 2″ x 5.5″ Use the pattern piece to cut two witch boots.
Orange Fabric- Cut One 4″ x 30″ for the witch’s skirt
Purple Fabric- Use the pattern piece to cut 4 witch boots.
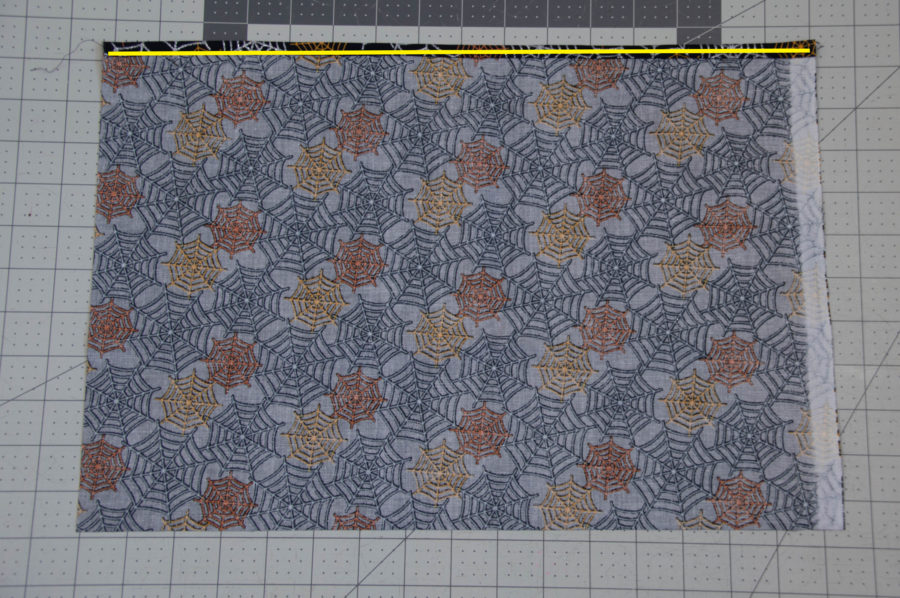
Step Two: On one envelope back piece, fold under one long edge to the wrong
side 1/4” and press. Fold under 1/4” again and press. Topstitch. Repeat for
the other envelope back.
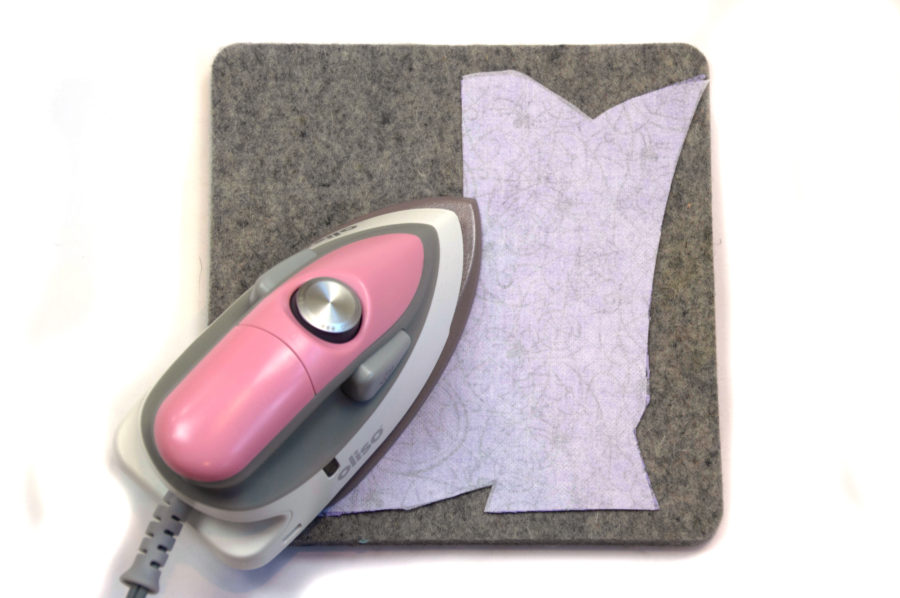
Step Three: Apply the Heat N Bond fusible interfacing to the witch boots and legs using your preferred heat source.
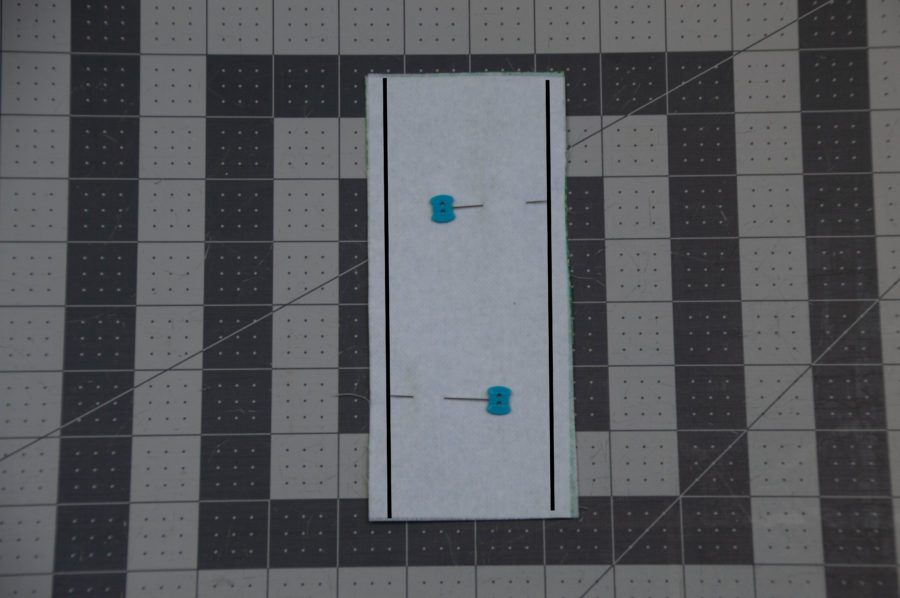
Step Four: Place one witch left on top of another, right sides together and pin. Stitch down both long edges of the leg. Turn right side out and press well. Repeat this step with the other leg.
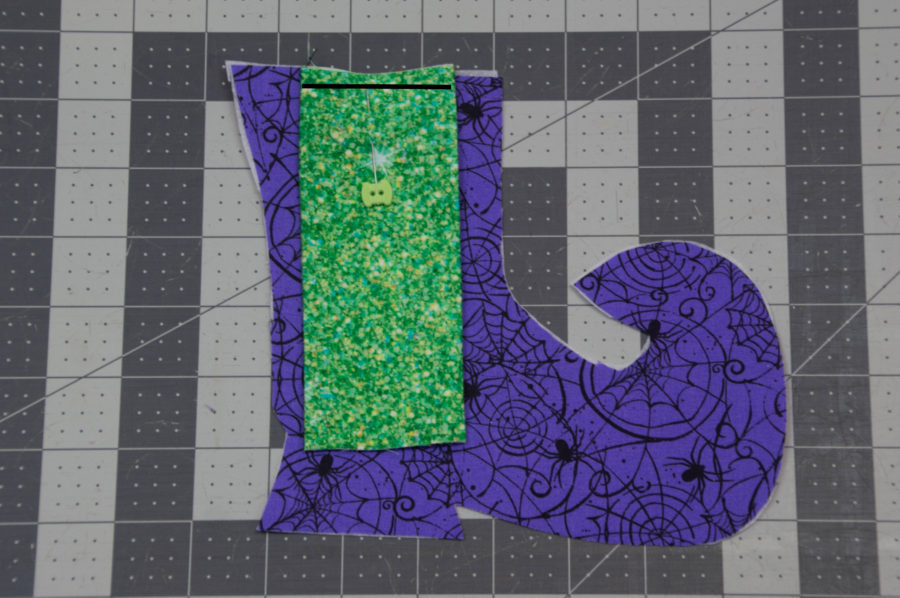
Step Five: Place one witch leg on top of the boot, centering the top raw edge of the leg in the center of the boot and baste in place. Repeat this step with the other leg and boot.
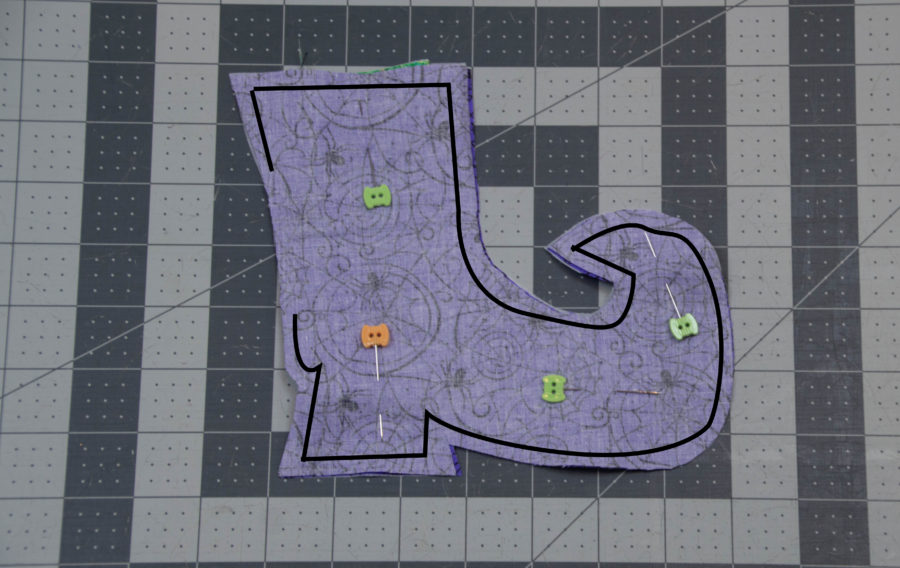
Step Six: Place another boot piece on top of the other boot, right sides together. Stitch around the boot leaving a 1-2″ opening on the side. Clip the curves and corners. Turn right side out and press. Topstitch all the way around the boot 1/8″ away from the edge to close the opening.
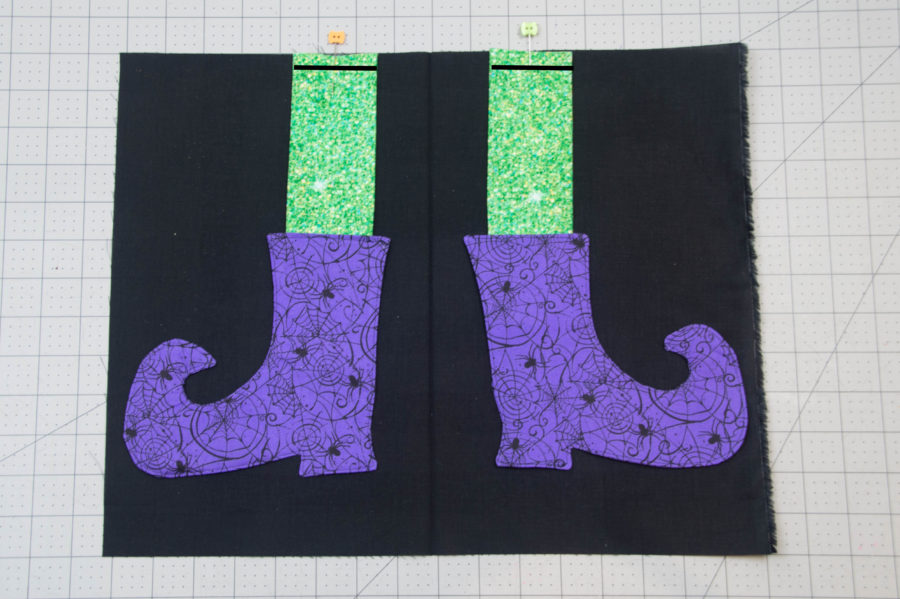
Step Seven: Fold the pillow front in half and press, leaving a crease in the center. Measure 1″ on each side of the areas and mark with a pin. Please the witch leg at the mark and pin in place. Repeat with the other leg on the other side of the crease. Baste the legs in place at the top raw edge.
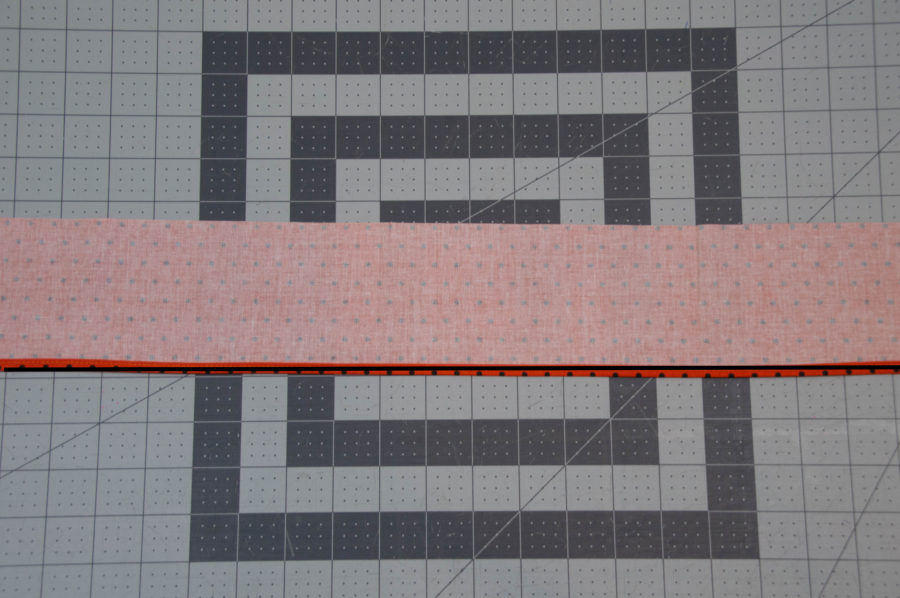
Step Eight: Fold under one long edge of the skirt to the wrong
side 1/4” and press. Fold under 1/4” again and press. Topstitch 1/8″ away from the edge.
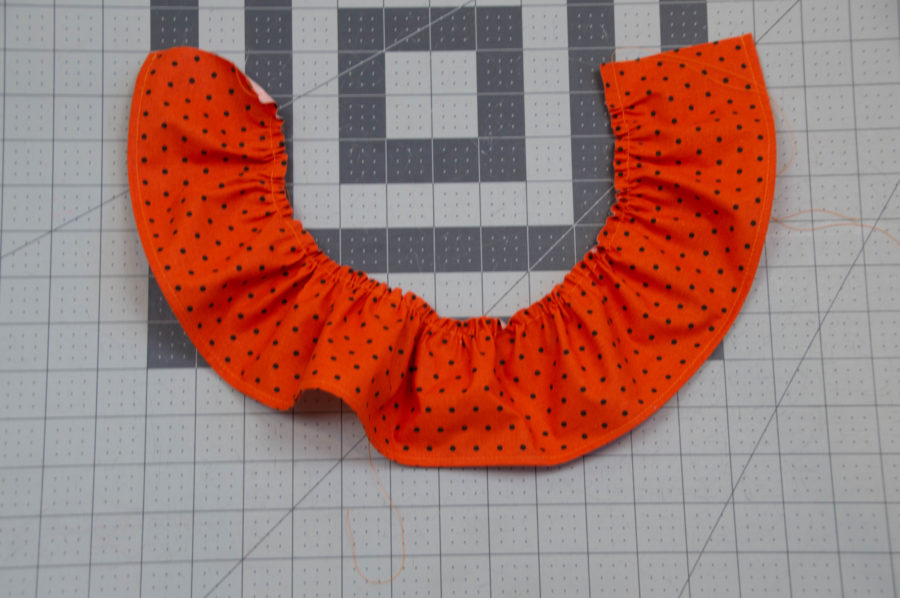
Step Nine: Sew two gathering stitches at the top raw edge of the skirt. Gather the skirt to the length of the pillow front.
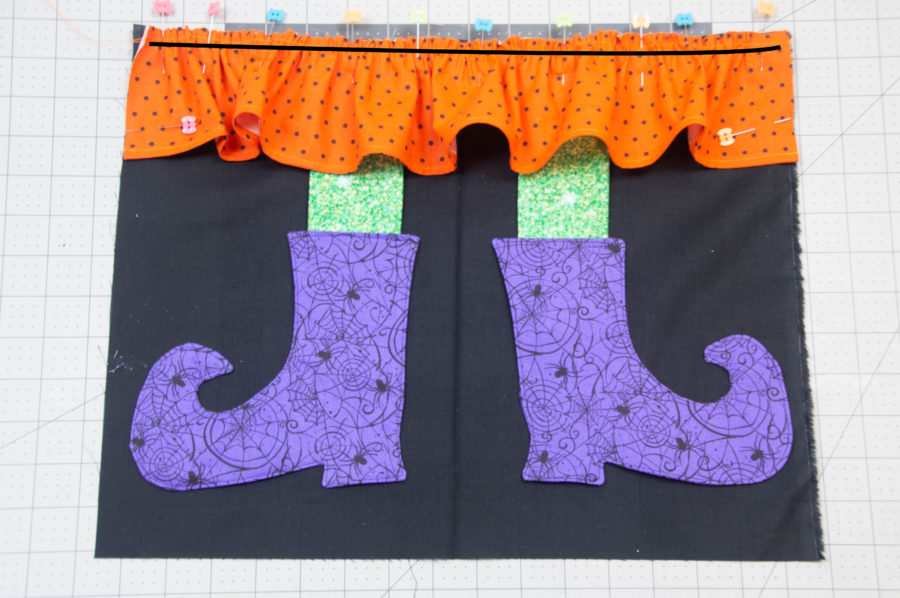
Step Ten: Place the skirt on top of the pillow front, the wrong side of the skirt to the right side of the pillow top. Baste in place.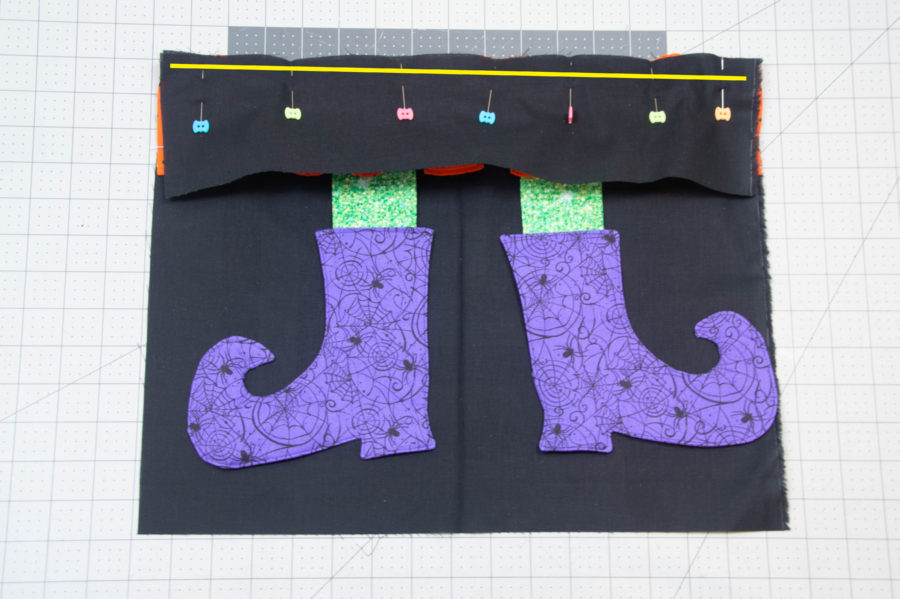
Step Eleven: Take the small black strip and place it on top of the skirt, right sides together, and pin. Sew in place.
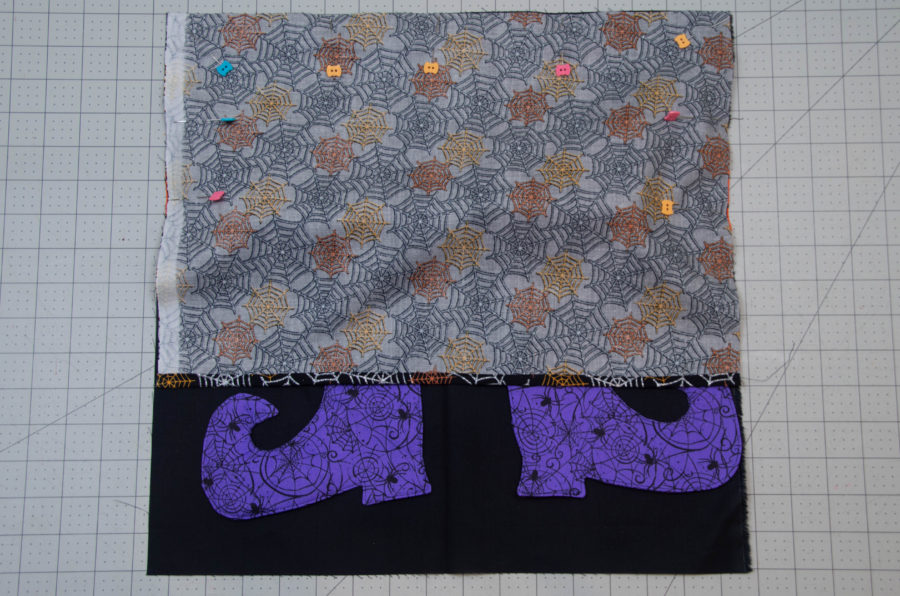
Step Twelve: Place the pillow top right side up. Place both pillow back pieces wrong side up, right sides facing the pillow top, with the hemmed edges overlapping in the middle. Pin around the pillow.
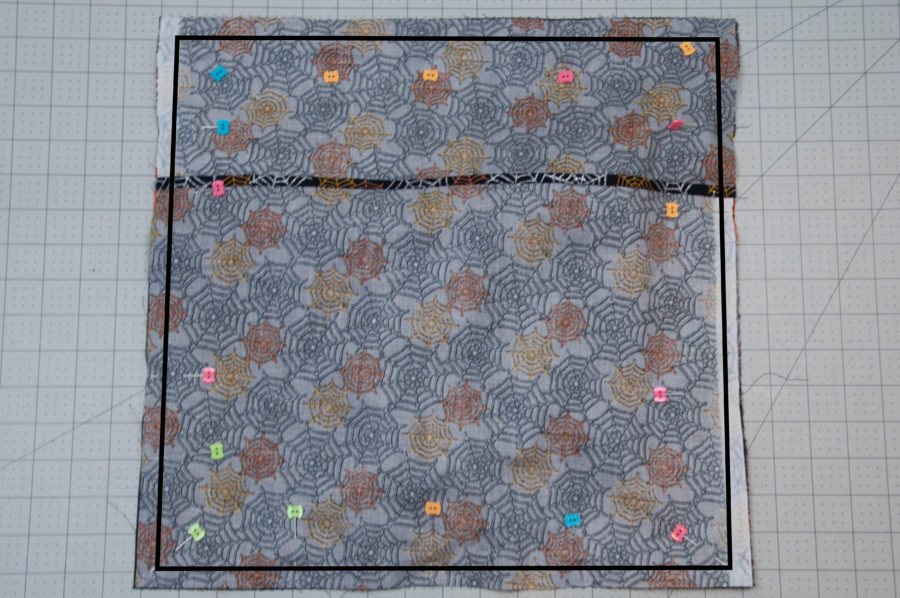
Step Thirteen: Sew around the entire pillow using a 1/4” seam. Back-stitch when you reach the overlapping pillow back pieces. Press and turn right side out. Poke corners out so they lay nicely and press the entire pillow. Place a pillow form inside and you are set!!
This pattern is not only fun for a Halloween Pillow…use this free pattern to create a trick or treat bag over slipcover for a chair back! So many possibilities! Happy Sewing!
xoxo-Becca


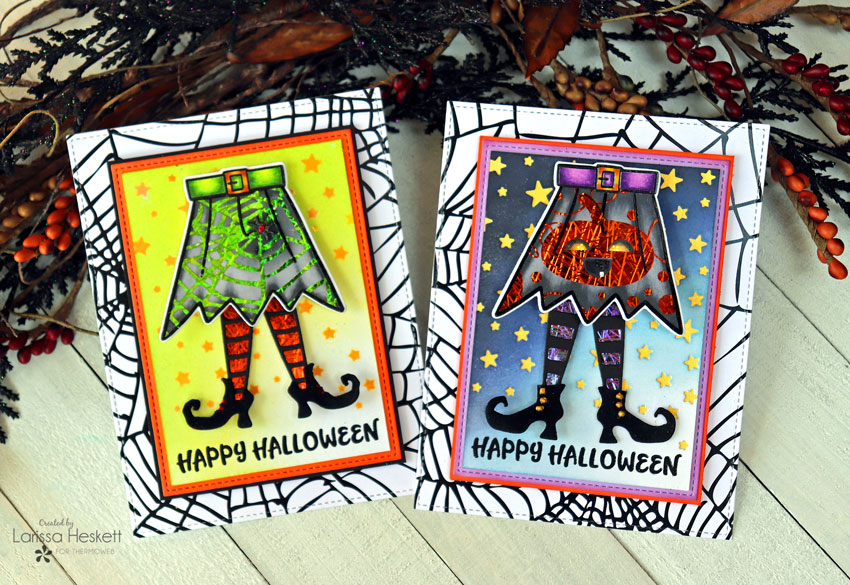
Giving this pillow as a gift to your Hocus Pocus friends? Don’t miss this tutorial for some matching Witchy Cards as well!
[…] DIY Witch’s Boots Pillow, by Sunflower Seams […]
[…] a bit of whimsy to your living space? Then you’ll definitely want to check out this fun witch boots pillow tutorial or this adorable patchwork All Hallow’s Eve […]
[…] Witches Boot Pillow […]