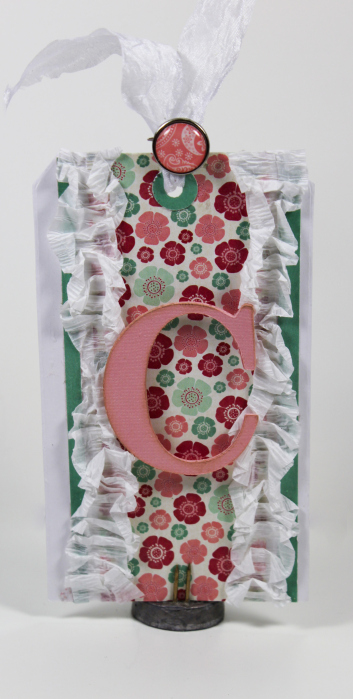
I love chipboard letters, but sometimes I just need a certain size or color. There are so many styles, sizes and color, but for some reason it is not the EXACT size I need. So my solution is making my own. Let me show you how I create my own Faux Chipboard letters.
I have an electronic die-cutting machine that I can size my letters the perfect size. Once I pick the font and size of the letters I cut 4 -5 of the same letter. My favorite adhesive to use for any die-cuts are Sticky Dot Adhesive Sheets.
Supplies needed to complete my tag.
Simply peel back the protective sheet.
Add your die-cut to the sticky dots.
Pull the letter off the sticky dots. You can see how they cover the die cut perfectly.
Adhere all the letters on top of each other to make your own Chipboard letter.
And now you have the perfect Faux Chipboard letter to add to your project. Here I have added the letter to a tag.
Supplies used:
Teresa Collins Spring Fling Collection
Till next time… Happy Crafting.


eyamabe
May 3, 2012 at 12:05 pm (13 years ago)Great idea, Sesil!!!