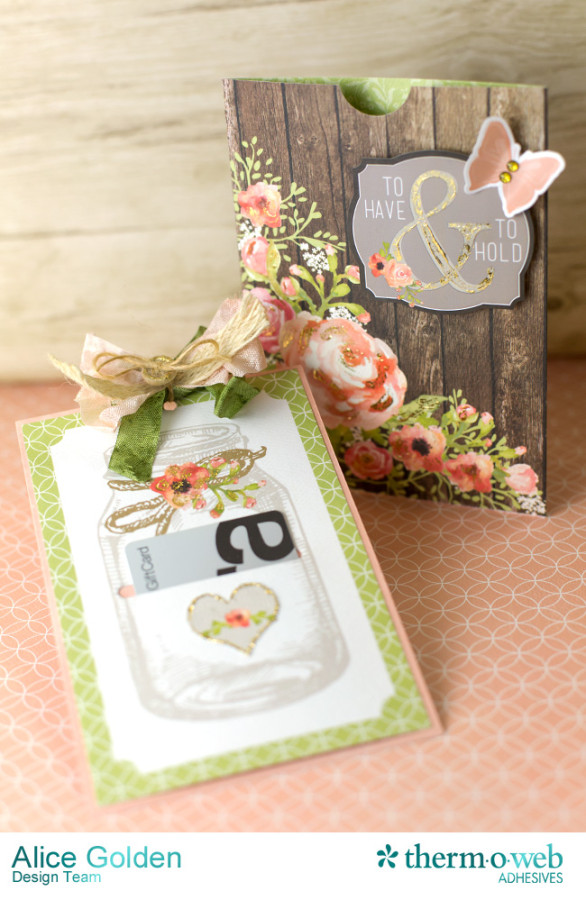
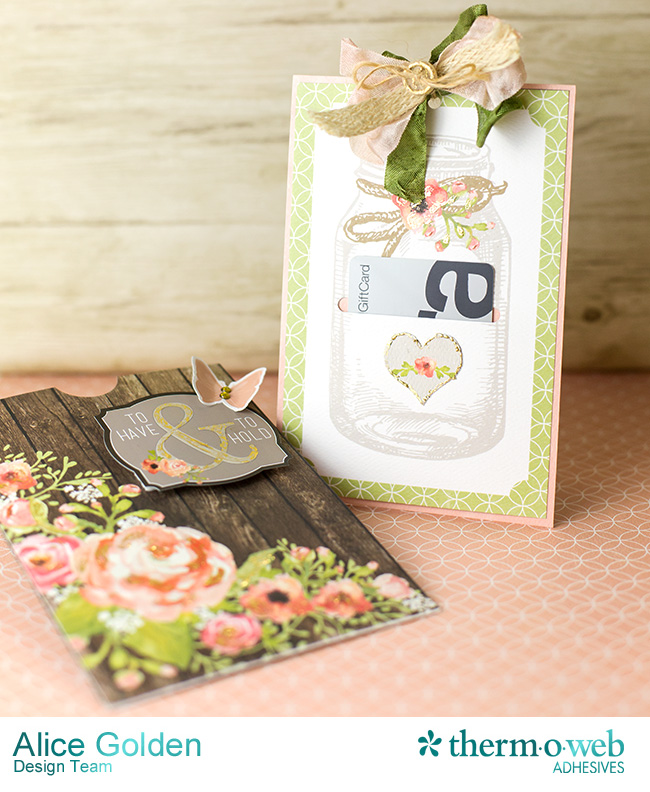
Hello there! Alice with you today to share a wedding card made using the gorgeous new Rustic Elegance Collection from Carta Bella. It is the perfect project for showing you how to distress with foil – no laser printer, laminator, or heat source required!
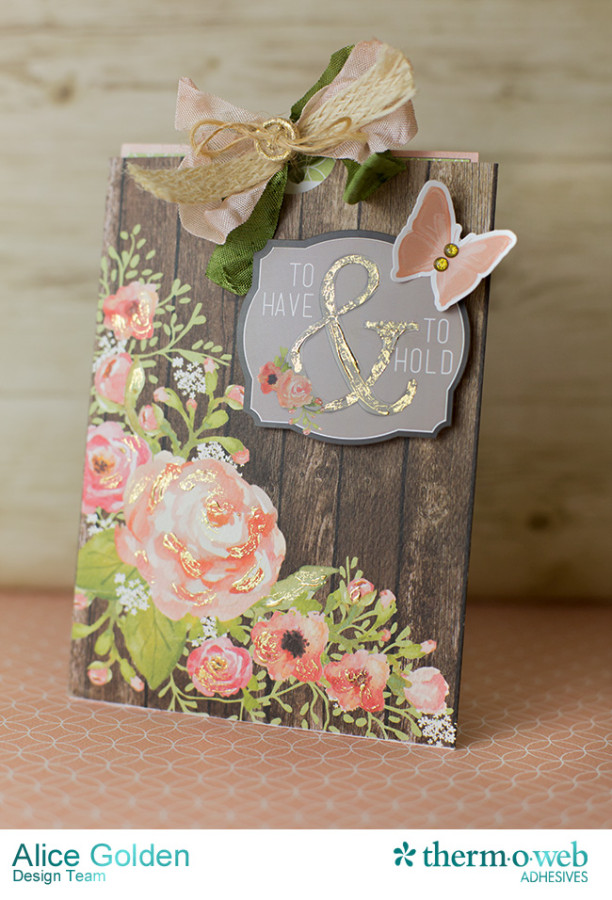
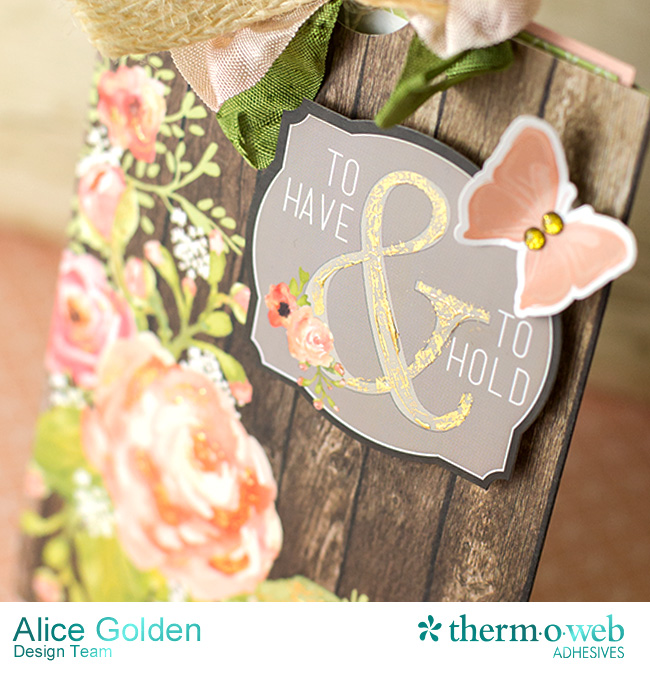
The card has two parts – an outer sleeve and a pull-out section that holds a gift card. Parts of the stickers and papers have been distressed with foil. It is similar to a dry brush painting technique, only using foil instead of paint. It is a great way to add just a bit of sparkle to help draw the eye around the design.
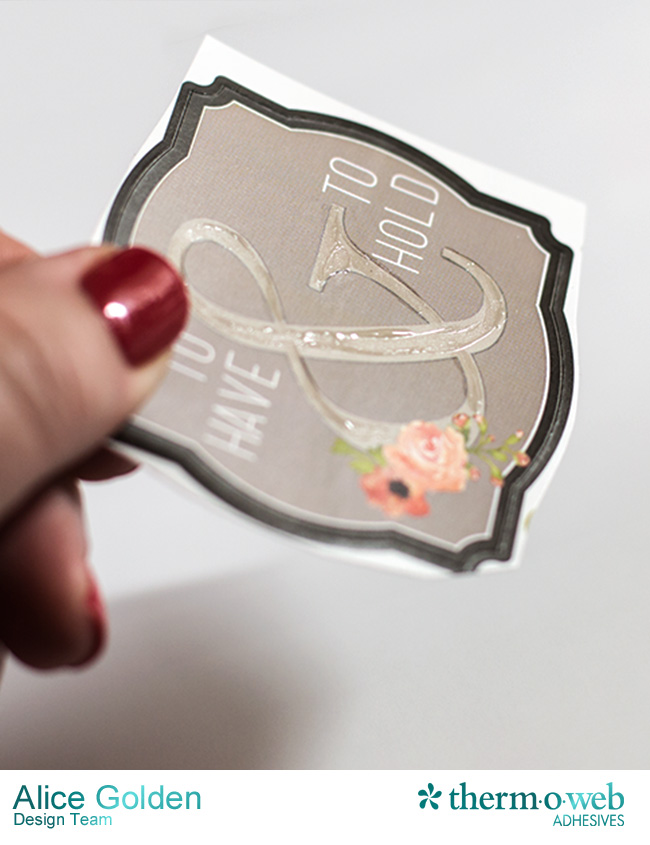
You will need a small, inexpensive paint brush and iCraft® DecoFoil™ Liquid Transfer Adhesive and DecoFoil™ in the color of your choice. First, paint over the part you want to distress with foil using the adhesive. The thicker the brush strokes, the more rustic the effect. The goal isn’t to cover the entire section with adhesive, but rather just add in highlights. When dry, the adhesive will remain tacky to the touch.
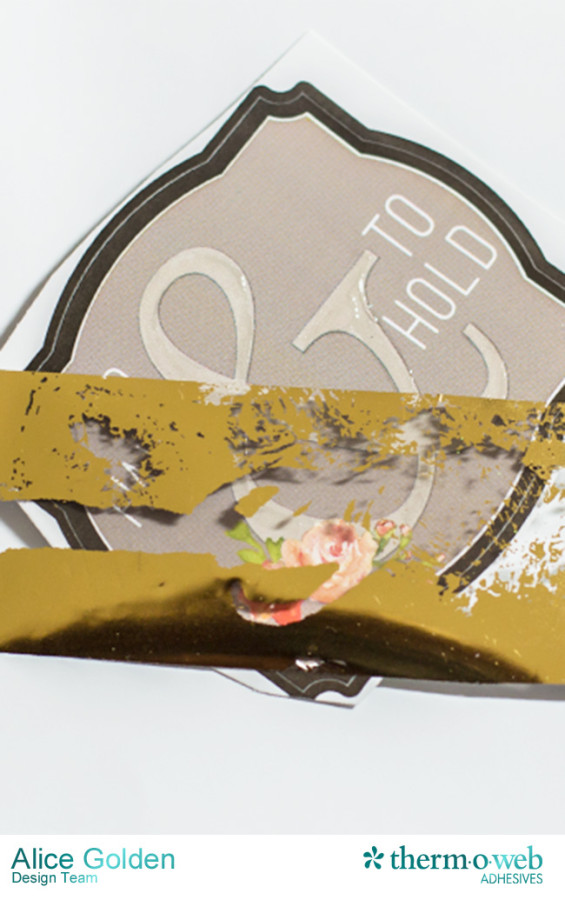
Next you want to apply foil to the areas with the adhesive. This technique actually works best with scraps of leftover foil – so be sure to save them when doing other projects – you can use up every last bit of DecoFoil™ on the sheet! Just quickly press the foil to the adhesive with the color facing up, remove, and repeat. Like you are dabbing on bits of foil. Using leftover foil adds to the texture of the end result.
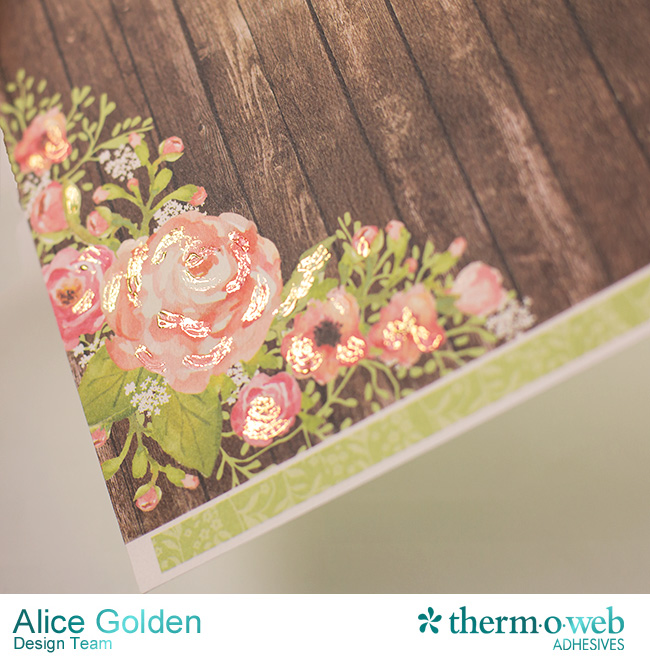
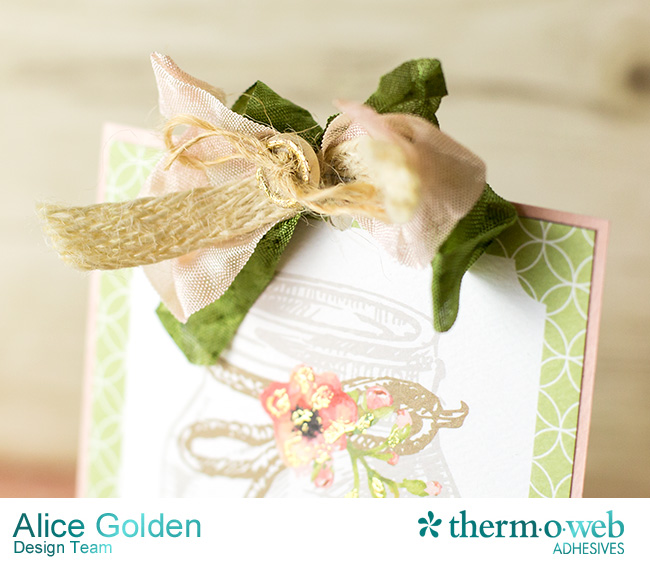
You will wind up with something that looks like it has been dry brushed, or distressed, with foil. Hard to photograph! But, oh so pretty in person.
The same process was used to highlight sections of the patterned papers. Simply squirt some adhesive onto a non-stick craft sheet (or piece of plastic packaging from the recycle bin, like I did here) and paint it on the areas you want to highlight with foil.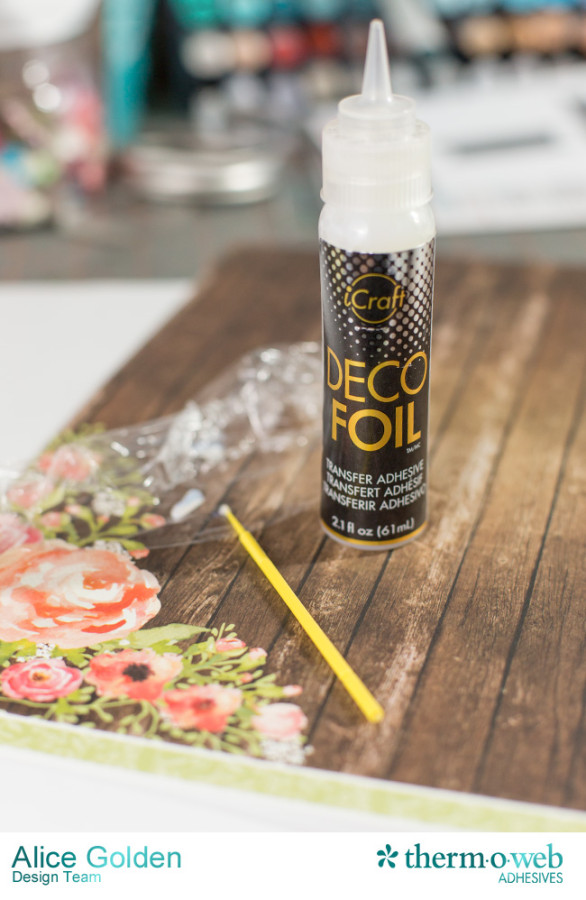
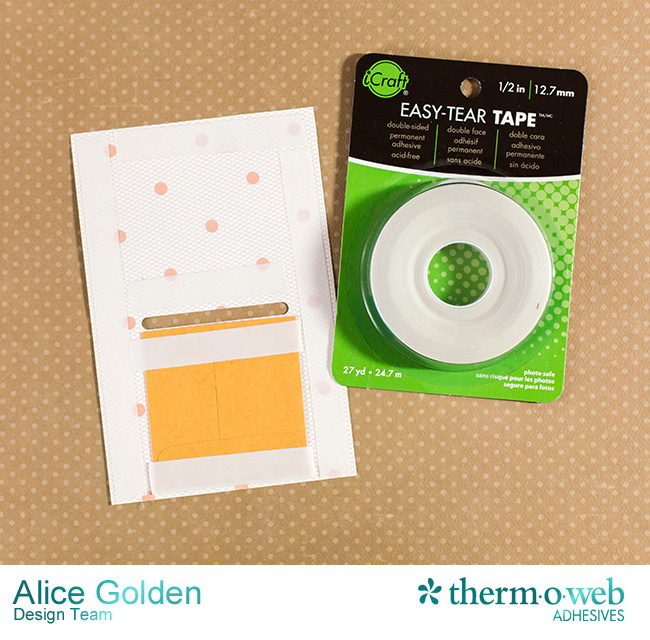
The insert was created using patterned paper from the collection and die cut with a slot to insert the gift card.
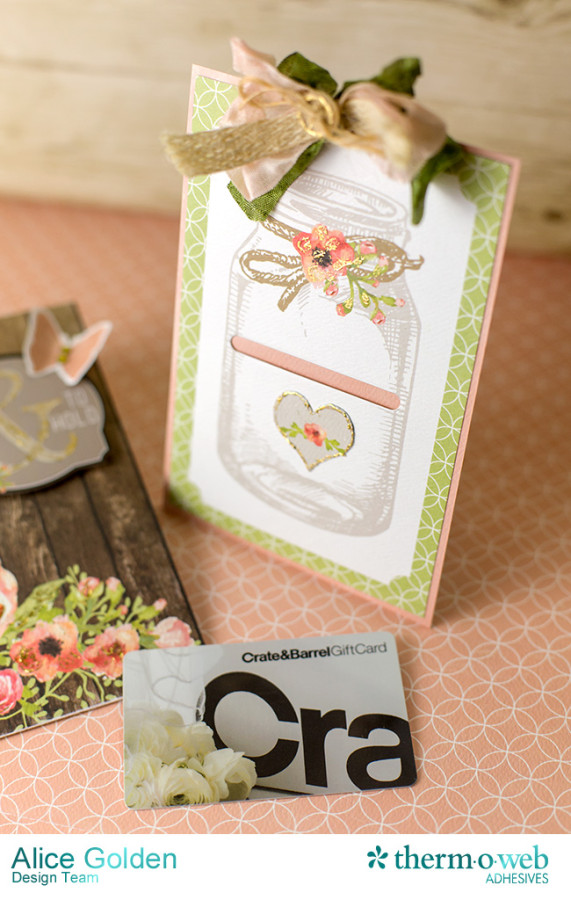
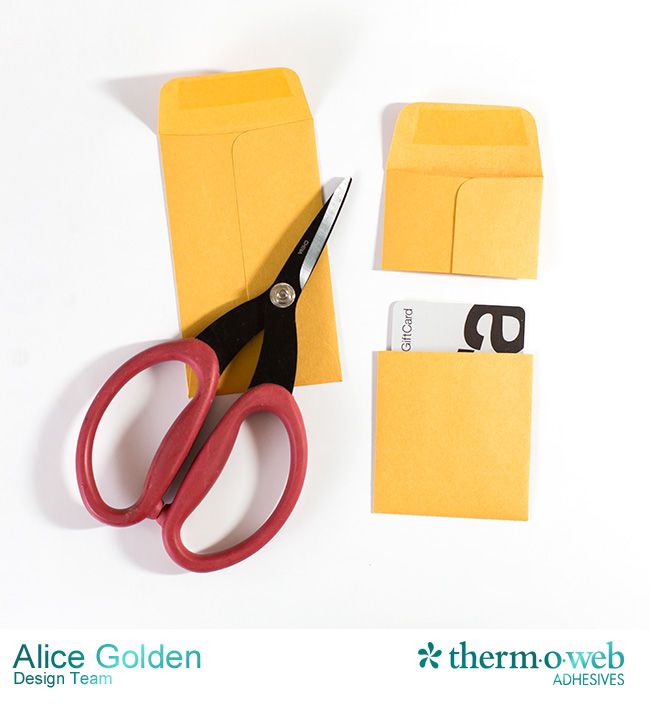
A little trick for keeping the gift card from moving around is to use part of an inexpensive coin envelope adhered behind the slot as a pocket for the gift card.
The pocket was attached to the back of the card just under the slot using iCraft® Easy-Tear tape. The same adhesive was used to attach the entire piece to the pink mat.
Now when you insert a gift card into the slot, it will be held securely in place. 3D Foam Squares were used to pop up the sentiment sticker on the outer sleeve of the card.
In addition to using this technique to add foil to paper and stickers, some was added around the edges of the wooden button used to hold the bow in place.
Thanks so much for stopping by today!
Therm O Web
iCraft® DecoFoil™ Gold Transfer Sheets
iCraft® DecoFoil™ Liquid Transfer Adhesive
Other:
Rustic Elegance Collection
Ribbon, twine
Wooden button
Die-namics Gift Card Grooves die – My Favorite Things
Be sure to take a moment to enter to win a iCraft® Deco Foil™ Giveaway!
We’re including 7 Deco Foil™ Transfers sheets (you get to choose!) along with a pack of our Hot Melt Adhesive, Foam Adhesive and our Liquid Adhesive! You’ll be able to get crafting and make some fun projects with this prize! Don’t forget you can shop online for all of our products right from the convenience of your home!

Lisaerica
September 6, 2015 at 10:31 am (10 years ago)Wow everyone did an awesome job, the cards are stunning. Thanks for the chance to win, I’ve been dying to try this technique.