 Hey, hi, hello!!!! Therm O Web is teaming up with Heffy Doodle this week and let’s just say I had a ton of fun with their products! It’s Katrina from Paper, Scissors, Glue and Hybrid Too sharing my project with you today. I am going to show you a fun way to make your own letter stickers with Deco Foil products and some Heffy Doodle letter dies!
Die Cut Foiled Letters with Heffy Doodle
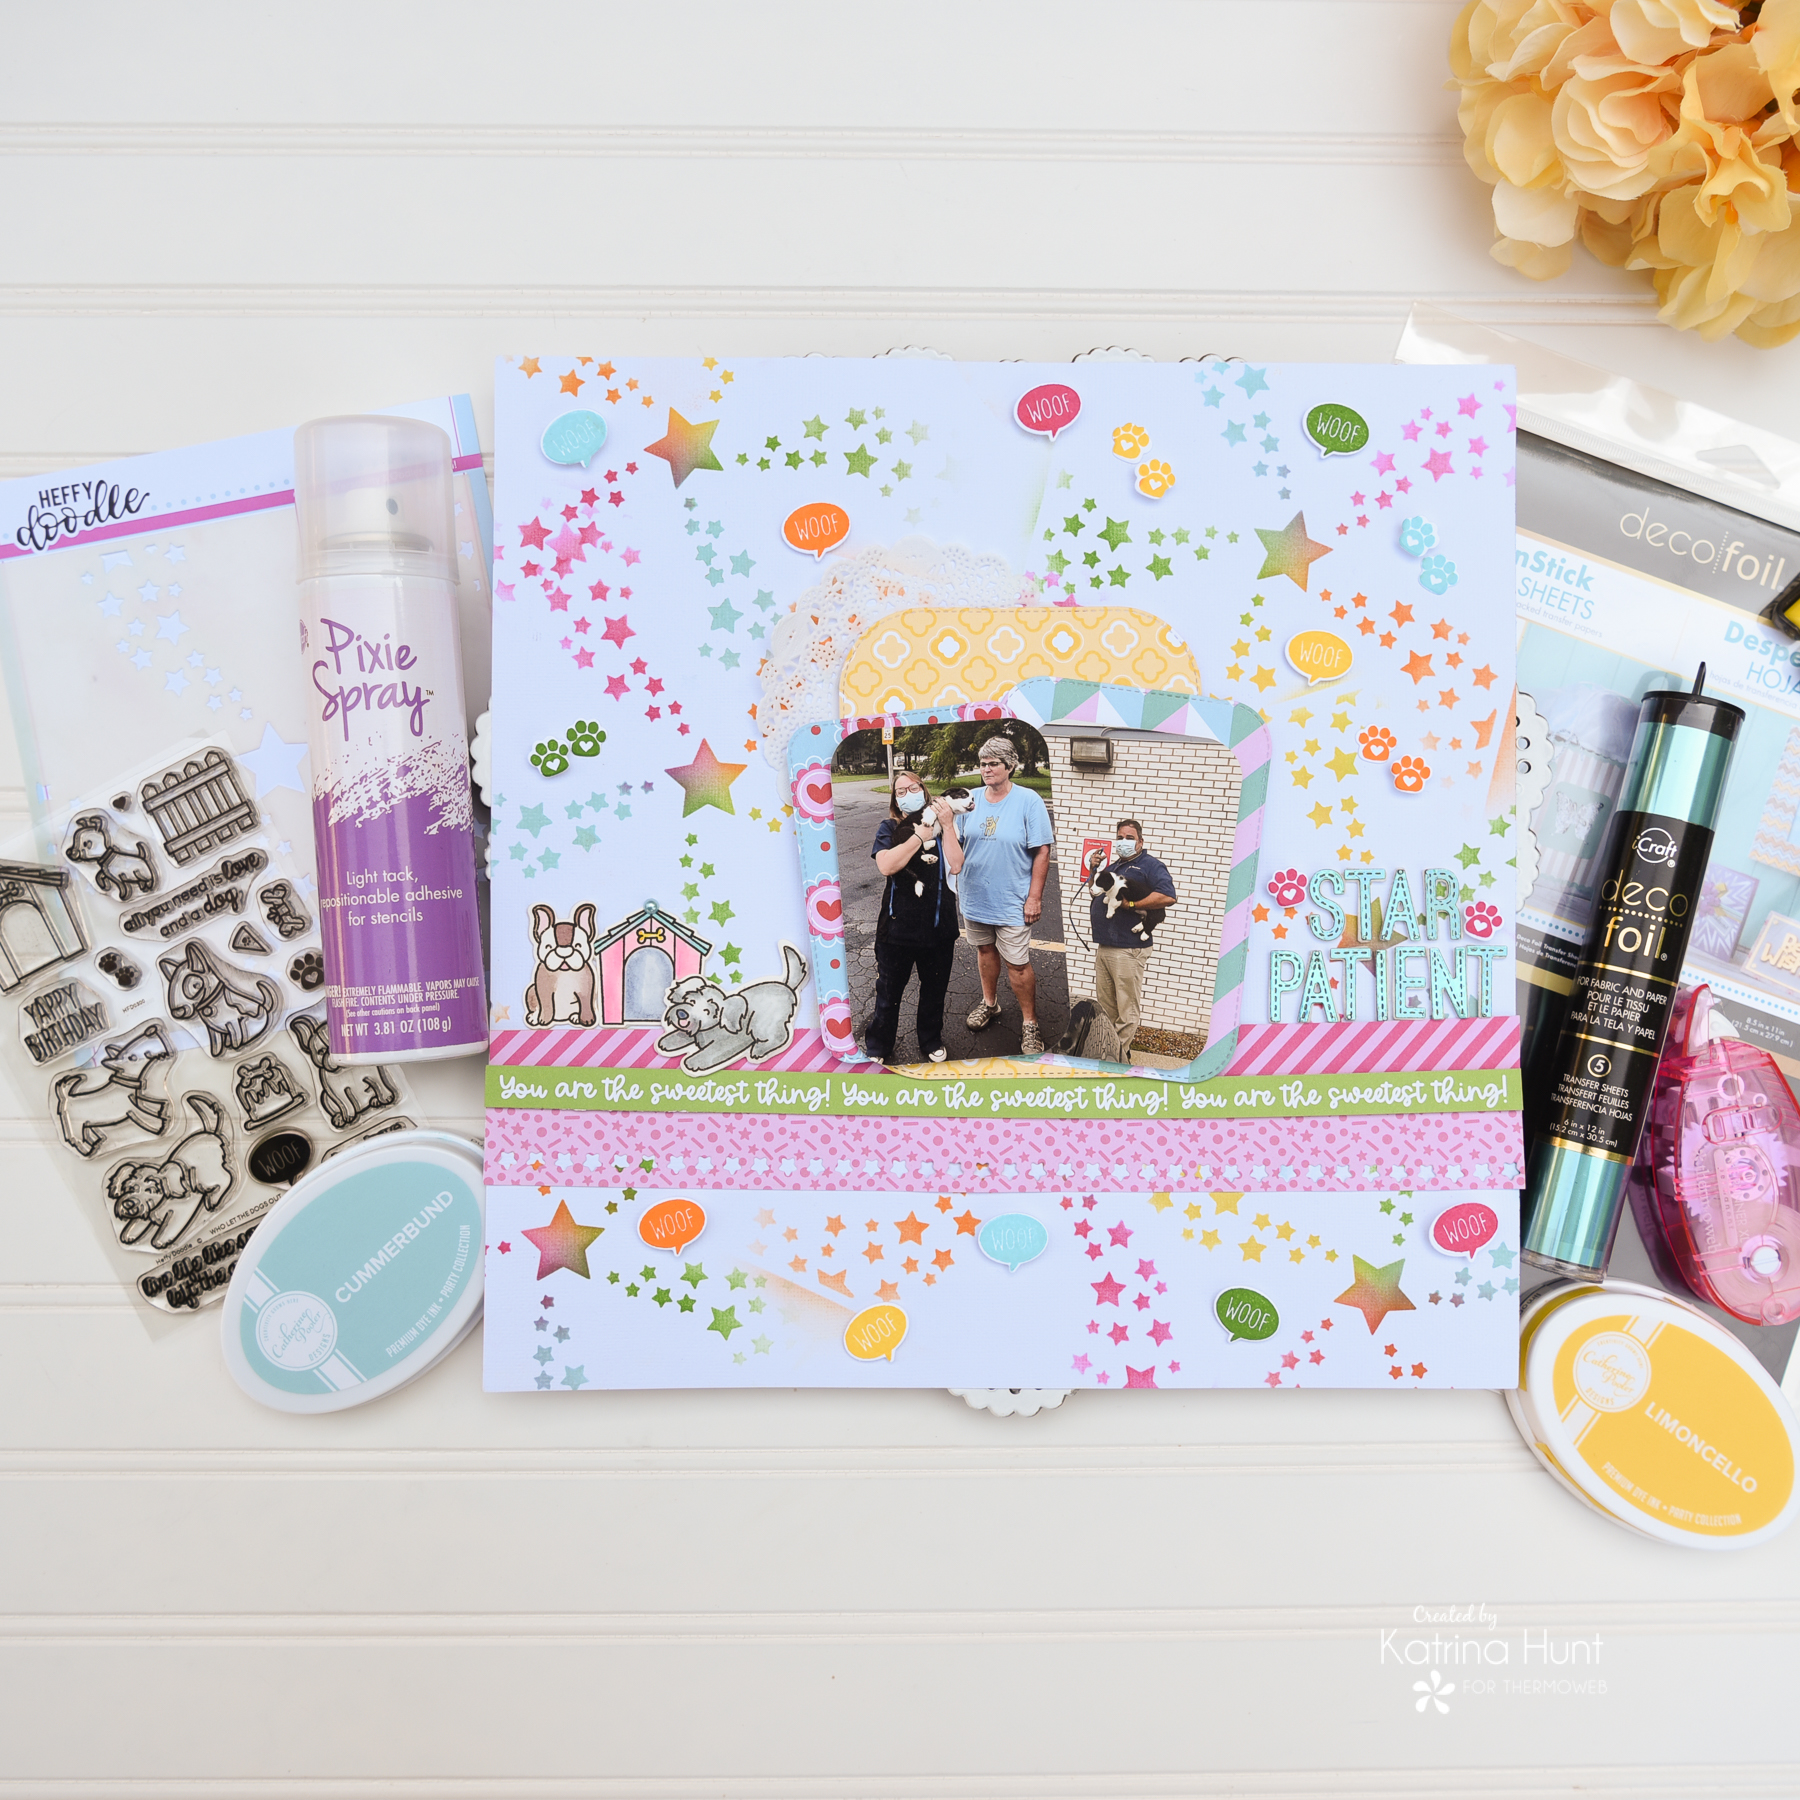
Therm O Web Supplies Used
Memory Runner XL
Memory Runner XL Refill
3D Foam Squares – Combo Pack
NEW 3D FOAM SQUARES BOX
NEW 3D FOAM TAPE ROLL 1/16
Deco Foil Foam Adhesive Sheets 6×12–White
Deco Foil Transfer Sheets-Glass Slipper
Deco Foil Peel and Stick Toner Sheets
iCraft Pixie Spray
iCraft Purple Tape
Ultra Bond Liquid Adhesive
NEW ULTRA BOND LIQUID ADHESIVE PEN
Heffy Doodle Products Used
Star Swirl Stencil
Who Let the Dogs Out-Stamp Set
Who Let the Dogs Out-Die Set
Stitched Alphabetters Die Set
Stitched Rounded Imperial Rectangle Dies
Lovely Little Border Dies
Other Supplies Used
American Crafts White Cardstock
Bella Blvd-My Candy Girl (use code Katrina for 20% off)
Catherine Pooler Inks
*Party Dress
*Limoncello
*Cummberbund
*Grass Skirt
*Tiki Torch
Catherine Pooler Blender Brushes
*Small
*Large
Karin Pro Brush Markers
Layout Details
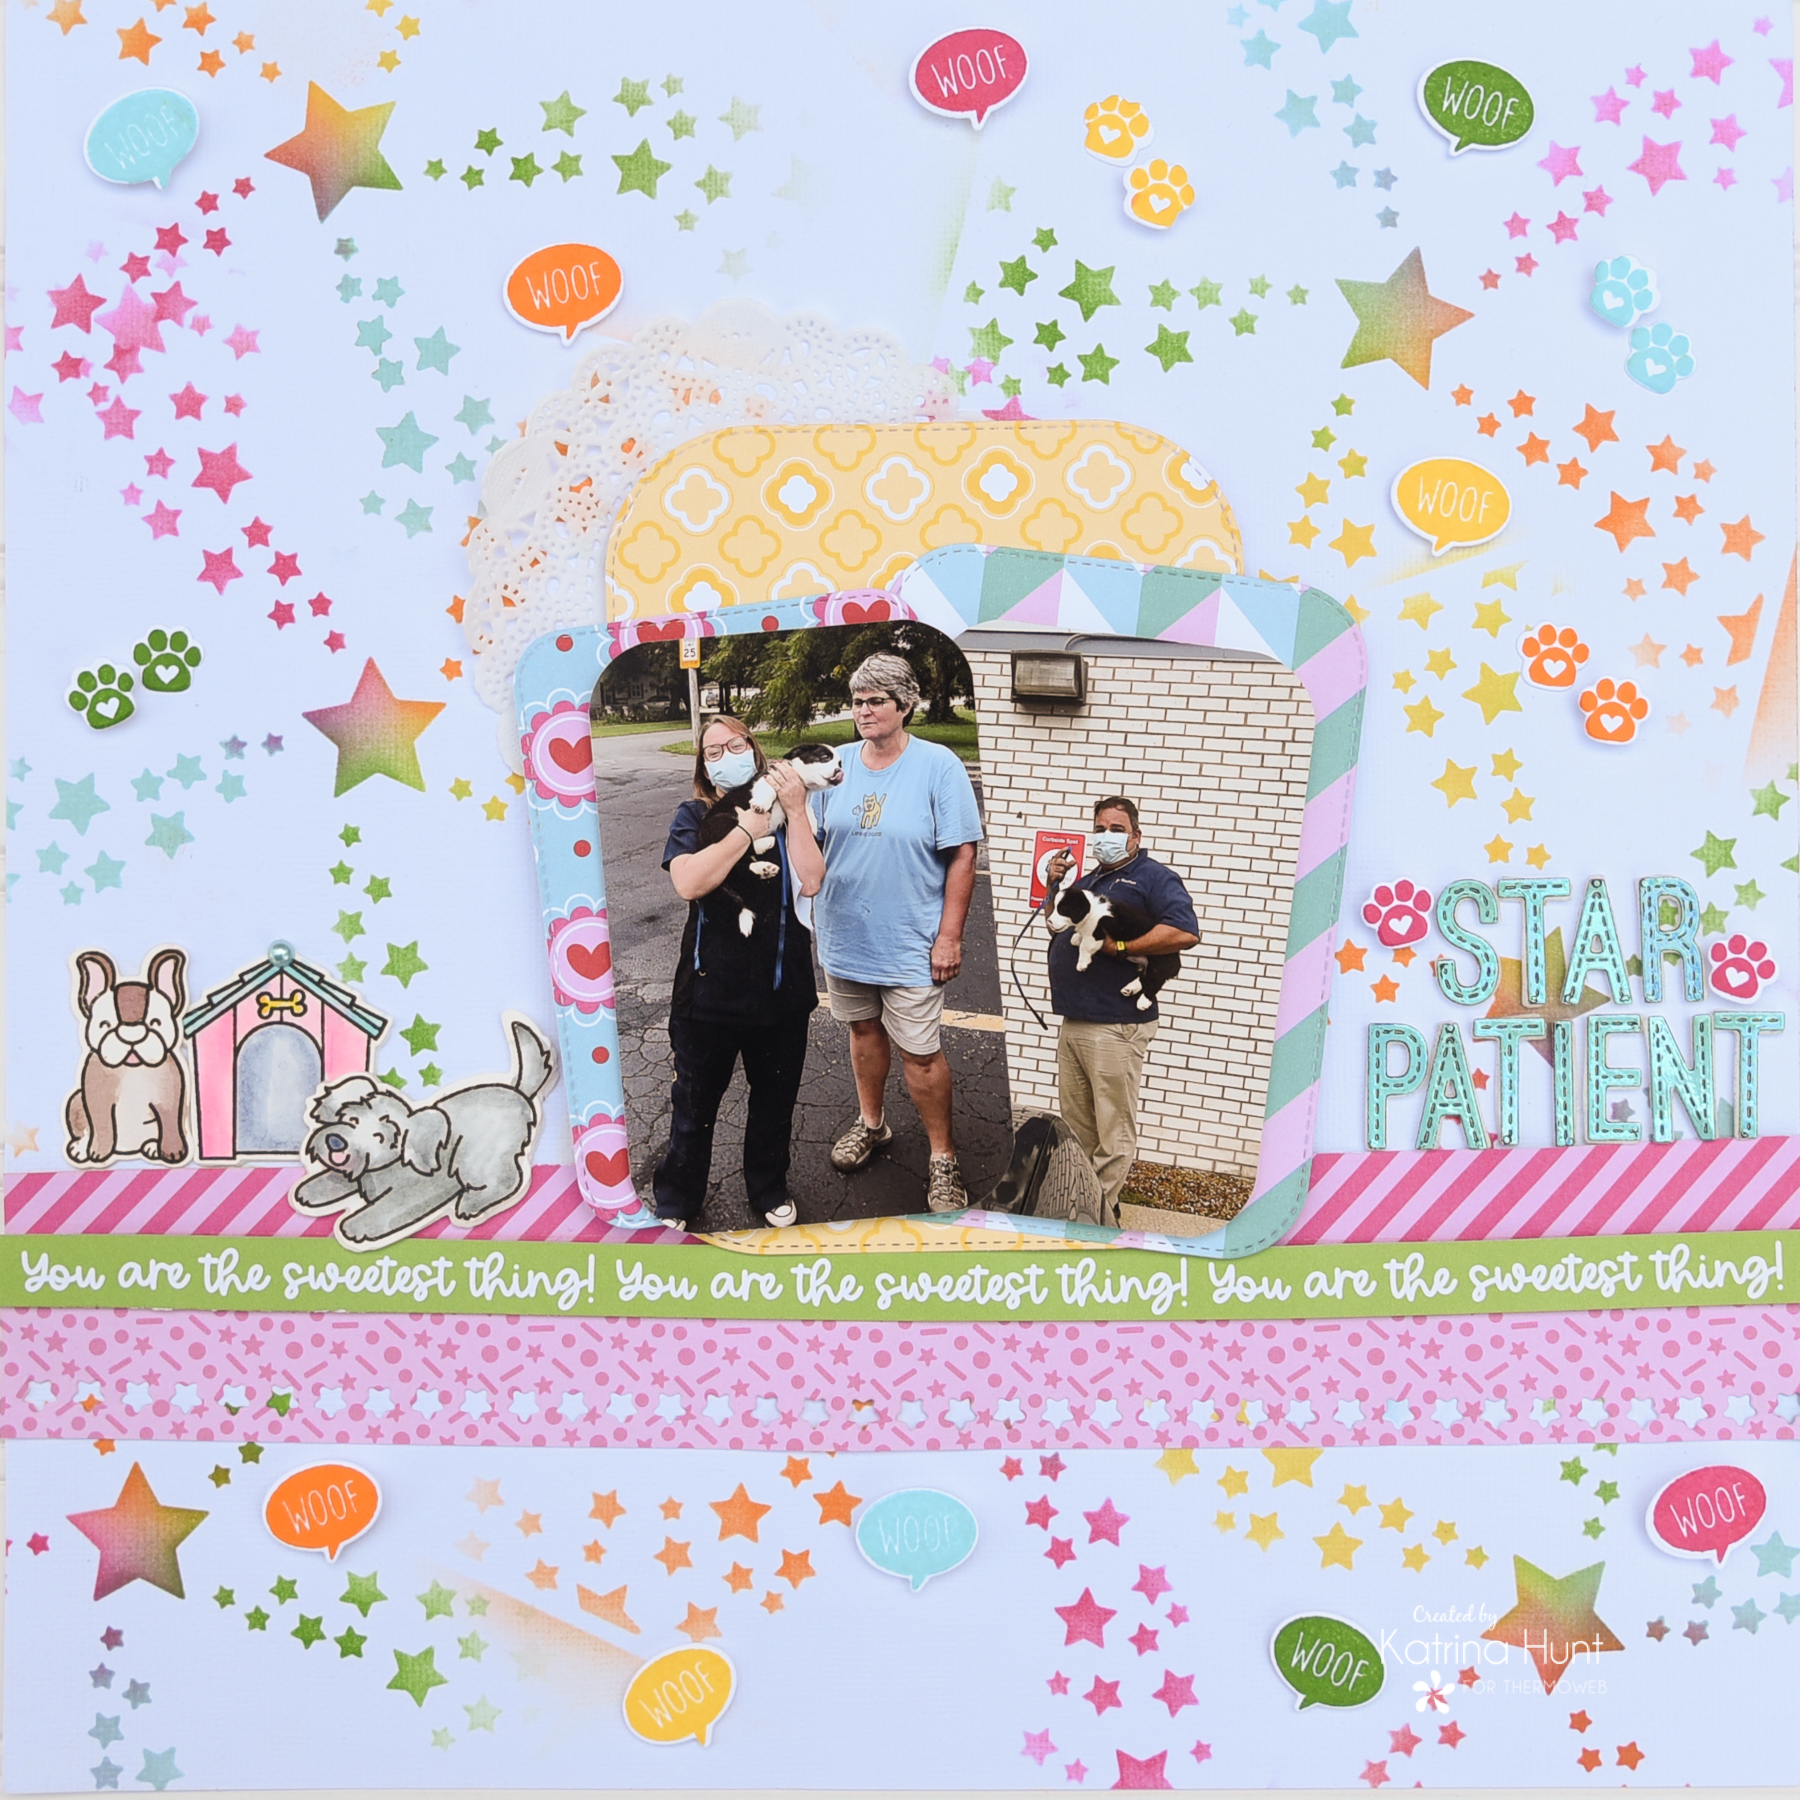
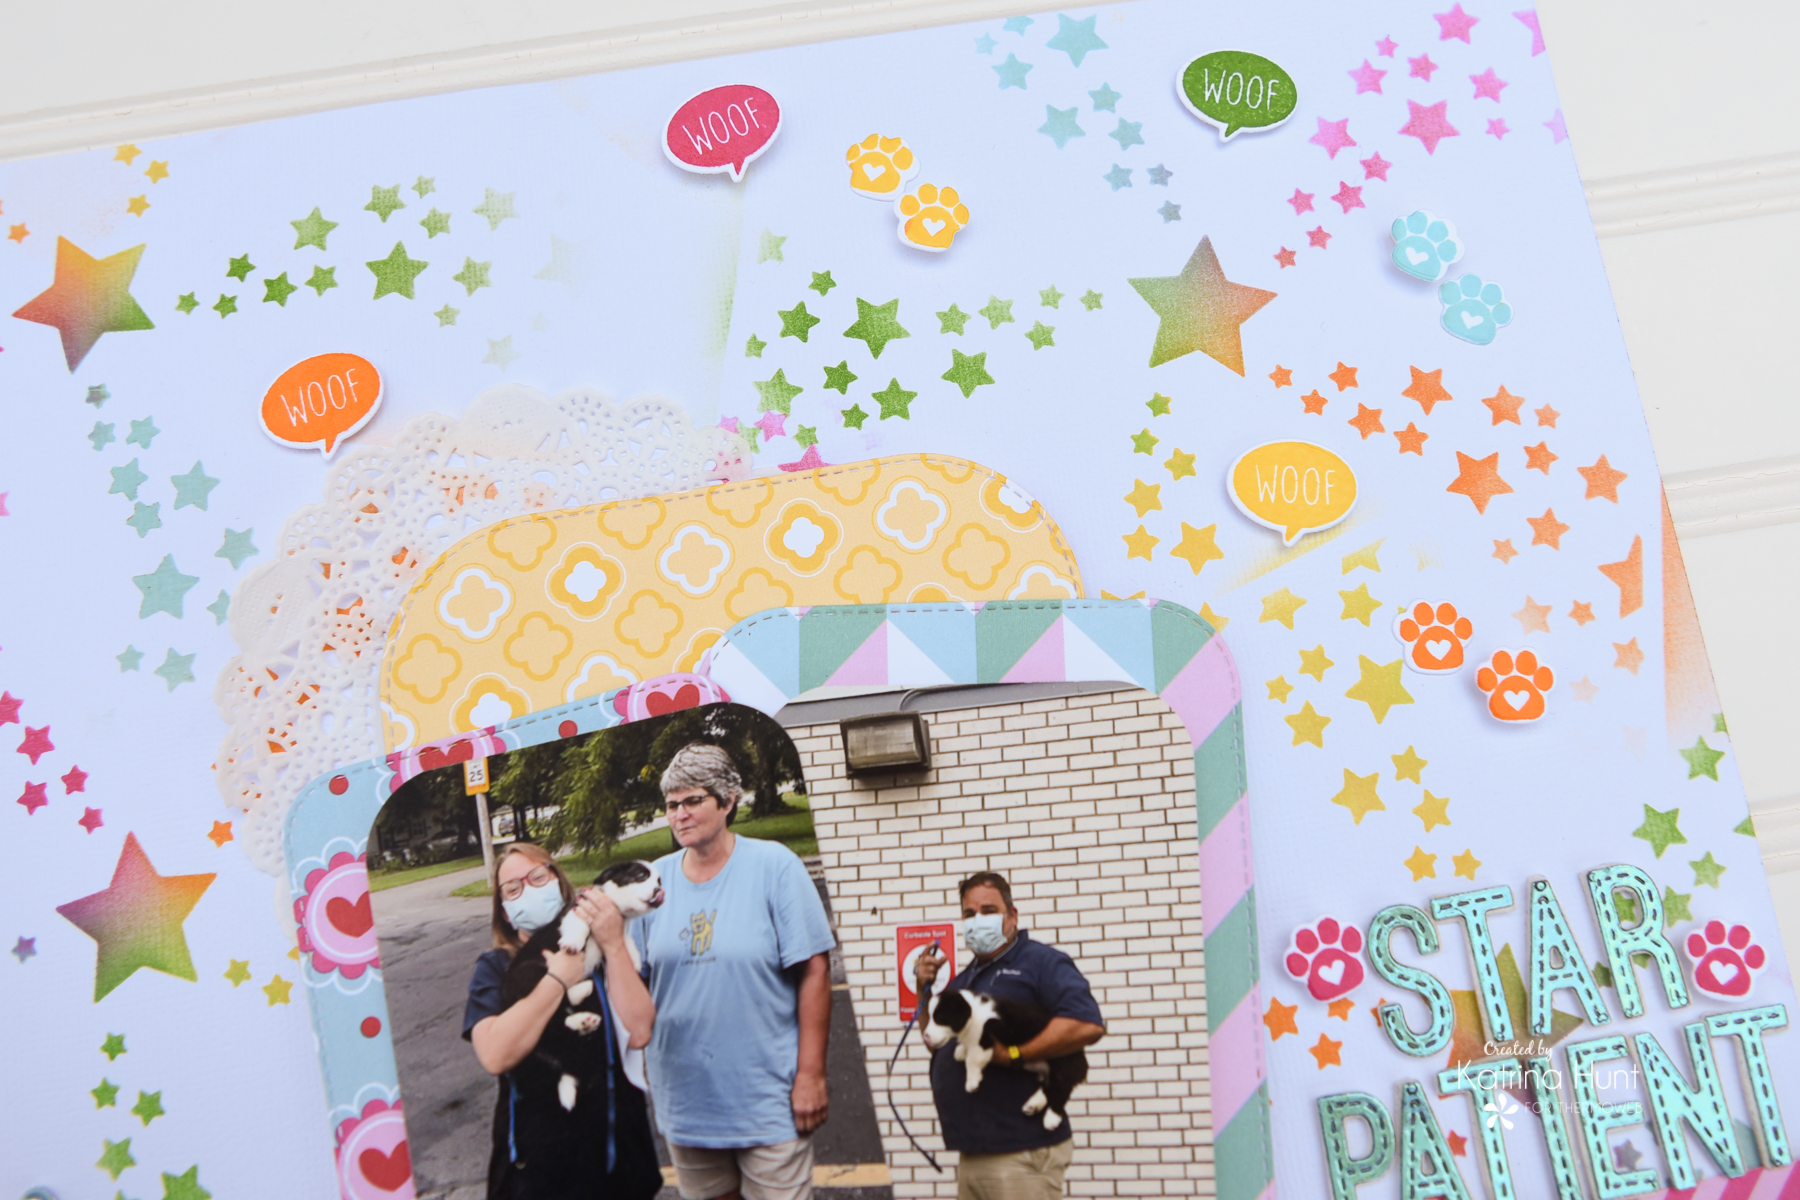
 Begin your layout with a white piece of cardstock, Star Swirled Stencil and Pixie Spray. Spray the back of the stencil lightly and let dry for about 30 seconds. Place sticky side down and using blender brushes blend the different colors of ink, making sure to get a little color in the center star. Repeat as you like over the entire 12×12 piece of cardstock.
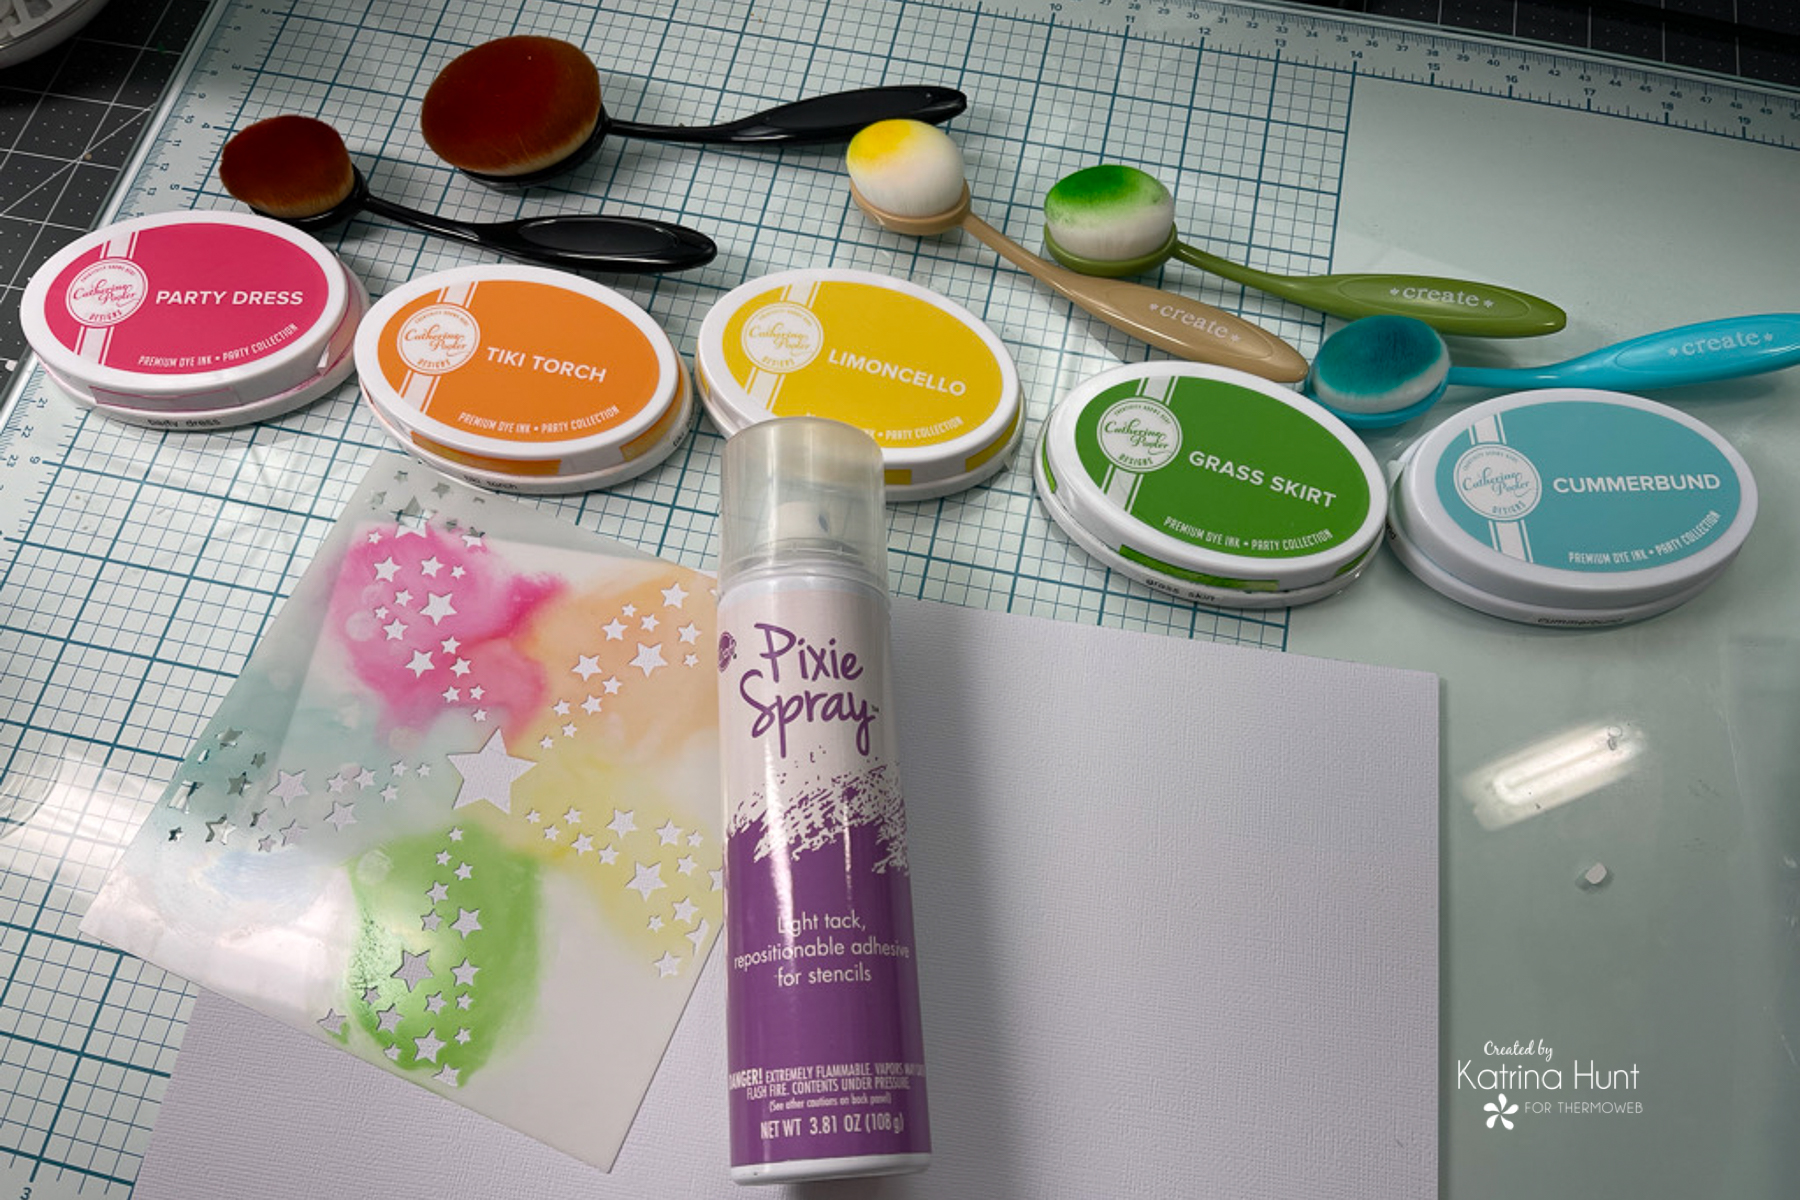
I found it helped if I lined the ink up in Rainbow order and blended in the same order.
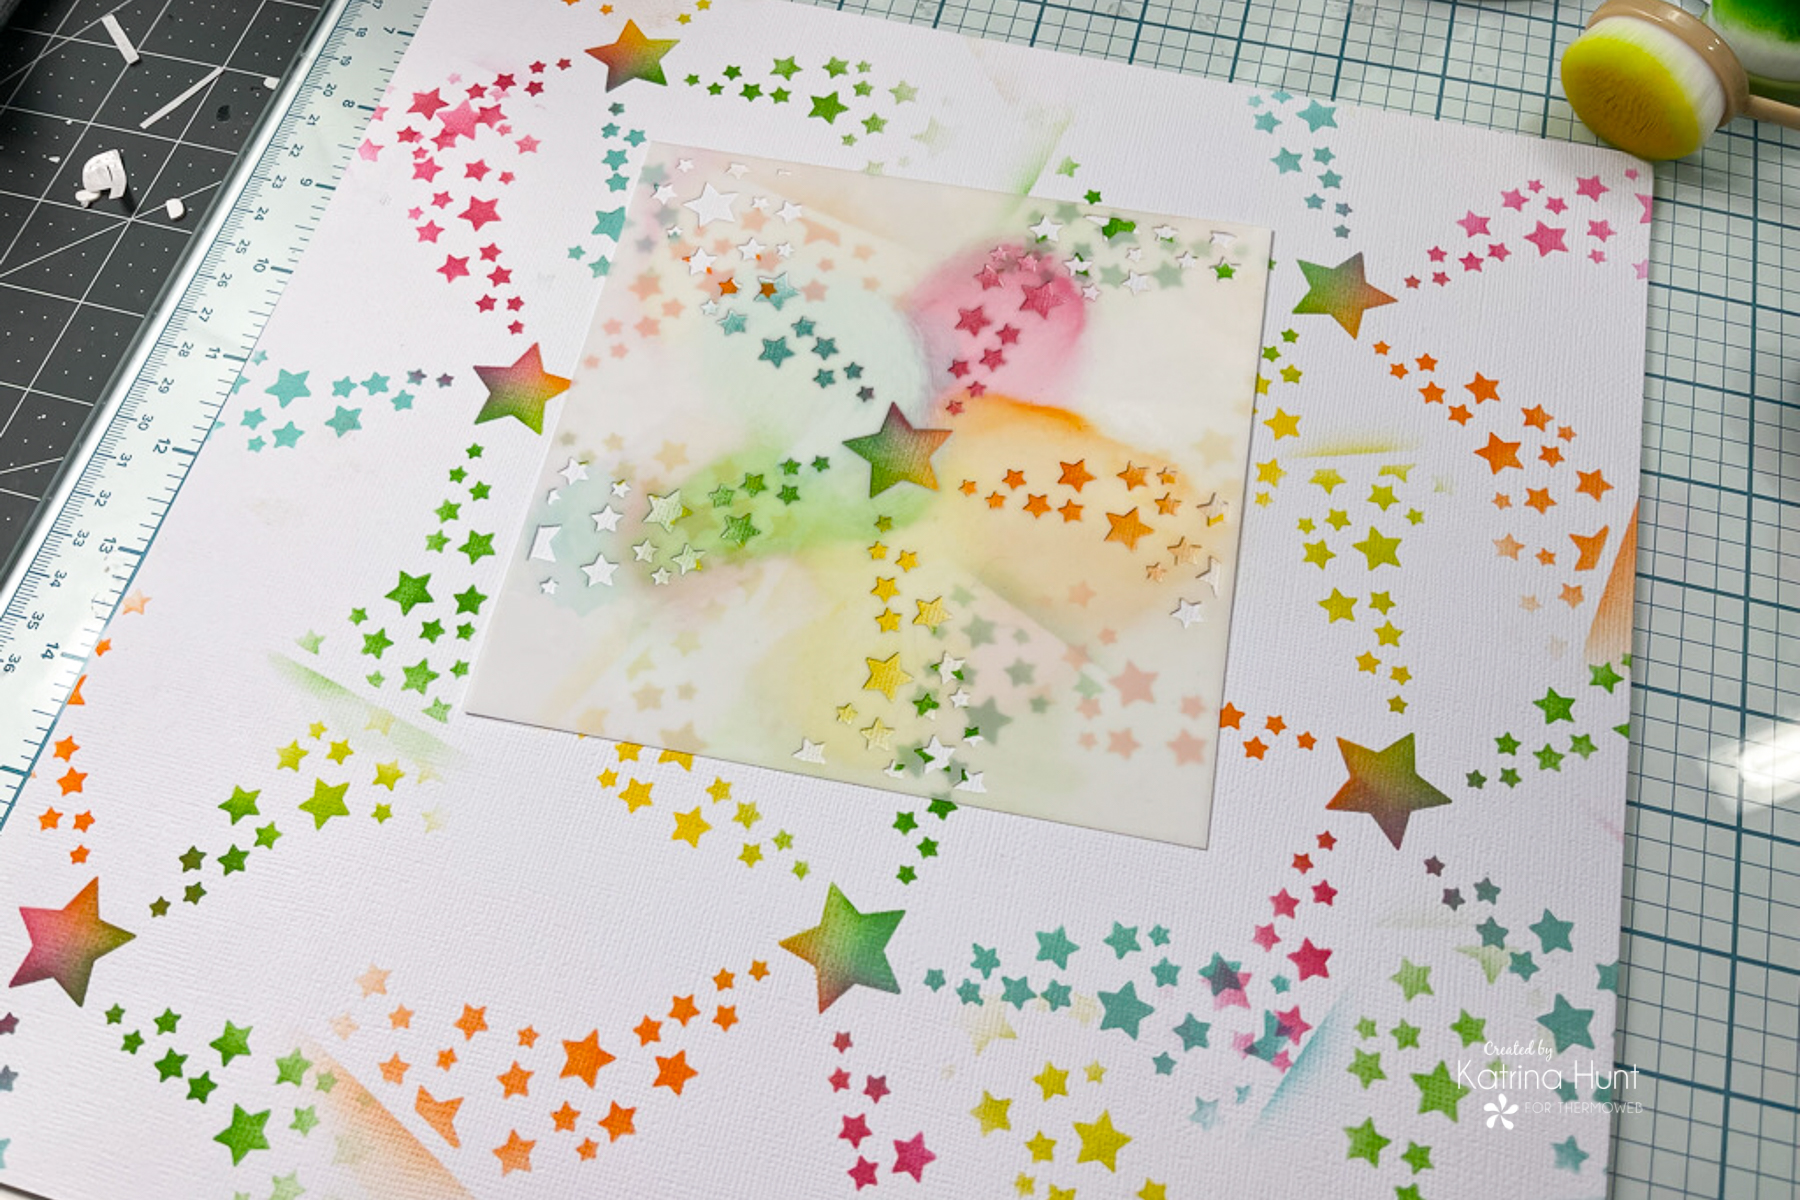
How fun is that background?!! I really want to do this again with a monochromatic theme!
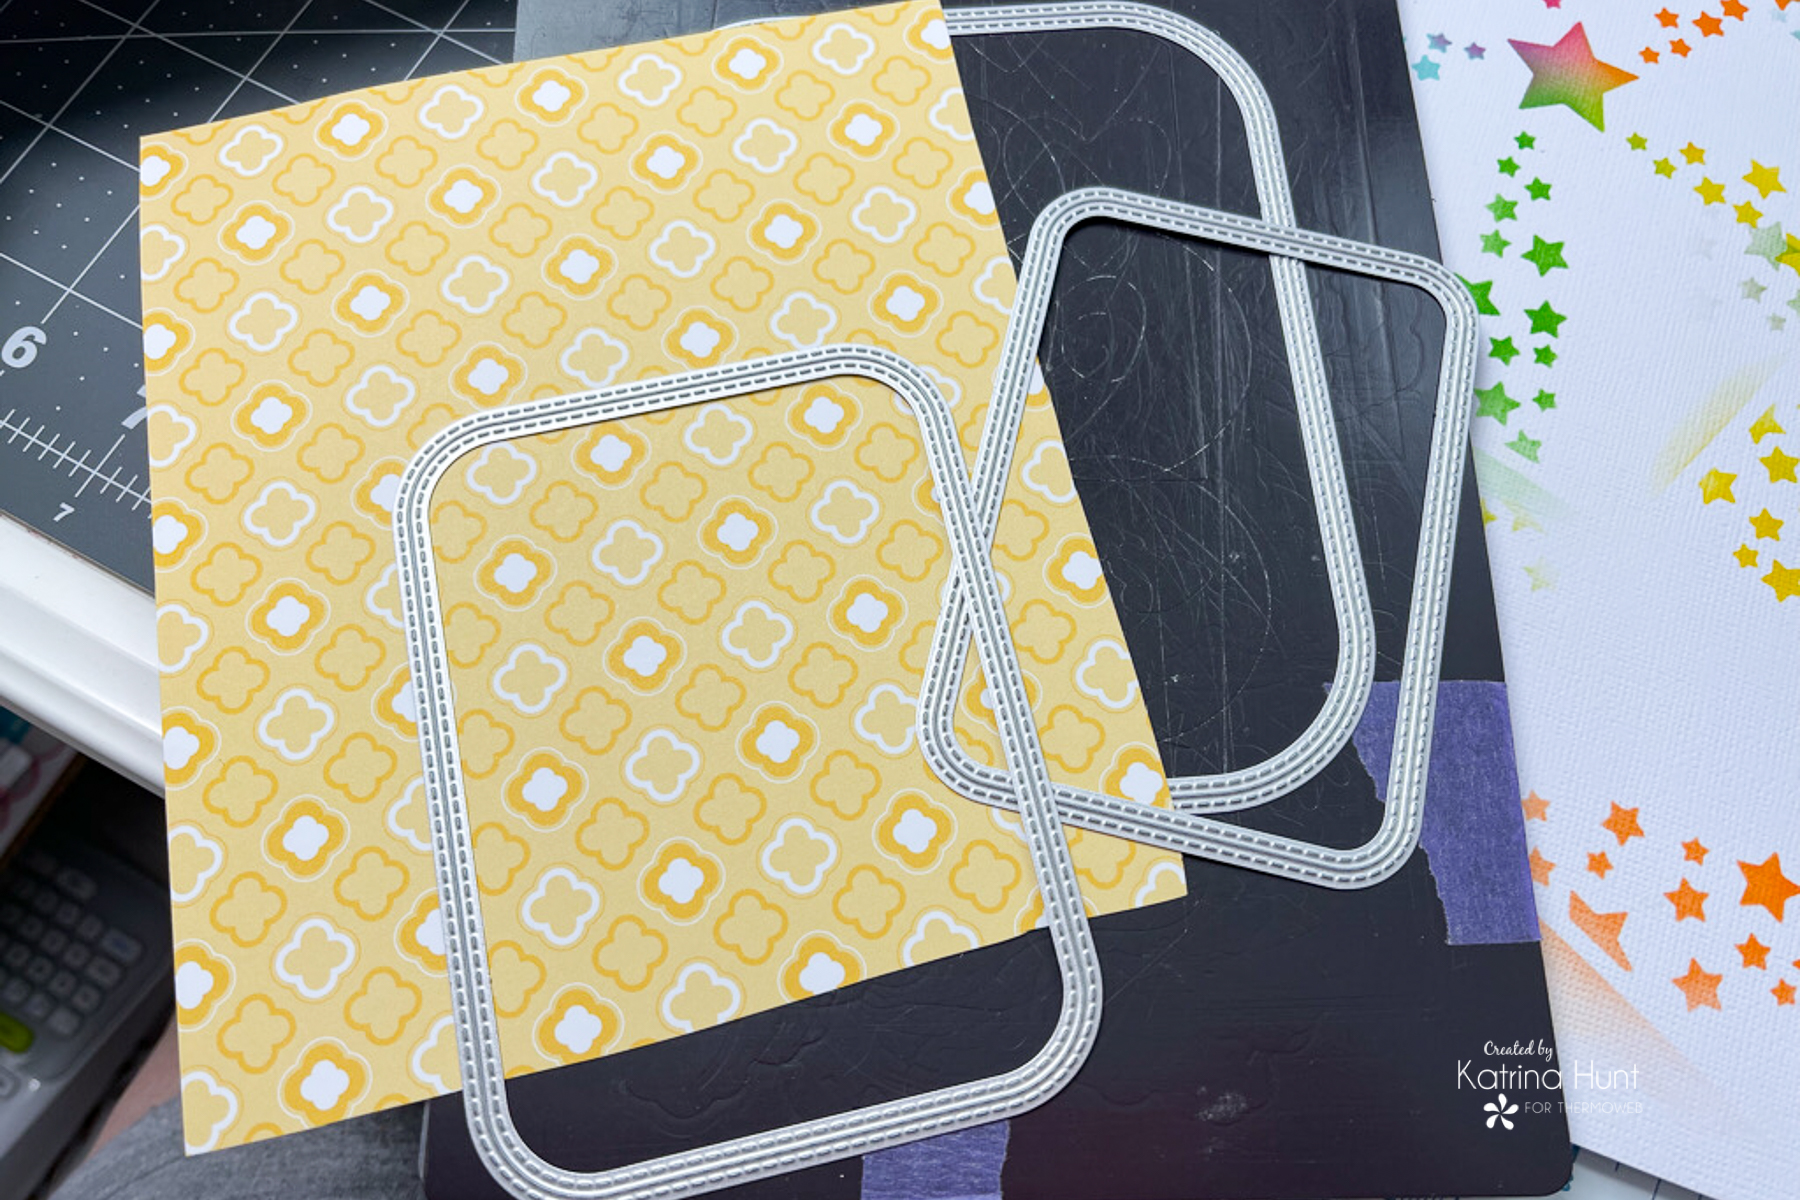
 Next, trim out paper layers using the rectangular dies. I used purple tape to hold my dies in place while running thru my die-cutting machine. I stopped at three layers, but you could always do more.
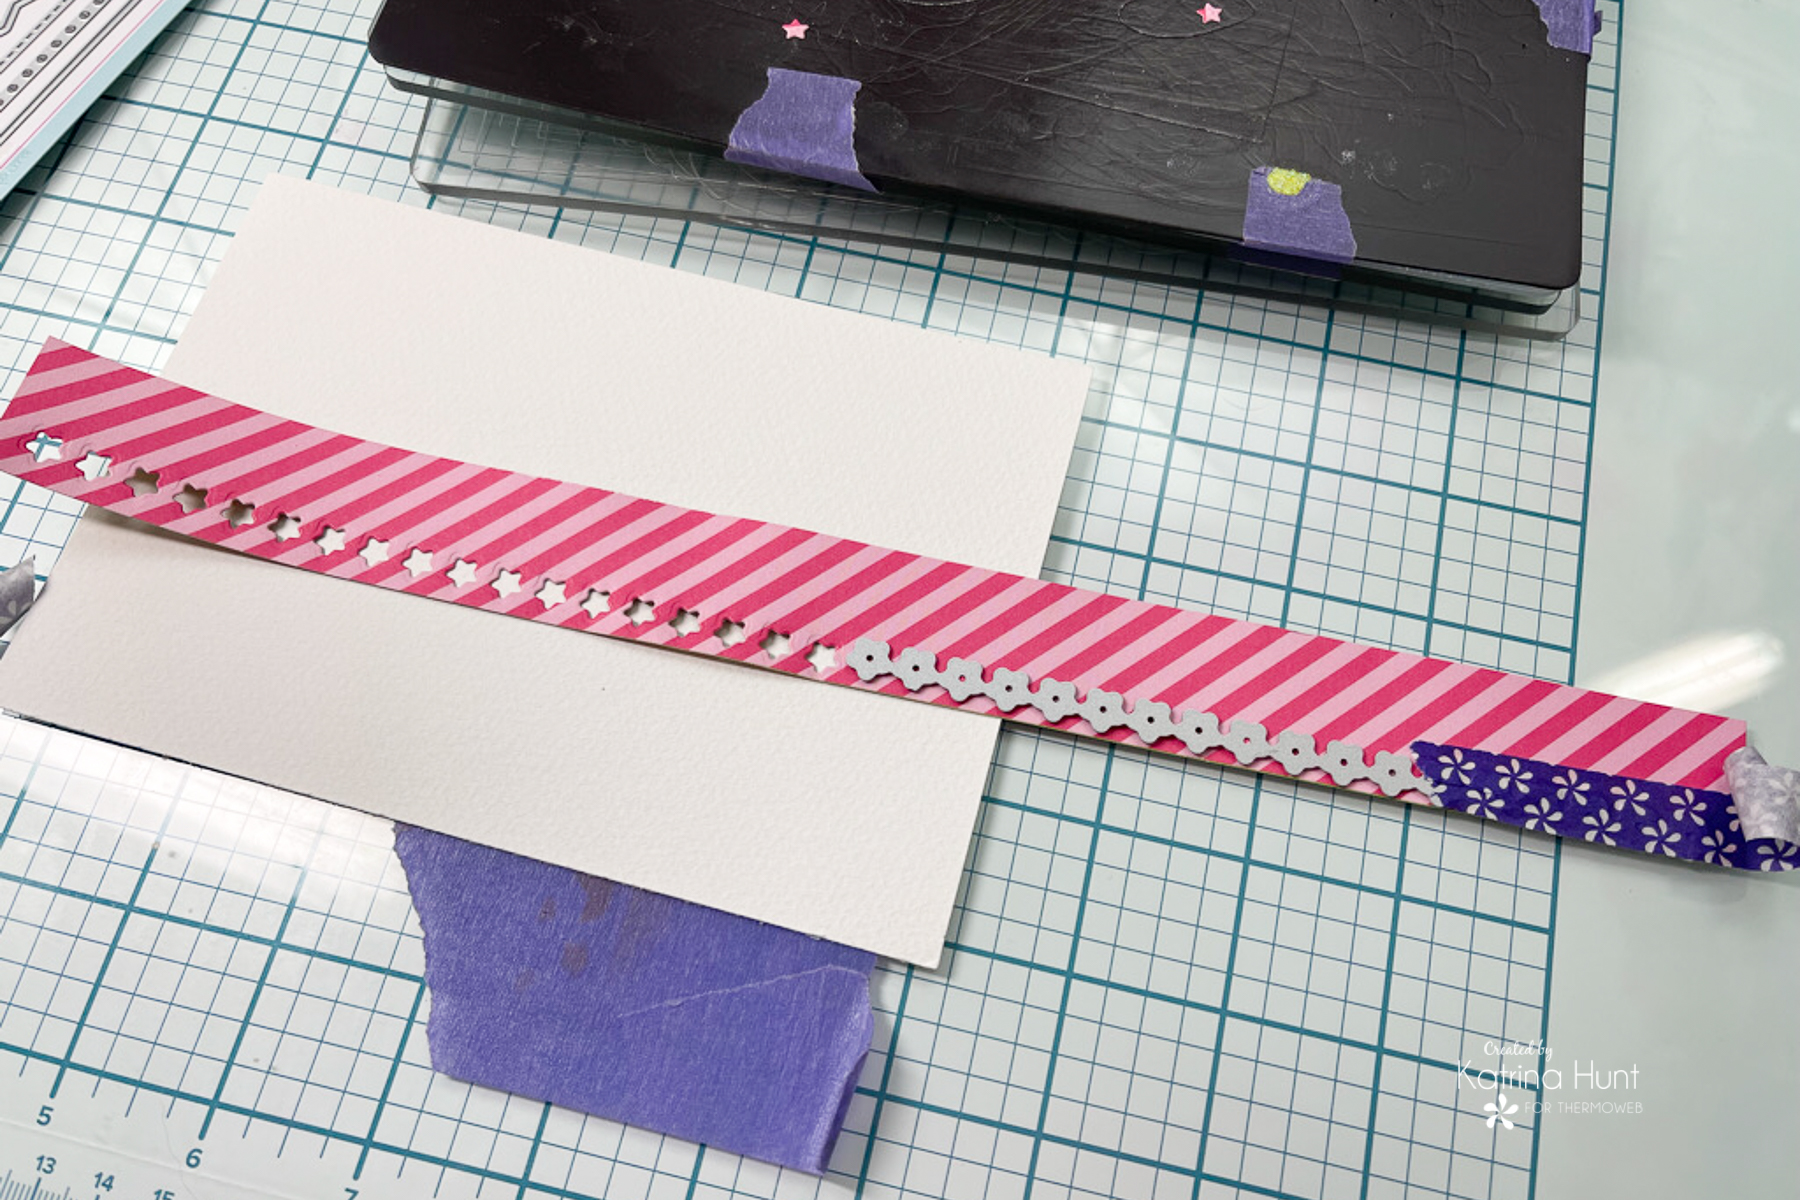
Next, I trimmed a couple of 1.5-2 x 12-inch strips to line below my pictures and layers. I used the border dies to create some interesting details for one of my strips. Since the pattern is a repeating one, it’s easy to do a 12-inch strip by using the Purple Tape to hold the die in place, overlapping the first die cut run thru and then doing the rest of the strip.
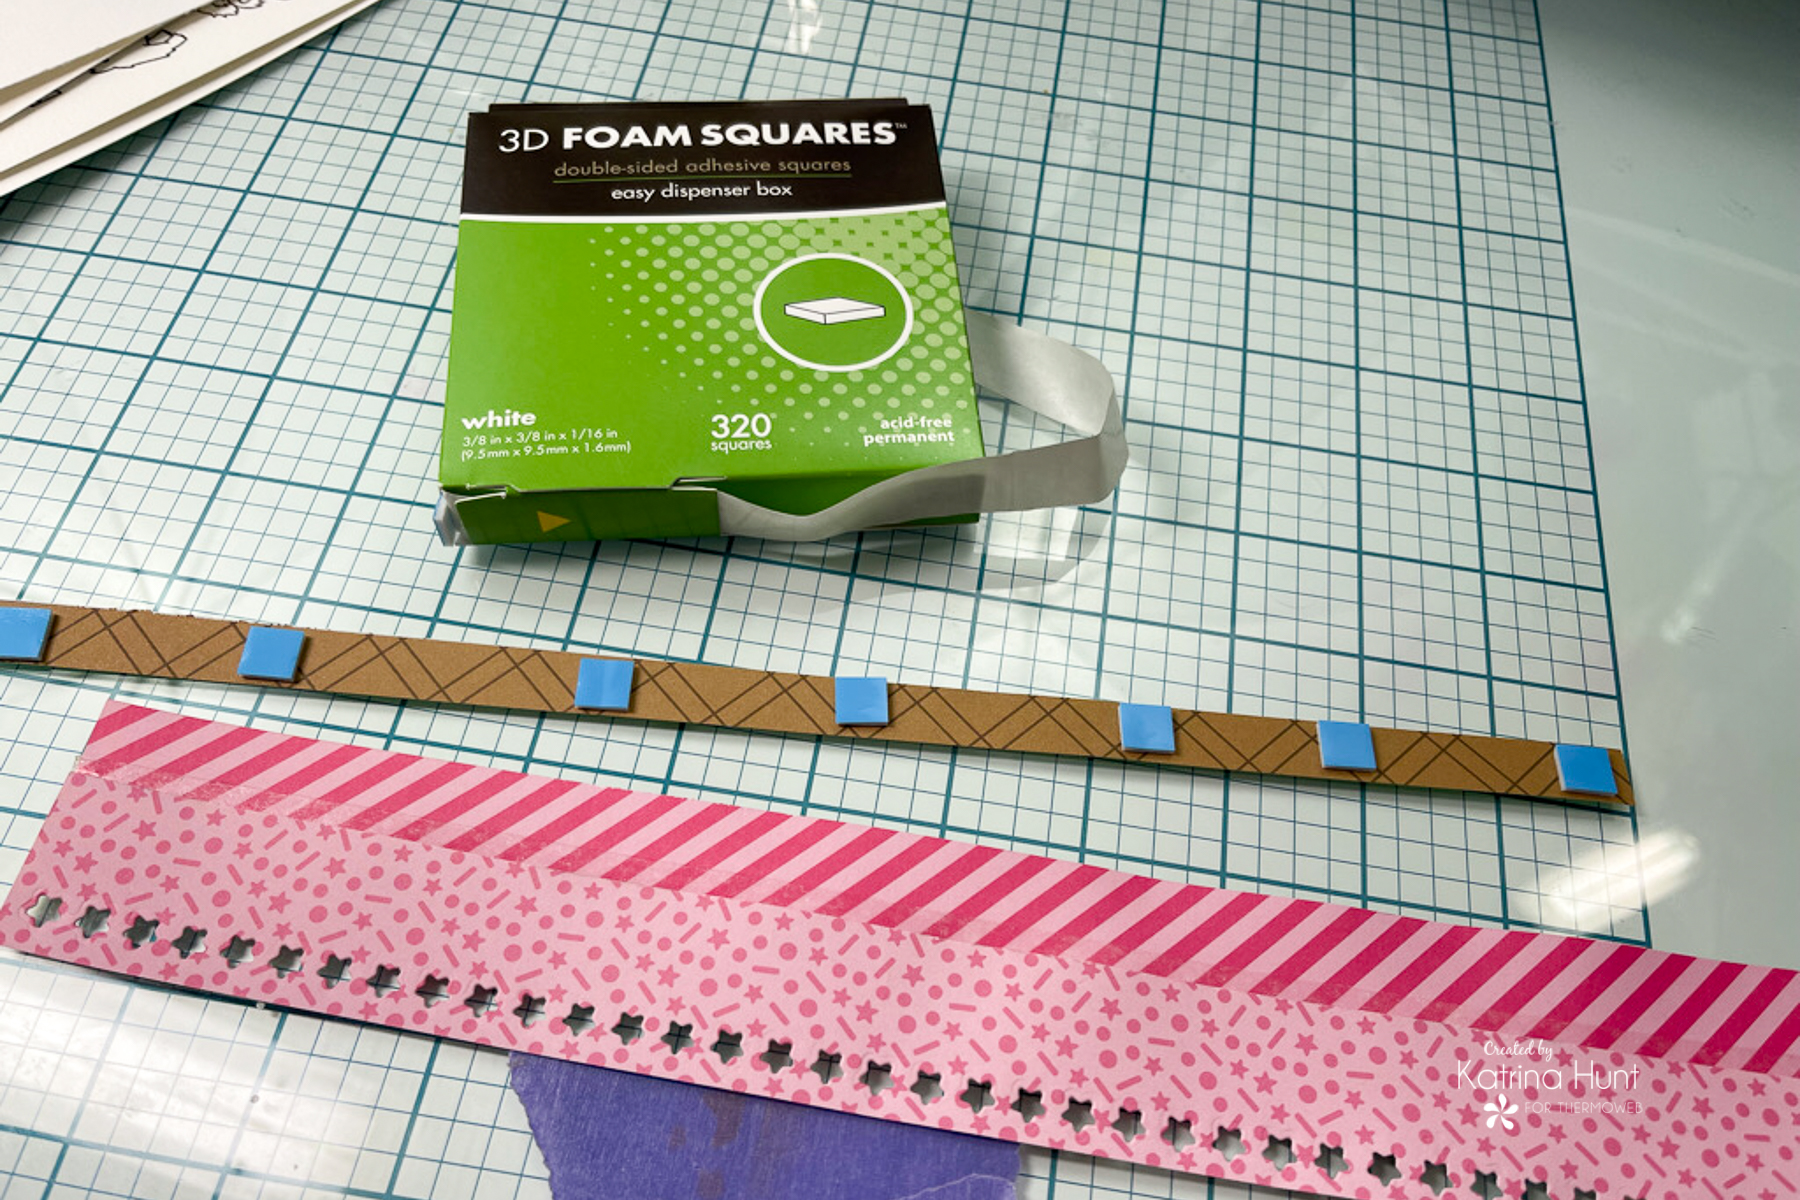
I used the new 3D Boxed Foam Squares to pop up the green strip on the two joined papers.
I love how this section turned out! I also popped the pattern paper layers up with a lot of foam squares!
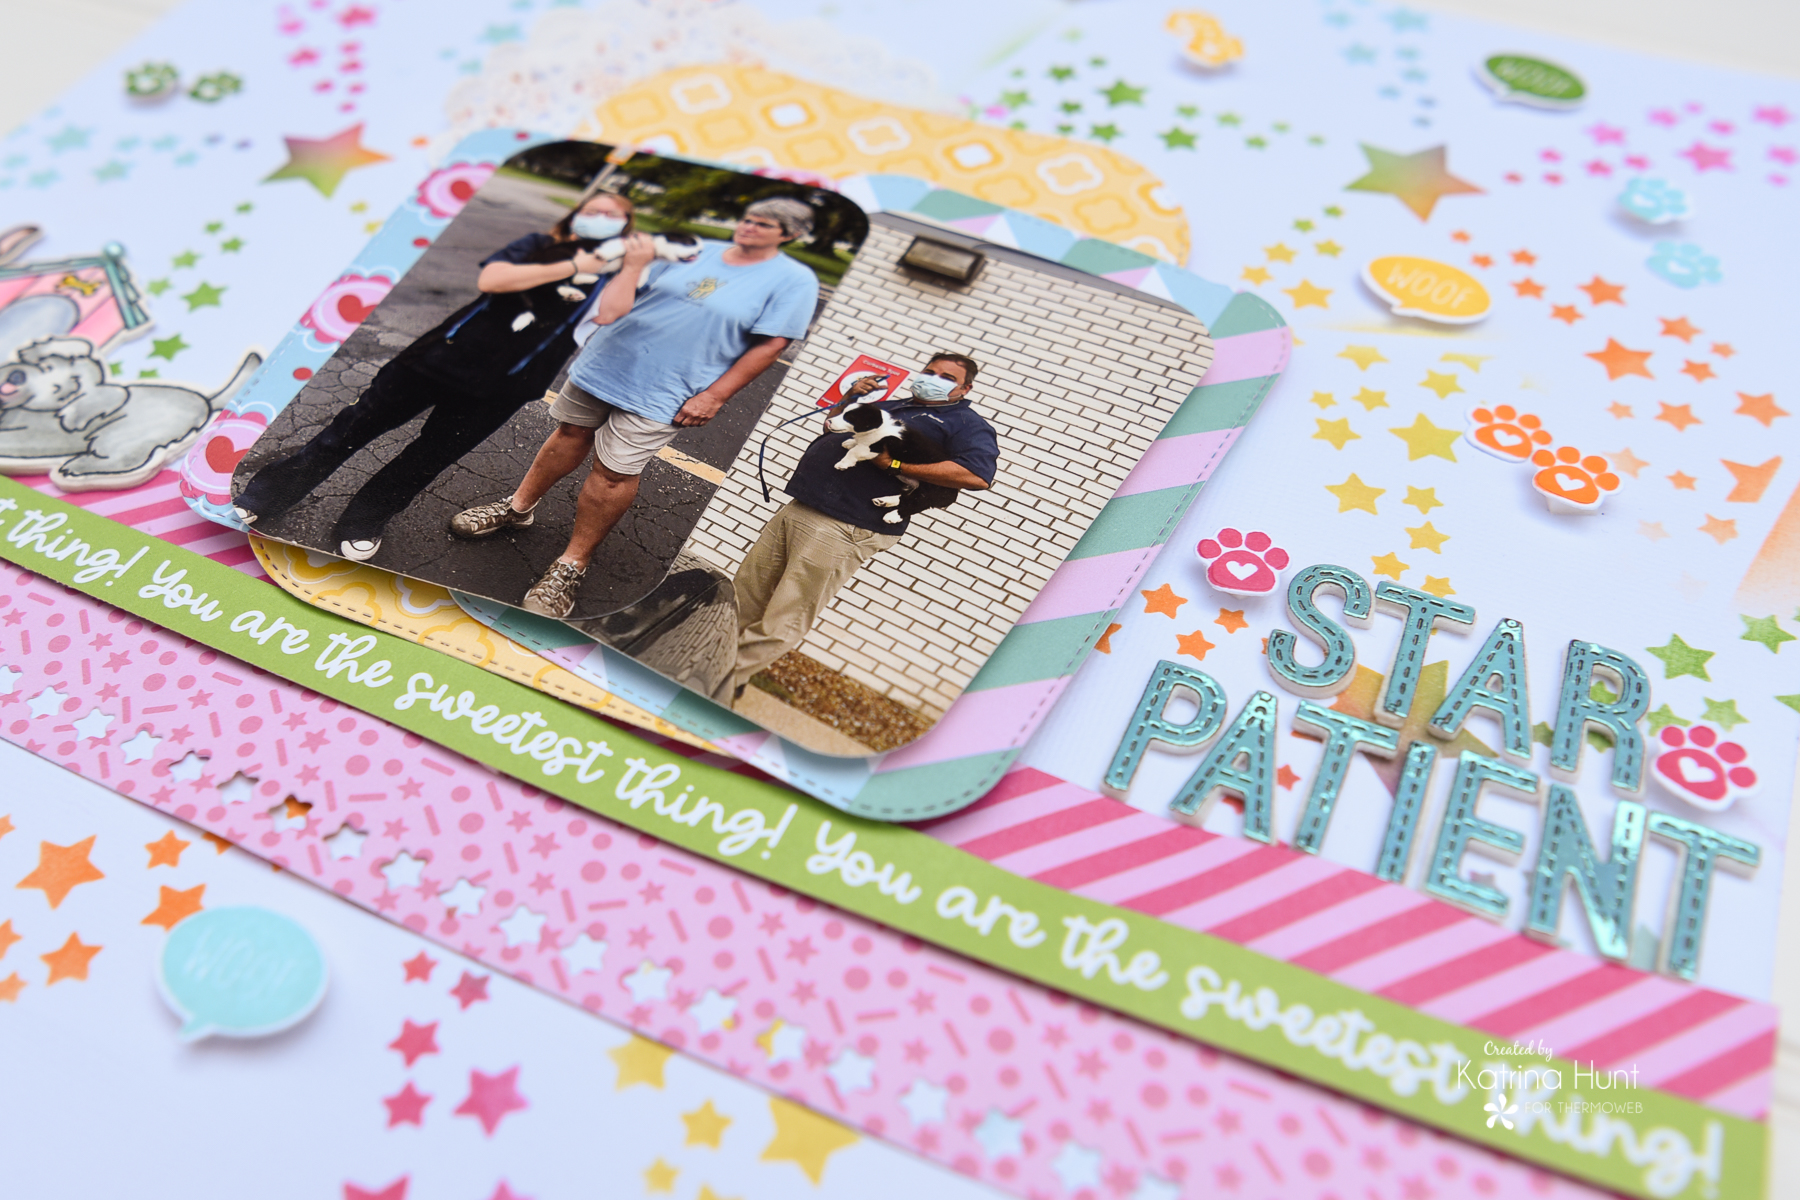
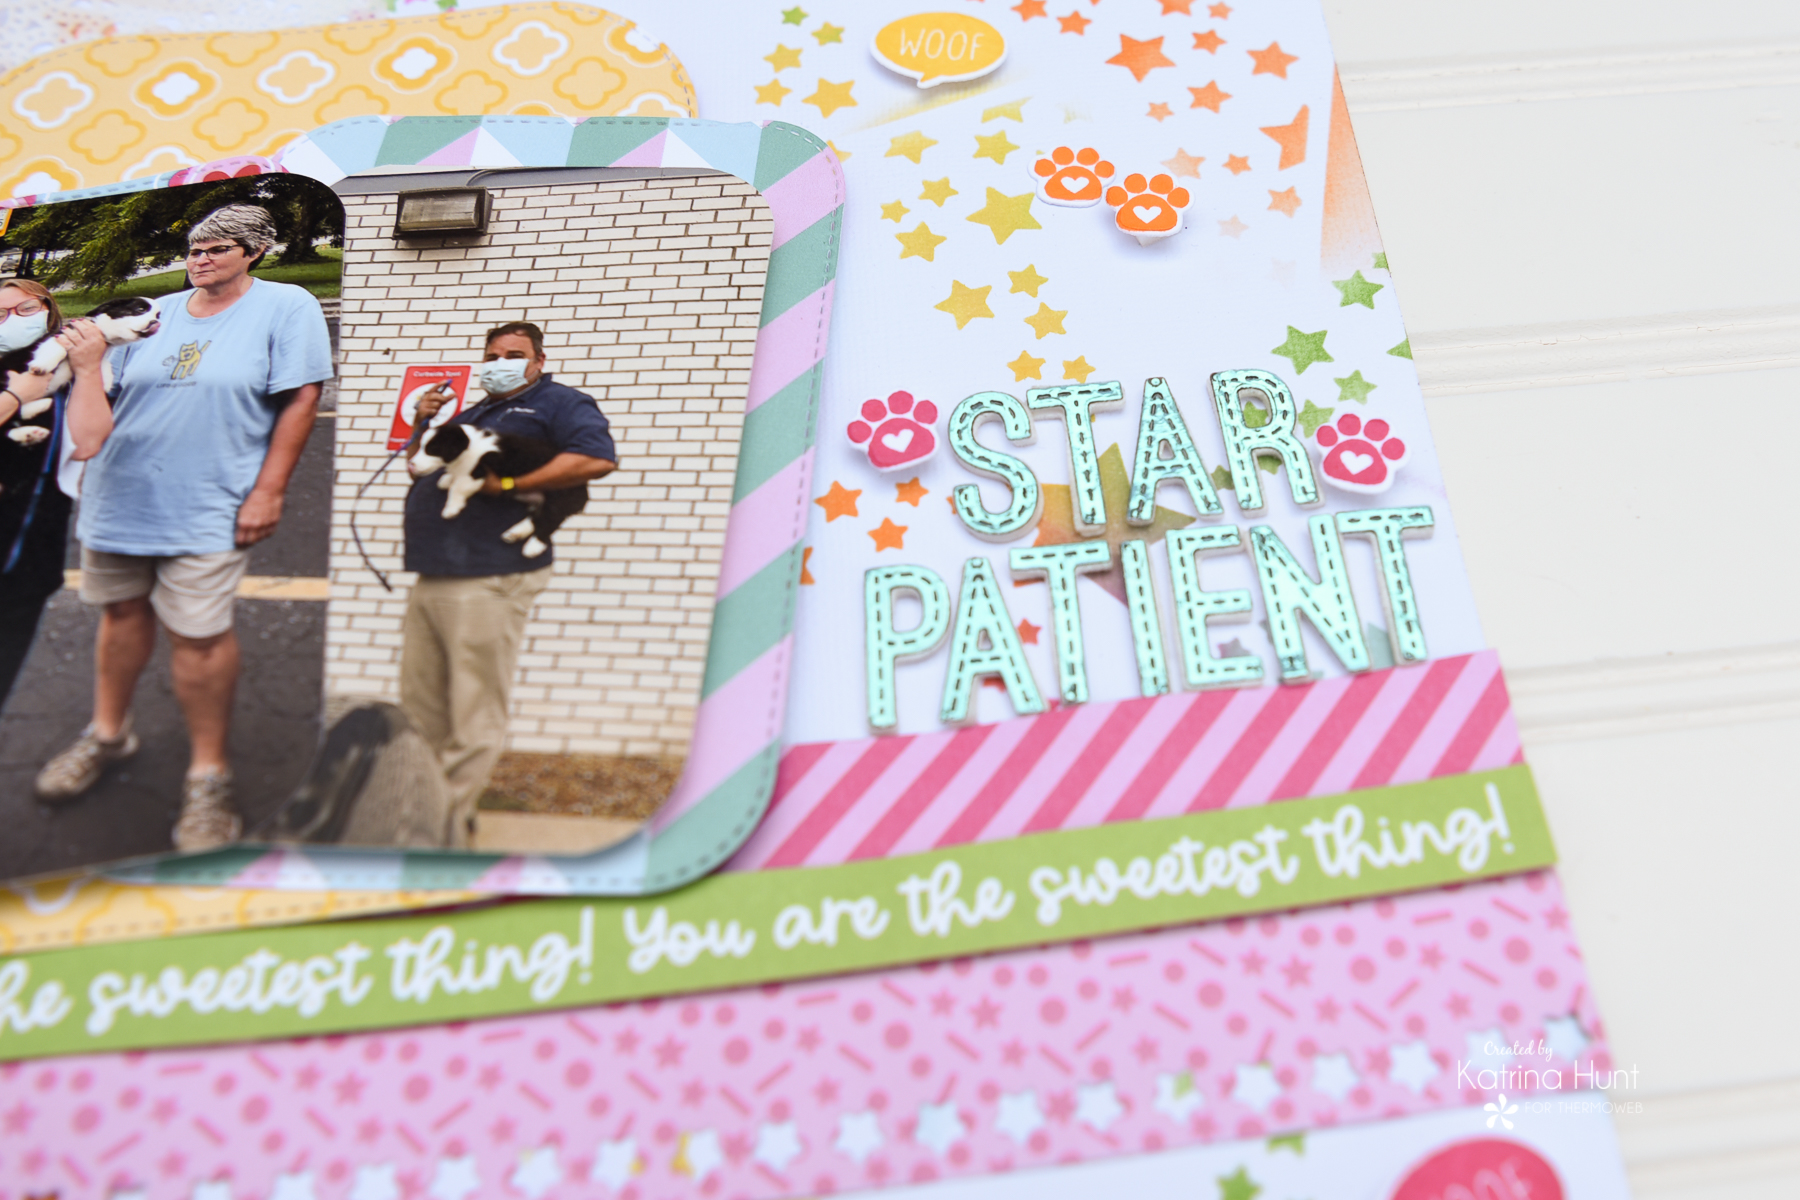
Next, to create my title, I die-cut letters from the alpha set using the Peel N Stick toner sheets. After I die-cut them, I then foiled them with Glass Slipper Deco Foil.
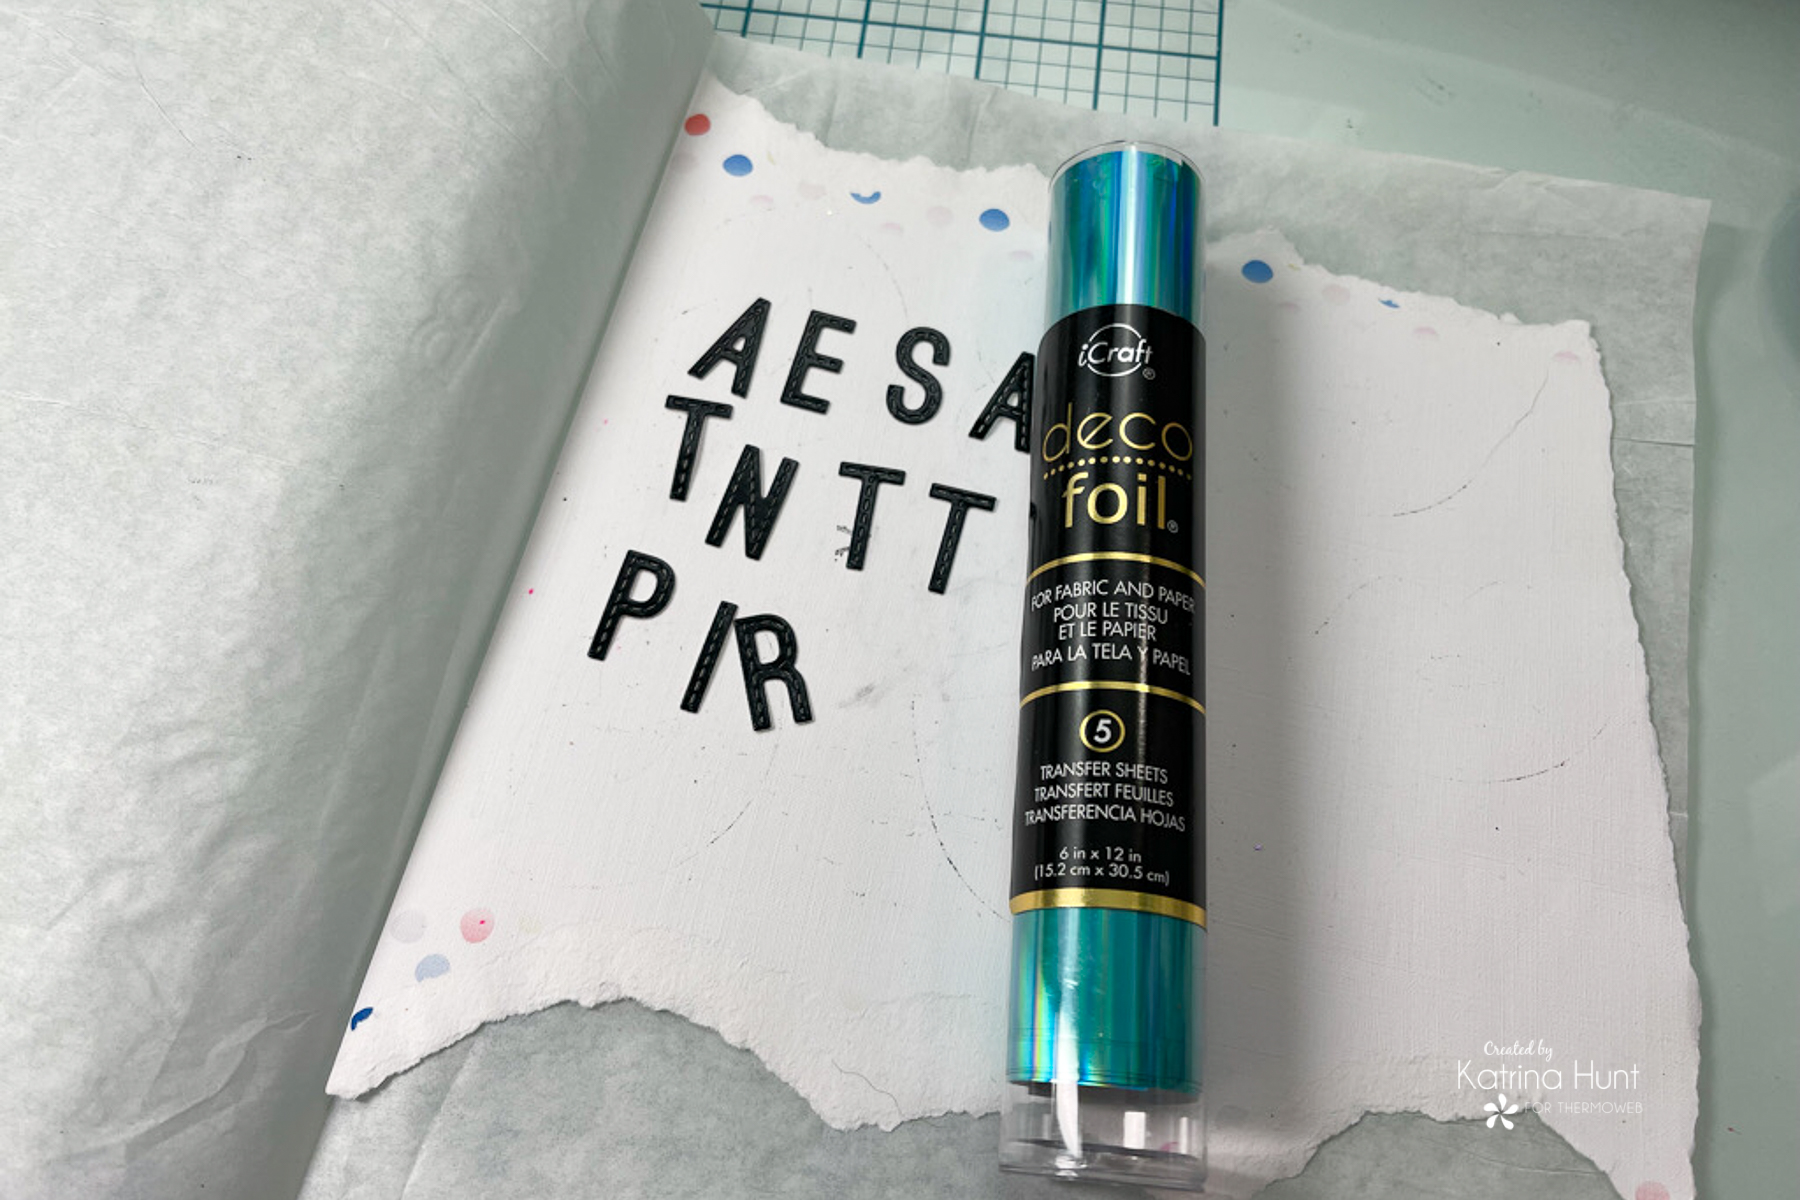
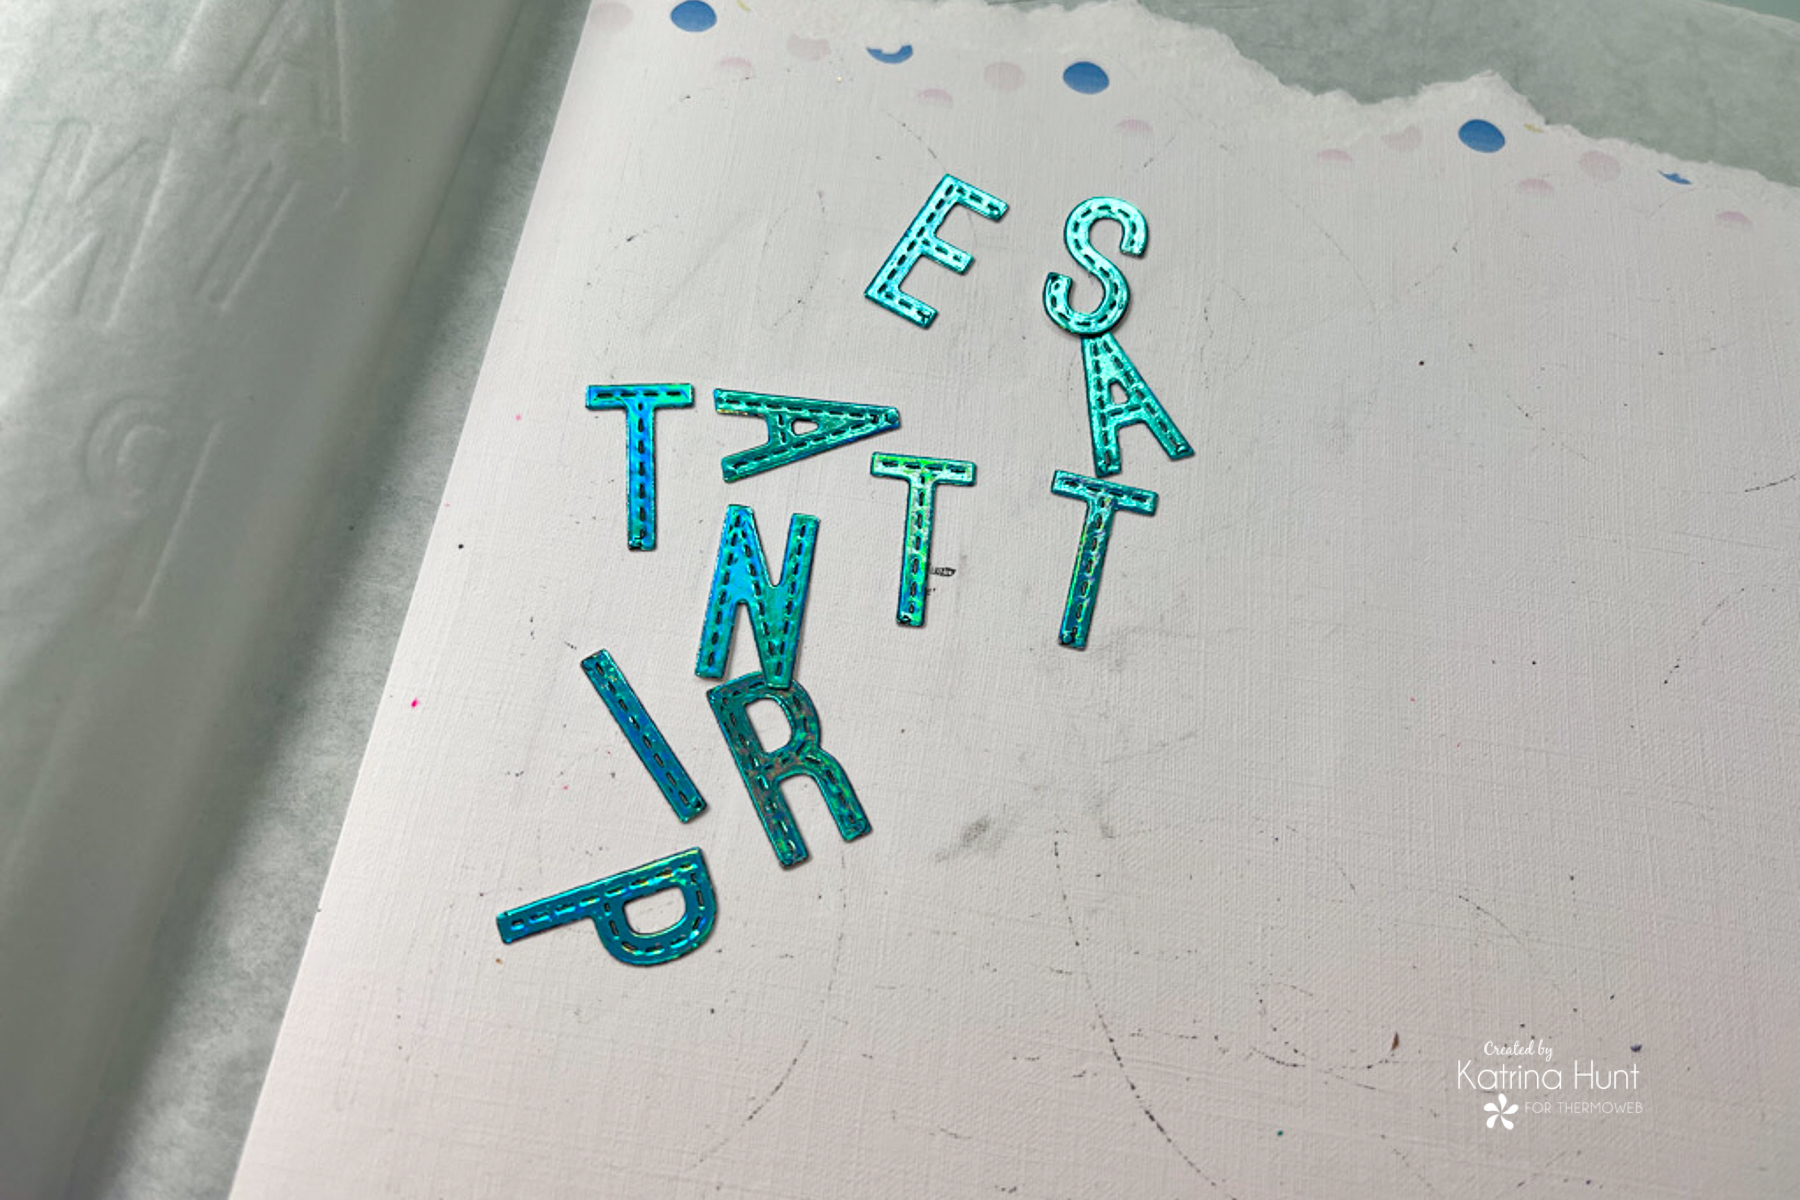
After the die-cutting and foiling were completed, I die-cut the letters all again, two times from Deco Foil Foam Adhesive. Next, layer all the three die-cut pieces for each layer together to create a nice foamed foiled letter for your title!
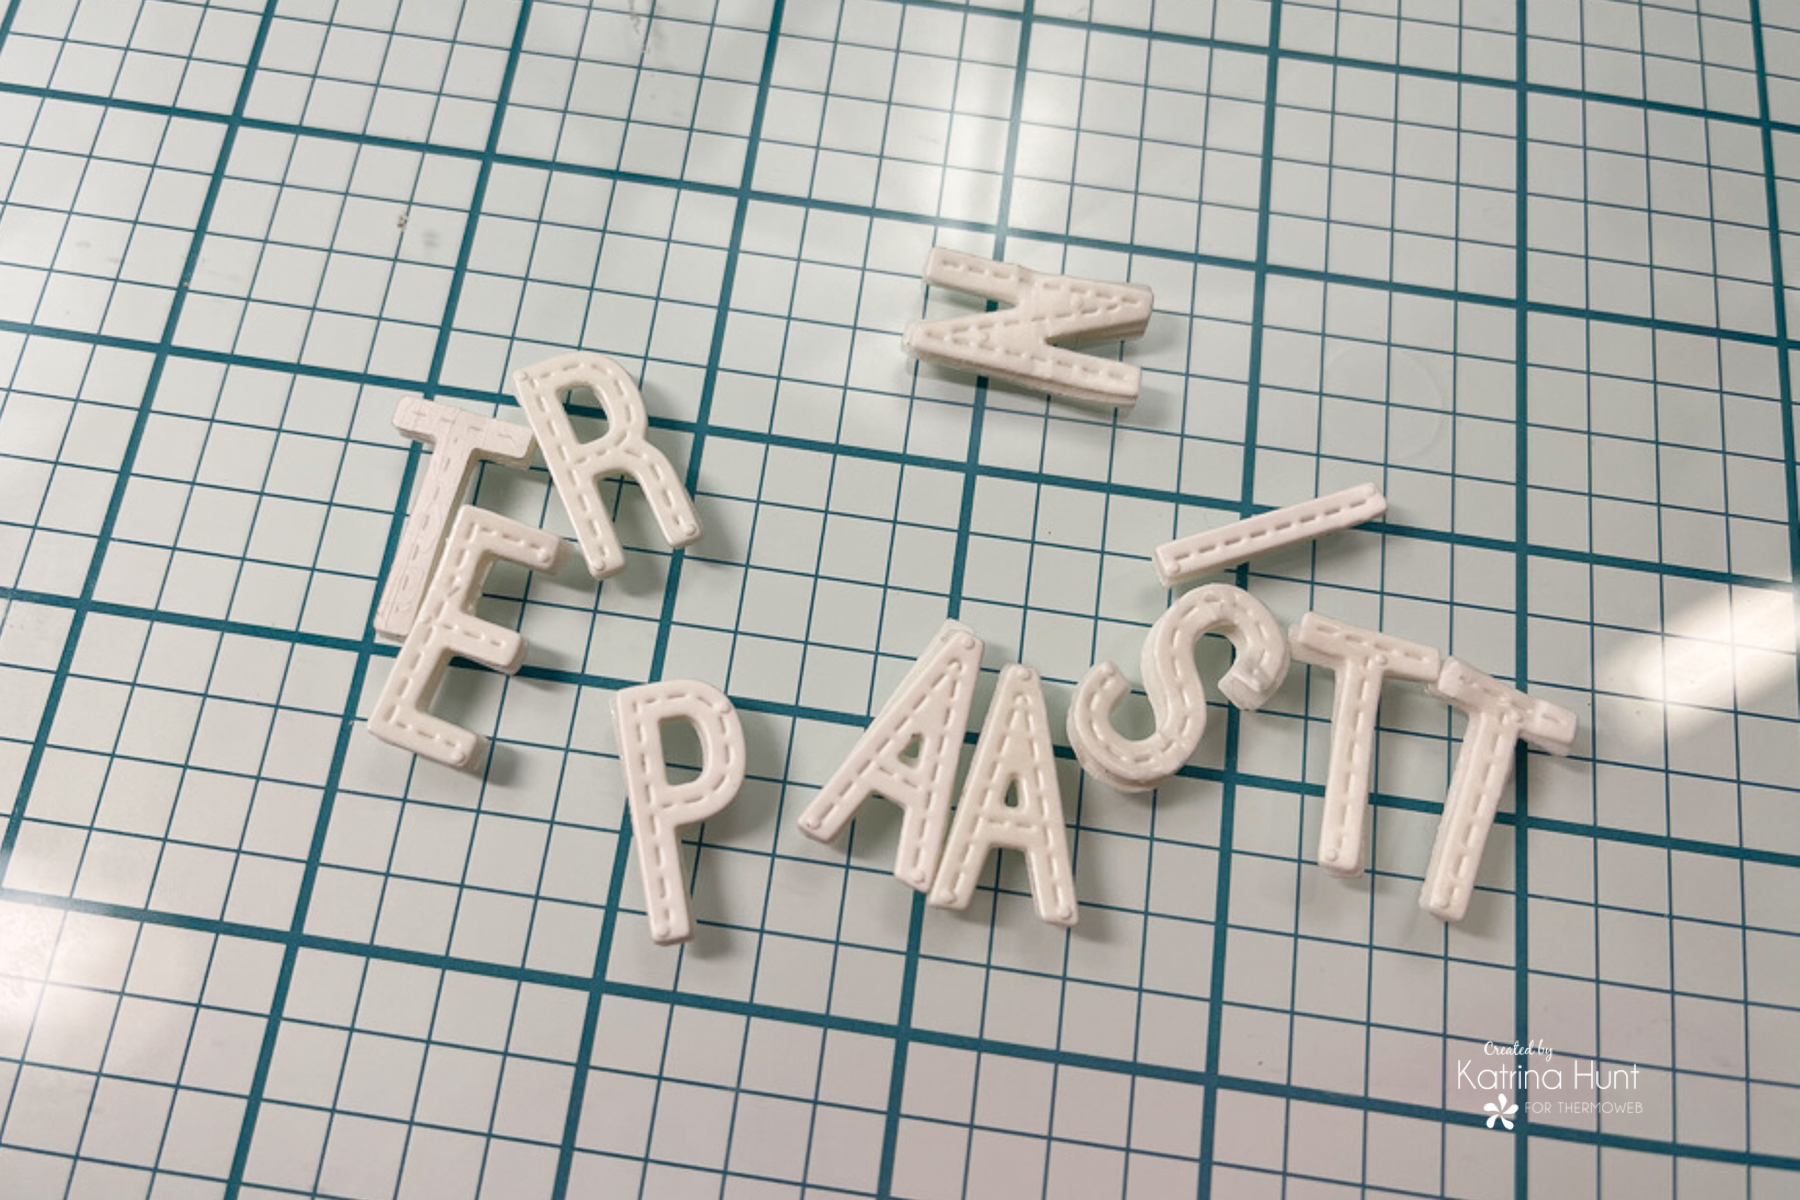
 NOTE: To make this easier, adhere the toner sheet to one layer of the Deco Foil foam adhesive. Once that is done, then do the next layer. I did the two foam adhesive layers together and I learned my lesson! It’s quicker the other way! These are so cute and I will be doing them again and again!!!
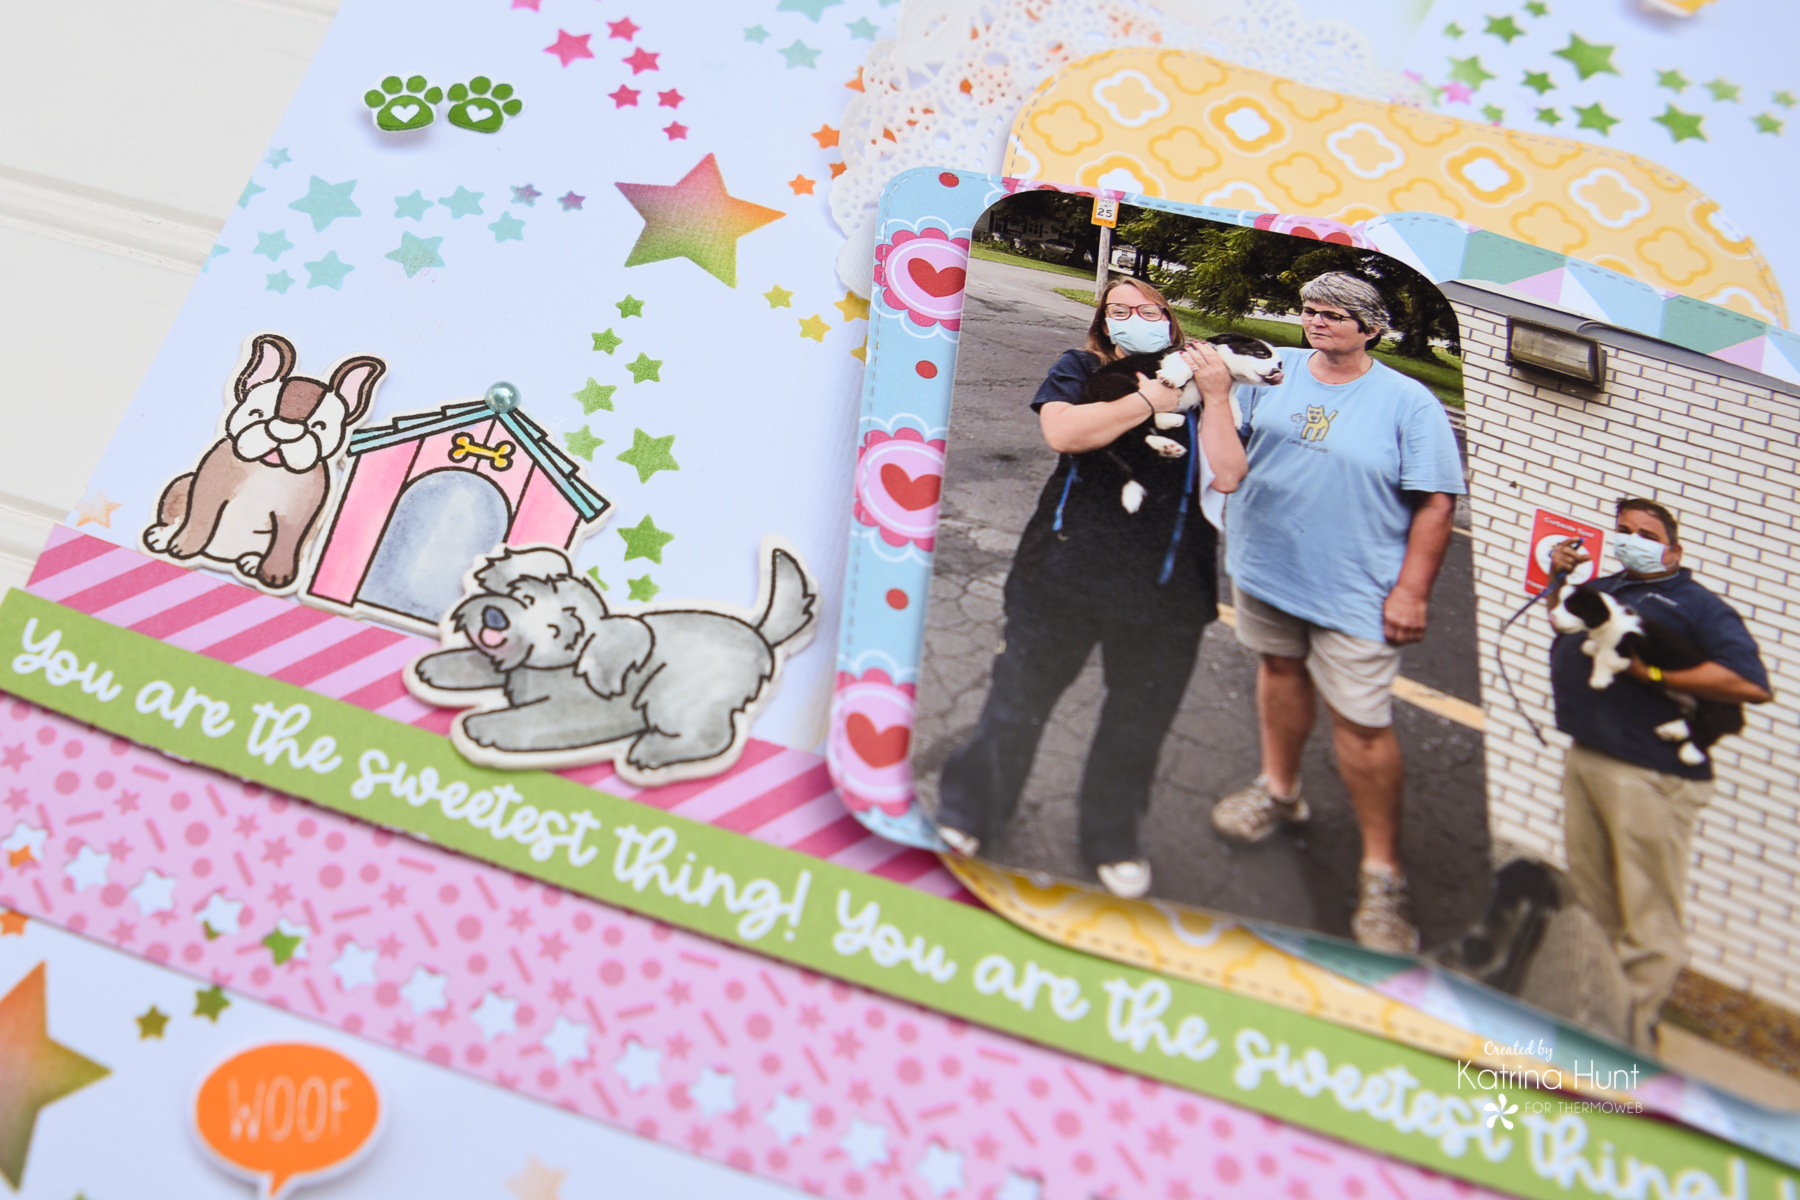
To finish up, stamp and die cut images from the Who Let The Dogs Out stamp and die set. Color in any images that need colored. I watercolored mine, but you could do a pencil, Copic, etc. I also die-cut the DecoFoil Foam adhesive with the dog and house dies a couple of times. Super easy to apply to your stamped image!
Thanks for stopping by during our team-up with Heffy Doodle. Don’t forget to enter the giveaway!!! (And don’t miss our FLASH SALE on our Toner Sheets! Save 25% off! Visit our website for details!)

So good right! Well love joining in collaborations and seeing all the creativity between the teams and designers. And that means we also want to give YOU a chance to win some must-have goodies in the form of a gift card!! A $35 Gift Card! And shhh….we have a surprise! We’re offering TWO chances to win. First…leave us a comment on THIS blog post and then for a bonus chance…step through our giveaway to add more chances to win! We’ll pick TWO winners!
This post contains affiliate links. For more information, see our disclosure HERE.

Patricia Wilson
July 20, 2021 at 3:43 pm (4 years ago)Good comment on how to foil the letters on the layout. Thank you.
Meghan Kennihan
July 20, 2021 at 4:28 pm (4 years ago)Beautiful layout and stenciling!!!!!!!!!!!
Denise Bryant
July 21, 2021 at 12:57 am (4 years ago)Pretty color combo and great details! The layout looks awesome!