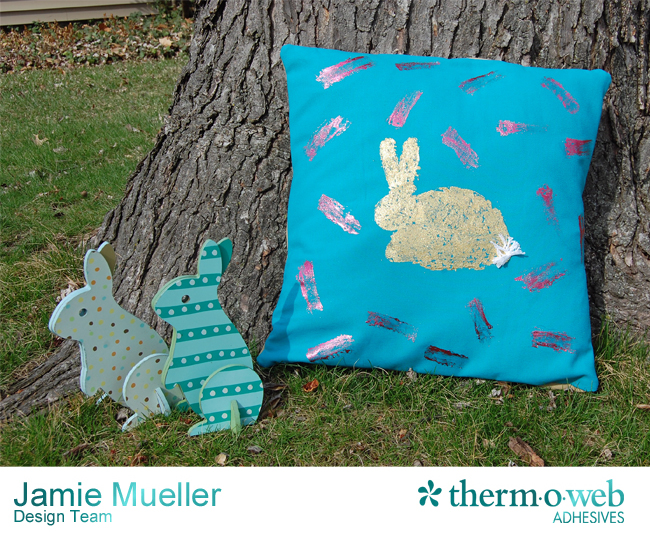
Deco Foil a Denim Easter Pillow
Grab your supplies there is still time to make this sweet bunny pillow just in time for Easter! Or just as a new spring pillow too!
Supplies:
1- 18 1/2″ x 18 1/2″ denim square for front of pillow
2- 18 1/2″ x 22″ denim pieces for the back
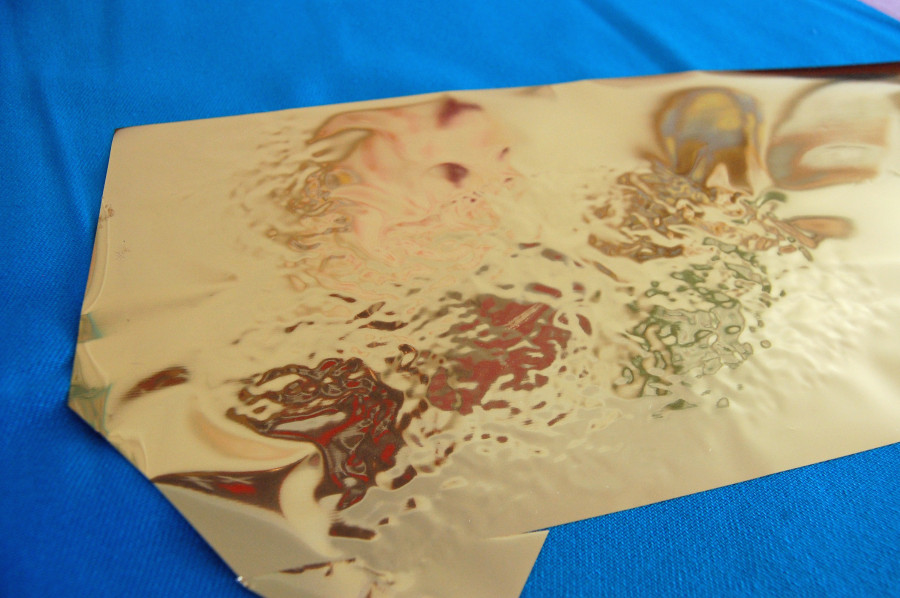
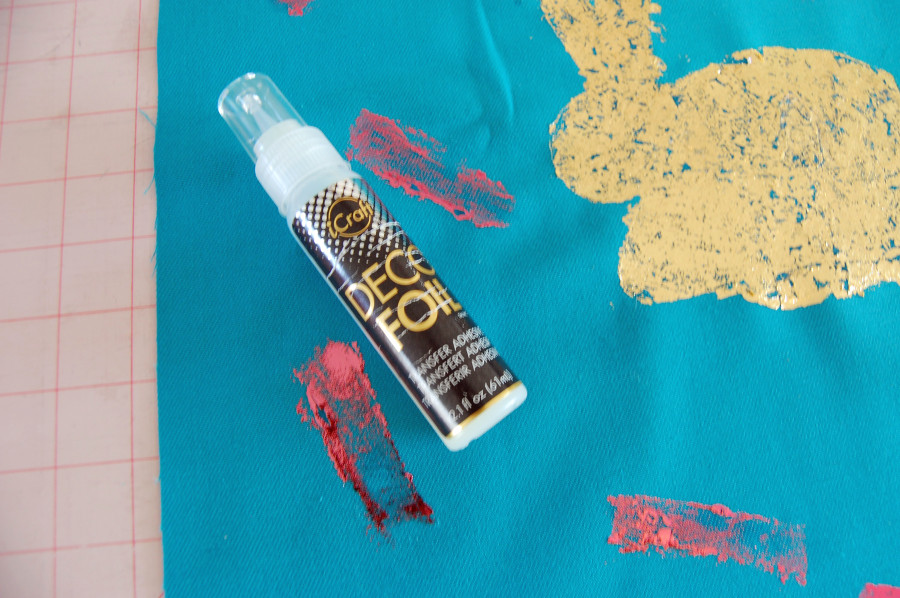
iCraft® Deco Foil™ Transfer Sheets iCraft® Deco Foil™ Transfer Adhesive
Paintbrush Embroidery Floss for bunny tail
18″ pillow insert
Easter Bunny Pillow Directions:
1. Take your 18 1/2″ x 18 1/2″ denim square front and lay flat. Using a stencil of your choice (I picked a bunny for Easter), place it on top of fabric in desired position.
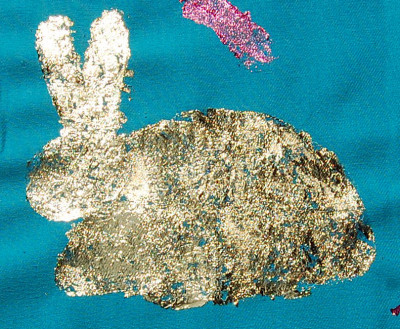
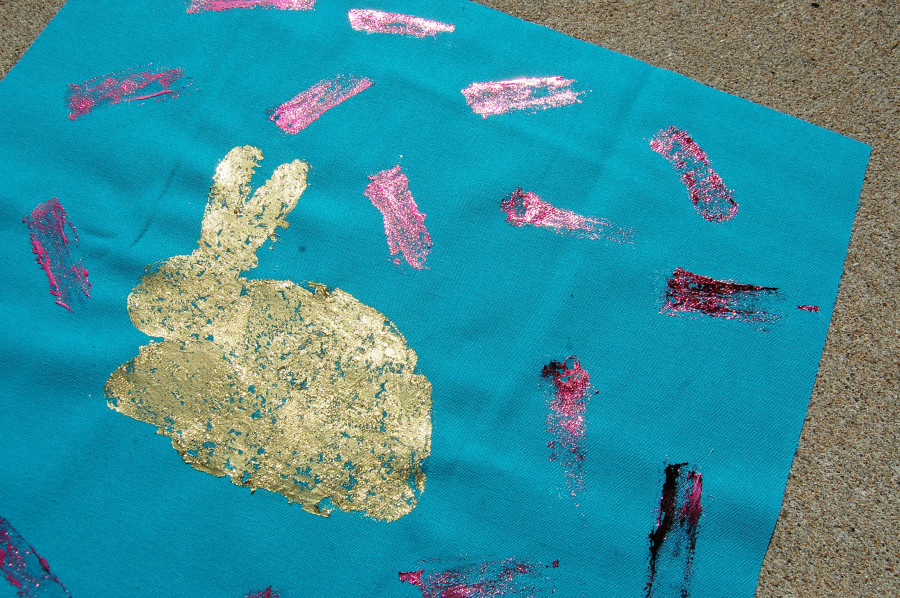
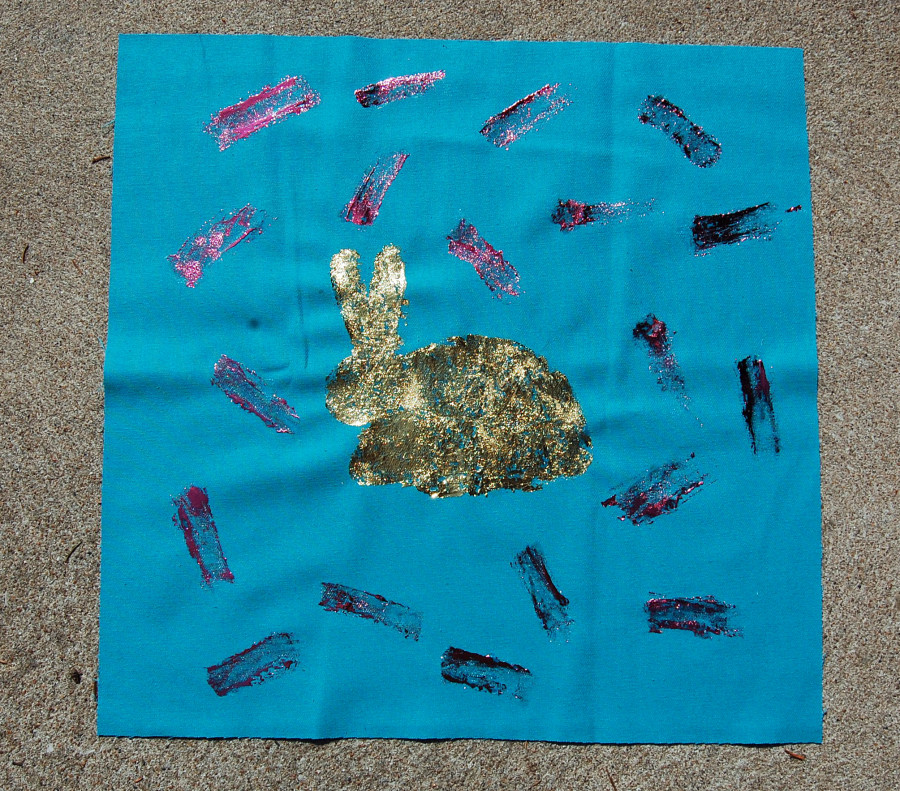
2. Using a paintbrush and iCraft DecoFoil™ Transfer Adhesive, brush adhesive all over bunny stencil, making sure you cover the entire area. I dabbed the paintbrush all over to give the bunny some texture like actual fur. Leaving the bumps and not smoothing them out really helped create the fur texture.
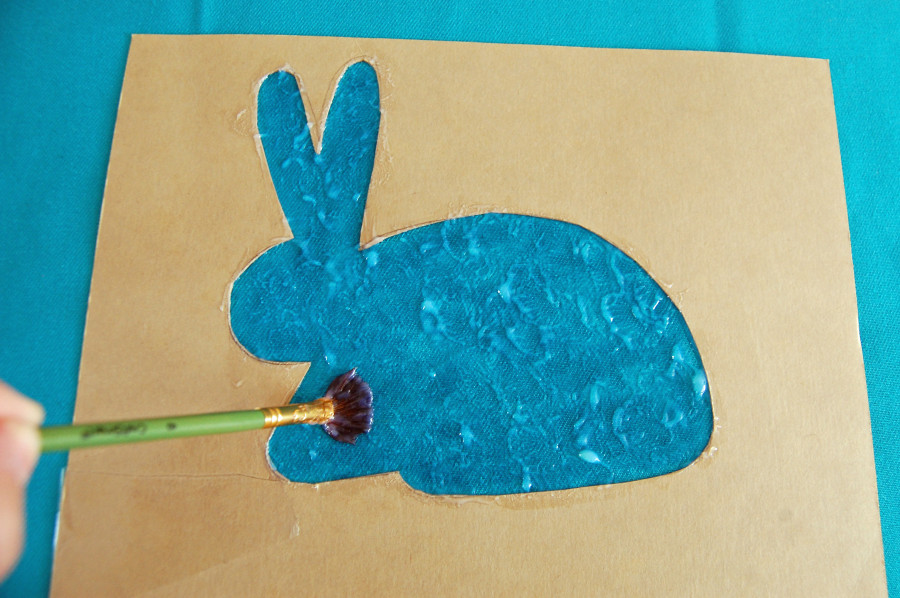
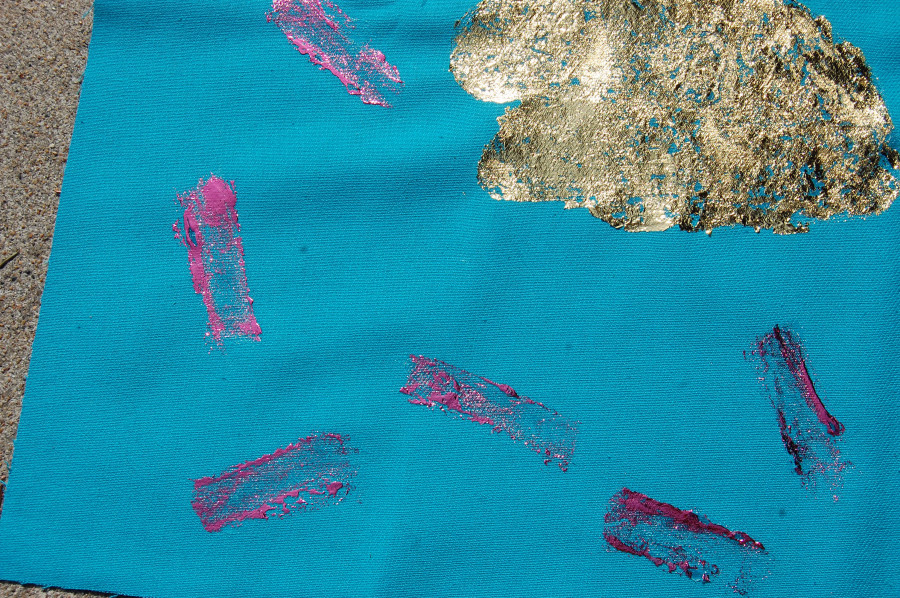
4. Using the iCraft Deco Foil Transfer Adhesive and paintbrush, paint brush strokes all around the bunny. Then, add Deco Foil in the color of your choice (I used Pink Melon) same method as adding it to the bunny.
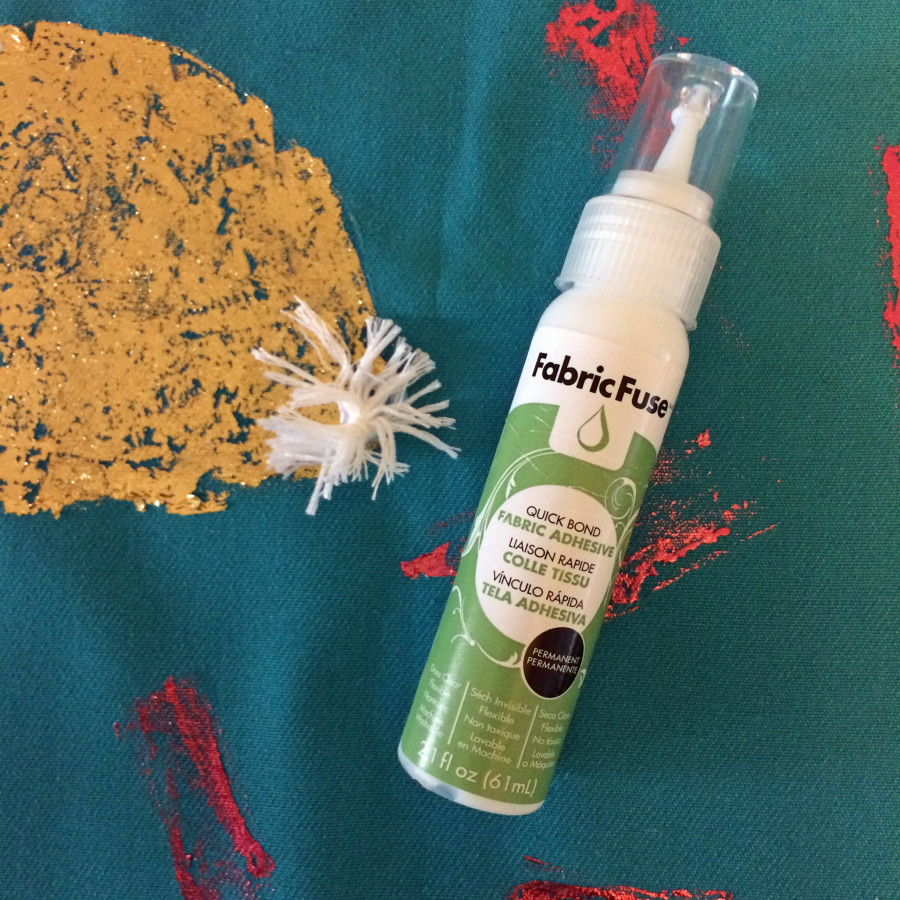
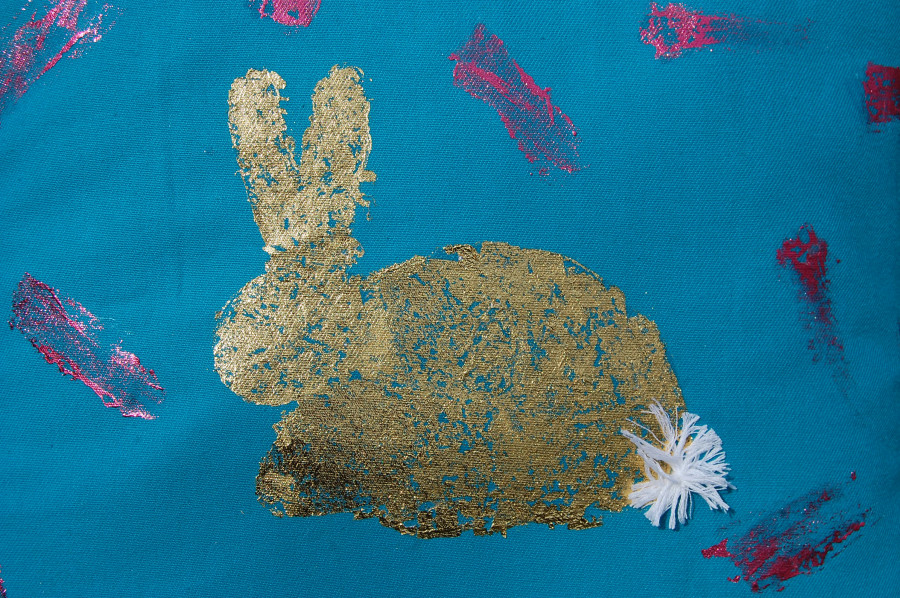
5. Using some embroidery floss, create a cute little bunny tail and attach it using Liquid Fabric Fuse™.
Pillow Backing:
1. With wrong sides together fold each of the 18 1/2″ X 22″ rectangles in half crosswise to make 2- 11″ X 18 1/2″ pillow back pieces.
2. With the bunny pillow front facing up, overlap the 2 pillow back pieces so they measure 18 1/2″ square with the folds in the center. Pin and stitch all the way around using a 1/4″ seam allowance.
*Backstitch at the folds to make pillow more secure when inserting form.
Turn pillow right side out and insert pillow form! Your pillow is finished!

