Hello Therm-O-Web friends! It’s Shemaine here today sharing some fun Tags n’ Bag ideas with a variety of fun holiday-themed designer toner sheets and holiday color Deco Foil.
Holiday Tags and Gift Bags
__________________________________________________________________________
Therm-O-Web Supplies
DECO FOIL TRANSFER SHEETS – GREEN
DECO FOIL TRANSFER SHEETS – RED
DECO FOIL TRANSFER SHEETS – CHAMPAGNE
DECO FOIL CLEAR TONER SHEETS – PRIM POINSETTIA
DECO FOIL CLEAR TONER SHEETS – RUSTIC WINTER
DECO FOIL CLEAR TONER SHEETS – STARRY NIGHT
ICRAFT EASY CUT ADHESIVE™ SHEETS • SM
ICRAFT MIXED MEDIA ADHESIVE 2.1 FL OZ
Non-Therm-O-Web Supplies
Misc ribbon and kraft wired ribbon from Michaels
Small bells and snowflakes from Hobby Lobby
Diamond Press Holiday Faith Sentiment dies
paper lunch bags
white doilies
Foiled Designer Toner Sheet Gift Tags
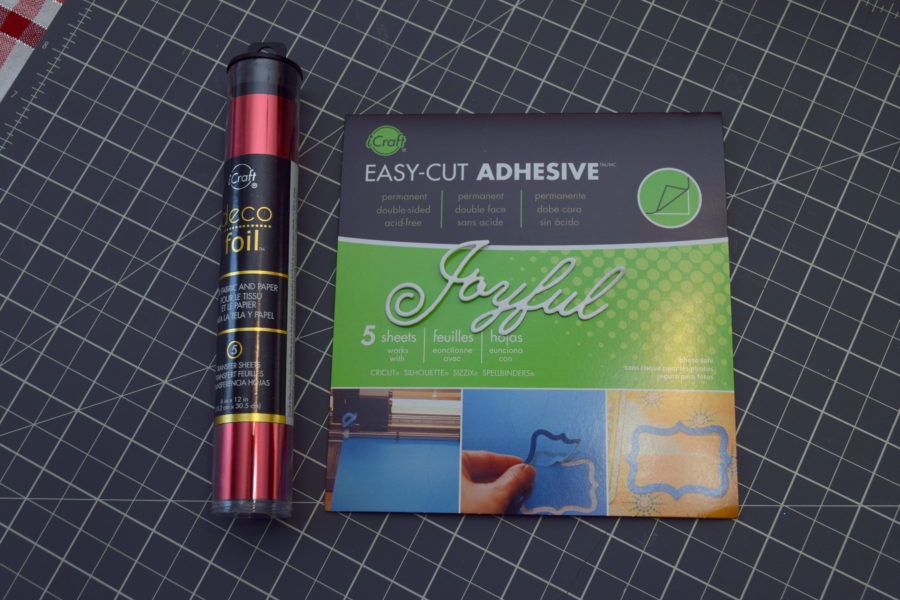
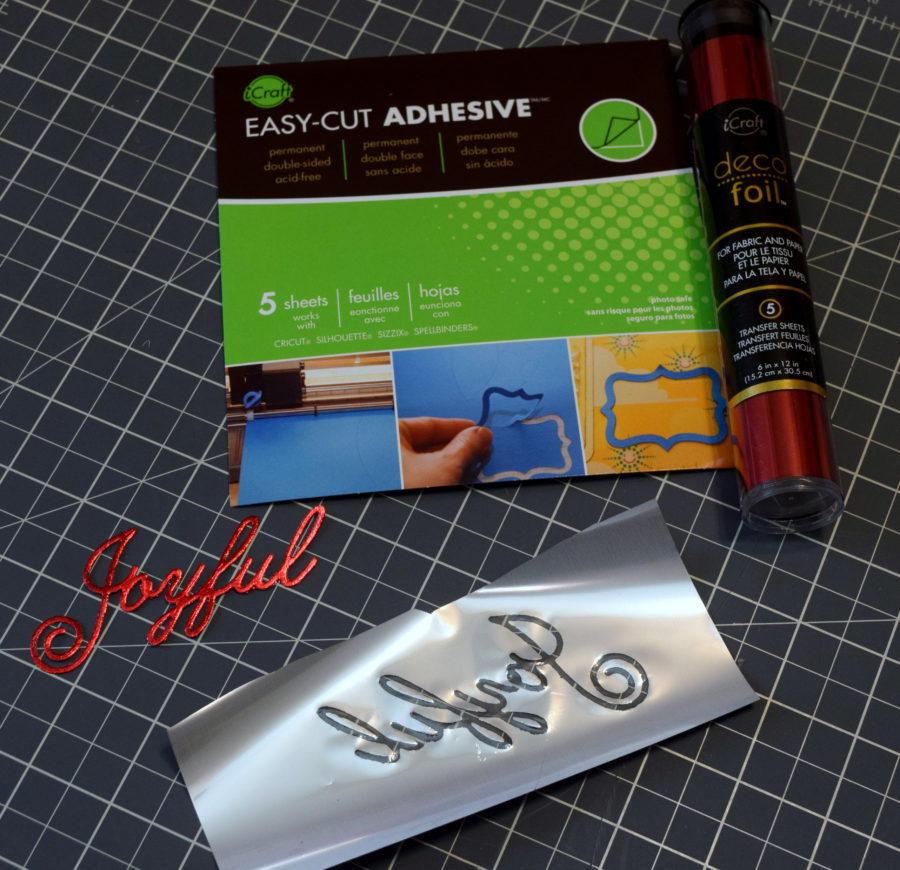
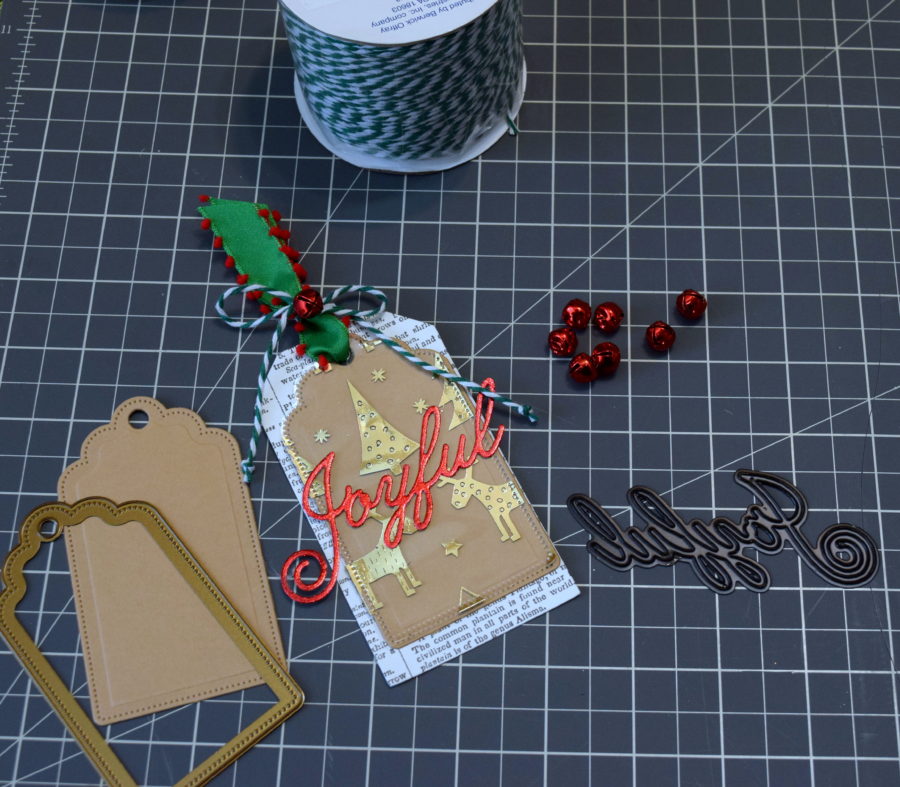
For the first tag, I am using some of our Easy-Cut adhesive and Deco-Foil to foil the die cut sentiments. This process is very easy and no laminator is required. You simply peel off the top of the adhesive sheet and mount it to white cardstock. Then you cut the die with easy-cut shiny side face down on the die.
Next, peel off the top of the Easy-Cut adhesive and place the foil over the top of the die-cut and burnish.
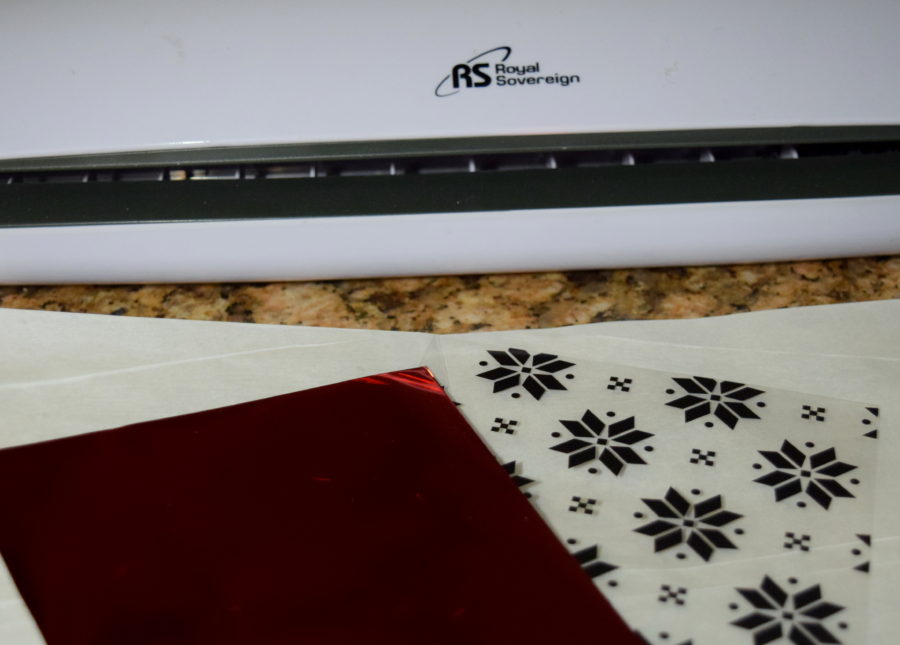
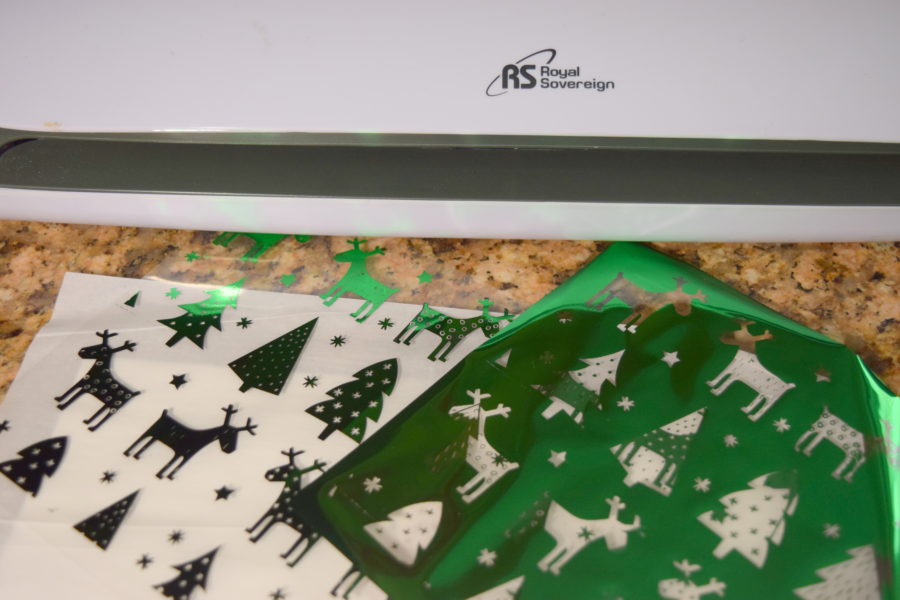
I used my Royal Sovereign laminator to foil 3 different designs for these tags also using a variety of colors of foils. This toner sheet pictured is Prim Poinsettia and the foil color is red.
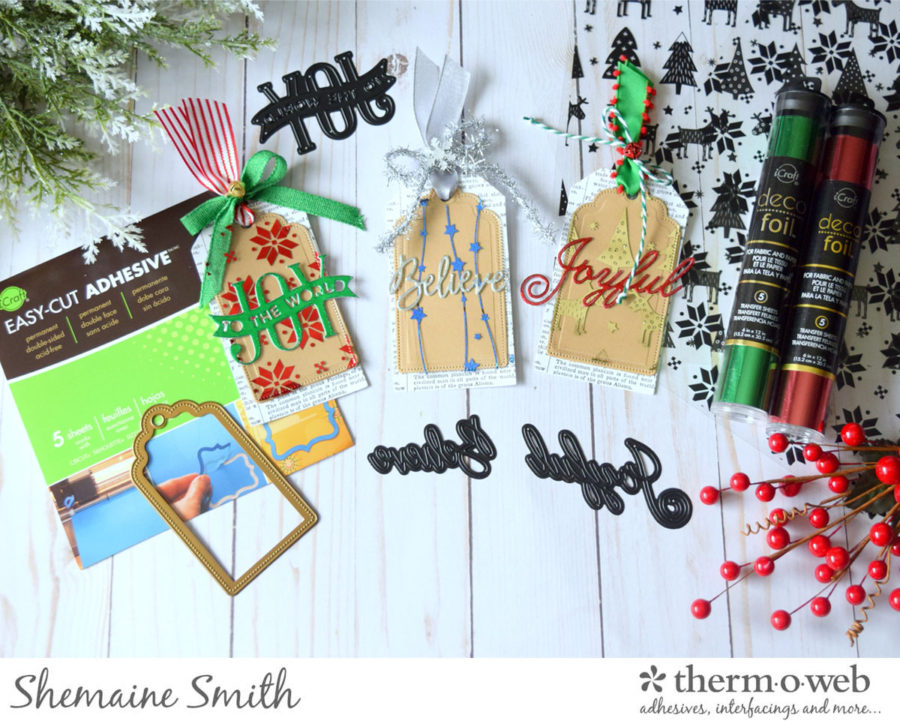
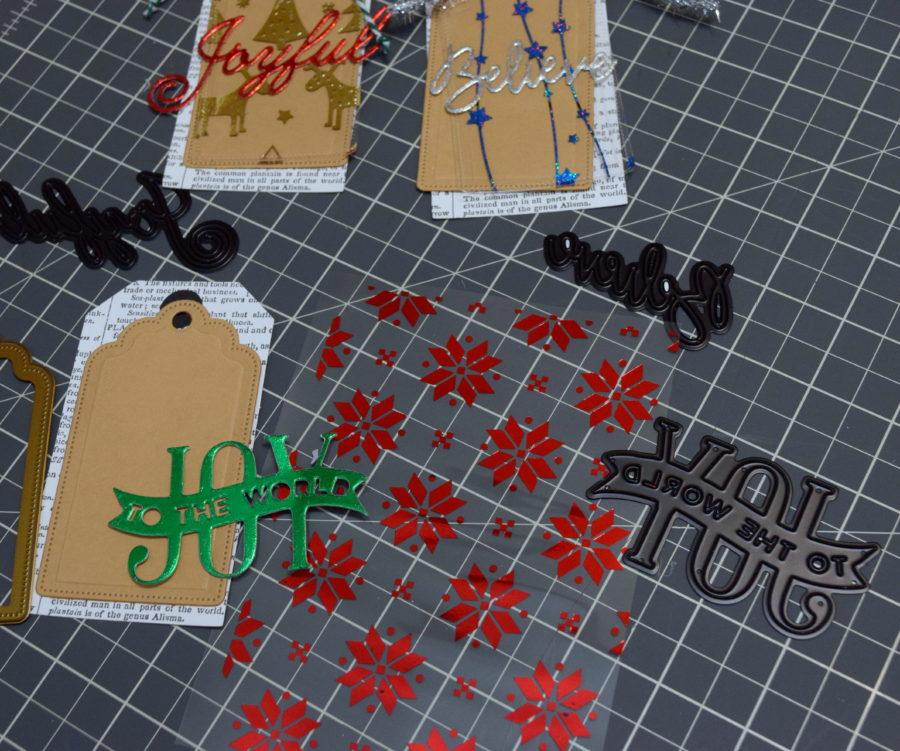
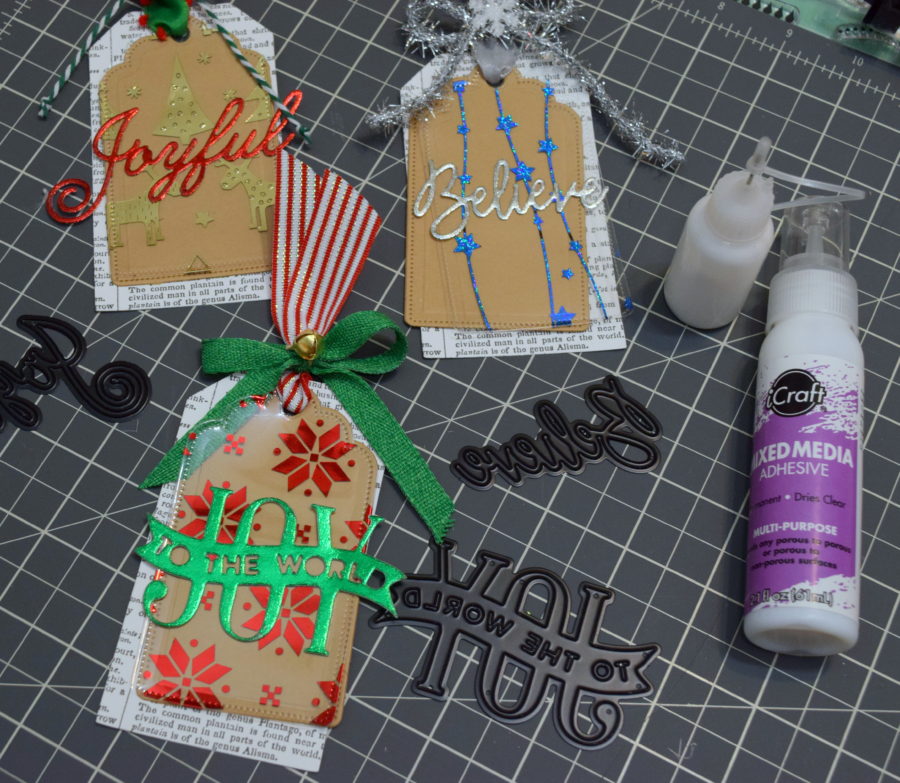
Using the Gina K Tag die, I cut 3 tags with kraft paper and layer them over some random book print tags I had in my stash. Next, I cut the Designer Toner Sheets with the same tag die and layer all 3. I then apply some mixed media adhesive to the back of the sentiment die-cut to adhere to the designer toner sheet die-cut. I tied a bow through all 3 tags and tied with bakers twine and added a bell.
I repeat the same process with the other sentiment dies and tags.
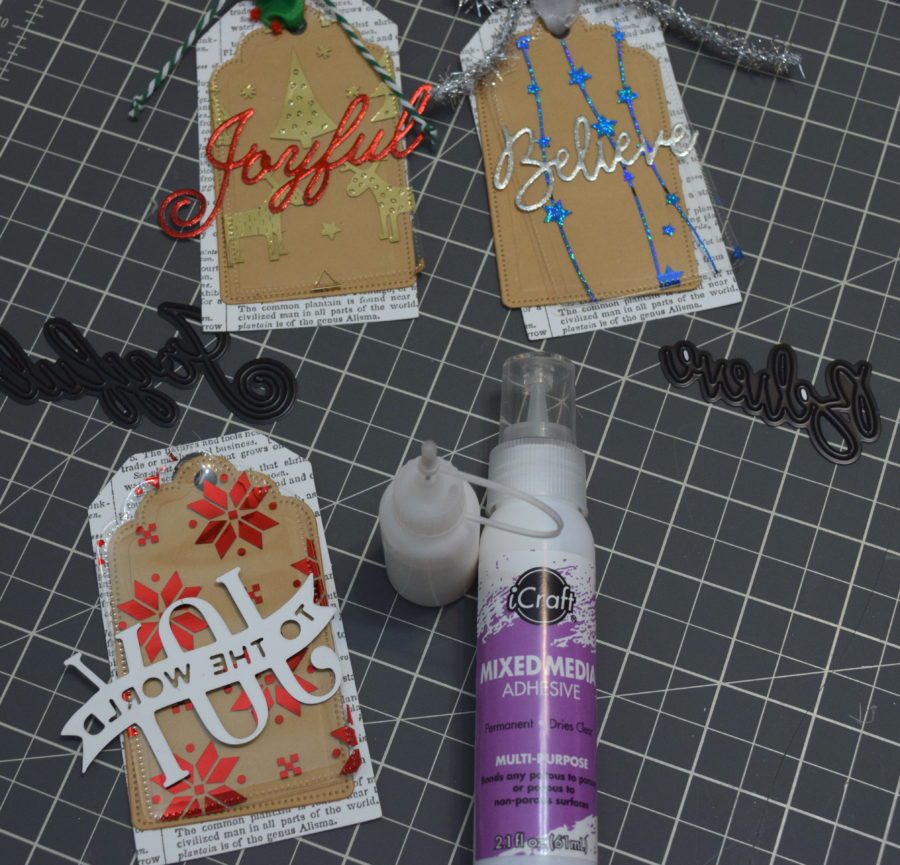
I then used the Mixed Media adhesive to adhere to the foiled sentiments over the front of the other tags. The Mixed Media adhesive is a great quick-drying option. I put mine in a smaller bottle to apply with that has a fine tip.
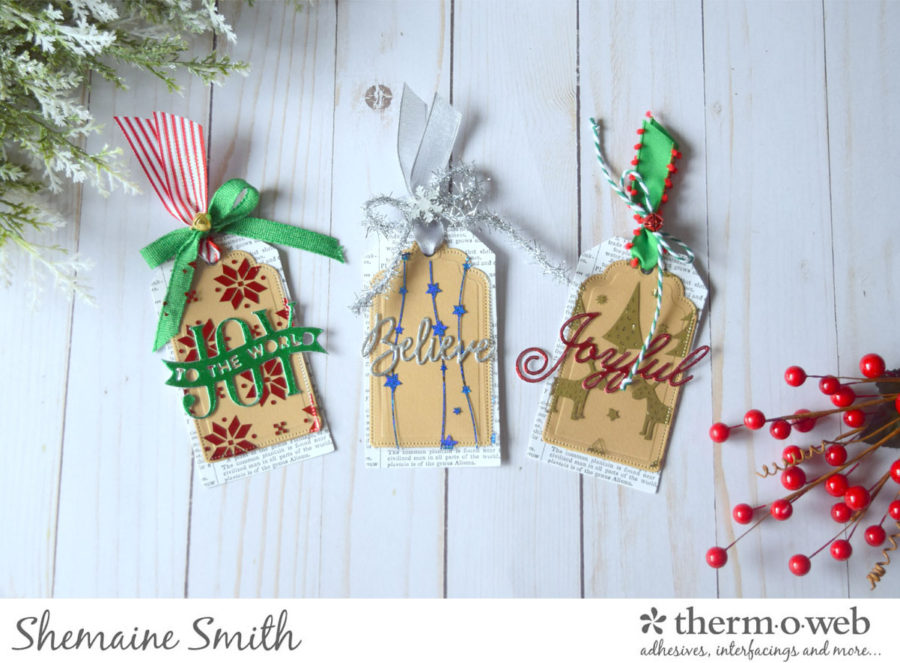
I then used a variety of ribbon and bakers twine to embellish the tags adding some cute bells and a snowflake.
They turned out so cute right?
Gift Bags
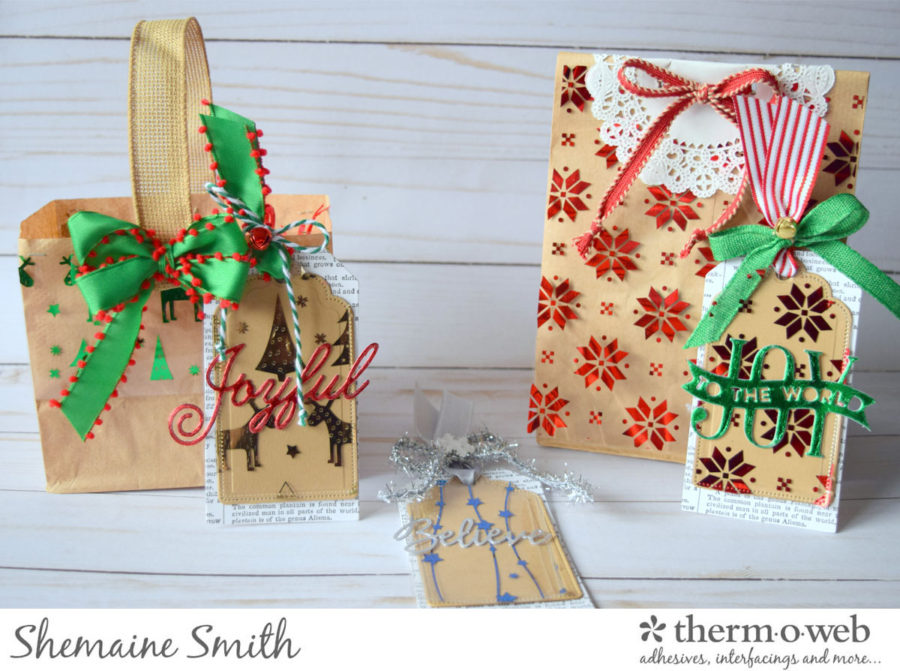
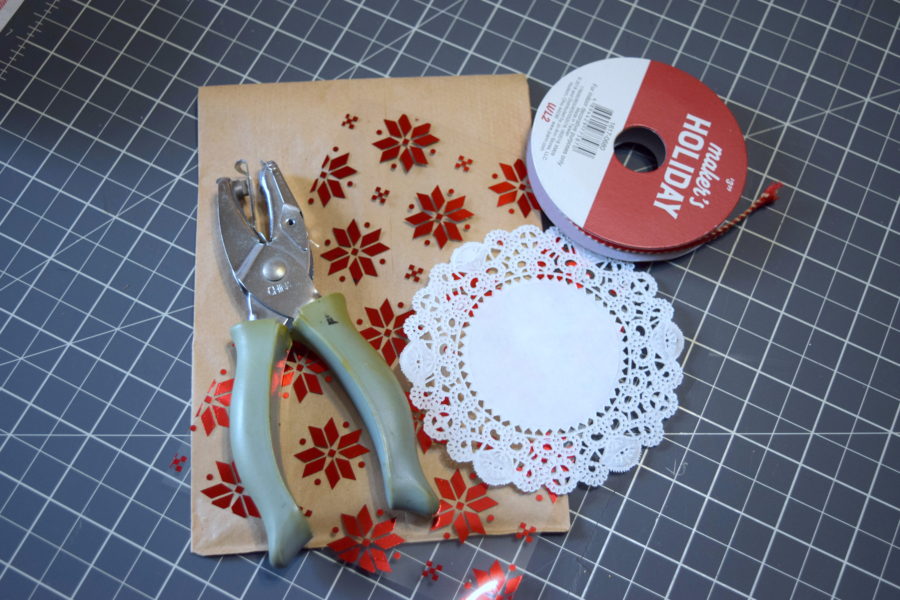
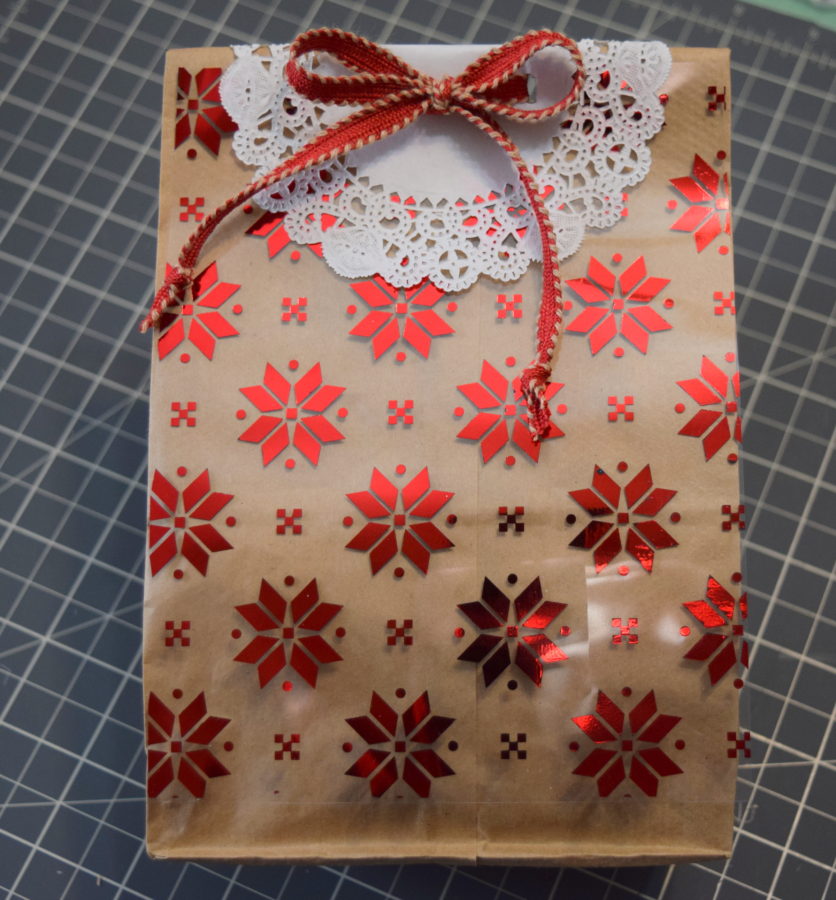
Now for the bags! Need a last-minute wrapping idea?? Everyone has lunch sacks in their kitchen drawers. The supplies needed are minimal. Lunch sack, hole punch, small doily, ribbon, and foiled Toner sheets cut at 5 inches x 6 inches.
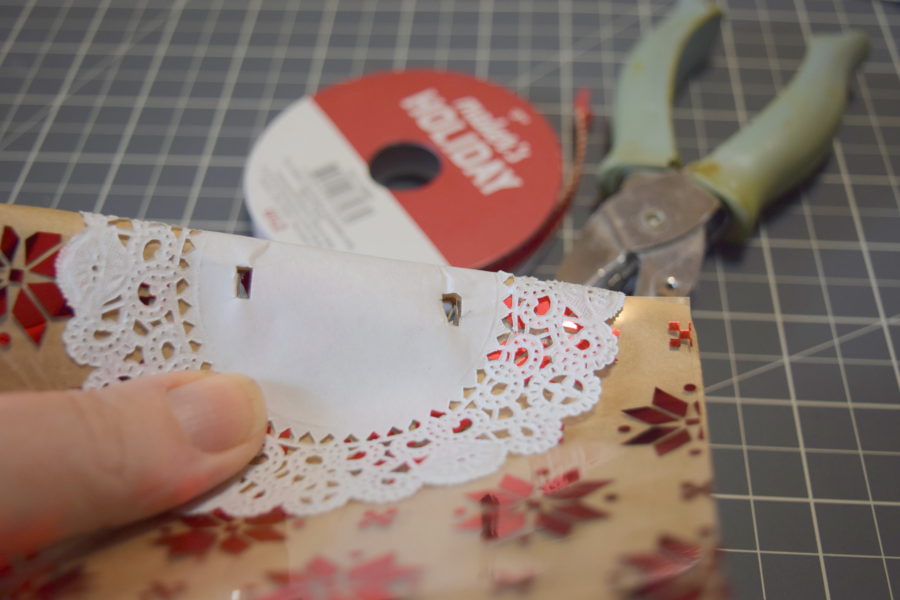
After foiling and cutting the toner sheet at 5 x 6 layer it over the paper bag and layer the doily. Hole punch as shown.
Pull ribbon thru and tie a bow as shown. See what I mean? So easy and pretty!
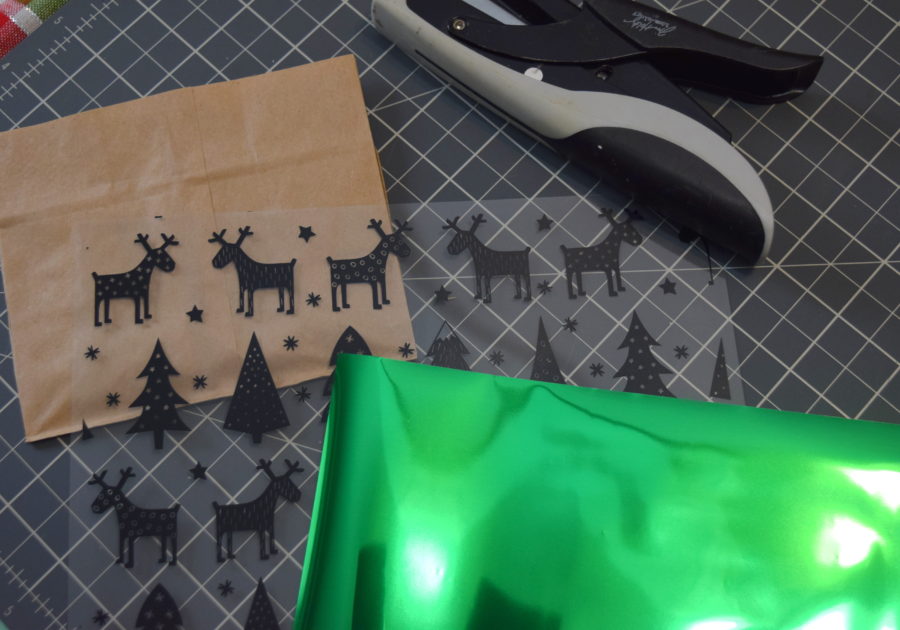
For the next bag, chose green foil and the Rustic Winter toner sheet.
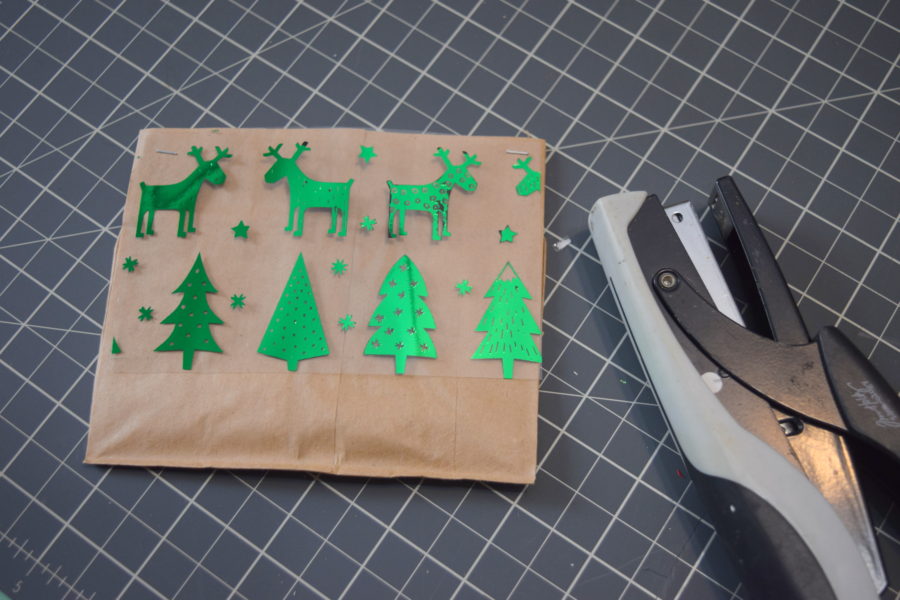
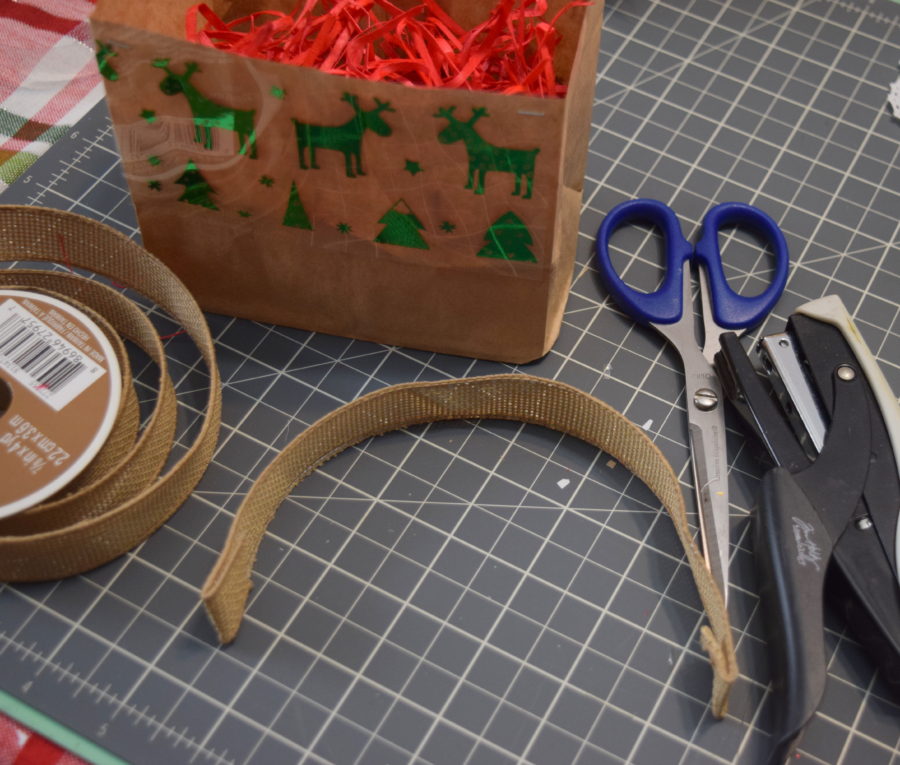
I cut the bag down to 5x 4 1/2. After foiling the toner sheet I cut those down to 2 1/2 X 5.
Using a small Tim Holtz stapler, I affixed the toner sheet to the front of the bag and flipped over and repeated on the other side.
I filled the bag with some random dyed straw I had and used a wire bow for the handle. I cut the length at 10 inches and turned the bottom inward at a 1/2 before stapling to the bag as shown. I finished the bag by creating a double bow and hot gluing it to the base of the handle.
Here are the finished bags with the tags. So fun, festive and ready to give! I hope you enjoyed today’s post.
Thank you for stopping by today!
Shemaine

