 New Toner Sheet Release- Deco Foil Wild Thing Scrapbook Layout by Jessica Michaels
 Hello scrappy friends!
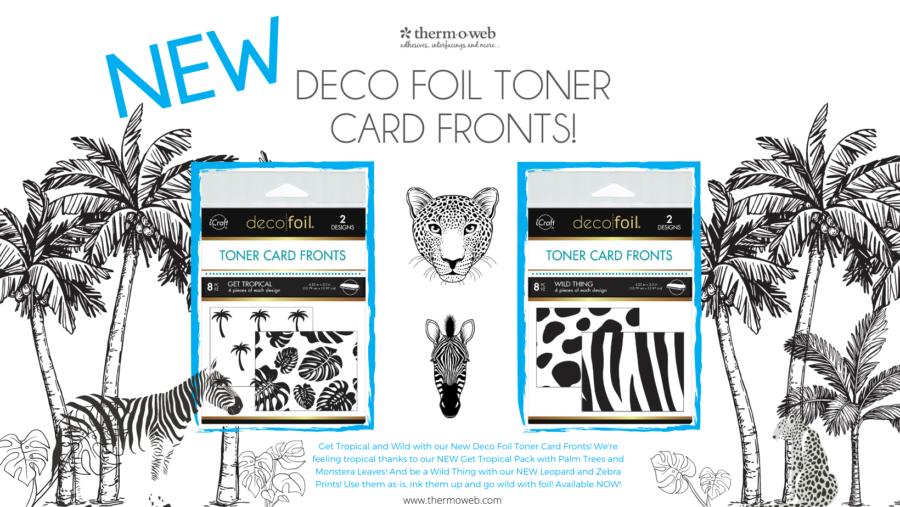
Jessica here showcasing our new toner sheet release using distress oxides and Deco Foil! I was super excited to try some blending with oxides on these toner sheets as I have a bunch of pictures from a zoo trip last September! You could use these for summer pages, beach photos, or basically anything!
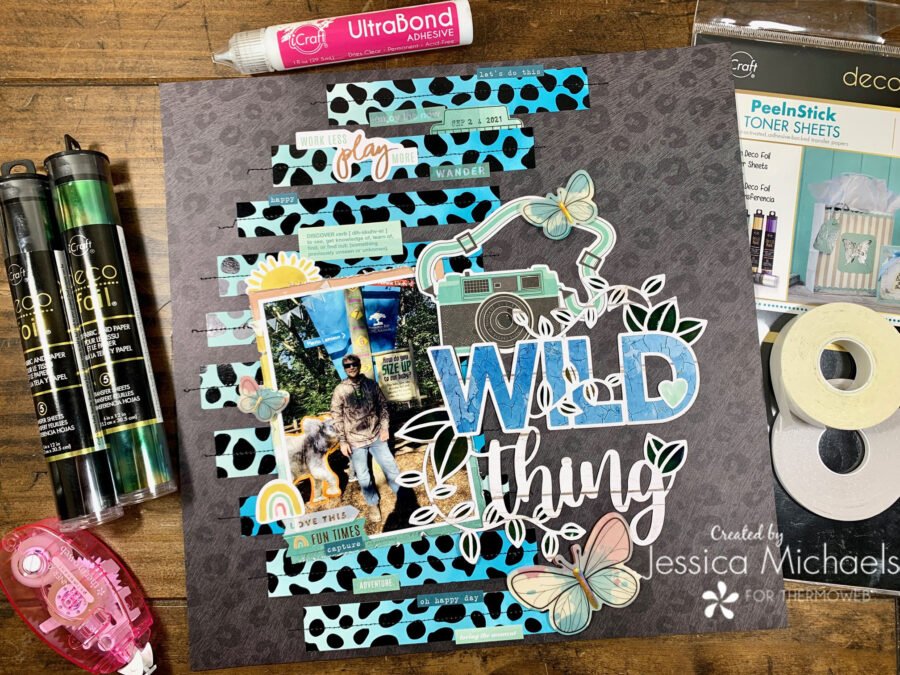
Therm O Web Supplies Used
Memory Runner XL
Memory Runner XL Refill
iCraft Easy Tear Tape 1/2 inch
iCraft Easy-Tear Tape 1/8 inch
iCraft UltraBond Liquid Adhesive Pen
iCraft PeelnStick Toner Sheets
Deco Foil – Black
Deco Foil – Emerald Watercolor
Other Supplies Used
Misc paper and embellishments from my stash
Peartree Cut file: https://www.peartreecutfiles.co.uk/product/jennifers-wild-thing/
Distress Oxides in Broken China, Speckled Egg and Mermaid Lagoon
Blending Brushes
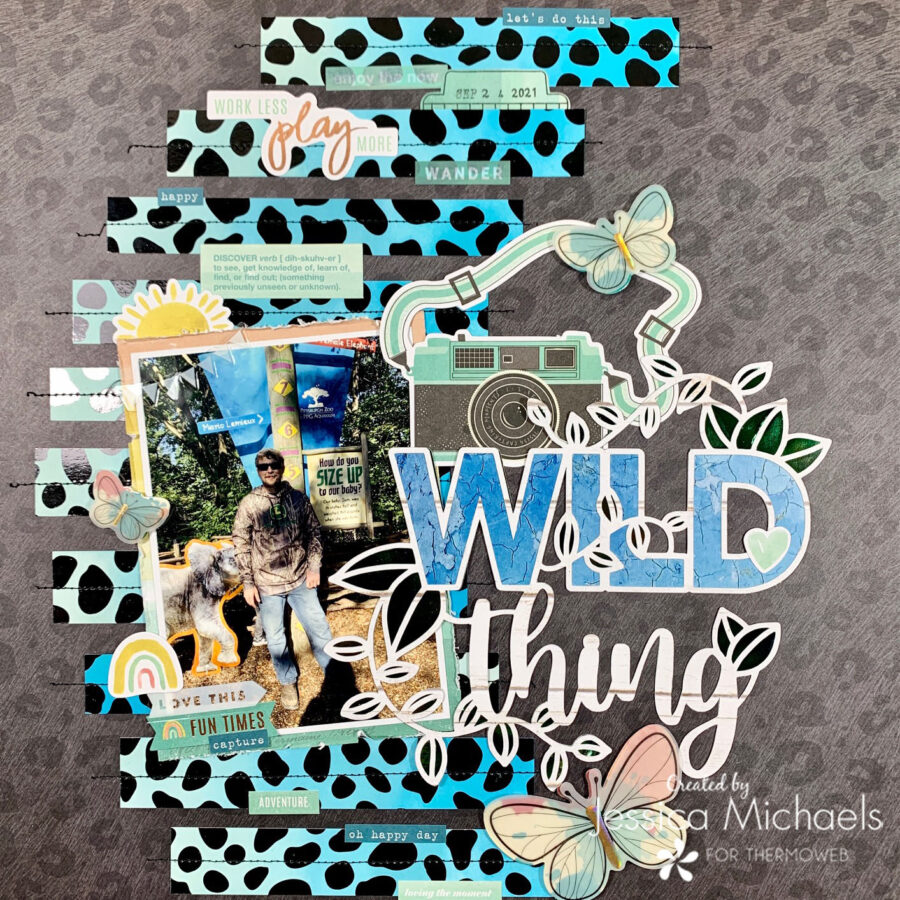
I started this layout by pulling out the leopard paper from deep in my stash as I was instantly drawn to the leopard toner sheets! I decided to do some ink blending with distress oxides to create an ombre effect on the sheets. I was originally going to leave them as they were and place them as layers behind my photo but then decided to cut them up into strips and feature them from top to bottom of my page. I then machine stitched across each strip for an added touch.
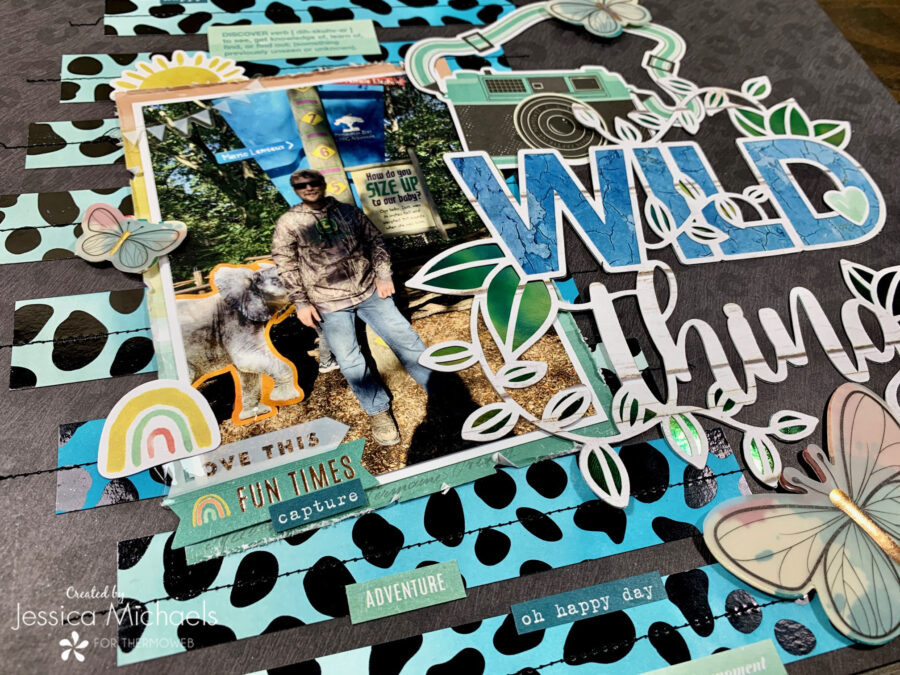
I ran the strips and the backing of my cut file through my laminator at the same time and just used different colors on them. I used the Black Deco Foil transfer sheets on the leopard toner sheets and I actually cut the backing for my cut file out of the solid PeelnStick toner sheets so I could transfer the beautiful Emerald Watercolor foil onto it for the leaves!
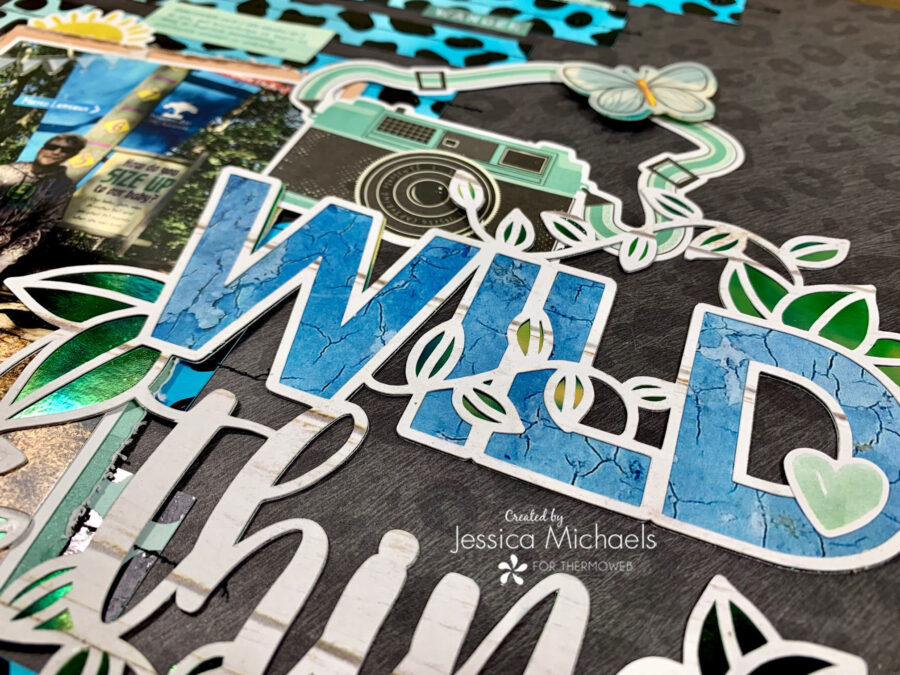
I attached my cut file layers together using the iCraft UltraBond Liquid Adhesive Pen and it worked absolutely perfectly. Dried fast and clear and you can’t see any smudges anywhere on the foil as I was a little worried I would be too messy with it! I peeled the backing off the PeelnStick Toner Sheets and added it to my page. I was surprised just how sticky those sheets are! That’s definitely not going anywhere!
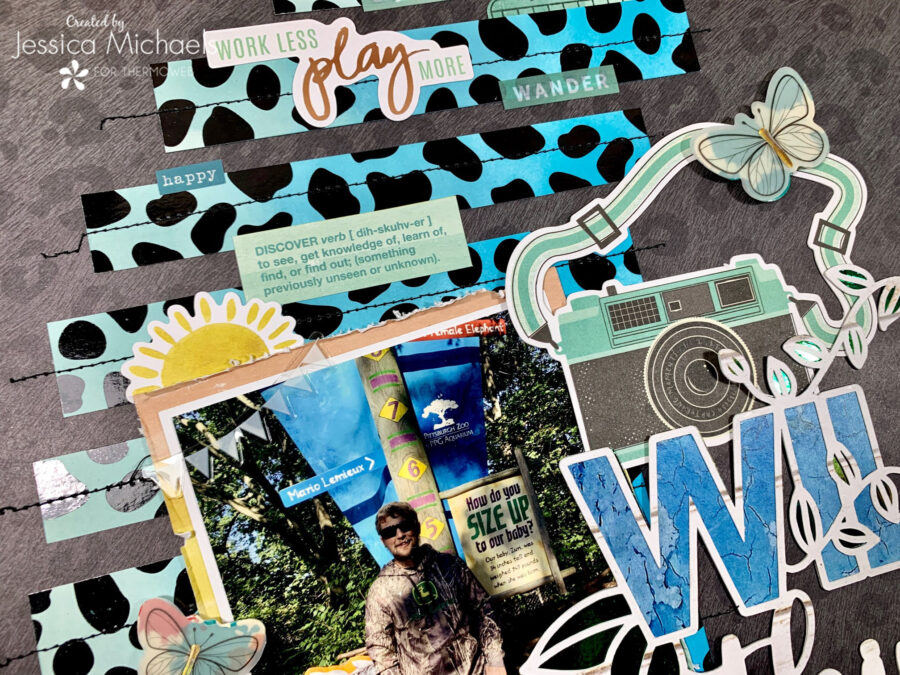
Last, I added lots of misc embellishments and words from my stash from various collections since I don’t have a lot of zoo ephemera. I added my date stamp and tucked that into one of the toner sheet layers and that finished this one off!
There is a process video on YouTube if you’d like to see exactly how this came together:
Thank you for being here today and I hope I was able to inspire you to create!
Jessica
This post contains affiliate links. For more information, see our disclosure HERE.


[…] Visit the Therm O Web blog to watch her process video. […]