Hello Crafty Friends!!
Larissa here and today I want to share two different ways you can use Deco Foil Transfer Gel!! This is such an AWESOME Product and there are SO MANY ways you can use it!! I’m going with a Fruit Theme and using some FUN Echo Park Products to complete my Cards for today!! Let’s get Started!!
Deco Foil Transfer Gel – 2 Ways To Create Fruit Cards
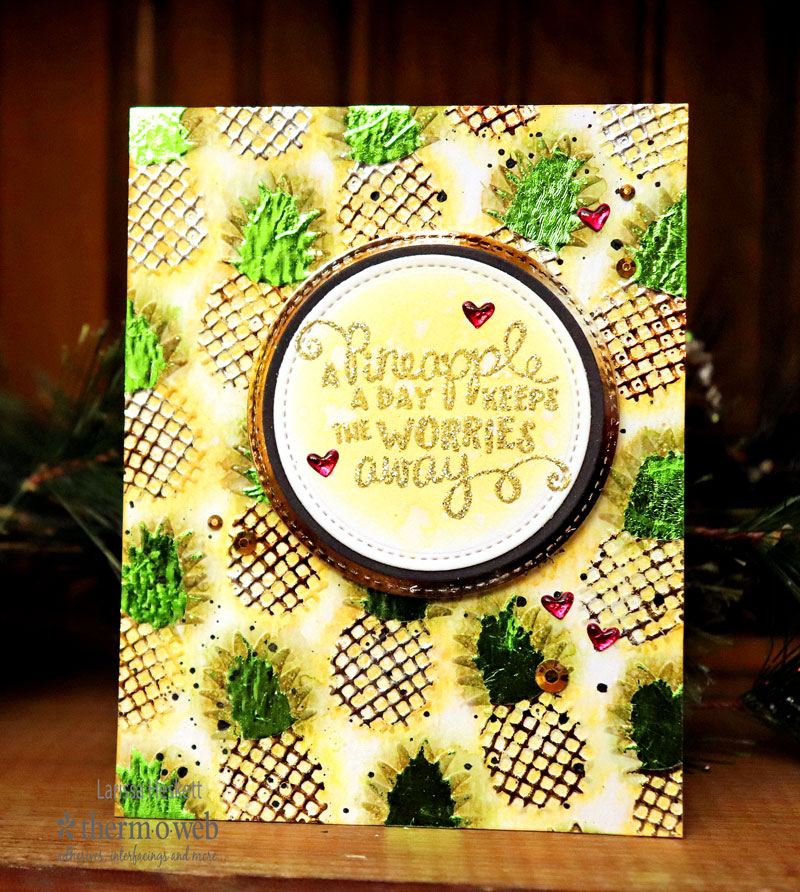
First up a FUN Embossed, Foiled and Inked Background!! Did you know you can use Deco Foil Transfer Gel to Ink over the Raised Portions on your Embossed Designs!! Its such an AWESOME Look and adds so much Texture and Dimension to your Design!! Not sure about you, but this Technique makes me want to use my Embossing Folder for EVERY Background!!
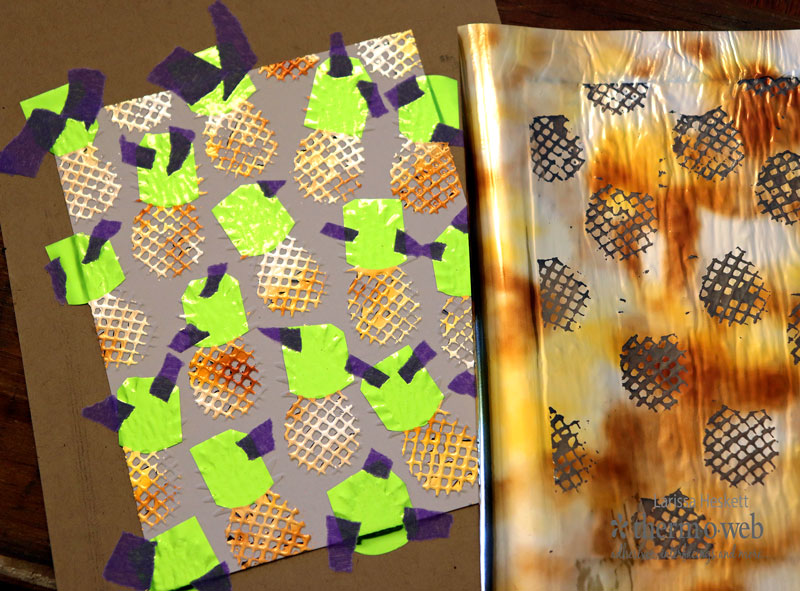
I started by running my Watercolor Cardstock through the Echo Park Pineapple Embossing Folder from the Summer Party Collection!! Then I took an Ink Dauber and carefully applied the Deco Foil Transfer Gel onto the raised portions of the Design!! Now this is a little tedious, but I think the results are WELL worth the efforts here!! Then set it aside to dry completely!!
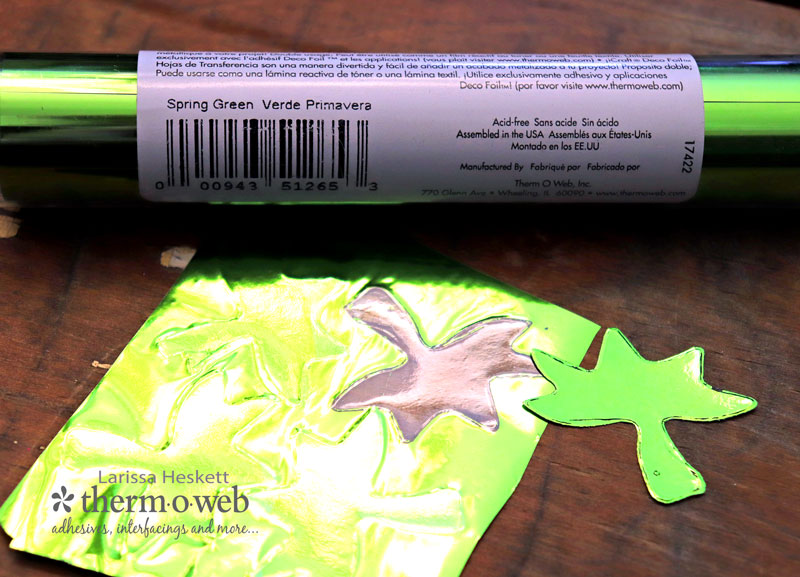
Next pick out the Color of Deco Foil you want to use!! I went with a traditional Color scheme, but I can see this design using other colors for the Pineapples as well!! I cut the Spring Green Deco Foil to fit the tops of the Pineapples and adhered them in place using Purple Tape!! I intentionally didn’t cover the entire tops of the Pineapples with Transfer Gel as I knew I wanted to add some Inking for a more dimensional and atrsy Design, but you can choose to do it however you’d like!!
Next cut a piece of Amber Watercolor Deco Foil to cover the entire Card Front and run it through your Laminating Machine!! Pull off the Foil and SQUEAL in Delight!! How AWESOME is that Texture Foiled!! 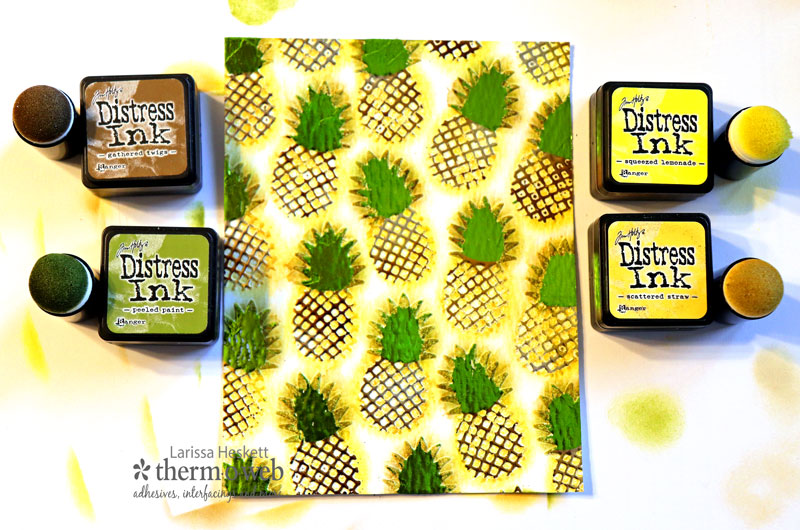
Then pick the Colors of Ink you want to use!! I chose Squeezed Lemonade, Scattered Straw, Gathered Twigs and Peeled Paint!! Use the Ink Dauber to apply Ink to color in the Embossed Pineapple Images!! This really makes them POP!! Then for even more texture I applies Water Splatters with a Paint Brush and let it Dry!! I LOVE the watercolored look!! A few Black Diamond ColoriQue Ink Splatters finish off the Panel!!
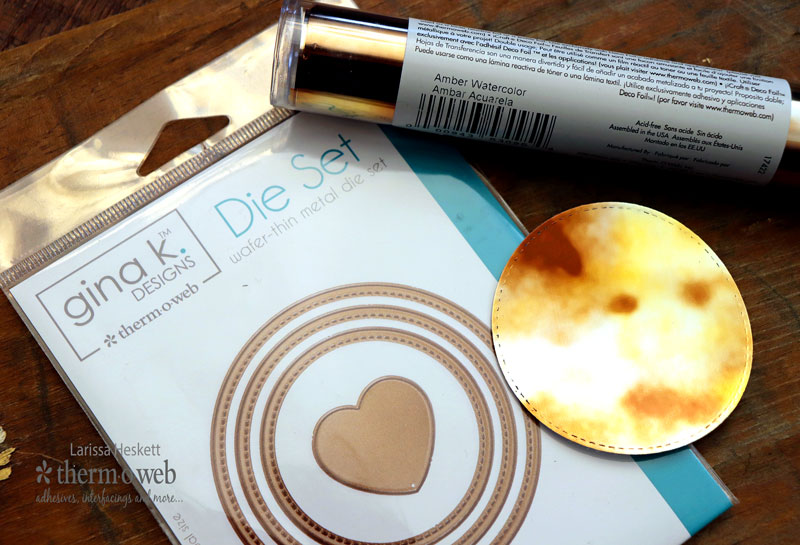
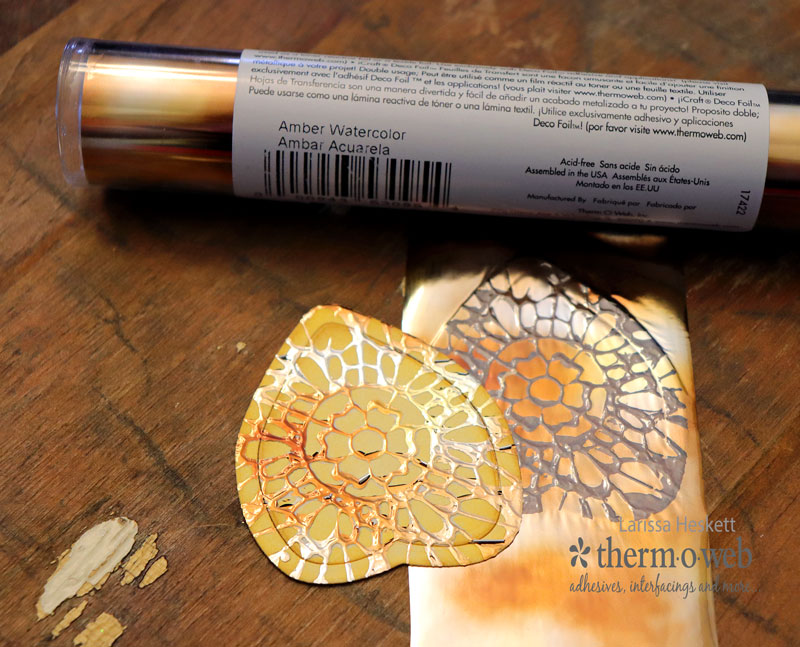
Next I used the Gina K Designs Nested Circle Dies Single Stitch Design to die cut some Deco Foil Toner Sheet and Foiled it with some Amber Watercolor Deco Foil!!
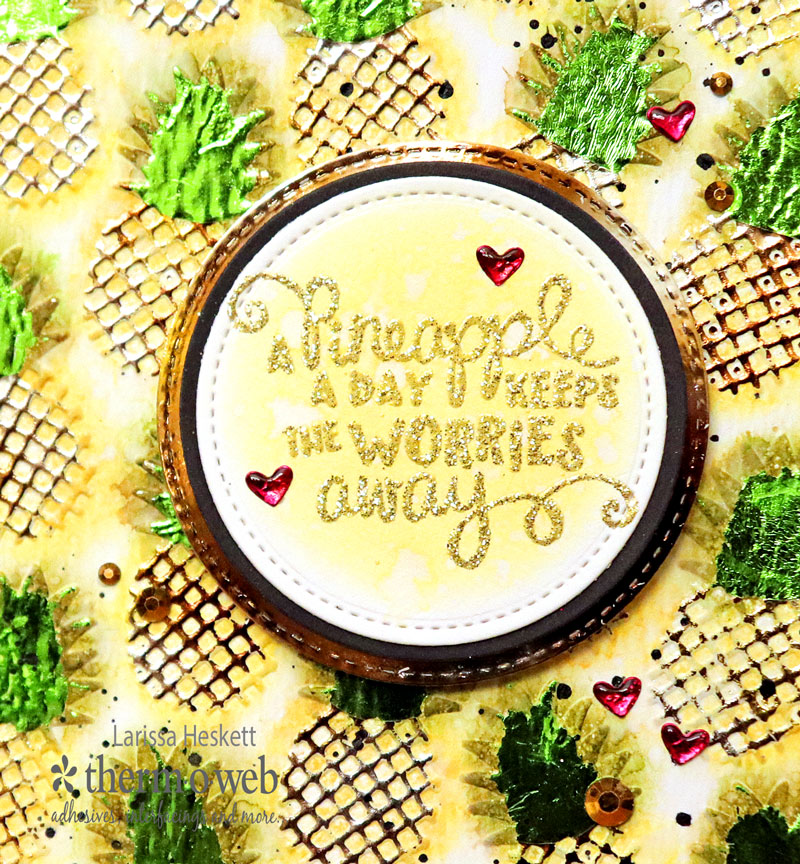
I Die Cut another Circle from some Gina K Designs Black Onyx Premium Cardstock and one from some Gina K Designs Luxury White Premium Cardstock using the Smallest Gina K Designs Nested Circle Dies Single Stitch Design!! I inked it up using both Squeezed Lemonade and Scattered Straw Distress Inks and then Stamped and Embossed the Newton’s Nook Designs Pineapple Delight Stamp Set with some WoW Glitter Embossing Powder in Gold Glitter!! I LOVE the way it looks!!
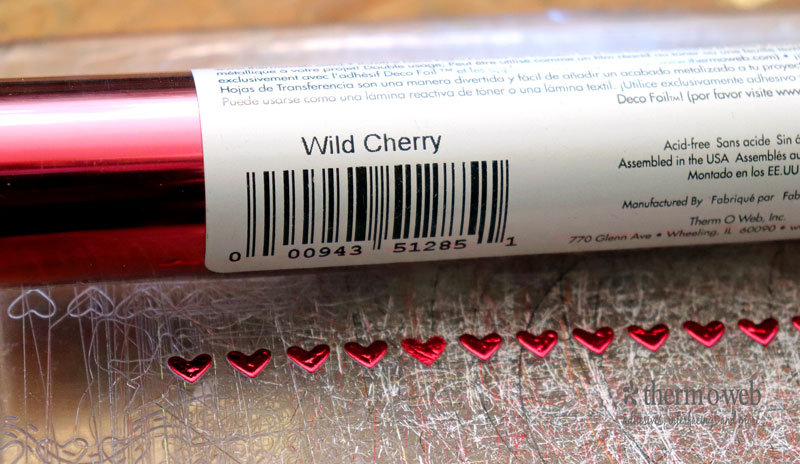
I Die Cut a Few Hearts using a Lawn Fawn Border Die and some Deco Foil Toner Sheet in Wild Cherry Deco Foil!! Then I added them to my Card Design using some iCraft Mixed Media Adhesive and coated them with a layer of Tonic Studios Morning Dew Nuvo Drops to turn them into some 3-D Foiled embellishments!! My NEW FAVORITE!! I added some Pretty Pink Posh Gold Jewels using the Zots Bling and adhered the Sentiment Circle using some iCraft 3-D Foam Squares!!
Products Used
Therm O Web Products:
Deco Foil Transfer Gel
Spring Green Deco Foil
Amber Watercolor Deco Foil
Wild Cherry Deco Foil
Purple Tape
Laminating Machine
Gina K Designs Nested Circle Dies Single Stitch Design
Deco Foil Toner Sheet
Gina K Designs Black Onyx Premium Cardstock
Gina K Designs Luxury White Premium Cardstock
iCraft Mixed Media Adhesive
Zots Bling
iCraft 3-D Foam Squares
Other Products:
Echo Park Pineapple Embossing Folder
Distress Inks
Ink Dauber
WoW Glitter Embossing Powder in Gold Glitter
Tonic Studios Morning Dew Nuvo Drops
Pretty Pink Posh Gold Jewels
Black Diamond ColoriQue Ink
Lawn Fawn Heart Border Die
My Second Card features using the left over Deco Foil Transfer Gel that you may have on a stencil to do a Reverse Stencil Design!! I LOVE the way this turned out and thought it was PERFECT for a Pineapple Shaker Focal Point!! I also used the same Echo Park Pineapple Embossing Folder for the Embossing Inked background!!
After Stenciling a Project, DON’T WASTE the extra Gel on your Stencil just flip it over onto a piece of Cardstock and apply pressure and you have a Reverse Stencil Design!! I’ve used the Lace Floral Stencil by Newton’s Nook Designs!!
Next I took the Die from Queen & Company and used it for my Pineapple Shaker!! I Die Cut the Reverse Stenciled Transfer Gel Cardstock centering the Design using my Die Cutting Machine!!
I added some Distress Inks in Scattered Straw, Fossilized Amber and Gathered Twigs!! I LOVE the way the Transfer Gel POPS!! It would be FUN to leave it just like this too!!
Next cut a piece of Amber Watercolor Deco Foil to cover the entire Card Front and run it through your Laminating Machine!! Pull off the Foil and SQUEAL in Delight!! How AWESOME is that Texture Foiled!!
I Die Cut the Top from some Deco Foil Toner Sheet and Foiled it with some Spring Green Deco Foil!! I Layered 3 Foiled Pieces with 3 Cardstock pieces to create the Top of the Pineapple!! 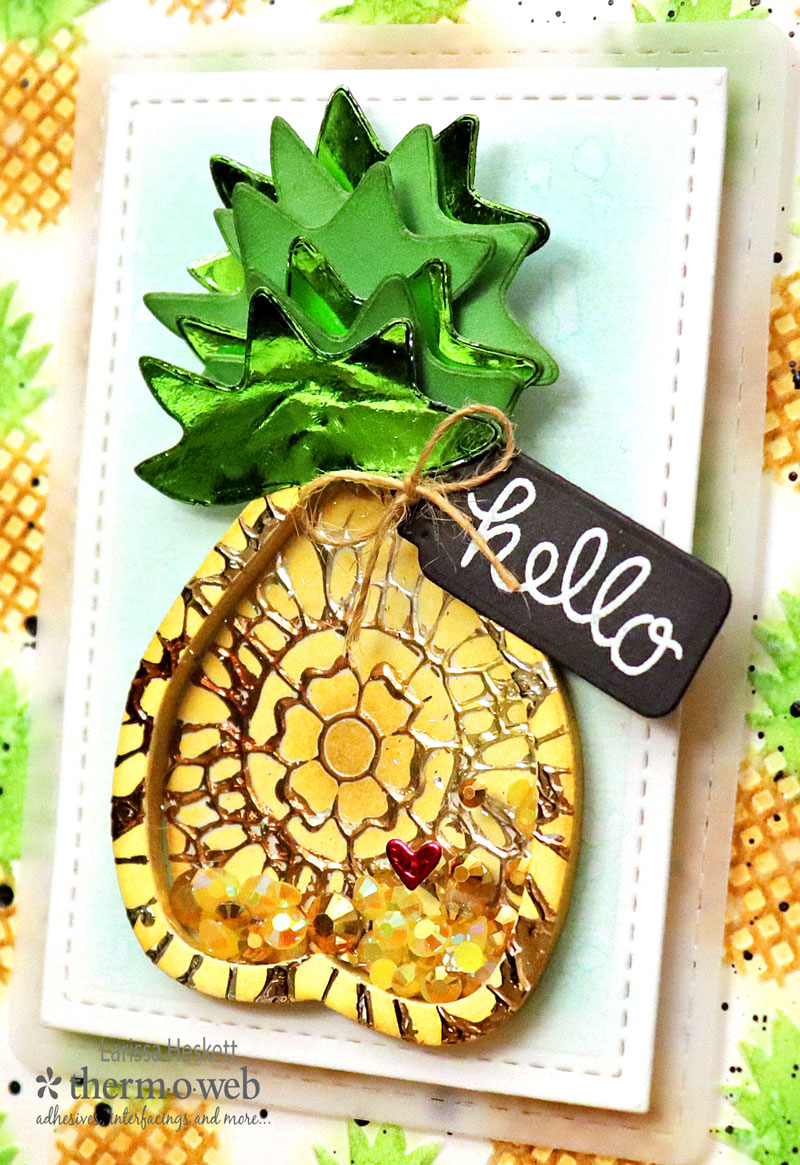
I put the Shaker together and added some Pretty Pink Posh Jewels!! Then I added a Wild Cherry Foiled Heart and a Few Gold Jewels to the top of the Shaker with Zots Bling for a POP of Color!! I Die Cut the Large Gina K Designs Nested Rectangle Single Stitch Design for my Shaker Base from some Gina K Designs Luxury White Premium Cardstock and Inked it up using some Tumbled Glass Distress Ink!! A few Water Splatters were added for some Texture!! Then I backed it with a Vellum Panel Die Cut using the Frames & Flags Die Set from Newton’s Nook Designs!! I adhered the panels onto the Echo Park Pineapple Embossed and Inked Panel with iCraft 3-D Foam Squares!! Then I added a Small Tag from the Gina K Designs Nested Tag Dies Die Cut from some Gina K Designs Black Onyx Premium Cardstock!! I Stamped and Embossed a Sentiment in White WoW Embossing Powder and added a Twine Bow using Zots Bling!! 
Products Used
Therm O Web Products:
Deco Foil Transfer Gel
Spring Green Deco Foil
Amber Watercolor Deco Foil
Wild Cherry Deco Foil
Purple Tape
Laminating Machine
Deco Foil Toner Sheet
Gina K Designs Nested Rectangle Single Stitch Design
Gina K Designs Black Onyx Premium Cardstock
Gina K Designs Luxury White Premium Cardstock
Zots Bling
iCraft 3-D Foam Squares
Other Products:
Echo Park Pineapple Embossing Folder
Distress Inks
Ink Dauber
Newton’s Nook Designs Frames & Flags Die
Newton’s Nook Designs Lase Floral Stencil
Newton’s Nook Designs Sending Hugs Stamp Set
Queen & Company Fruit Basket Shaker Card Kit
WoW Glitter Embossing Powder in White
Pretty Pink Posh Gold & Yellow Jewels
Black Diamond ColoriQue Ink
Lawn Fawn Heart Border Die
Twine
Vellum
So there you have it, LOTS of Inspiration today!! With 2 Ways to use Deco Foil Transfer Gel you should be on your way to creating some AMAZING Projects!! Tune in soon for Part Two with more creative uses for Deco Foil Transfer Gel! If you create something I hope you’ll share with us on Social Media using the Hash Tag #ThermOWeb #DecoFoil #GinaKDesigns #iCraft as we LOVE to see what you’re creating!!
THANKS SO MUCH for stopping by today and I hope you have a FABULOUS WEEK!!


