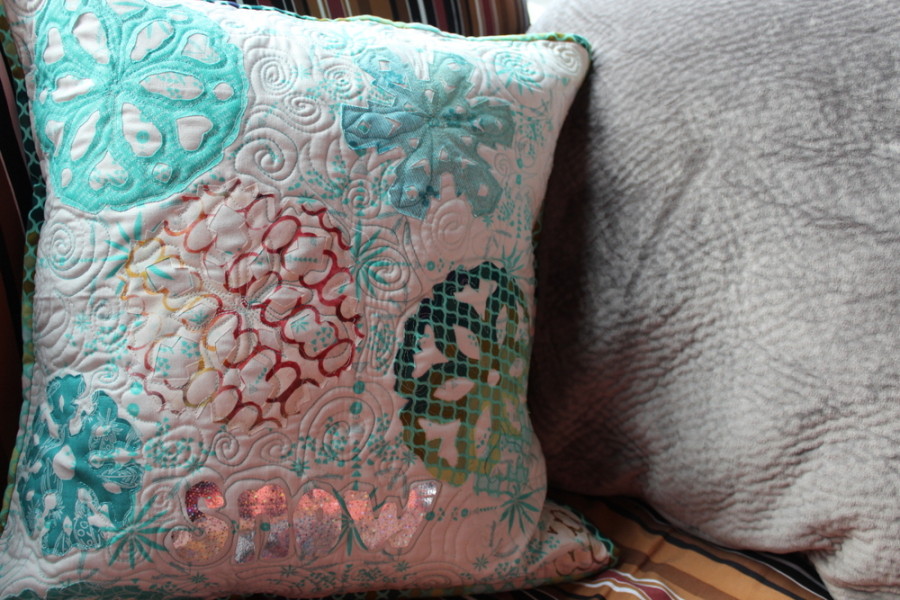
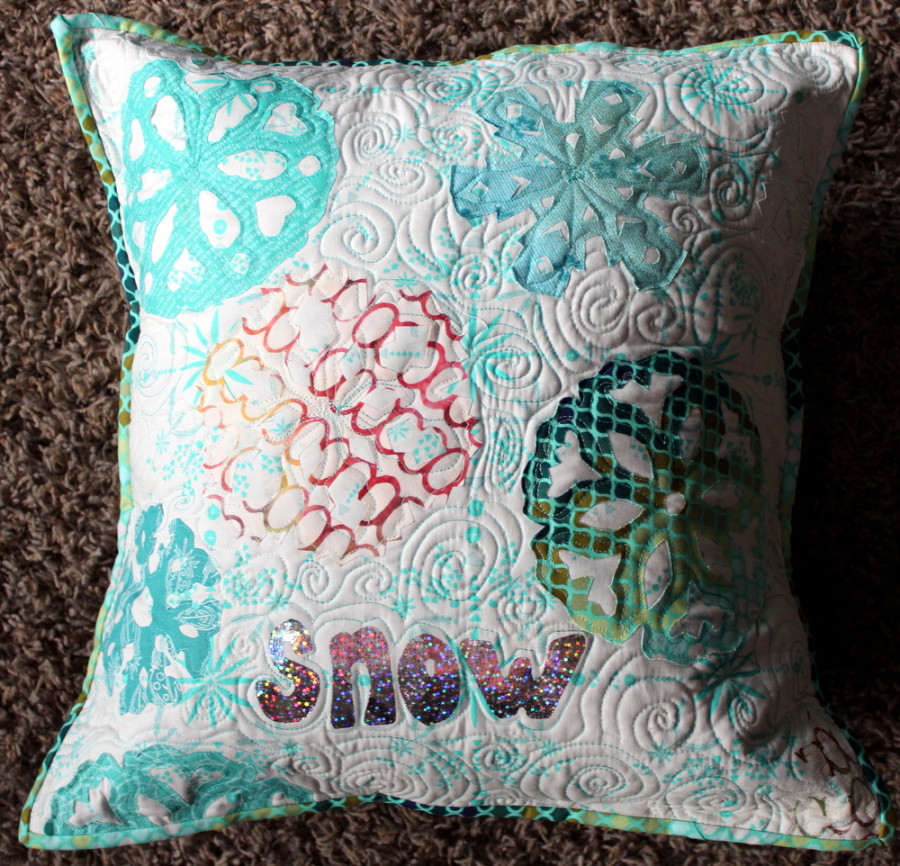
Hello everyone! This is Kim Lapacek from Persimon Dreams! I’m excited to be here today and to be sharing with you a fun pillow tutorial. I live in Wisconsin and we still have NO SNOW! That’s just not okay this time of year. This pillow has helped me get into the wintery mood.
This project is fun and free flowing. I’m going to give you the basics to enable you to create it but I hope you take the tools and ideas I give you and create a snowflake pillow that is perfect for you!
- (1) 17.5” square of lighter ‘snow-esque’ fabric
- 18″ square of batting
- 18.5″ square of fabric for back of pillow top
- (2) 17.5” x 30” (ish) coordination fabric for the back of the pillow
- 2.25″ x 80″ fabric binding strip
- Scraps of blue/green/white fabrics for snowflake appliqué
- (1) sheet Star Deco Foil™
- (4) ez Print Lite Heat N Bond® sheets
- Snowflake Pillow Template
- (1) Sheet of DecoFoil™ Hot Melt Adhesive
- Pressing Sheet
Directions:
Download the ‘Snowflake Pillow Template’ from Craftsy HERE.
The first page is the lettering that you will use with DecoFoil Transfer Sheets. You can print this page out onto standard paper to use for tracing.
The last four sheets of the template you’re going to want to print onto the ez Print Lite Heat N Bond® sheets. This will enable you to get the details of the snowflakes onto the fusible without having to trace them all over again. Trust me, this makes your world a whole lot easier.
Once you have your templates printed out let’s get started on the pillow.
Start with a 17.5” square of lighter ‘snow-like’ fabric for the base of your pillow.
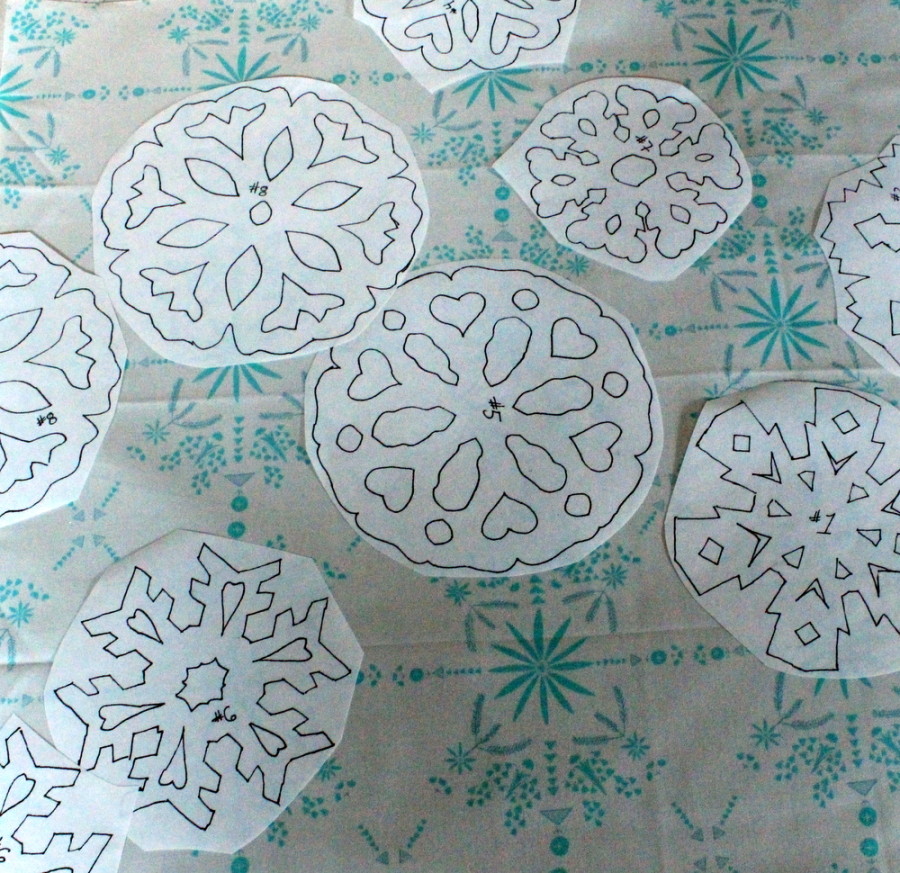
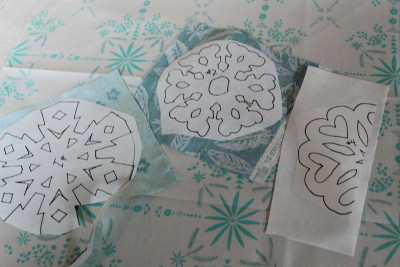
Now cut out the snowflakes along the lines. I’ll admit – this is a bit tedious but I promise it will be worth it in the end. This is something I will do in front of the tv or while watching my girls at a sporting event.
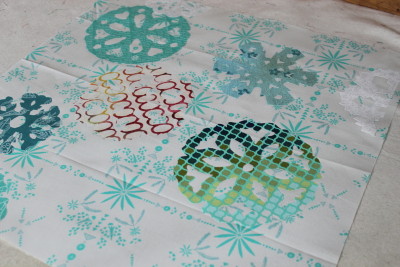
Now let’s add our DecoFoil word. I chose to use the word ‘snow’. Trace the word you choose from the template printed out earlier onto the paper side of the DecoFoil™ Hot Melt Adhesive. Cut out along the lines you drew. Place the letters onto the pillow in a place that looks nice to you. Place a Pressing Sheet over the letters and with a hot iron press evenly for 30 seconds. Let the letters cool completely before peeling of the paper. Now, place your sheet of Star DecoFoil shiny side up over the letters. Cover with a pressing sheet. Press evenly with a hot iron for 30 seconds. Let everything cool down before peeling the decofoil off. Once things are properly cool … peel of the decofoil.
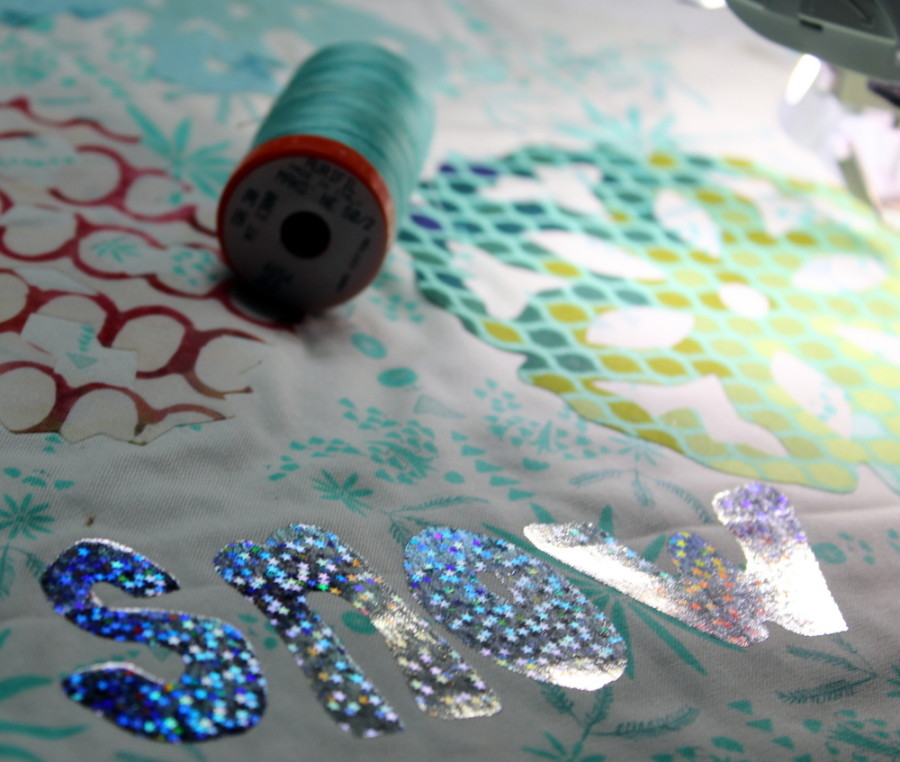
Create a quilt sandwich … backing fabric (right side down), batting, snowflake top (right side up) and fuse with your prefered method. I prefer spray basting and I really like the Spray N Bond® Basting Adhesive. Now it’s time to quilt your pillow top as you like. I free form quilted mine using Aurifil thread.
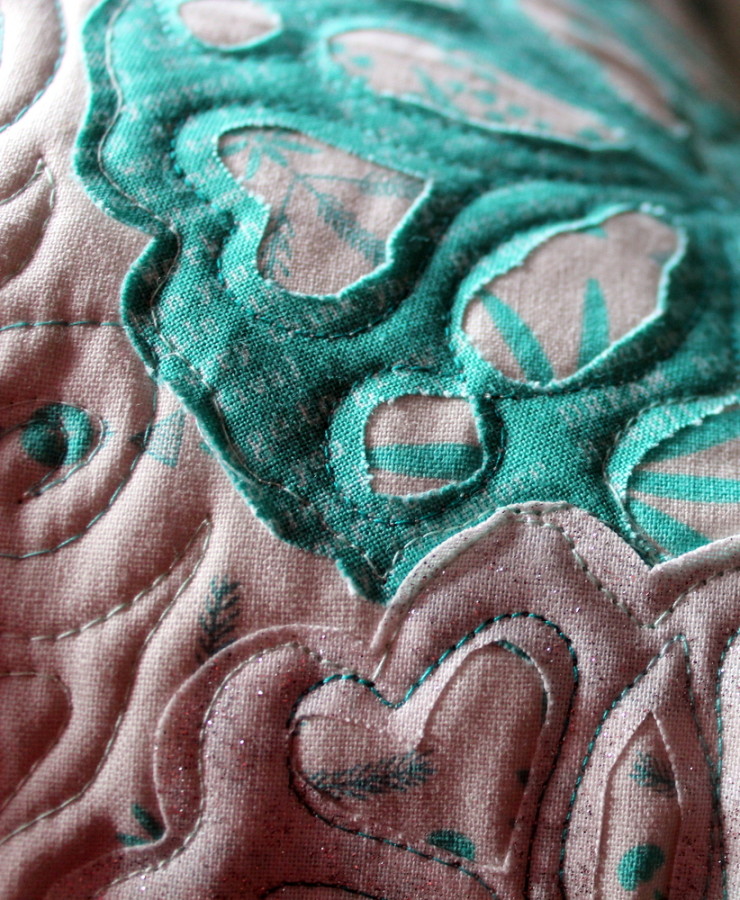
Once you have your top quilted, trim the excess batting and backing fabric so your pillow top is 17.5″ square.
3 Comments on Deco Foil Snowflake Pillow Tutorial
2Pingbacks & Trackbacks on Deco Foil Snowflake Pillow Tutorial
-
[…] pillow that is perfect for you! At the end of December I shared with you a similar tutorial for a snowflake pillow … I think they look great […]
-
[…] pillow that is perfect for you! At the end of December I shared with you a similar tutorial for a snowflake pillow, in February the Hug Me Pillow, in April the Bloom PIllow … if you make them all you can swap […]

Lynn kline
January 3, 2016 at 8:37 pm (9 years ago)Beautiful pillow.