Deco Foil Shamrock Embroidery Hoop Necklace
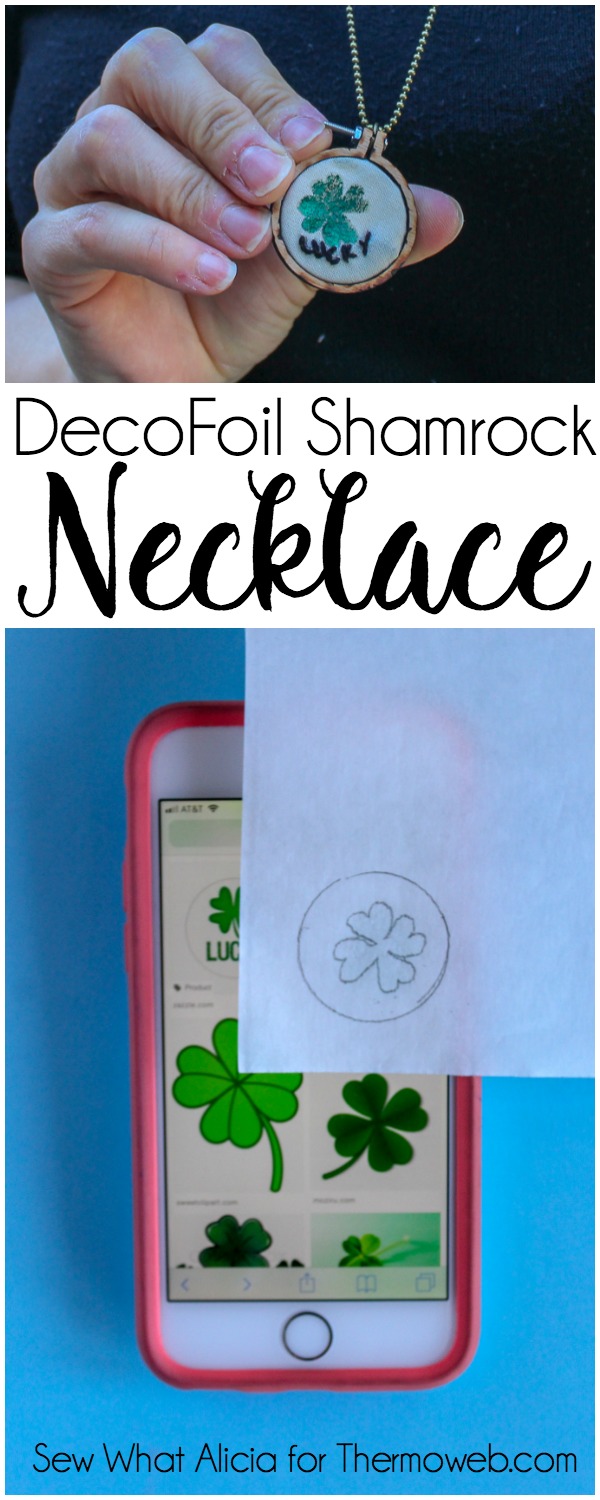
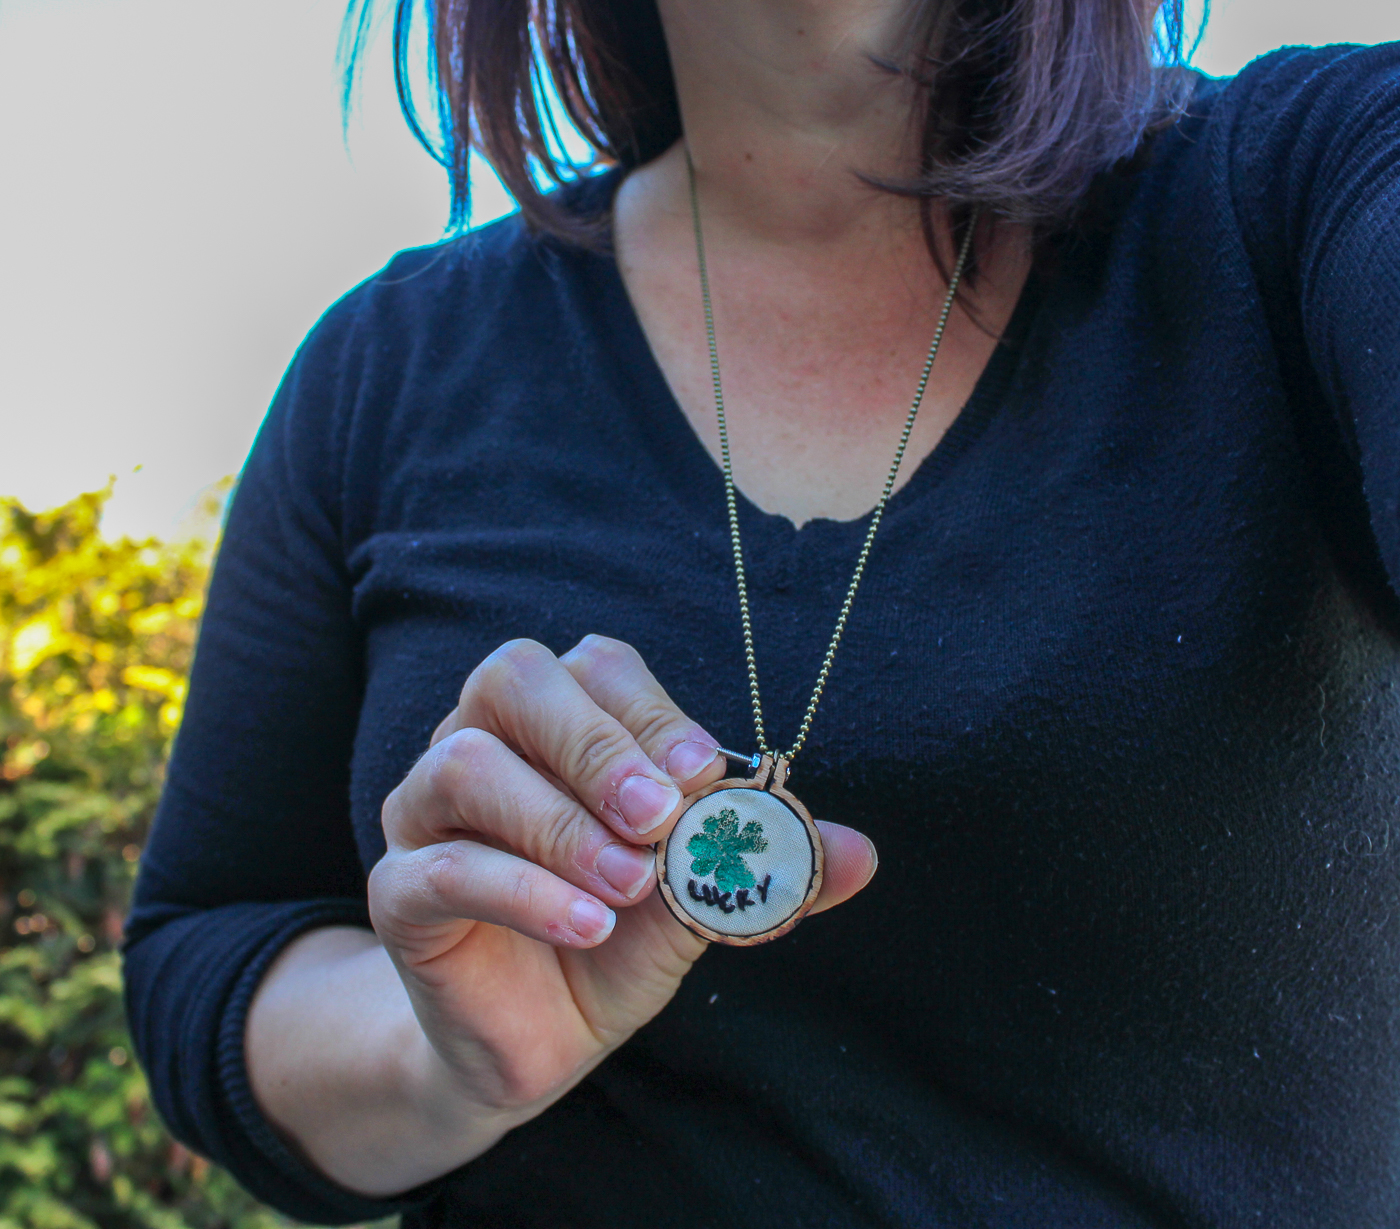
Hi friends. Alicia here from Sew What Alicia. St. Patrick’s Day is just around the corner and as I have gotten older I don’t love getting all decked out in green like I used to. This shamrock necklace is perfect for adding a pop of shiny green whether you go all out or not! Here is the tutorial for a quick Deco Foil shamrock necklace.
DecoFoil Shamrock Embroidery Hoop Necklace
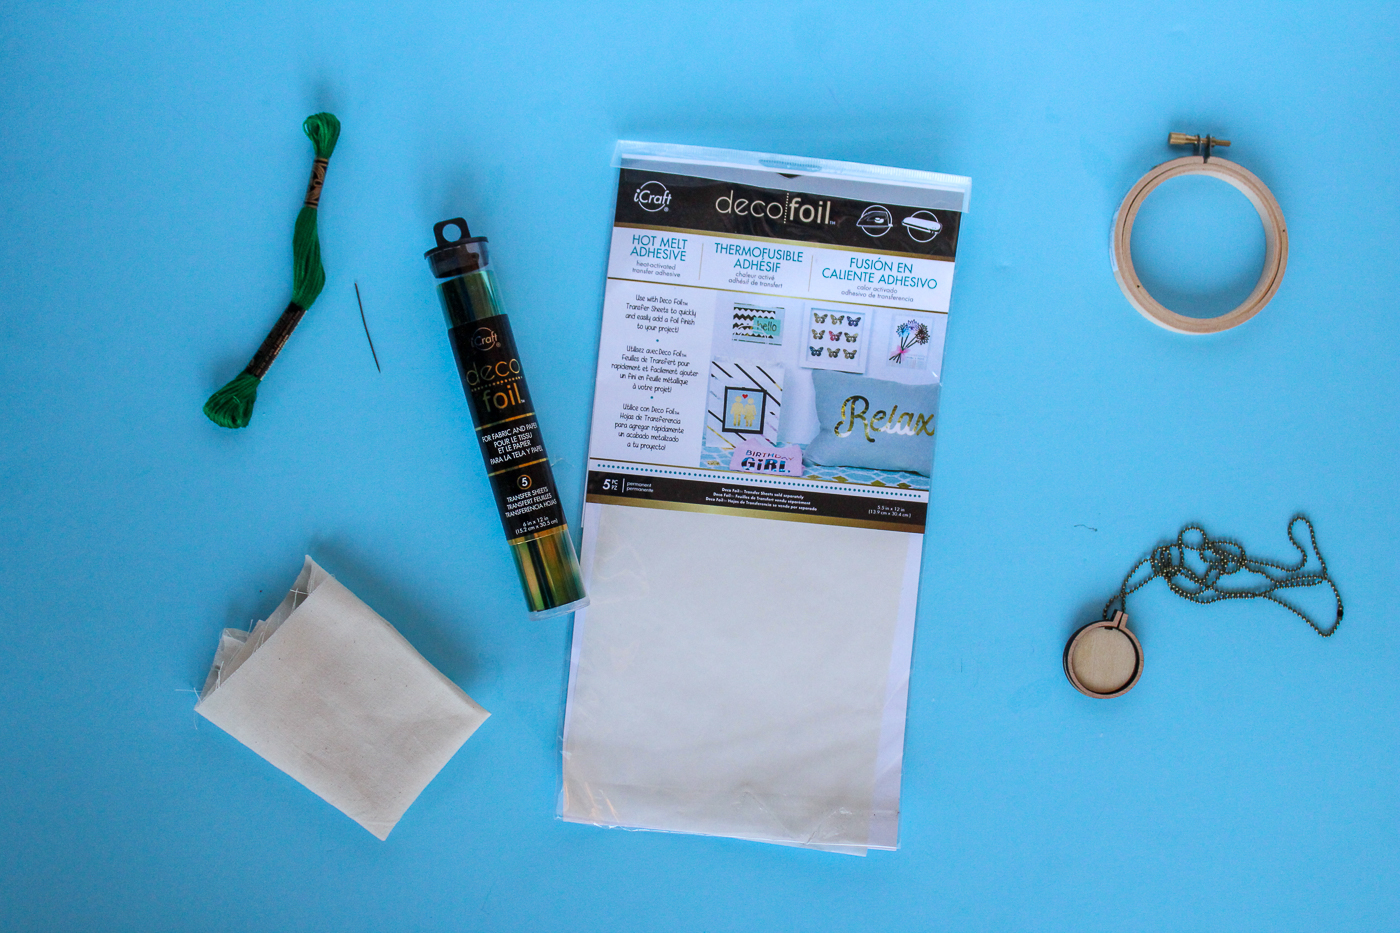
Supplies:
Embroidery Hoop Necklace
2″ or 3″ Embroidery Hoop
Small Cotton Square
Thermoweb Deco Foil Transfer Sheets – Green
Embroidery Needle and Embroidery Floss (optional)
Instructions:
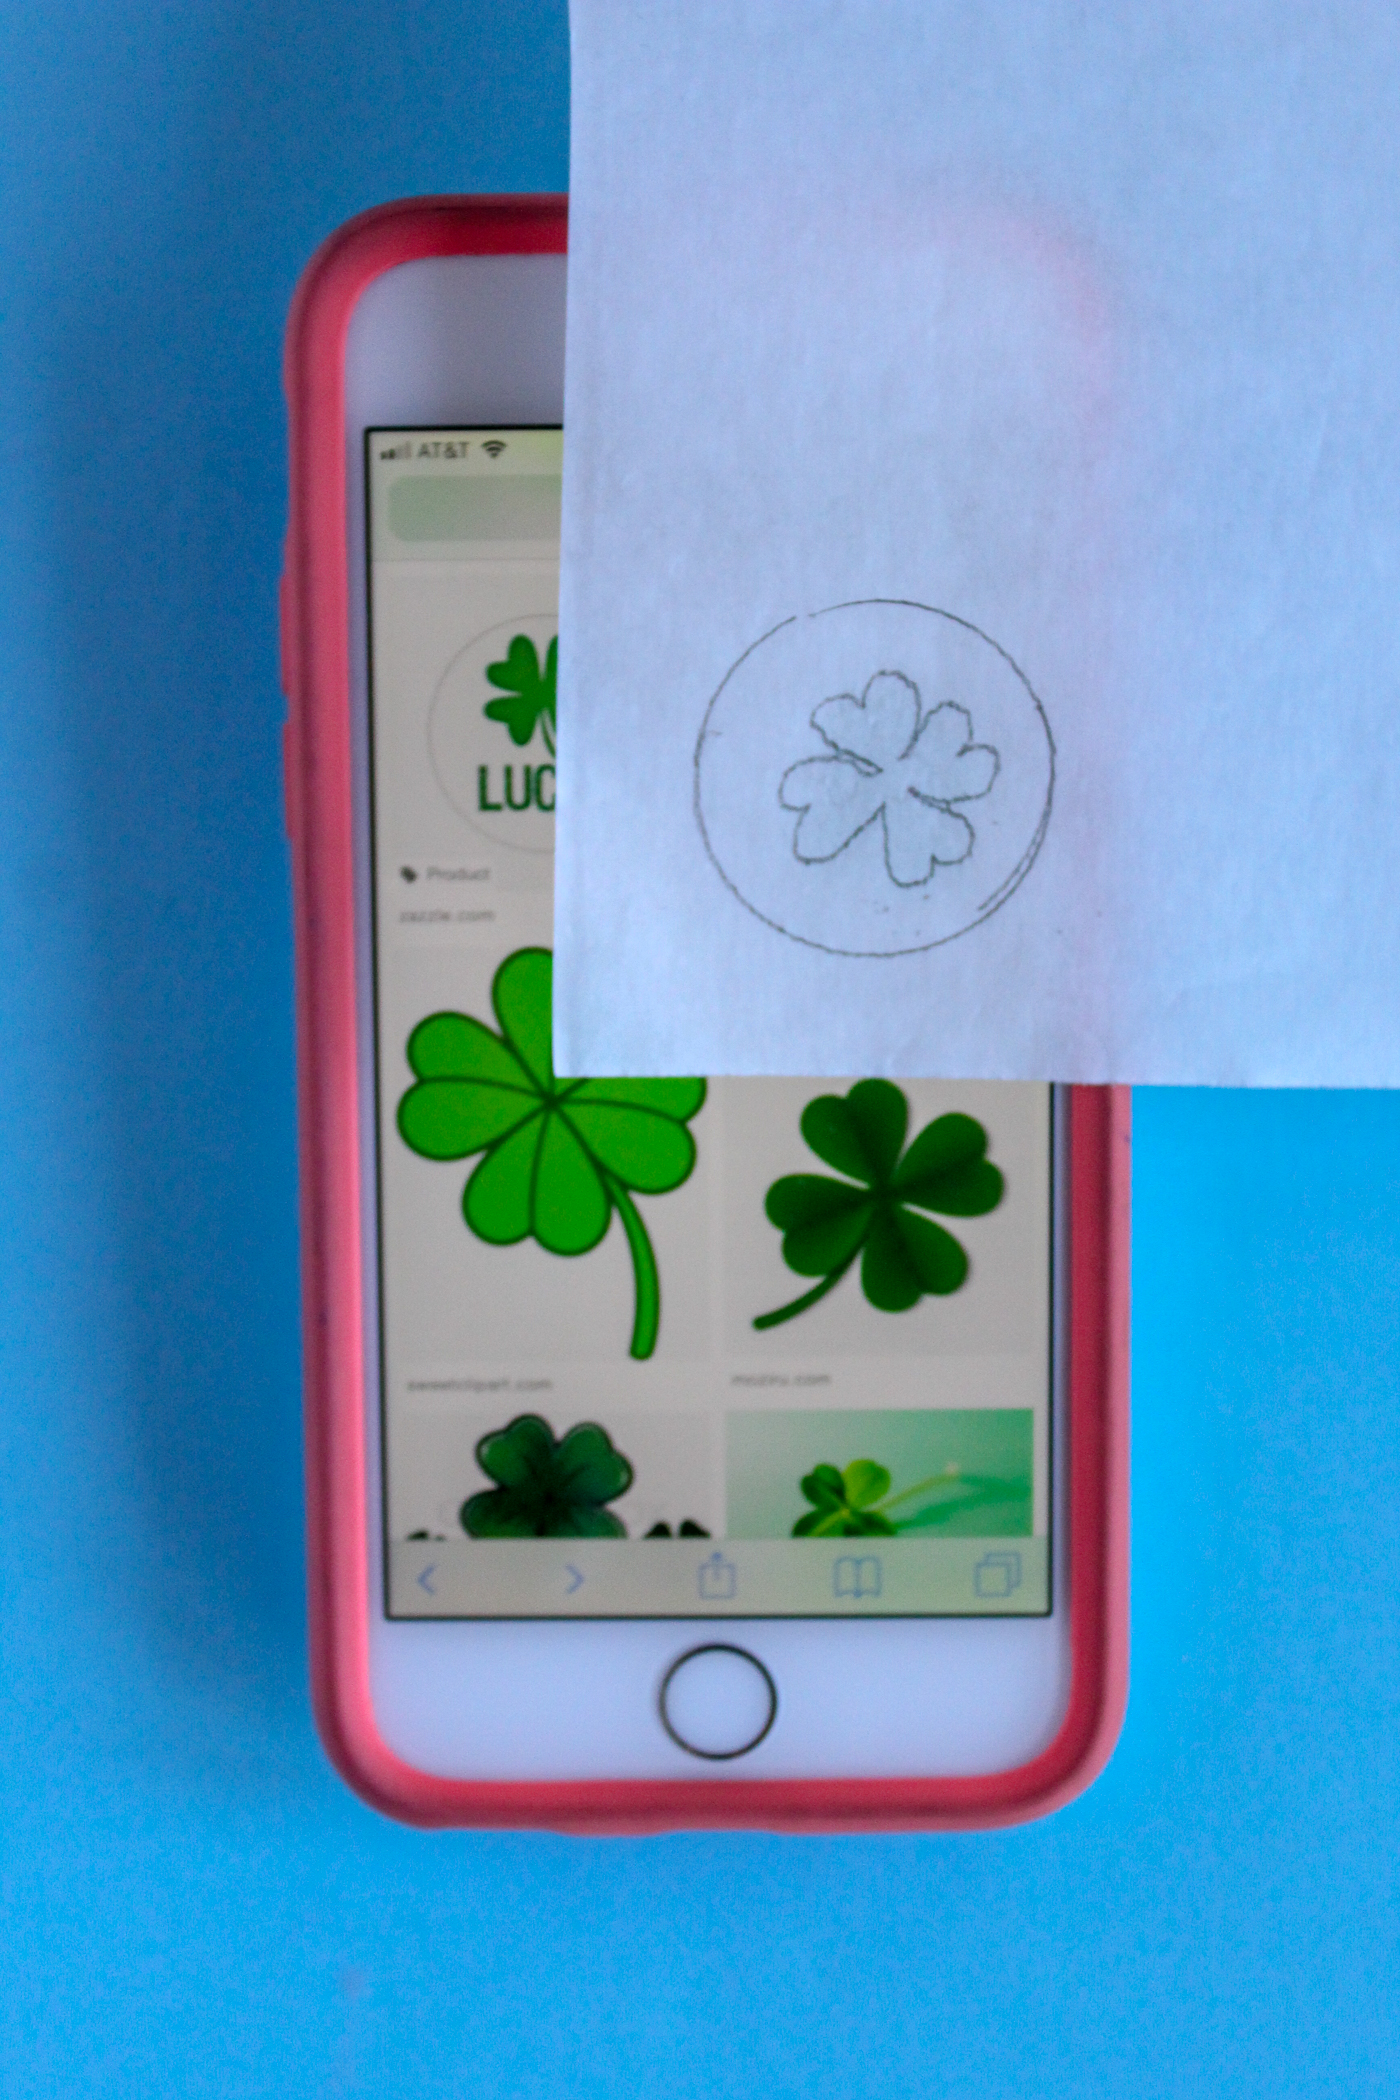
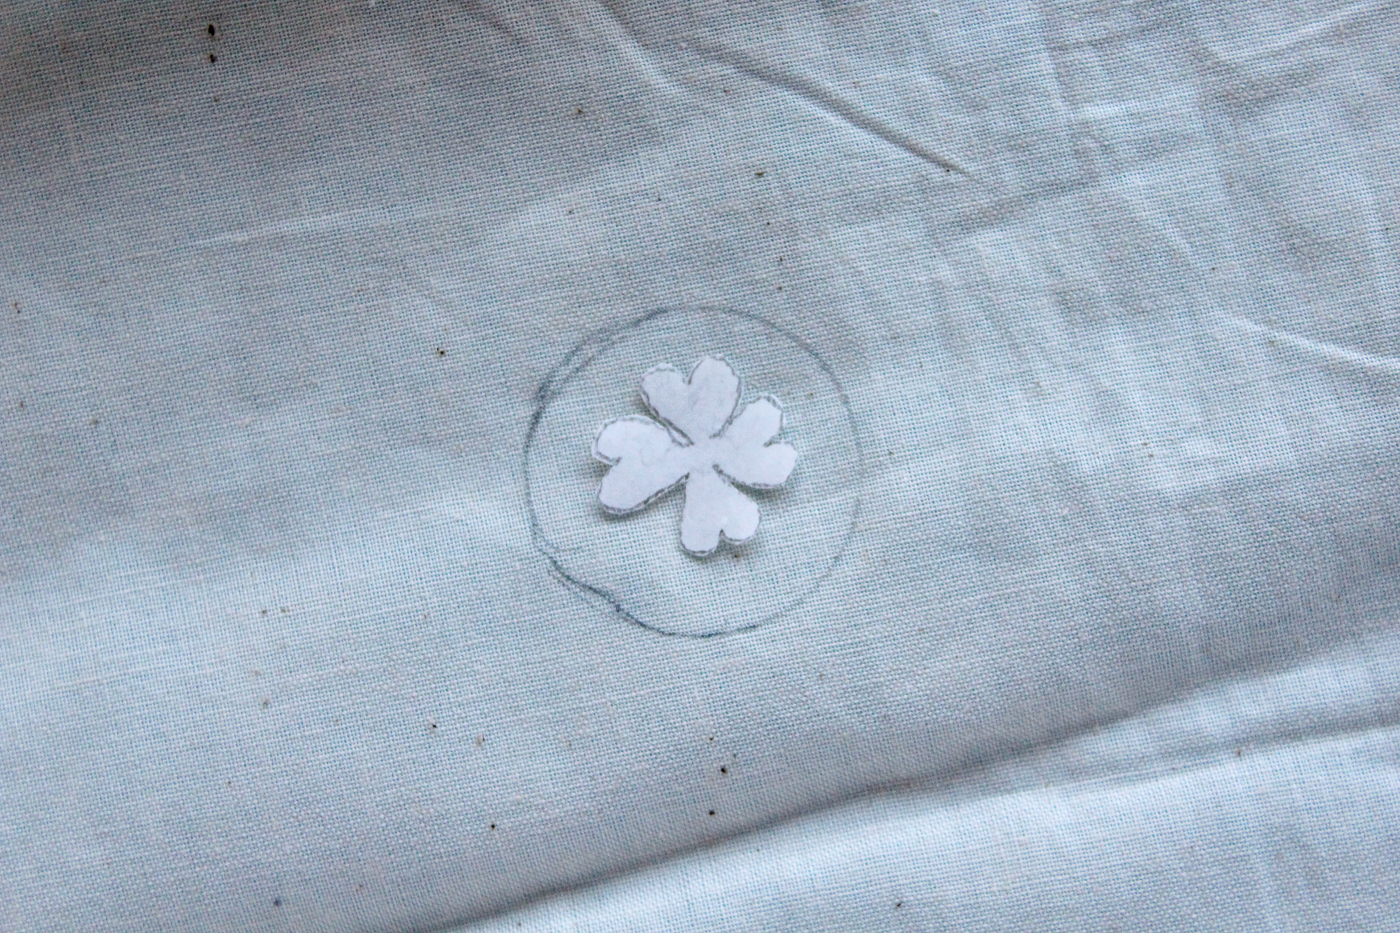
You can make this project as intricate or as simple as you want. I decided to make it very simple. Start by tracing the circle from the embroidery hoop necklace onto your hot melt adhesive. Then find an image of a shamrock to trace, I used my phone because that made the image the right size for the hoop.
Cut the shamrock out of the hot melt. Put a square of fabric, try cotton or muslin. Make the square big enough to fit in the small embroidery hoop (not the necklace.) Adhere the hot melt to the cotton. I like to use my Cricut EasyPress but you could also use a laminator or an iron.
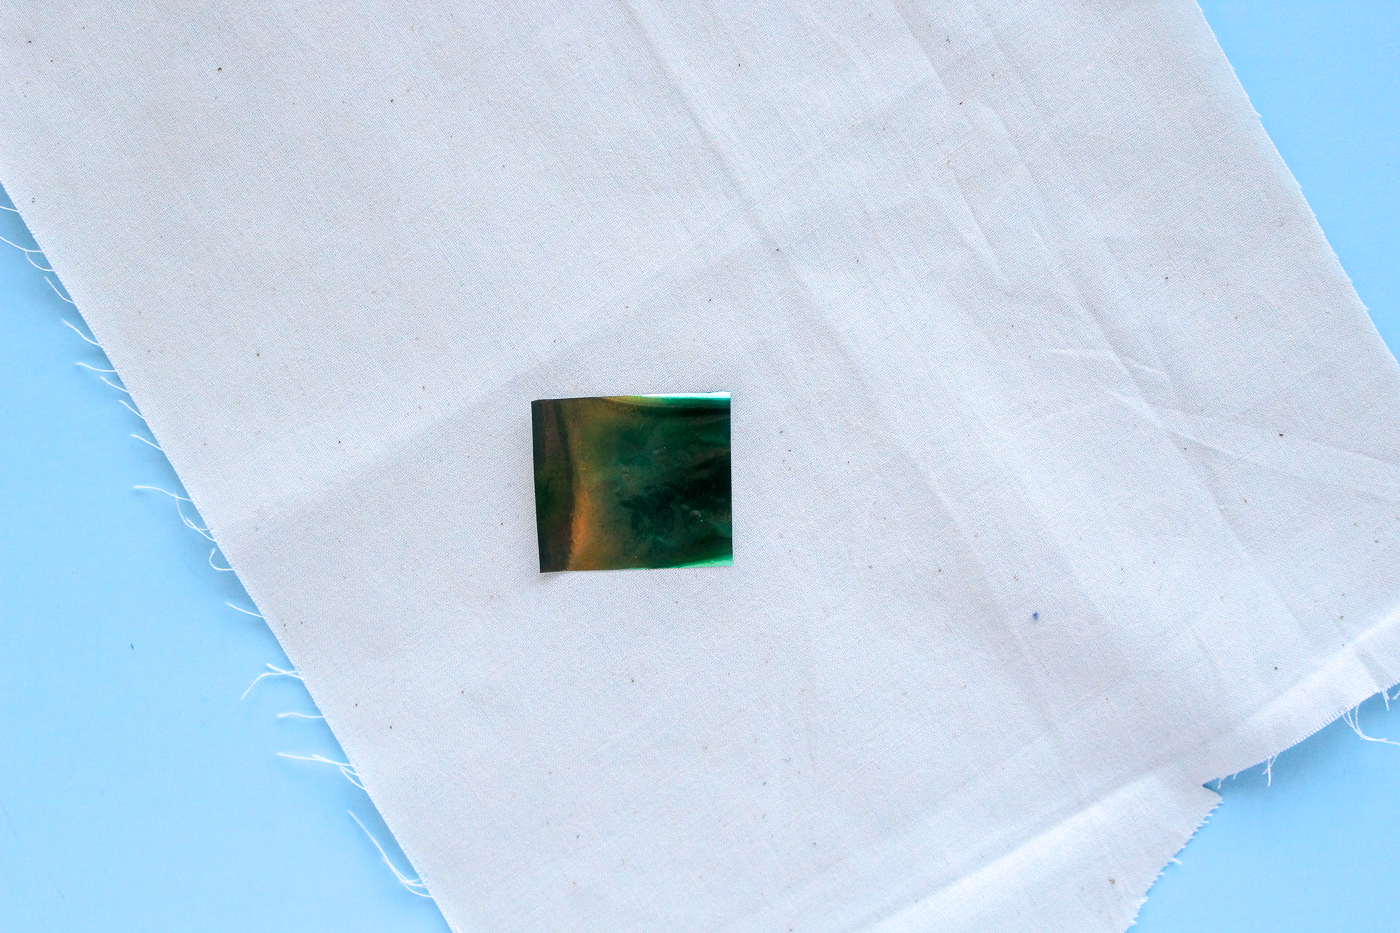
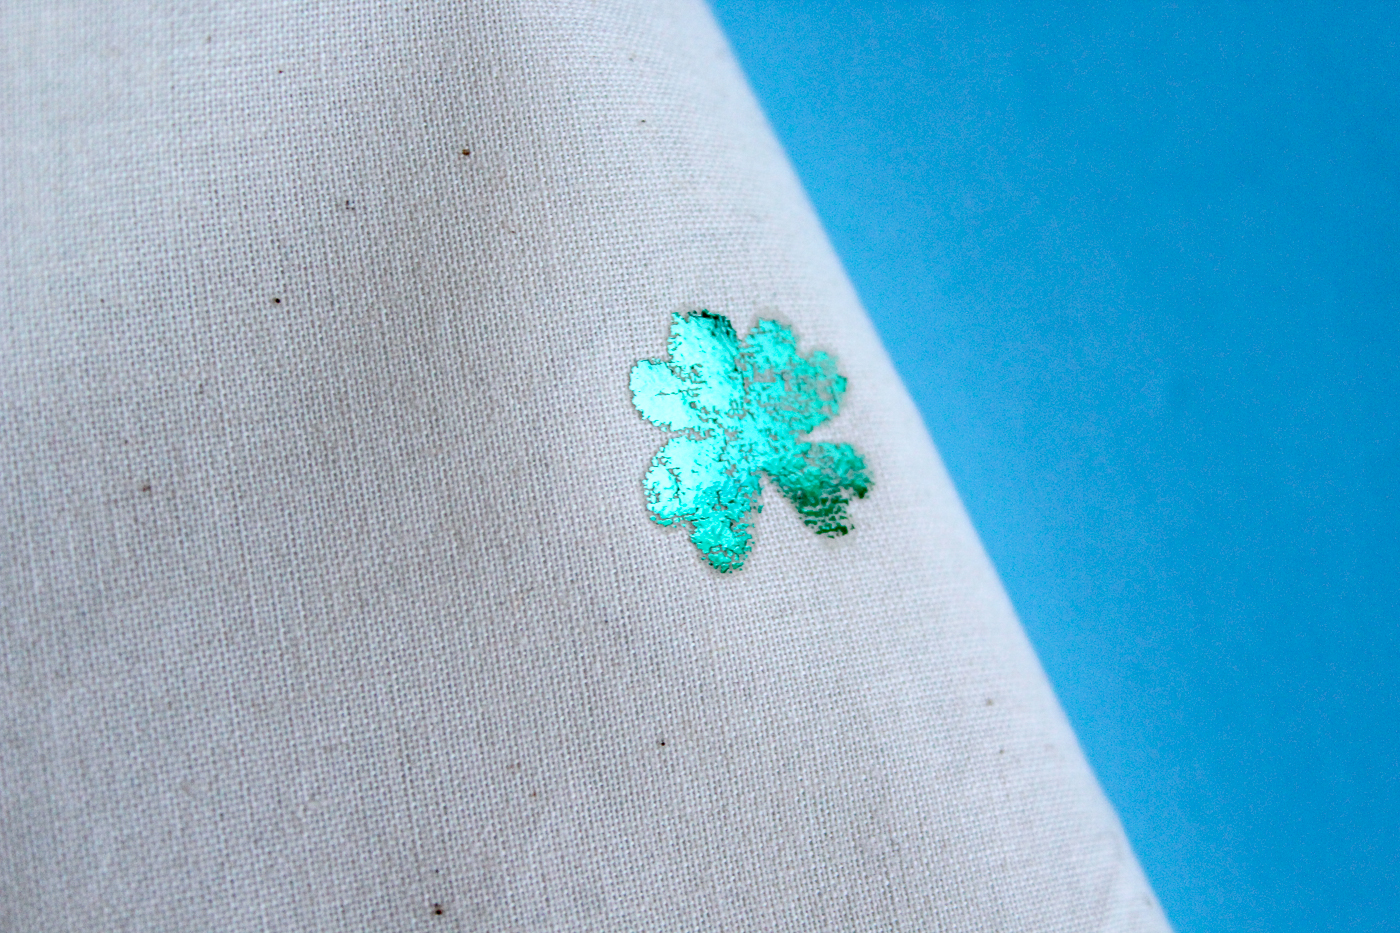
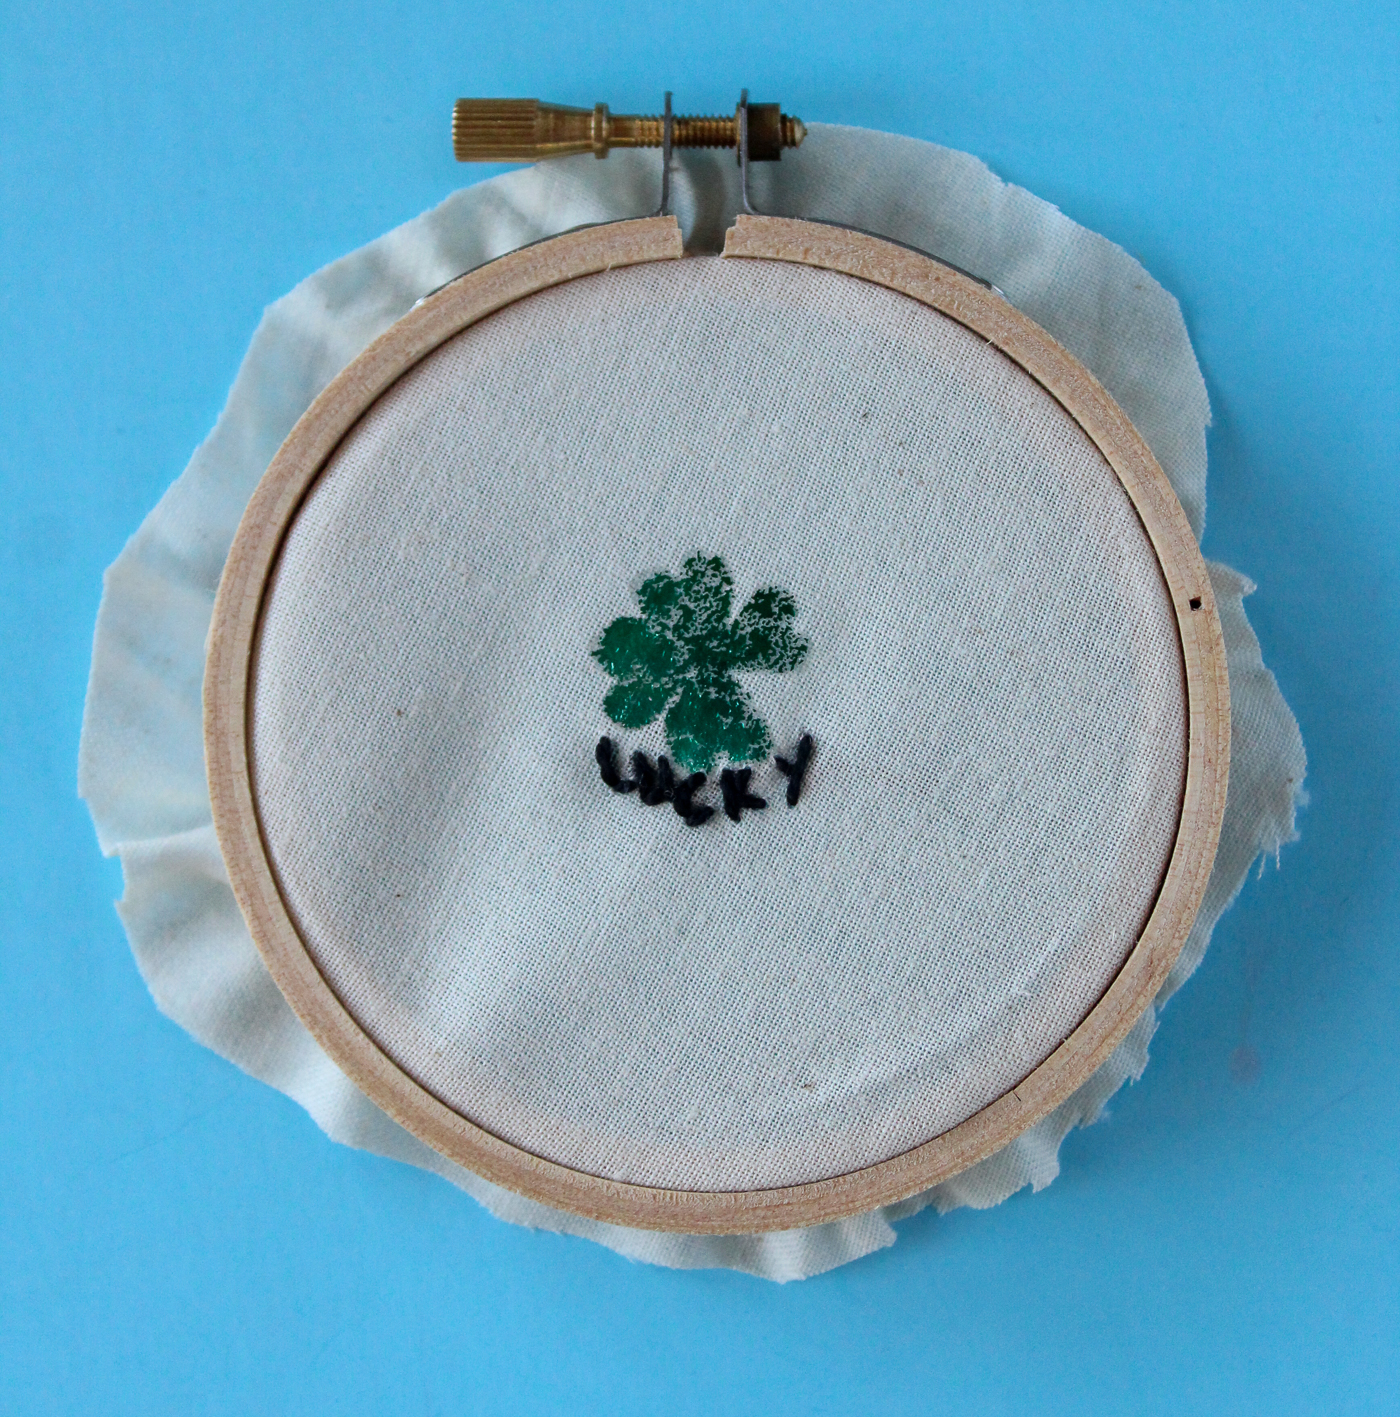
Peel the paper from the hot melt adhesive. Cut a small square of Deco Foil big enough to cover the shamrock. Attach it using the same method you used to attach the Deco Foil Hot Melt.
I find that the Deco Foil does best if you let it cool before peeling the extra off. This is called cold-peeling.
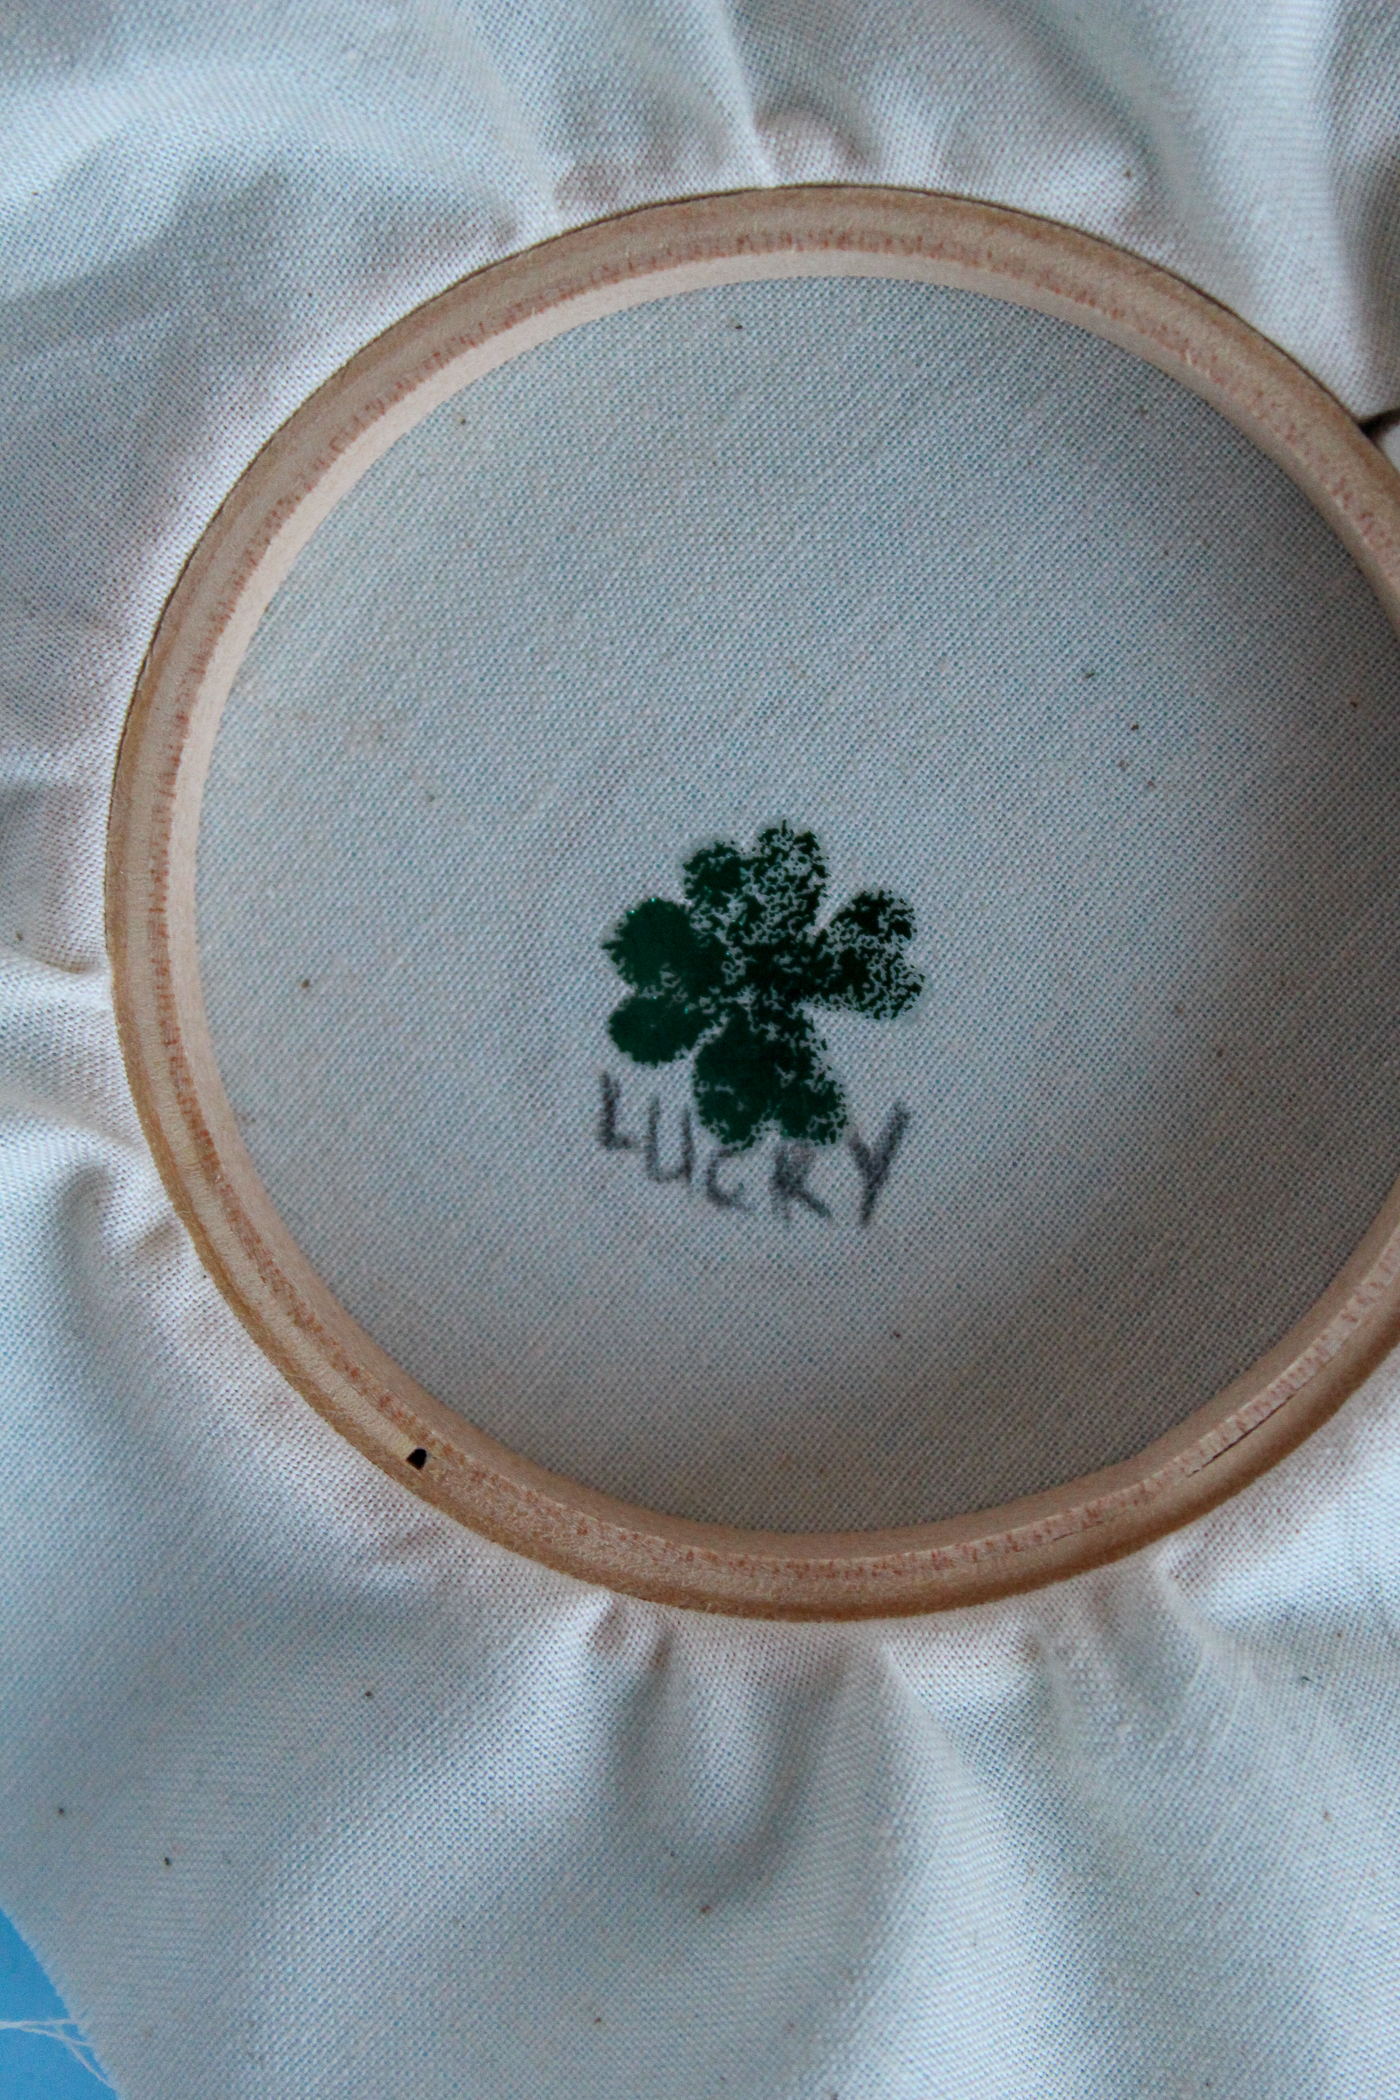
Put your fabric into the larger hoop, place it in backwards. Now is when you will draw on whatever pattern you want to actually embroider. I decided to just place the word lucky. You can use the same method of using your phone to trace images on. Or print small flowers or a leprechaun and trace it onto the fabric using a window or lightbox. Trace the circle of the small necklace hoop onto the wrong side so your designs fit inside the small circle.
Use embroidery stitches to finish the design you have drawn on.
Now remove the fabric from the large hoop and use glue to adhere it to the necklace hoop and finish the back. This necklace came with a wood piece to cover the back. You could also cut a circle of felt to cover the back of your piece.
Tada! Isn’t this a fun little necklace? I love checking out all the cool embroidery hoop necklace projects on Etsy and Pinterest. Now I have my own!
Thanks for letting me share this tutorial with you! If you like this you’ll love these:
20 Hand Embroidery Patterns//Let’s Flamingle Embroidery Pattern//Faux Fur Spring Wreath
Connect with Sew What Alicia
Facebook // Pinterest // Instagram // Twitter // Youtube

Pamela Edwards
March 4, 2018 at 10:52 pm (7 years ago)such a cute idea. I think I will make these for my kids