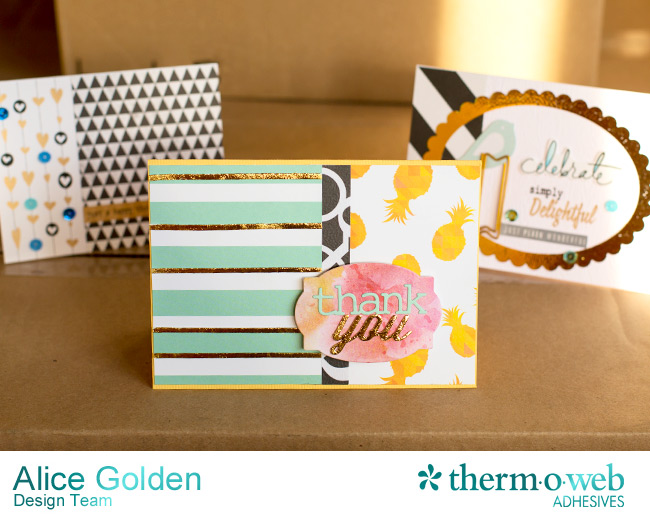
Hi there! The Paper Issues fun continues with a set of cards using an assortment of goodies from the kit plus Deco Foil™ and a few die cuts. I love the way the products can be mixed and matched to create so many unique projects!
Deco Foil™ has been applied using two different methods – one with the new iCraft® Deco Foil™ White Foam Adhesive and the other using iCraft® Deco Foil™ Hot Melt Adhesive.
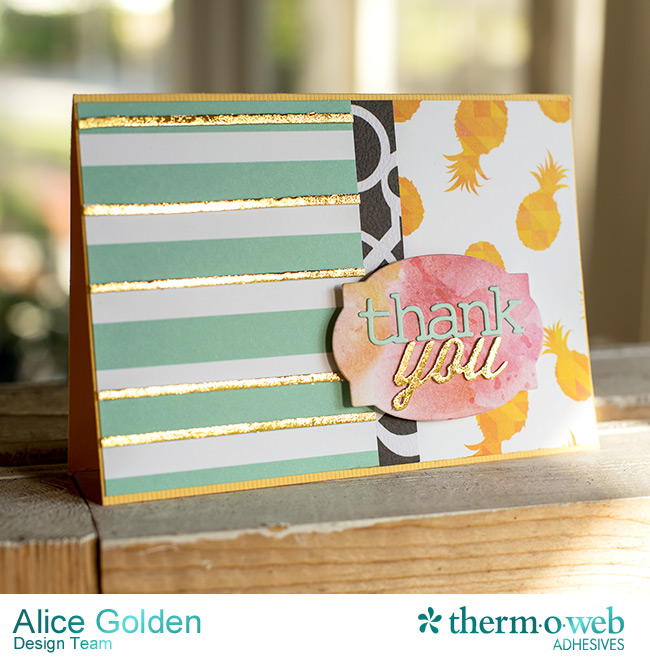
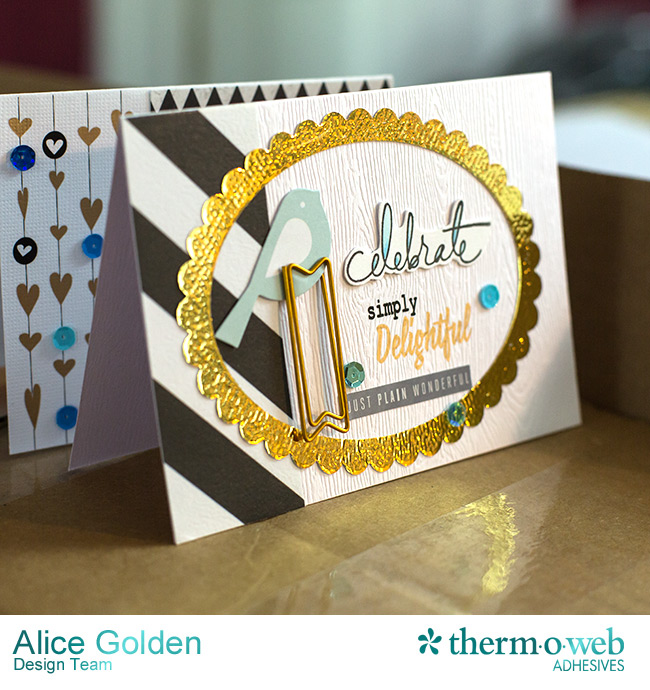
The Paper Issues kit came with an assortment of fun papers sized for pocket scrapbooking, but which make terrific backgrounds for greeting cards. Gold Deco Foil™ was added to the striped card using thin strips of iCraft Deco Foil Foam Adhesive. The foam adhesive is very easy to use – no heat (or laminator) required! It is thin enough to be die cut easily and can be layered if more dimension is desired. For this card I used a paper trimmer to cut very thin strips which were adhered to the front of the card.
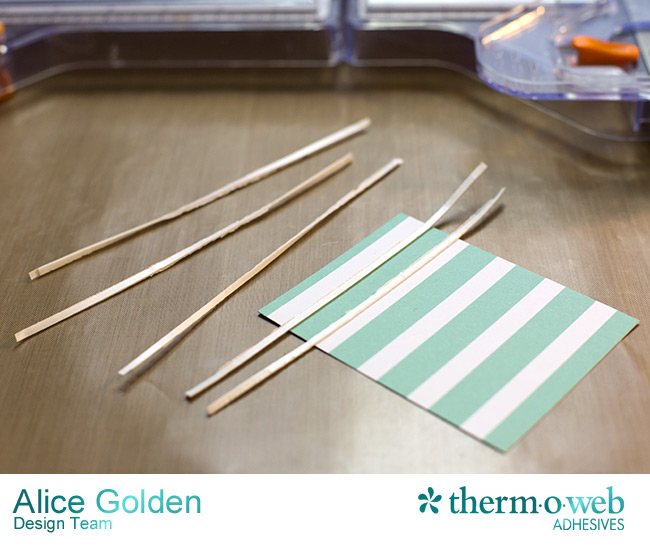
After trimming the ends and removing the protective liner from the front of the foam, pieces of gold Deco Foil™ were pressed onto the foam, shiny side up (Important!). Be sure to save your scraps of Deco Foil as every last bit on the sheet can be used.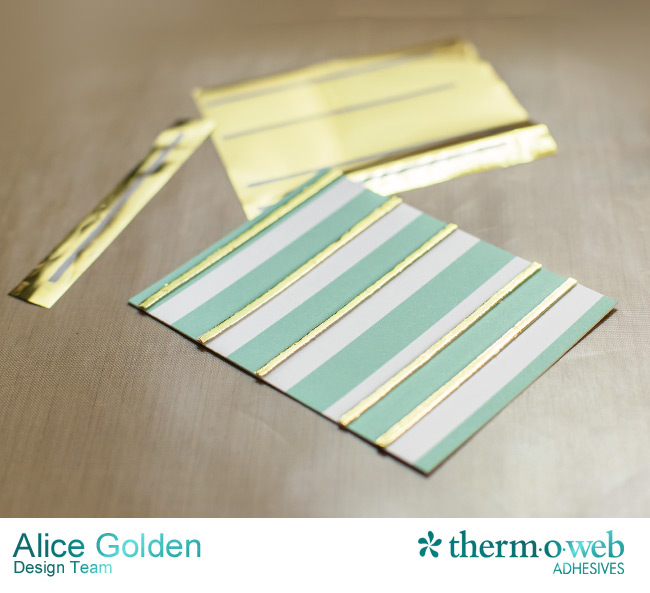 In addition to the stripes, gold Deco Foil was applied to part of the sentiment, which was also die cut out of the iCraft Deco Foil Foam Sheets. The label is attached to the card using 3D Foam Squares and the papers were adhered using a mini tape runner.
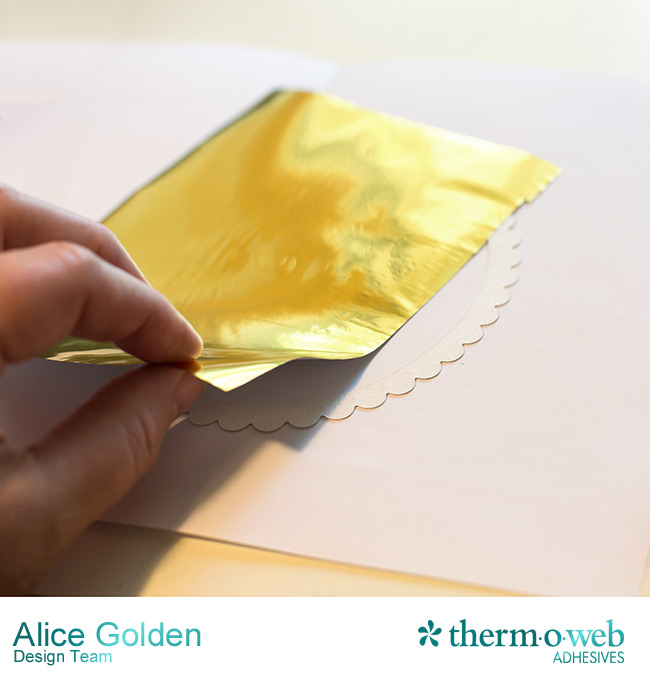
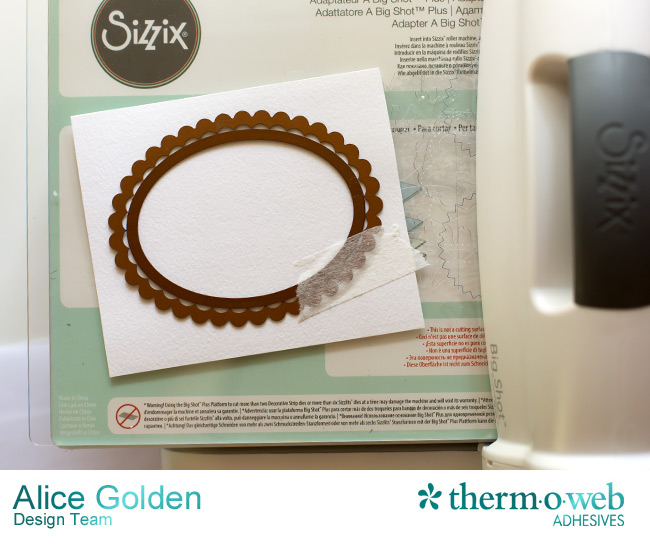
 For the next card iCraft Deco Foil Holt Melt Adhesive was used. You will need a heat source such as an iron or laminator to use this technique. First, cut a piece of adhesive to the size of your cardstock, fold inside a piece of printer paper and run through the laminator. Next, nest two die cuts to create an oval frame, as shown. Run through your die cut machine.
 Pop out the die cut frame, remove the protective liner from the adhesive and place Deco Foil on top, shiny side up.
Place in a protective sleeve made from printer paper and run through the laminator. 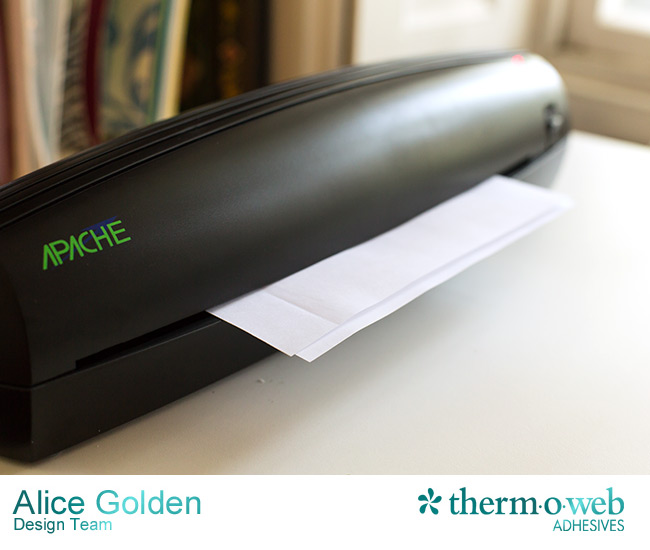
Allow to cool for a few seconds before removing the foil and viola! A Deco Foiled frame. Note that I used a textured cardstock for my frame and I love the way the texture comes through under the foil.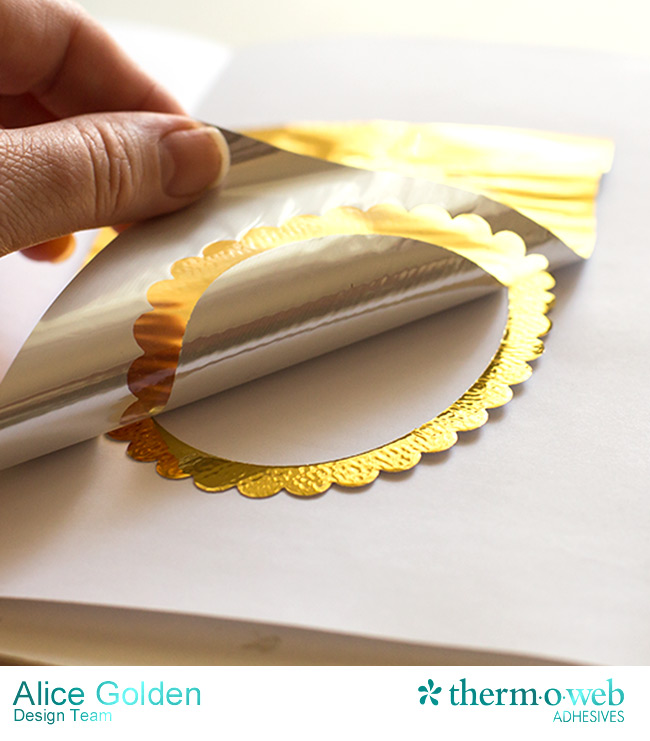
A Deco Foil frame is a great way to create an instant focal point on your card. I love the wood grained cardstock that came in the kit and wanted to keep as much as possible visible in the finished card. An assortment of other goodies from the kit were used here – including a stamp, rub-ons, stickers, sequins, die cut bird, and adorable paper clip. The last two were attached by covering the back of the bird and top of the clip with Small Craft Zots.
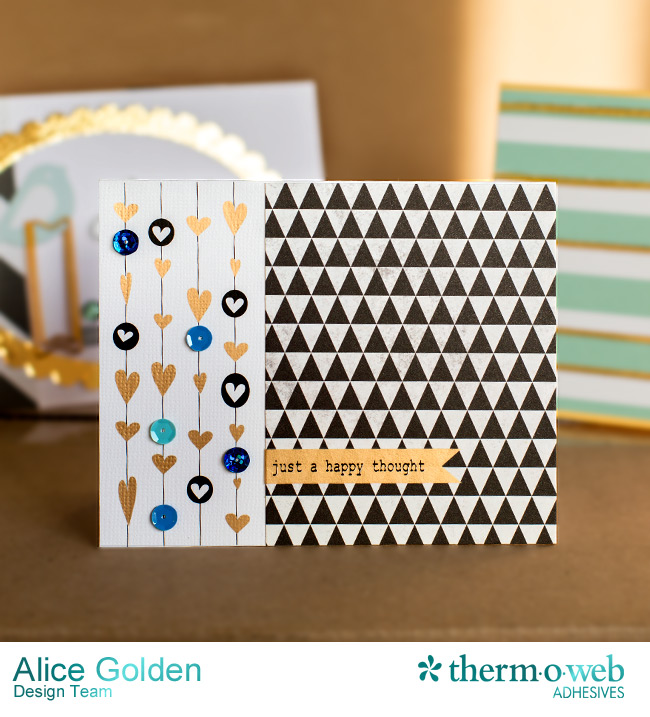
 The final card comes together super fast! The heart rub-ons were added to the left side of a white card and the other side was covered with a black and white patterned card. The sentiment is also a rub-on. Small Zots™ Singles are the perfect way to adhere sequins. First attach a Zot™ to the back of each sequin, leaving the liner paper intact.
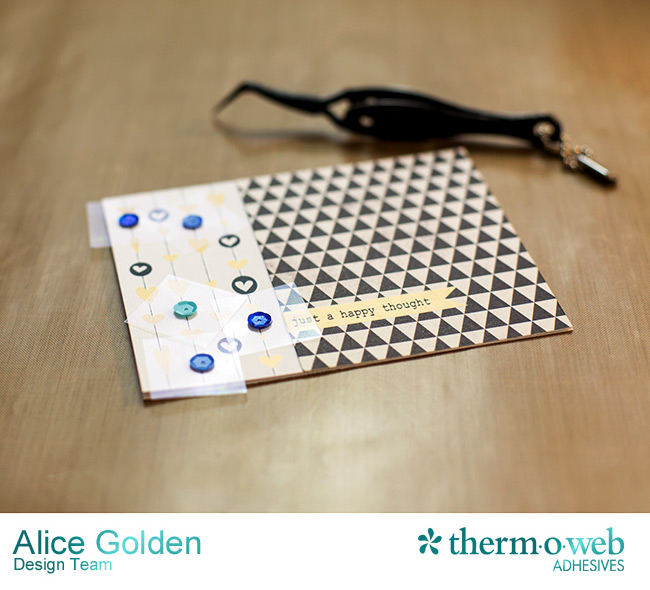
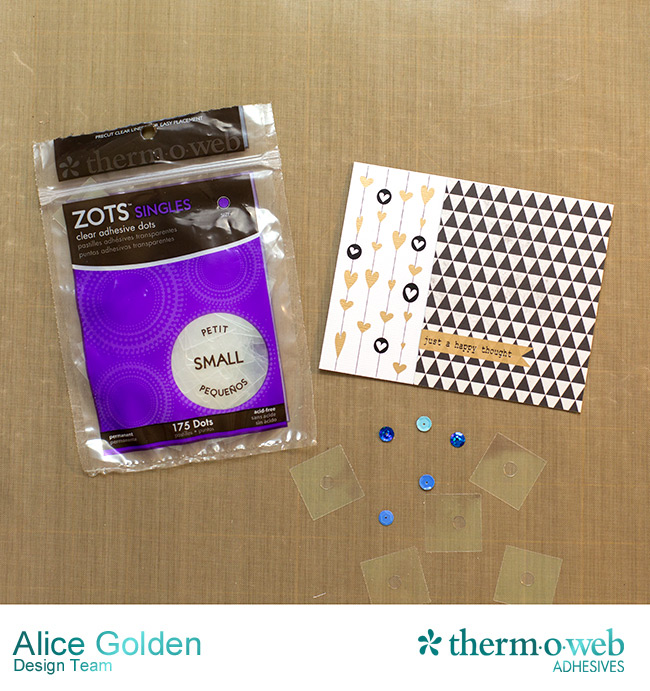 If you are anything like me and fiddle around trying to figure out where the sequins want to go, this is a great solution. Keeping the sequins attached to the clear liner until you are happy with the layout makes it easy to move them around until they are just so.
Thanks so much for visiting today!
Therm O Web Supplies
iCraft® Deco Foil™ Hot Melt Adhesive
iCraft® Deco Foil™ Foam Adhesive
Gold iCraft® Deco Foil
Small Craft Zots™ Singles
Mini Tape Runner
3D Foam Squares
Paper Issues Kit
Assorted Dies
Copic Markers in B0000 and B000
 We’d like to give you a chance to have some fun with a Paper Issues Grab Bag! Plus we’ll send you some of our NEW iCraft® Deco Foils™ plus our Liquid, Foam and Hot Melt Adhesive Sheets. Simply use the Rafflecopter giveaway to enter to win! Then go visit our friends at Paper Issues for another chance to win!
Need to do some shopping? Our friends at Paper Issues are offering a 20% discount on their site. Just use code: TOW20 to shop AND save!

