Fall is in the air and the leaves are beginning to change their colors. This, along with the cooler temps, always gets me in the mood for some fall crafting. It’s Juliana and today, I’m sharing how to create a Mixed Media Fall Home Decor piece using Therm O Web Deco Foil, Adhesives, and Mixed Media Products.
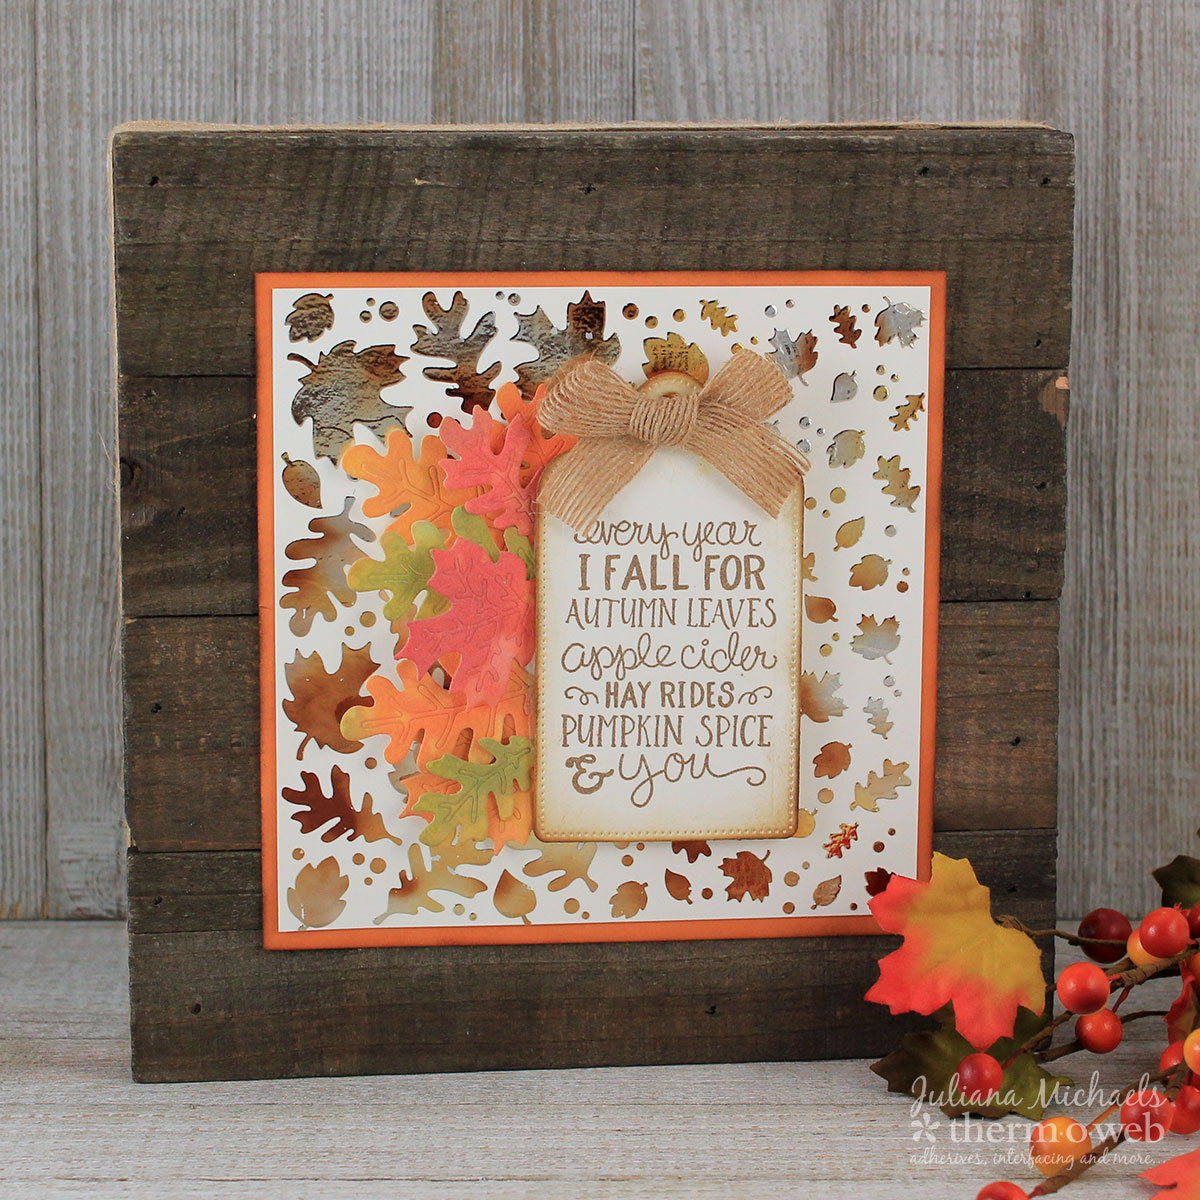
Foiled Background – Foiling with Stencils
Let’s start this project by creating the foiled background. Begin with a piece of Gina K Designs white cardstock. Place a stencil on top of it and use low tack tape to hold it in place. Use a palette knife to spread a thin, even layer of Deco Foil Transfer Gel over the stencil. Remove the stencil and wash it immediately. Allow this to dry until the gel turns clear.
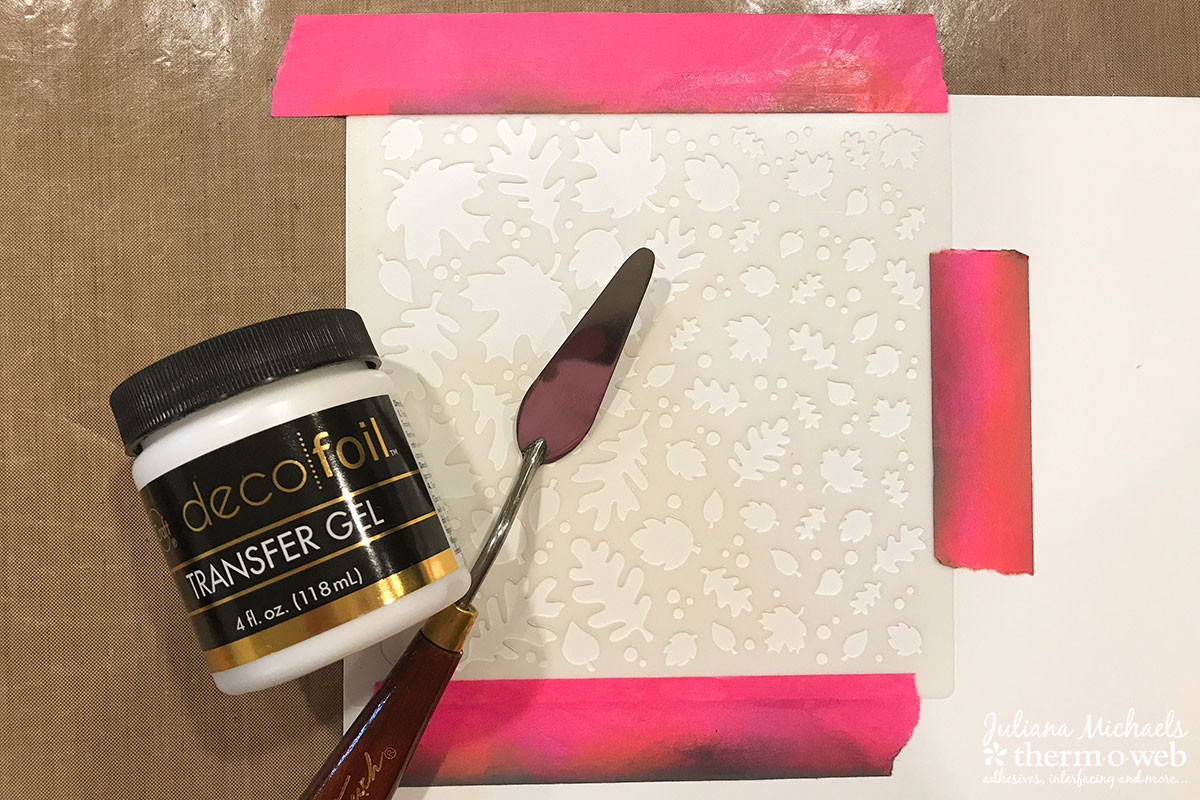
To foil this, lay a piece of Deco Foil on top of the dry stencil design. For this project, I used Amber Watercolor Deco Foil. Place this inside a folded piece of parchment paper and run it through a preheated laminator. Once it is through the laminator, peel off the transfer sheet to reveal the foiled design.
Trim the foiled piece to 6×6 inches and then mat with a piece of Gina K Designs cardstock in Sweet Mango using Therm O Web Memory Tape Runner XL.
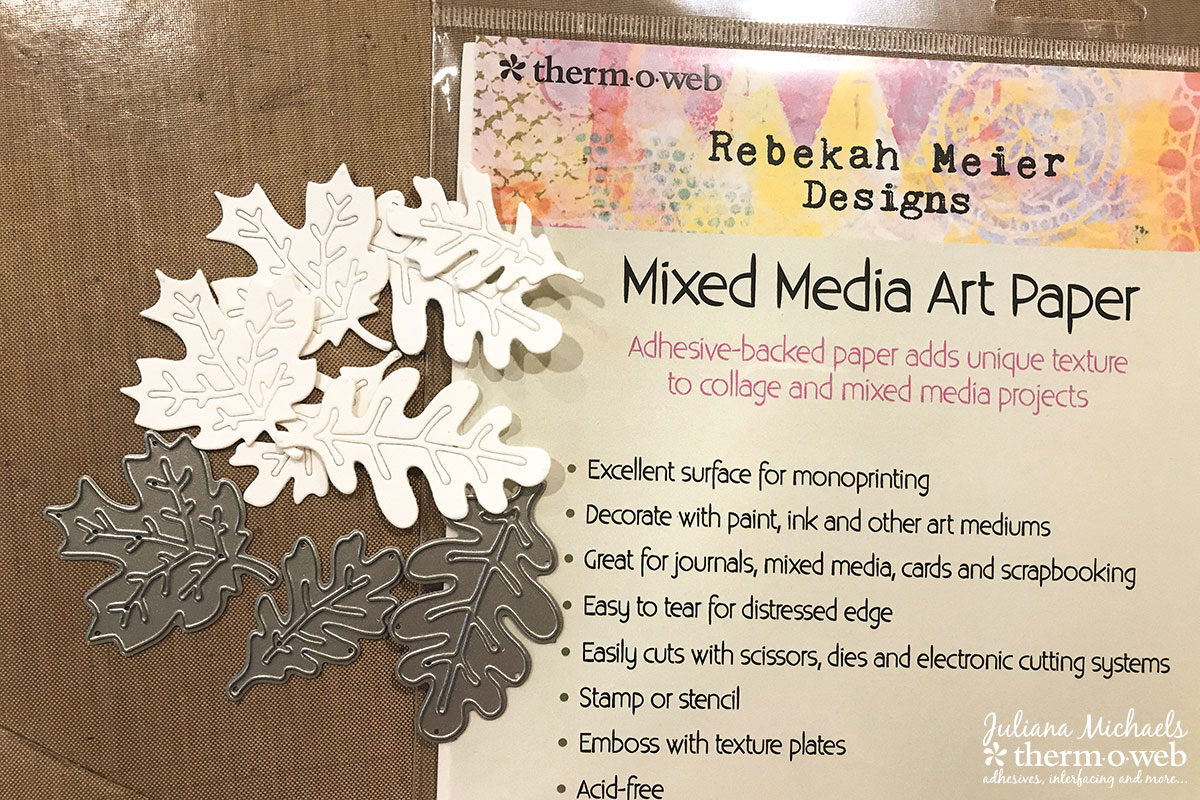
Mixed Media Art Paper Fall Leaves
To create the leaves, peel off the backing and adhere the Mixed Media Art Paper to a piece of cardstock to make the leaves more sturdy. Place the dies on top of the Mixed Media Art Paper and run them through an electronic die cutting machine. You could also cut out leaves using an electronic cutting machine.
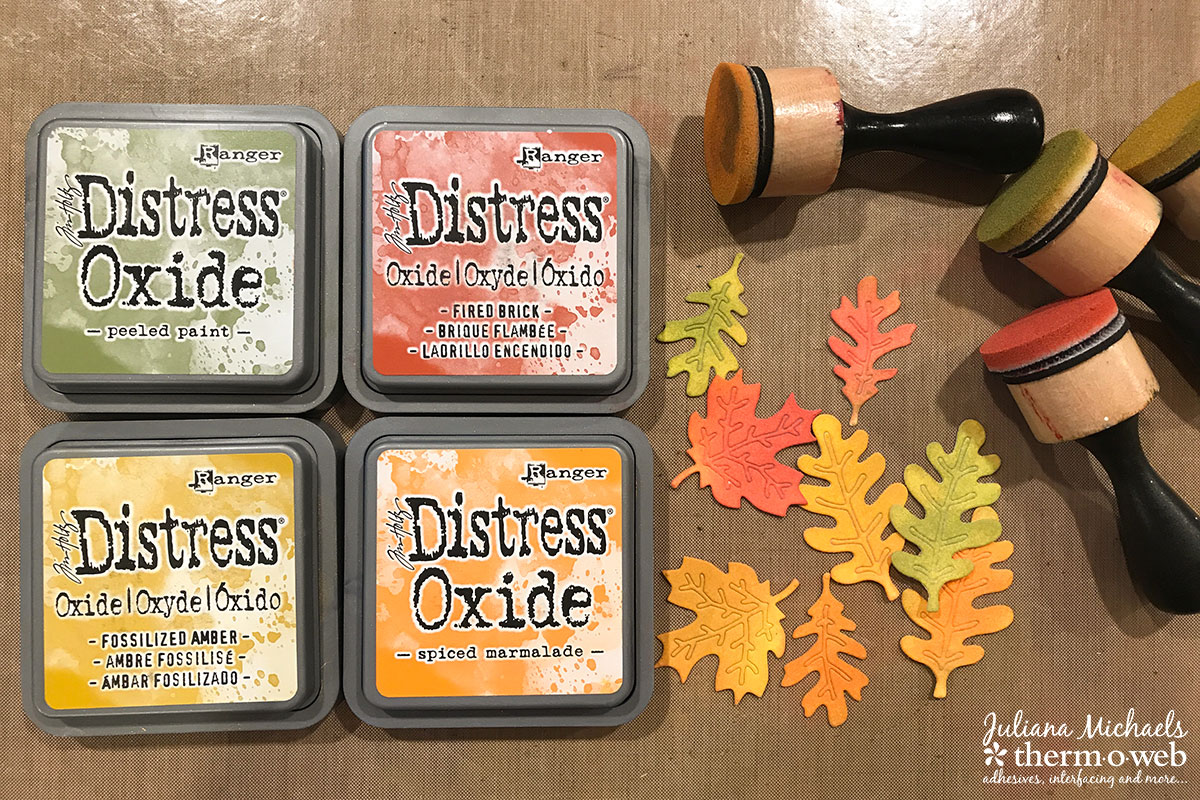
Using foam blenders, ink the leaves using a mix of Distress Oxide Inks. For this project, I used Fired Brick, Spiced Marmalade, Fossilized Amber and Peeled Paint.
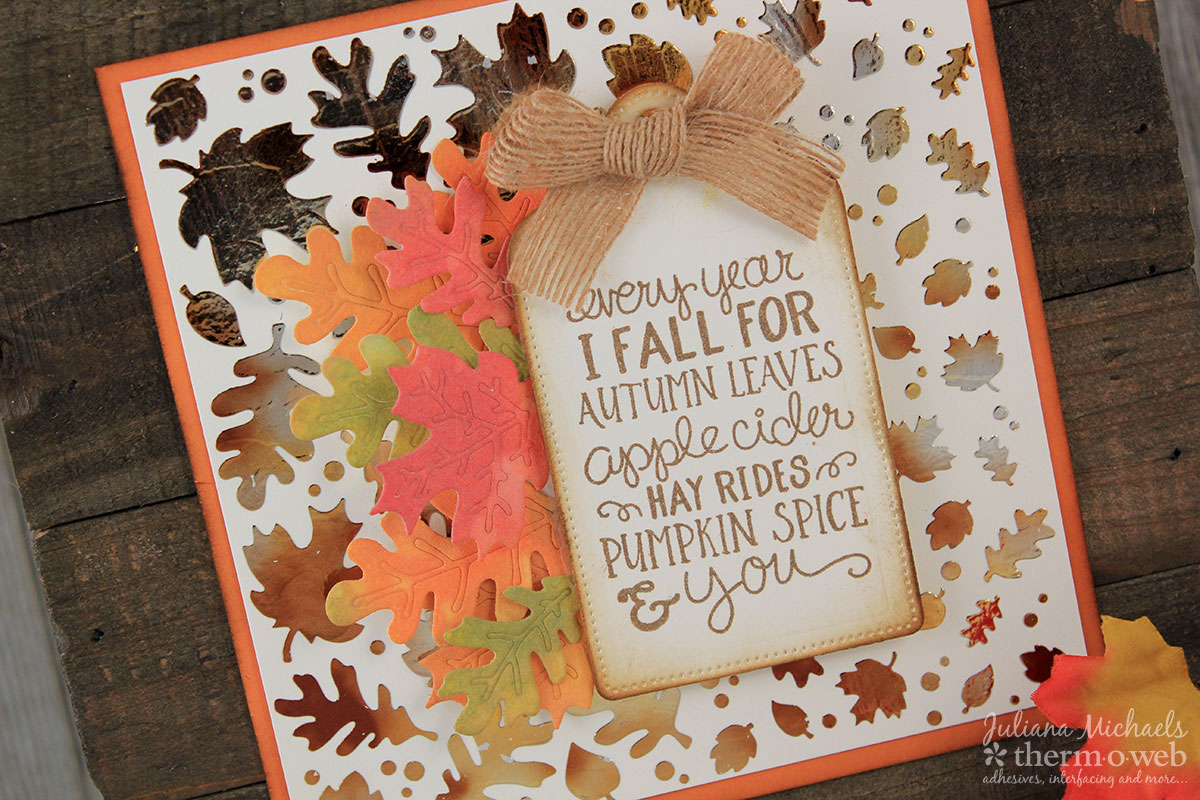
Position the leaves where you want them on the stenciled background and use a piece of iCraft Easy-Tear Tape to hold them in place.
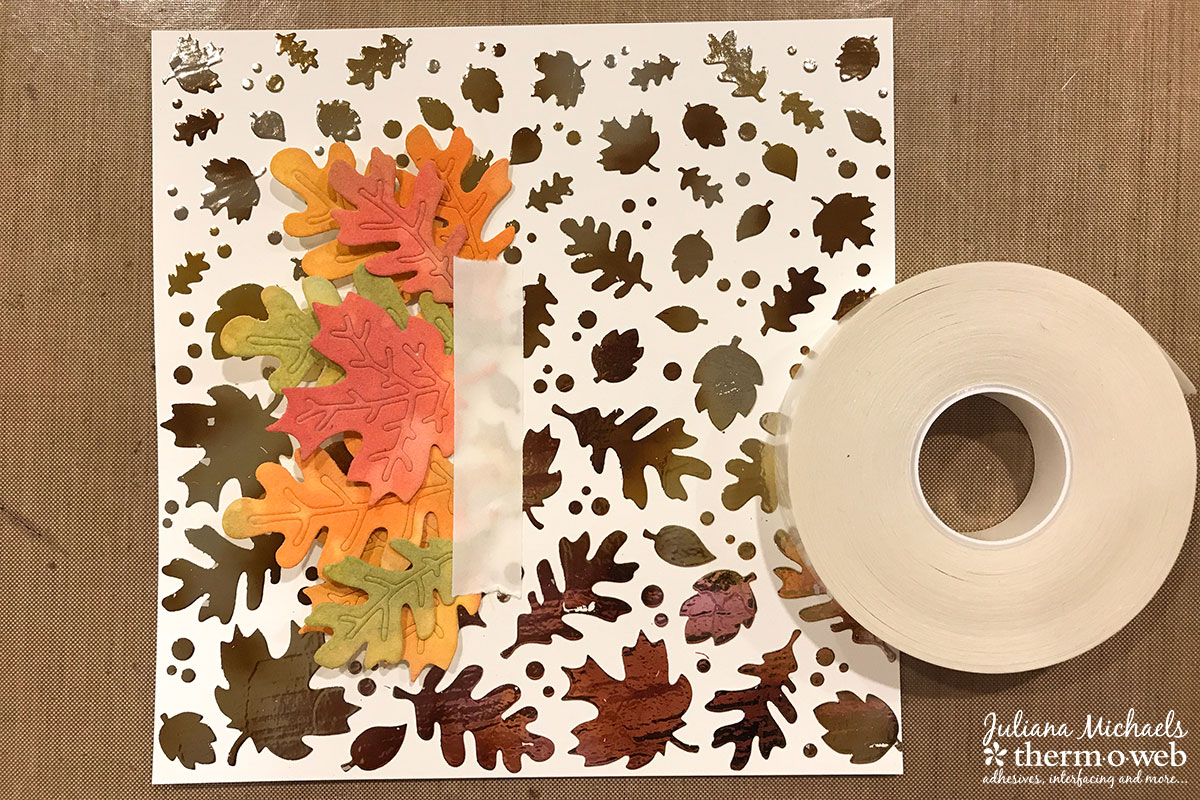
By adhering just the one end of the leaves, it adds a bit of dimension to them. For even more dimension you could add some Therm O Web 3D Foam Squares.
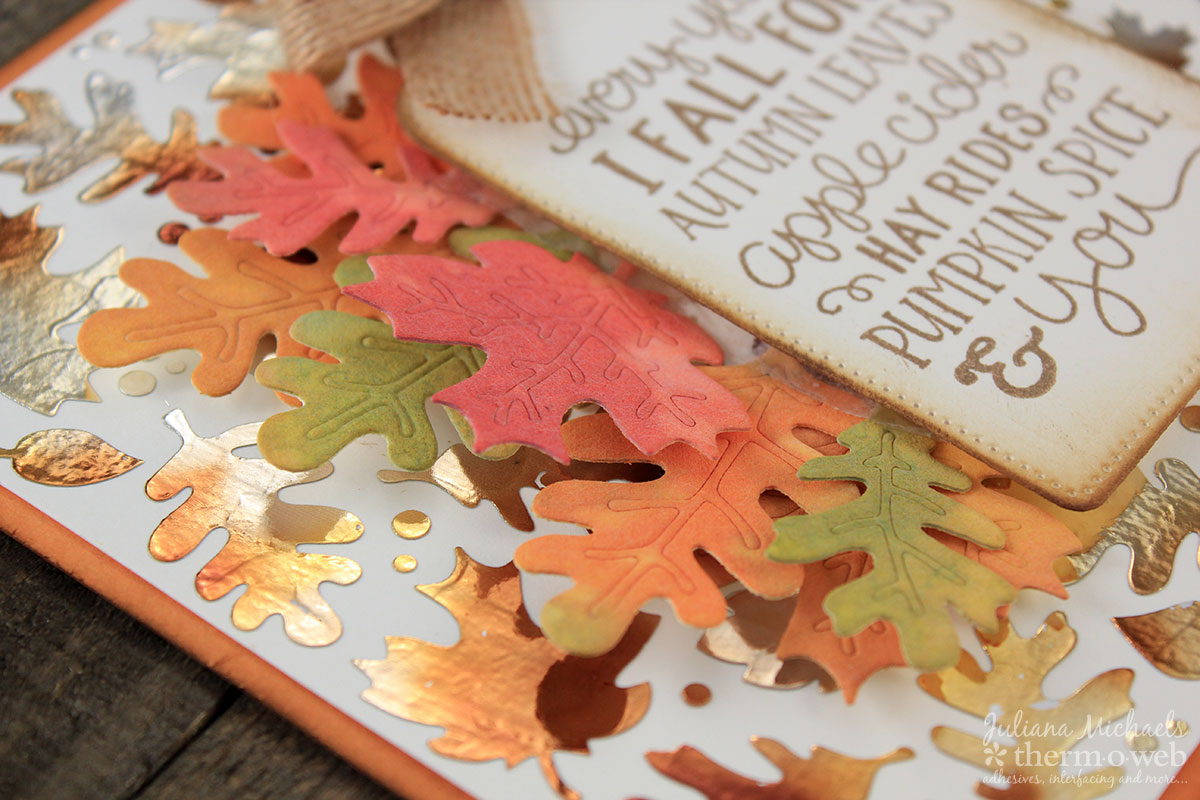
The Final Touches
To create the sentiment (Newtons Nook Designs Fall-ing For You), die cut a piece of Gina K Designs white cardstock using the large tag die from the Nested Tags Die Set. Ink the edges and stamp the sentiment with brown ink. Adhere a burlap bow using a Medium Zot.
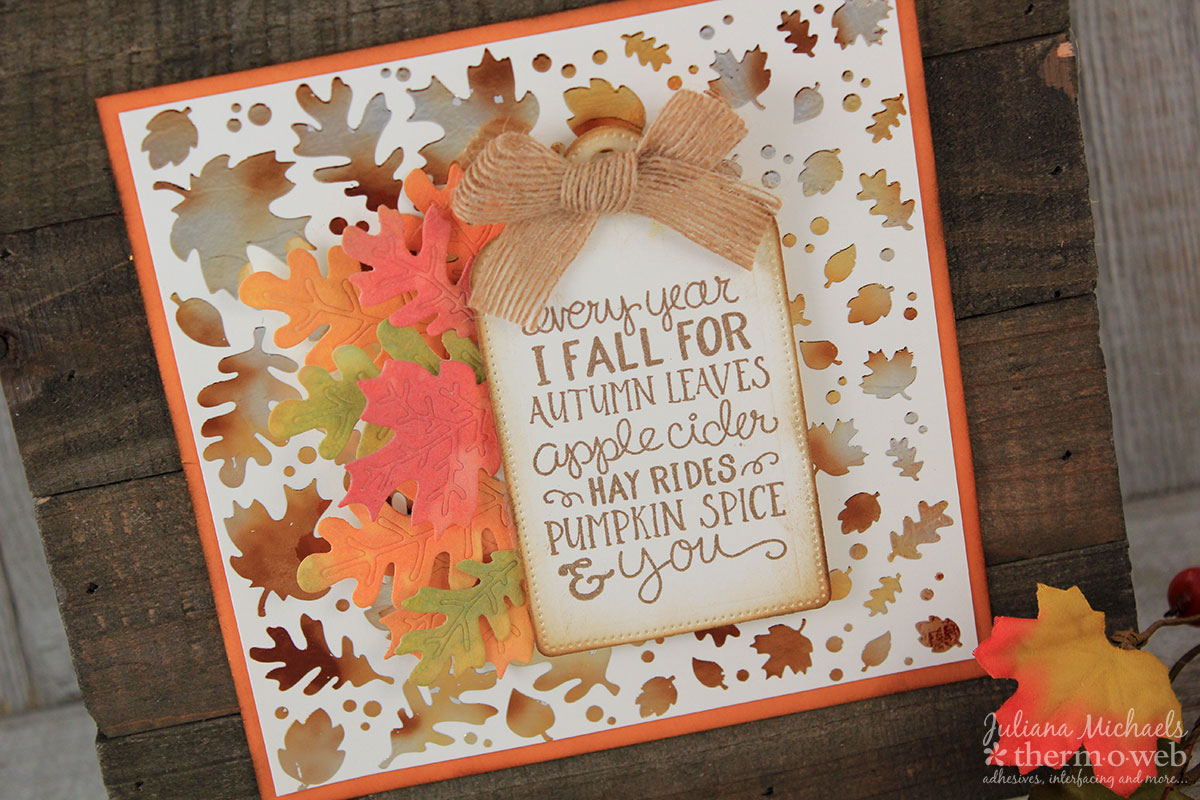
Attach the tag using Therm O Web 3D Foam Squares to pop it up from the surface and for added interest.
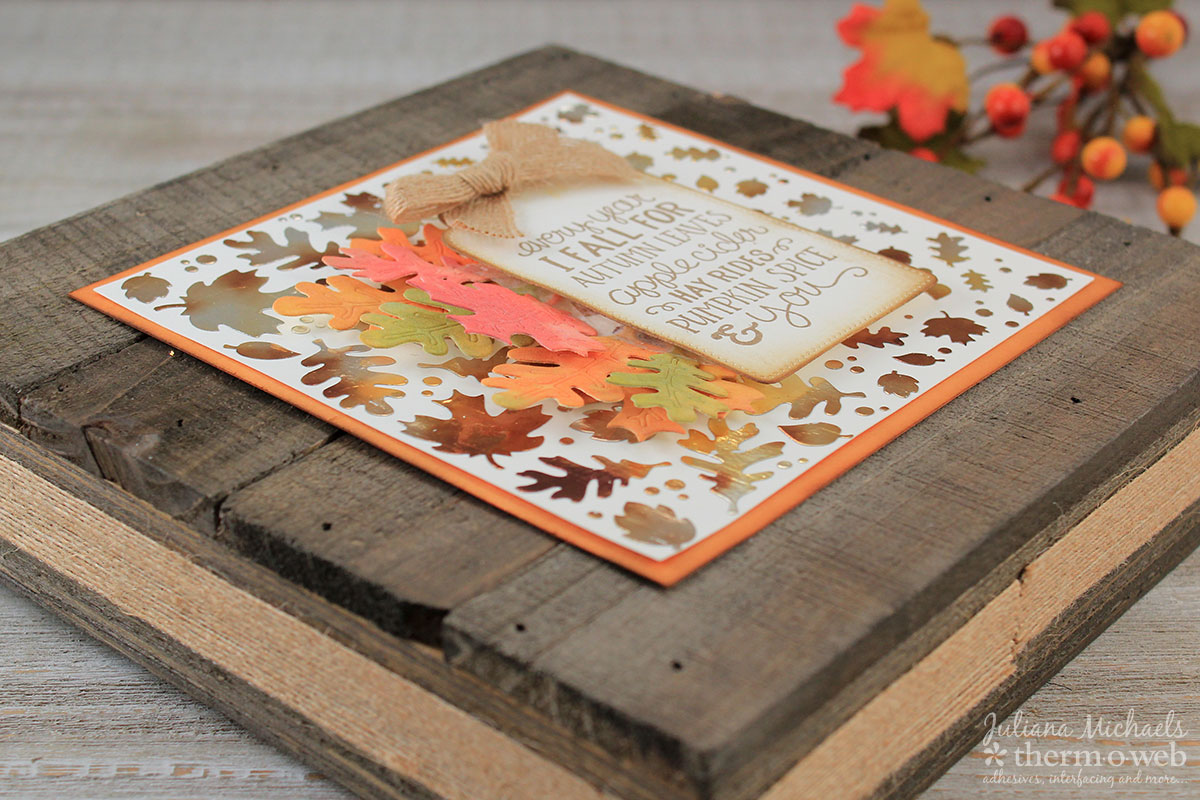
The final step is to adhere the entire piece to the wood plank. Therm O Web Mixed Media Adhesive is a great option for this. However, if you want to remove it at a later time, adhere it using iCraft Easy Tear Tape.
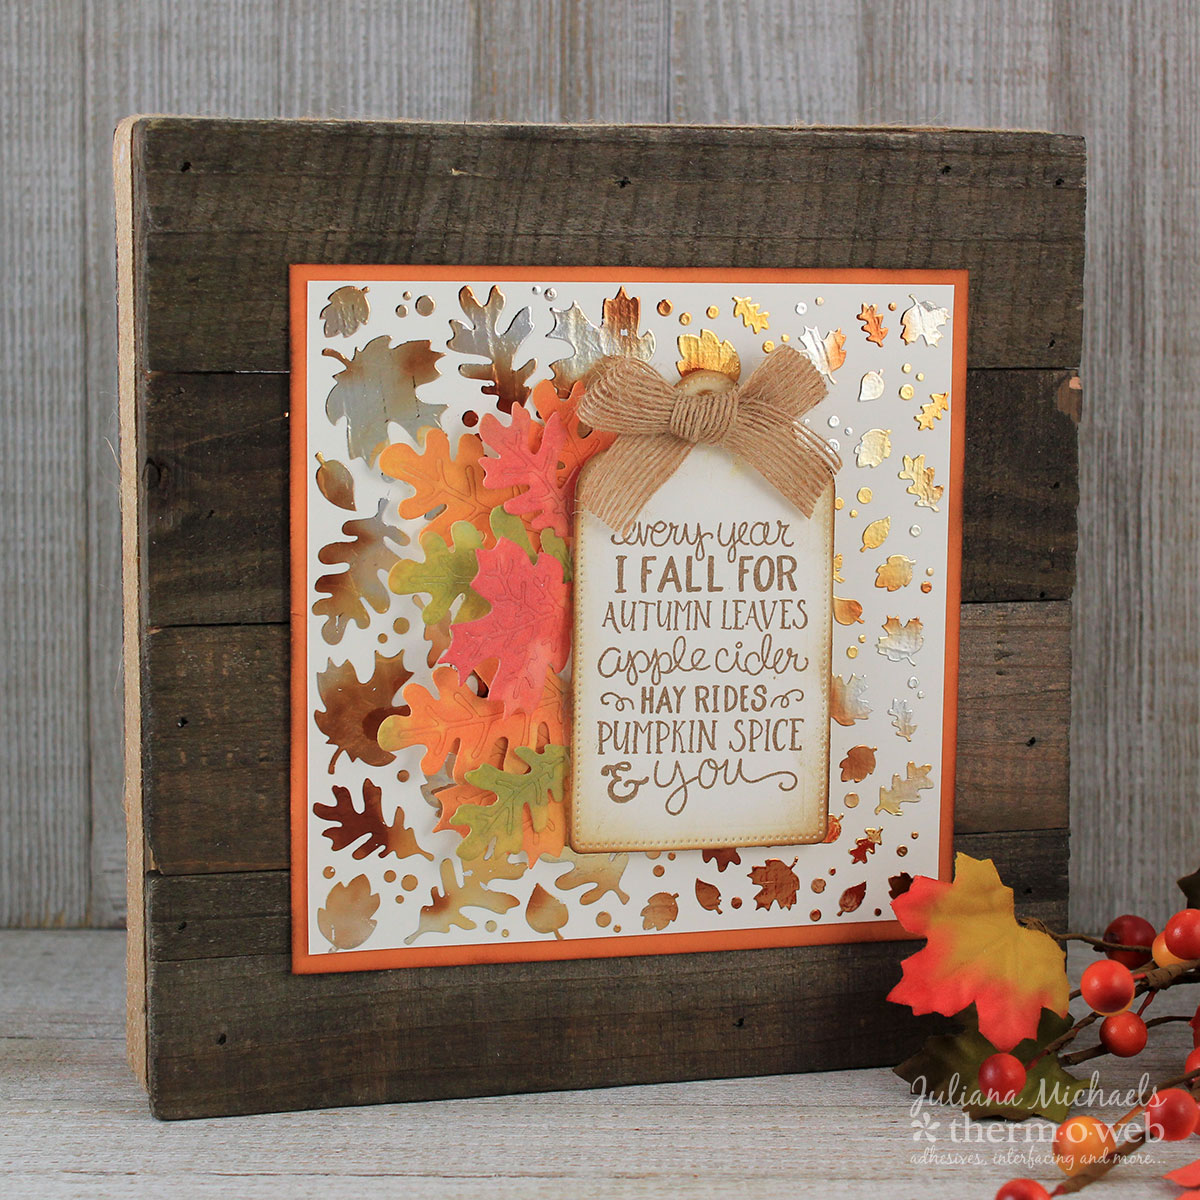
I hope you enjoyed learning how to create your own Mixed Media Fall Home Decor piece using some fantastic products from Therm O Web.
7 Comments on Deco Foil Mixed Media Fall Home Decor
1Pingbacks & Trackbacks on Deco Foil Mixed Media Fall Home Decor
-
[…] made this lovely mixed media fall home decor piece. You can find complete directions for making one over on the Therm … Read […]

Jodi C.
September 25, 2017 at 10:44 am (8 years ago)This is really beautiful. I love making home decor items but am bad at taking the time to do it….I need to make myself now!! You have given me great ideas to use the items I already have to make a similar project. Thank You!!
Joy Gainey
September 29, 2017 at 8:46 pm (8 years ago)Where did you get the stamp fro,?
admin
October 2, 2017 at 11:52 am (8 years ago)Thanks for asking Joy.. it’s Newtons Nook Designs Fall-ing For You.
Joy Gainey
October 2, 2017 at 7:33 pm (8 years ago)Thank you
margessw
October 9, 2017 at 3:50 pm (8 years ago)These cards are truly incredible!!
margessw
October 9, 2017 at 3:51 pm (8 years ago)Wrong post !! This is a wonderful fall decoration.