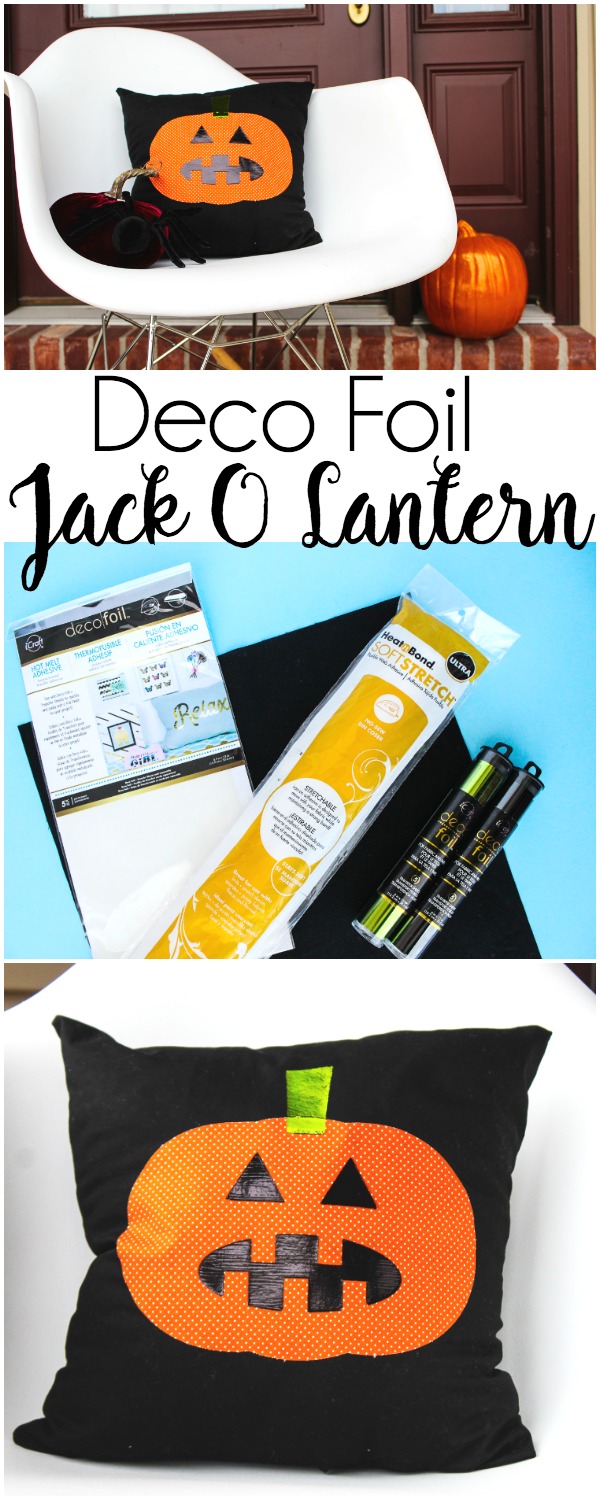
Deco Foil Jack-O-Lantern Throw Pillow
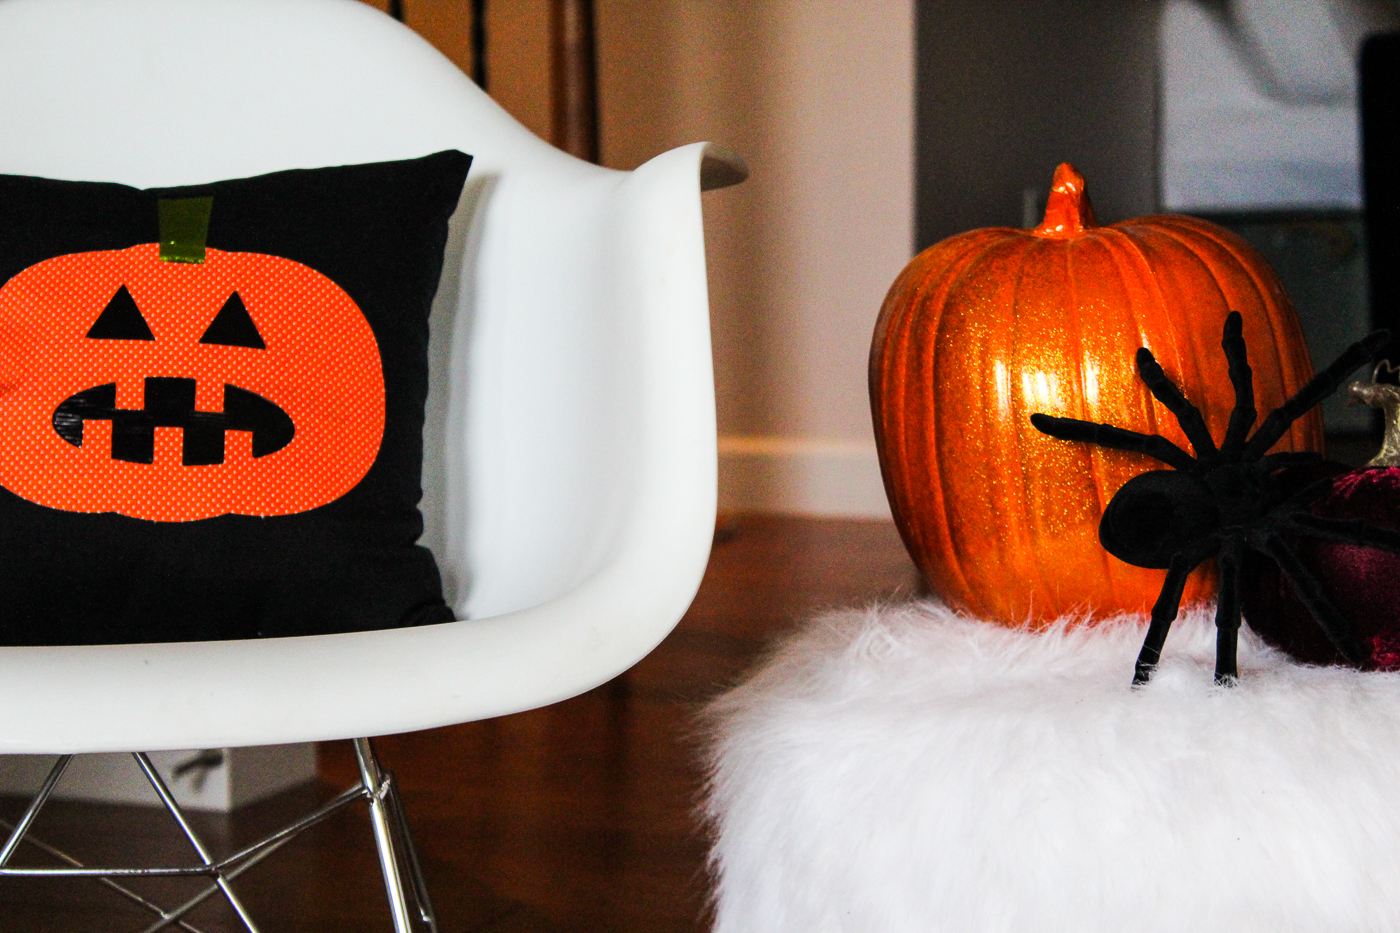
Hi friends! Alicia here from Sew What Alicia. I have been busy making so many fun projects for Halloween. I wanted to hop in and share this adorable deco foil jack-o-lantern tutorial with you! This is a quick and easy project that is perfect for adding some shine to your decor!
Deco Foil Jack-O-Lantern Throw Pillow
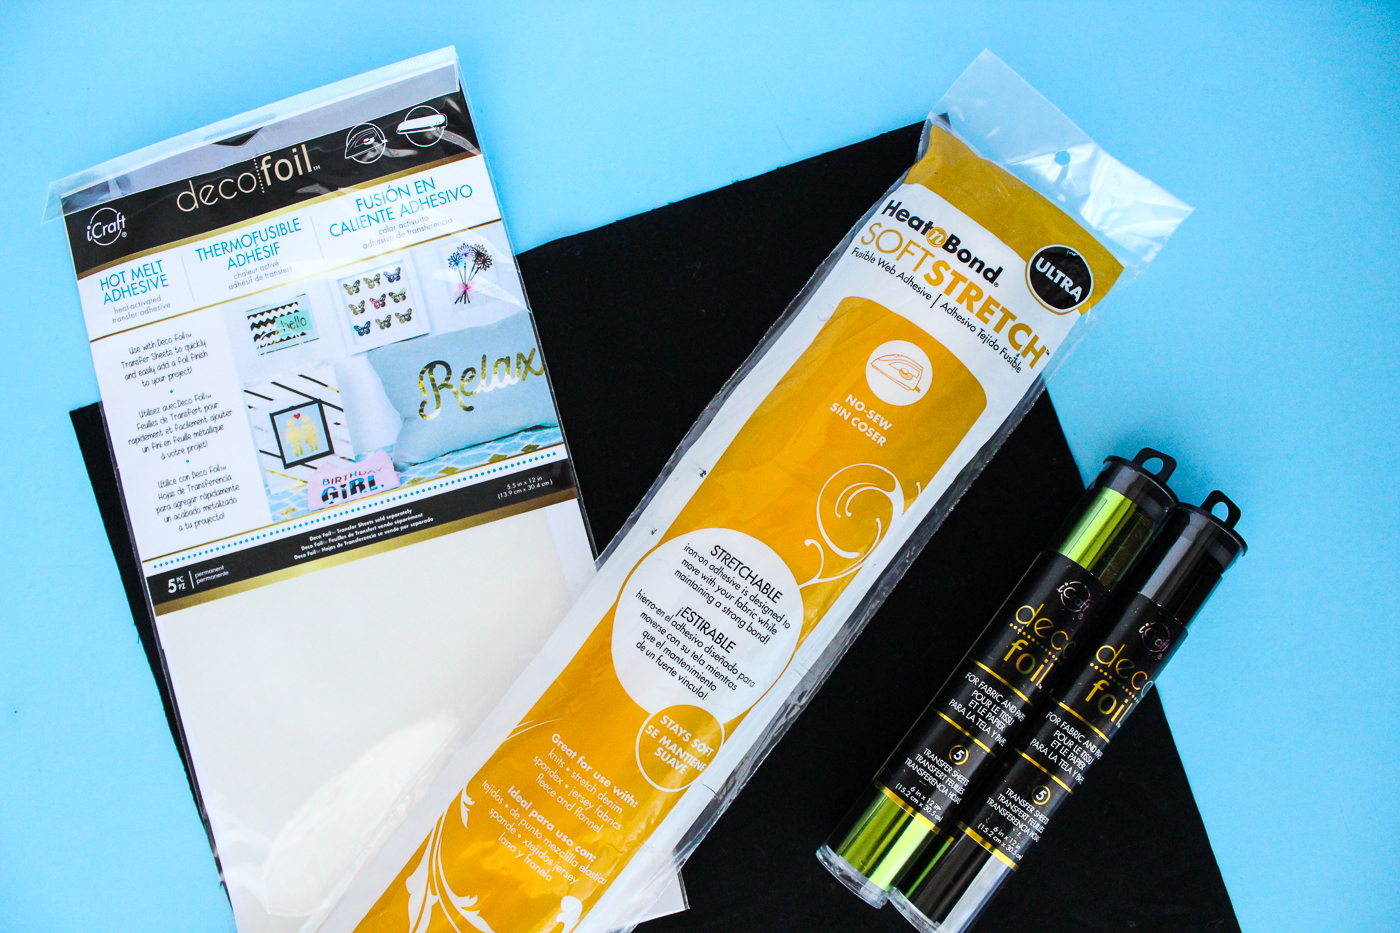
Supplies:
Heat N Bond Soft Stretch Ultra
14″ Throw pillow
13″ Black Throw Pillow Cover (make your own with THIS tutorial.)
Jack-O-Lantern Pattern (PDF or SVG)
Instructions:
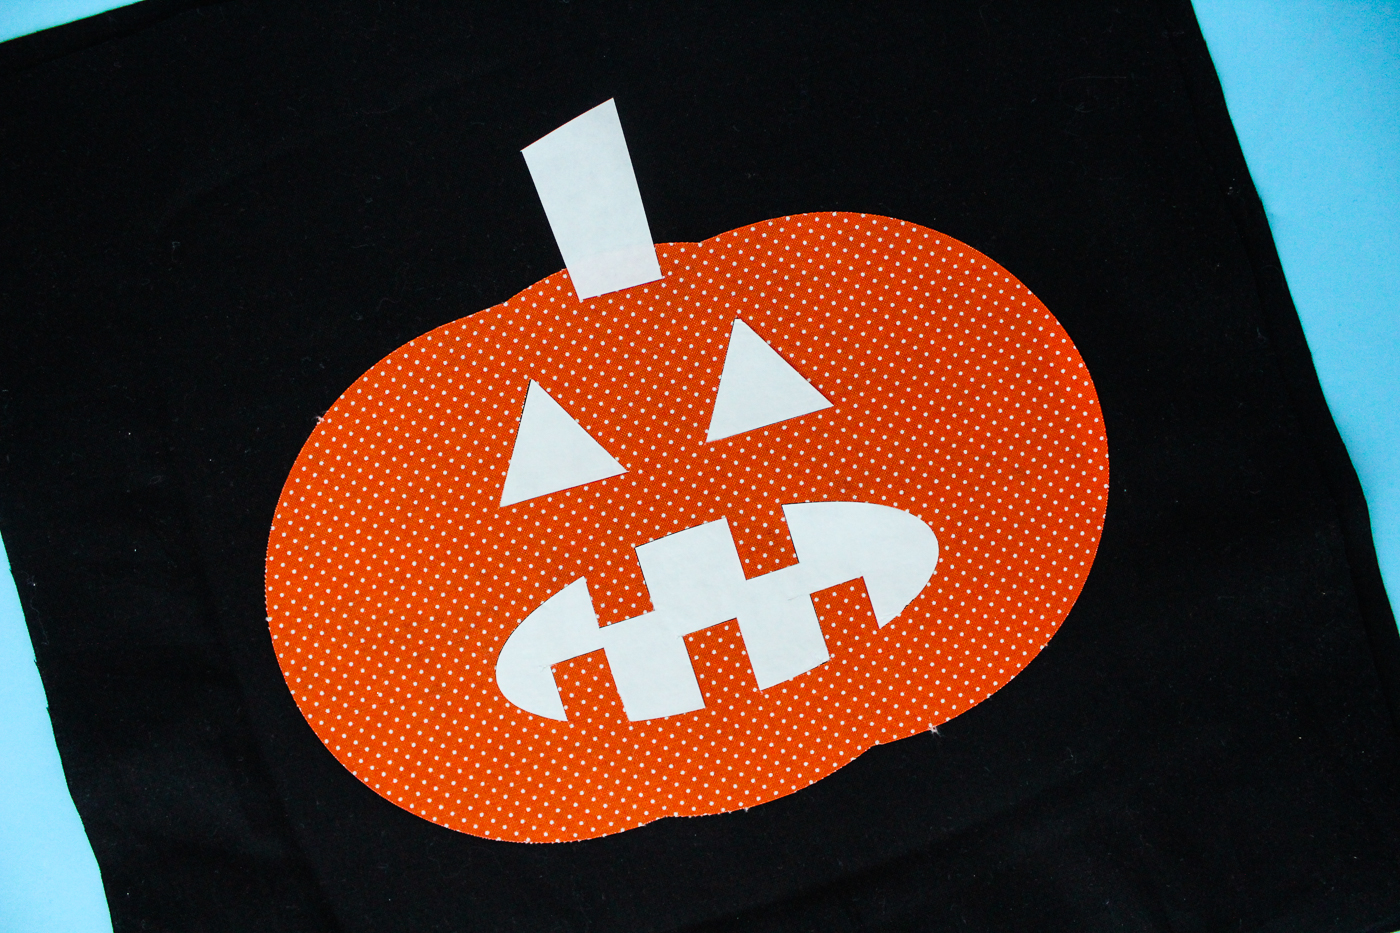
Apply the heat n bond to the back of the orange fabric. Cut the pumpkin out of the orange fabric. Use your cutting machine and the SVG or cut it by hand by tracing the PDF pattern and using scissors. Cut the eyes and mouth out of the fabric as well. Then cut the hot melt adhesive in the shape of the eyes, mouth, and stem.
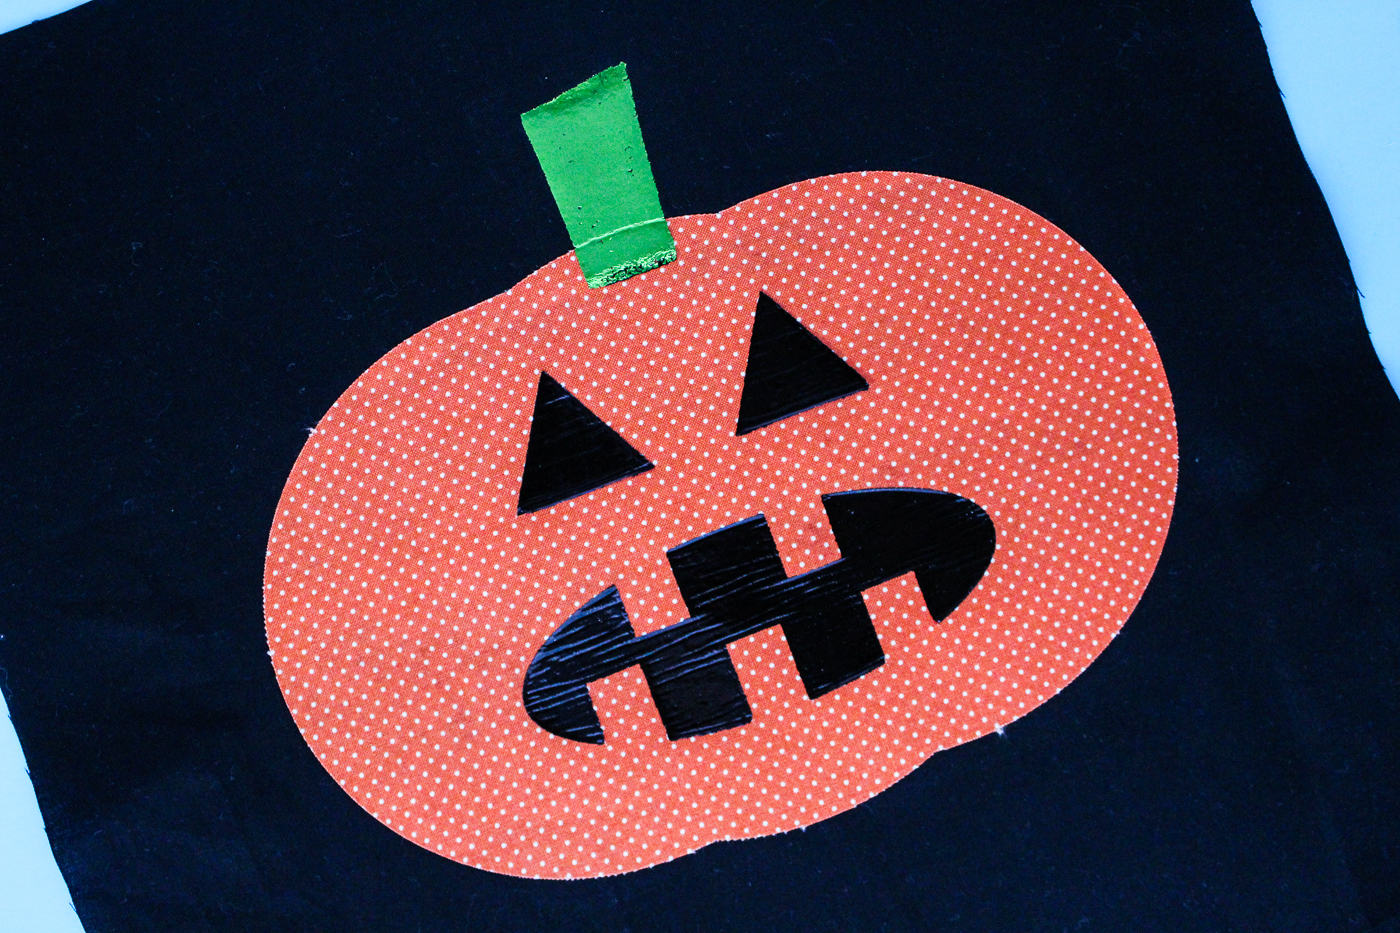
Apply the pumpkin to the pillow cover. Then apply the eyes mouth and stem that you just cut from the hot melt. Attach the deco foil using the heat source of your choice. This is a great size to run through the laminator which is always the best way to get the foil to adhere correctly!
That’s it!! Isn’t he the cutest?
Check out these other adorable Halloween projects that I have been working on! No Sew Halloween Decor, Resting Witch Face Cut File, and Trick or Treat Bag.

Connect with Sew What Alicia
Facebook // Pinterest // Instagram // Twitter

margessw
October 9, 2017 at 4:22 pm (8 years ago)That’s an awesome pillow!