


Oh my word everyone! This is so fun and I’m really excited to share it with you. Thermoweb has released a fun set of sentiments in adhesive transfers, stamps, dies and foilable toner sheets! I couldn’t decide what to use so I have a card today showing you a little bit of absolutely EVERYTHING! I hope you love it!
Deco Foil Hello Card with Adhesive Transfers, Toner Sheets + Stamps
Products used:
Deco Foil Hello Toner Sheets, Stamps, Dies and Adhesive Transfers
Deco Foil Transfer Sheets – Glass Slipper
Deco Foil Flock Transfer Sheets – Teal Waters
Deco Foil Craft & Carrier Sheets
Glitz Glitter Gel – Gold
Stencil pal
Foam squares
UltraBond liquid glue pen
Pink & Main Sunny Greetings dies (sentiment strip)
Pink & Main Embossing Powder – aquatini
Newton’s Nook Mugs stencil

To start things off I just wanted to play with these new goodies. So I heated up my laminator and foiled the whole sheet of Hello greetings with glass slipper deco foil. It turned out gorgeous!
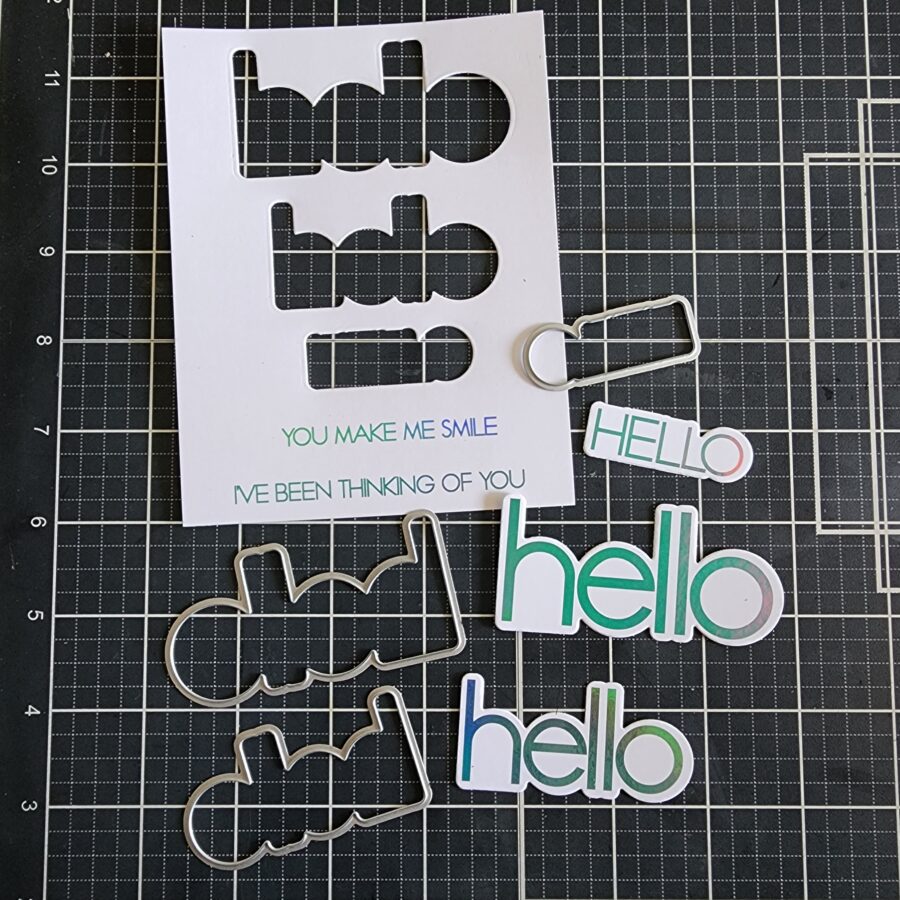
Next, I used the coordinating dies to cut the large sentiments out. Even if I don’t use them all on one card, it’s awesome to have them ready to go later on! I also used a sentiment strip die to cut the sub-sentiments out.
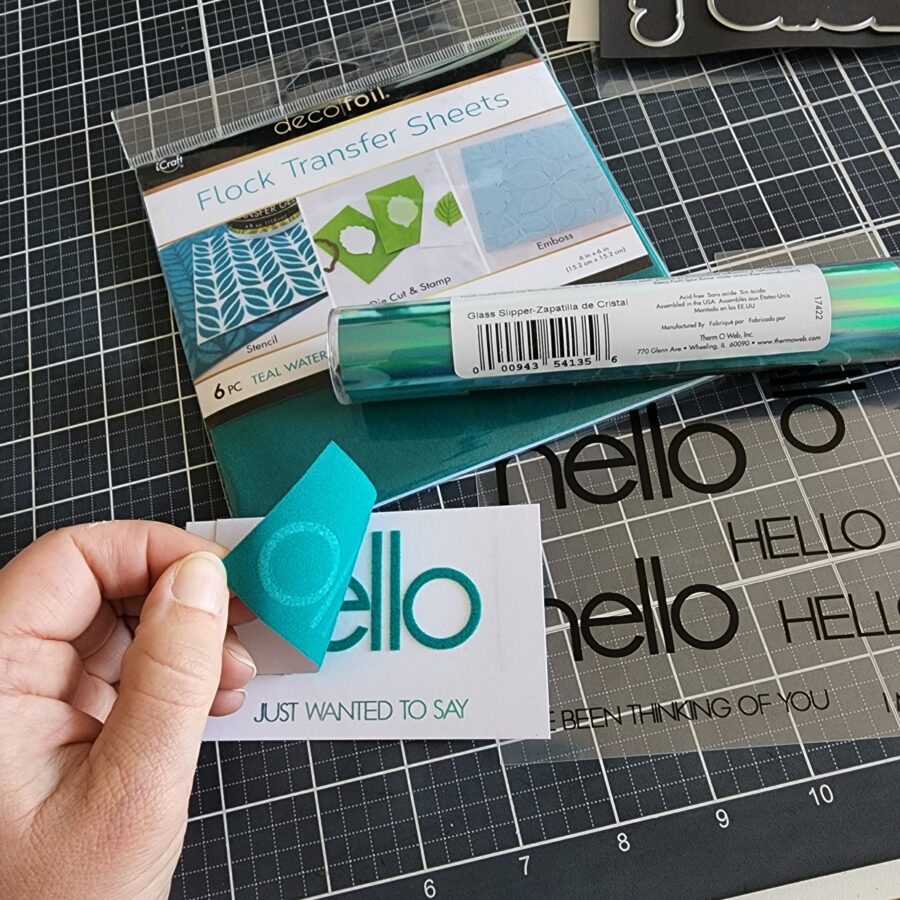
We couldn’t leave the adhesive transfers out. So I chose a large hello and a sub-sentiment. I trimmed them away from the large sheet, removed the backing paper and stuck them to a scrap of white cardstock. I ran this through my laminator, and peeled off the acetate which left me with the adhesive on the paper. Then I decided to try flock on the large hello and the same foil on the smaller sentiment. They worked PERFECTLY! This is so much fun! *Not pictured, I also used the same dies to cut these pieces out.
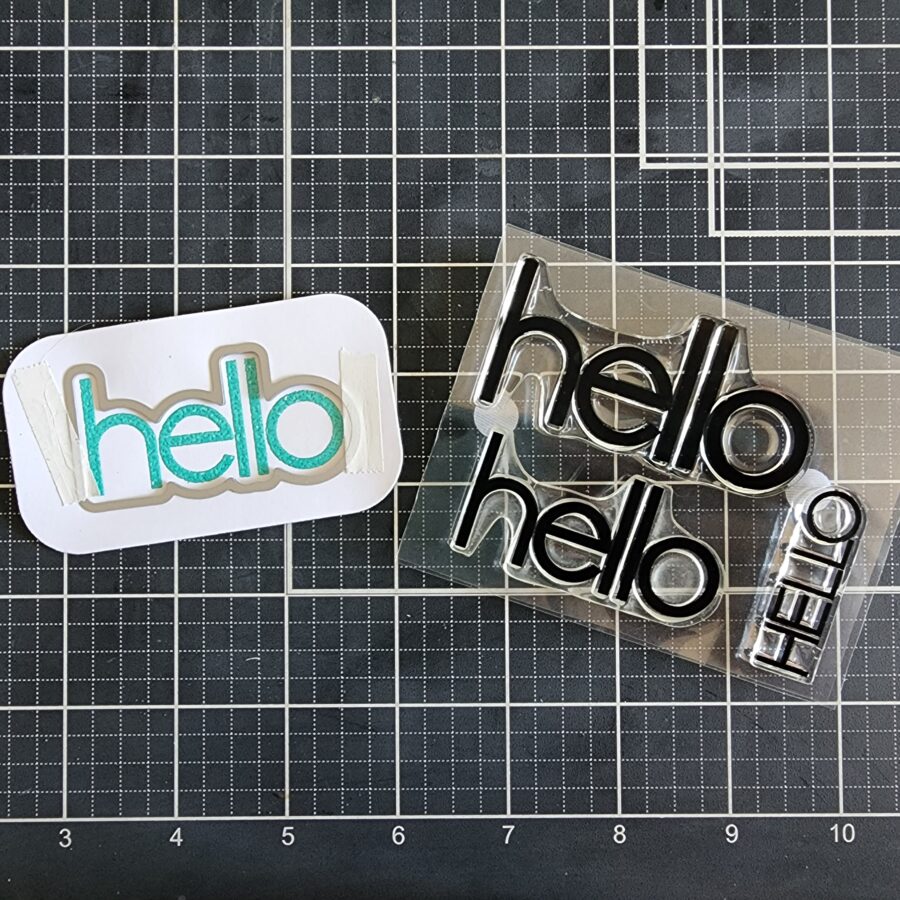
Finally, I snagged the stamp set and heat embossed the middle size hello in a corresponding teal and die cut it out as well. Sooooo good! I love it!
So, now I have a whole ton of super fun sentiments. Let’s turn something into a card!
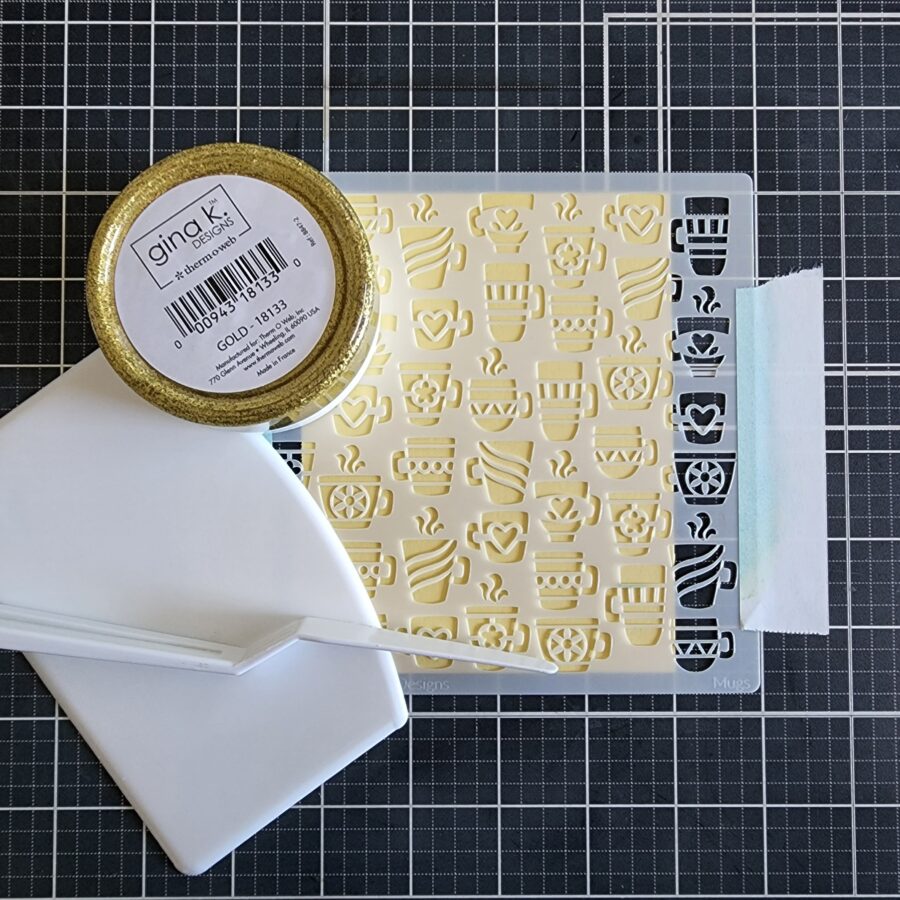
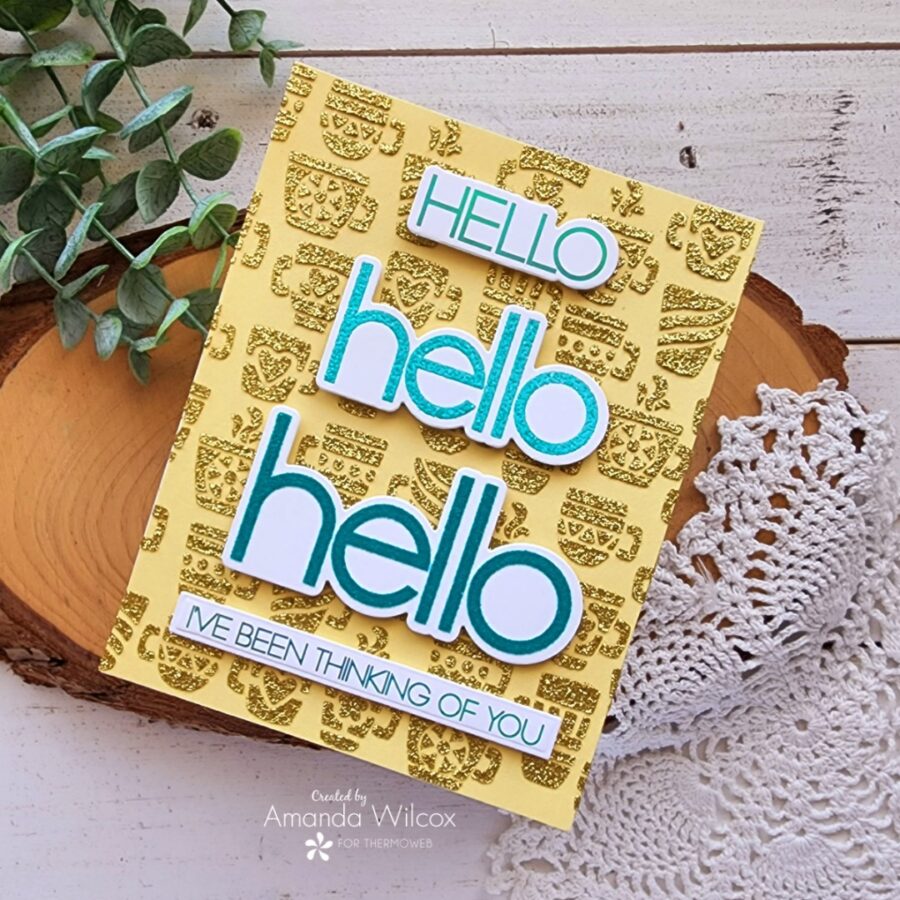
I love teal and yellow together. It’s a totally happy color combo! So I chose a piece of yellow cardstock, one of my favorite Newton’s Nook stencils – mugs, and some gold glitz gel. I spread the glitz gel through, removed the stencil and set the panel aside to dry while I cleaned up.
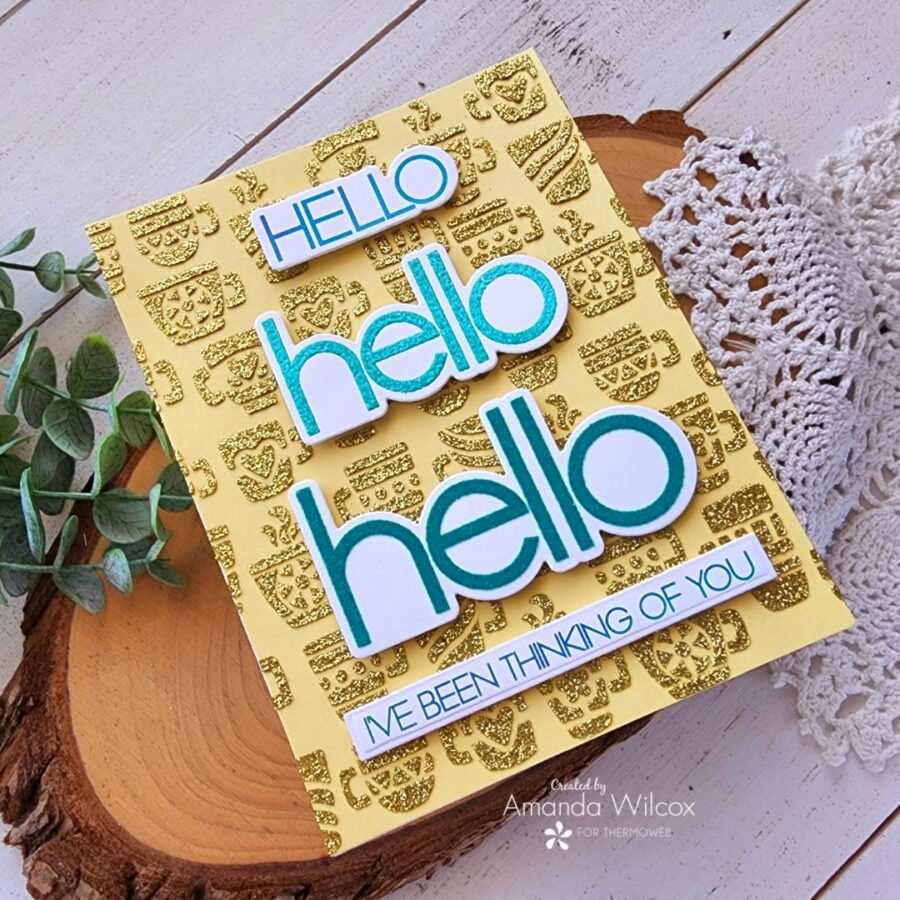
While it was drying, I added foam squares to the back of my sentiments so everything was ready to go. As soon as the panel was dry, I added it to a white card base and popped all my sentiments in place. From top to bottom, we have foiling, heat embossing, flocking and then foiling again. Isn’t that so much fun!?!?

All of the fantastic texture in this card is so cool and fun! I hope you enjoyed today’s project. I appreciate you sharing your time with me. Have a fabulous day!