


Deco Foil Flock Dimensional Frog Mixed Media Book
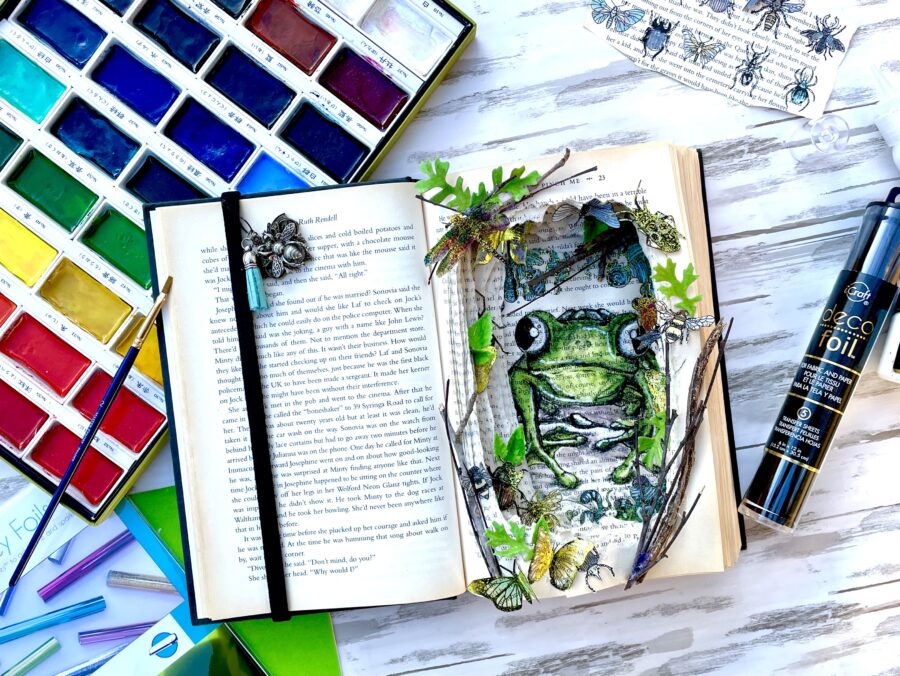
Hello crafty friends. Today I am excited to share my mixed media Book. We have a bit of a frog and bug theme going this week and I have to say that I ran with it! Does anyone ever start a project with “I’m gonna keep this one simple and clean . . . ” and then days later you are still adding “just one more thing” to finish it off; or is that just me? I really was going to go clean and cute lol but when I found this frog image online, my “thinking brain” was no longer in control. So find yourself an old book (libraries are great for selling discarded books for 25 cents to a dollar) and let’s have some fun!
*Bonus Halloween idea at the end*
Book Supplies:
Deco Foil Flock Transfer Sheets – Green Envy
Gina K. Designs Fancy Transfer Foil – Jelly Bean Green
iCraft Deco Foil Transfer Sheets – Black
iCraft Ultra Bond Liquid Adhesive
Gina K. Designs Double-Sided Adhesive Foam Tape
iCraft Super-Tape Adhesive Roll
iCraft Deco Foil Metallix Gel – Glazed Pewter (discontinued – limited stock available)
Other Supplies: Discarded book, scissors for fussy cutting, craft knife, toner printed frog and bug images, leaf dies and a die-cutting system, sticks from the yard, watercolor paints, brushes, white paint pen, a book band (optional), and an unfettered imagination (not optional).
Mixed Media Frog Book Step One
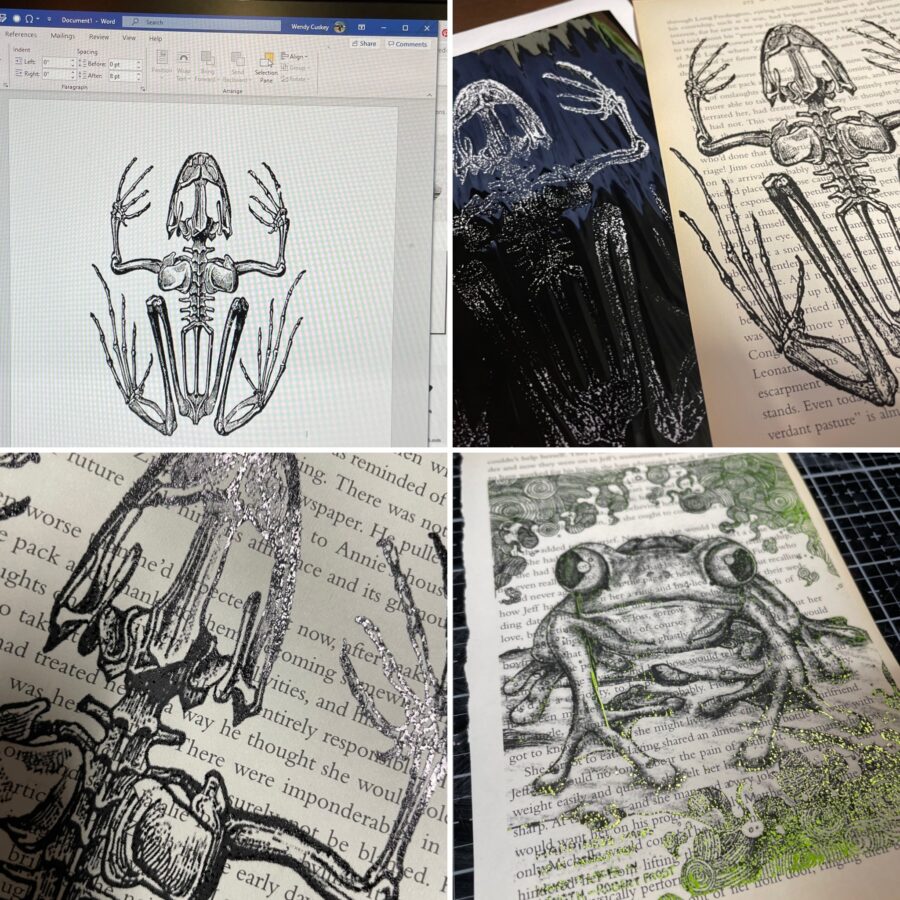
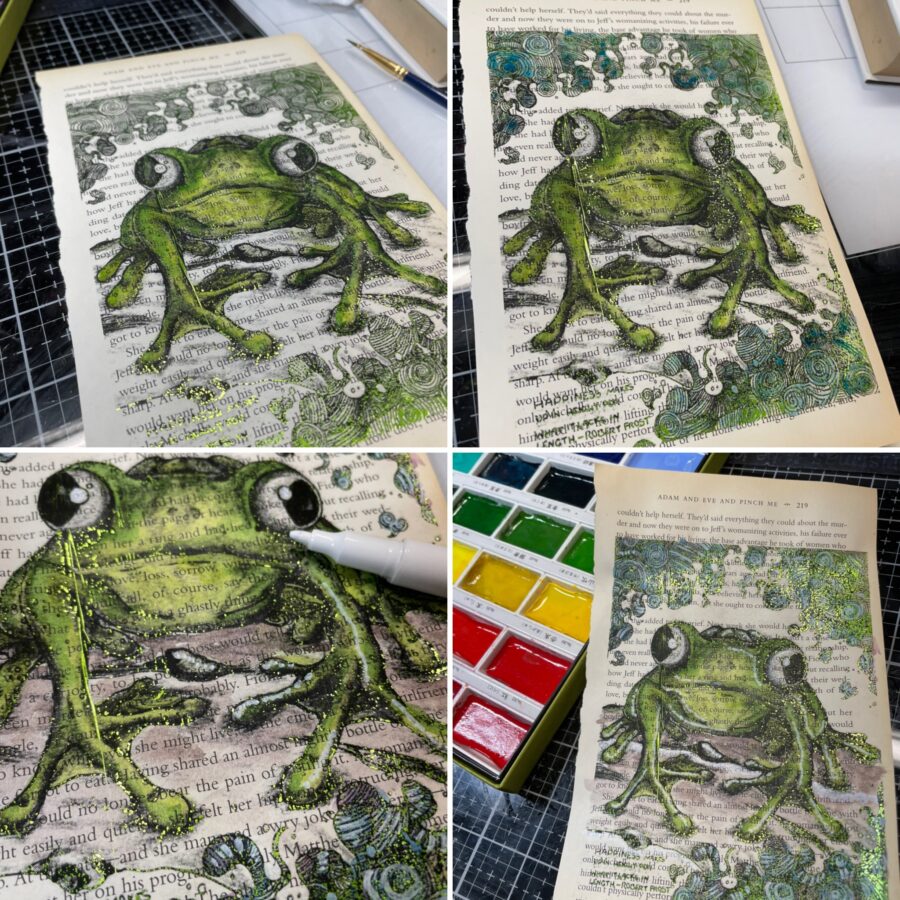
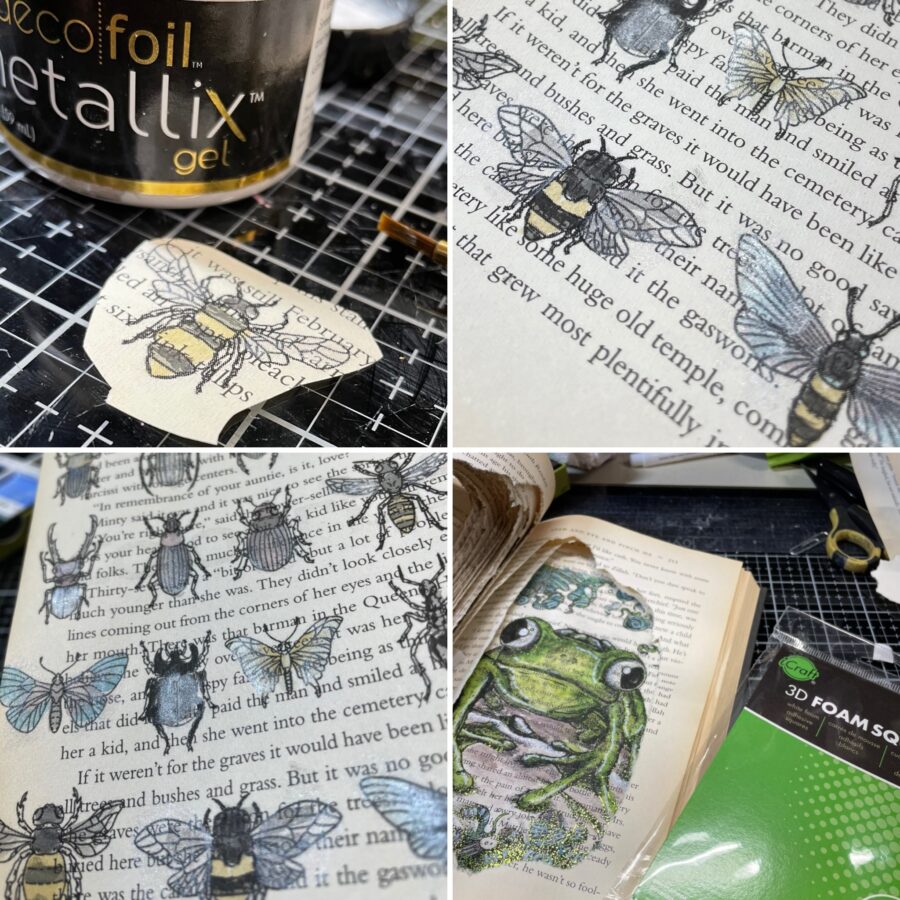
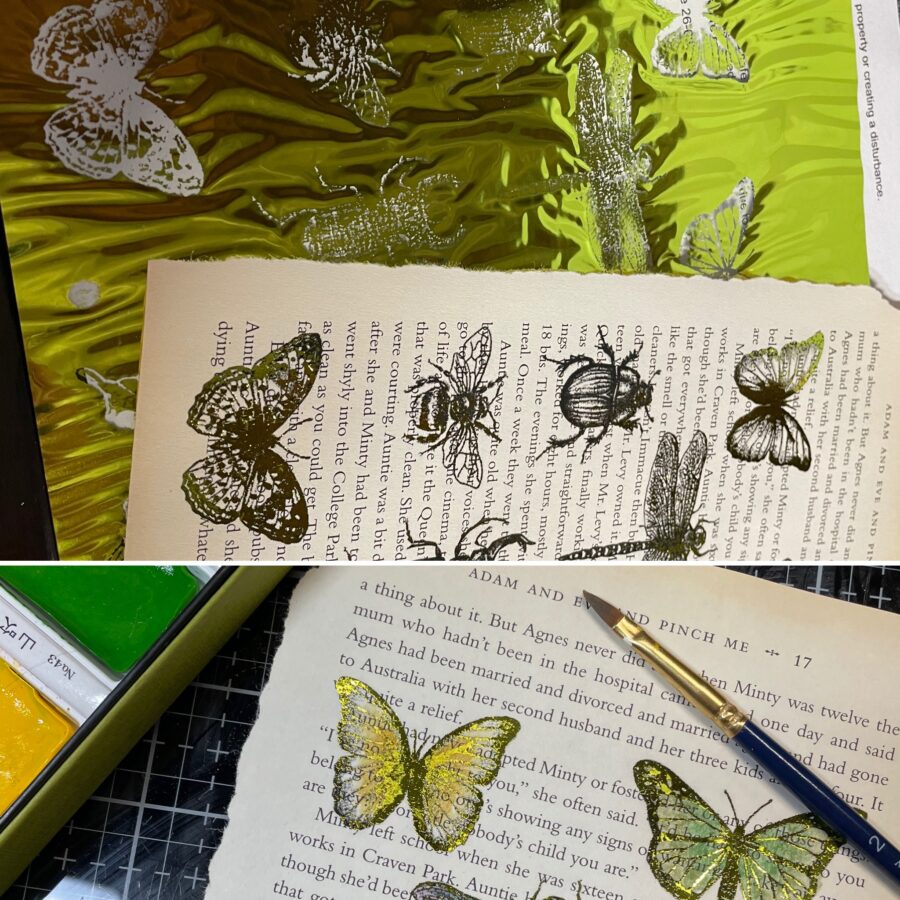
Start by searching “free frog illustrations” on your computer and choose which images you like best. Tear a few pages from your book and print your images directly onto the book pages by feeding them into the manual bypass on your computer. Next, foil the printed images as you would any other (place your Foil Transfer Sheet, dull side against the image, and place into a piece of clean, folded copy paper and run it through your foiling or laminating machine). When you peel away the Foil Transfer Sheet you are left with a beautiful foiled image.
I used Jelly Bean Green Fancy Foil for the image on my project, but I was playing with the other image and love how it came out with the black foil! Because my book is quite old, the paper is very porous and much of the ink soaked into the pages. An extra piece of folded paper under my image created pressure when running it through my machine. This made sure that my foil adhered to the toner.
Note: This technique only works with toner printed images; the foil will not adhere to inkjet ink. If you do not have a toner printer, you can take your printed image to a local copy shop and have toner copies made.
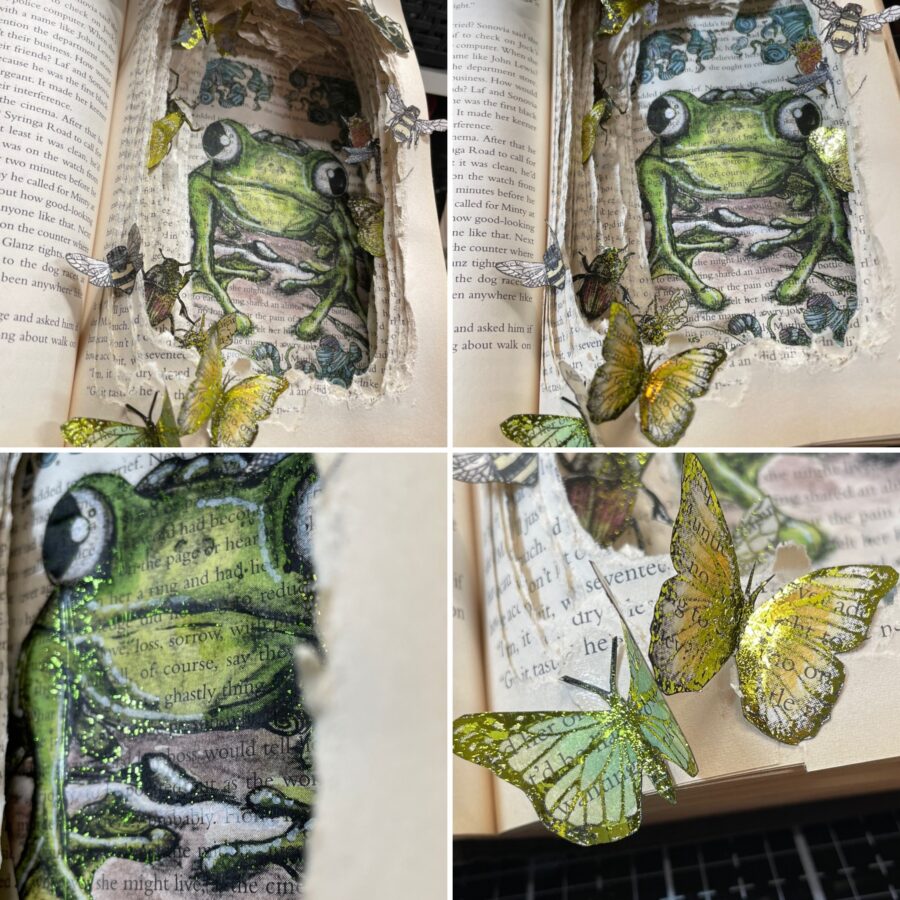
It’s hard to catch the light just right in a still image, but the frog and the scrolls have so much beautiful shine!
Hint: Stay tuned to the end for a bonus Halloween idea . . . I’m sure the image below has already given you an idea of what it might be.
Mixed Media Frog Book Step Two
Watercolor your frog image, drying lightly with a heat tool as you go to avoid damaging the book paper. I thought it would be a lot harder to keep the paper from balling up but as long as you don’t use an excessive amount of water, the result is really satisfying. If you are anything like me and love books, book pages, book covers, and anything related, you will love how this turns out!
For the butterflies and bugs, I used the same process as with the frog image (print, foil, and paint); however, I added just a touch of Glazed Pewter Metallix Gel to the wings and other areas to give even more shimmer. The Metallix has been discontinued so stock up while you can before the remaining stock is gone.
Hint: Make sure to add in some shadows and highlights. I used a white paint pen for the highlights.
Mixed Media Frog Book Step Three
This next step can be a little daunting if you do love books lol, but remember; if the book was going to be discarded, you are saving it and creating a piece of art and home decor that will now go on to be enjoyed.
Turn to the 20th page or so in the book and clip those first pages to the front cover so you don’t accidentally tear them and they won’t be in your way.
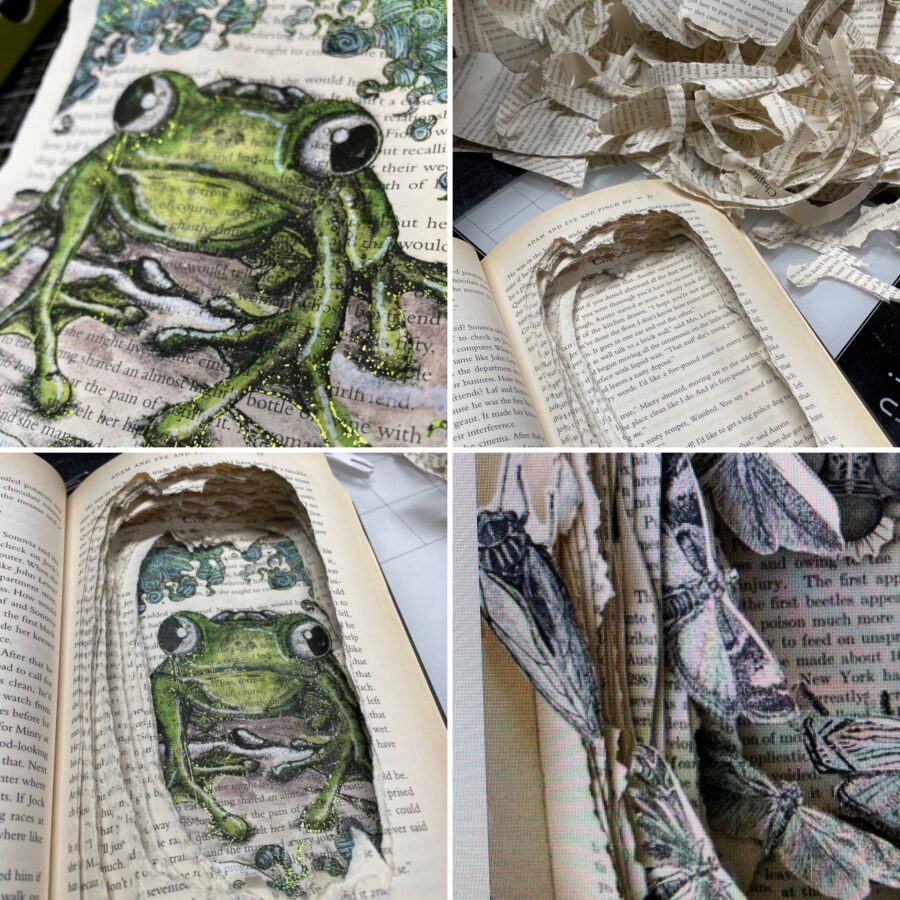
Next, use a craft knife to cut an X into as many pages as you can go through at a time (on the right side of the book). This allows you to get your hand into the middle of your page and start tearing the center out. I found that I could do about 8 pages at a time, but the paper thickness will vary from book to book. Continue doing this until you have created a shadow box of sorts from your book. I occasionally put my image at the back to see if my pages were covering too much.
Once your opening is as deep as you want it, use foam tape and squares in between every 5-10 pages to create dimension and space to tuck goodies. Make sure to add some Ultra Bond Liquid Adhesive in between the other pages (just around the outside edge) for stability.
Hint: After fussy cutting, I tucked some of my bugs in just to see if I was leaving enough space in between pages.
Mixed Media Frog Book Step Four
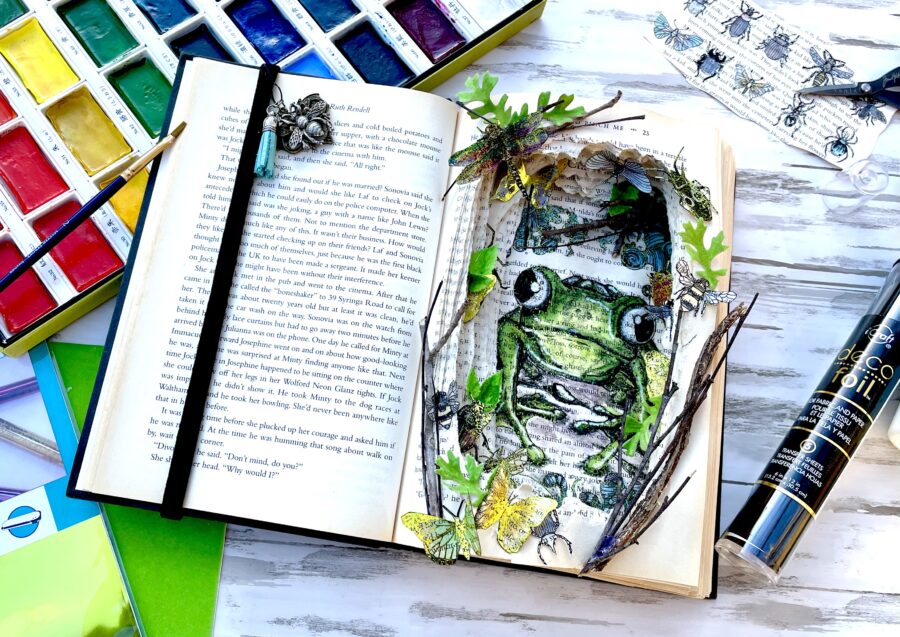
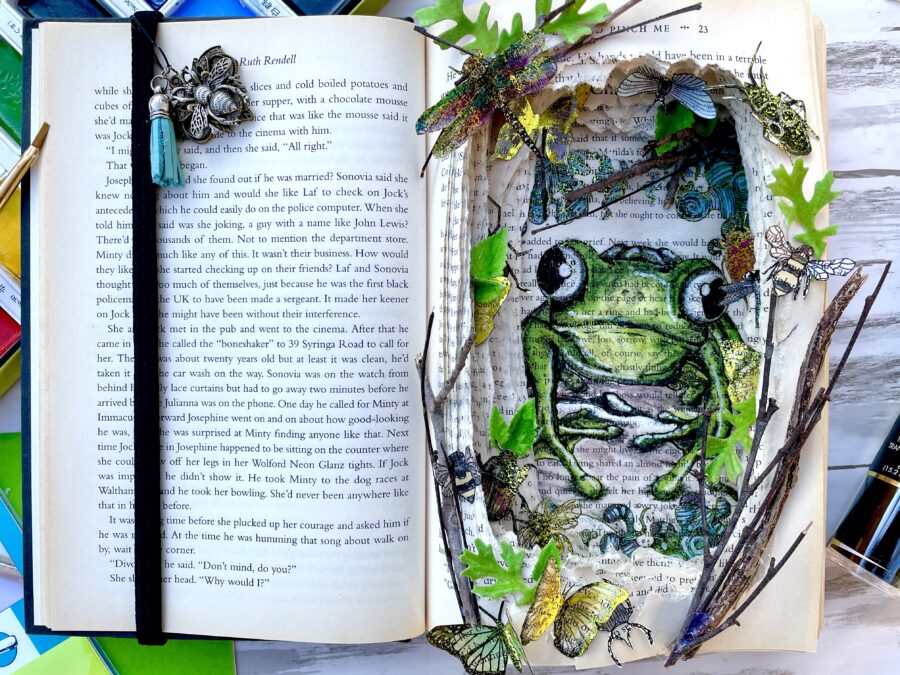
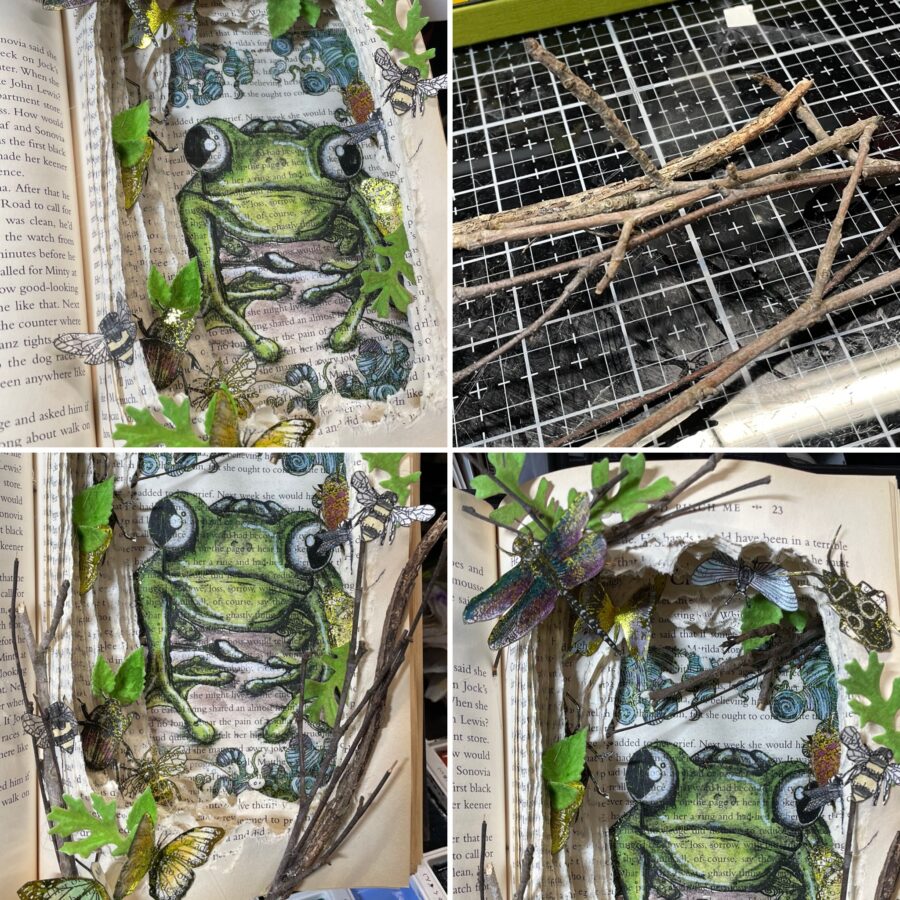
I’m not gonna lie, this part was so much fun. Tuck all of the little butterflies and bugs in and around your book opening using Ultra Bond Liquid Adhesive and Foam Squares.
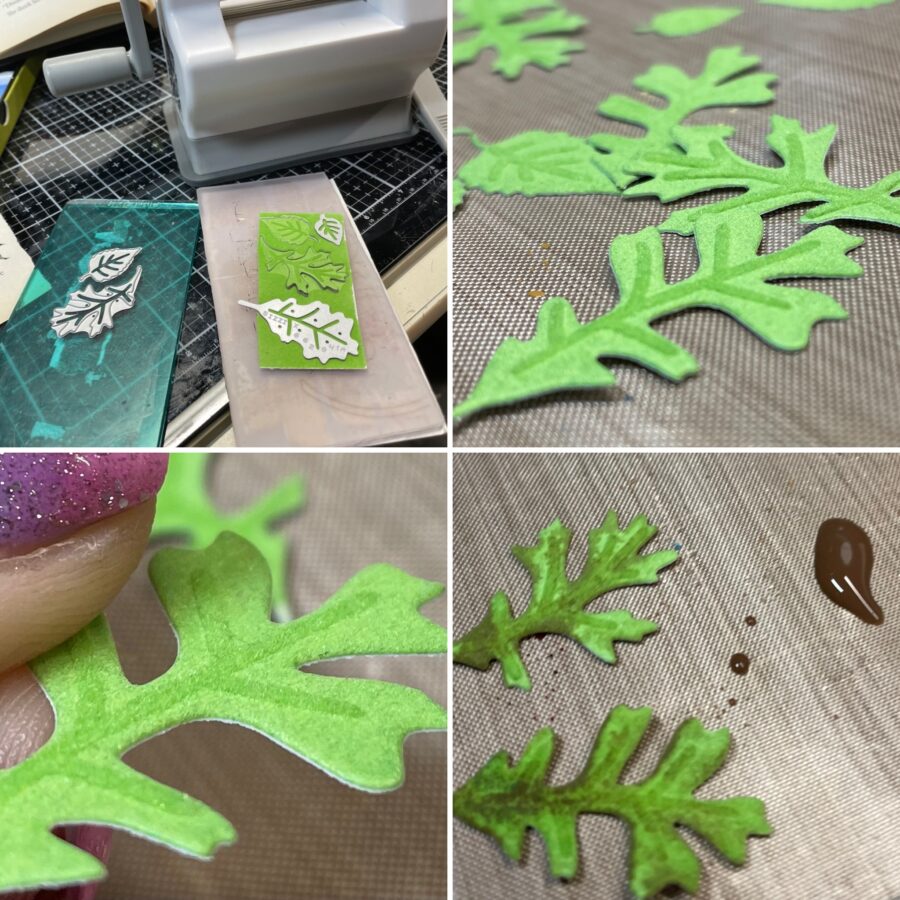
Next, die-cut some leaves from Flock Transfer Sheets (I used Green Envy). If your dies have openings like the one in the image below, you can get an amazing embossed look on your flock all in one step. The backing paper on the flock is just rigid enough to allow you to mold the leaf a bit for dimension. I also added a little paint to my flock leaves for added interest.
Then, just when you think you might be finished and ready to take pictures of your masterpiece . . . go gather some sticks from the yard and glue those down as well.
I love, love, love how this turned out. The pictures do not do it justice. I have tried to catch the light on the foiled areas, but it’s so hard to see how pretty the foiled images are against the book page. Trust me, you will not be sorry you tried this!
Hint: The Flock Transfer Sheets are so easy to work with that you don’t have to use a die-cutting system, just draw a leaf shape on the back and cut them out with scissors!
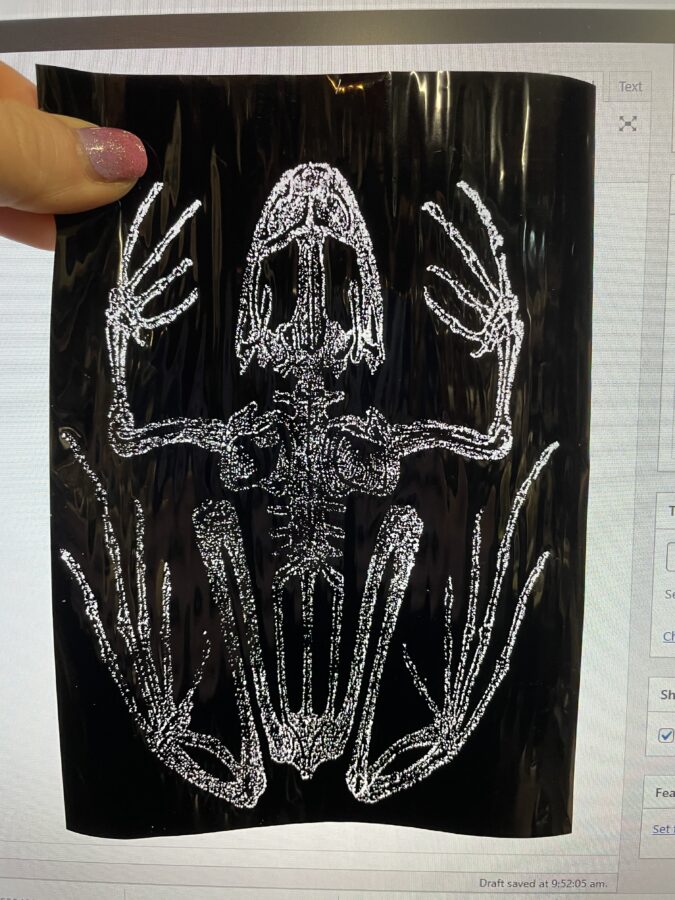
Okay, now for the bonus Halloween idea. Did you notice up top when I foiled the frog skeleton from the black Foil Transfer Sheet how the negative Transfer Sheet looked? Well, look at the image below. This is just holding it up to the lighted computer screen but my mind is already full of ideas.
I am totally going to frame this into a shadow box with lights behind it for Halloween decor!
I hope you enjoyed this rather lengthy tutorial and that you will come back for more. Until then, happy crafting!
MARTY C CASEY
April 15, 2021 at 12:21 am (3 years ago)such a wonderfully creative idea!