Hello and welcome to Birthday Week on the Therm O Web blog! It’s Deb here to start us off on our crafty birthday celebrations with two birthday cards created with Deco Foil Flock Transfer Sheets.
Deco Foil Birthday Cards
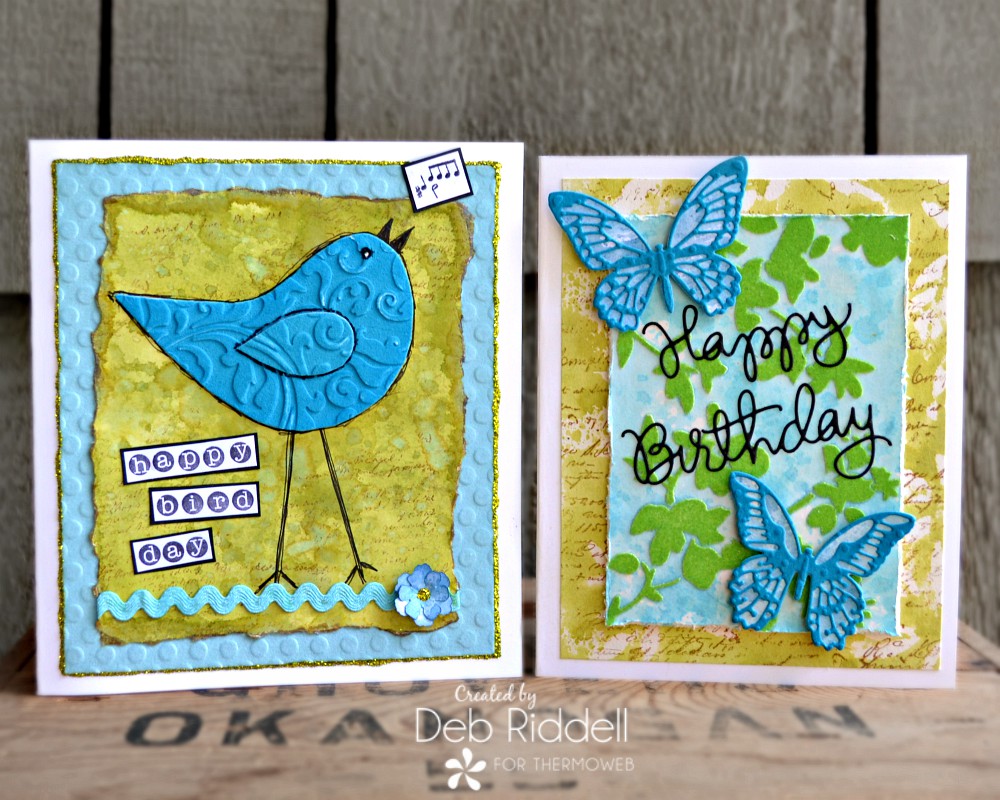
Therm O Web Supplies Used:
Deco Foil Flock Transfer Sheets – Blue Diamond
Deco Foil Flock Transfer Sheets – Blue Sky
Deco Foil Flock Transfer Sheets – Green Envy
Deco Foil Transfer Gel Blanco – 4 fl. oz.
Deco Foil Stencil Pal
iCraft Easy Cut Adhesive™ Sheets • Sm
Memory Tape Runner XL™
iCraft Ultra Bond Adhesive 2 fl oz
Gina K. Designs Foam Tape White 3/8 in x 12 ft
Gina K. Designs Foam Squares White (320 squares)
Other supplies used:
Ranger Ink – Distress Ink; Distress Archival Ink; Stickles Glitter Glue
Sizzix – Mini Detailed Butterflies dies; Tiny Tattered Florals dies; Flourish Texture Fades embossing folder
Stampers Anonymous – Ledger Script stamp; Blossom Layering stencil
StencilGirl Products – Leafy Doodle Border stencil
We Are Memory Keepers – Polka Dots embossing folders
Simon Says Stamp – Happy Birthday die
Miscellaneous – mixed media paper; white and black cardstock; light blue rick rack; small alphabet stamps; musical notes stamp; black permanent pen; foil laminator; paper trimmer; scissors
Happy Bird Day Card Instructions
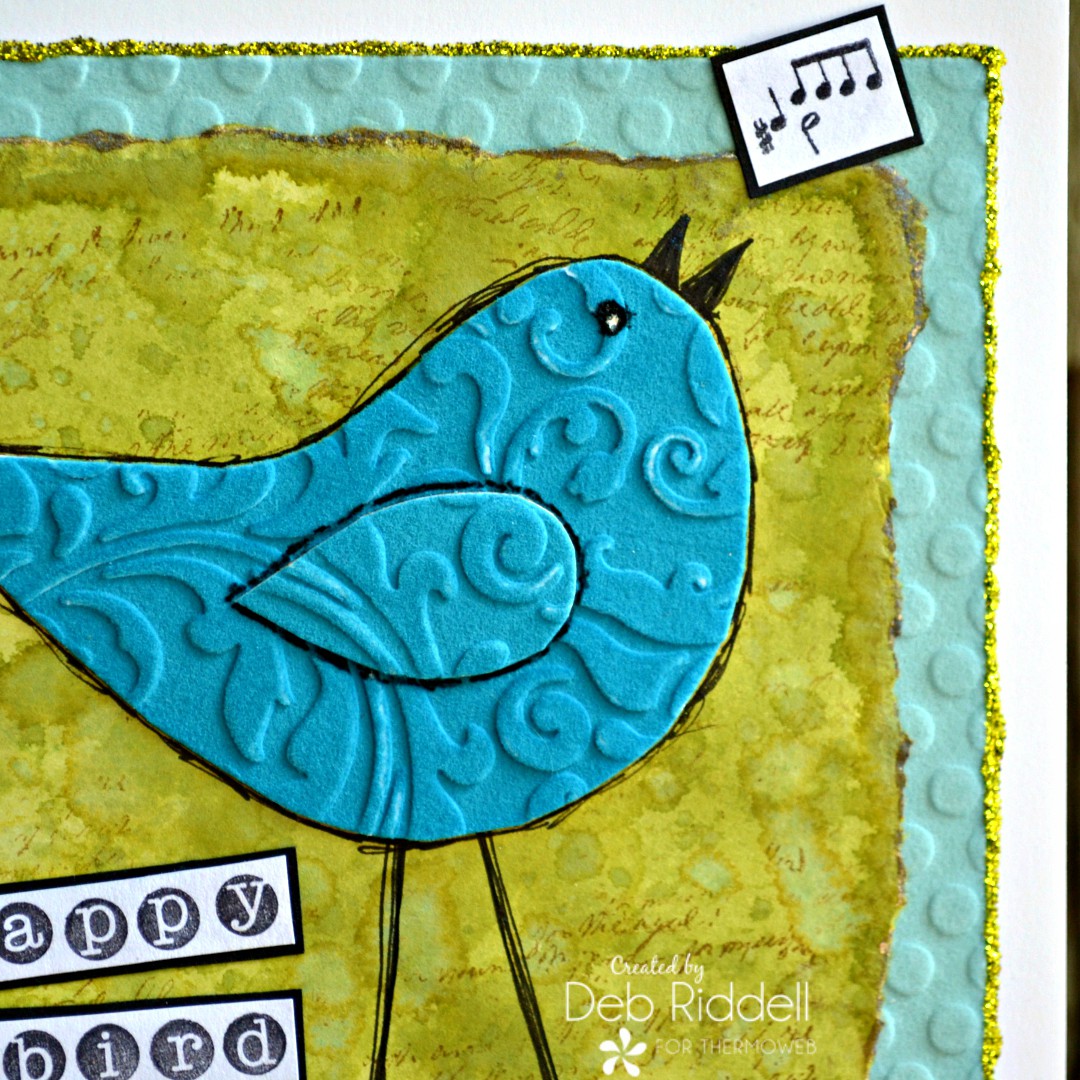
Emboss a piece of Blue Diamond Deco Foil Flock Transfer Sheet with a floral themed embossing folder (this is the Flourish Texture Fades embossing folder).
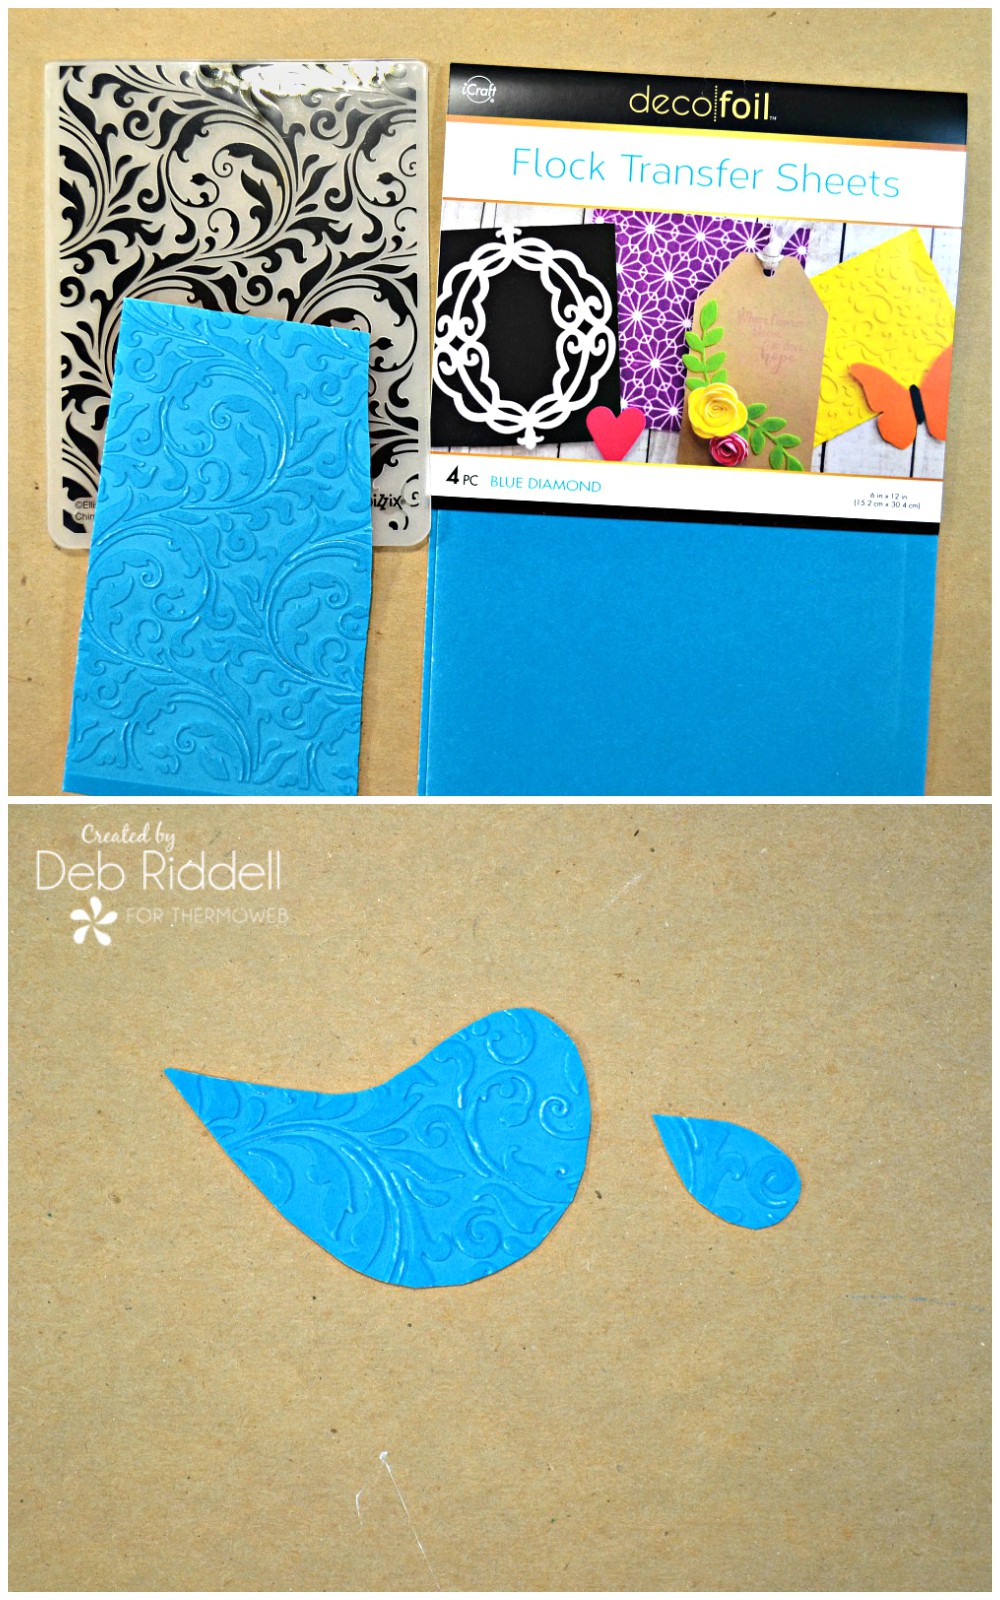
From the embossed flock transfer sheet, cut out a fat comma shape for your bird’s body and a little teardrop shape for his wing. My bird’s body is about 3 1/2″ long by about 2″ deep.
Create a background for your little bird by inking mixed media paper with a couple of shades of green water-reactive inks (I used Shabby Shutters and Peeled Paint Distress Inks) and then randomly stamp some script over top with a light brown permanent ink. Tear the edges randomly.
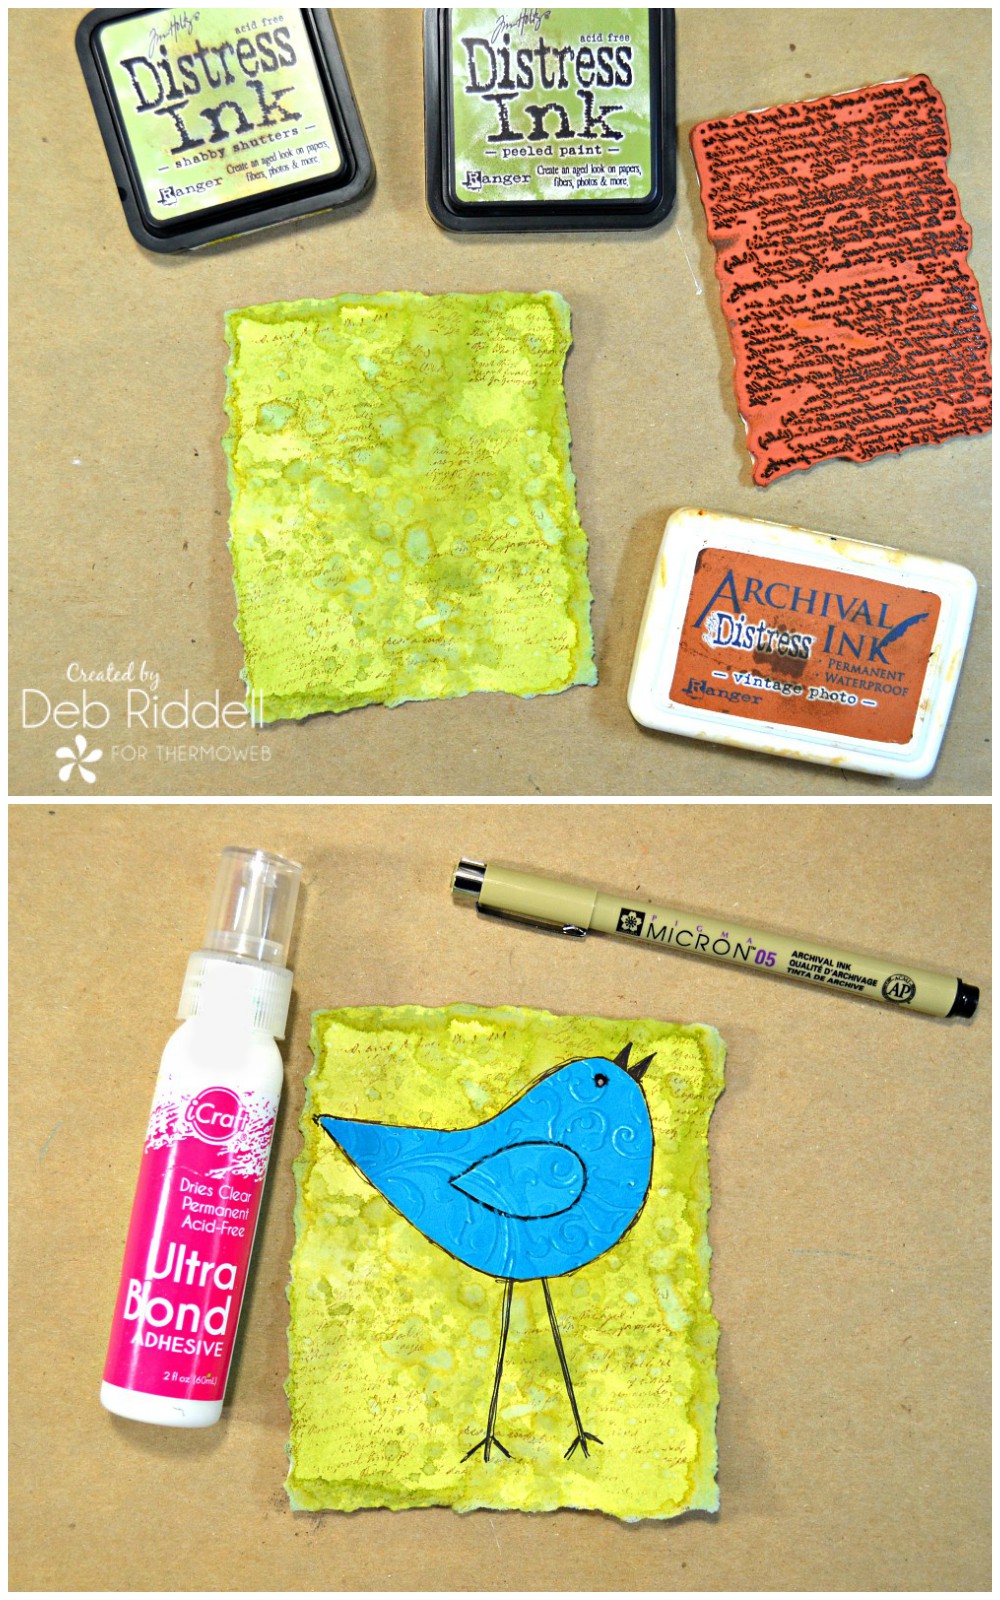
Adhere your bird’s body to the background with iCraft Ultra Bond adhesive. Outline his body with a black permanent ink pen, adding some long dangling legs, a beak, and his eye.
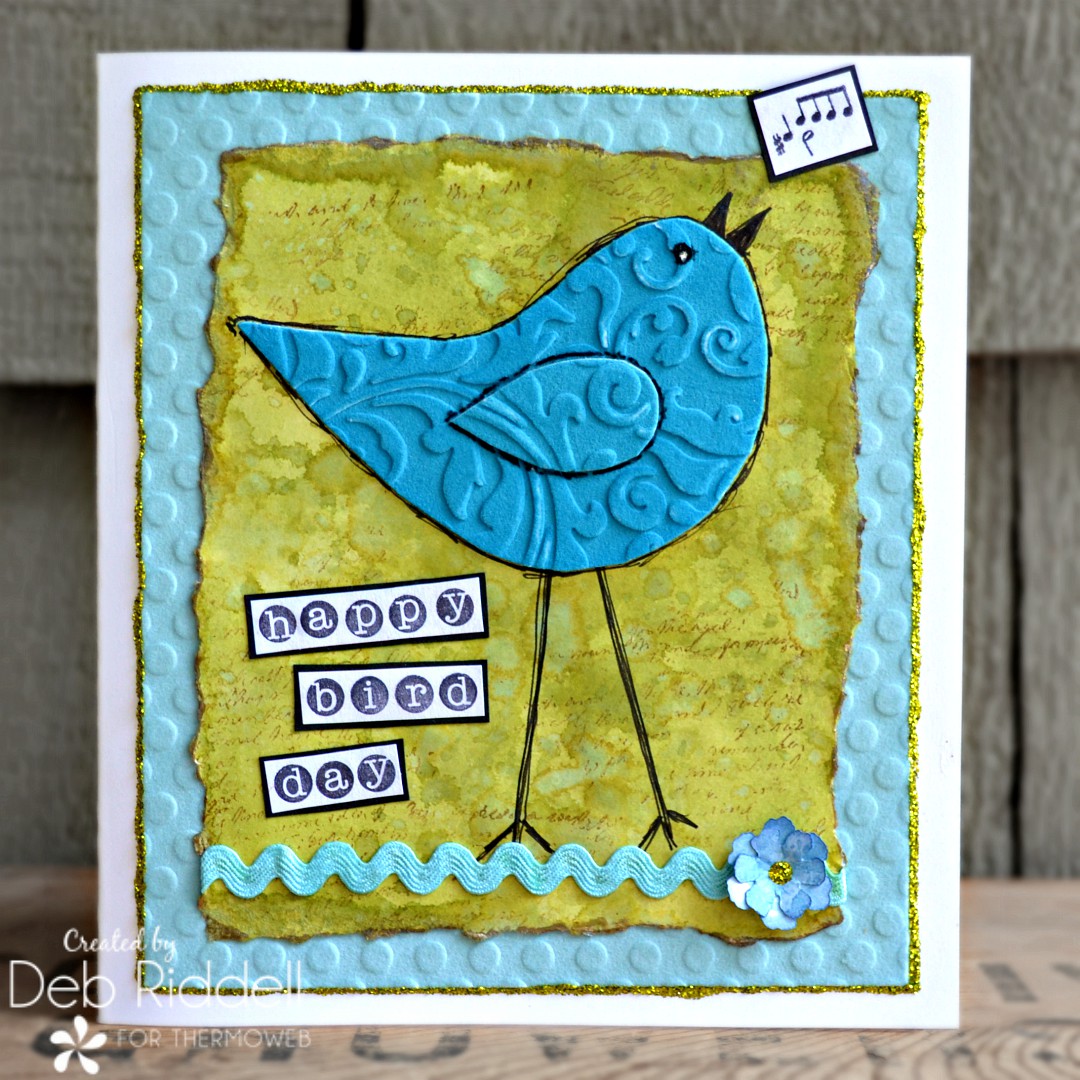
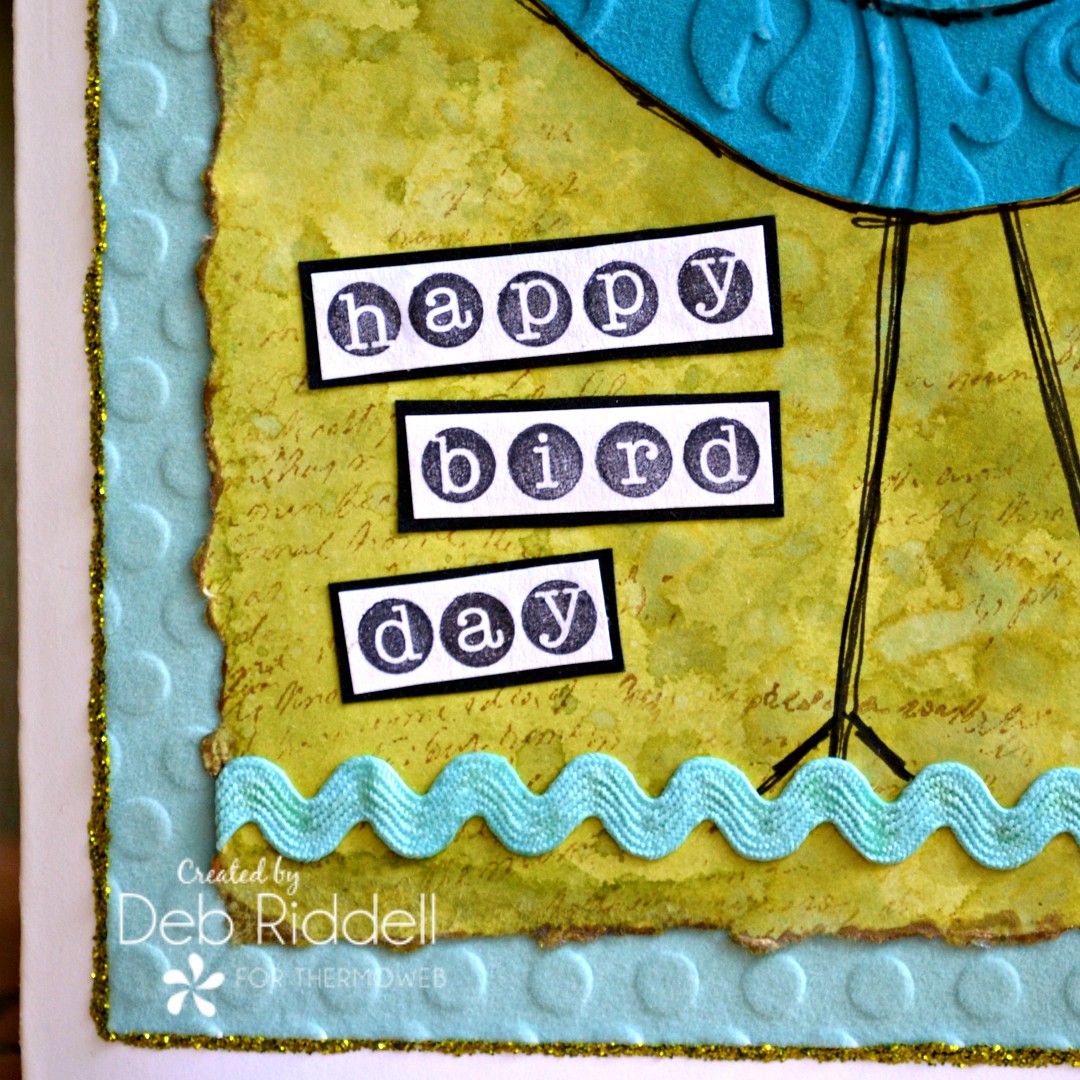
Stamp ‘happy bird day’ and the musical notes onto white cardstock and mount the stamped images onto black cardstock. Trim around the edges to leave a thin black border.
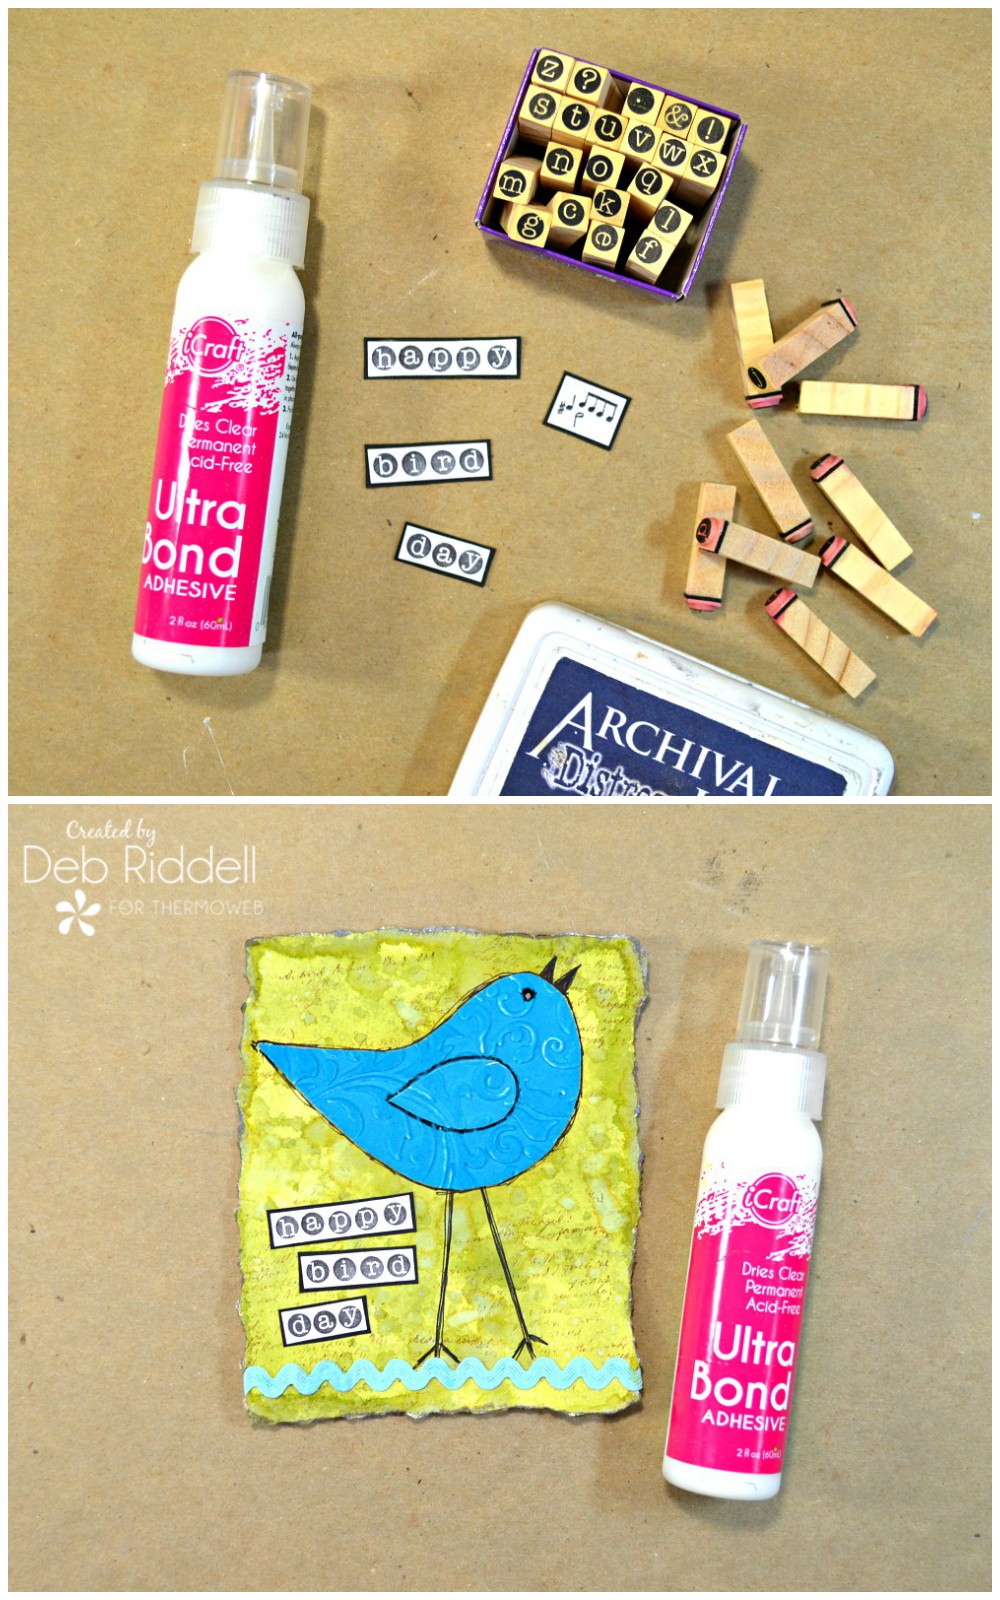
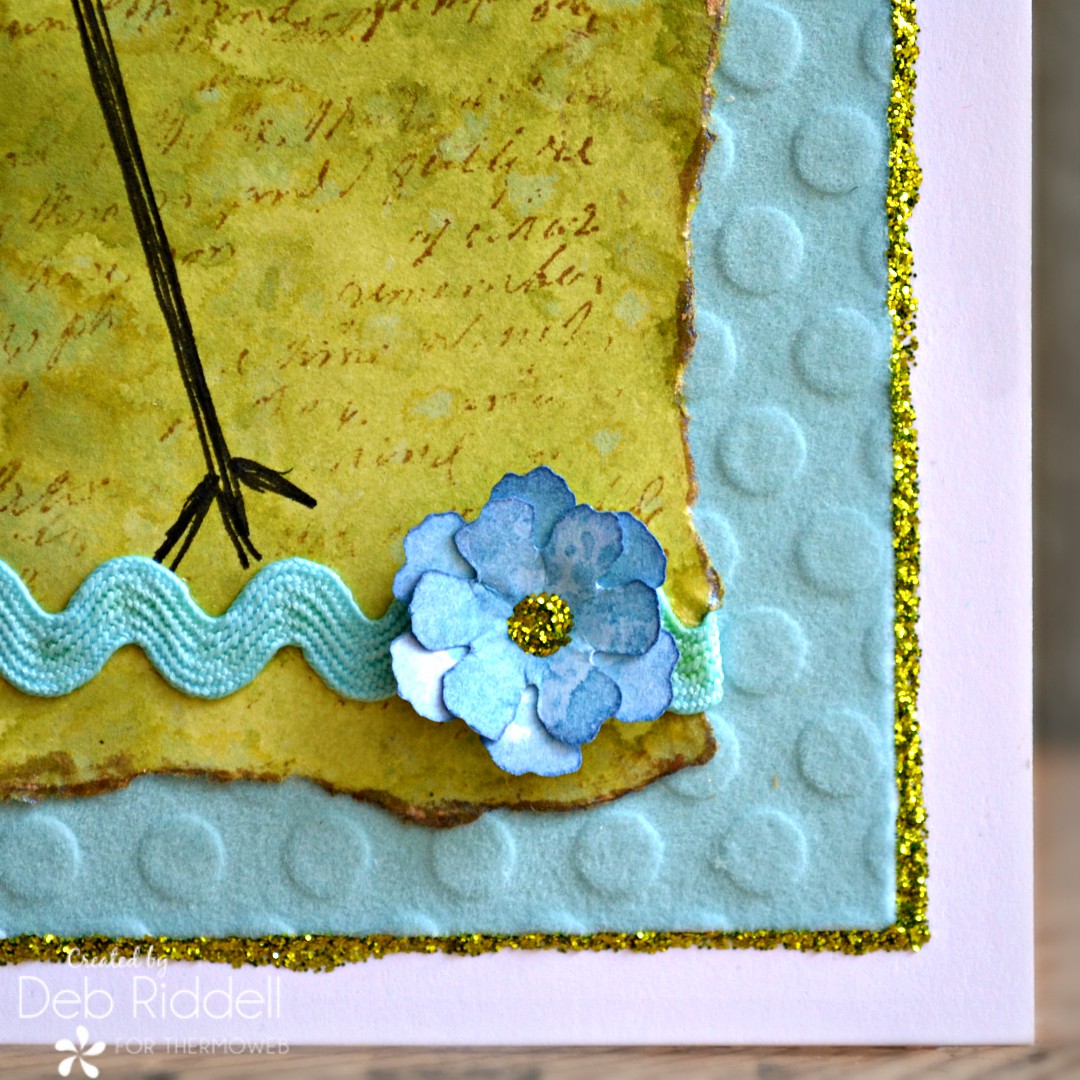
Adhere a piece of blue rick rack under the bird’s feet for a ‘perch’ with iCraft Ultra Bond adhesive and adhere the stamped sentiment to the background as shown.
Emboss a piece of Sky Blue Deco Foil Flock Transfer Sheet with a polka dot embossing folder. Create a card blank from white cardstock and adhere the polka dot embossed flock background to the card front with your Memory XL tape runner, leaving about a 1/4″ reveal on all sides. The size of your card blank and the embossed flock background will depend upon the size of your little bird.
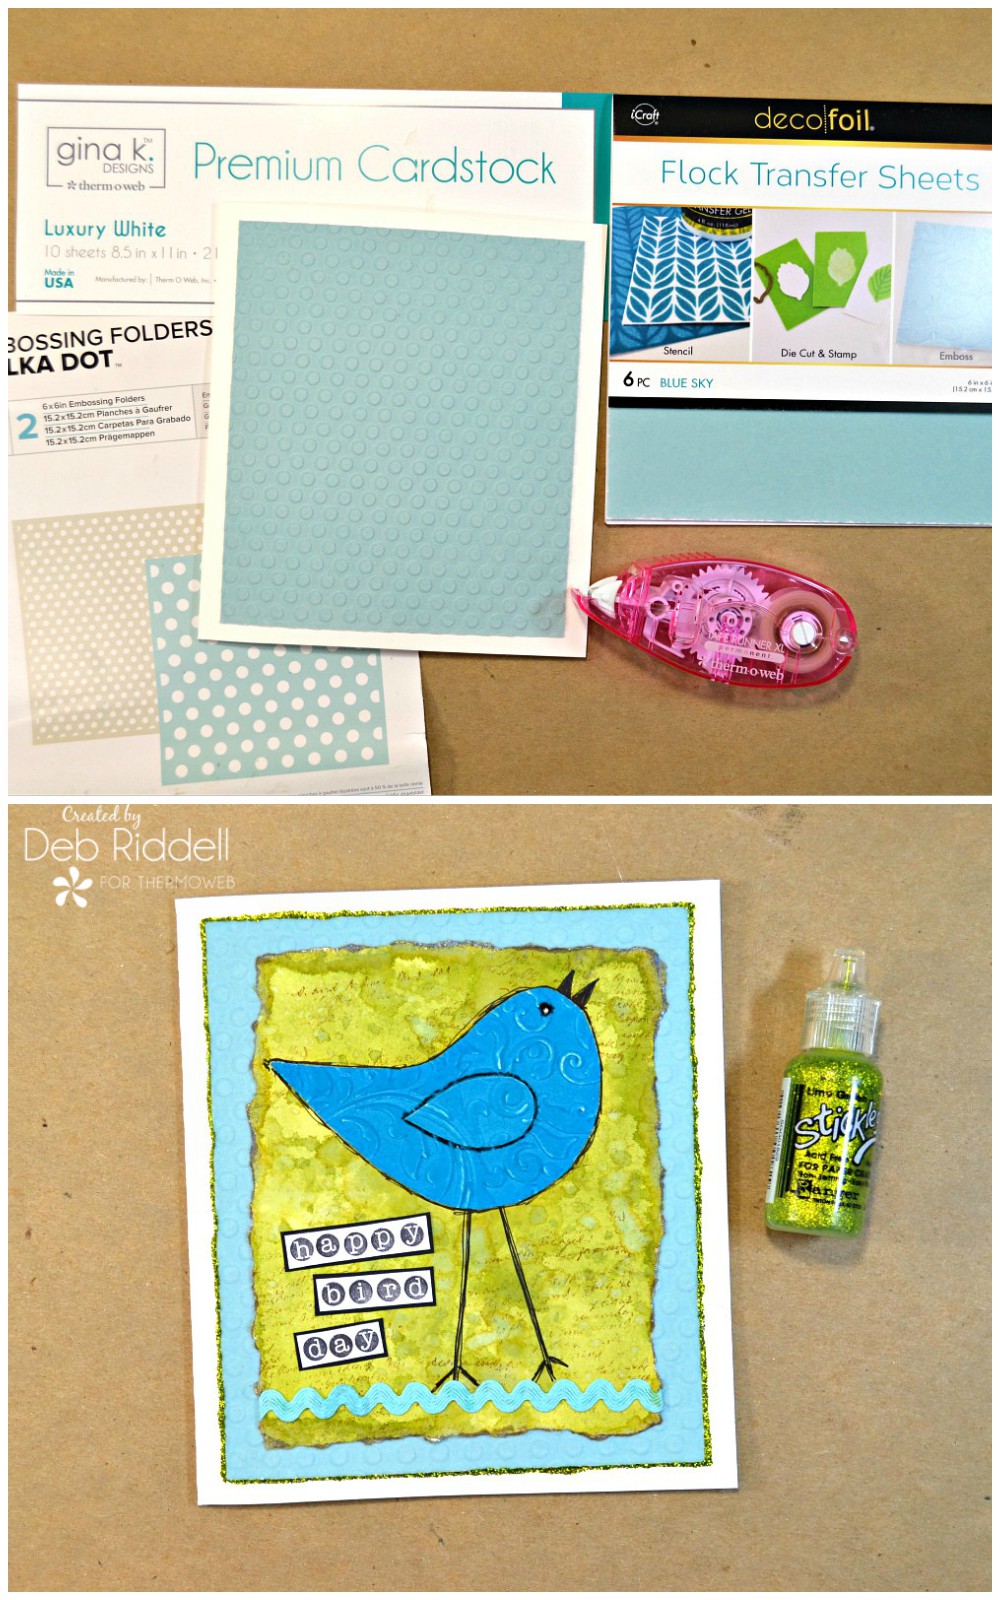
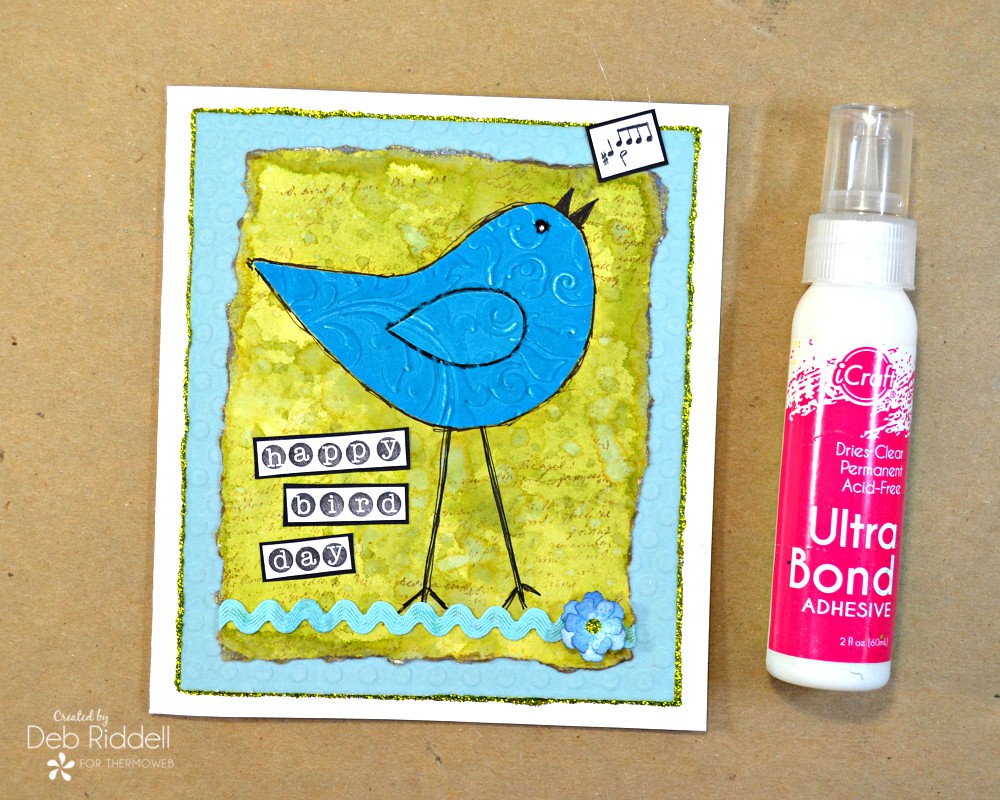
Adhere your bird on top of the embossed flock background with your Memory XL tape runner and add a line of green glitter glue around the edges of the embossed flock.
While the glitter glue is drying, die-cut a small flower from mixed media paper inked with a couple of shades of blue water-reactive inks and add a dot of the same glitter glue to the center. Once the glitter glue has dried, adhere the flower to the right side of the rick rack ‘perch’ and adhere the stamped musical note above your little bird’s beak and your Happy Bird-Day card is done!
Butterfly Birthday Card Instructions
Apply Deco Foil Blanco Transfer Gel onto a piece of mixed media paper through a floral stencil with your Deco Foil Stencil Pal (this is the Blossom layering stencil). Let the Blanco Gel dry thoroughly, about one to two hours.
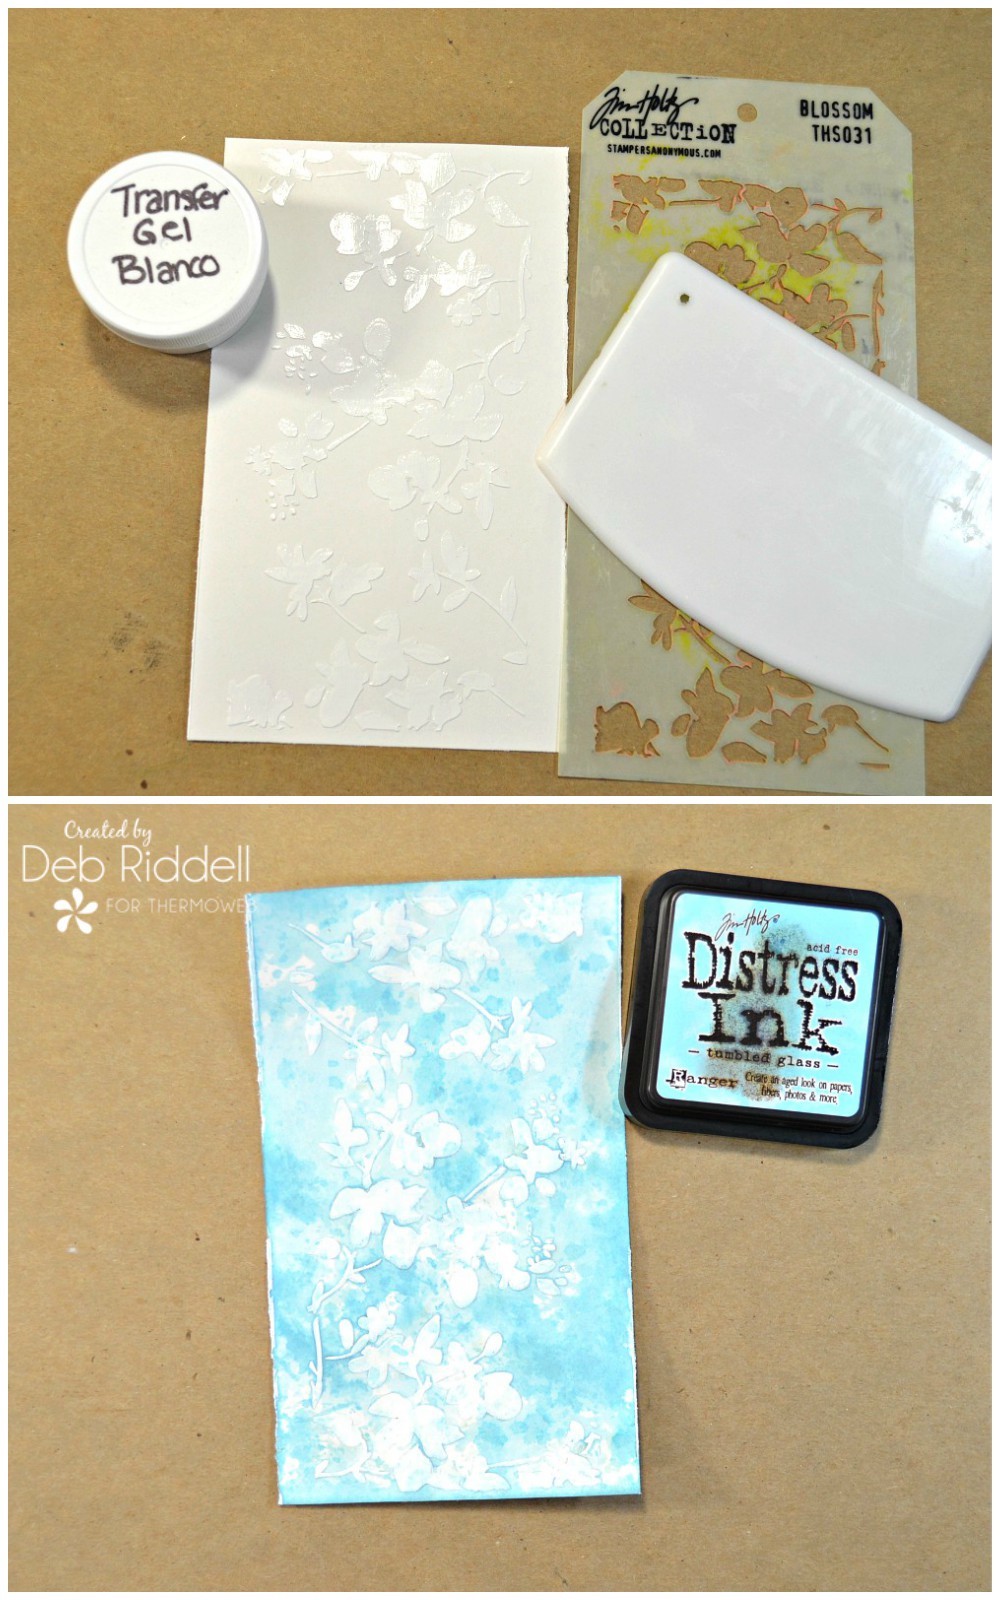
Create some puddles of pale blue water-reactive ink on your craft mat and drag the stenciled mixed media paper through it repeatedly until you are happy with the color (I used Tumbled Glass Distress Ink). If there are any large ‘puddles’ of dried ink on top of the Blanco Gel, wipe them off with a slightly damp cloth.
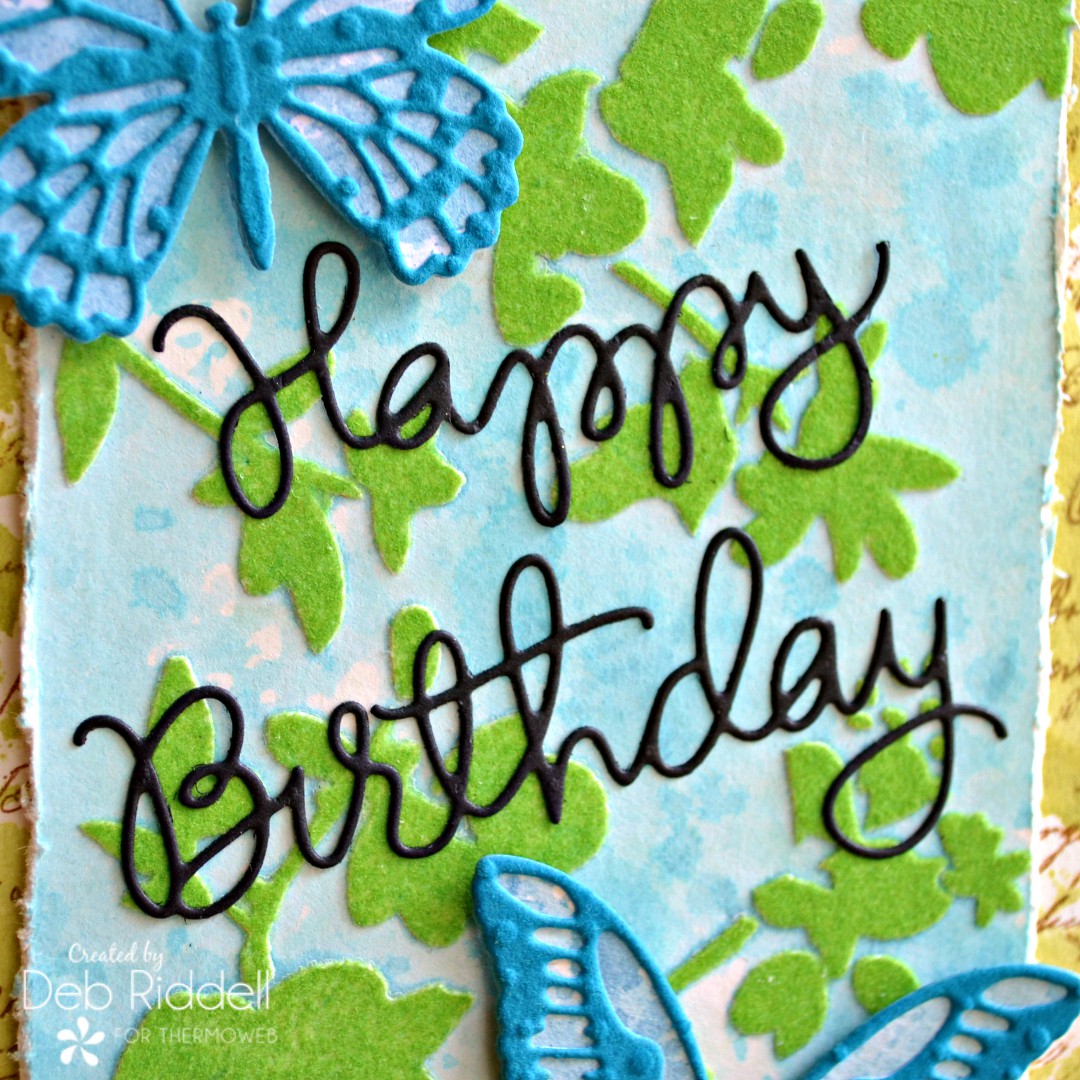
Preheat your foil laminator and apply a piece of Green Envy Deco Foil Flock Transfer Sheet overtop of the stenciled mixed media paper (remember, fuzzy side down!) and run it through your laminator. Peel off the backing paper from the flock transfer sheet (and keep it to use on a future project!)
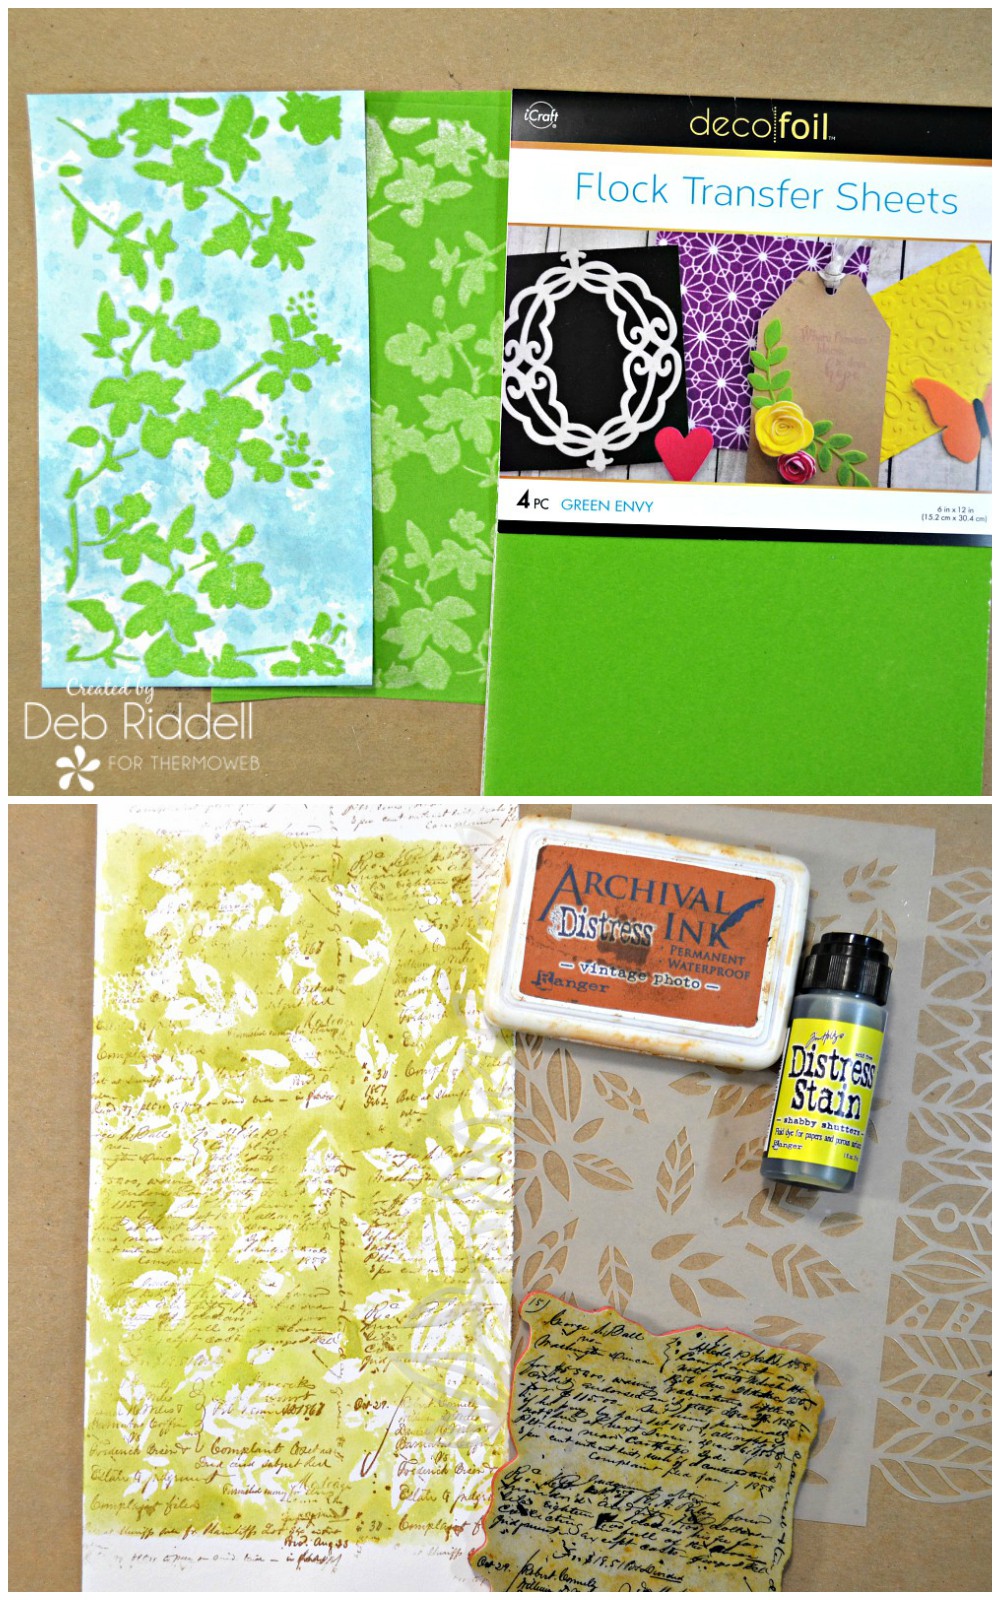
Prepare another background by stamping a piece of mixed media paper with a script stamp and light brown permanent ink. Ink up the back of a leafy stencil (this is the Leafy Doodle Border stencil) with a green water-reactive ink stain (Shabby Shutters Distress Stain), spritz it lightly with water and lay the inked side of the stencil down on top of your stamped mixed media paper. Blot up any excess stain with a cloth and remove the stencil to reveal the monoprinted image.
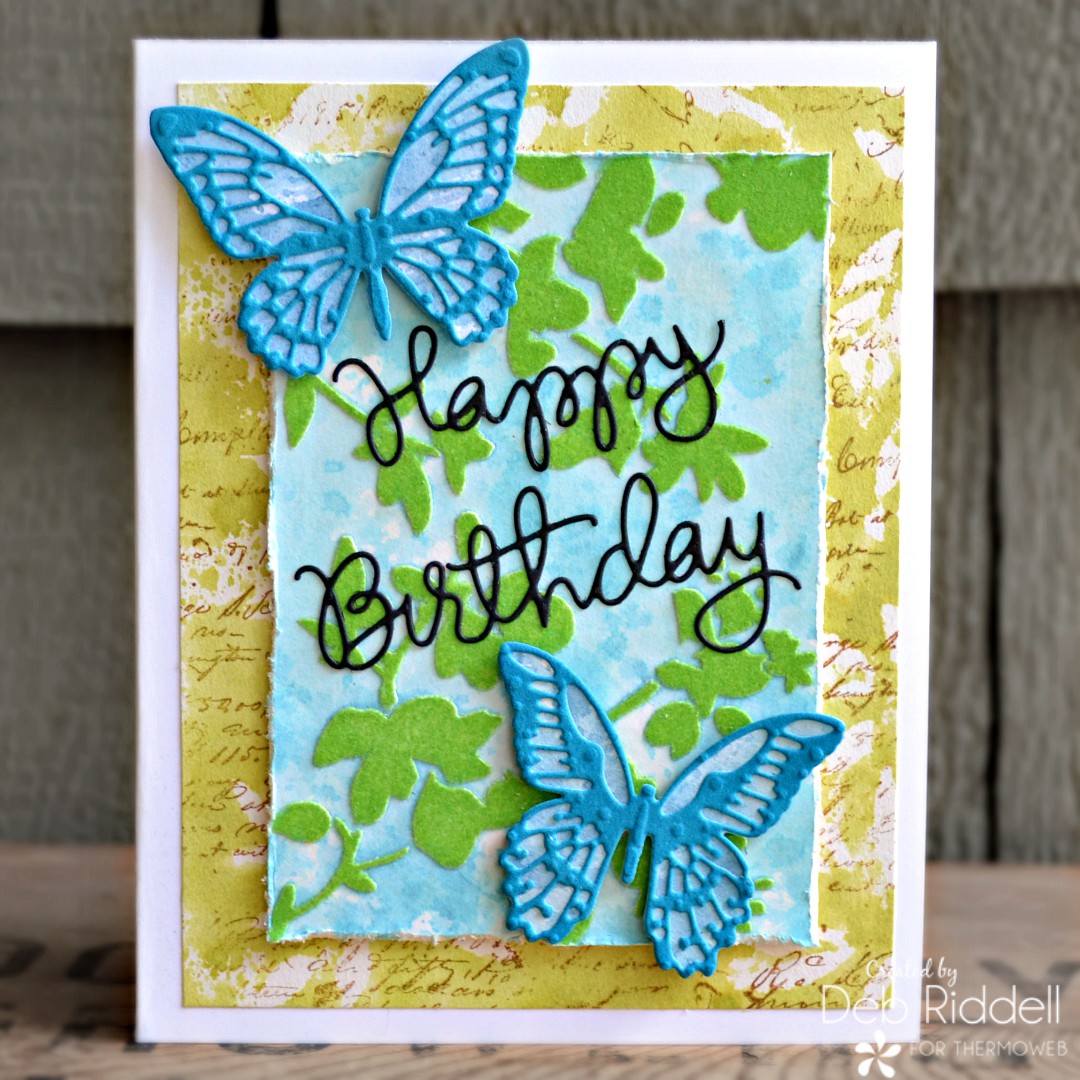
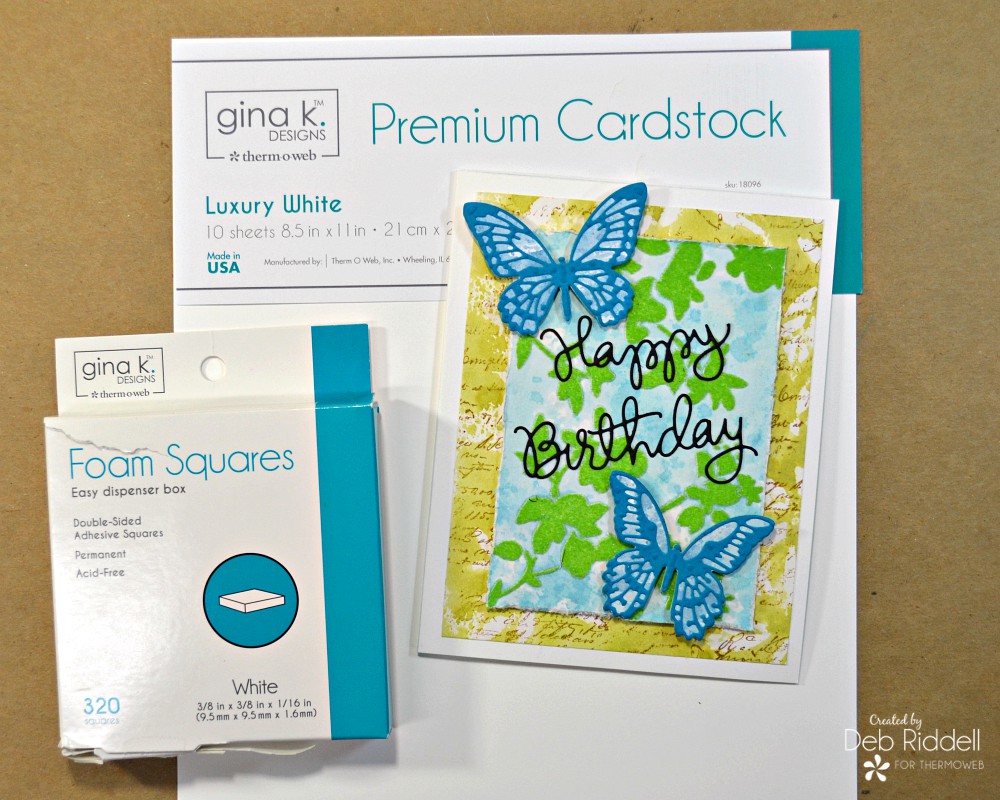
Trim the monoprinted background to about 4 1/4″ x 5 1/2″ and layer your flocked background on top, bumping it up with some strips of Gina K. Designs Foam tape. I trimmed my flocked background to about 3 1/4″ x 4 1/2″ before adding it on top of the monoprinted background. Die-cut a happy birthday greeting from black cardstock and adhere it to the flocked background.

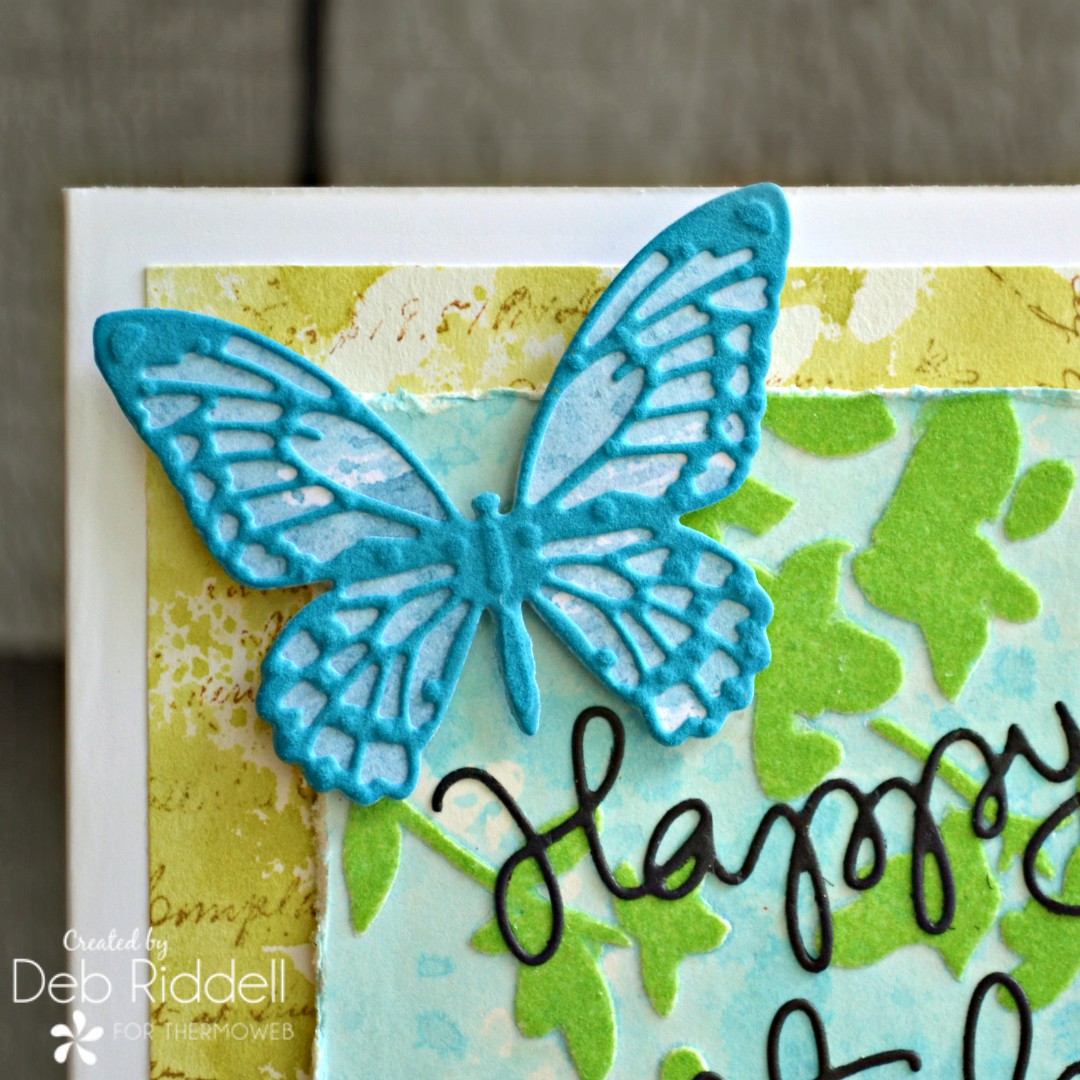
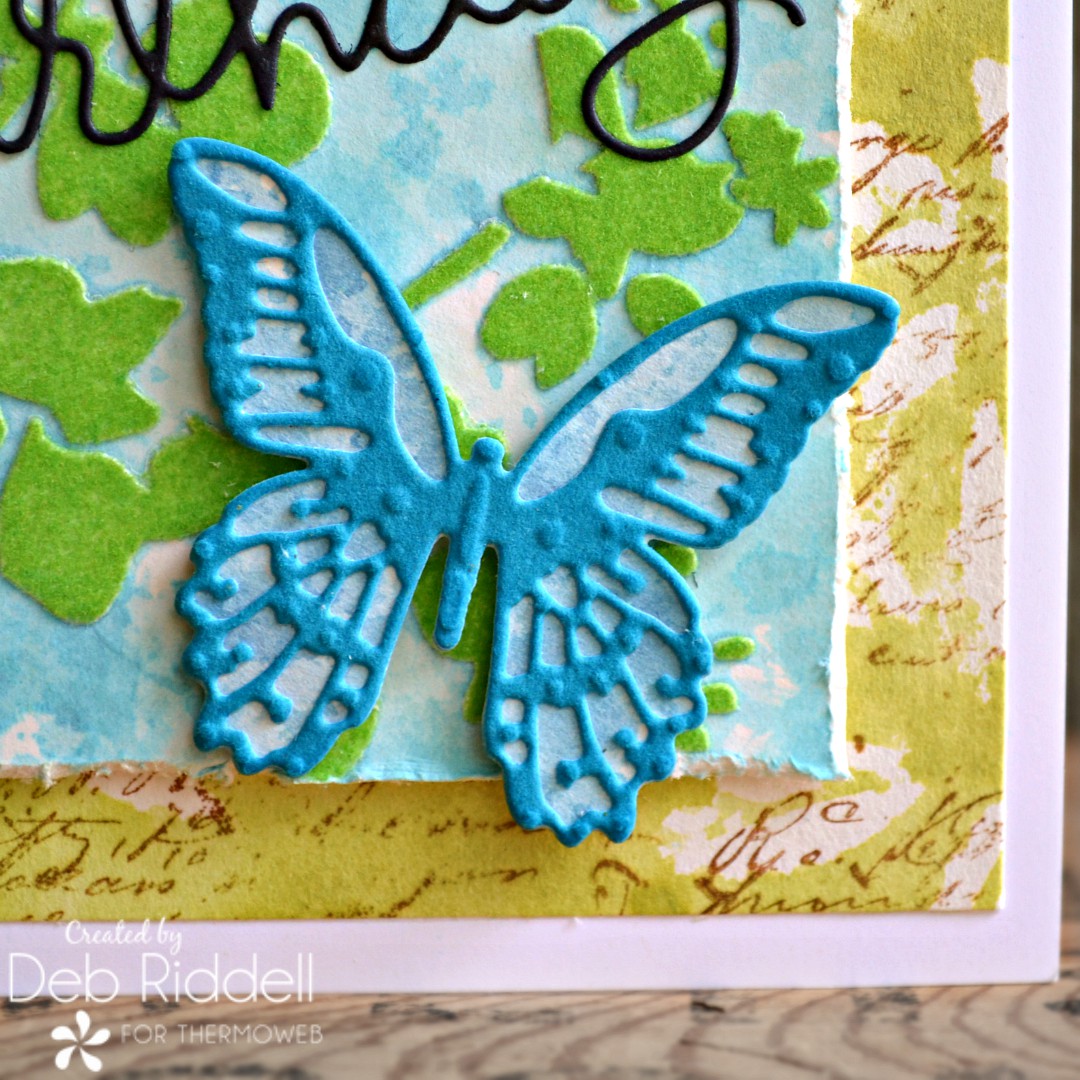
Ink up a piece of mixed media paper with a couple of shades of blue water-reactive inks and die cut two butterflies from it ( I used the Mini Detailed Butterflies dies). Add a piece of iCraft Easy-Cut Adhesive to the back of a piece of Blue Diamond Deco Foil Flock Transfer Sheet and die cut the detailed butterfly overlay from it. Peel off the backing paper from the Easy-Cut adhesive and adhere to the flocked overlay on top of the inked butterflies.
Adhere your layered background to the front of a white card blank with your Memory XL tape runner and adhere the two flocked butterflies to the top and bottom of the card, bumping them up with Gina K. Designs Foam Squares. Your Butterfly Birthday card is complete!
Here are a few closeups of the finished flock birthday cards.


I hope that you’ve enjoyed seeing how these cards came together and that I’ve given you some ideas on how to create your own handmade birthday cards with Deco Foil Flock Transfer Sheets. Thanks as always for stopping by today, safe and healthy everyone!
Deb xo
