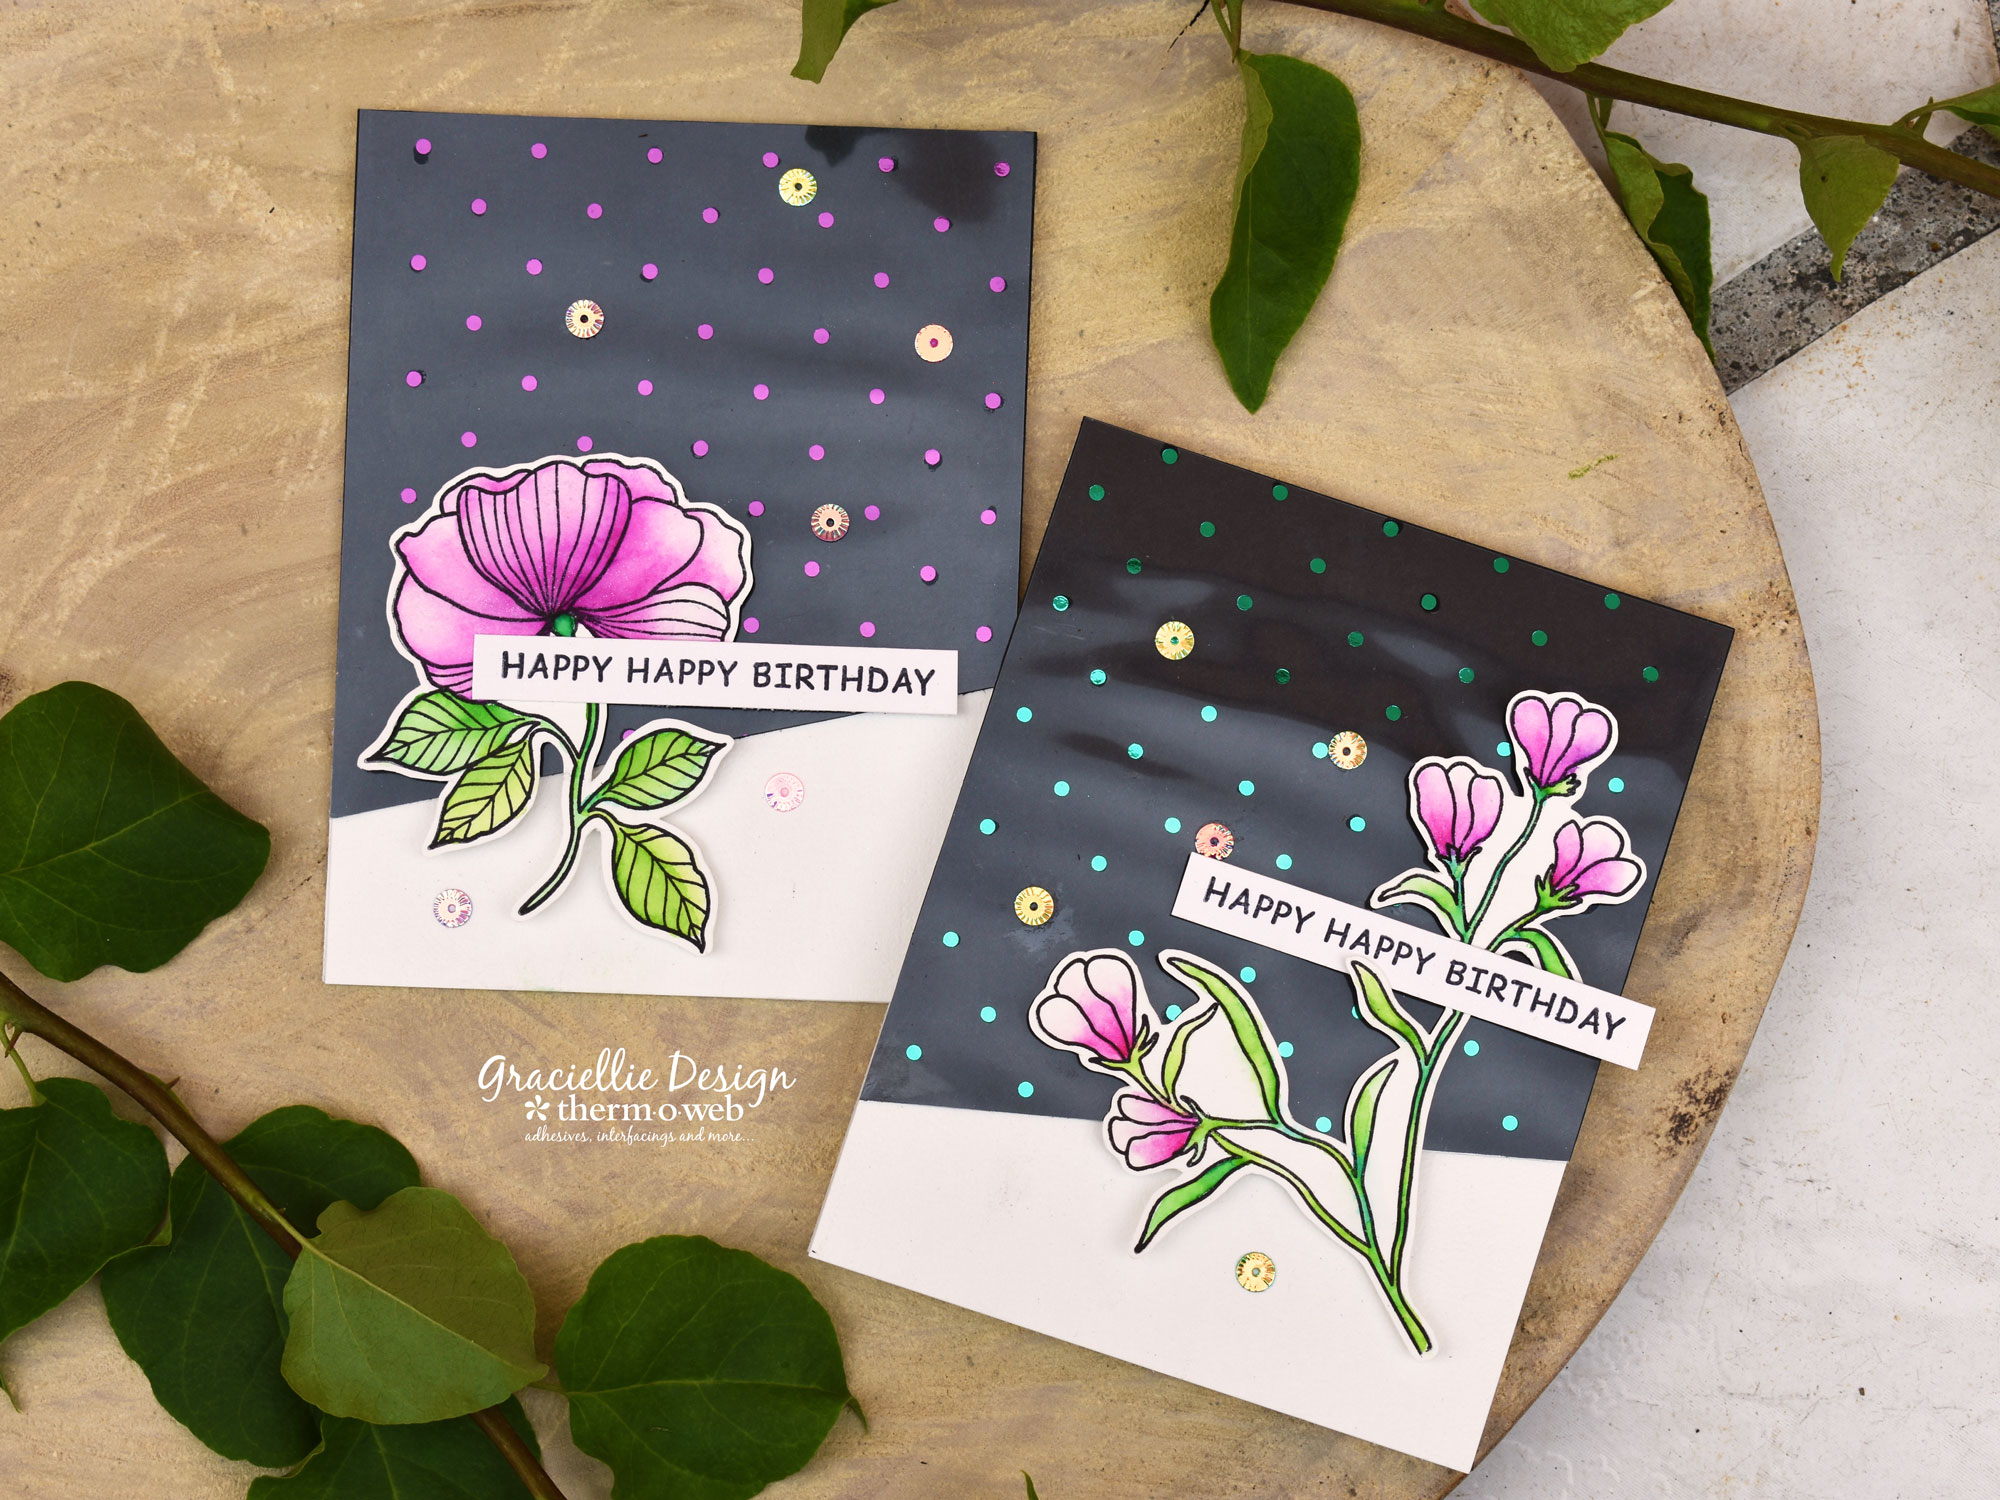
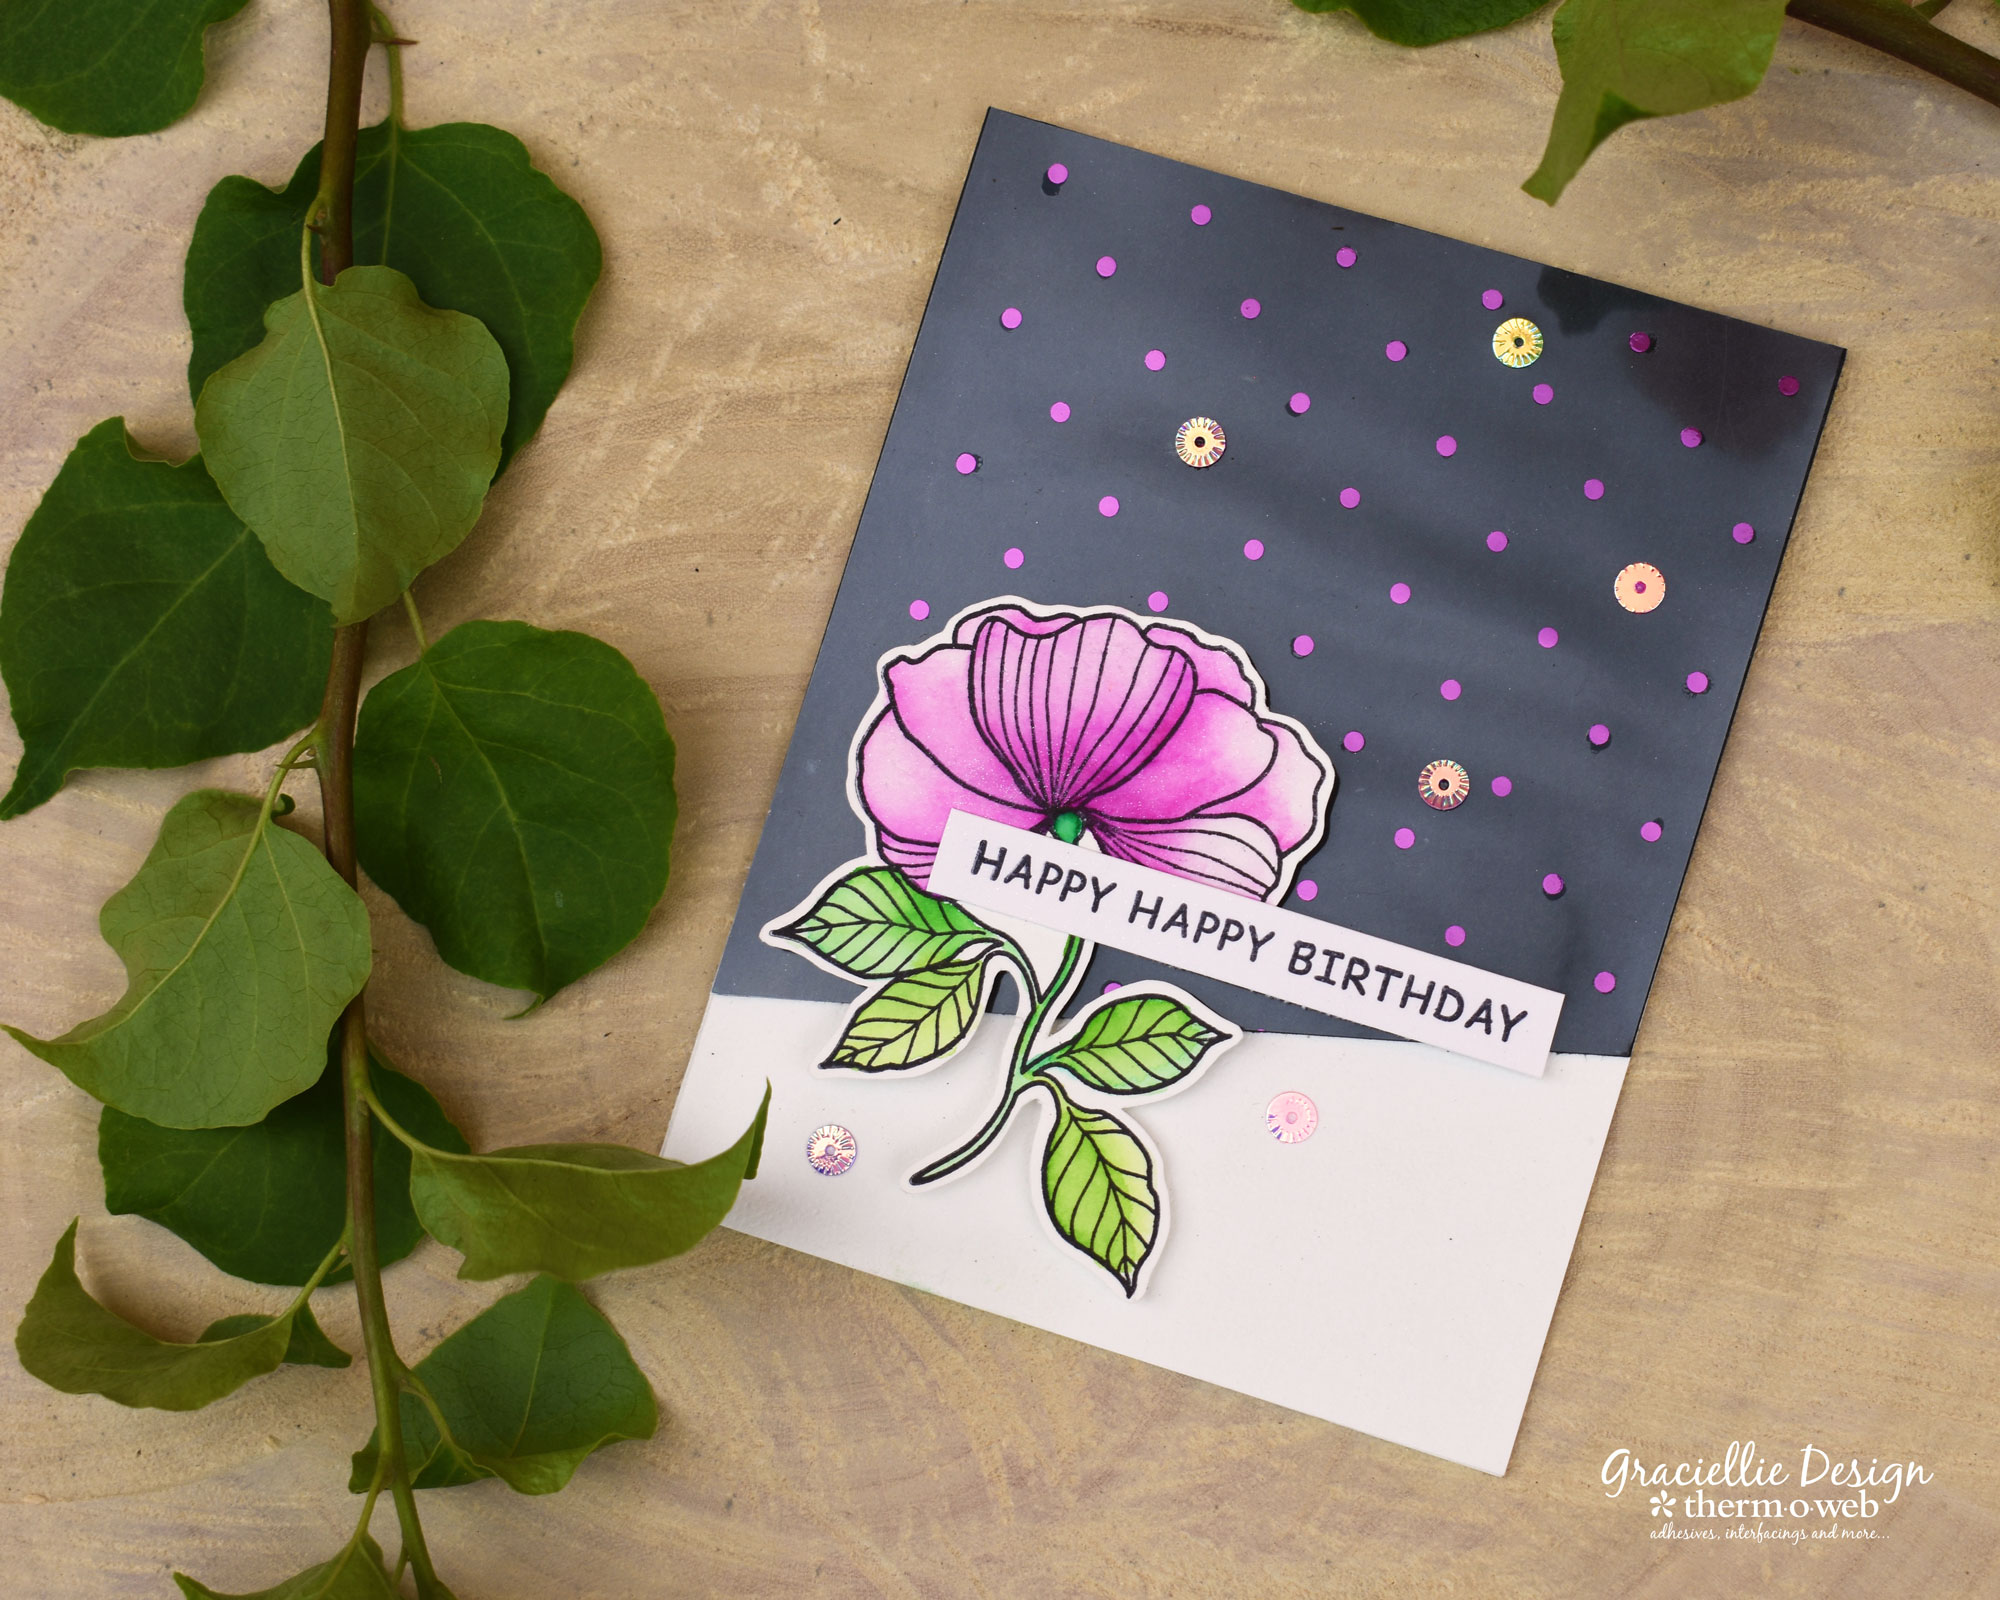
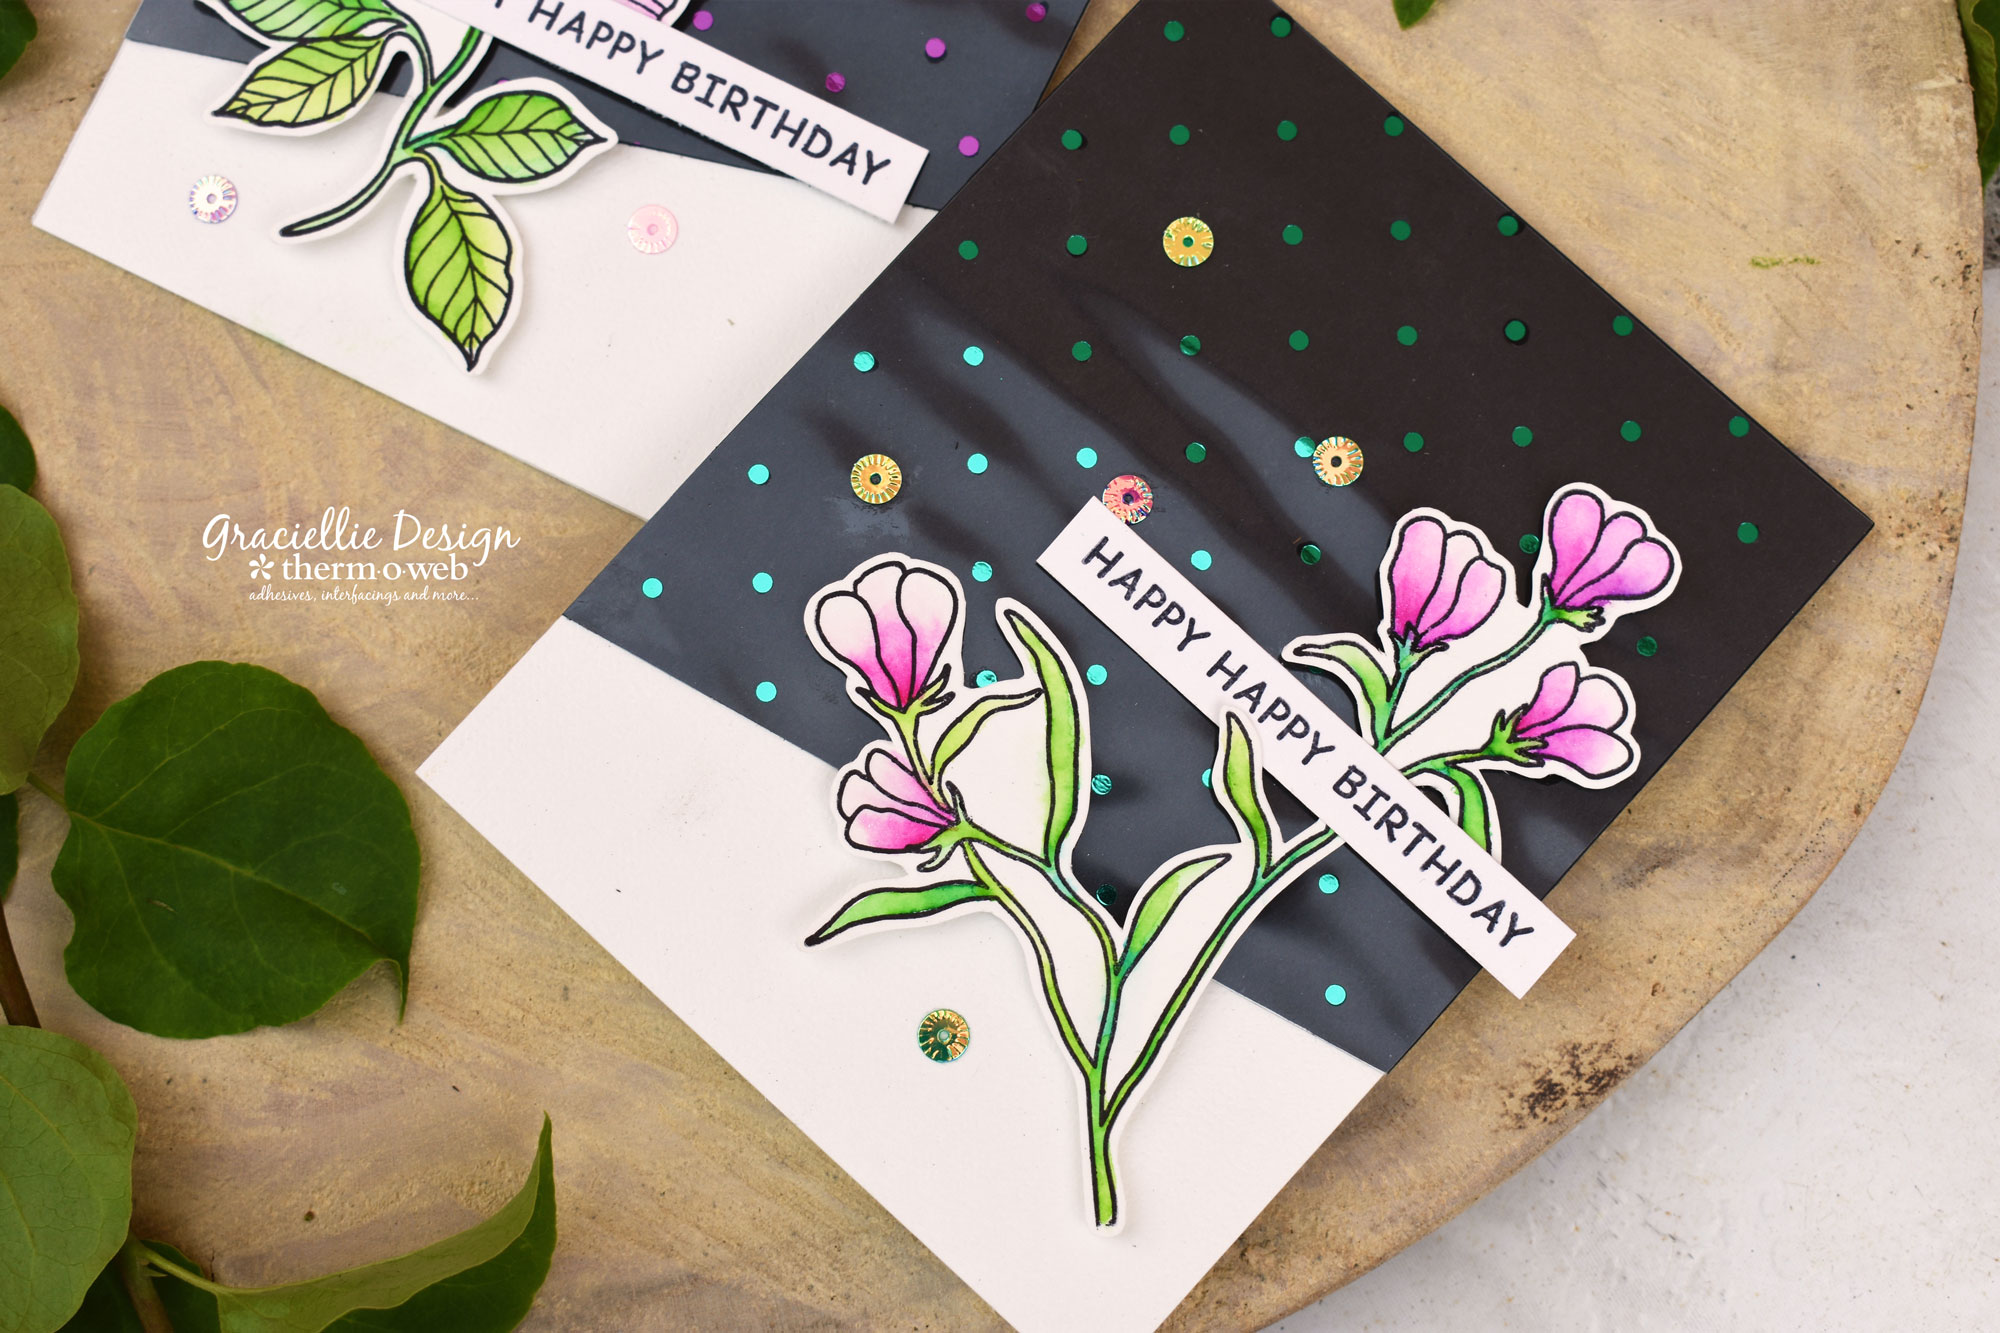
Hello, it’s Gracie Chavez and I’m happy to be here today sharing a fun tutorial with Therm O Web and Waffle Flower. This time I went for a clean and layered card with a subtle foiled pattern on black. I’m sharing a step by step tutorial below, so scroll down for the details.
Deco Foil Clear Toner Sheets Make the Perfect Birthday Card POP
Therm O Web Supplies:
Deco Foil™ Clear Toner Sheets • Polka Dots
Deco Foil™ Transfer Sheets • Plum
Deco Foil™ Transfer Sheets • Jade
Foil Laminator • 12 inch
Deco Foil™ Parchment Paper
Gina K. Designs Premium Cardstock • Black Onyx
iCraft Mixed Media Adhesive 2.1 fl oz
Sticky Dot Mini Runner
3D Zots
Other Supplies:
Bouquet Builder Clear Stamp Set by Waffle Flower
Rainbows Clear Stamp Set by Waffle Flower
Acrylic stamping block
Paper Trimmer
Watercolor paper
Watercolor markers
Fine brush
Water
Sequins
Deco Foil Clear Toner Sheets Make the Perfect Birthday Card POP
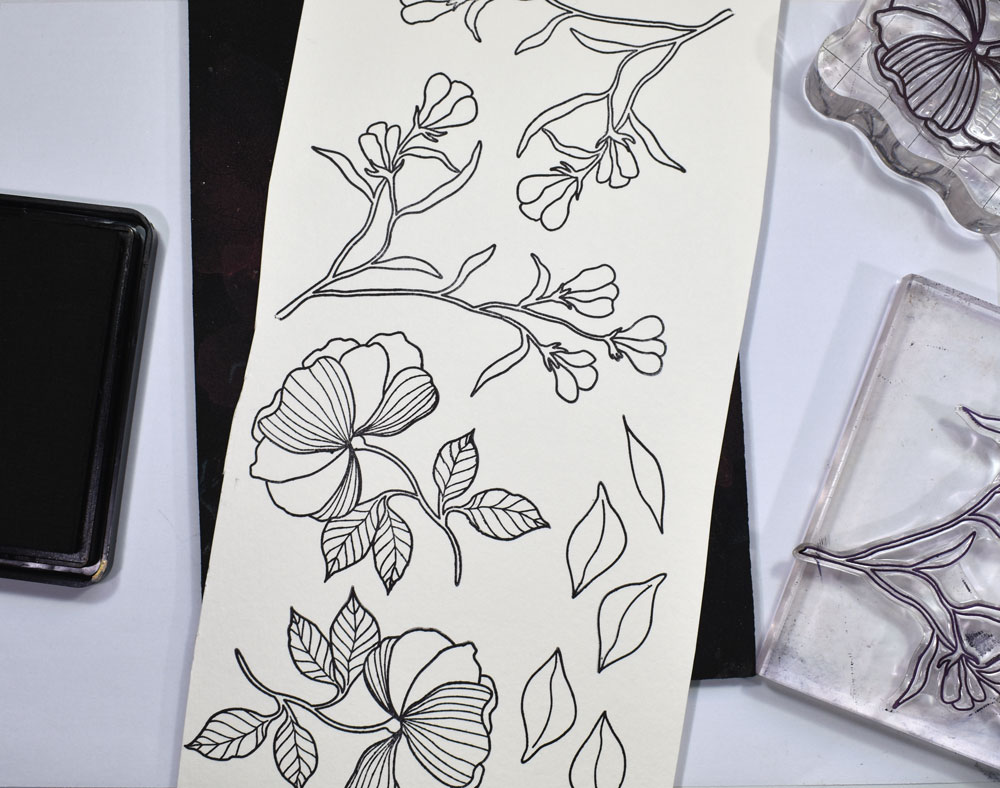
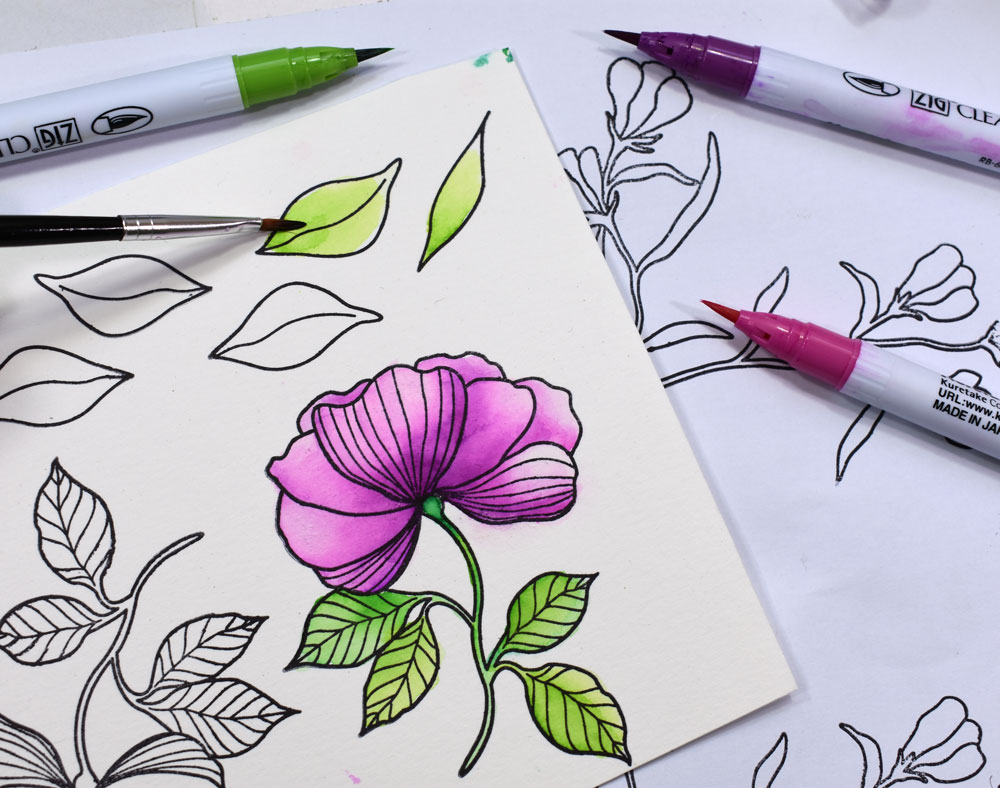
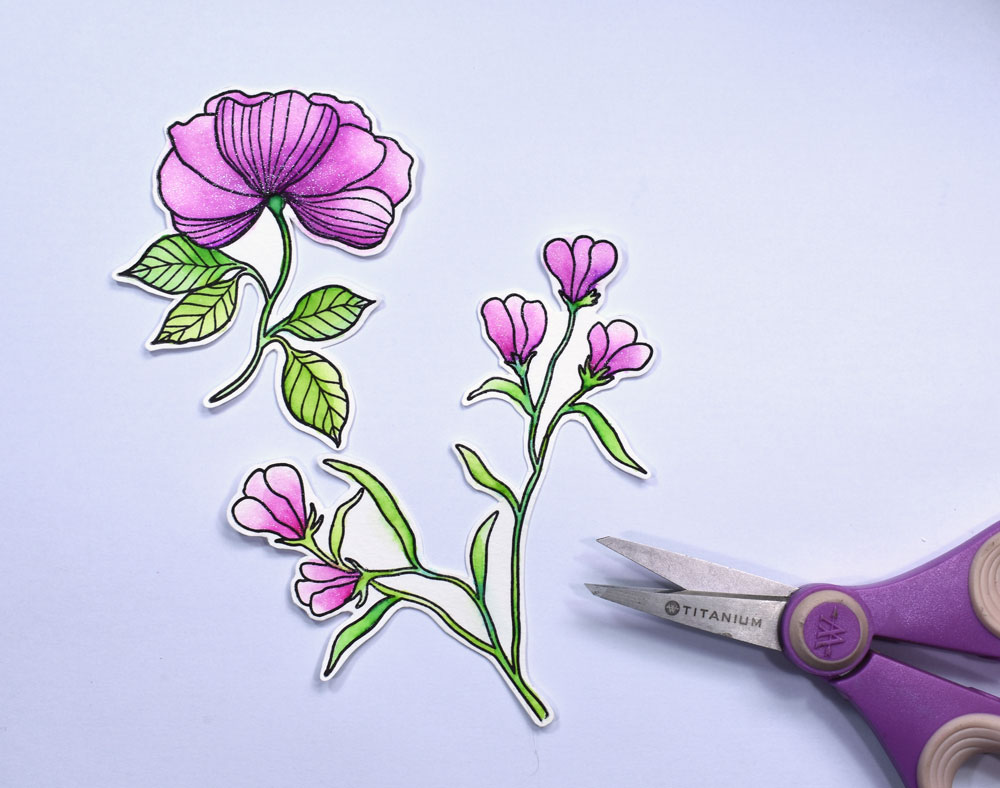
To begin, stamp flowers from the set Bouquet Builder by Waffle Flower on watercolor paper using black ink. Next, color them with your favorite watercolor markers and fussy cut each floral image carefully.
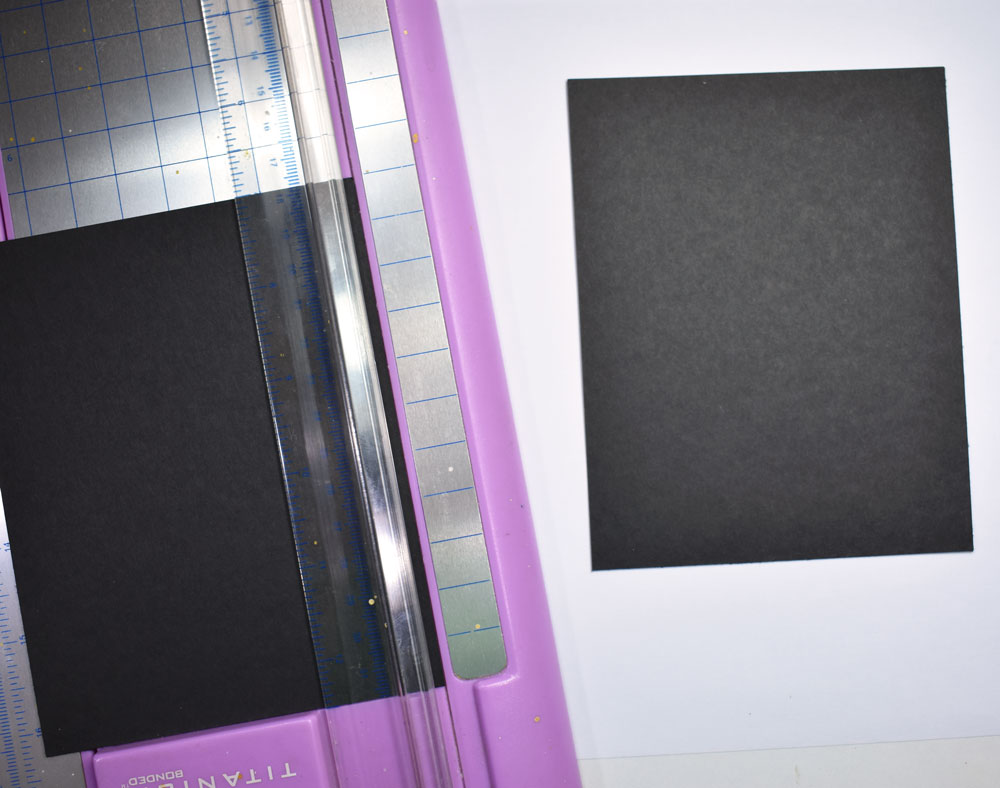
Once your images are ready, is time to create your card base… For the background, cut a 4 1/4″ by 5 1/2″ panel from Gina K. Designs Premium Cardstock in Black Onyx. Then, cut the card panel diagonally (cutting at 2″ on one side and at 1″ on the other side). Repeat these cuts to create an exact layer from a Polka Dots Clear Toner Sheet.


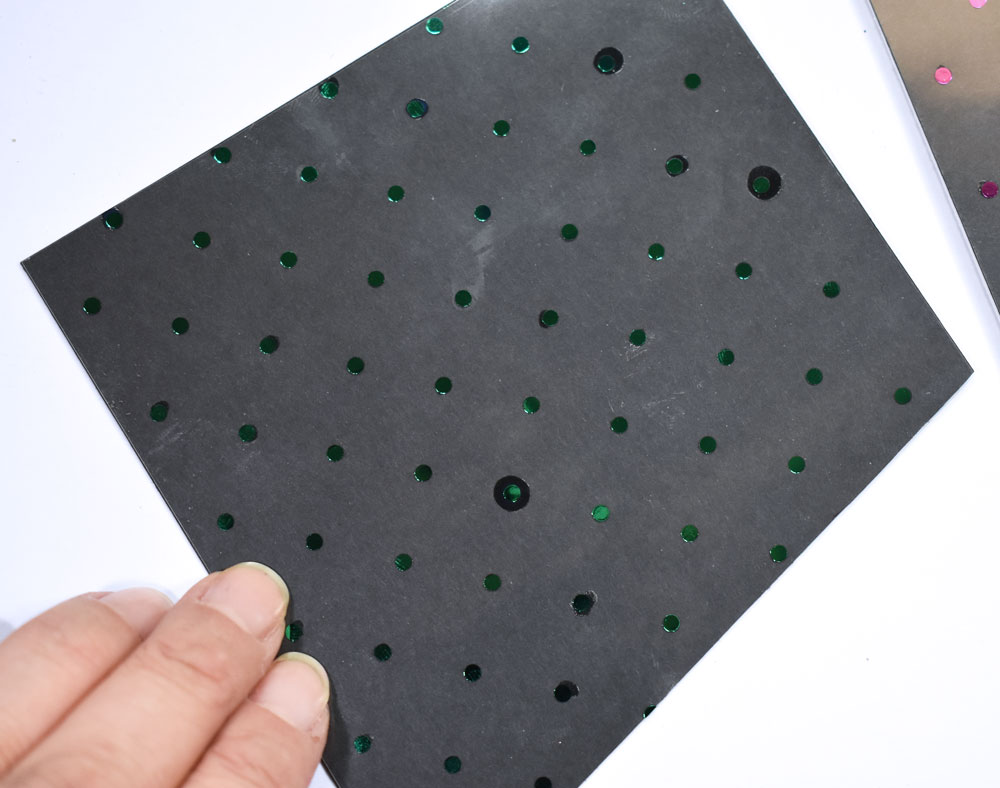
Cover your Clear Toner piece with the new Plum Deco Foil Transfer Sheet and run it through the laminator (covered with parchment paper folded in half). Peel off the Deco Foil carrier sheet to reveal the foiled pattern. For multiple backgrounds try alternating the Deco Foil color. I decided to also use the new Jade Deco Foil Transfer Sheet on my second background.
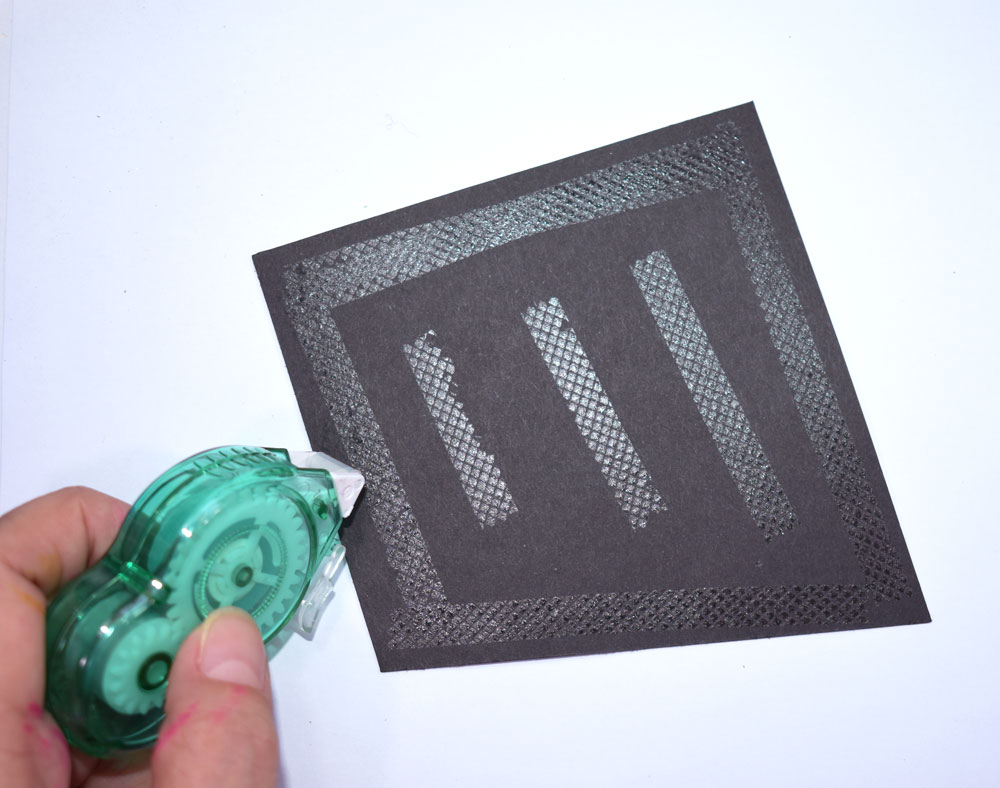
Because of the small polka dot pattern on the Clear Toner Sheet and because we are attaching it to a black panel, it is best to use Mixed Media Adhesive. Any adhesive you use will show against a black background, because of the contrast of the color, so as long as you hide the adhesive behind the foiled pattern or an embellishment it will have a seamless finish, so to speak. In this case, what worked best was to add small dots of Mixed Media Adhesive on the back of the Clear Toner Sheet, behind the actual polka dots on the pattern.


Once your Clear Toner Sheet has adhered to the coordinating black panel, add some Sticky Dot Tape Runner on the back of the piece and attach it to a 4 1/4″ by 5 1/2″ white card base.
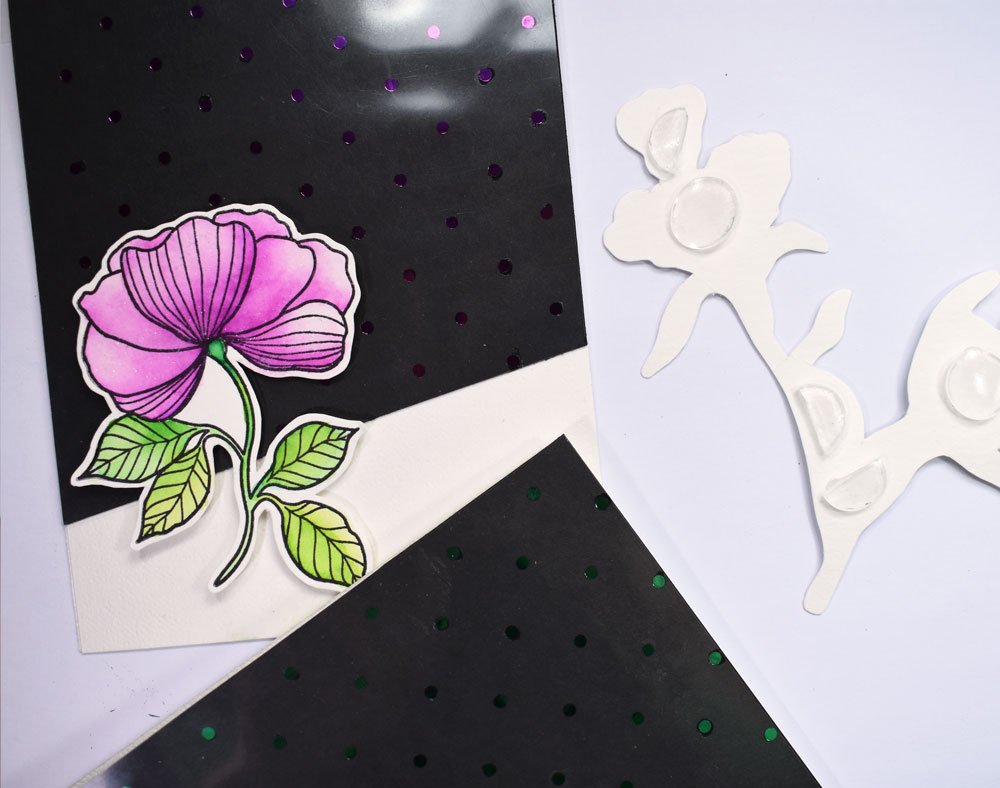
Now it’s time to attach your stamped images to your card. Use 3D Zots to add dimension to your images and adhere them to one side of the card front.
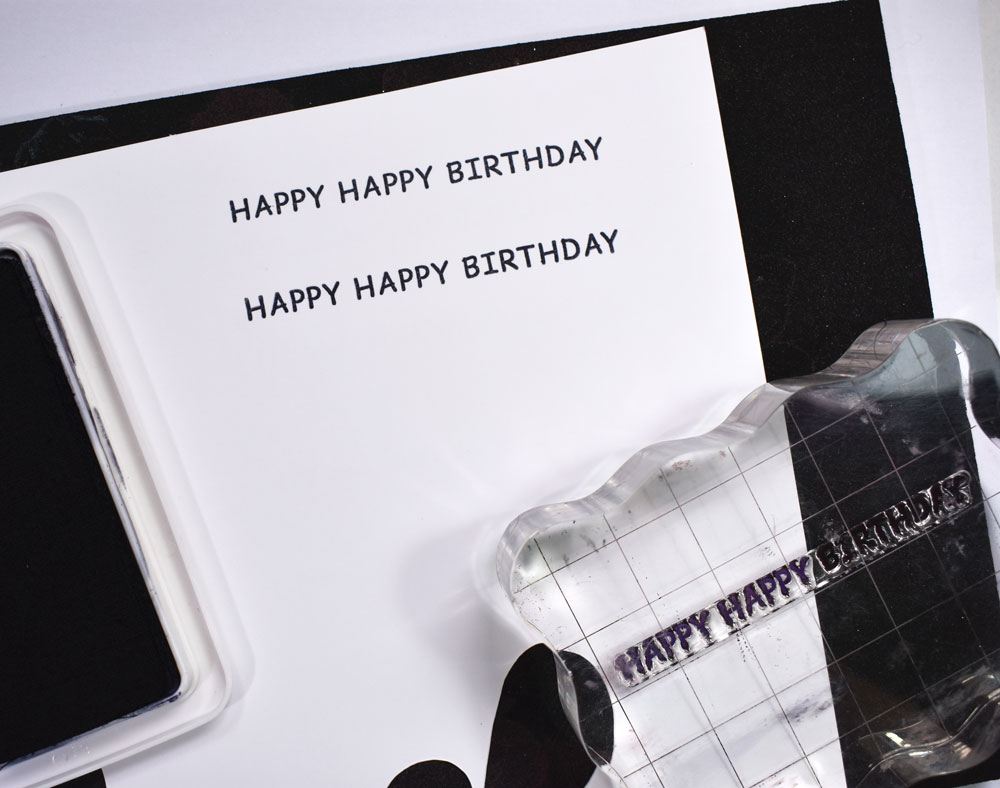
Next, stamp a happy birthday sentiment from the set Rainbows by Waffle Flower and cut them into small banners. Attach the sentiments, overlapping them on the floral images. Use 3D Zots to make them pop at the same level of the flowers.
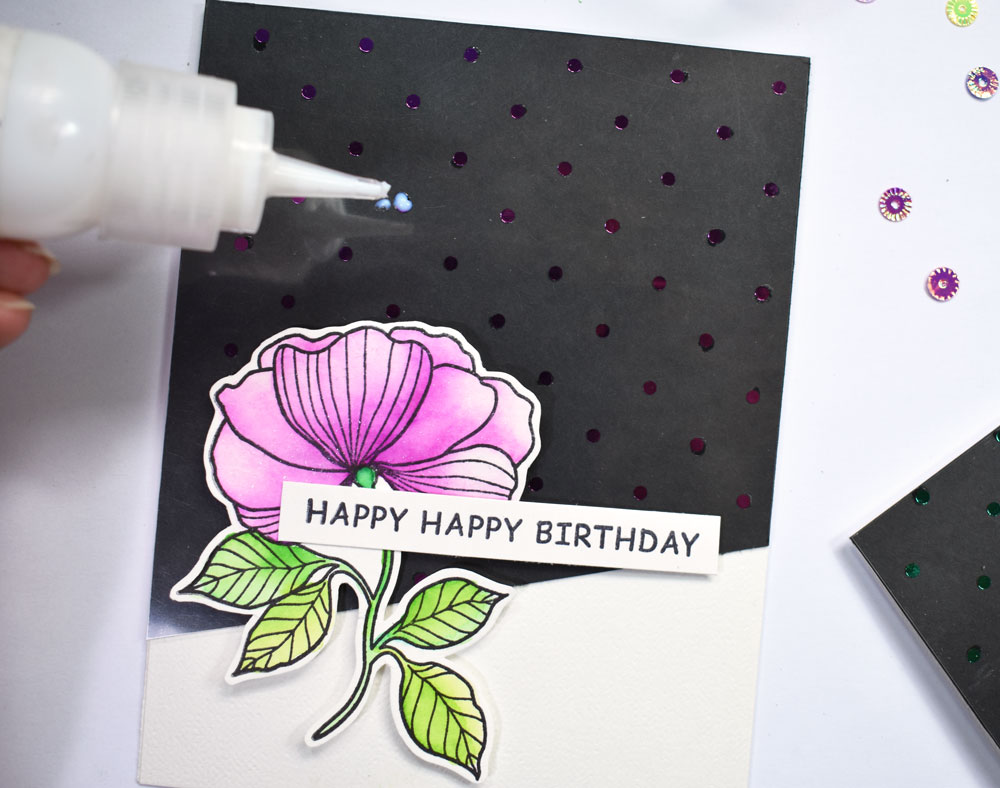
Finally, add some sequins to embellish your background. This is a good opportunity to cover any spots you’d like to conceal.
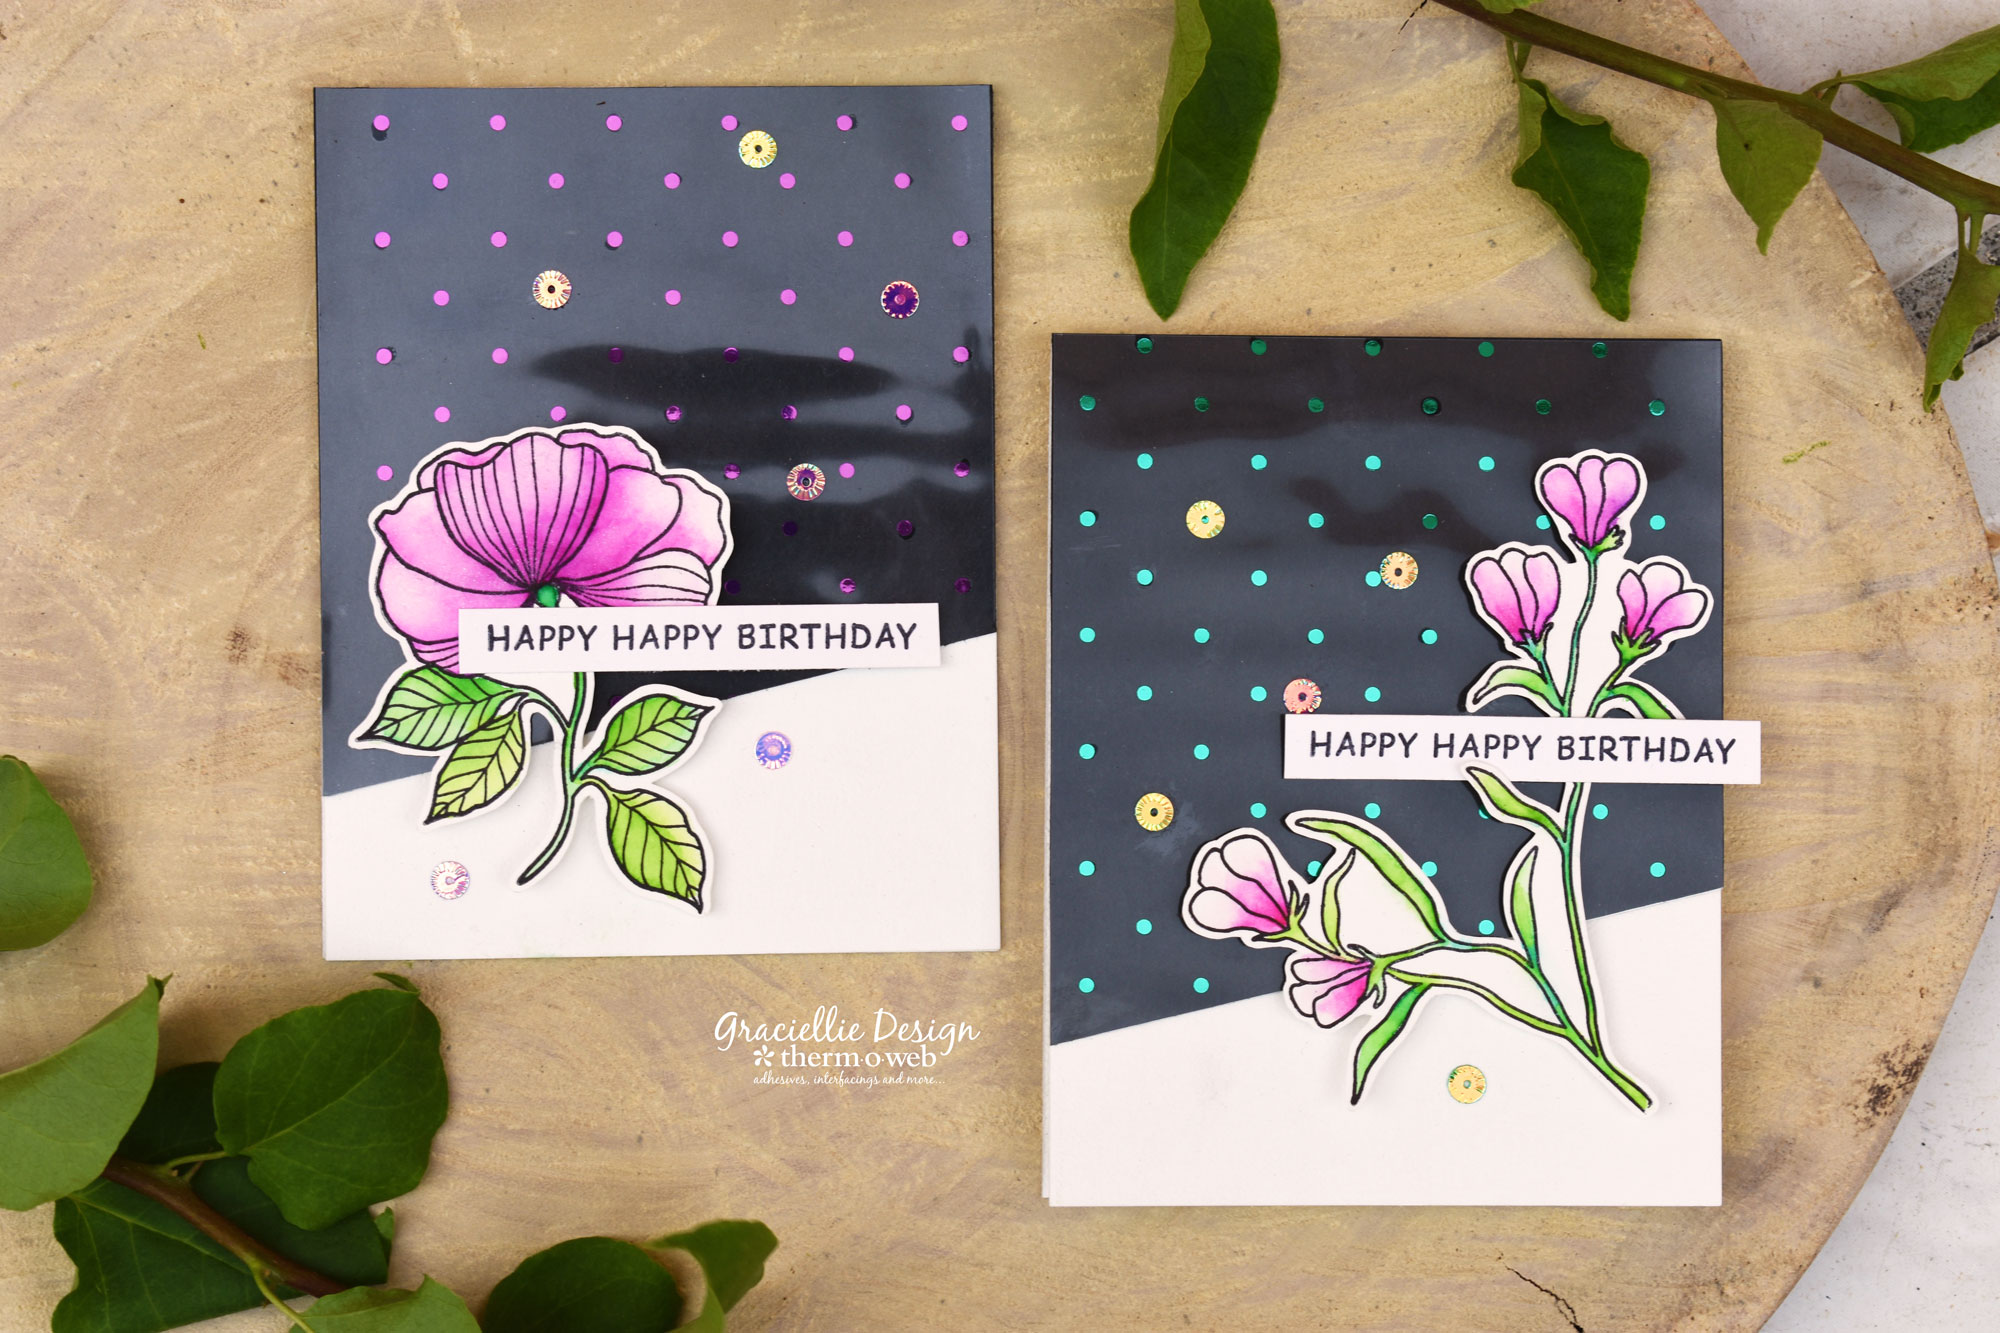
That’s it for today. Love, love these clear stamps and I can’t wait to make more cards with these images! Make sure to check out what the design team has been creating this week in collaboration with Waffle Flower for more ideas an inspiration. Thanks for stopping by. Until next time.
We’re thrilled to pieces that all this week we’ve teamed up with our friends at Waffle Flower. I mean who doesn’t love that name let alone their adorable stamps and dies!
We’re offering to one winner a chance to shop our ThermOWeb online store! Simply follow the Rafflecopter to get yourself entered to win! PLUS our friends at Waffle Flower are also offering to you a $25 Gift Certificate too! Be sure to visit our friends at Waffle Flower to see what they’re up to as well!


Marjorie DUMONTIER
June 1, 2018 at 4:11 pm (7 years ago)These cards are amazing !!
[margessw(at)icloud(dot)com]
Dee Earnshaw
June 1, 2018 at 6:54 pm (7 years ago)love the sparkle and shine with foiling:)
F. Andre
June 2, 2018 at 7:21 pm (7 years ago)The foiling is the perfect backdrop for those pretty florals.