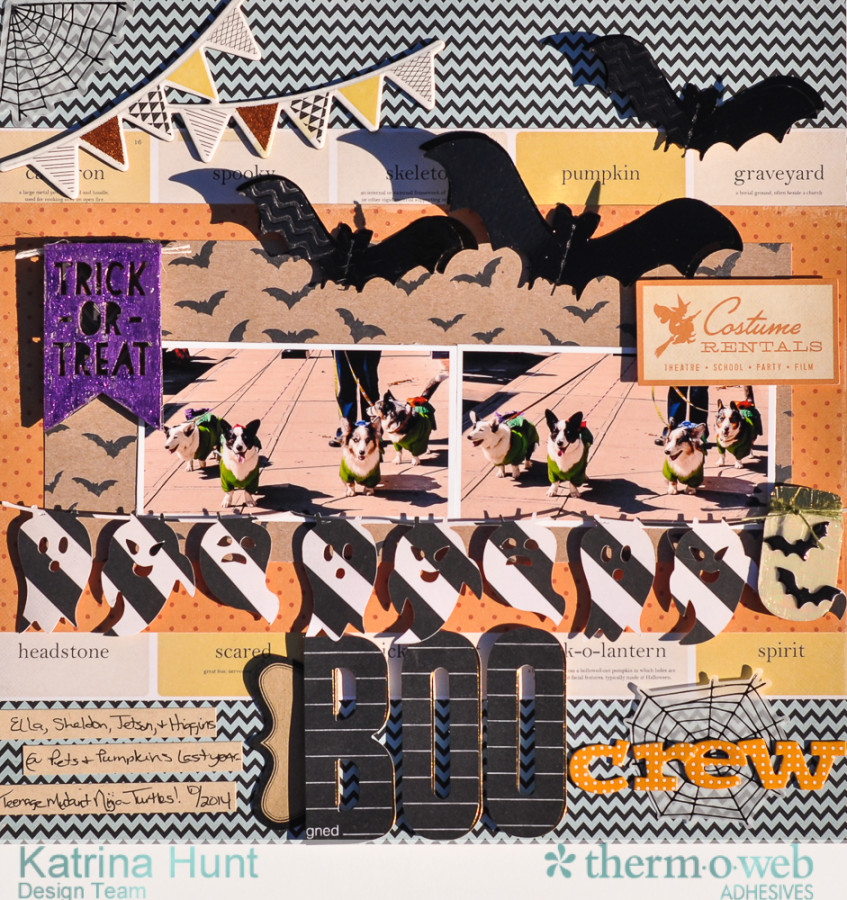
It’s Katrina from Paper, Scissors and Glue today to share a “boo-rific” layout of our Boo Crew using some fun DecoFoil for accenting embellishments and making your own embellishments!
I used Crate Paper’s “After Dark” collection and DecoFoil in Purple, Gold, Black (NEW) and Opal. To adhere the Deco Foil™ Transfer Sheets I used both the Deco Foil™ Liquid Adhesive and the Deco Foil™ Hot Melt sheets.
Therm O Web Supplies:
Therm O Web 3D White Foam Squares-1/2 inch
Therm O Web 3D White Foam Squares-1/4 inch
Therm O Web Sticky Tape Mini Runner
Therm O Web iCraft® DecoFoil™ Hot Melt
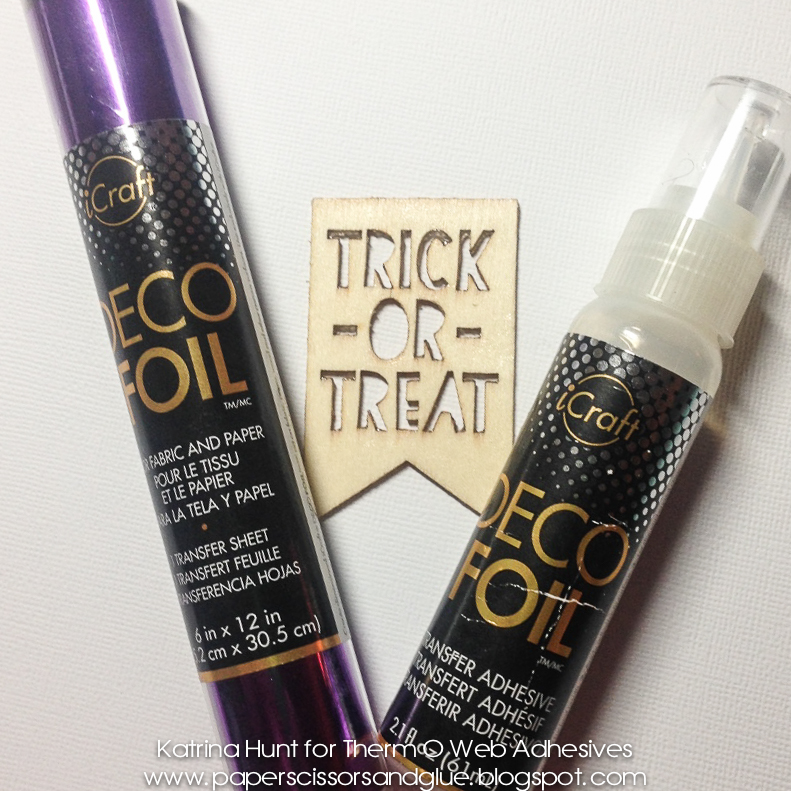
Therm O Web iCraft® DecoFoil™ Liquid Adhesive
Therm O Web iCraft® DecoFoil™ – Black NEW
Therm O Web iCraft® DecoFoil™ – Gold
Therm O Web iCraft® DecoFoil™ – Purple
Therm O Web iCraft® DecoFoil™ – Opal
Therm O Web Zots™ – Small
Other Supplies: Pattern Paper, Embellishments-Crate Paper; Letters-American Crafts; Twine-May Arts; Silhouette Cameo with cutting files; Embossing Folder-Lifestyle Crafts; Cuttlebug
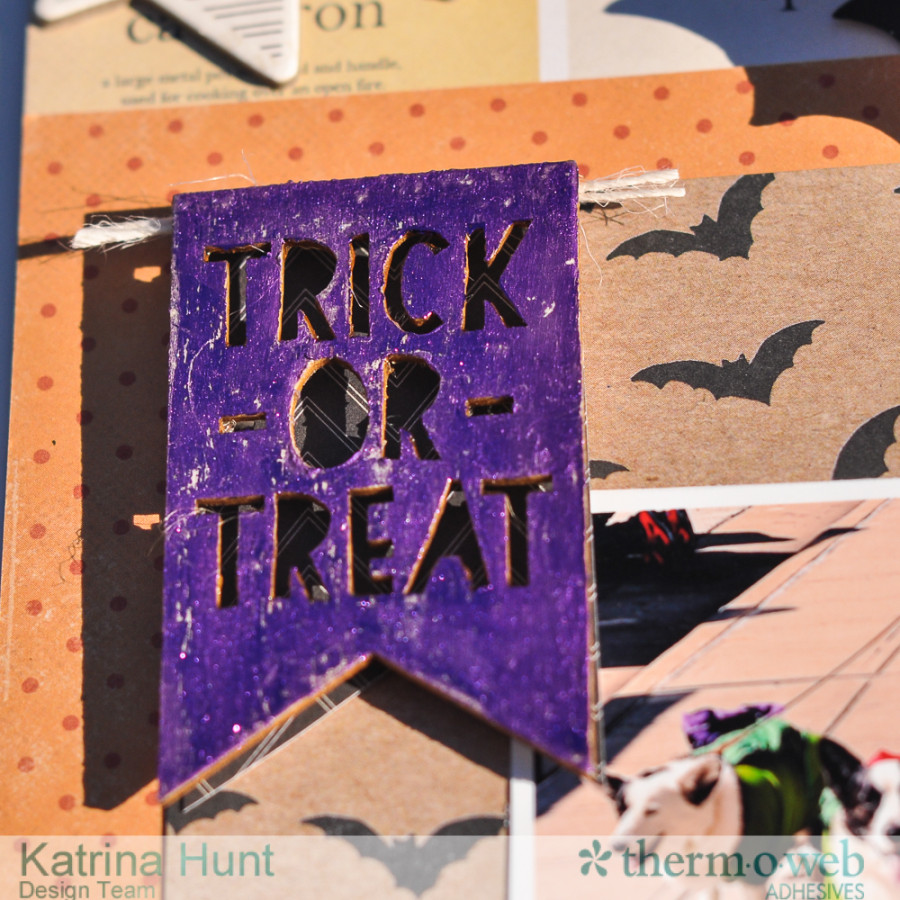
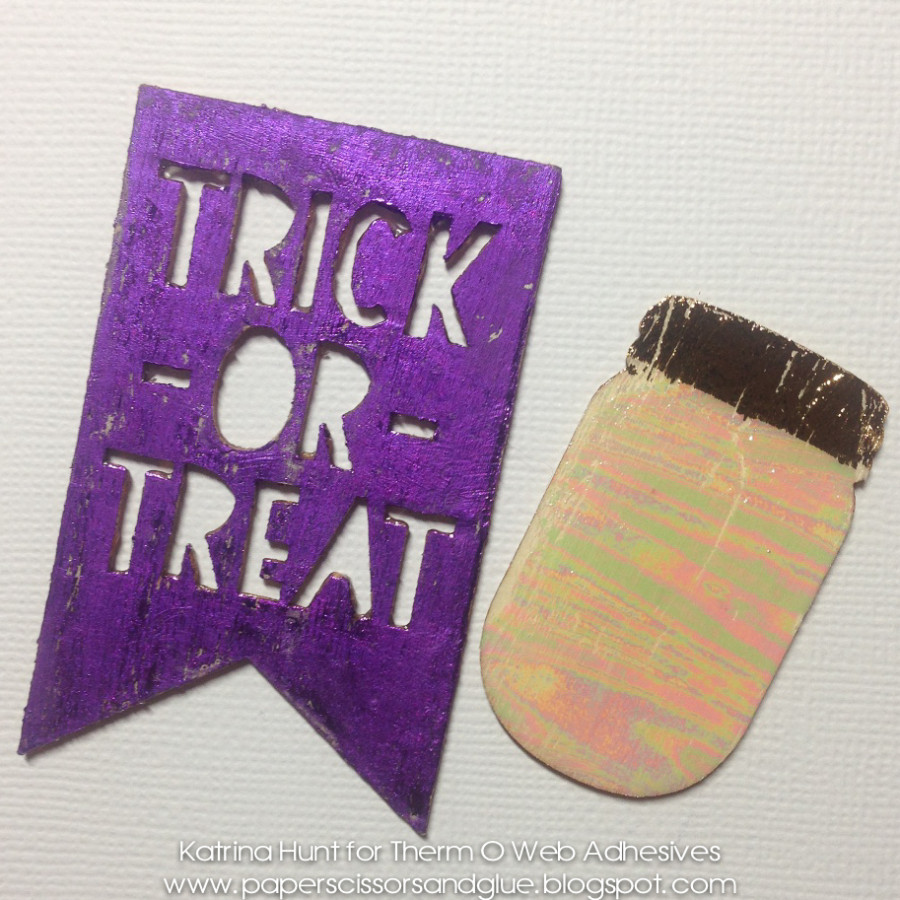
Start by apply the DecoFoil™ Liquid Adhesive to wood veneer pieces. Here the wood veneer is the “Trick or Treat” piece and the mason jar. Apply a thin layer of adhesive to the wood veneer. Let the adhesive dry until clear and sticky.
Apply foil on top of adhesive and rub until foil transfers onto wood veneer. Here I used two different techniques. The trick or treat banner was applied by rubbing (or burnishing) the foil into the adhesive with a bone folder. The jar was applied by just rubbing with my fingertips. For the two tones, I just applied the gold Deco Foil™ first on the lid area of the jar, being careful when I laid the foil down to make sure it was only on the lid. I applied the opal Deco Foil™ second.
You can see in the close up that the purple is shiny, but it’s a duller shine because of the technique it was applied with.
There were some small puffy bat embellishments that fit on the jar. You know jars at Halloween always have spooky things in them.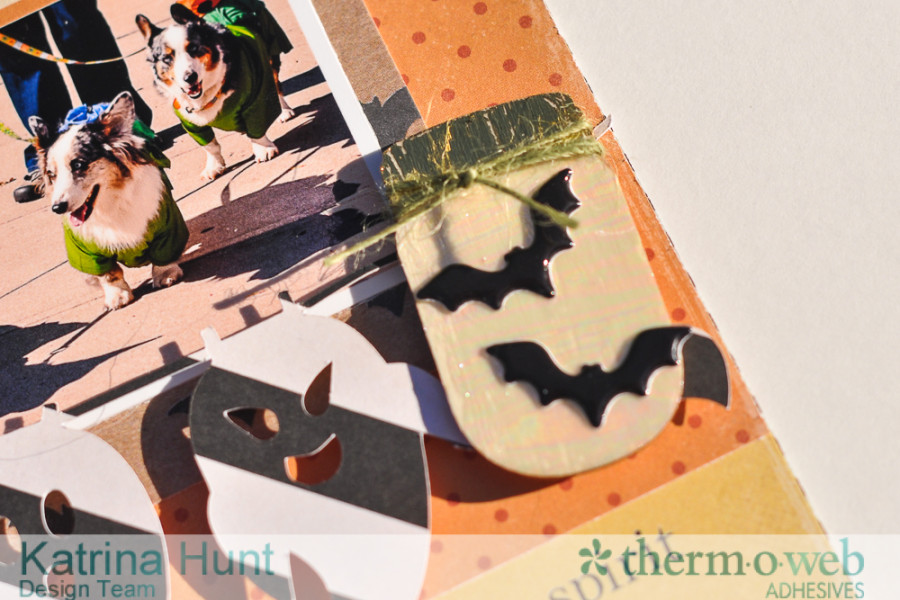
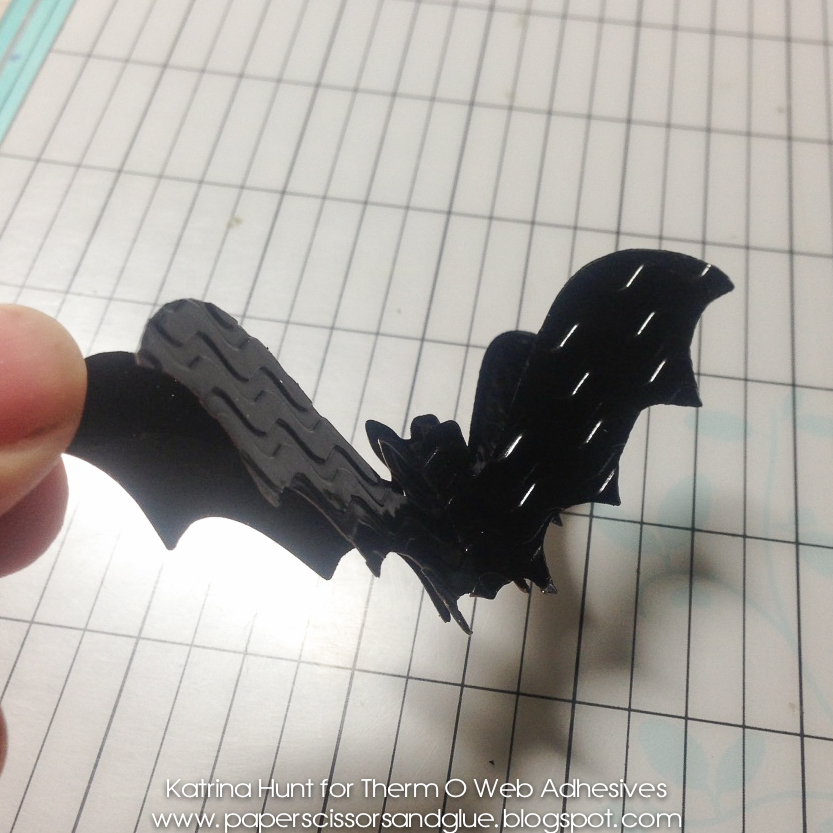
Now we are on to the Deco Foil™ bats, which are my FAVORITE part of the layout! Apply the Hot Melt sheet to cardstock, place in a carrier sheet and run thru a laminator. Die cut. The settings on my Silhouette Cameo were for Textured Cardstock and I upped the blade length to 6. I got a perfectly clean cut, with a fairly new blade. Remove Deco Foil™ Hot Melt adhesive covering and place bats into carrier sheet, covering with NEW Black Deco Foil™ and run thru laminator. Once foiled, then dry embossing using a manual die cutting machine and an embossing folder.
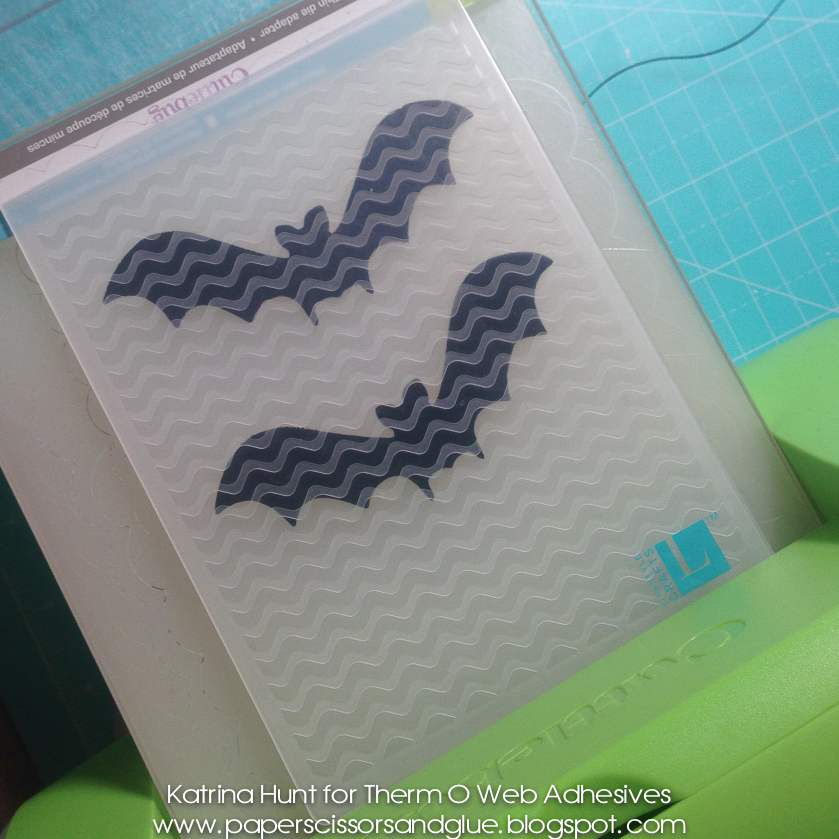
I cut two of each size bat, because I layered them with the 3D Foam Adhesive. Fold top layer wings up slightly.
Here you can see the embossed bat and then the bat that was not embossed. I just love that NEW Black Deco Foil™!
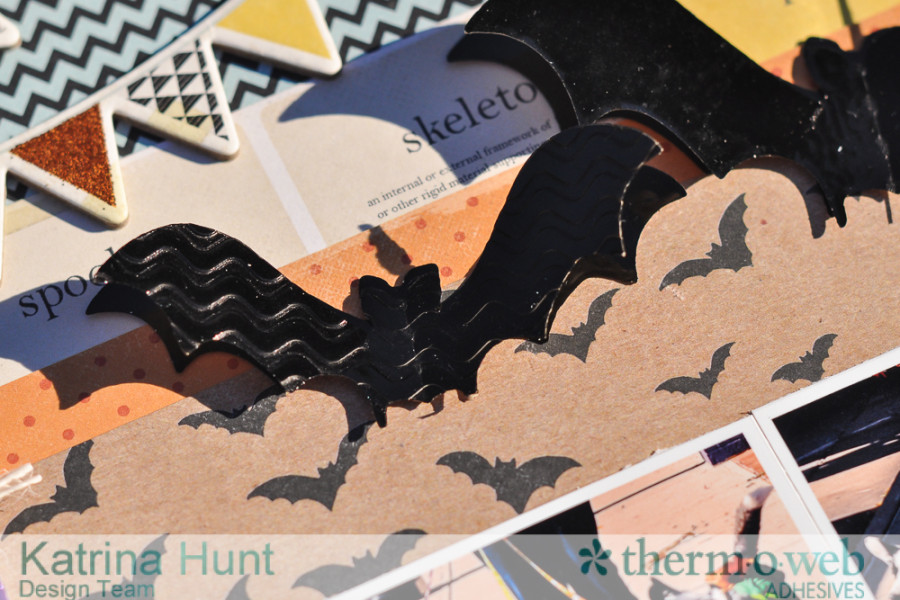
I did use a kraft cardstock, because I knew the edges would show slightly and I was ok with that. You could also ink edges before foiling if you don’t want your cardstock color to show. 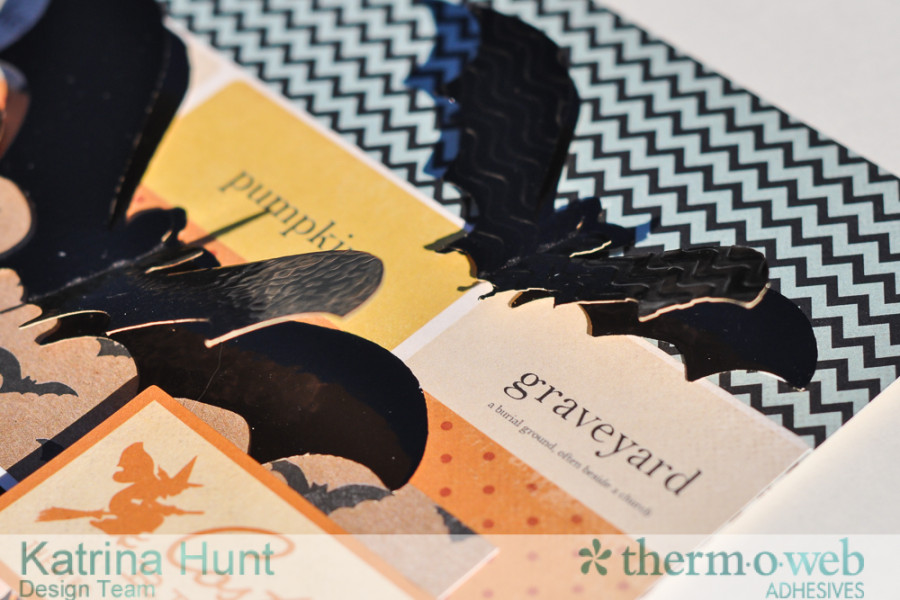
Add a little fun to your Halloween or Fall celebrations with some Deco Foil™! It’s easy and fun! Have a great week.
Katrina Hunt

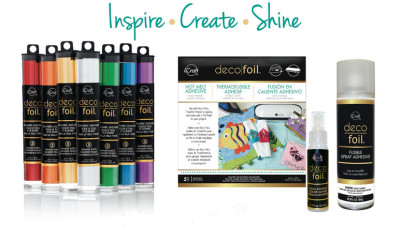
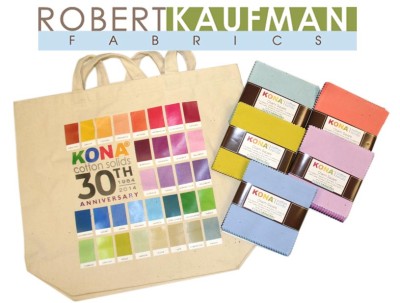
In honor of September being National Sewing Month we’d like to give you some goodies to use for your next sewing project! Use the Rafflecopter entry form to enter to win a collection of some of our favorite fabrics from our friends at Robert Kaufman Fabrics! And to use with those our new iCraft® Deco Foils™! as shown in today’s project! We’ll send the winner 7 Deco Foil™ colors of their choice, our Deco Foil™ Hot Melt Adhesive, Liquid Adhesive and Spray Adhesive!
a Rafflecopter giveaway
And there is still time to enter this National Sewing Month giveaway too! a Rafflecopter giveaway

Ann Madison
September 29, 2015 at 8:01 am (10 years ago)I love your bats, almost as much as I love your heat and bond. I always keep some handy. Thank-you for this giveaway.