


![]() Hello friends!!! We are over the moon excited to share a couple of brand-new products with you! Partnering with Gina K Designs and Unity Stamp Co there are Deco Foil Adhesive Transfer sheets to add foiling to your cards!
Hello friends!!! We are over the moon excited to share a couple of brand-new products with you! Partnering with Gina K Designs and Unity Stamp Co there are Deco Foil Adhesive Transfer sheets to add foiling to your cards!
Deco Foil Adhesive Transfers with Gina K. Designs and Unity Stamp Co.
Make your mark with Deco Foil Adhesive Transfers! Our collection of unique designer images and sentiments allows you to add “just a touch” of modern metallic shine to your projects when used with Deco Foil Transfer Sheets. Deco Foil Adhesive Transfers apply easily to cardstock using a laminator or die-cutting machine.
It’s time to take your foiling to a whole new level with Deco Foil Adhesive Transfers!
Announcing our three NEW Gina K. Designs Adhesive Transfers… you’ll find images for celebrations, love, friendship and much more! Each design can be foiled with or without heat for the same remarkable result.
![]()
Our friends at Unity Stamp Co. have two stunning sentiment designs to offer… congrats, thanks, happy and hello…with accompanying sentiments to pair with those… offering endless options. And now you CAN foil with our without heat with our Adhesive Transfers! Either method offers the same result…gorgeous foil!
![]()
So let’s kick things off and let Amanda Wilcox get you excited for all the potential projects you can make. Let’s get crafting…
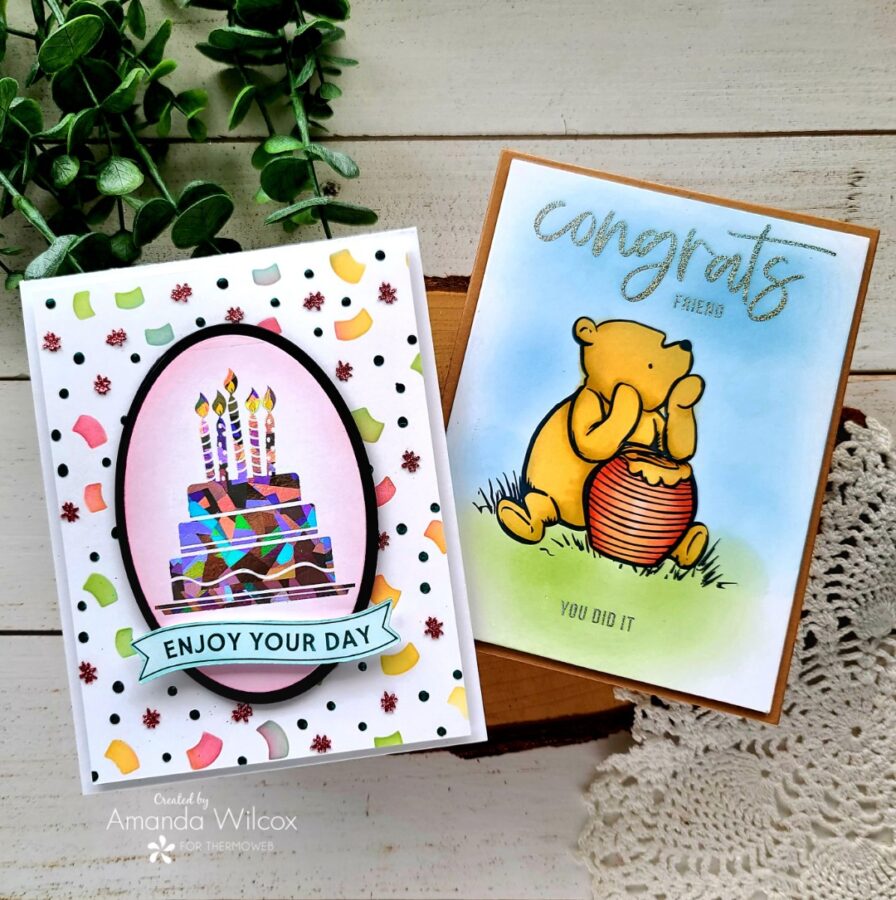
These products are amazing and so much fun to use! I have two cards to share with you today – one with a few steps and another that is more like a one-layer wonder.
Products used today:
NEW* Deco Foil Adhesive Transfer Sheets – Unity Stamp Co and Gina K Designs
Deco Foil – turquoise sea, silver shattered glass, silver glitter
Glitz Glitter Gel – bubblegum
Transfer Gel Blanco
Stencil Pal
NEW* Craft & Carrier Sheets
3D foam tape
UltraBond liquid glue pen
Unity Stamp Co Winnie the Pooh stamps
Gina K Designs – Layered Confetti stencils
Blending Brushes
Lawn Fawn dye inks
Pink & Main Layered Oval dies
Pink & Main Layered Rectangle dies
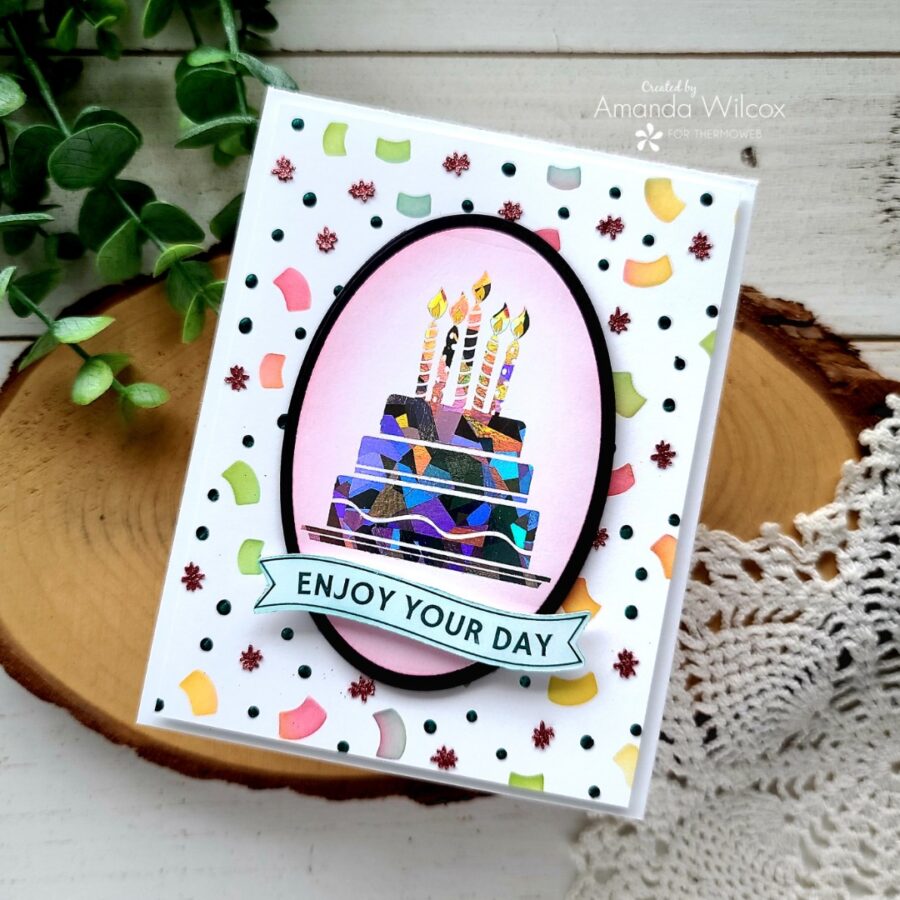
Gina K. Designs Enjoy Your Day Birthday Card
Let’s get started with the card featuring Gina K Designs products first. To start this card, I worked on my stenciled background because there were a couple of steps that required dry time.

I pulled out the Gina K. Designs layered confetti stencil set and inked up the first layer with dye inks and blending brushes. That was quick and easy. I just did a messy rainbow, not being too careful to keep any one color on a confetti piece.
Next, I spread Deco Foil Transfer Gel Blanco through the “dot” layer of the stencils and let it dry. While it was drying I was also heating up my laminator to speed things up. When the panel was ready I ran it through my laminator with Turquoise Sea Deco Foil. Then, finally, I spread Bubblegum Glitz Glitter Gel through the final “star” layer of the stencil set. I set that panel aside to dry while I played with the new Deco Foil Adhesive Transfer Sheets!
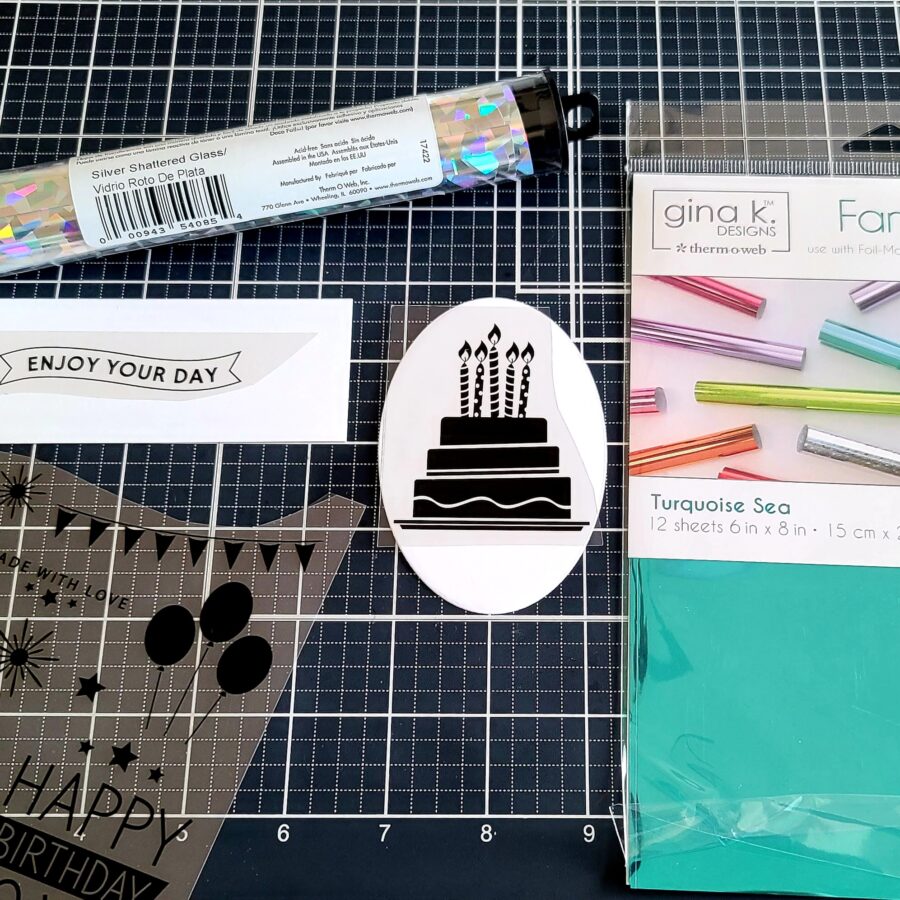
I took the birthday-themed sheet and chose a couple of images that I wanted to use. To use these sheets you just cut the image out with your scissors. No need to be neat with this. Then you choose the cardstock you’re adhering to. For the banner, I used a scrap of white cardstock and for the cake, I die cut an oval shape.
Next, peel the clear liner off the back of your adhesive transfer and carefully place it on your cardstock where you want it. I used my finger to tap it in place then put both pieces in the new craft & carrier sheet and ran it through my laminator. Once it comes out, you peel off the top acetate layer.
TooltipText***When you do this, you are leaving behind a clear adhesive on your cardstock. If you tilt it in the light you’ll see it but the black line image will stay on the acetate.***
Finally, trim a piece of Deco Foil that you wish to use and place it on top of the adhesive transfer, put that back in the craft & carrier sheet and run it all through your laminator again. When it comes out this time, remove the deco foil and VOILA you have perfectly foiled awesomeness to create with!
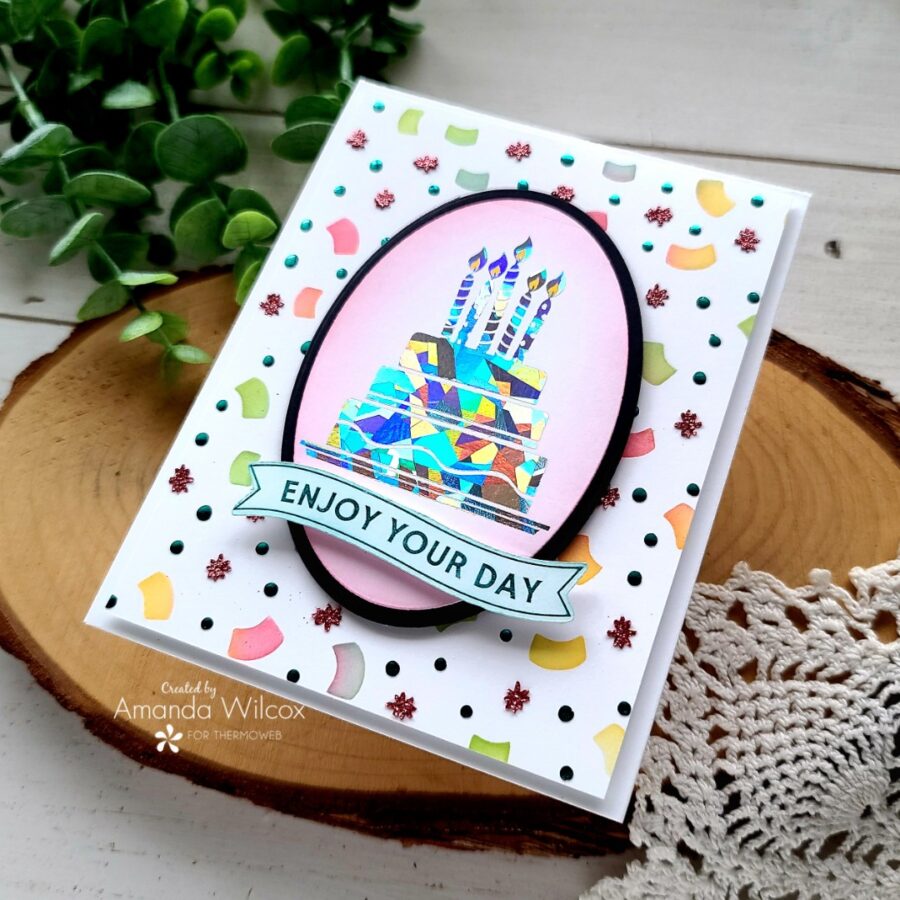
To finish my card, I trimmed out the banner and inked it up with teal ink. Then I inked up the oval with melon-colored ink. I trimmed my background down to 4×5.25 inches and popped it up on a white notecard. Cut another oval one size larger than my cake panel and adhered those together before popping them up with foam squares. Last, I popped the banner up with foam squares on the oval.
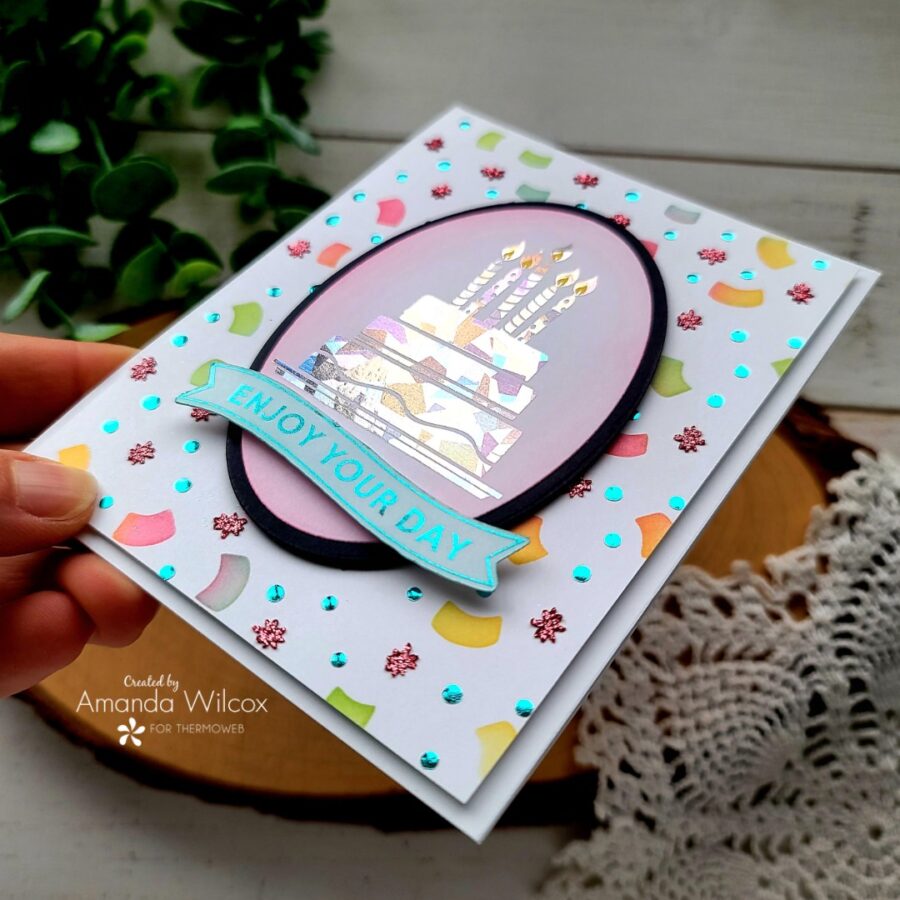
Here’s a look at all the foiled fun tilted in the light too. These new products are absolutely AMAZING and super addicting to use! I’m hooked already!
Unity Congrats Friend Card
Now, I have a quick and easy card using the Unity Stamp Co Adhesive Transfer Sheets that were so fun to create and would be great for so many occasions.
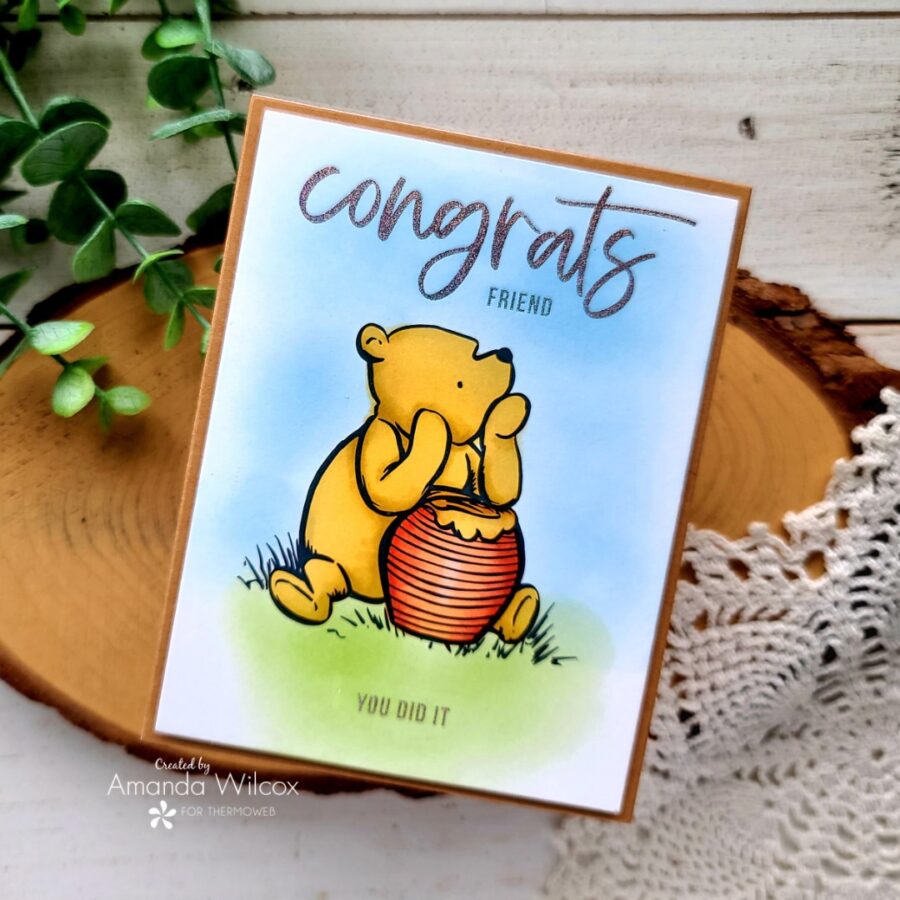
These adhesive transfer sheets are full of wonderful sentiments to mix and max and will also be amazing to pair with any of your favorite images! Today I have a sweet little card with a stamp from their Classic Winnie the Pooh stamps.
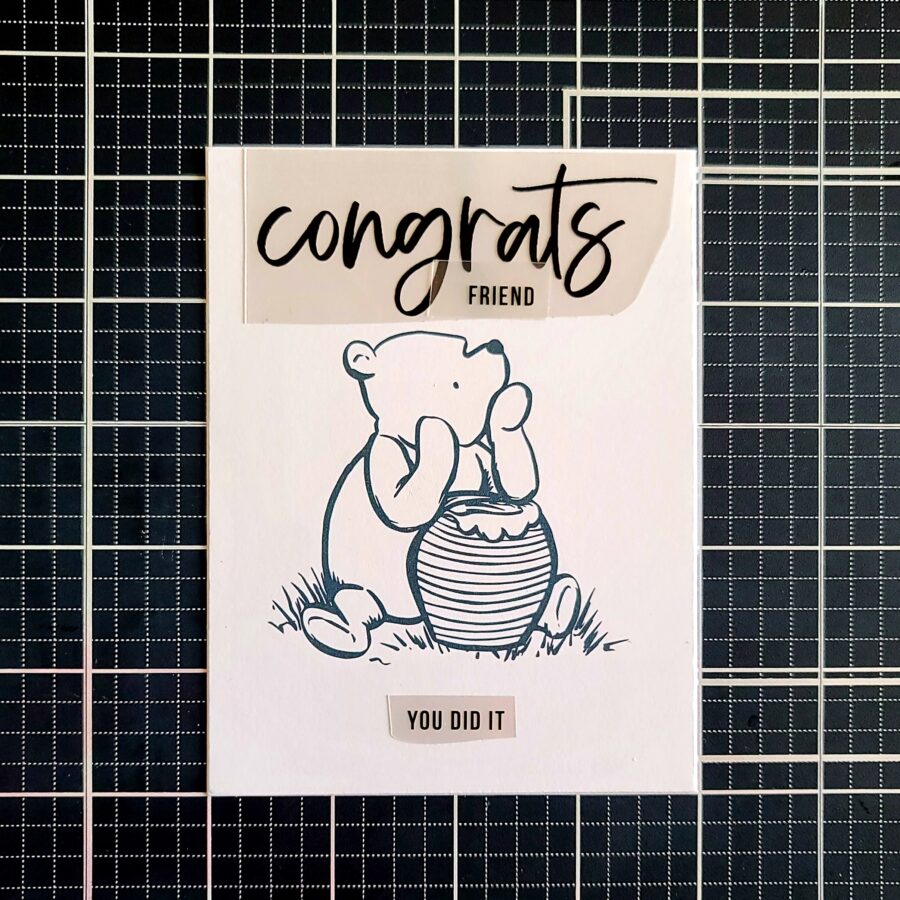
Just like in the first card, but simpler, I stamped my image on a rectangle panel and chose the sentiments I wanted to foil. Because I’m layering that “friend” at the top kind of close I chose to do this card in two steps. I started with “congrats” and “you did it” through the laminator, then foiled them. Next, I added “friend” and foiled it. Super easy and I had no issues with anything sticking where it shouldn’t or ruining what I had already foiled.
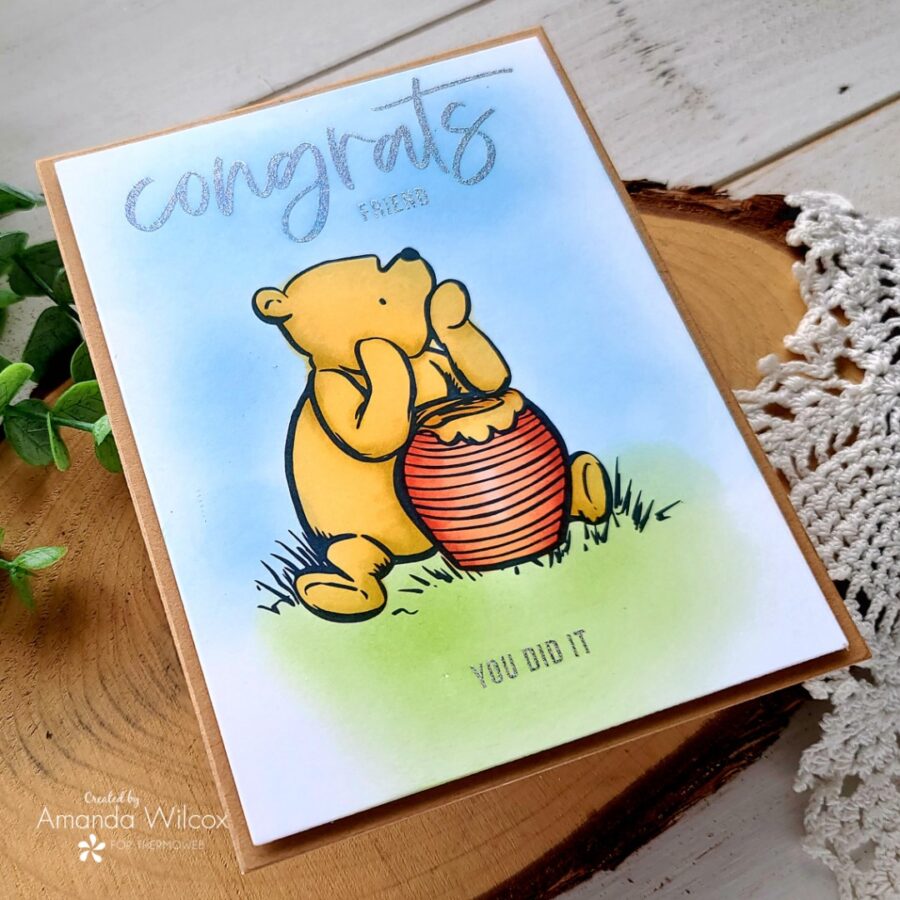
After my foiling was finished, I used Copic markers to color my Pooh and his honey pot. Then I used the ink left on my blending brushes to add some blue sky and green grass to my panel.
I added foam tape to the back and popped it up on a kraft panel. Then I used my Ultrabond liquid glue pen to add that to a white card base and my card is completely finished.
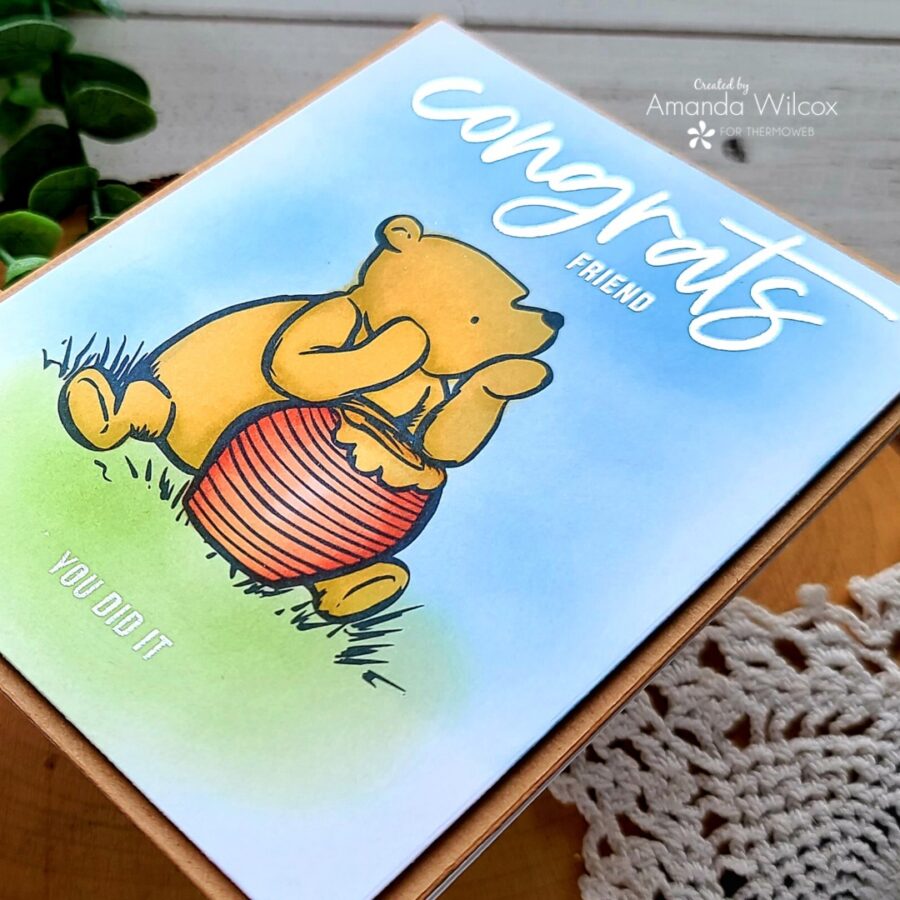
I really feel like foiling the sentiments adds so much to this otherwise simple card and really steps the whole thing up. It’s so fun and adds visual interest to the whole card.
I appreciate you sharing your time with me. Have a fabulous day!
This post contains affiliate links. For more information, see our disclosure HERE.
Now we think you know by now it wouldn’t be like us to have a new release and not celebrate it with a Giveaway. In fact…this is a BONUS Giveaway!
We want to first invite you to join in the Instagram Hop planned today at 10 am Central Time! We think it’s the first time we’ve had a triple-team hop! That’s right…three teams… Gina K. Designs Team, Unity Stamp Co. Team and our talented team here at Therm O Web! Plus that’s not all…Gina has a Facebook/YouTube live TODAY at NOON CT and Whitney at Unity Stamp Co. will have a LIVE Facebook/YouTube LIVE at 5pm CT. So much fun going on you won’t want to miss!
![]()
So get entered to win and then join the hop…doesn’t have to be at the strike of 10 am today…join us anytime today, tomorrow…this weekend but do JOIN IN!
D Skene
March 30, 2022 at 2:32 pm (2 years ago)Great new product! Beautiful cards! Thanks for the chance to win!
Dawn Lee
April 5, 2022 at 2:13 pm (2 years ago)Thanks for the chance to win. Not sure how a blog hop works