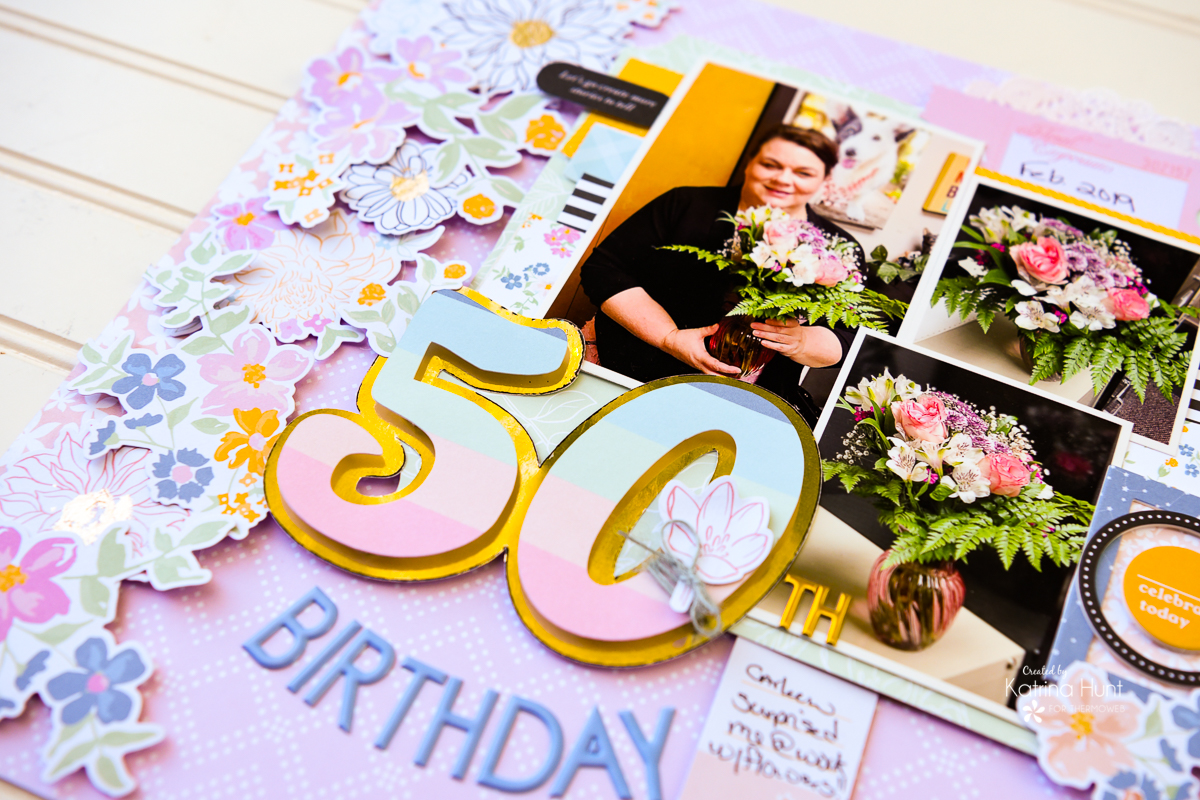
Hey there! Katrina from Paper, Scissors, Glue and Hybrid Too today sharing another scrapbook layout with you. Just some slight touches of Deco Foil can add elegance to your layout, without being overpowering. It’s Flowers week here on the blog and it was a perfect opportunity to scrap pictures of the flowers I got on my 50th birthday!
Deco Foil Accents on Your Scrapbook Page
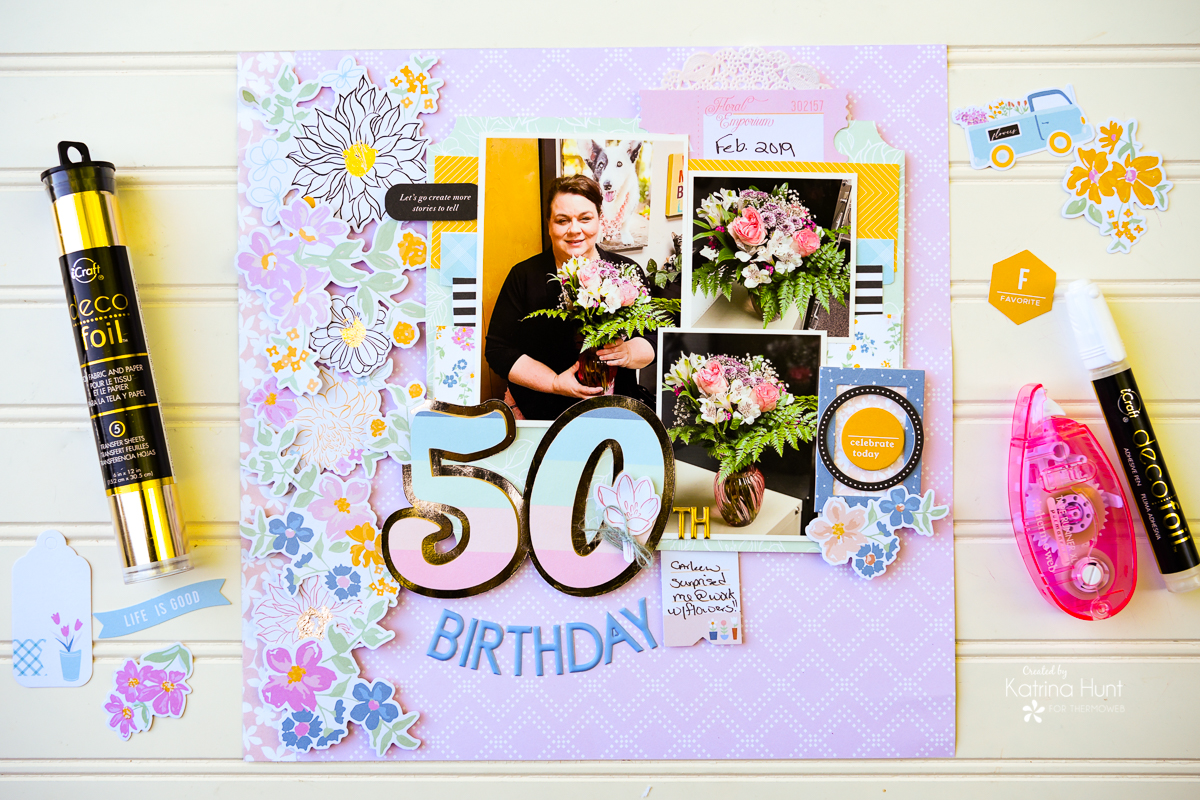
Therm O Web Supplies Used:
Therm O Web Memory Runner XL
Therm O Web Memory Runner XL Refill
Zots Small – Singles Roll
3D Foam Squares-1/2 inch
3D Foam Square-1/4 inch
iCraft Purple Tape 1.5 inch
iCraft Purple Tape .5 inch
iCraft Easy Tear Tape 1/2 inch
Deco Foil Transfer Sheets – Champagne
Deco Foil Toner Sheets
Deco Foil Foam Adhesive Sheets
Deco Foil Glue Pen
Other Supplies Used
PinkFresh My Favorite Story 12×12 Collection Paper Pack
PinkFresh My Favorite Story 6×6 Collection Paper Pack
PinkFresh My Favorite Story Floral Ephemera Pack
PinkFresh My Favorite Story Ephemera Pack
PinkFresh My Favorite Story Chipboard Frames
PinkFresh My Favorite Story Embellishment Kit
Layout Details
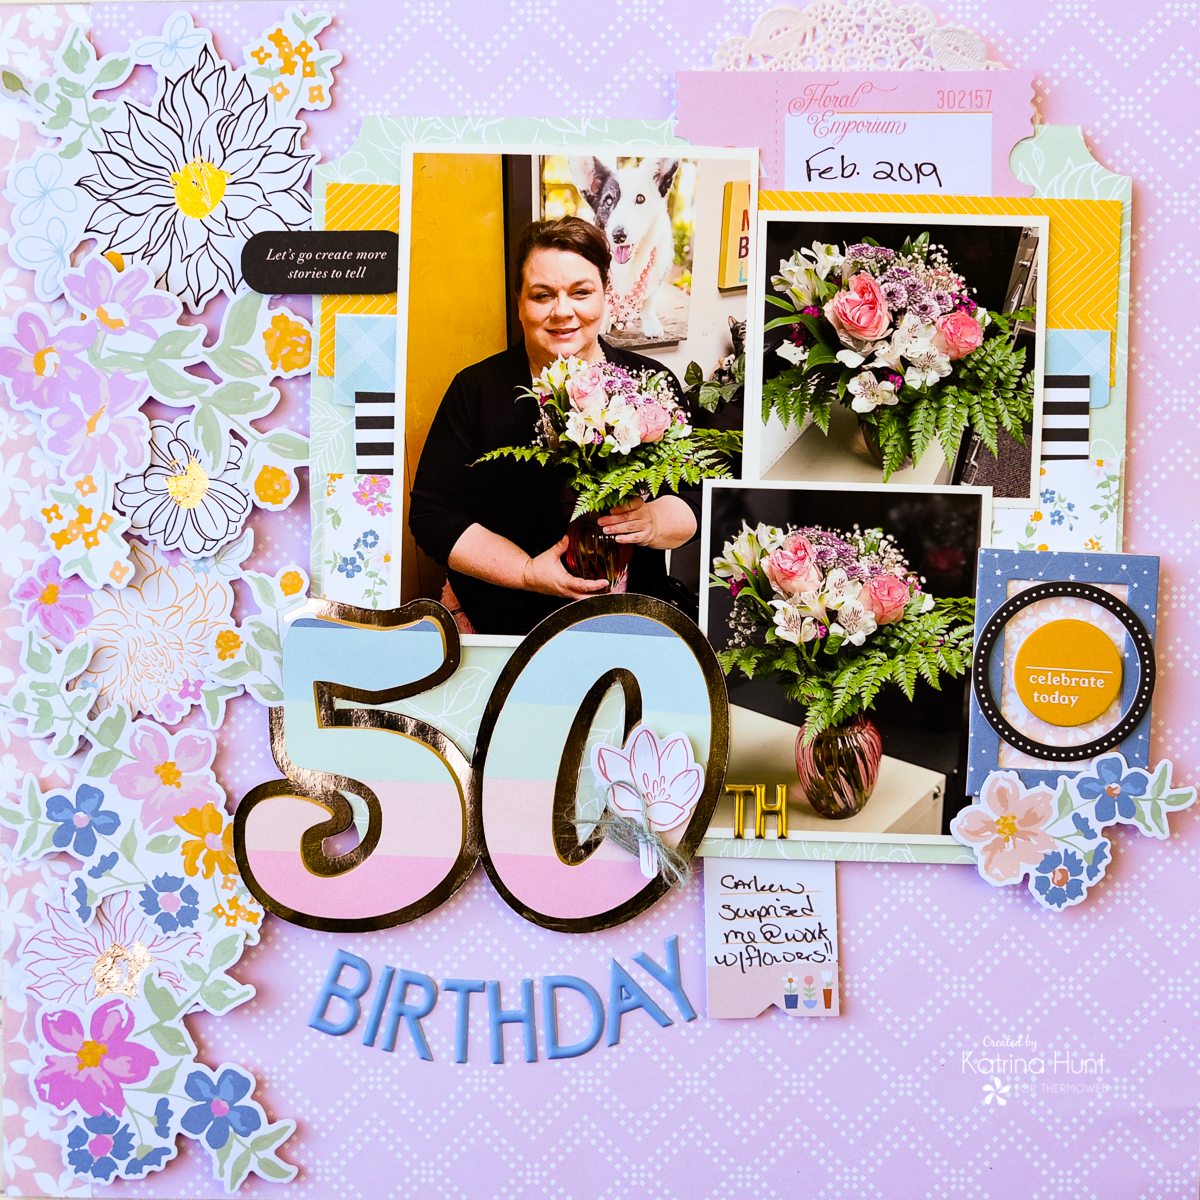
As you can see above, just a few little touches of foil here and there can change the look of your layout. Let’s dig in and see how I created this.
To begin with, you will want to start by heating the laminator for at least 20 minutes. Additionally, this will allow you to start work on other parts of your project while you are waiting on it. At least, that is what I say I am going to do!
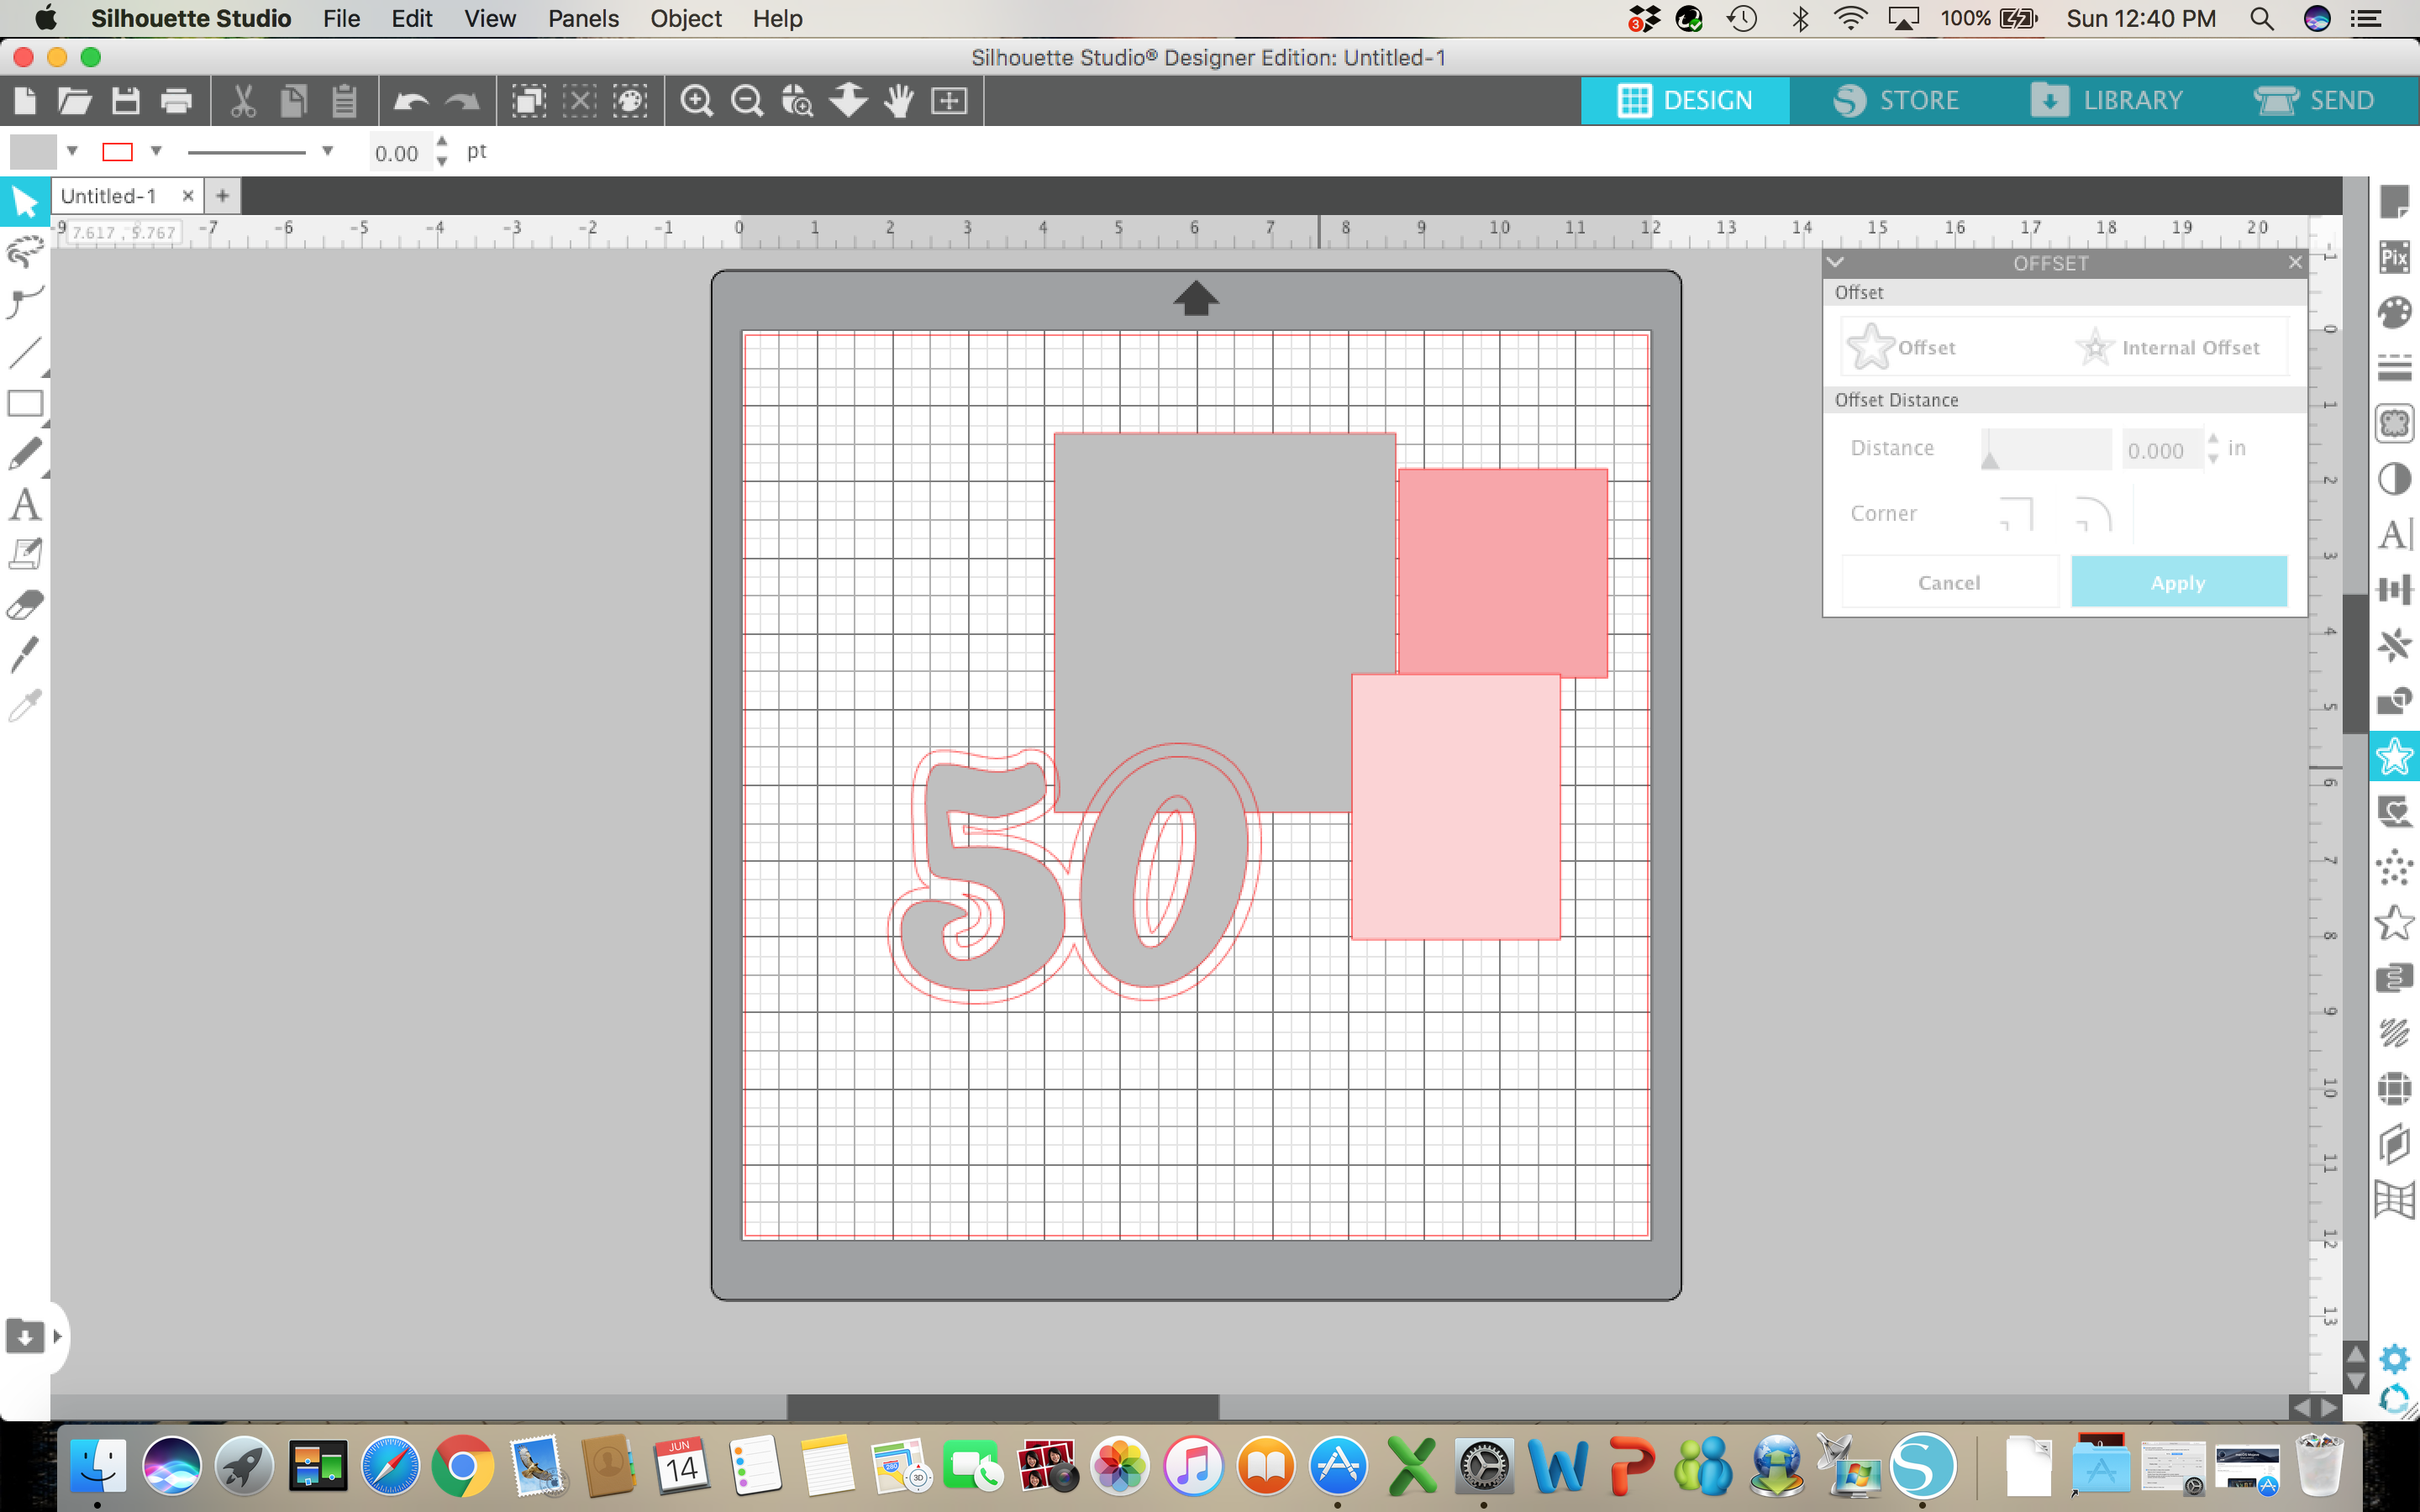
Additionally, my pictures were already printed, which helped me to create boxes in Silhouette Studio (or Design Space if you have a Cricut) to figure out where and how I wanted to place my photos with the numbers I was going to cut out of the Toner Sheets. By designing on-screen in Studio, it allowed me to place my pictures, along with my cut file to know exactly how big to my cut. As you can see below, I included a screenshot of my working Studio file.
Foil Your Embellishments
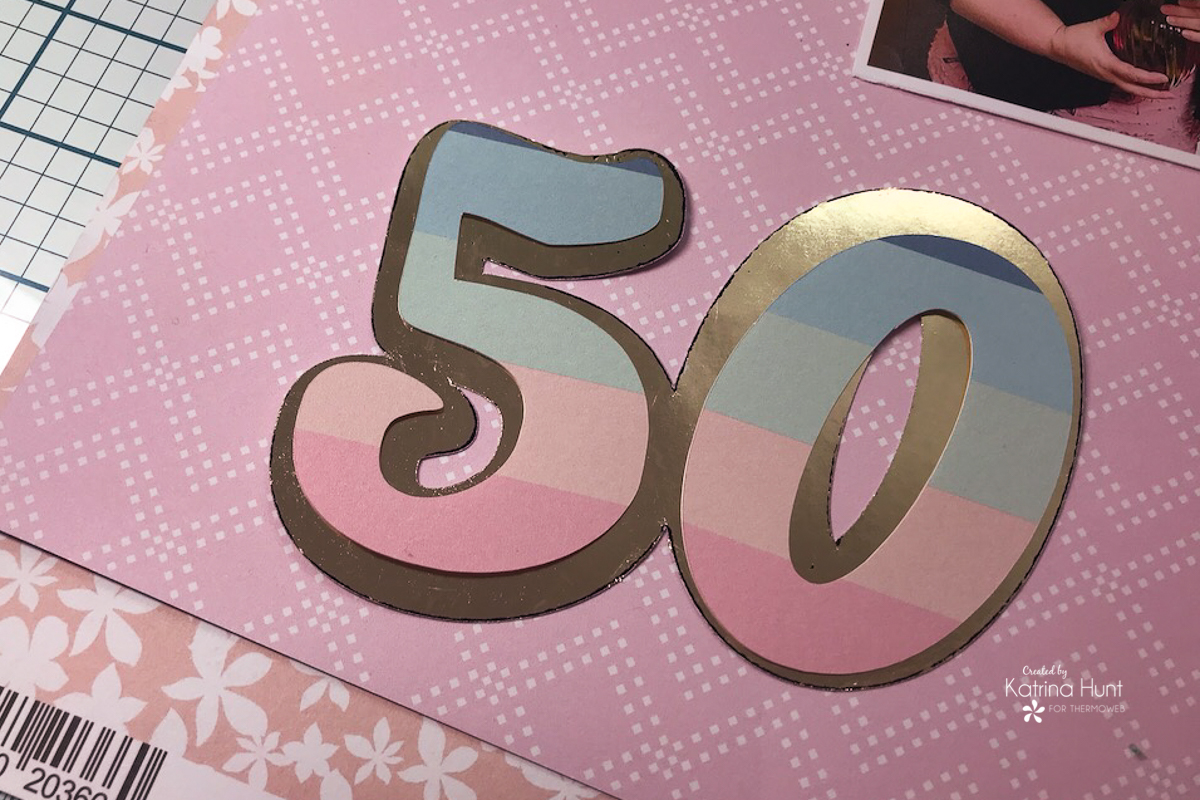
Next, I created an offset in my software for the 50. I wanted to use the Toner Sheet foiled in Champagne for the background of the 50 and then place the pattern paper numbers on top of it. I just wanted to accent the numbers, plus I didn’t want to scream that I turned 50!
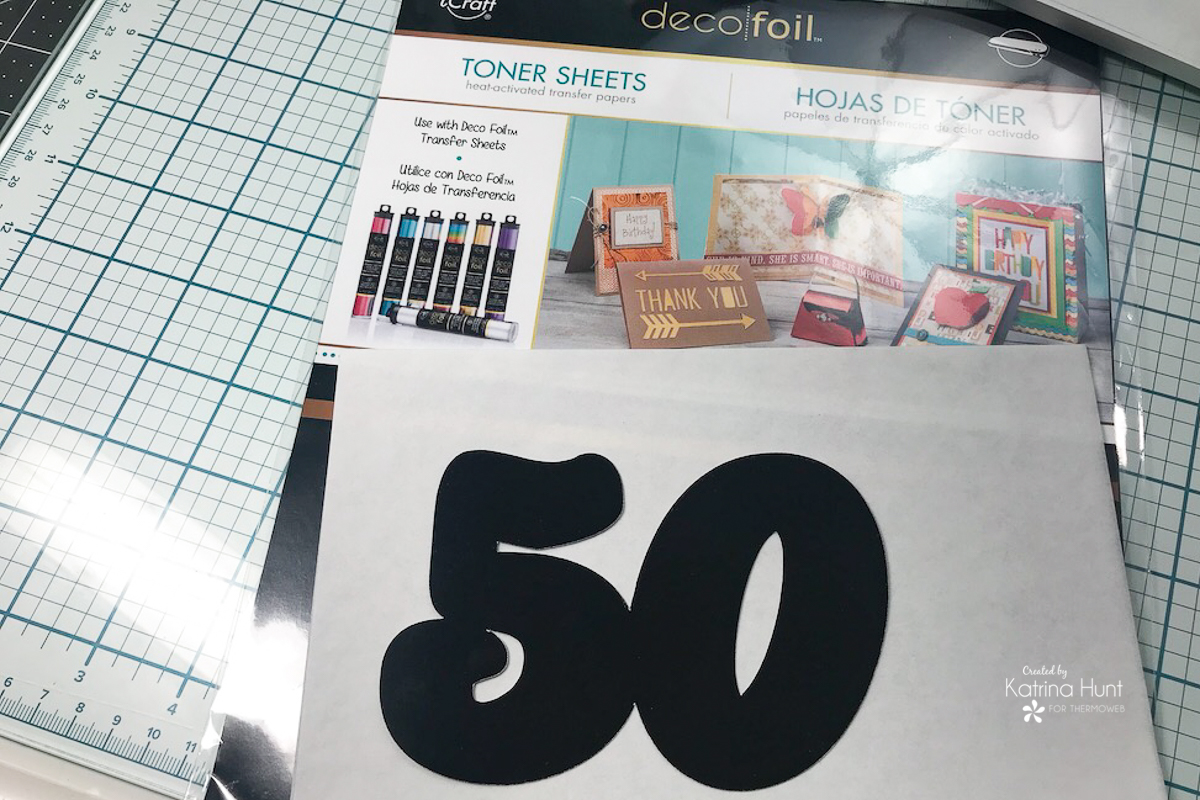
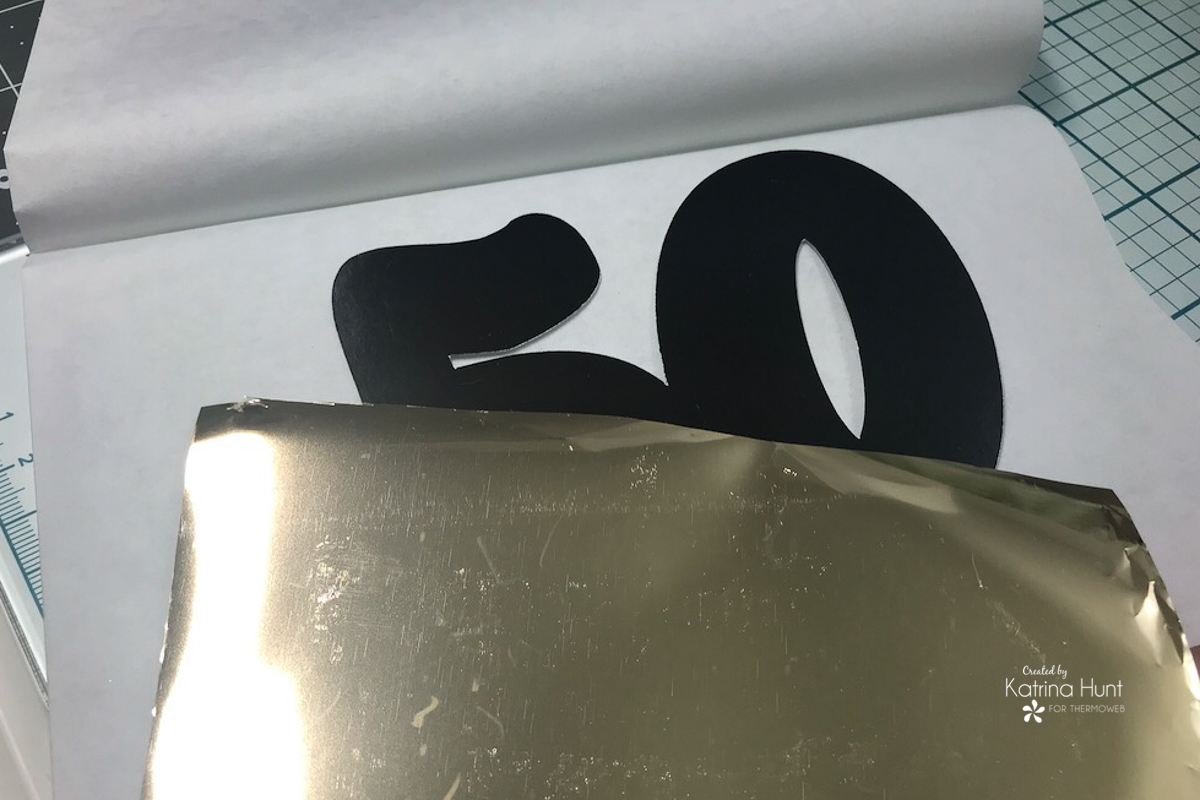
After I had cut and foiled the offset of the 50, I cut the actual loose numbers out of the smaller print from the 6×6 paper pad from the paper collection. I love using 6×6 pads for these types of cuts because the patterns aren’t so big that they distract from your cut file. I popped those numbers up with some foam squares also.
Creating The Background
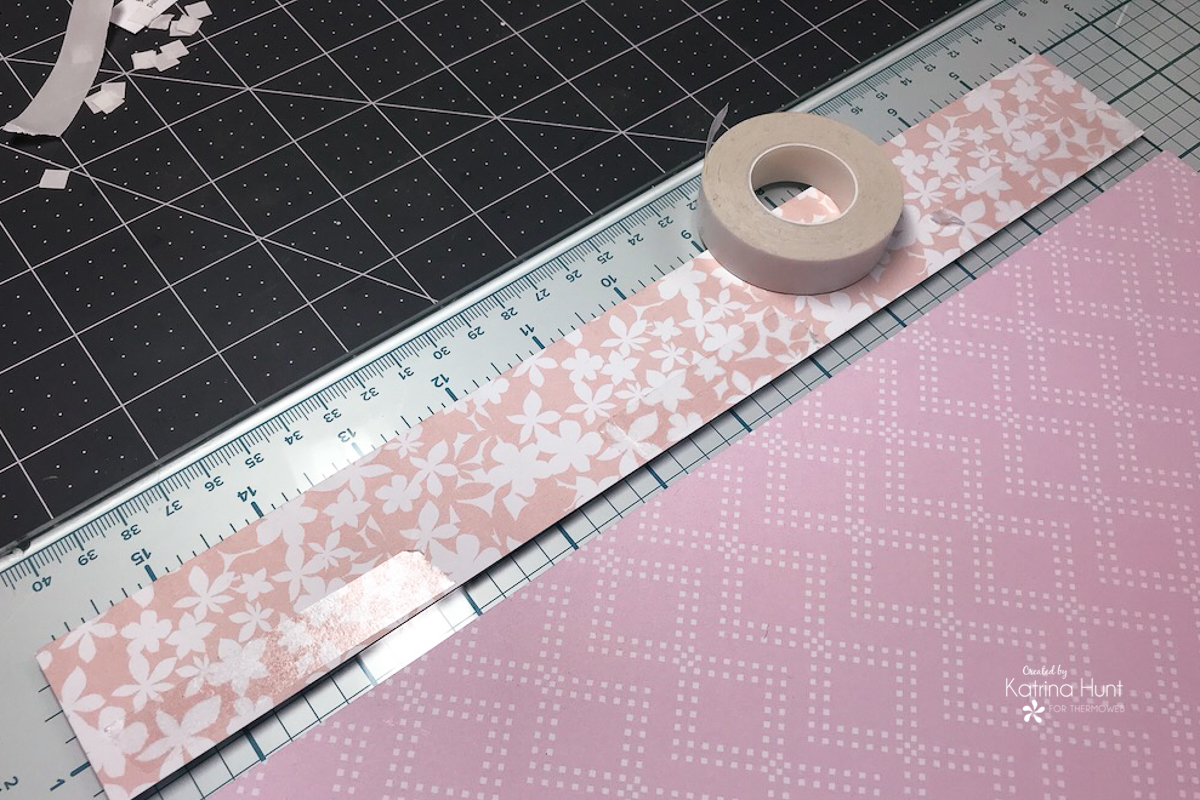
The next step was to create a background layer for my layout. I will be the first one to admit, I am horrible at making and lining things up straight. To solve this, I used my guides on my glass mat and was able to cut a strip of paper to attached to the smaller paper that I had. Also, it helped me save paper and solved a problem all in one step. I used the Easy Tear adhesive to adhere to my smaller strip to by bigger background.
Creating the Main Portion of the Layout
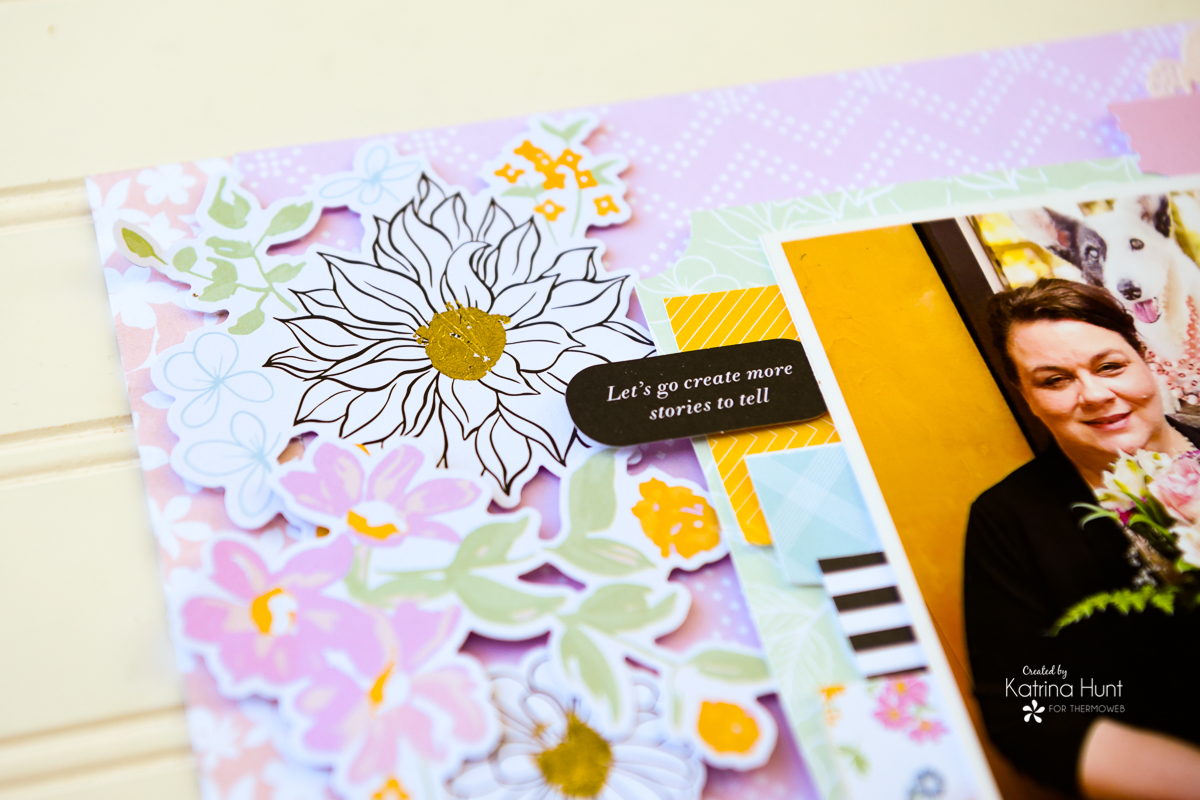
My next step was creating the flower border down the area where the two pattern papers met. The floral ephemera had lots of black and white pieces in it, which gave me the idea to foil the centers of some of the flowers. I used the Deco Foil Adhesive Pen and applied glue to the center of the first flower. I wasn’t paying attention and ended up with a little too much, so I used the extra on the other flowers I was going to foil the centers on.
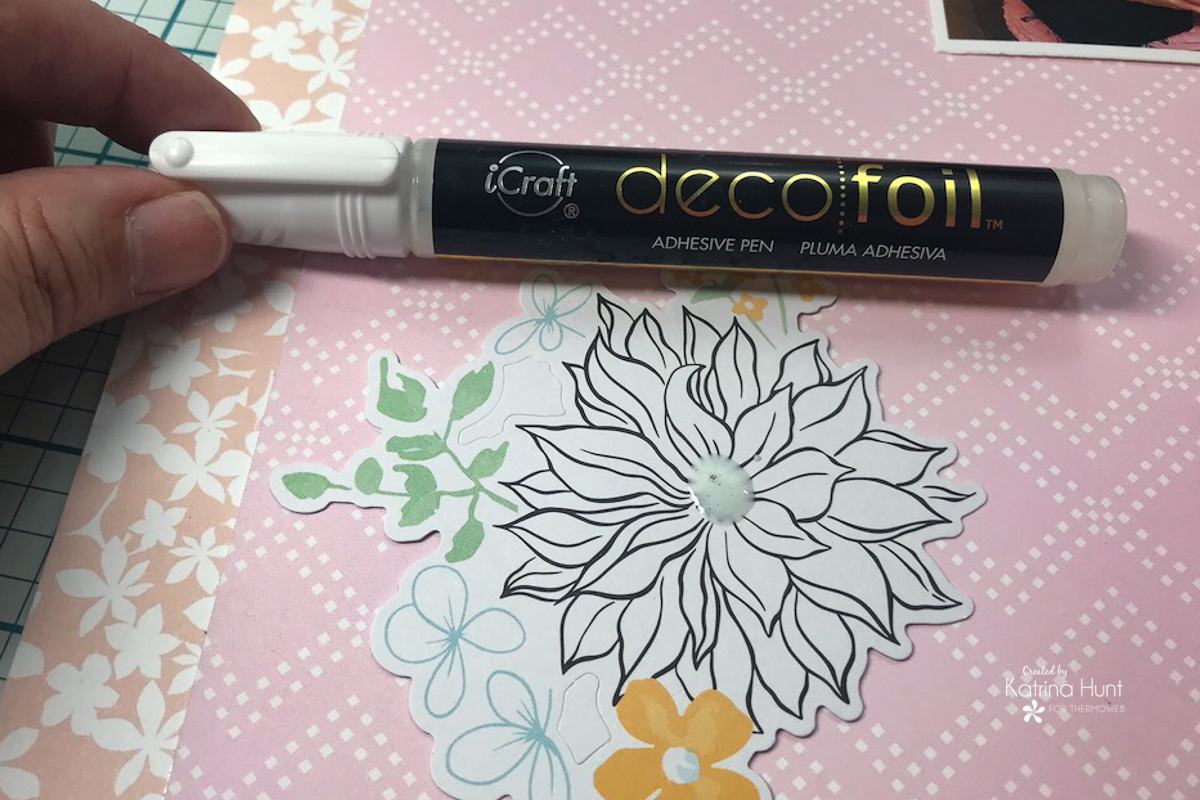
Once the glue dries (very quickly) and becomes tacky, just place the foil transfer sheet over the area where you applied adhesive and rub to transfer the foil to the area. This is a great way to add little touches of foil throughout your project.
After I had the die cuts foiled, I layered them along the side, popping some up with foam squares for a bit of dimension to the border.
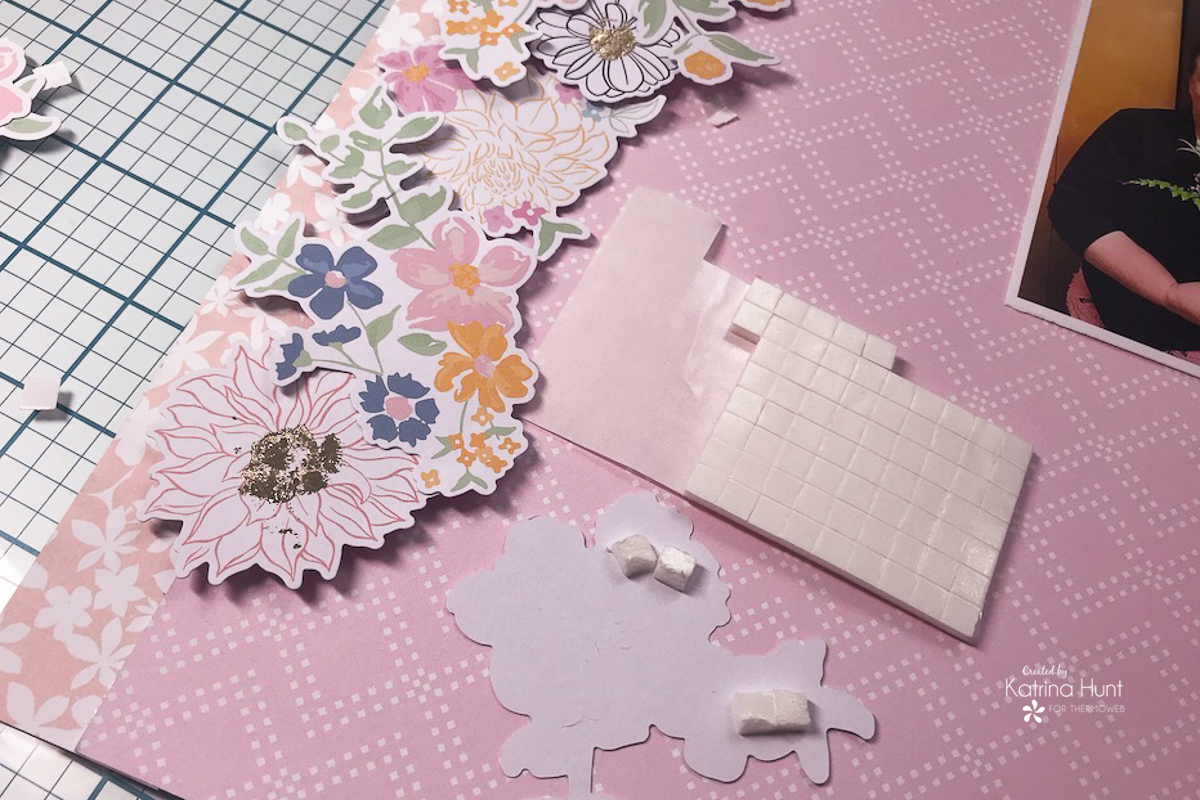
After the border was in place, it was time to start working on the main area where my pictures and cut file were going to go. Because I had the pictures layered on top of one another in my original design, I needed to keep them in place as I was layering them. I used Purple Tape to help and this also allowed me to keep a layout design would work.
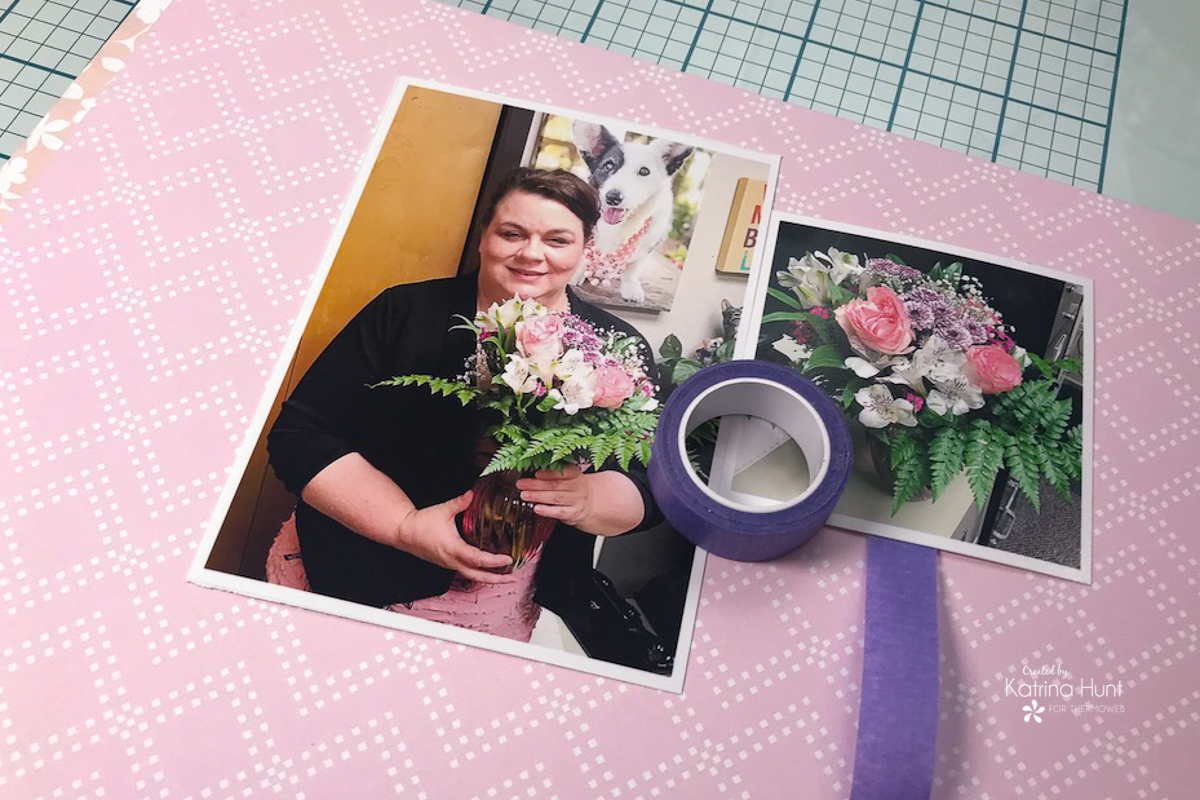
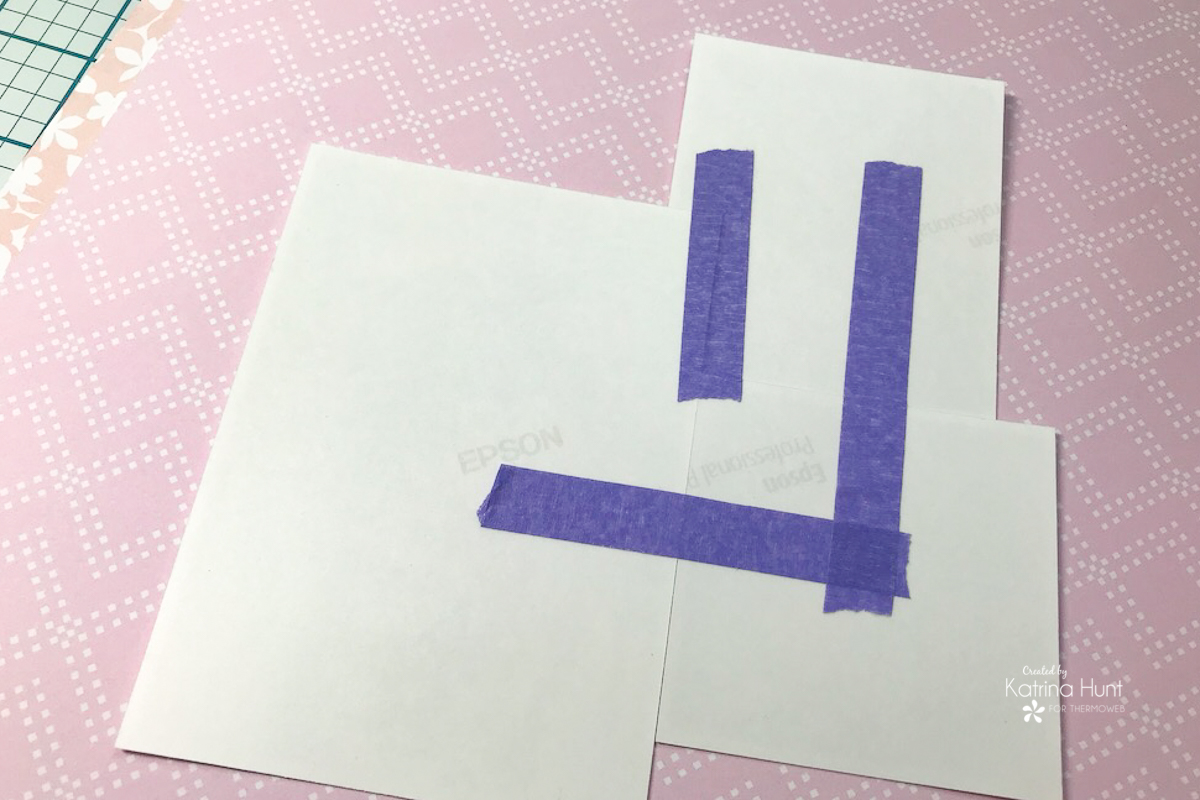
Once the pictures were layered, it was now time to start building layers and embellishing my layout. This is by far, my favorite part of scrapbooking. Well, this and all the pretty things to play with! 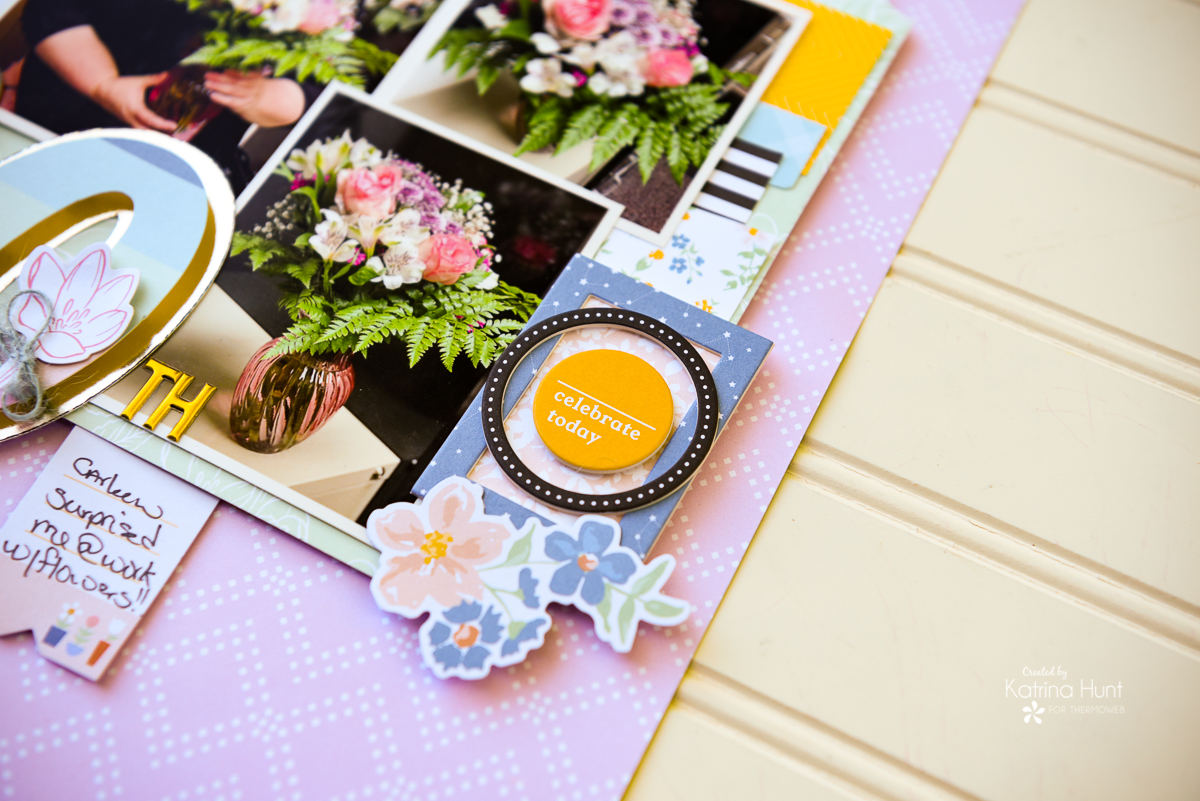
I wanted to add a couple of flowers to the numbers, just for fun. Using small Zots I added a couple of the die cuts to each number. For the 0, I thought it would look cute to add a little twine and bow to it, to anchor it. I just cut a piece of twine and wrapped it under the 0 about three times and then tied a bow. 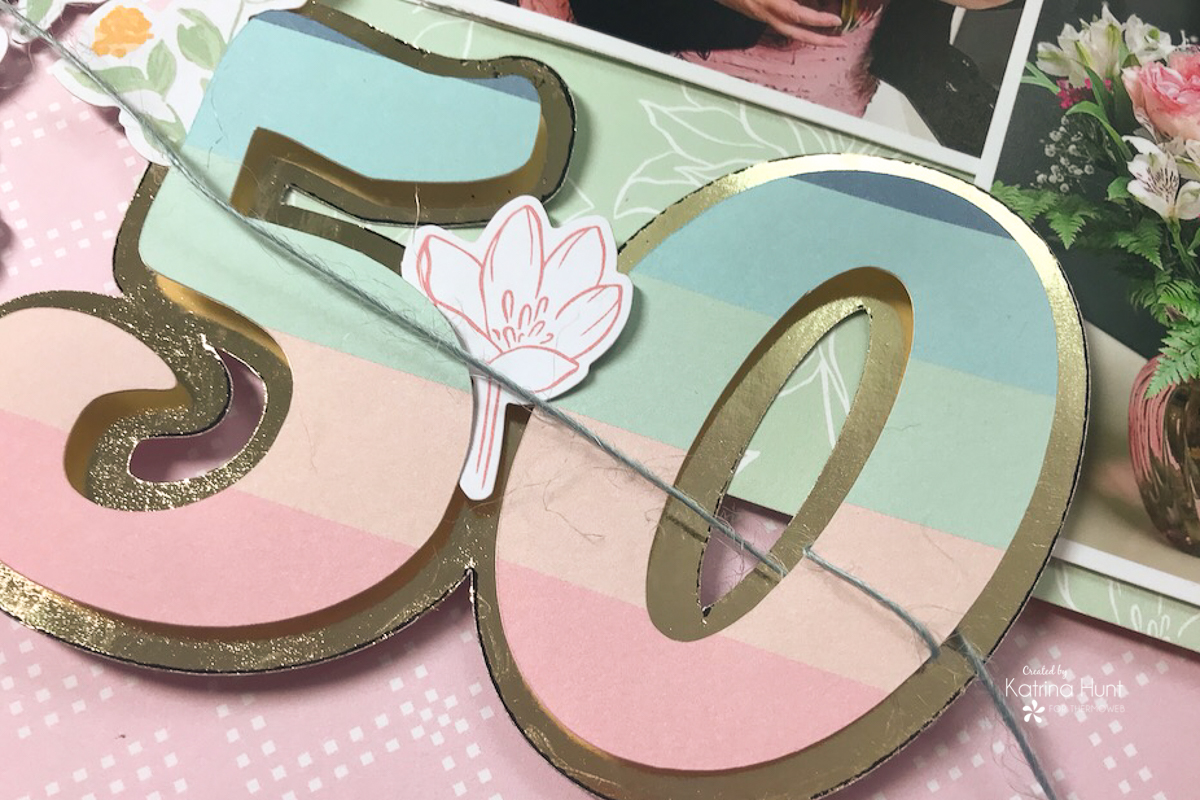
The flower for the 5, I ended up tucking it under the 5. It was a little too big and worked better under it.
Thanks for stopping by during Flowers week! I hope you enjoyed my project today!! Have a wonderful crafty time!
This post contains affiliate links. For more information, see our disclosure HERE.
